Skip to content

Free quilting video tutorials from Missouri Star

Quilting Tutorials
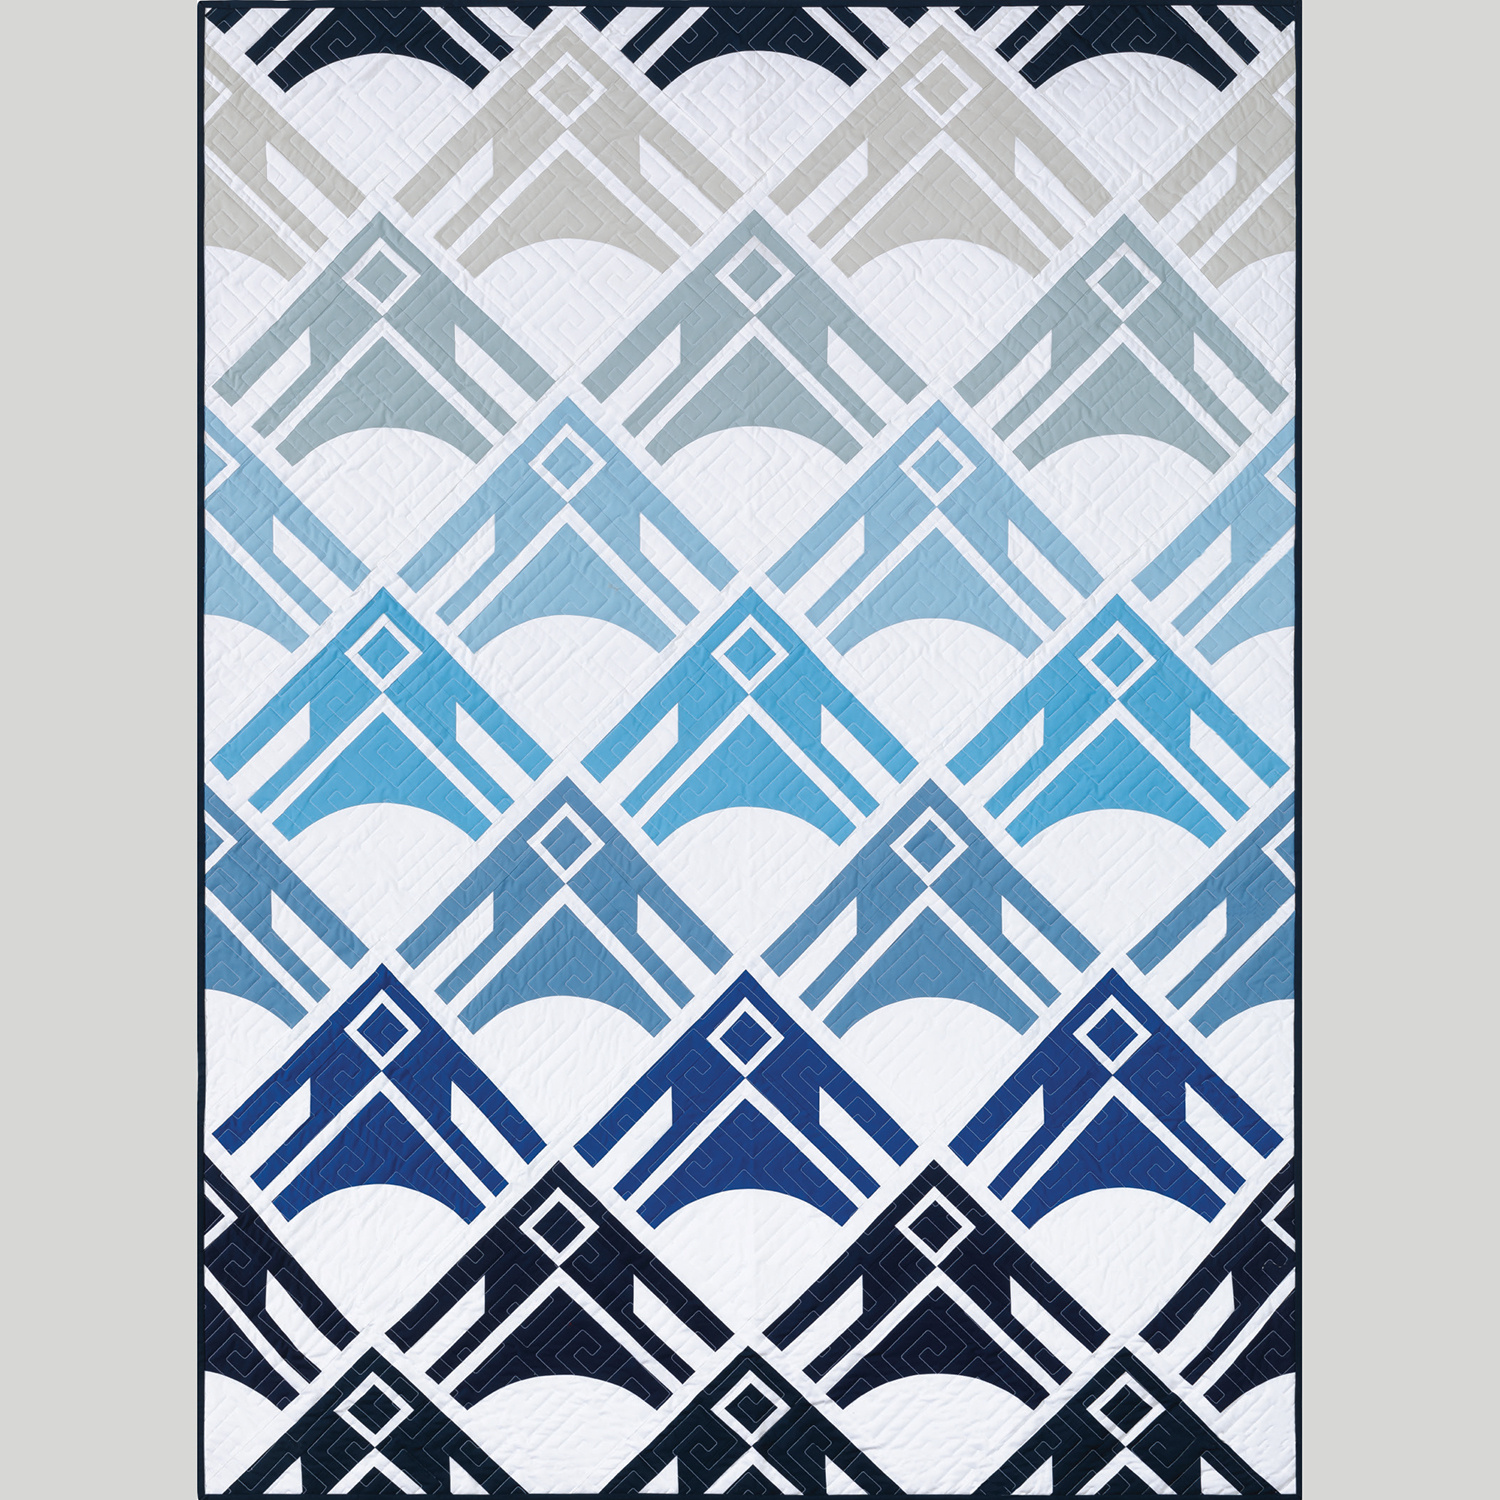
Persephone Quilt with Amber Elliot

Persephone Quilt with Amber Elliot

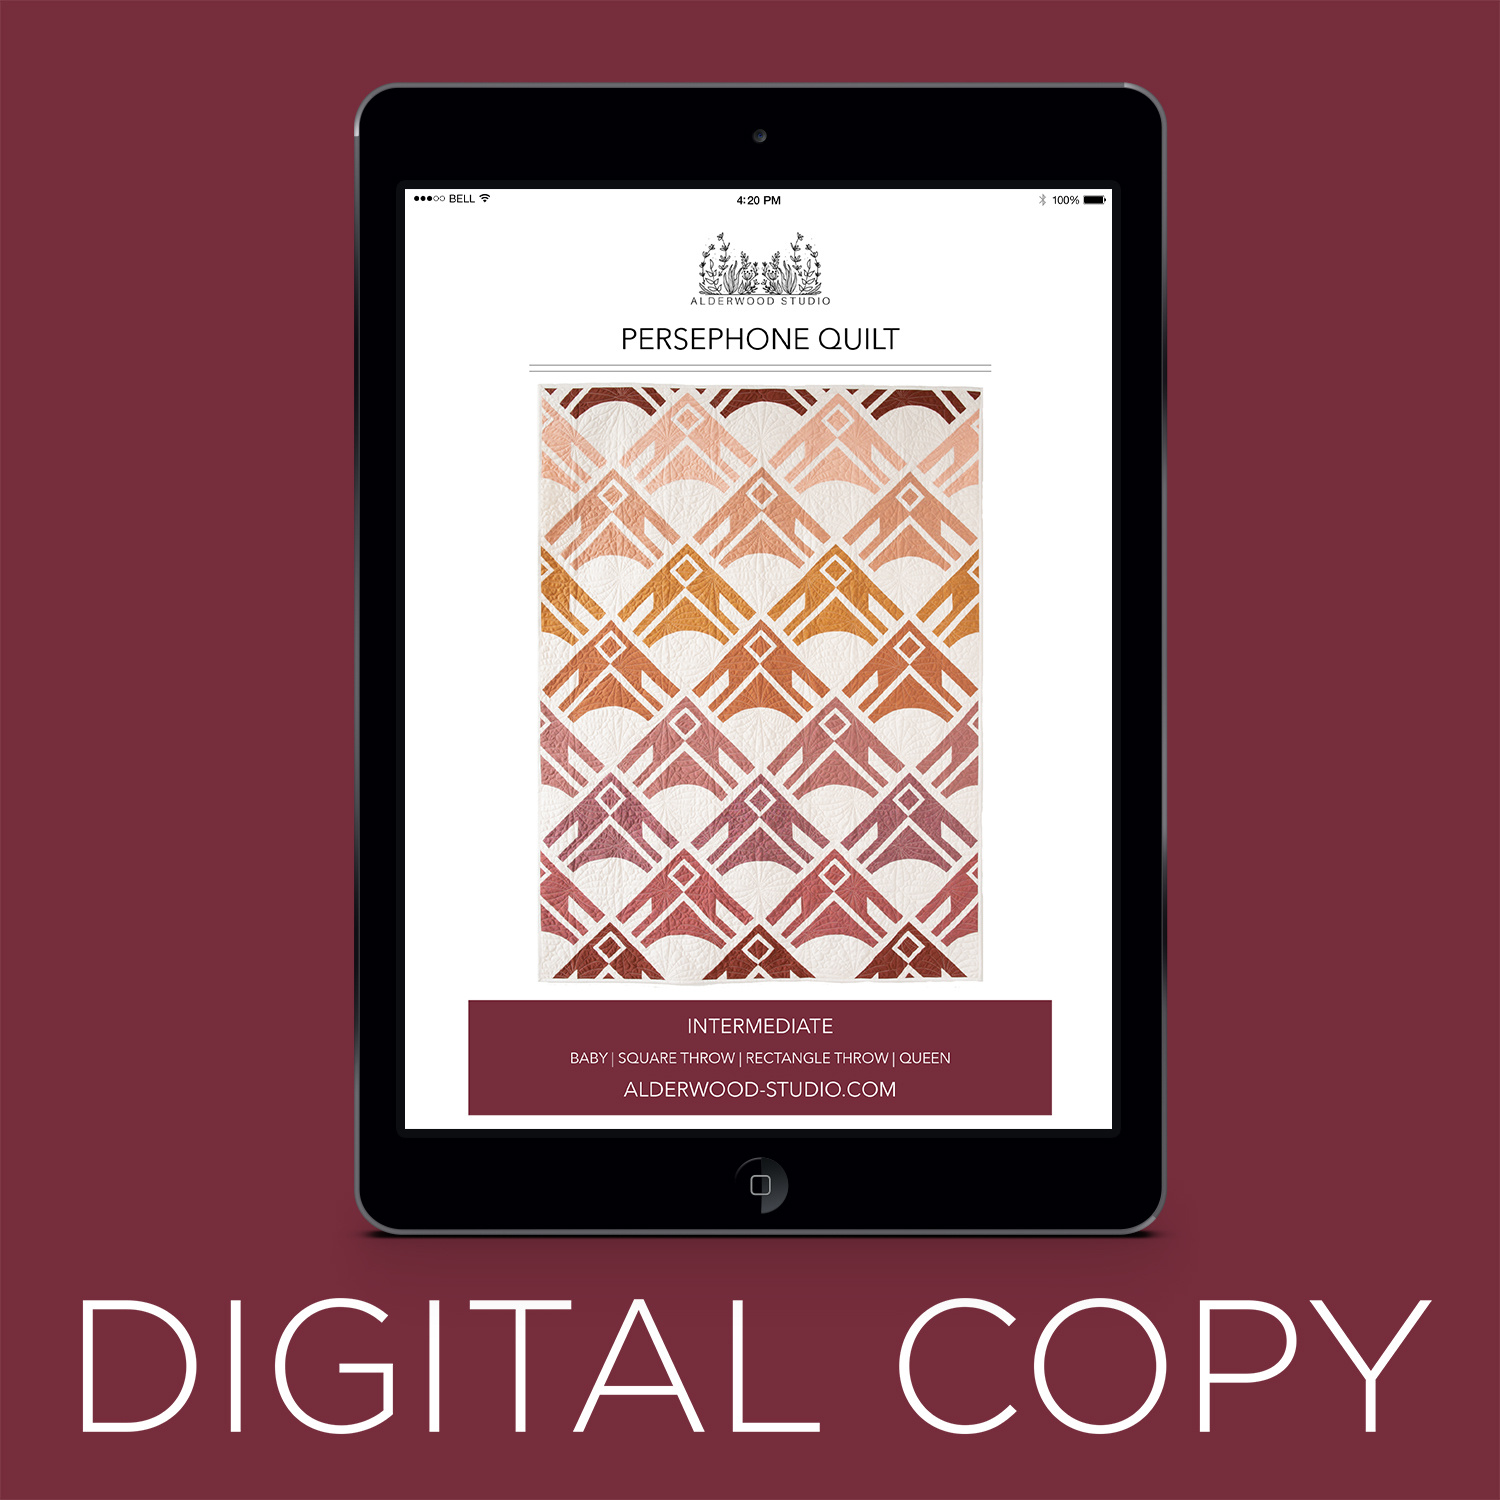
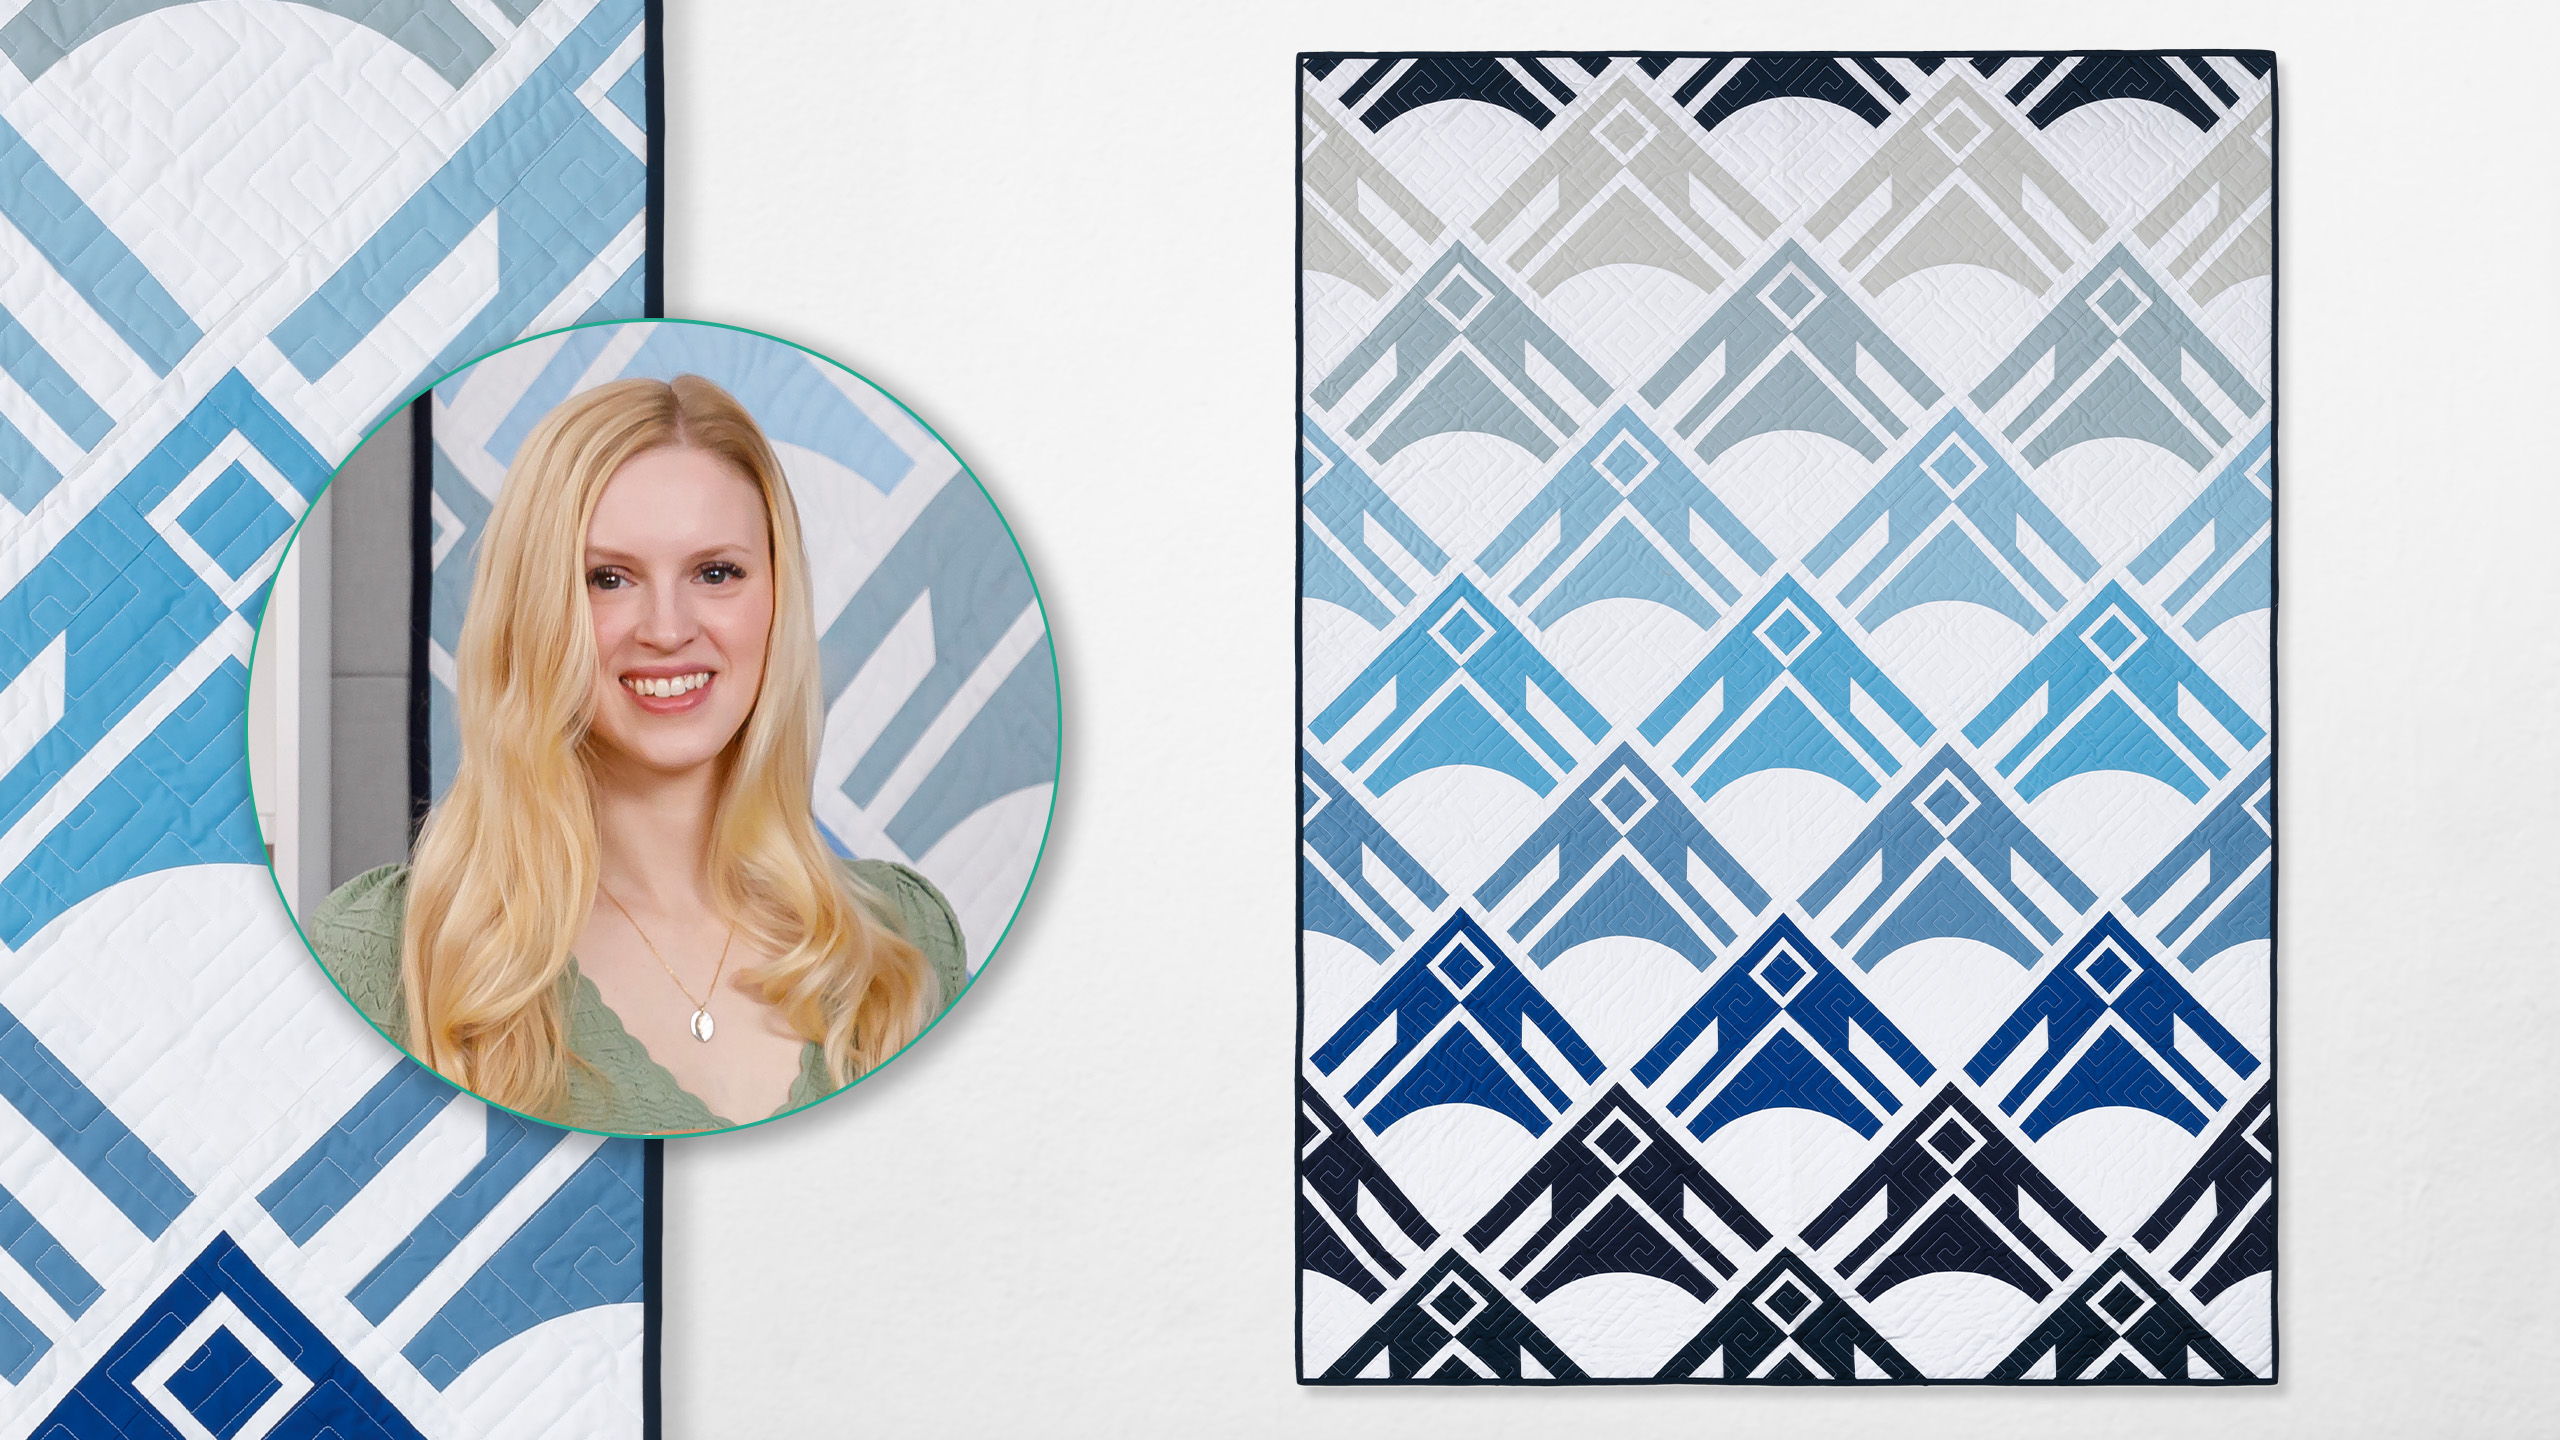
Spring has officially sprung, and Amber Elliot of Alderwood Studio is back with another beautifully modern quilt pattern: The Persephone quilt was inspired by the Greek goddess of spring, who brings blossoms and rebirth to earth each year. Made with easier-than-it-looks curved piecing and an ombre array of Kona yardage, this quilt is fresh as those springtime blooms. Pick up the kit—fabric, template, and pattern included—and enjoy each stitch!

Instructor

Amber Elliot

Amber Elliot is a talented pattern designer, artist, quilter, and educator who loves encouraging creativity and building community.

Common Questions

What is covered in Persephone Quilt with Amber Elliot?

Spring has officially sprung, and Amber Elliot of Alderwood Studio is back with another beautifully modern quilt pattern: The Persephone quilt was inspired by the Greek goddess of spring, who brings blossoms and rebirth to earth each year. Made with easier-than-it-looks curved...

How long is the tutorial video?

The tutorial video is 00:28:36.

Are supplies listed for this tutorial?

Yes. The tutorial page includes the supplies and materials connected to this project.

Video Transcript

hi I am Amber with Alderwood studio and today I'm here at Missouri Star Quilt Company to show you how to make my pranie [Music] quilt the prapan quilt is really fun to make it looks like it's pretty complicated but it's actually pretty simple once you get started this pattern has three different versions three different ways to make it which I always love to add in patterns it has a two-color version an ombre version and a fat quarter version today we're going to be making this ombre version in the throw size it also comes in a baby size and a queen size you can reference your pattern to find the fabric requirements for this quilt for the Ombre version we're going to be using eight of these different colored fabrics and then one background fabric there is a template involved in this pattern for the curved block and that comes with the pattern also in the pattern is a coloring page so you can color your own and decide what Fabrics you'd like to use the first step in making the procan block is to sew the curved pieces together I've already cut my fabric out using my templates and now I'm going to pin my curve and then sew it so everyone has their own favorite way of pinning and sewing curves but here's what I like to do I like to fold each of my curved pieces in half and mark the center either just by finger pressing it or with a pin I'll do a pin because it's a little easier to see so I'm going to fold each of these Mark the center make sure we know where that Center is then I'm going to lay the outer curved piece on top of the inner curve and line up those pinned Center points and then get that pinned in place now I'm fairly experienced with curves so I generally just do one more pin and that is at the very end of the block I find if I skip this then I tend to stretch as I'm sewing too much and this top piece winds up being a bit too long so I always like this final Anchor Point if you are newer to Curves or a little bit more anxious about it you can always add more pins in here as well to keep you on track as you're sewing so I'm going to go ahead and get this curve all sewn and then we will trim it this is a really nice curve to so if you're newer to this technique because it's a pretty big one and it has a nice gentle curve it's a lot easier than smaller Curves in my opinion so it's a great starting point now with curves it's always best to go slow maybe slower even than you think you need to go because the last thing we want is to wind up with puckers in our Fabric and have to go back and seam rip that out so I always like to stop lift my foot as needed and adjust the fabric around to avoid any of those puckers got that last pin out and we're almost done okay now I'm going to press this curve I always like to press my curves so that the inner curved piece has the seams being pressed rest towards it this is for a couple different reasons um it tends to line up better when I'm sewing drunkard's path blocks together uh usually there's less seam bulk in the way but also if your curve is not quite right if the seam allowance is a little too big or too small there's a lot more forgiveness if you can press like this because if you press starting on the curved block and press out towards the external block it can kind of push the fabric out and and hide any imperfections so I'm just going to press like this I have what looks like a pucker here but it's not actually a real pucker it's just a wrinkle so I'm just going to ignore that for now okay and now I'm going to show you how to trim this block you always like to leave all that extra trimming room so we want to trim this to 8 and 3/4 in square I can see looking at my mat that I've got a good amount of wiggle room here um I like to start my trimming by cleaning up each of these edges here I like to have a nice clean perfect right angle here to start with and since I know I have plenty of trimming space I am going to give these edges a little trim first so I've got this nice perfectly straight edge now I'm going to line this up on my mat with the line and I'm not worrying about the measurements right now I'm just taking off the tiniest amount that I can to get a nice even edge here okay so now we've cleaned up the corner of the white part of this curve and now I'm going to lay this out using those nice straight edges as my guides and now I'm going to trim this block down to the appropriate size which is again 8 and 3/4 in it always p to kind of take a minute to make sure everything is nice and straight before you start trimming so then we wind up with this really nice perfectly Square block so we're going to set this aside for just a minute and gather some other pieces for this pattern I'm going to refer to the pieces by their label so in the pattern all of the pieces have labels in The Cutting chart and that makes it a lot easier to refer to them as you move forward so the next pieces that we need are A1 and A2 and we're going to pay close attention to the orientation of our curved block for our next few steps to make sure that it stays in the right spot so A1 and A2 are going to be sewn to the edges of this block just like this we're going to sew one to the side and one to the top Okay so we've sewn our two a pieces on here and now I'm going to press these you have some flexibility in how you decide to press this but I like pressing these to the side so I am going to just press it towards the background fabric here there we go and now we're going to set this block aside for just a moment while we do another step next we need our B1 and A3 pieces now this part is a little tricky just to make sure that you're doing things in the right orientation we need to make sure that we are putting our pieces together in the correct order so we are going to be putting these together the same way you would for a mitered binding seam so in this case what that means is we're going to lay out our A3 piece and put our B1 piece over the top and then we're going to do the same thing mirrored on the other side so we're going to lay this piece out lay this over the top now we're going to be sewing right along this Edge so that we have this nice little pointed piece we're creating these pieces right here so before we sew these I'm going to draw a diagonal line on each of these blue pieces to make sure that we stitch right along the perfect line so I'm going to lay my ruler down here and I'm going to make sure that it's beginning at this point and ending at the intersection of this white background piece and the blue piece and I'm going to draw a nice little diagonal line here if you feel comfortable sewing this corner to corner without the line you can absolutely do that but if you're a little unsure having that line can make sure you get a really good precise seam we're going to do that on this other side too and you will do this with all of these pieces okay now I'm going to sew these I'm going to be careful to do this one at a time and I'm going to pin them so I don't lose the orientations here it's a really common mistake to flip these the wrong way so I want to be extra careful going to pin that one there this one here now we're going to sew right along these blue lines and then we're going to trim and press these once they're all done okay now I'm going to do the other one all right now before we press we're going to trim these Corners off here so we're going to take our ruler and trim about a quar inch away from that seam towards the corner and now we can see that this will open up just like we want it to do the same thing with this one okay now I'm going to press these to the dark side so I'm going to open these pieces up and press towards the blue fabric here I got a little pucker in mine so I'm going to just redo that there now I can see that I did not quite catch my corner on this side the fabric slipped a little bit as I was sewing it and I was really hoping that that wouldn't be an issue but it slipped and I'm just going to move on and allow that to be captured in the seam outs okay we've finished our pieces and now these pieces have a bit of trimming space in them um we're going to trim these down starting on the blue side so that they measure 9 and 1/2 in yours may not need to be trimmed down I've left a bit of extra space in case that our seam allowances are a little bit bigger than we're expecting or we lose more from the length than we're expecting so we can can trim this down to 9 and a half all right so we're going to trim that there and now we are going to grab our B2 and B3 pieces now our B2 and B3 pieces look very similar but one is just a little bit wider and we want to make sure that as we're sewing this next step we're paying close attention to where we're putting the B2 piece and where we're putting the B3 piece so I'm going to lay my pieces out very carefully here and we are going to put our B3 piece on the outside of these pieces it's where the white where the background fabric is at its tallest point that side gets a B3 piece the other side we're going to sew a B2 piece so this is one of those times where it's really good to lay out your fabric pieces reference your pattern and make sure you're getting on the right sides so I'm going to sew these together we're going to have two groups two blocks here and then these are going to go onto our main block okay now we are going to press these I like to press these um B2 and B3 Pieces away from the seam like this there we go okay so now we can add these units to our main block and this is a good time to take a pause look at our pattern and see what orientation these go in a good way to remember how these get sewn on is the smaller B piece gets attached to this little white piece that's how I like to remember it so I'm I'm going to sew this piece onto here and then I'm going to reserve this one and wait a moment because we're going to add something else to this piece before we sew it onto the main block now we're going to press this I am going to press this to the dark side um this one you really could press either way you can even press it open if you want but I'm going to go ahead and press it away from the white so here we go now when we get to this stage I find find that no matter how precise I am when I'm sewing all this together it's still really common for me to wind up with some kind of slightly uneven edges here it's totally fine to leave those if you want or you can trim it down I I've had success both ways um I would for instance probably trim this Edge a bit and I'm going to do that now just to make it a little bit more even and then if that winds up impacting our measurements a little bit later on we can just trim a little bit further if we need to I don't really think it will it's a really small amount I'm just kind of cleaning up that edge a little bit to make it easier when we're sewing these blocks together now we're going to be making these squares now if you are making the two color queen or throw version you will be strip piecing part of this we're not doing that so I'm going to show you how to make each individual Square so we're going to be using our B6 A6 and A7 pieces for this part this is a really simple little square it looks tricky because the pieces are small but if you just go slow pay close attention to your seam allowance you'll be completely fine we're going to just be sewing the A6 pieces to the B6 and then we'll sew the A7 pieces to each side this is one of those times when it really pays to carefully line up your pie pieces make sure your seam allowance is really good and go slow we've got our nice little square now we're going to take our B4 and B5 pieces and add them just to one side of this Square so we're just adding a little corner padding here I'm to sew this piece on first and then I'll add the other one on okay now we'll press this I'm again going to press away from the Blue Square in the middle there okay now we're going to add this cute little block to the unit that we reserved earlier now this is another case where we want to pay close attention to how we're lining things up I like to remember the right orientation for this by thinking that this corner should be pointing all the way towards the other white piece I don't know if that helps you or not but it helps me we want to have the extra padding underneath here so we're going to sew this together right here okay okay so I'm going to press this to the side and press ing this towards the blue fabric okay and now we're getting pretty close this is my favorite part of this pattern it's putting these two together so now we're going to sew these pieces together and I like to use some pins on this one I like to pay close attention to where this point is here we want these two points to align nicely and this pattern has so many seems that it's really easy to get slightly off this is a good time to make sure everything is lining up and if you wind up a little short on one side or the other we can trim that down we just really want this particular point to line up nicely so I'm going to tuck those together my seams are nesting which is lovely and put a little pin in here okay now I personally like to press this particular seam open because I just want this point to be super crisp so I'm going to go ahead and do that back here and whenever I press something from the back I always like to flip it over afterwards and press it from the front as well so it gets that really nice flat feel to it okay look at that we're so close to finishing this block up we just have one more first step we need to get our A4 and A5 rectangles and this is just kind of that final little border you see around the top of each block so we're going to sew one to each side just like this and then this will be finished okay okay now we're just going to press these I'm going to press these um away from the block now these blocks have a lot of different seams a lot of stuff going on and there is absolutely no problem with needing to trim your block up a little bit when you get to the end of it as long as your blocks are consistent size you can trim them down to get nice crisp edges all you want so I am going to do a little trim on this block myself because I just want to clean up this other Edge a little bit I'm not going to trim a lot off just a tiny bit just to straighten it out a little bit all you have to do is once you trim a block or two just measure them and keep an eye on what their measurements are so you can be consistent throughout now because this quilt is created on point we're going to slice a few of our blocks vertically and horizontally so you'll be able to see in your pattern in the layout which blocks need to be sliced across horizontally and which need to be sliced vertically it'll depend on your layout and which Fabrics you've chosen I'm going to show you how to do that on this block without actually cutting it but I'm going to show you how I would line up the cut because this block has a lot of Corners it can be a little bit tricky to get the perfect vertical cut so how I approach this is I start by lining my rule ruler up with each corner and then seeing where that falls with the other Corners within the block you can see in my block that there are Parts where that doesn't line up perfectly with a Point that's okay we're just going to move our ruler around until we get what feels like the best option when we're binding our quilt we're going to be covering a lot of this up anyways so it's not a big deal if some of your Corners aren't perfect now for the other cut for the horizontal cut that's a lot easier because you're just lining up your ruler corner to corner you don't have to worry about lining it up with anything inside the block at all and you can just slice right there so you'll notice that for each color for this size you're making three blocks depending on how you've laid out your blocks vertically that will determine which rows you need to cut so for every other color you will cut a vertical piece this piece does not need any Cuts this piece does and for your starting color for the first color you choose on the bottom every single block will will be cut horizontally there is a very handy chart in the pattern that tells you exactly how to do this it will tell you how many blocks that need to be cut for each color and it'll be pretty easy to visualize once you take a look at that and lay everything out thank you so much for joining me to make this prapan quilt I just love this fun blue ombre that we have here it's so soothing so relaxing I'm going to show you a couple other versions of this pattern that I've also made this is one of my favorites this is one of my favorite quilts I've ever made actually um this is all made using a looser woven fabric so it's nice and soft and I really love how the colors move from kind of a plumy color through more orange up to peachy pinks it's just a really fun color combination I think you can tell that I really love making this pattern in the Ombre version I also have a fun example made with Prince a lot lot of people see patterns like this and think I love that but I'd like to be able to make it with prints will it look good with prints and I think this pattern translates really nicely with prints and this one is made using my own um Garden dreams fabric collection from Riley Blake and you can see we still have the Ombre effect going on in this quilt but with PRS instead thanks again for joining me today to make this panie quilt at Missouri Star again my name is Amber from Alderwood studio and I'd love for you to follow along along with me to make more ombre quilts

More Fabric by Yard tutorials

See all