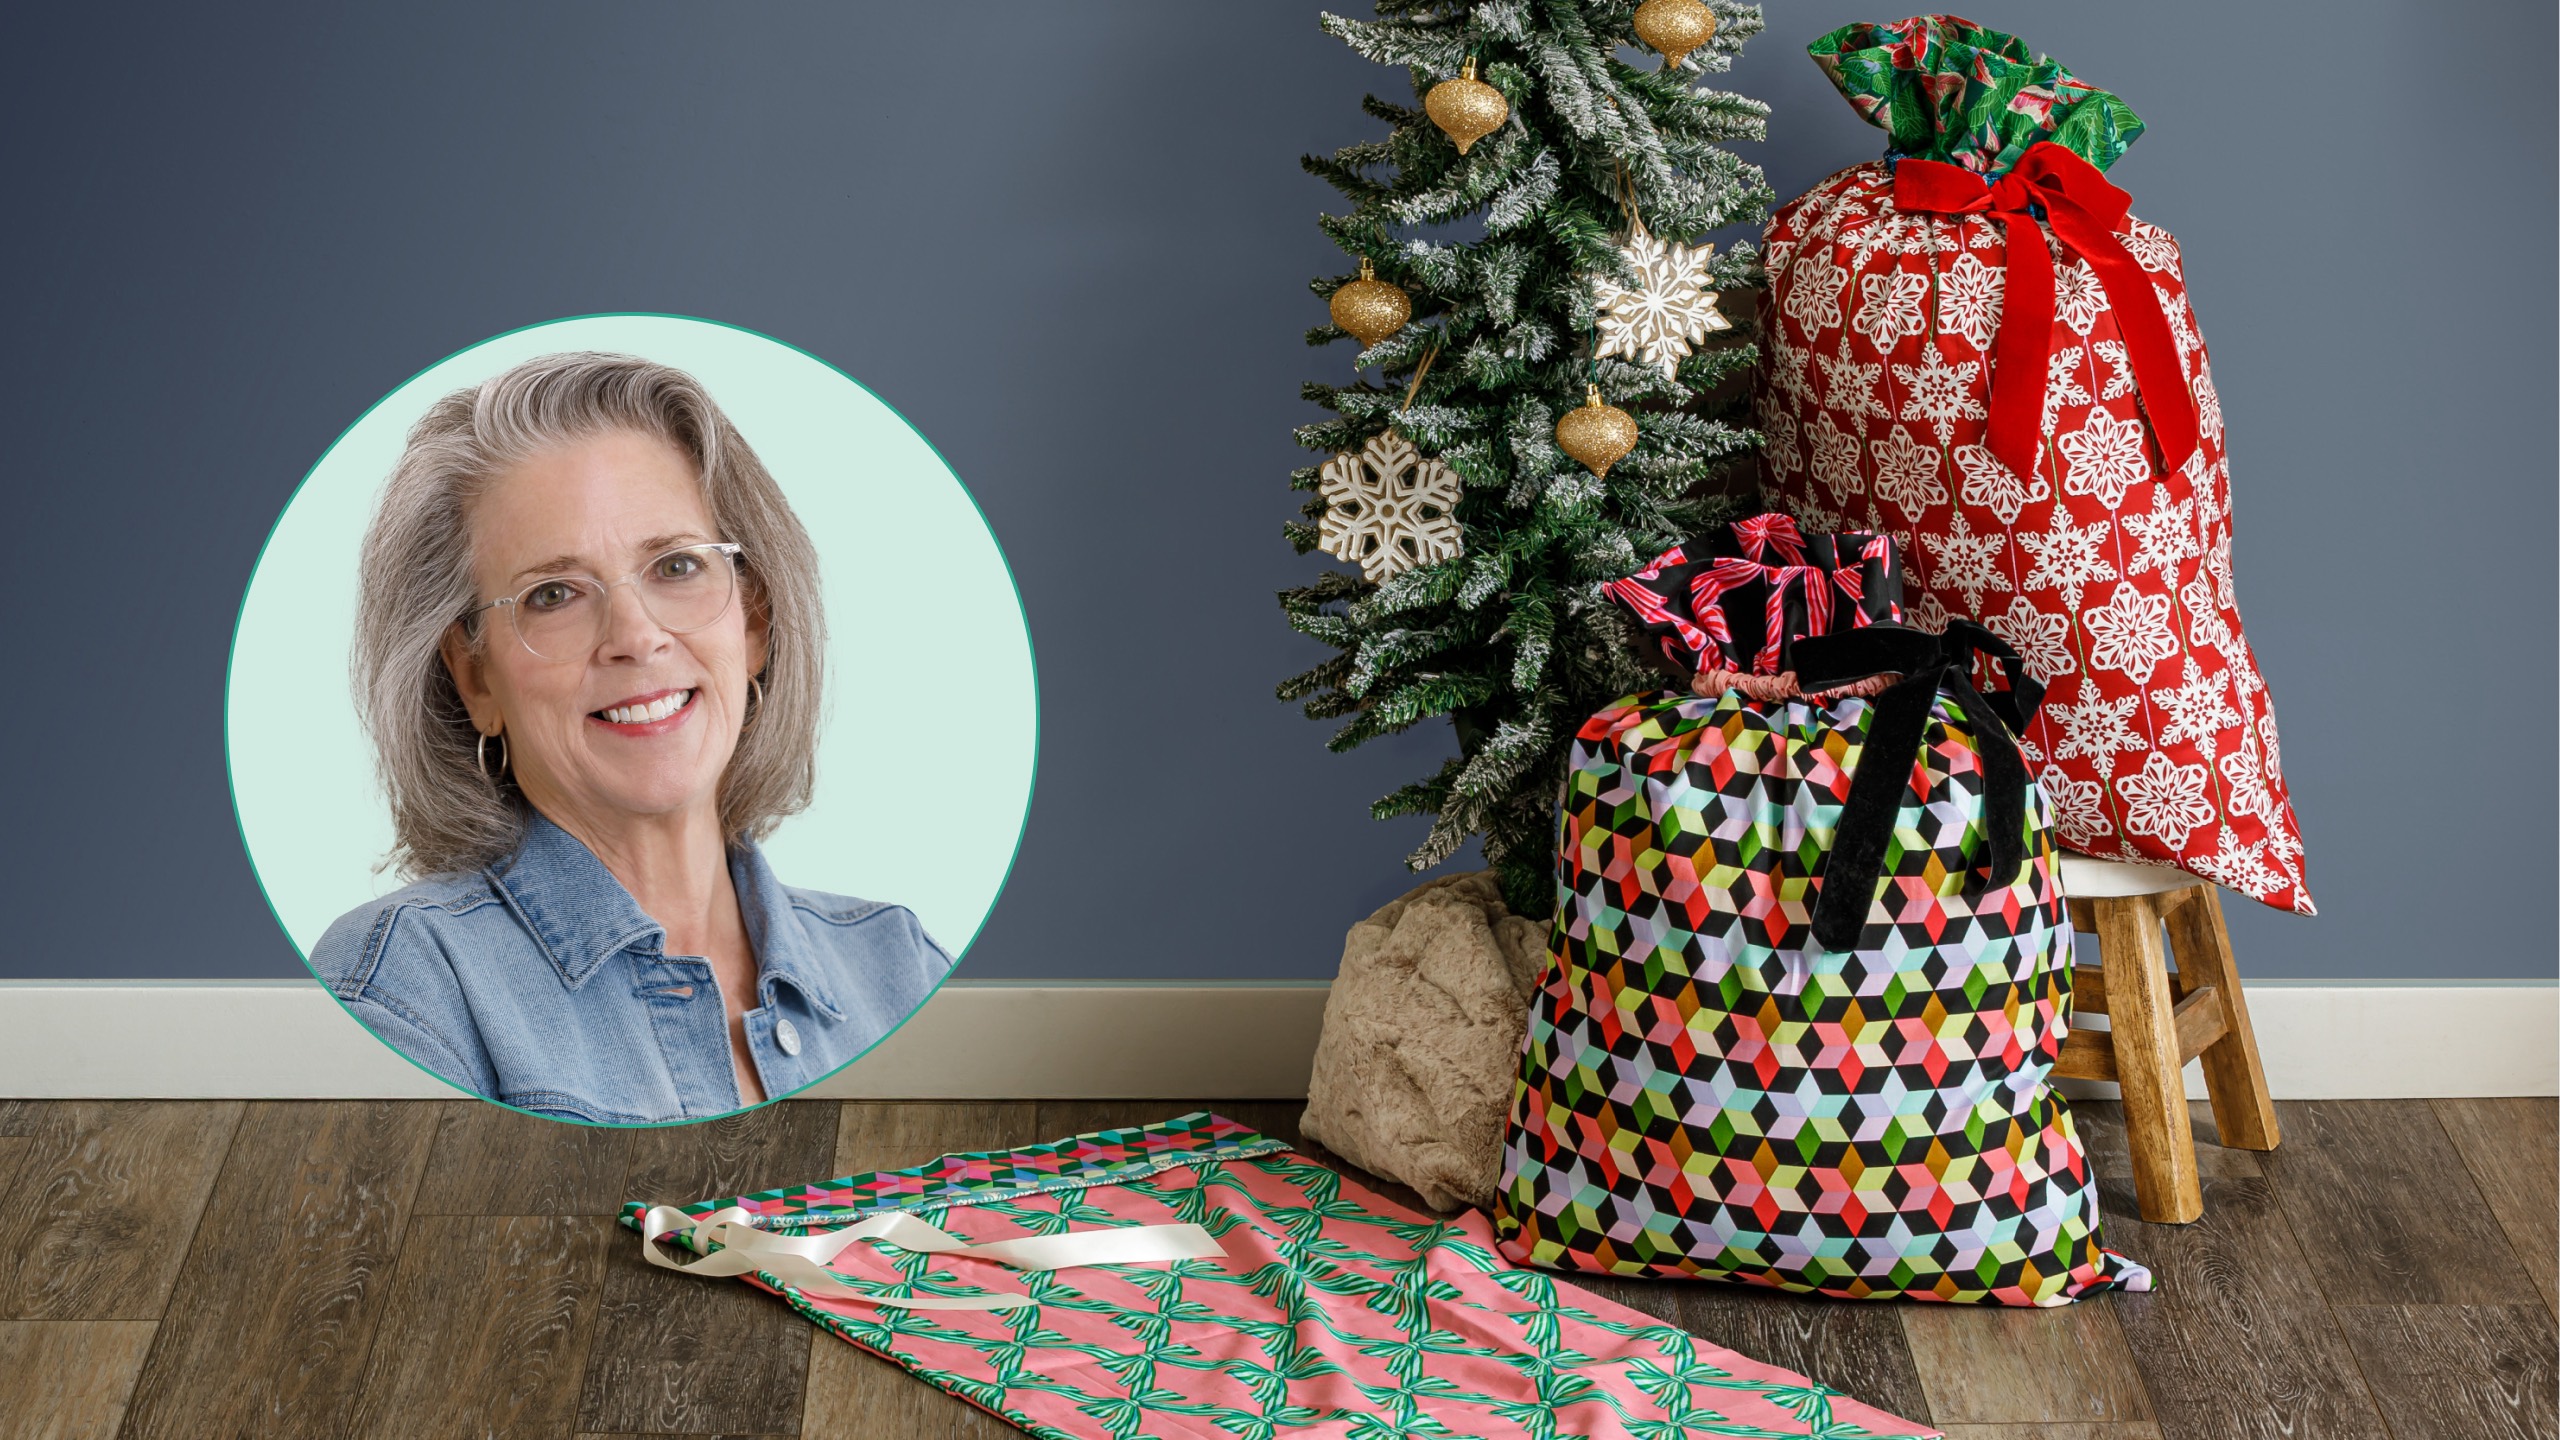
Ditch the wrapping paper, and make pillowcase gift bags instead! Learn how to make pillowcases that not only hold gifts but serve double duty as bedding. Pillowcases are the perfect "wrapping" for quilts, and they are handy for holding multiple small gifts to transport over the river and through the woods after leaving grandmother's house! The festive prints in Anna Maria Parry's Cozy Christmas line rival even the prettiest of wrapping paper, and they won't end up ripped and thrown away!
What is covered in Pillowcase Gift Bags with Cherry Hill?
Ditch the wrapping paper, and make pillowcase gift bags instead! Learn how to make pillowcases that not only hold gifts but serve double duty as bedding. Pillowcases are the perfect "wrapping" for quilts, and they are handy for holding multiple small gifts to transport over th...
How long is the tutorial video?
The tutorial video is 00:13:40.
Are supplies listed for this tutorial?
Yes. The tutorial page includes the supplies and materials connected to this project.
Video Transcript
Hi everyone. I'm Cherry with Missouri Star Quilt Company and I am so glad you've joined me today. You know, we've been celebrating Christmas in July all month and I thought it would be fun to show you a quick, easy project. [music] So, this is the project. It's called the pillowcase gift bag, and it is very beginner friendly, super easy. In fact, if you've ever made our pillowcase pattern, then you will not have any trouble with this. Now, this pattern comes with three different sizes. And for the uh purpose of showing you how to make it, we're going to make the large. So, let me show you what you'll need. Three cuts of fabric is what it's going to take. You'll need a yard of fabric for the body of the pillowcase. You'll need an eighth of a yard for the casing and a third of a yard for the cuff. Now, we have used the fabric line Cozy Christmas by Anna Maria Perry for Northcot. You'll need some decorative trim or some ribbon to use as your drawstring. Plus, you'll need a safety pin. So, let's get started. The first thing you need to do is cut off your salvage, which I've already done, but you want to make sure that the width is 21 in. And once you've done that, then we're going to cut the the various pieces for the pillowcase. So, we're going to start with the body, and you're going to measure out 33 in, which I've already done. And then you're going to want to do the cuff, which is 9 in, and the casing, which is 2 and 1/2 in. Now, the casing needs to be 40 in. So, once you've cut your 2 and 1/2, you can measure and make sure that this is 20 in. Okay. We're going to sew the ends of our accent fabric, which is our casing. And what we're going to do is go to the sewing machine and we're going to fold in a quarter of an inch on each end and sew that down. We're going to turn it twice so that you don't have any raw edges showing. Okay, let's do the other end. Okay, now let's go over and let's iron this in half lengthwise. Okay. Now, to build the pillowcase, the first thing we're going to do is take the cuff fabric and we're going to lay this wrong side down. That is really long, isn't it? And then we're going to put our casing on. And you're going to match the raw edges together. Now, it is a little shorter than these other pieces. And you'll see why that needs to happen here in a little bit. So, you're going to have two inches on each end. And just make sure you're putting the raw edges together. Okay, for the body. Now, my fabric is directional, so I want to make sure I'm getting it in the right direction. This is going to go right side down. And you're going to match up your raw edges with the pieces you have already got going. Let's see. Okay. Next, we are going to take the other end of the body and we're going to just begin to roll this up. Doesn't have to be perfect. Once you see your cuff fabric, you're going to bring that around and we're going to pin all of these raw edges together. I think this is so clever. And you're going to see some magic happen here in just a minute. Next, what we're going to do is sew a quart of an inch along our raw edge. Okay. Make sure you back stitch at the beginning and the end. Okay, this is the magic. We're going to grab the rolled up body fabric and we're just going to begin to pull it out. This takes a little maneuvering. Okay, I think we're almost there. Okay. And we now have all of these pieces sewn together. And all of our raw edges are encased, so you won't see any of those. I'm going to press this cuff just to make sure it's good and flat. Okay. Now, if you have um an uneven edge at the end, I'm just going to trim that so that all of the edges are even. Okay. Now, there are a couple of ways that you can put the edges together. I'm going to use the French seam method. And the first thing I'm going to do is I'm going to fold this in half, wrong sides together. And you'll have this length to sew. And then down here, the bottom You want to make sure that your cuffs cuff seams are even. So, I'm going to put a pin there. And I'm going to sew a quarter of an inch down the long side first. You want to make sure the top is even as well. Be sure and back stitch. Okay, I want to check the raw edges and see if there are any long strings that need to be cut off uh before we turn this inside out. I don't want any of these strings coming through the the seam when we sew the next part. Okay. All right, I may just trim this bottom. Just trim those little hairs off. [snorts] Okay, that'd be good. Now, we're going to turn this inside out. Actually, I'm going to just snip off the very end of the corner, being careful not to cut my my sewing. And that'll just make a a prettier corner. It's good to do just a really quick press. Okay, now we are going to [snorts] sew along the long edge again and the bottom, but we're going to use a half an inch. Okay. Okay, now we're going to flip this inside out again. [snorts] I love this fabric. This is so cute. And we have our bag made. Isn't that fun? Now, you'll see why we needed to have um a little bit of space at the end because we're going to be threading our ribbon through the casing right there. I decided to use this ribbon and I don't really have a measurement. I just, you know, kind of eyeball it. And I'm going to take the safety pin, put that on the end, and I'm just going to start threading it through the casing. And I'll meet you back here once I have the ribbon all the way through. Okay, I've got the ribbon through the casing and we are done. All you need is a gift to put inside. Draw up your drawstring, tie a bow and you are good to go. I hope you've enjoyed this project and thank you for joining me in celebrating Christmas in July from the Missouri Star Quilt Company. See you.


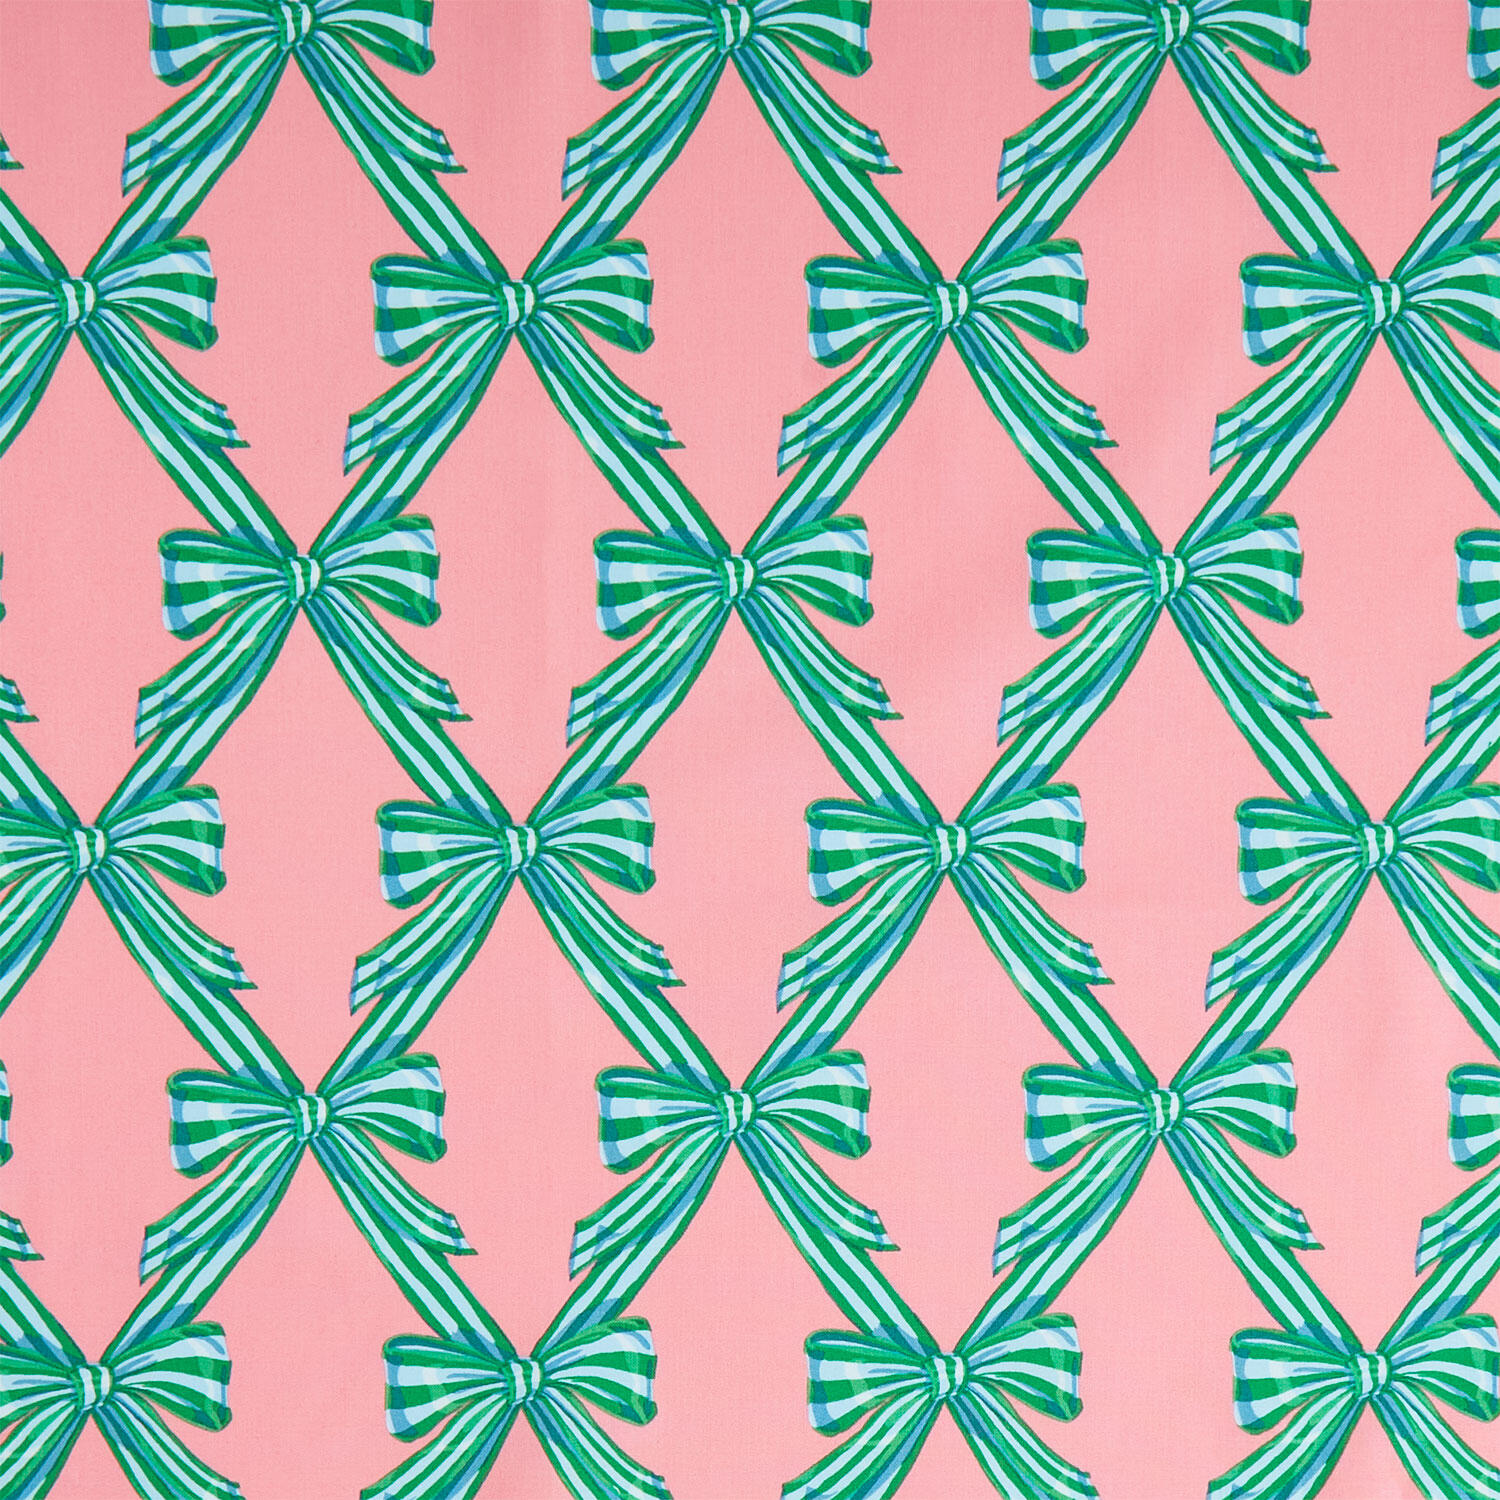 Cozy Christmas - Wrapped Beachy Yardage$13.20Shop →
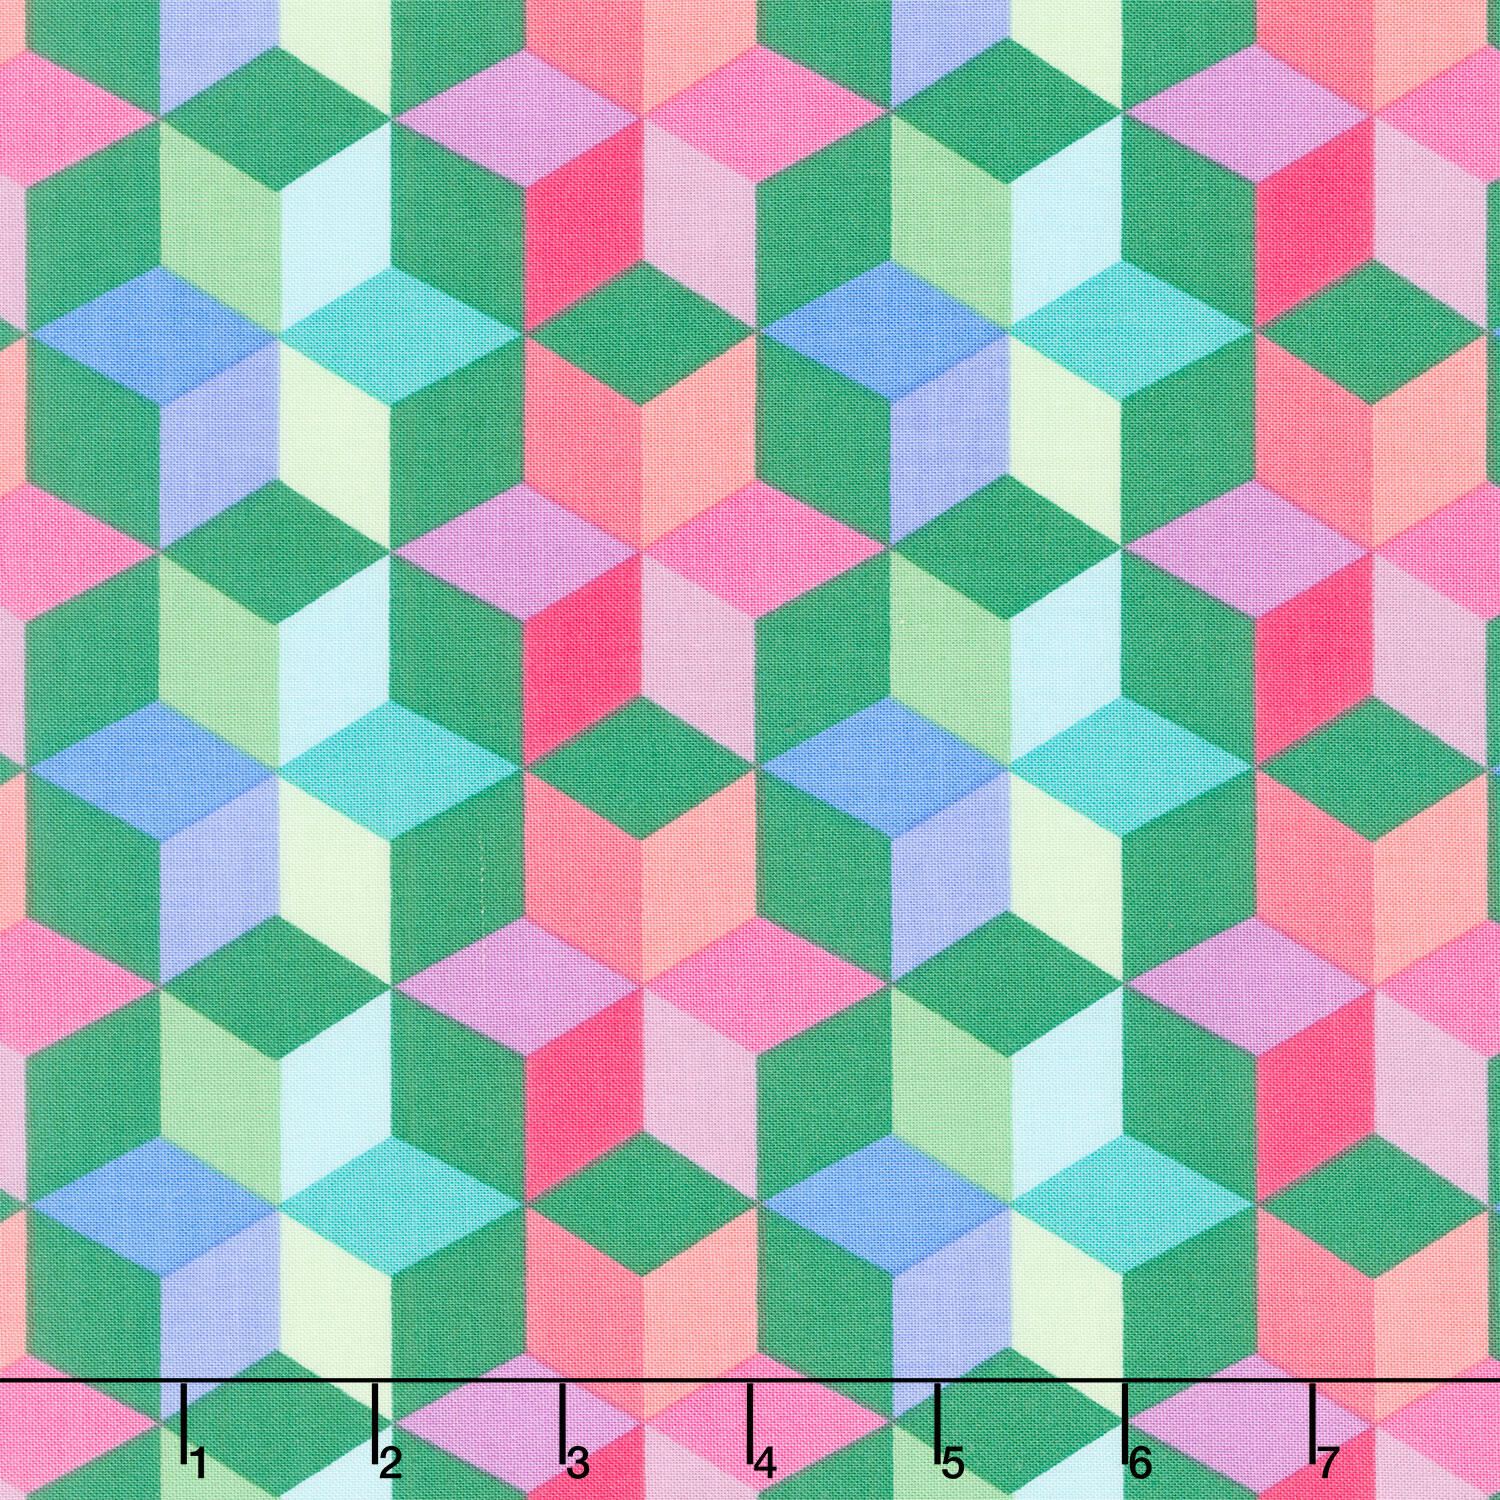 Cozy Christmas - Starlight Cookie Yardage$13.20Shop →
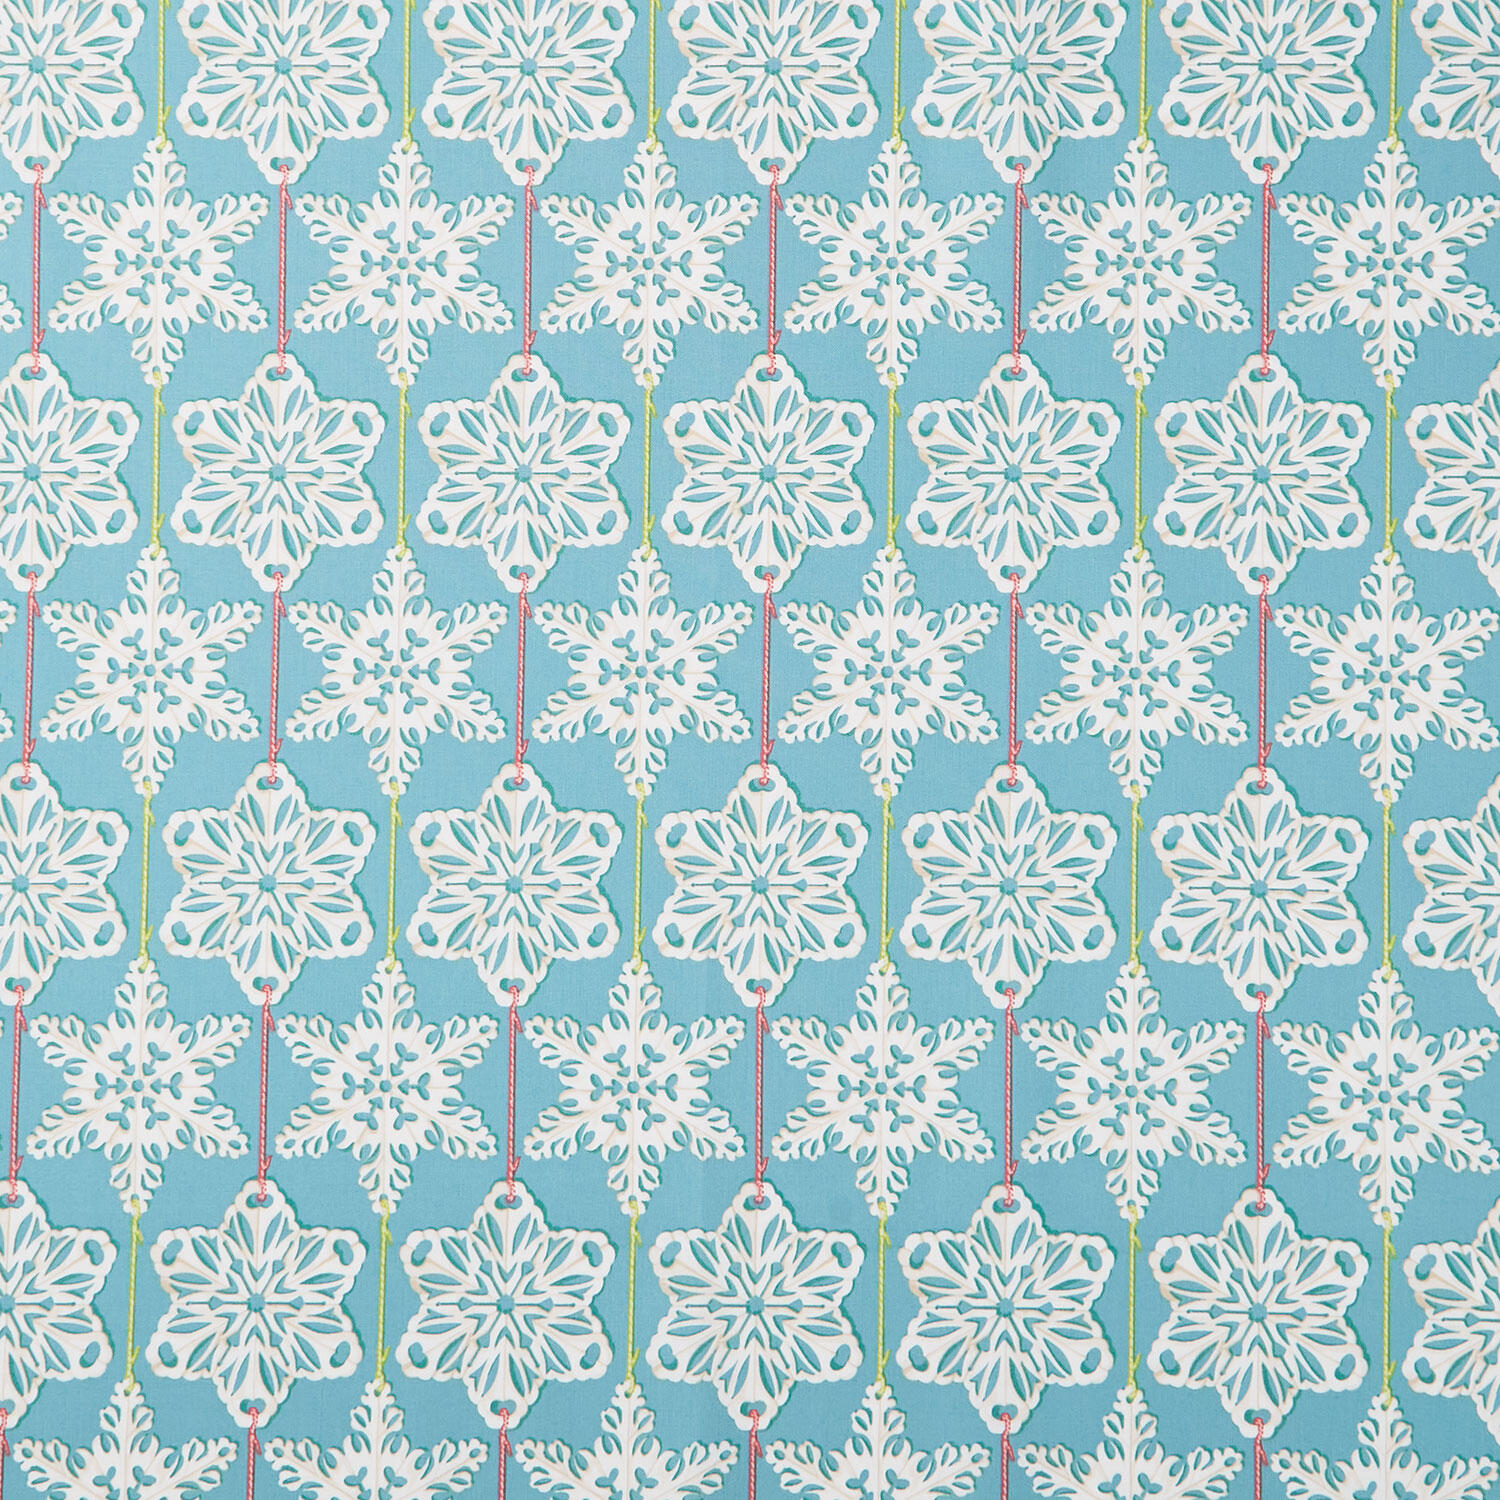 Cozy Christmas - Paperflakes Country Yardage$13.20Shop →
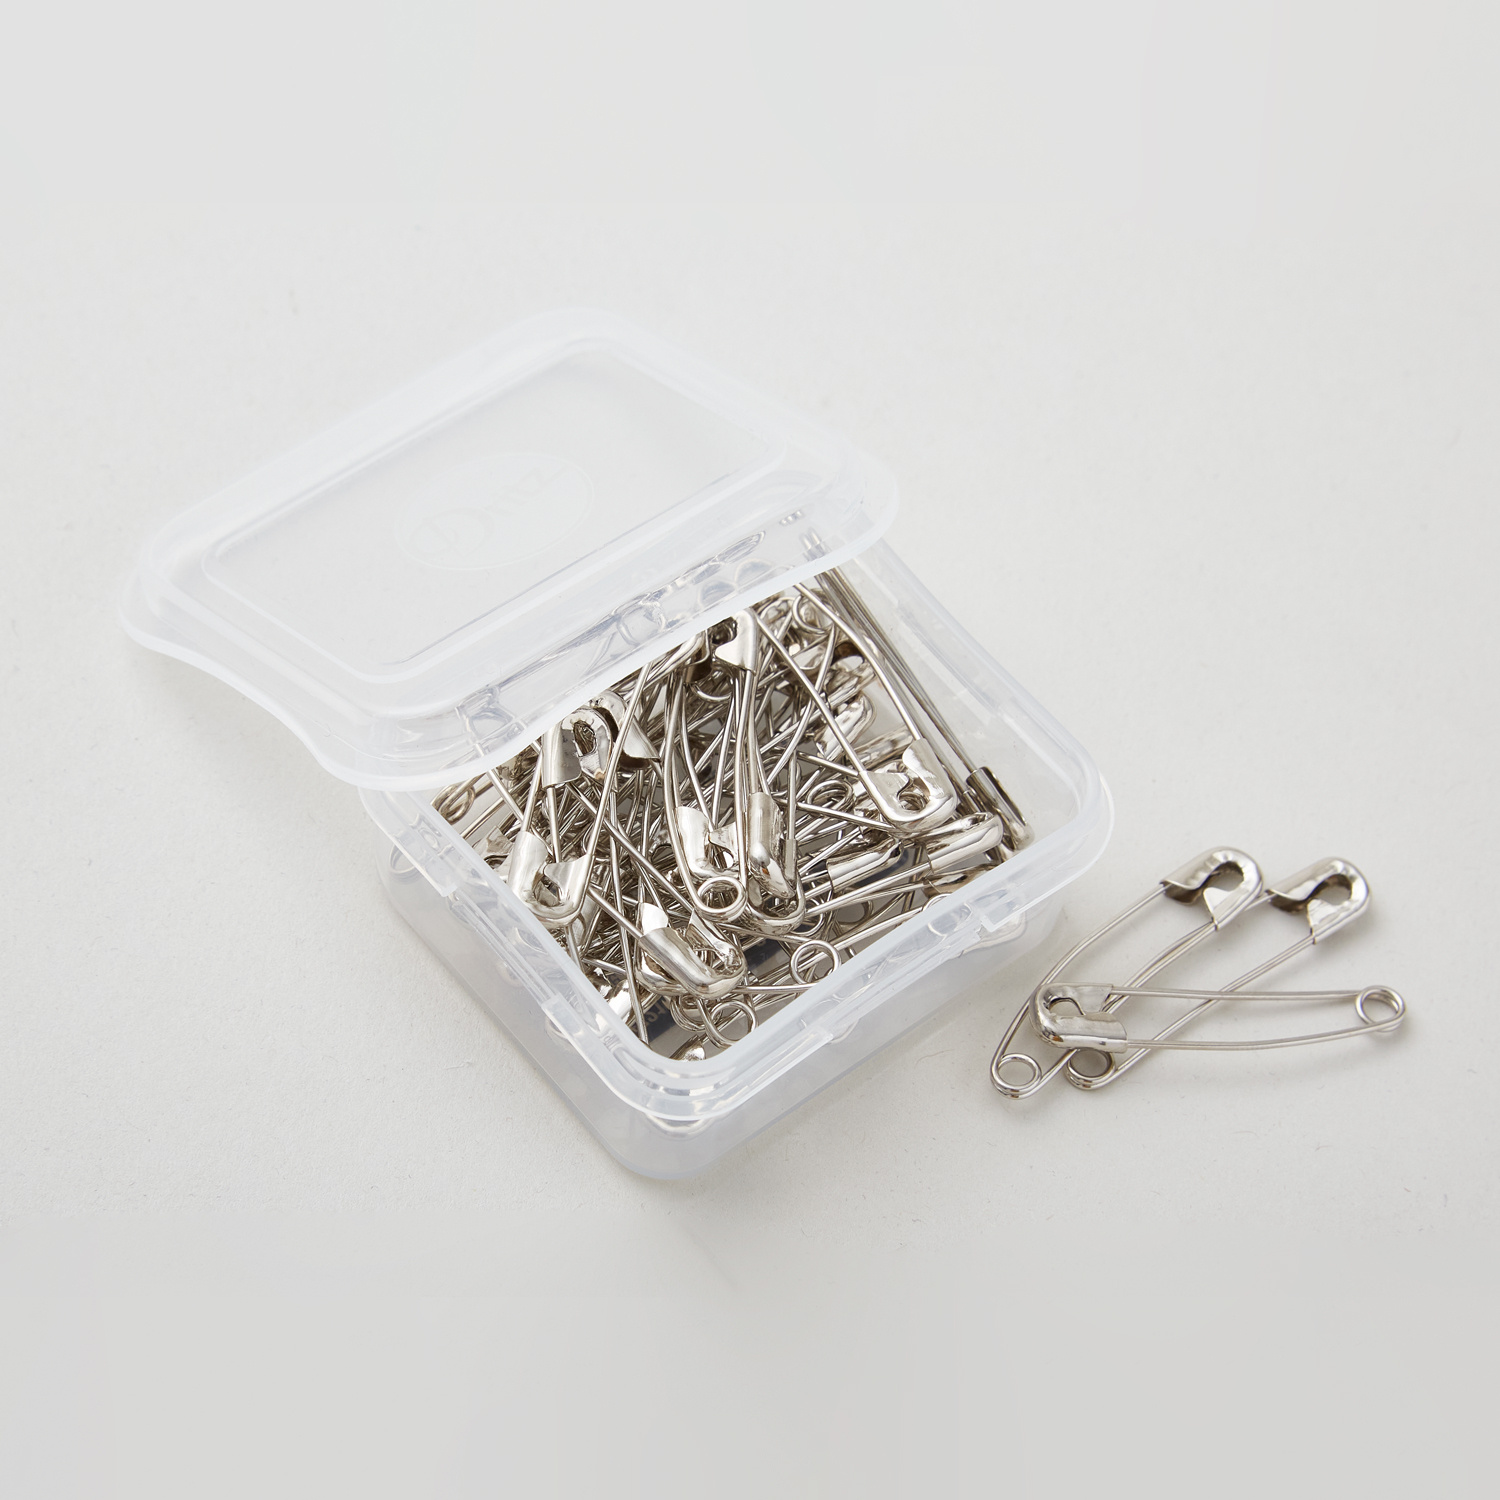 Curved Safety Pins 1 1/2" Size 2 (40ct)$4.25Shop →
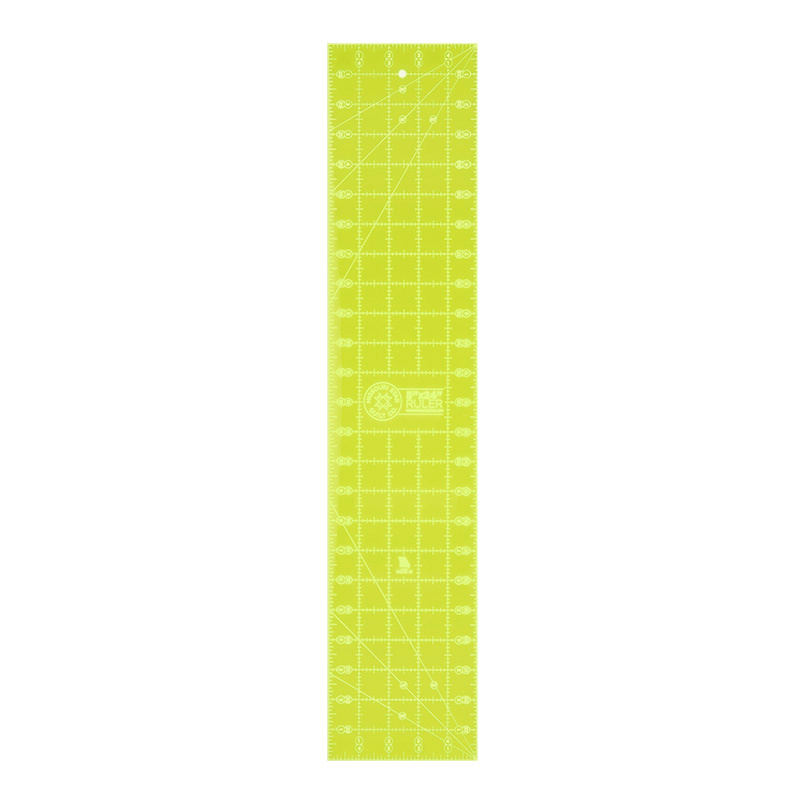 Missouri Star Ruler$29.95Shop →
 Missouri Star + Oliso TG1600 ProPlus Iron$209.95Shop →
 Missouri Star 50 WT Cotton Thread White$7.95Shop →
 Missouri Star 45mm Rotary Cutter - Olga$19.95Shop →
 Missouri Star Seam Ripper - Frida$9.95Shop →
 Missouri Star 8" Everyday Scissors - Amelia$19.95Shop →
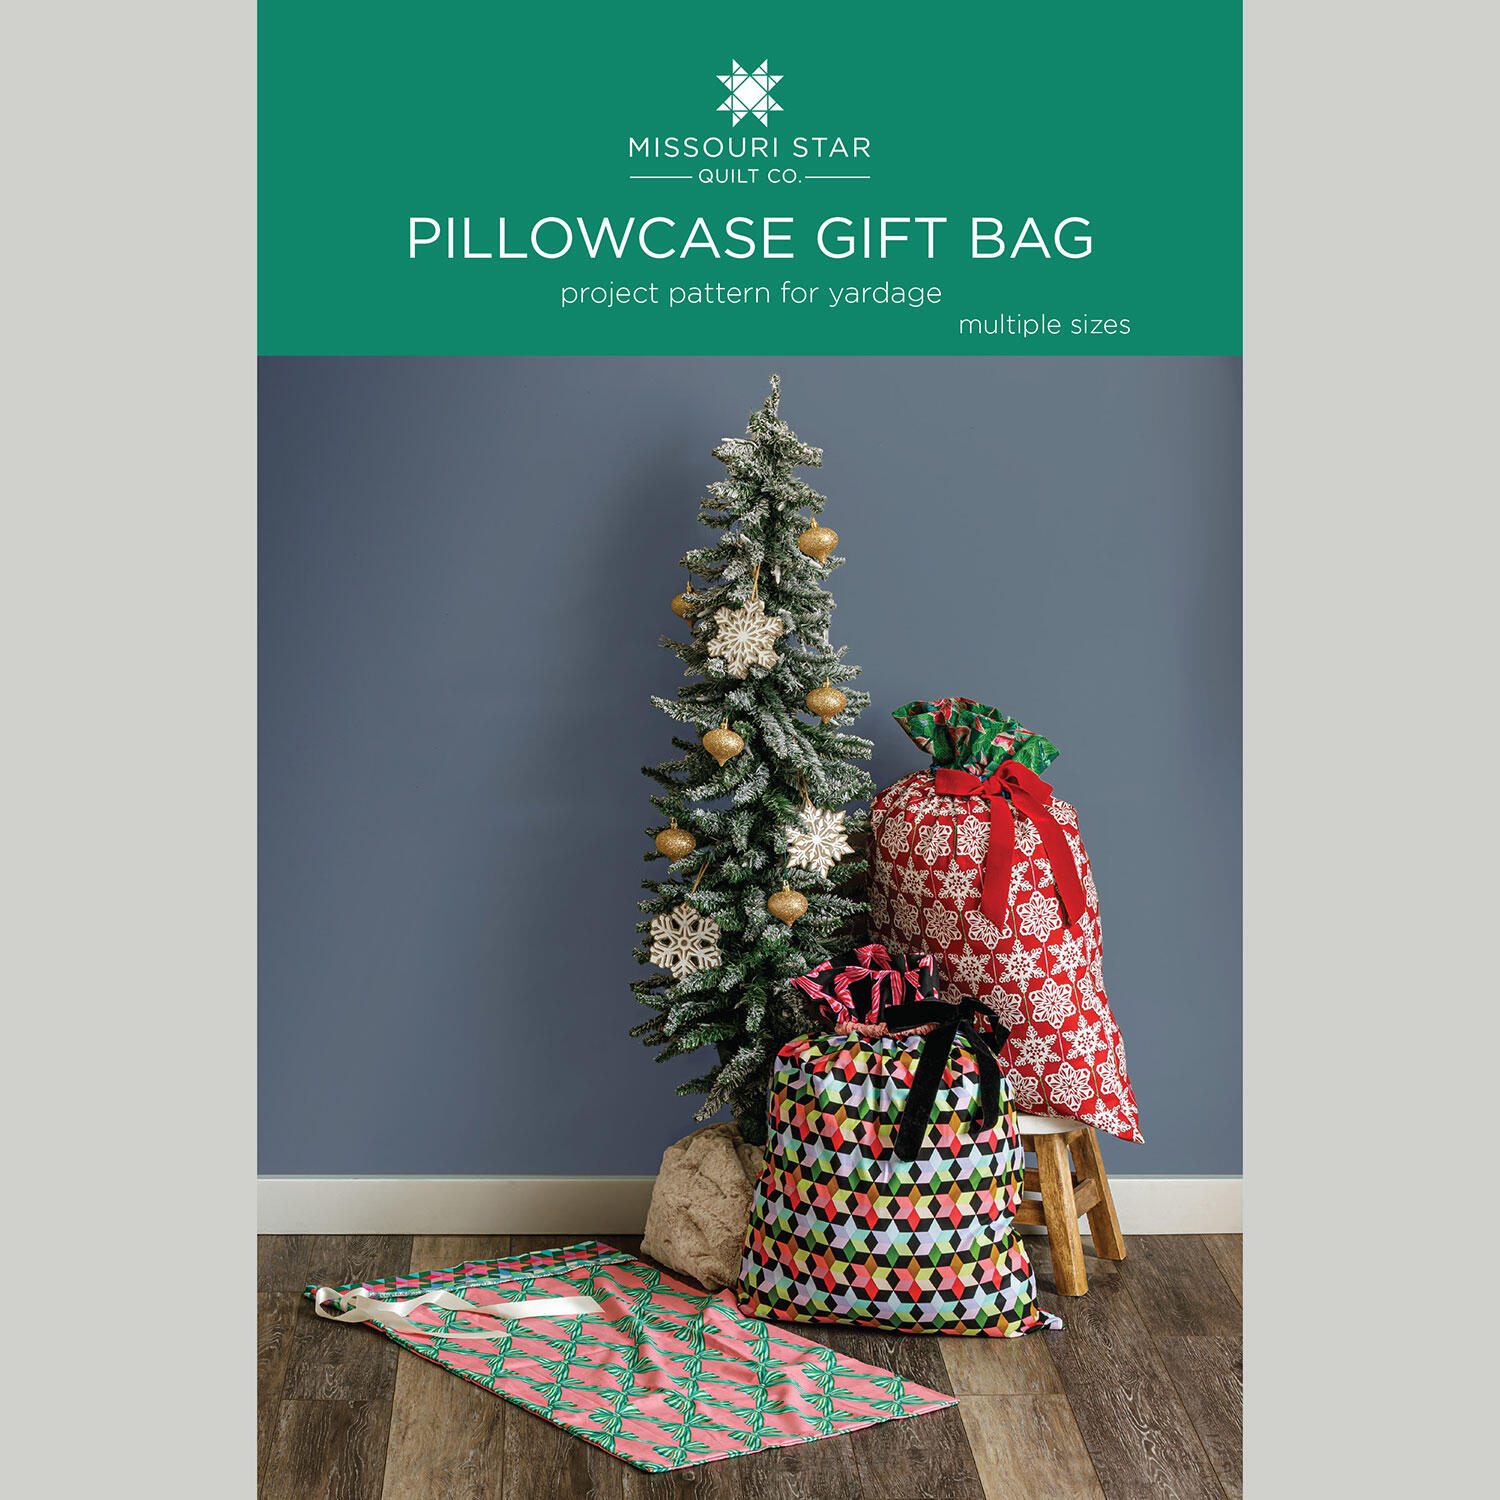 Pillowcase Gift Bag Pattern by Missouri Star$8.50Shop →
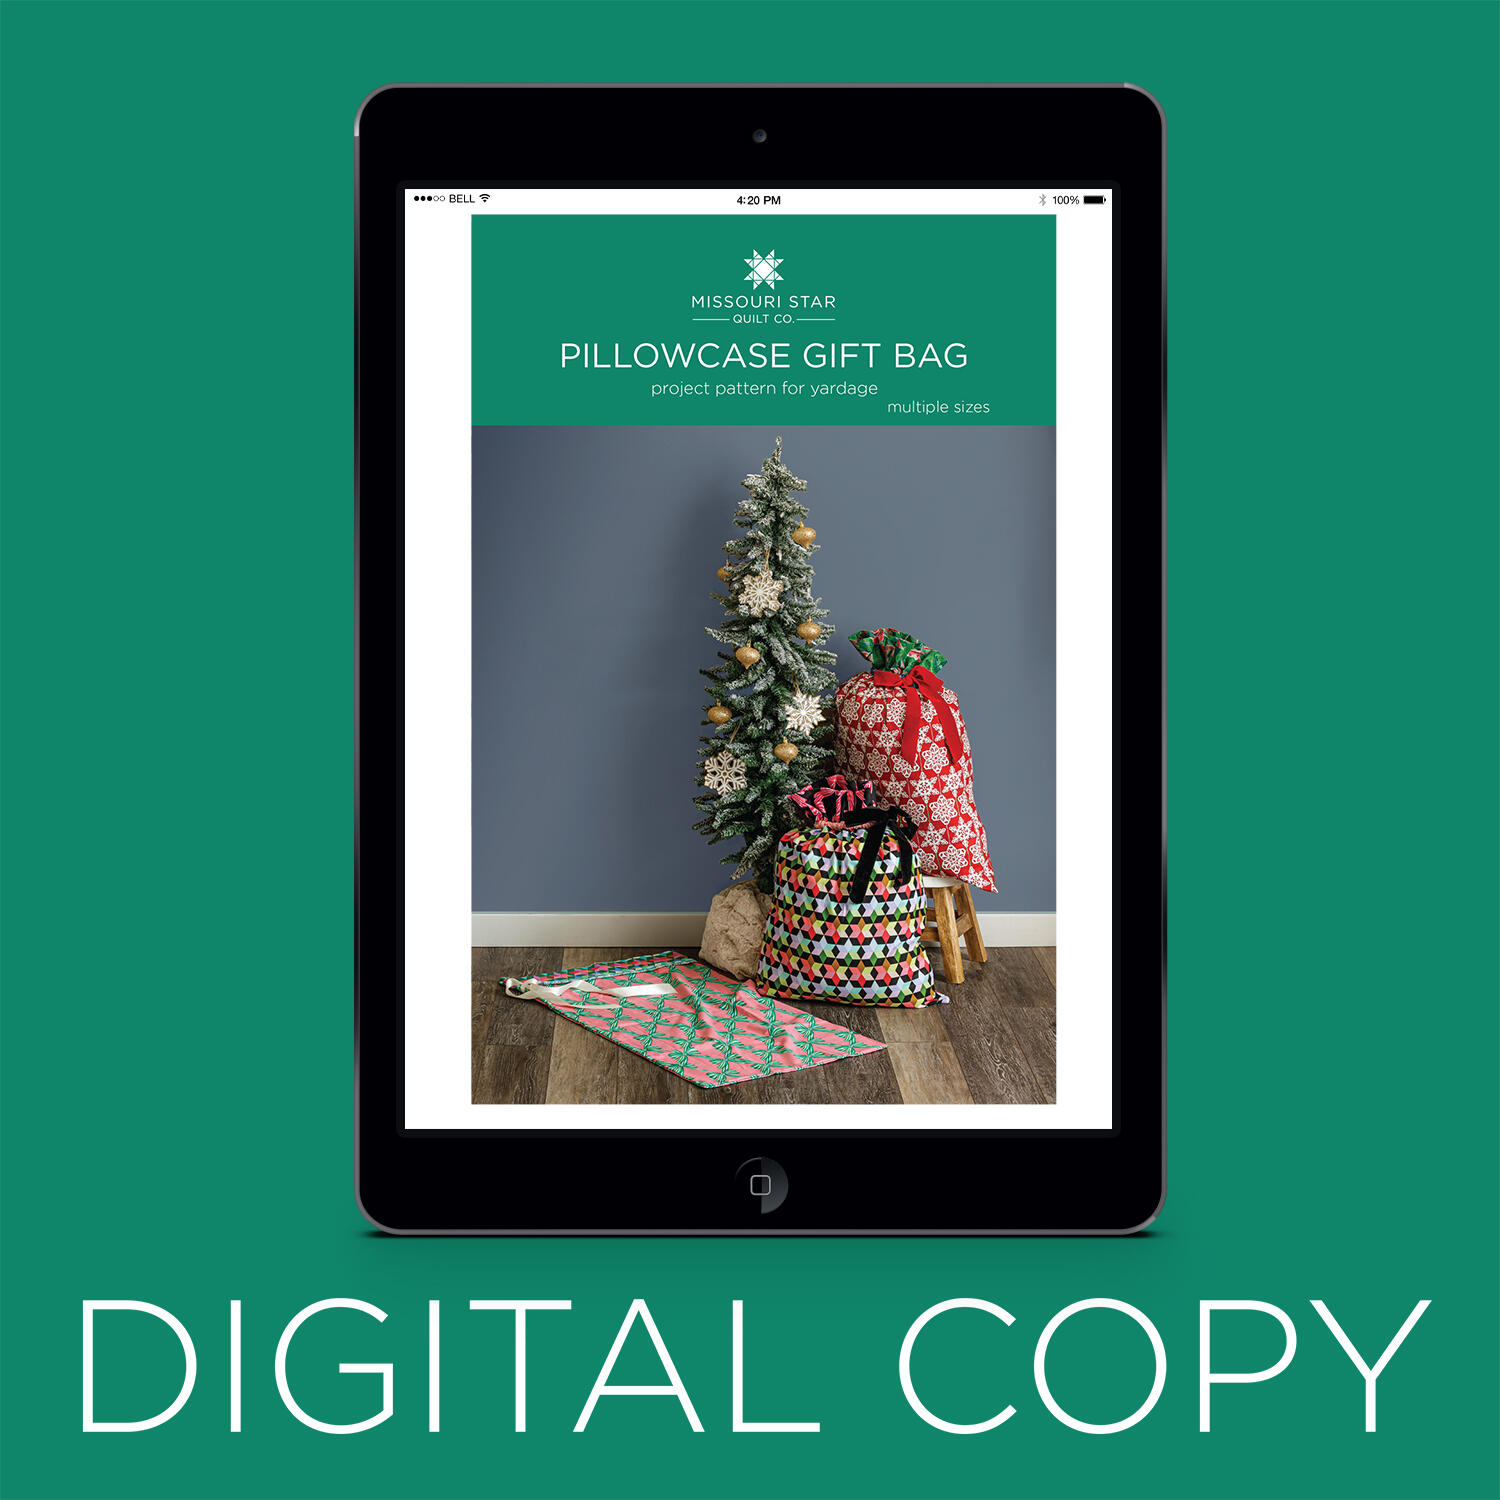 Digital Download - Pillowcase Gift Bag Pattern by Missouri Star$6.95Shop →


