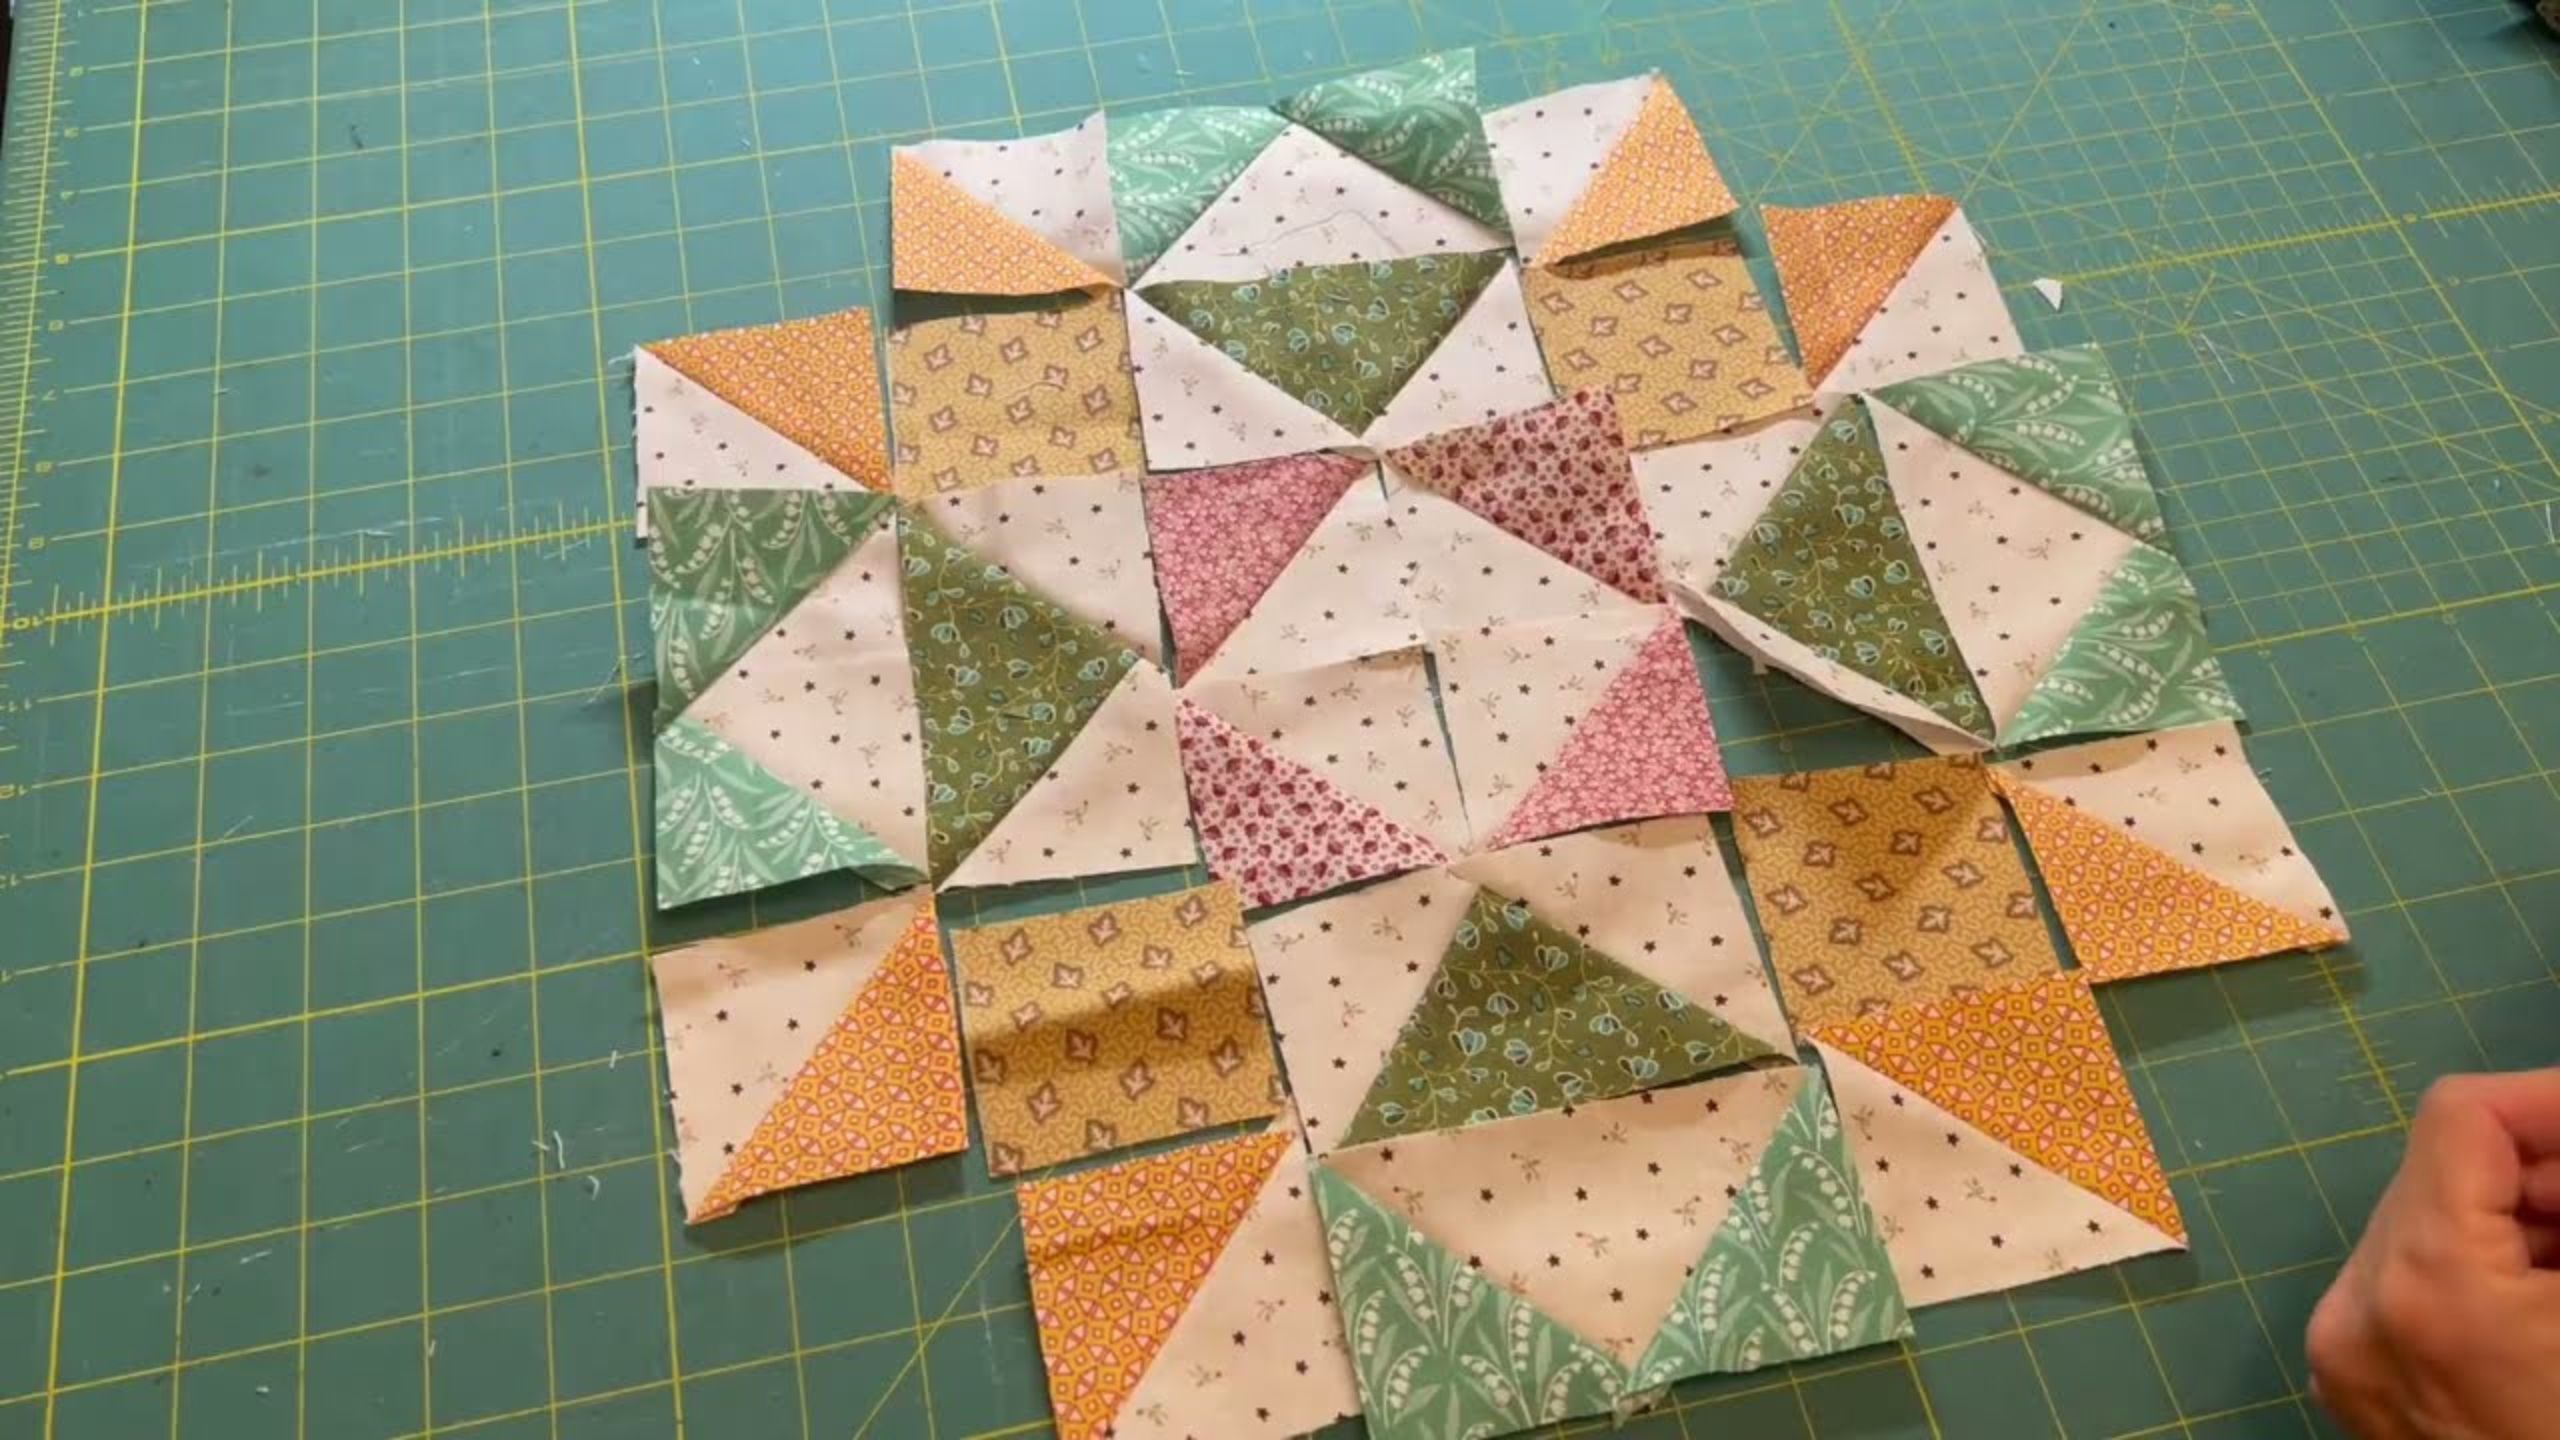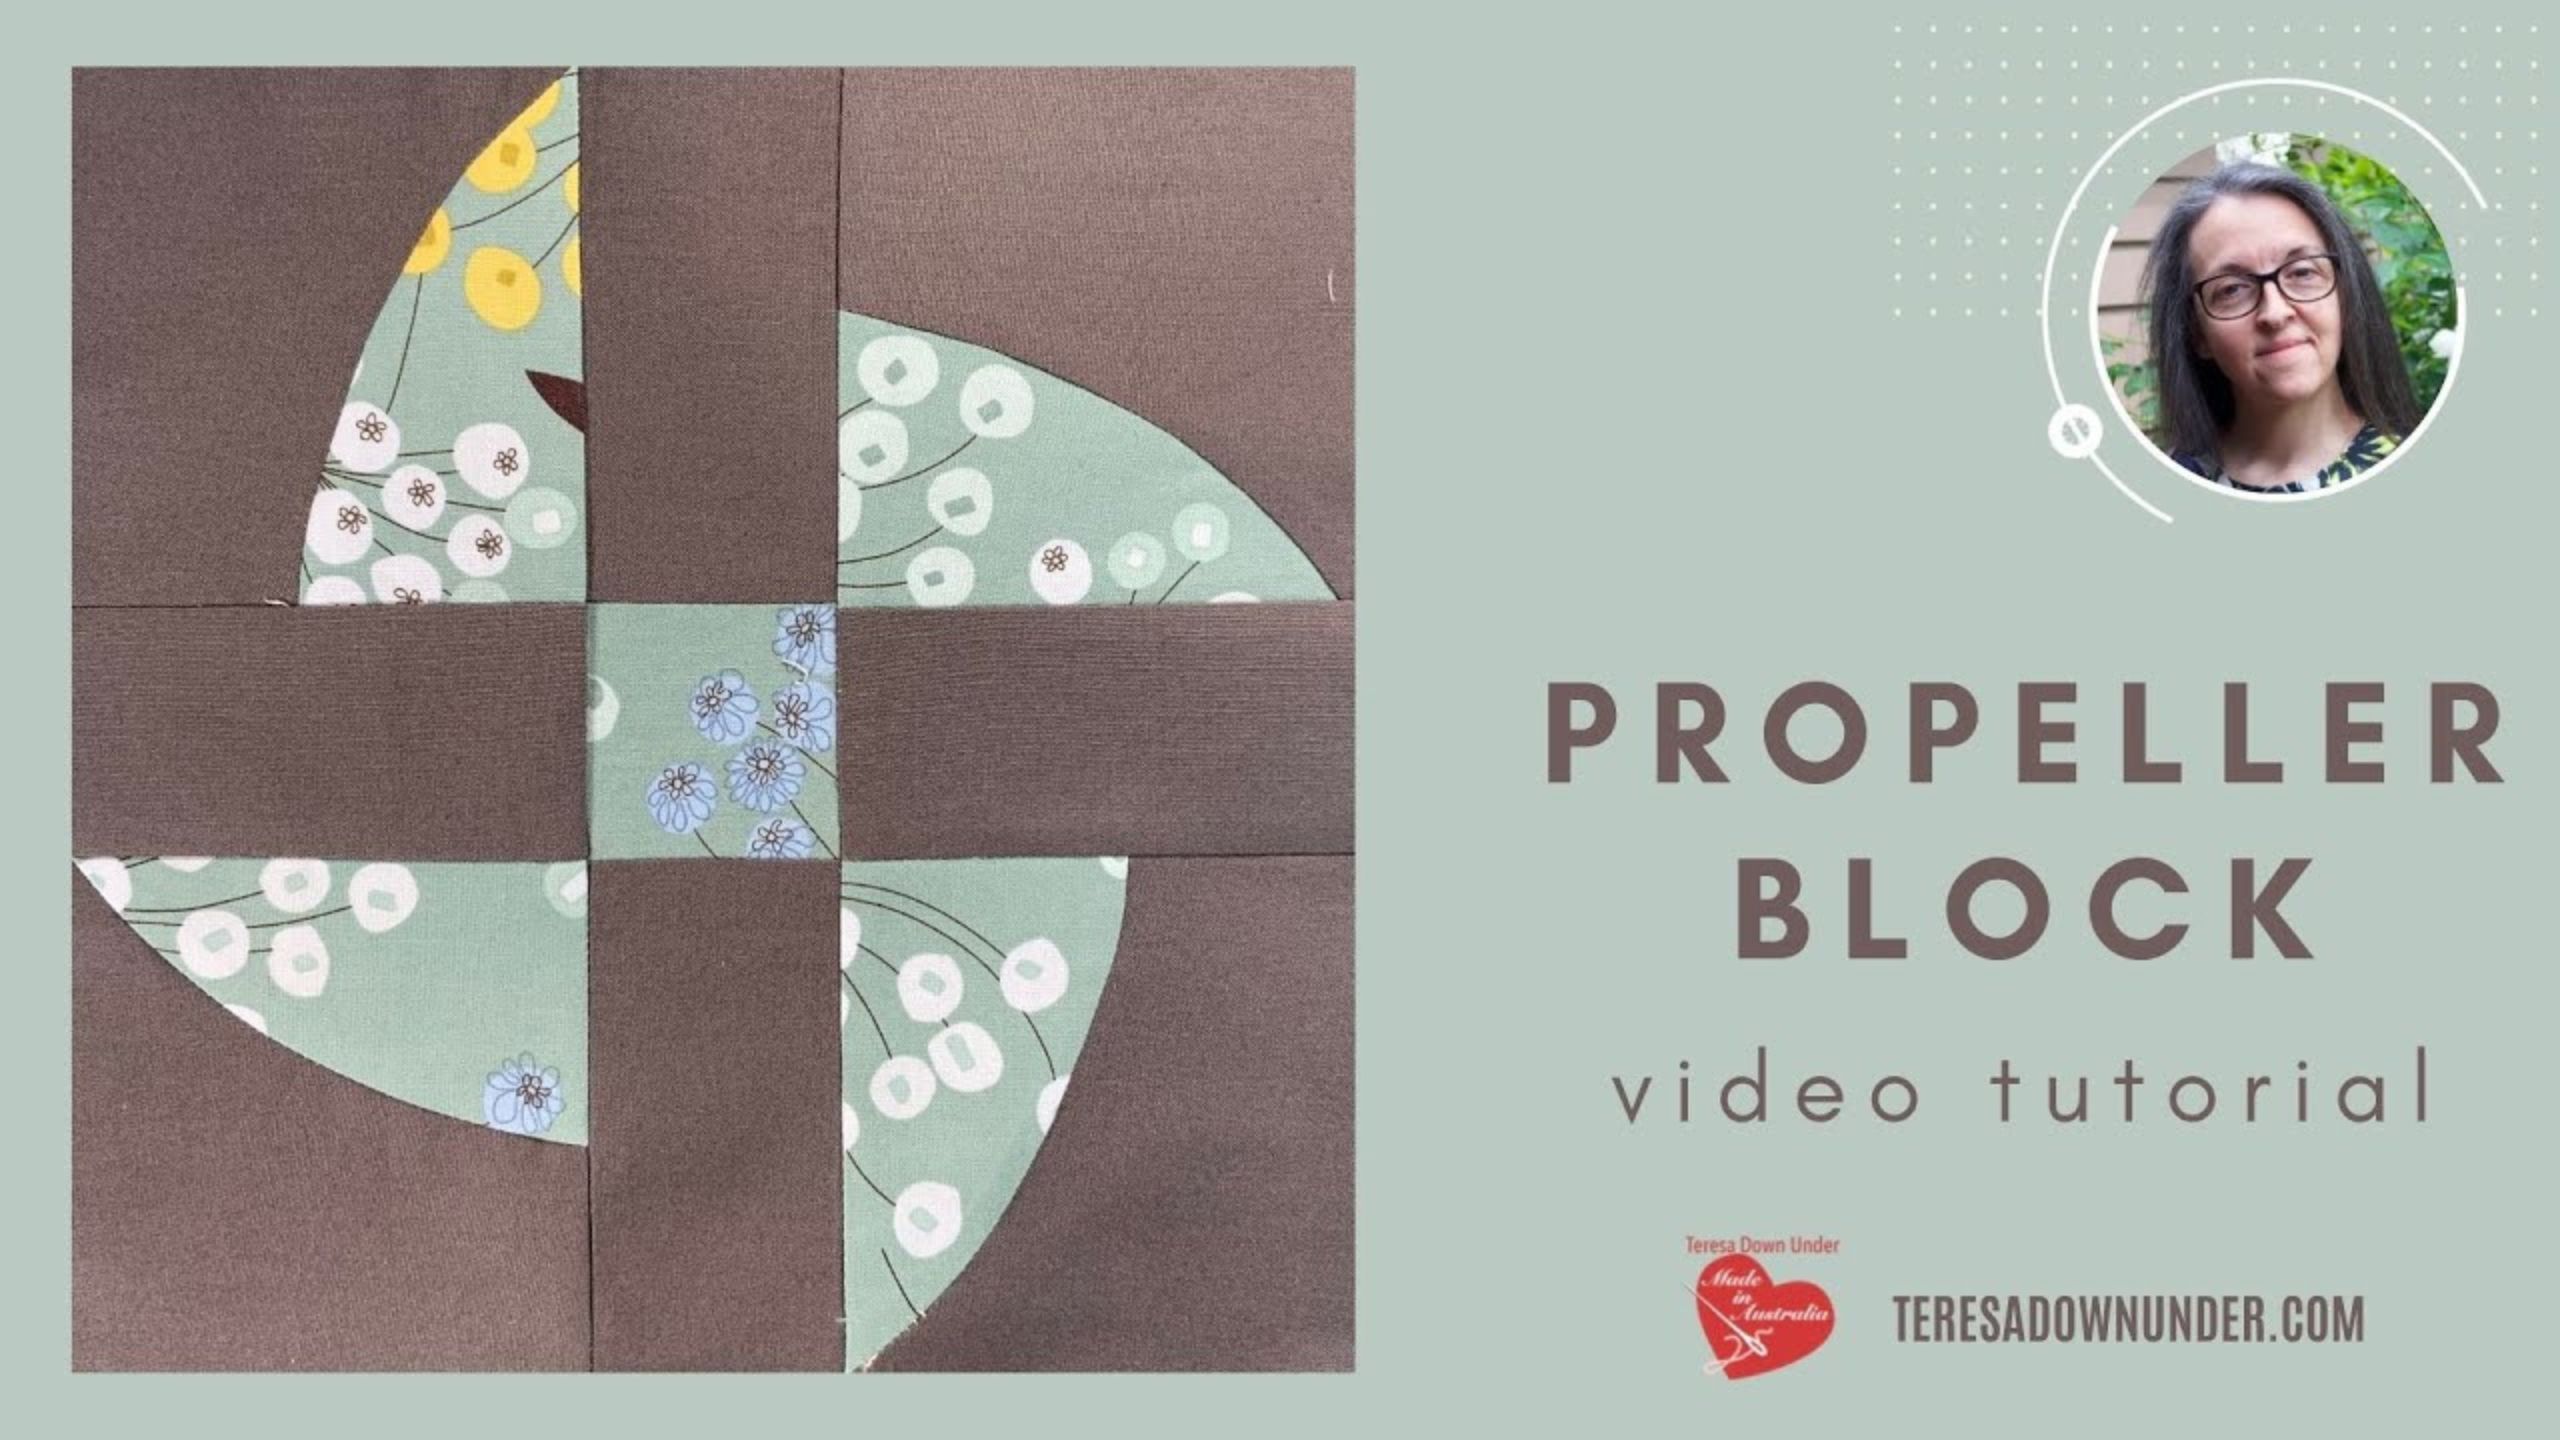
Propeller quilt block video tutorial with Teresa Down Under
 Teresa Mairal Barreu
- Beginner
- Quilt size 10" × 10"
Join Teresa from Teresa Down Under as she shares her tips and tricks for creating curves. The more open the curve, the easier it is to sew! And the propeller quilt block is even easier when you have a template!
Instructor
Teresa Mairal Barreu
Teresa loves spending her spare time sewing and designing. She is the author of “Turnabout Patchwork. Simple quilts with a twist,” a book all about playing with blocks – making a block, slicing it up, and turning or repositioning the pieces to make a completely different block. She shares several new quilt block tutorials each week on her YouTube channel and blog.
Shop this tutorial

Common Questions
What is covered in Propeller quilt block video tutorial with Teresa Down Under?
Join Teresa from Teresa Down Under as she shares her tips and tricks for creating curves. The more open the curve, the easier it is to sew! And the propeller quilt block is even easier when you have a template!
How long is the tutorial video?
The tutorial video is 00:02:52.
Is a transcript available?
Yes. A written transcript is available on the tutorial page.
Video Transcript
Use the right tools: It's important to have the right tools for sewing curves, including a rotary cutter, quilting ruler, and fabric marking tools. Using a rotary cutter and quilting ruler can help you achieve precise cuts, and fabric marking tools can help you mark your fabric accurately for sewing.
Pin and mark your fabric: Pin your fabric pieces together at regular intervals, and mark the seam line using fabric marking tools. This will help you sew accurate curves and prevent the fabric from shifting during sewing.
Sew slowly and carefully: Sewing curves requires a bit more attention than sewing straight lines. Sew slowly and carefully, pivoting the fabric as needed to maintain the curve.
Use a smaller stitch length: Using a smaller stitch length can help you sew more accurately and prevent the fabric from stretching or distorting during sewing.
Press as you go: Press your seams as you sew to help them lay flat and reduce bulk. Use a pressing tool, such as a seam roller or tailor's clapper, to help set the seam.
Trim and grade your seams: Once you've sewn the curve, trim the excess fabric close to the seam allowance and grade the seam by trimming one side of the seam allowance to reduce bulk.
Practice, practice, practice: Like any new skill, sewing curves takes practice. Start with simple curves and work your way up to more complex ones as you gain confidence.
By following these tips and practicing regularly, you'll soon be sewing curves with ease and confidence.