Skip to content

Free quilting video tutorials from Missouri Star

Quilting Tutorials
Quilted Witch's Hat

Quilted Witch's Hat

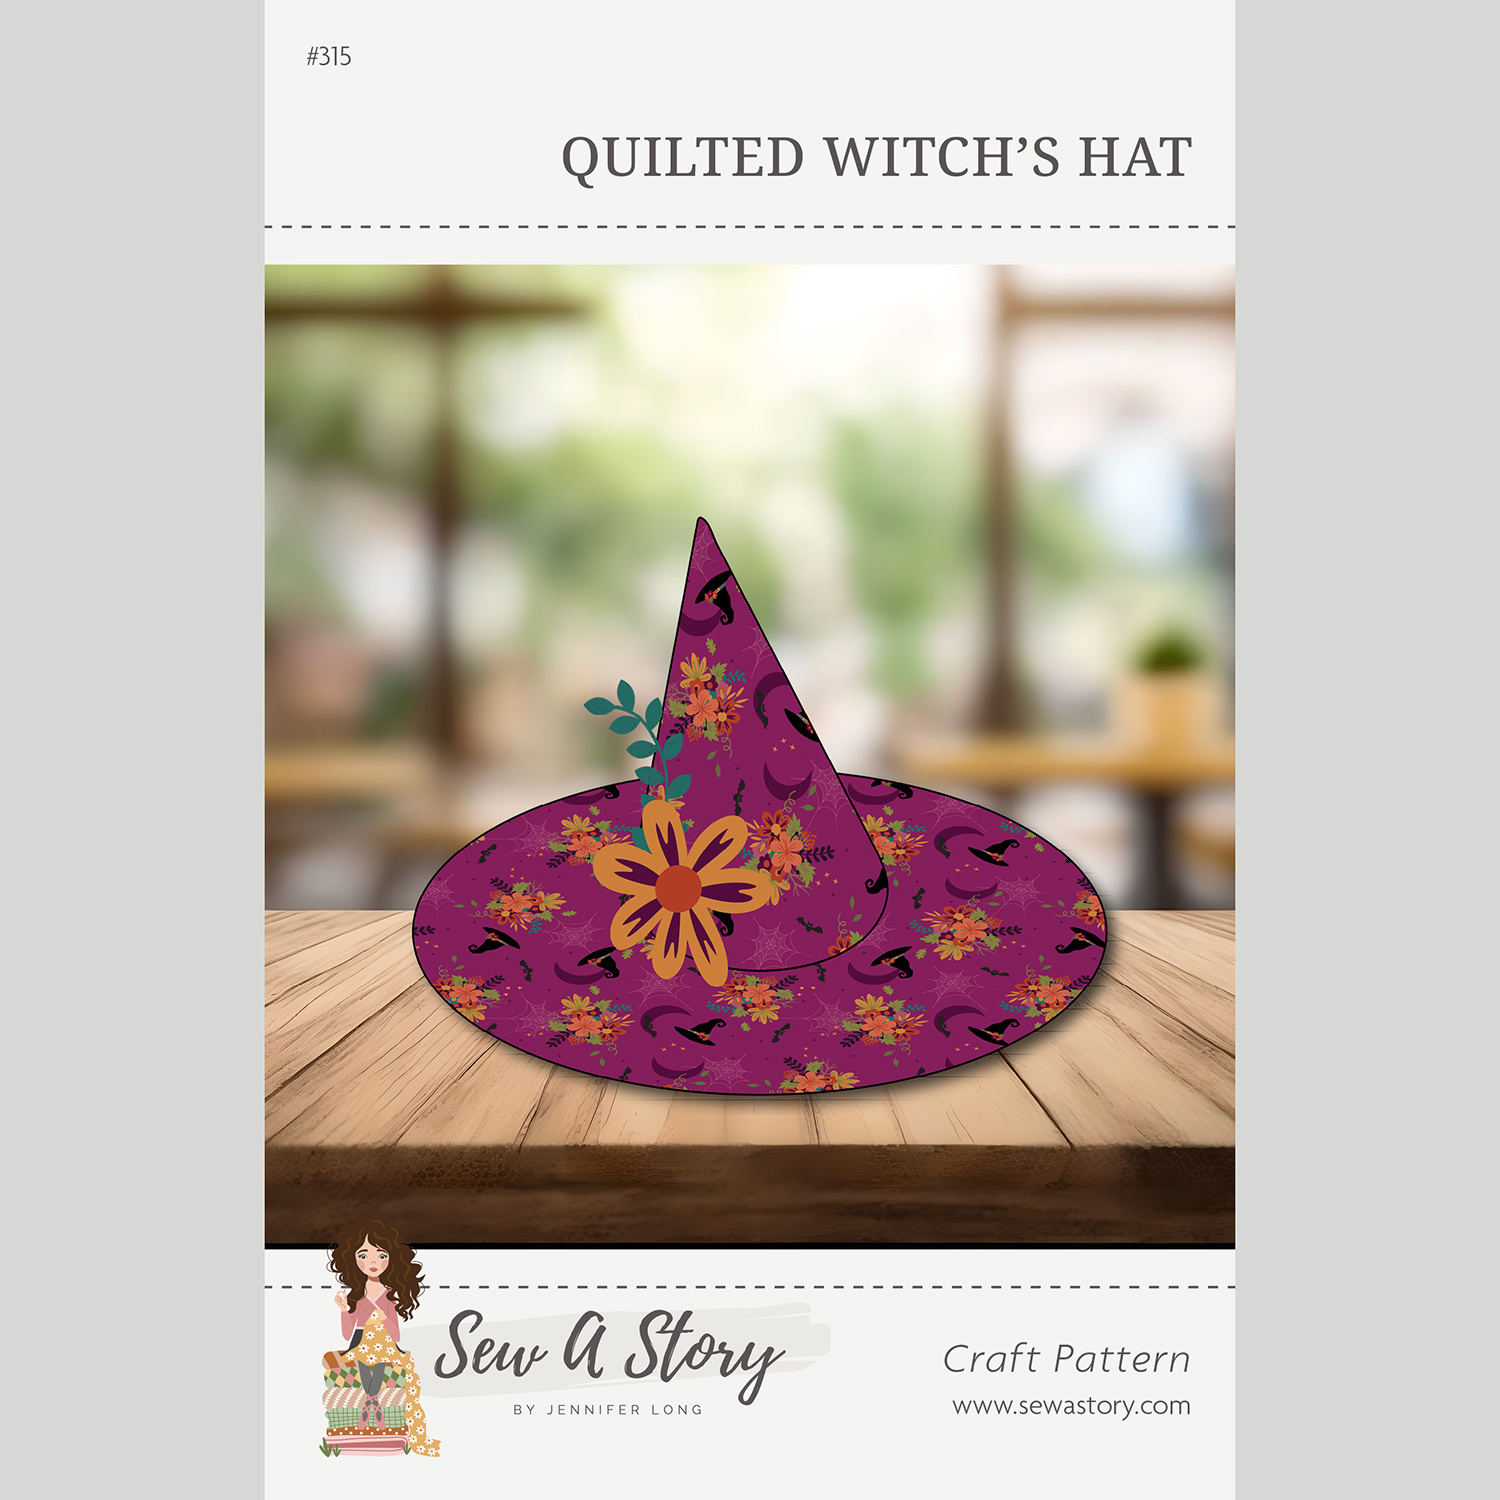
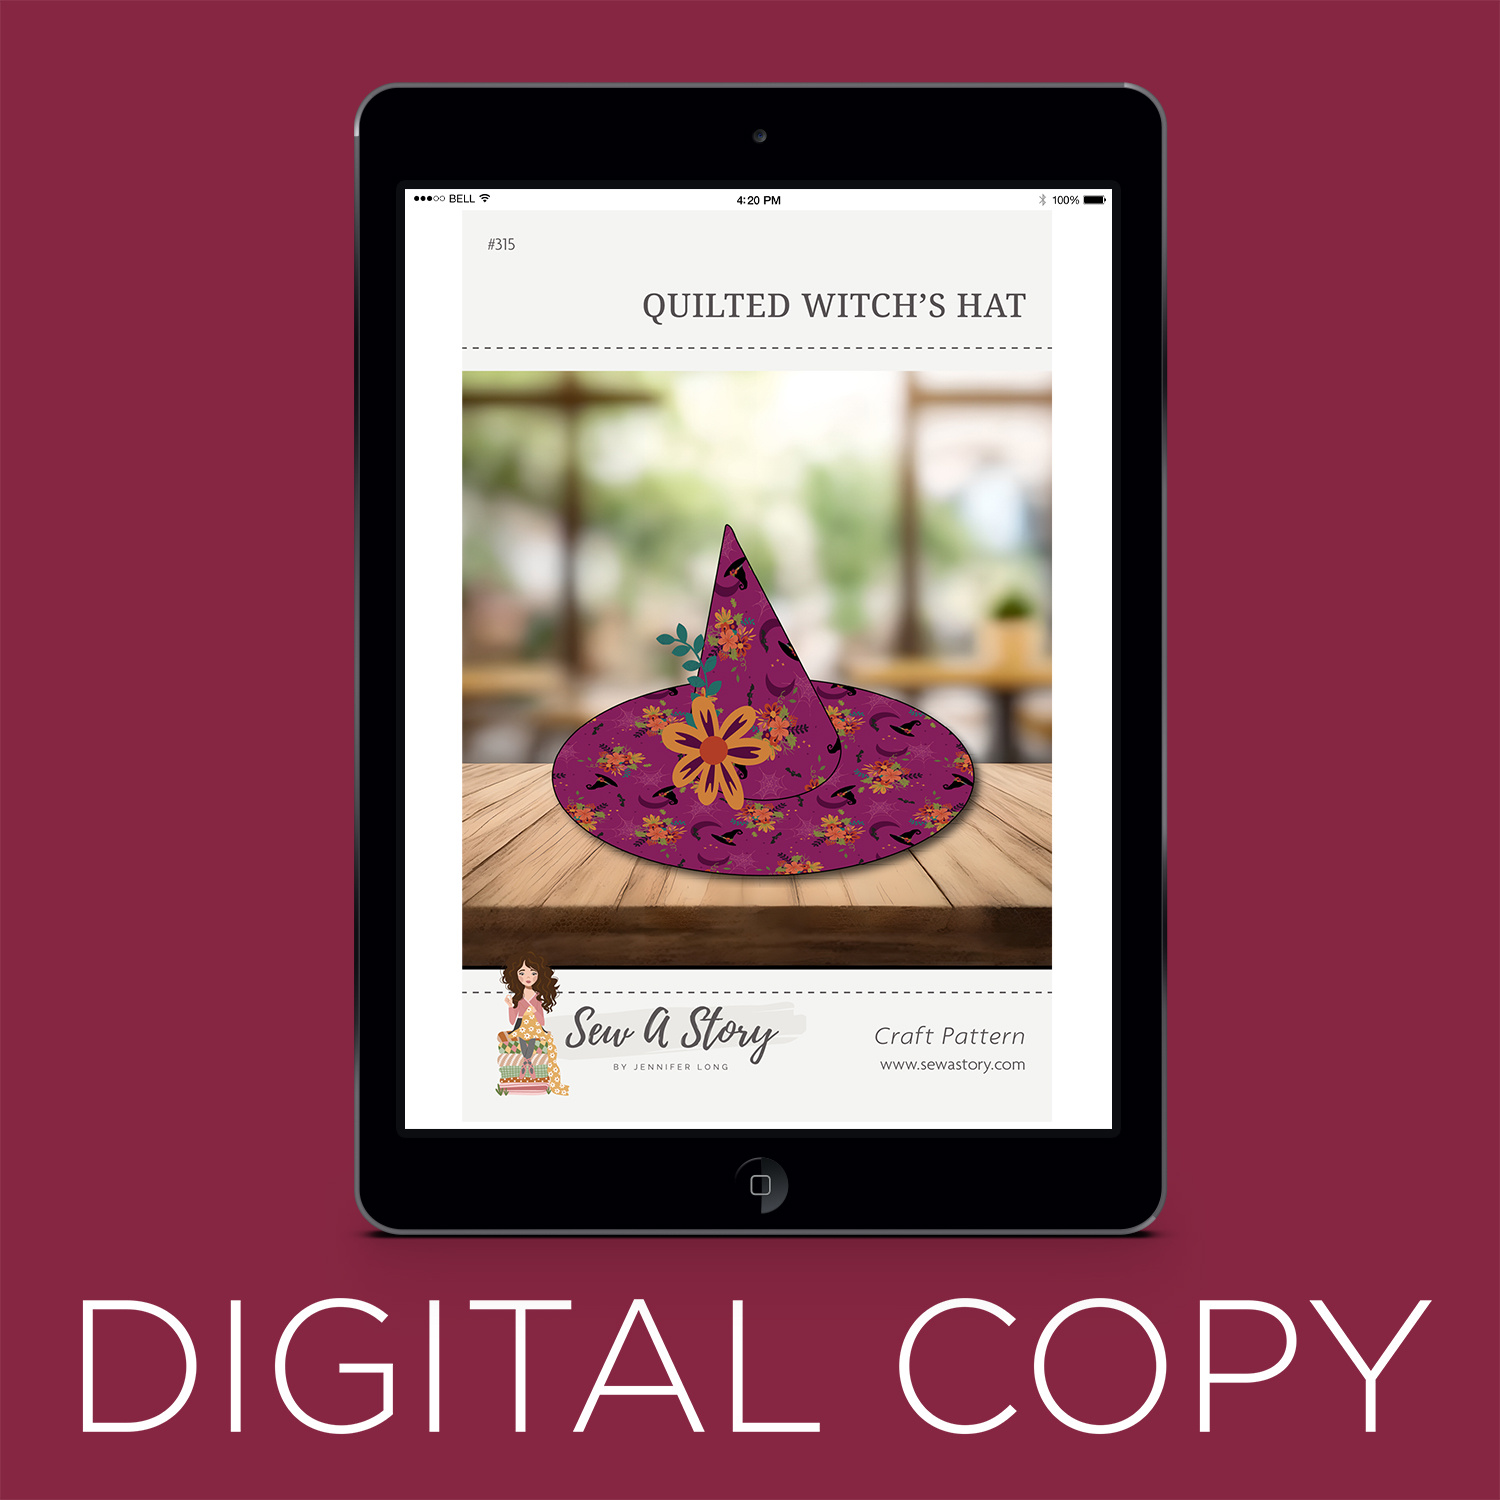
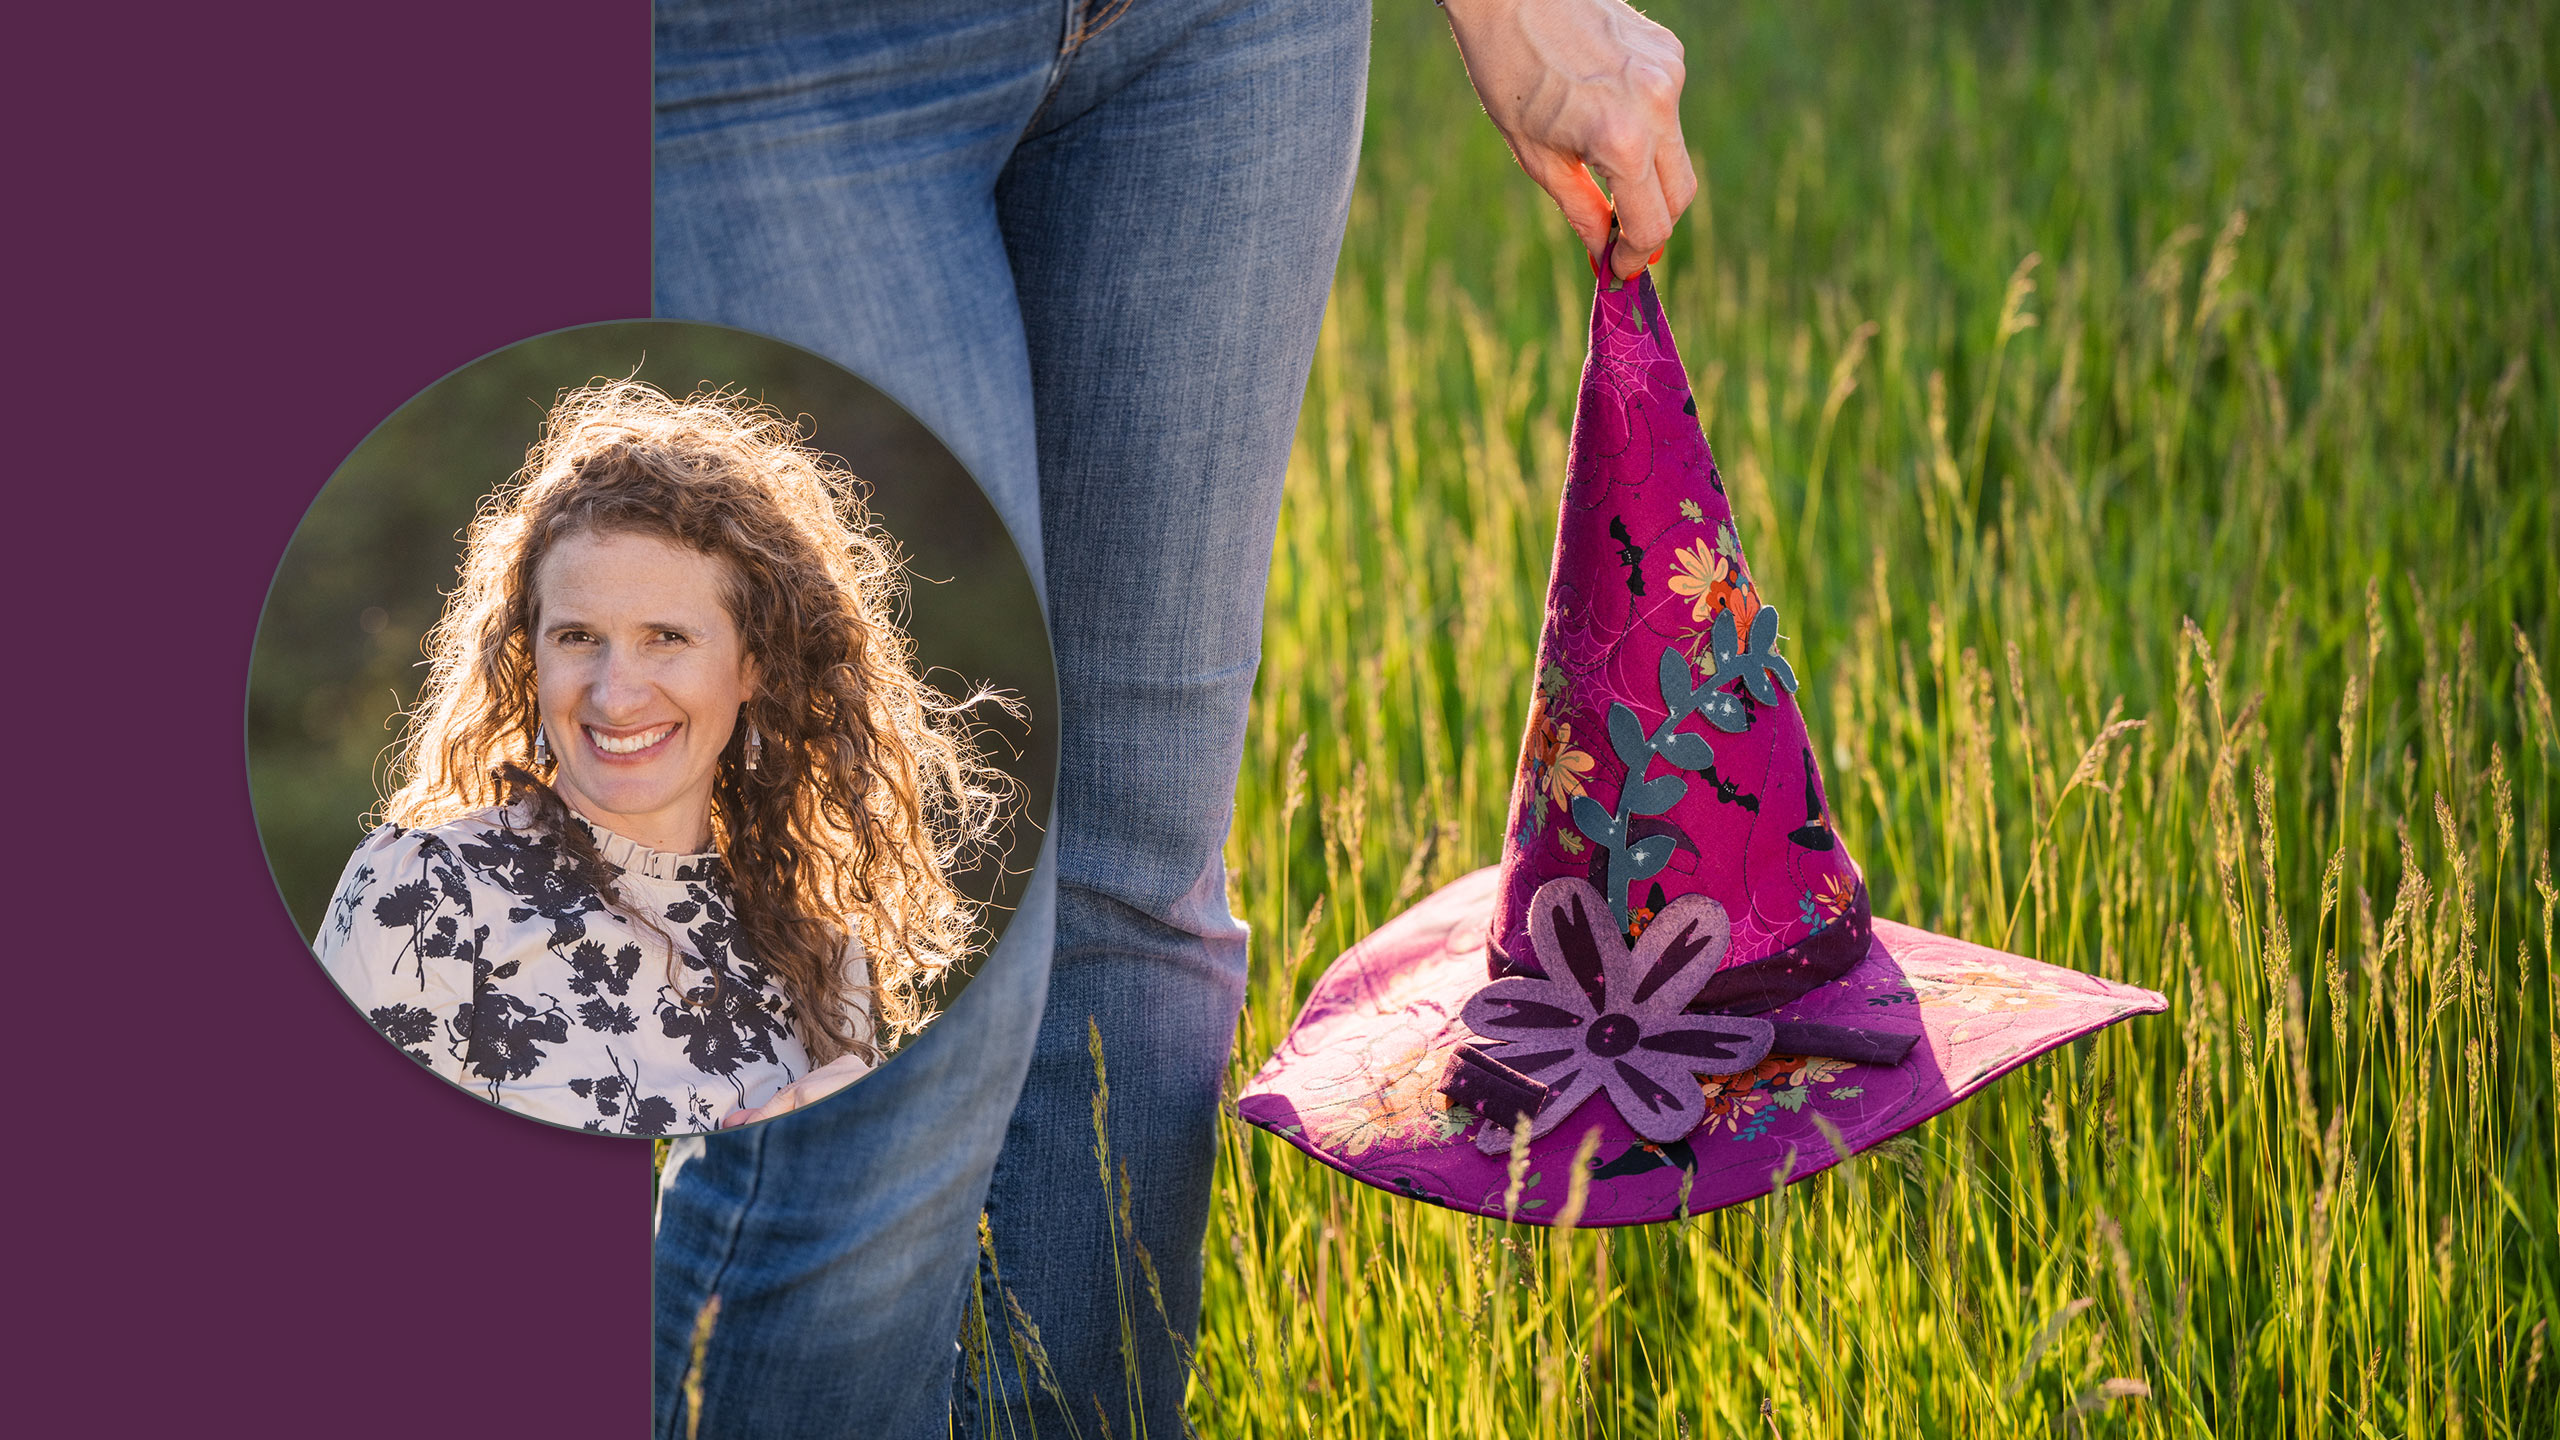
Hats off to Halloween! Make a quilted witch’s hat for yourself or a child! Jennifer Long of Sew a Story uses adorable fabrics from her Little Witch collection for Riley Blake to make an easy hat. Embellish it with flowers, ribbons, or buttons to make it even more fun!
Instructor

Jennifer Long

Meet Jennifer Long, a Riley Blake Designs fabric designer, quilt & doll pattern writer, machine embroidery digitizer, and online educator. Her imaginative fabrics and patterns are sure to inspire you!

Common Questions

What is covered in Quilted Witch's Hat?

Hats off to Halloween! Make a quilted witch’s hat for yourself or a child! Jennifer Long of Sew a Story uses adorable fabrics from her Little Witch collection for Riley Blake to make an easy hat. Embellish it with flowers, ribbons, or buttons to make it even more fun!

How long is the tutorial video?

The tutorial video is 00:38:09.

Are supplies listed for this tutorial?

Yes. The tutorial page includes the supplies and materials connected to this project.

Video Transcript

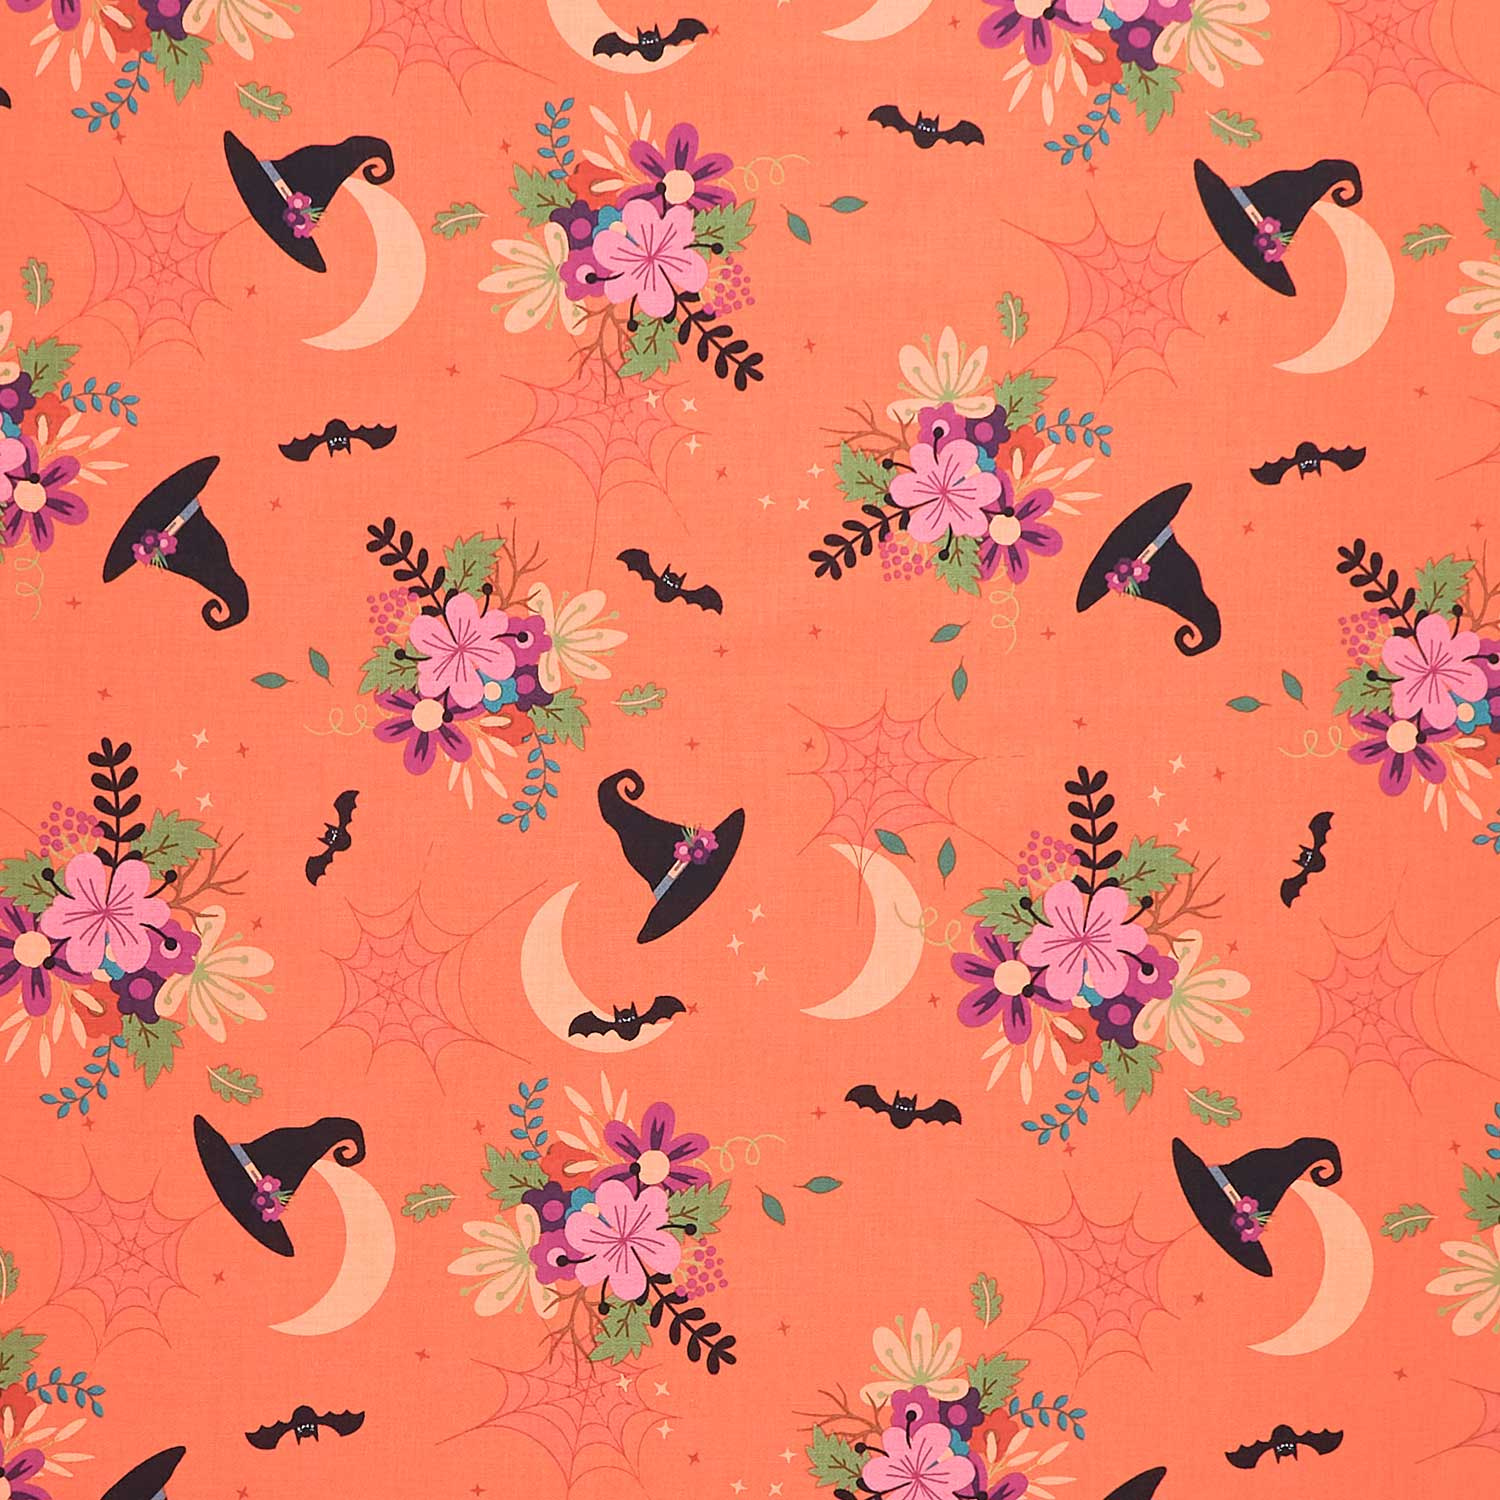
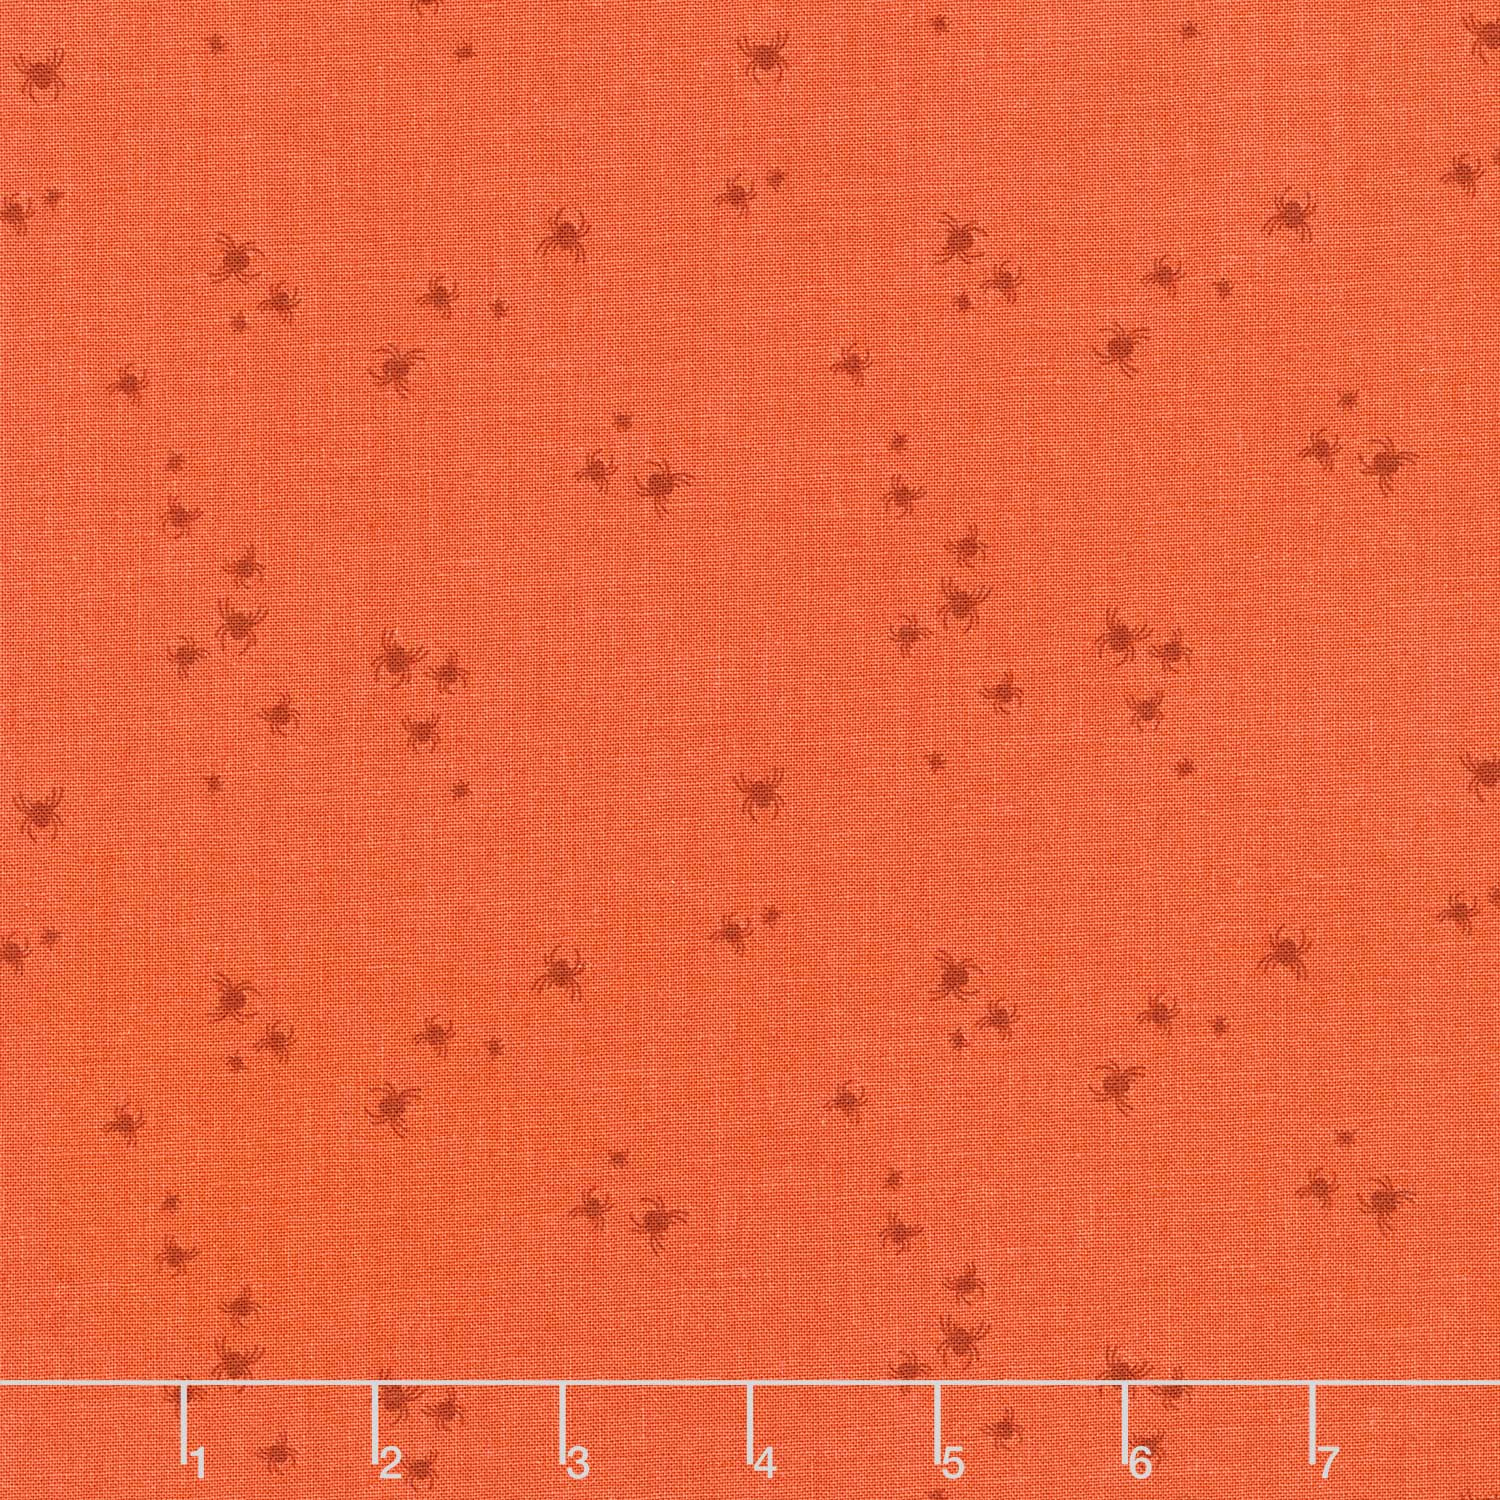
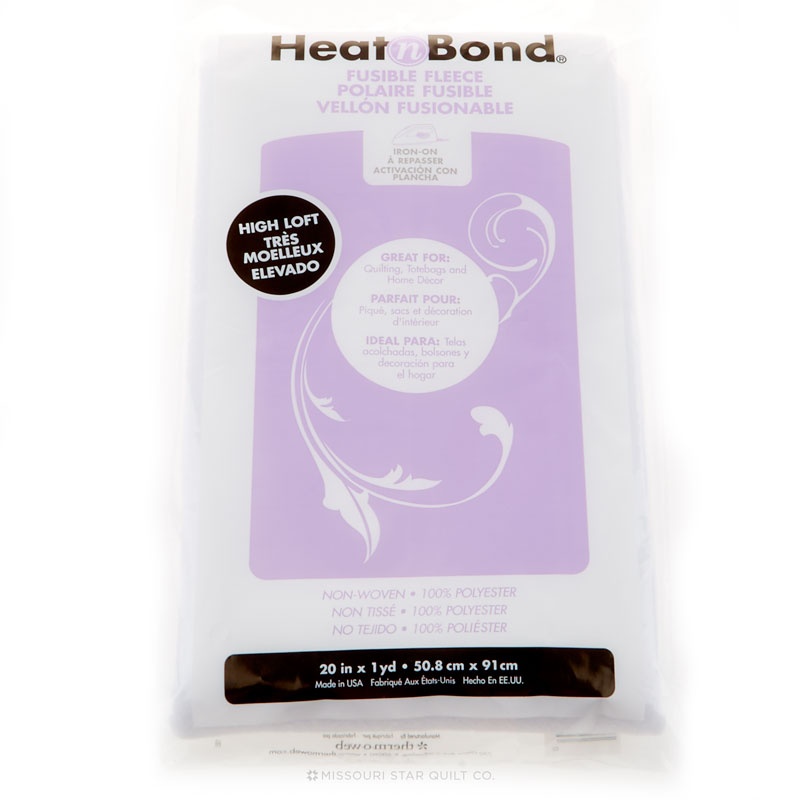
hello everyone and welcome my name is Jennifer long from so a story and I am thrilled to be here today with you through Missouri Star Quilt Company to share with you a very special tutorial of a quiltcraft project that I have created using my little witch fabric line so let's get started we are going to be creating today the Quilted witches hat so this is a paper pattern that you can get from Missouri Star it's fully Illustrated and then there's downloadable templates that you'll get as well we'll go through all of that together and you'll get to make this lovely wilted witch's hat look how it stands I'm going to show you all of the tips and tricks in your favorite Fabrics so I am using it in oh my goodness I am using it in my little witch Fabrics um so I designed this fabric for wiely bake designs and it's called Little Witch and it comes in all of these wonderful colors I'm just going to show you a few of the options look at this we're going to talk about just a few options of using some of these florals on there as well and then we're going to just show you some kids sizes and what you can do as well for so for some younger children we're going to talk through all of that look how just they all stand so great they are fully lined so you won't see any many raw seams look at that and we'll have lots of fun here so um come on in and let's get started so the first thing you're going to need to do I'm just going to put my hats off to the side so you can choose which color hat and which size of hat you want so you're going to need to grab the pattern it's uh the Quilted witches hat pattern it's by so a story so that's me Jennifer long and in here there is a code to download the templates you're going to print out the templates and there's two sizes there's a children's size and an adult size you're going to print out the templates they look like this um a little tip and trick when you are printing templates um on your home printer or you take it somewhere to print just make sure that you print at actual size sometimes um printers do a fit to print and you don't want to do that when you're printing any templates out so you want to just make sure that you do um print like uh print actual size and a good way to check that it did is there's always this one inch on on my patterns I always put this 1 in marker and so just double check that the 1 inch is exactly 1 inch and then you know you have the pattern correct so you're going to take one I print out your pattern you're going to grab your paper your fully Illustrated stepbystep pattern I'm also going to walk you through it you're going to grab your fabric requirements um so on the back there is the fabric that you need and we need a yard of Main and lining so I'm going to um replicate this hat right here okay so this is the lining inside this is the outside it's the main from little witch um so I'm going to grab a yard of my main print and a yard of this one's called spider dots I don't know if you've seen this one or not but it's just tiny little um spider sort of scattered like dots so I just feel like it's they go together really perfectly and the oranges blend together um if you want to get inspired here is the purple man that I've that I've made and then it has the um sorry it's not purple it's magenta and it has the deeper magenta lining here and I've also made a couple others cat stop won't stop right um and then this is like the Autumn it's got some little bats in there and pumpkins and then this is like it's called lace on the bottom so you can just choose the prints that um you want to sew with and you're going to choose a yard of each those this is the little witch fabric um line you can get this at Missouri Star and here's all of the the colors at the back um and a few other things that you're going to need so I love this product it's called fusible fleece heat and bond we're going to take this product and we're going to use it um to adhere which gives you the option of quilting or not and we'll talk through that and then we're also going to use this one and this one is like the magic sauce so this um this product is called craft extra firm fusable interfacing and it is so light but it gives a lot of strength so look at how large this hat is but look how it's standing on its own there's not a lot of thickness here at all and that is those two um working together to give that beautiful um point at the top so you'll want to have that if you're going to do this optional applique you can use the fusible um well you you want to use where is it here fusible interfacing so this lightweight I like to use the lightest one like this not necessarily extra light but the lightweight one um but you can just use any uh two-sided fusible uh interfacing as well and then all your basic sewing supplies after that so come on in let's get started I'm going to drop you down and show you what to do okay so let's get started I have my quilted witch's hat pattern and I've collected all the requirements from the back of the pattern and um we're going to start right at the beginning so the first thing we're going to do is download those templates that we we talked about you're going to use the code inside there and you're going to make sure that they print um to scale so you're going to use that 1 in square and you're just going to double check that it matches up exactly perfect and that it um prints to scale there is an adult size template and then there's also a child's size so depending on what you're going to um what size you're going to make that's what size you are going to print there's also instructions here um to measure your head first just to make sure that your head is fitting into like the one size fits all um and then just how to to change it if you need to change it you're going to use your paper scissors to cut out this template along the line so you're going to cut out the template along the lines and even along the fold line here and you're going to do that for all of the pages and then I'm going to bring um the one I've cut over here I'm going to make a child size and we're going to connect them together so I'm going to show you how to do that for the brim so the the template is really easy to follow so basically you're overlapping this it says part one of two part two of two too so all you have to do is overlap it so it matches exactly and another great way to test that that's accurate is I'm going to do it on um my cutting mat here and I'm going to make sure that these two lines will fold up exactly on the fold and they do so I'm just going to take my tape and tape my template together good and that one is prepared the Hat brim for the child size the quarter inch seam allowance is included already and we're going to do the same thing with the cone so I'm going to line up that fold line along my cutting mat and then part two of two part one of two and we're going to line that up and the template will fit together exactly and make sure that that's right along the fold line as well and you'll see that this line is equal so super easy and fun very satisfying when it lines up so well there we go excellent all right then inside the pattern is going to tell you to take your main fabric so I am going to use the orange man here um as my outer fabric so I'm going to take this and I'm going to take the Heat and bond fusible fleece and I'm going to take the yard that it says here and this is one yard and I'm going to fuse the back following the instructions on the back of this package and and you can just leave it like that or you can quilt it I have one that's ready to go here and it's been quilted already so I'm going to show you here so I already have it fused together here's my fusing I just put some Muslim on the back for the long arm machine and it's all quilted out and it's ready to go so then all you have to do is fold as needed for your um cutting of for your cutting of the templates I'm going to start with a uh witches hat top and I don't need to use that much so I'm going to conserve it because I'm going to make other fun hats I'm sure with this I want to make more than just one I've already made four um I'm going to line it up along the fold [Applause] line and I'm going to pin it in place so it's it's not moving one make sure that this is totally lined up two and I think I can do one more here three good before I start cutting I'm going to take it down a little bit more and get the second part of my template on there good and this is the brim and again I'm going to make sure that that's completely lined up so everything's going to match and it's going to fit together exactly and here we go let's pin that together just so it's not shifting when we cut and make sure it's in line pin I'm going to do at least one more right here perfect okay I am going to take my favorite large pair of just cuz I'm cutting through at least two layers of fusible fleece and the quilting so I'm going to follow right along that/ qu inch line and I'm going to just gently cut so take your time cutting if you want to add more pins and you don't have a a large work table to work on then that's a great idea I'm going to do this at the same time and then I'm going to come at it from this side good almost there good and that Circle comes away oh I should show you that how satisfying is that um so then you get that Perfect Circle that's for the inside of the child's hat but you can just discard this piece or you could bind it with um bias binding and use that as a fun little coaster it's kind of fussy cut already so isn't that cute um and then I will finish off this hat here all right and so then that's the brim and we're going to come down and cut the cone out together as well again our seam allowance is already put in there so we're just going to carefully cut like this and then again here nice and easy and straight if you rather use your ruler and your rotary cutter you're welcome to do that in the line there all right and I'll save the rest of that for my next hat so here we go with those pieces I am going to take the pins out I don't need to do anything to prep um the brim so it's already ready to go it looks like this what I do need to do to prep the um cone is turn it right sides together and line it up nice nice and straight again and we're going to take our a few more of our pins and to make sure the edge is here and I am going to pin make sure it's totally align because I have a quarter inch so I want to be really exact I'm going to bring my pins a little bit closer and I'm going to do even more here because I want this to be um as accurate as possible so that my inside Circle will be as accurate as possible great here we go couple more pins are your friends aren't they okay I want to make sure that that's folding nice into itself and maybe even one more at the top to be sure I'm going to show you how to get that nice Point here too we're going to take this over to the machine and we're going to do that/ Quin seam allowance all the way along okay so I have my pins beside me so I can easily pull them out I don't want to sew over them I'm going to start right at the front but I'm going to show you a little tip and trick that I like to do so that my threads don't make a little Nest when I start especially something like this on the point I take both the bobin and the top and I just do a little twist and roll it and then I pull it to the back and I maintain like a little bit of tension on it I'm going to line that up exactly on4 foot but it still just start just a little bit off I have my/ quter inch foot and I'm going to hold on to those threads and I'm just going to start to sew and I pull that first pin out good line that up make sure it's going and you can see that it's not going to Nestle in there that I'm just continuing that along I'm I'm going to go back a bit um cuz this is a item of clothing I want to go front and back still maintaining this string and then there we go and We're Off to the Races so then we can do our quarter in seam allowance all the way and we've got a nice start and finish along that side following right along my/ quarter inch seam allowance on my foot all the way along good job nor I like to leave my pins are just a little bit hanging out so they're easier to grab there we go this one I did a good job on am me here we go another little tip and trick when you are sewing um any item um especially if it's going to be turned I like to just make sure that my uh Stitch length is at least 2 mm or less so I just want to make sure that it's nice and small I'm going to do a back stitch here again and come right off I'll cut it and I just wanted to show you this nice quarter inch of seam allowance and I wanted to show you what this looks like on both sides so no nesting happening there isn't that great okay come back over to the cutting table and we'll work through this more all right so here we go I'm going to clip this thread off and as I do I'm actually going to be careful I don't clip off that seam allowance but there is a/ qu inch at the top and I am going to notch that out a little bit just because I do not want a lot of extra bulk there this is a straight seam so you do not need to clip it um but I am going to do the same thing here and just do a tiny little corner Notch just so that um it's really not adding reducing the amount of bulk that's in my seam then what we're going to do is take this hat and turn it um right side out I'm going to use something that I use in doll making and it's called a hemostat um but you can use any kind of Point Turner that you want to do all you have to do with the hemostat is put put it in clip it and pull it out um I actually have uh one that's coming out with Riley Blake design so if you're looking for a quilter um the quilty hemostat you can look through it for at Riley Blake designs and um it's also called the doll Maker's best friend so I've grabed grabbed a hold of that and you see how easy this is to turn I'm just going to pull it all the way through just like this and then release those I'm going to close them up and use see how it's like kind of a butt end there I'm going to use that to push through all the way and get a really nice point so I'm going to keep pushing that extra fabric so you're going to be happy that you let um trim some of that fabric when you're pushing this out there we go there's our nice Point excellent and now look how that's standing already isn't that fantastic um great so then you're going to think right sides together and you're going to put this in right sides together sorry like this right sides together so the Hat will actually look like this so that's starting to look like your hat already and um you can just start I'm going to start right at the seam and pins are your friend so let me walk you through how many pins I'm going to actually put on here I'm going to do one here I'm going to fold this in half mark where this is and then I'm going to do the exact same thing here fold this in half and Mark that and we're going to align those together it's going to make for a nice even spacing remember you have a quarter inch seam allowance coming here so you want to make sure it's nice and even then we're going to do the exact same thing quarter ways this way so I'm going to do this quarter fold look how lovely that fits together it's so satisfying and you're going to pin right here at the quarters one and then you're right again over here we're going to do the same thing pull make sure that those two are aligned up and find that quarter um marking and you are going to pin there as well so it's going to look like this now I'm going to add even more pins in between each of that those quarters I I think I'm going to say at least three I don't think you can have two many pins when you are working on um a curve and it's also like a slight bias but it you should be reduced because you have uh fused it already which is another reason why I really love um a fusible product especially for fabric crafts like this because it reduces the stretch if you're working on any kind of a curve so continue to go all the way around I'm putting three pins in between each one so they're spaced out about 3/4 of an inch to an inch and just adjusting as I need keep going all the way around almost there again I can't keep saying this enough but it feels so great um when you've followed your pattern and your templates and you've printed your templates out and you've taken those extra steps um to just ensure that everything's right you can see how easy this is coming together and um so let the pattern do the work for you and so that you don't have to um you can just enjoy the sewing process so look at that look how great that looks already we're going to take it to the sewing machine and I'm going to sew that/ quarter inch around the whole way making sure that I am grabbing both areas I'm going to take my um table off my machine so I can get my my arm of my machine in here and I'll show you how I do that all right so here we are again I am going to remove this so that I have have this arm of my machine so I can slide my whole um hat in there I'm going to start I only have one seam on this hat and that's the back of the Hat the brim doesn't have a seam but I'm going to start right where that pin is so it's like the start and stop is going to be at the back of my hat and again I'm going to measure that quarter inch seam I'm going to take my thread so I don't end up with that nest and did that little roll again I'm going to hold them there I'm going to just put my foot down and start it there we should be good I'm going to pull out that first pin and we're just going to go forward a few I am going to do that back stitch again just to secure it and away to the races here we go so just staying quarter inch take your time again make sure that you do have that shortened um Stitch length at least 20 or 2 mm um or less and um just make sure that you're you can see both Fabrics you don't want to lose any um either one behind the wonderful thing about pinning so often is that you really only have that 1 in or 3/4 of an inch to worry about at a time it's been pinned so well um all the way around great so you can keep adjusting the Hat as you go you just want to make sure that the seam is black and straight don't worry about the the gathers around the Hat because you are sewing um it inside the center of the circle so you just want to make sure that your seam is flat and you can keep keep moving the brim over excellent I think we're halfway there so fun these are addicting so I won't be surprised if once you make one you just can't stop and you just want to keep making more and more and more um they're easy and fun and stand so nicely there we go couple more couple more inches to go lovely we're almost there there's the end and I pull my threads actually I'm going to clip them away right now so they're not in the way good look how even and perfect that comes together no bunching no Gathering and I'll just back stitch again hold it nice and strong and we are done okay so bringing the Hat over here you can see what it looks like already so it's looking so good um already that's the outside look how it stands already but we're going to do one more step just to make it even better first of all I just want to reiterate how there's like absolutely no puckering on there when you take your time and you do all of that pinning but just to get it even to get it even flatter I want to just give you one more too I'm going to take my smallest scissors um because this is a curve and I'm just going to do little Snips around the whole inside just to relax this seam now I don't want to get so close I'm going to show you actually how close I'm getting so just maybe half to 2/3 of that nowhere near that um seeing because we don't want to open it up good I'm just going to use my Sharp little scissors and do nice Cuts in here all right once you've cut all the way around you can put this aside and we're going to do the exact same thing with the lining with different um fusible inside so let's talk through that I'm just going to move that hat over there and I'm going to take my next fabric here so this is my lining fabric I still have my same pattern this time I'm going to back this fabric so my lining fabric with this craft extra firm heaten Bond fusible interfacing that gives it even more strength and stability from the inside so I've already fused um this fabric to that product I'm going to pull it up over here and to show you how nice it is so here it is like this I've already have this piece done and you can see it's backed infused with that extra firm craft stabilizer just like we did before I am going to fold for each piece here and I am going to to place it on the fold line and I'm going to cut pin and cut my lining piece out so I'll get get that creased there I want to make sure it's totally aligned bring over my pins again I'm going to just save a little bit of my fabric so I can use these cute little spiders um for another project or um just be creative maybe um my children would like to use it so this is one thing um if you know a little bit about myself so um I am an early childhood educator turned Riley Blake fabric designer and so to me whenever I see something like this I am thinking of um either another craft project that I could use it for or I never underestimate the power of um children's creativity in fact they can actually come up easier often um ideas to do things than than we can and especially if this is a smaller piece that you think you're going to disregard it's different for them because it has the stabilizer on the back and so they might come up with something really creative so you can give them um a pair of your fabric scissors maybe an older pair of your fabric scissors or you can even trust them with your good fabric scissors if they're sitting there with you and have them see what they can create there maybe they can trace a shape and cut it out maybe they can make a little um door knob handle uh for their bedroom uh it's just anything fun so never think that scraps are going to waste there's always something we can use them for and if you can't use them in your sewing room it's always nice to have a a bucket of scraps that you can either donate to a school or an organization or keep in your room for when the grandkids or your children come and visit and um they can just let them go to totally creative so I would even keep a piece like this and there who knows what they'll come up with and I can't wait to see so please do share with me when they do so I've done that hat cut out and I'll do the exact same thing to the brim and I'm going to repeat the same process as I have done for the outer hat with the inner lining and we'll meet you back here to put them together okay so we've done the same thing to the lining and we've sewn all the way around and um as you can see you can just double check that things come through nicely I can just give it another press and um we'll just go around and clip all of this so that it's nice and relaxed when we open it up all right I'm going to just I don't suggest doing it with the whole um inside of the blade but I've done so much with doll making that I really know where the ends of my scissors are I just find it a little quicker for videos here I didn't have this part prepped for you so I'm just clipping it all the way around but look I've made it all the way around that fast already okay so now what we want to do is take this hat and turn it inside out so the lining is going to go right sides together and the main is right sides out I'm going to use my hemostats and just give that another push again good and we're going to fit this right on top of the hat and I'm actually going to line up I'm going to find my seam here the back seam of this hat with the back seam of the lining and just sit it down completely on its on the hat we're going to give it a little push so that it's all the way embedded in there I can even use my hemostats to do that or your pointer good get it completely embedded and the more that you do then the oh yes look look how nice and even it is yay how exciting is that so now all that you need to do is um do a little Stitch line around what I did I should say is that you should leave a little um seam open on the lining so that you'll be able to turn it and if you've forgotten like I just did even I've made four hats we'll just use a little seam ripper here it is and I'm just going to open up just a little bit of my lining I'm going to be able to stitch that by hand again so we are real here right there we go I just want a little bit to get started and um just make sure that you do leave an opening obviously in the pattern it says so but I am teaching from um just knowing the pattern so well so just leave that open on the lining perfect good just make sure we have enough to have it turned that'll be great okay I was just getting so excited about how nicely it matched here now we're going to go all the way around again and give it um pinning so you're going to go all the way around and pin again more pins you have the more you ensure that there is night like a nice even you can see on this one like a nice flat even um space we'll press the whole hat once it's done and you can even top Stitch you can see that I've top stitched around here but you will go all the way around the hat and then you'll take it to your machine and this is also a/ qu inch seam allowance now if for some reason your hat isn't lining up all of the way don't worry if you have to take um a 5/8 of an inch or uh a half an inch or um any any width here because it's just going to shorten the distance of your brim it's not actually going to affect the uh Integrity of your hat so don't worry about that at all we do just want to make sure that it's laying totally flat on your hat on the brim all the way around oh there we go and then I'm going to take this back to my sewing machine I don't need to have the arm exposed because this is just flat sewing all the way around and um we'll be back to turn it through that opening that you have left in the lining of your hat okay so I'm going to just use my that back as my starting stop Point again and I'm going to take that nice quarter inch I'm just going to be a little bit maybe a little bit uh thicker than my/ quarter inch just on the outside of that that far point just I don't want to make sure I cat all of those layers the lining and the fabric and the lining and and the fusible um fleece and the m and I in the back stitch when I start and come all the way around and go at a speed that you're comfortable with taking this gentle curve following along the outside whenever I'm sewing along something this is a tip that I normally do is I always put my pins out in this way so that they're just easy to pull out there we go sure I'm catching everything thing and before we turn it I will go over this with you but I just want to say it here as well before we turn it you are going to check that it has caught every layer we don't want a layer to be missing um and then you turn it then you have to turn it back again so now is the time to check that all but if you've have a lot of pins you should be catching all of your P was there oh we're almost there it's so fun okay just a few more inches around the brim look how nice and flat this has come together does anybody else get excited about this all right I want to make sure that we join and I'll go back and good up all right so again I'm going to take this back and I'm going to do all those little Clips around this so that it will lay nice and flat um when we turn it being very very careful after all this work that you don't cut into your seam allowance so take your time with this if you want to like take it out on the deck or while you're watching a show um or just while you're having some family time um I'll do a little deeper check but we're going to take both sides and you're going to check and make sure that you've caught around all the edges on both sides and I'll meet you back at the cutting table okay so we are here we have a nice flat hat it's fully lined everything is inside we are going to use that opening that we just made and you can just be as simple as pulling the Quilted hat through this is where the real magic happens so we're going to push push through oh my goodness this is the most exciting part and and we're going to push the lining through um I am going to use my hemostats here again I love the length of um the ones that I have designed with Riley Blake designs that are coming out next year um but you can use any kind of Point Turner that you have and it just gets that nice SCP point and we'll just open this up and I'm going to use this on the brim as well I really want that brim do you see how this one has it's so flat and and um it's really nice and strong I'm going to use this to get that exact same um I'm going to just push out along that seams now clipping the seams is going to help achieve this on a circular but just giving that little extra um kind of press and I'm going to take this over to the um my ironing station as well after but let me just show you I'm going along the whole brim good keep going we're almost there just pushing out all the way around there we go good now you can use um your hand Stitch and a little whip Stitch or you can sew this together on your machine so that is completely up to you um if you want to just it's going to be the inside the hat so no one will see it so if you want to take it over to your machine and do a quick uh Stitch line you can or if you want a hand Stitch you're welcome to as well just for this video I'm going to press it through right now and again I'm going to use um my point Turner or my hemat just to get the points completely aligned together oh it's coming together look it's fully lined oh how fun okay here is our hat so let's go and press it you can take take it over to your um ironing machine and just press along this whole brim look at that everyone oh my goodness how beautiful is that ah and you can even top Stitch here if you want to or look you don't even have to it's holding its shape so nicely that's all of the Power of what's inside thank you so much for being here with me today and thank you Missouri Star Quilt Company for inviting me to share this tutorial and pattern with you the Quilted bl's hat pattern it's by so story Jennifer long um you can get it through Missouri Star qu company I'm using little witch fabric through Riley Blake designs and I can't wait to see all of the witch's hats that you create using this pattern and the templates and the tutorial that I just shared with you so thank you so much for being here and I'll see you again next time bye for now hey everybody every week I give you a new idea and we are almost 1 million Quilters strong so join us every Friday for a new tutorial and if you haven't clicked or subscribed make sure you do that today see you on Friday [Music]

More Fabric by Yard tutorials

See all