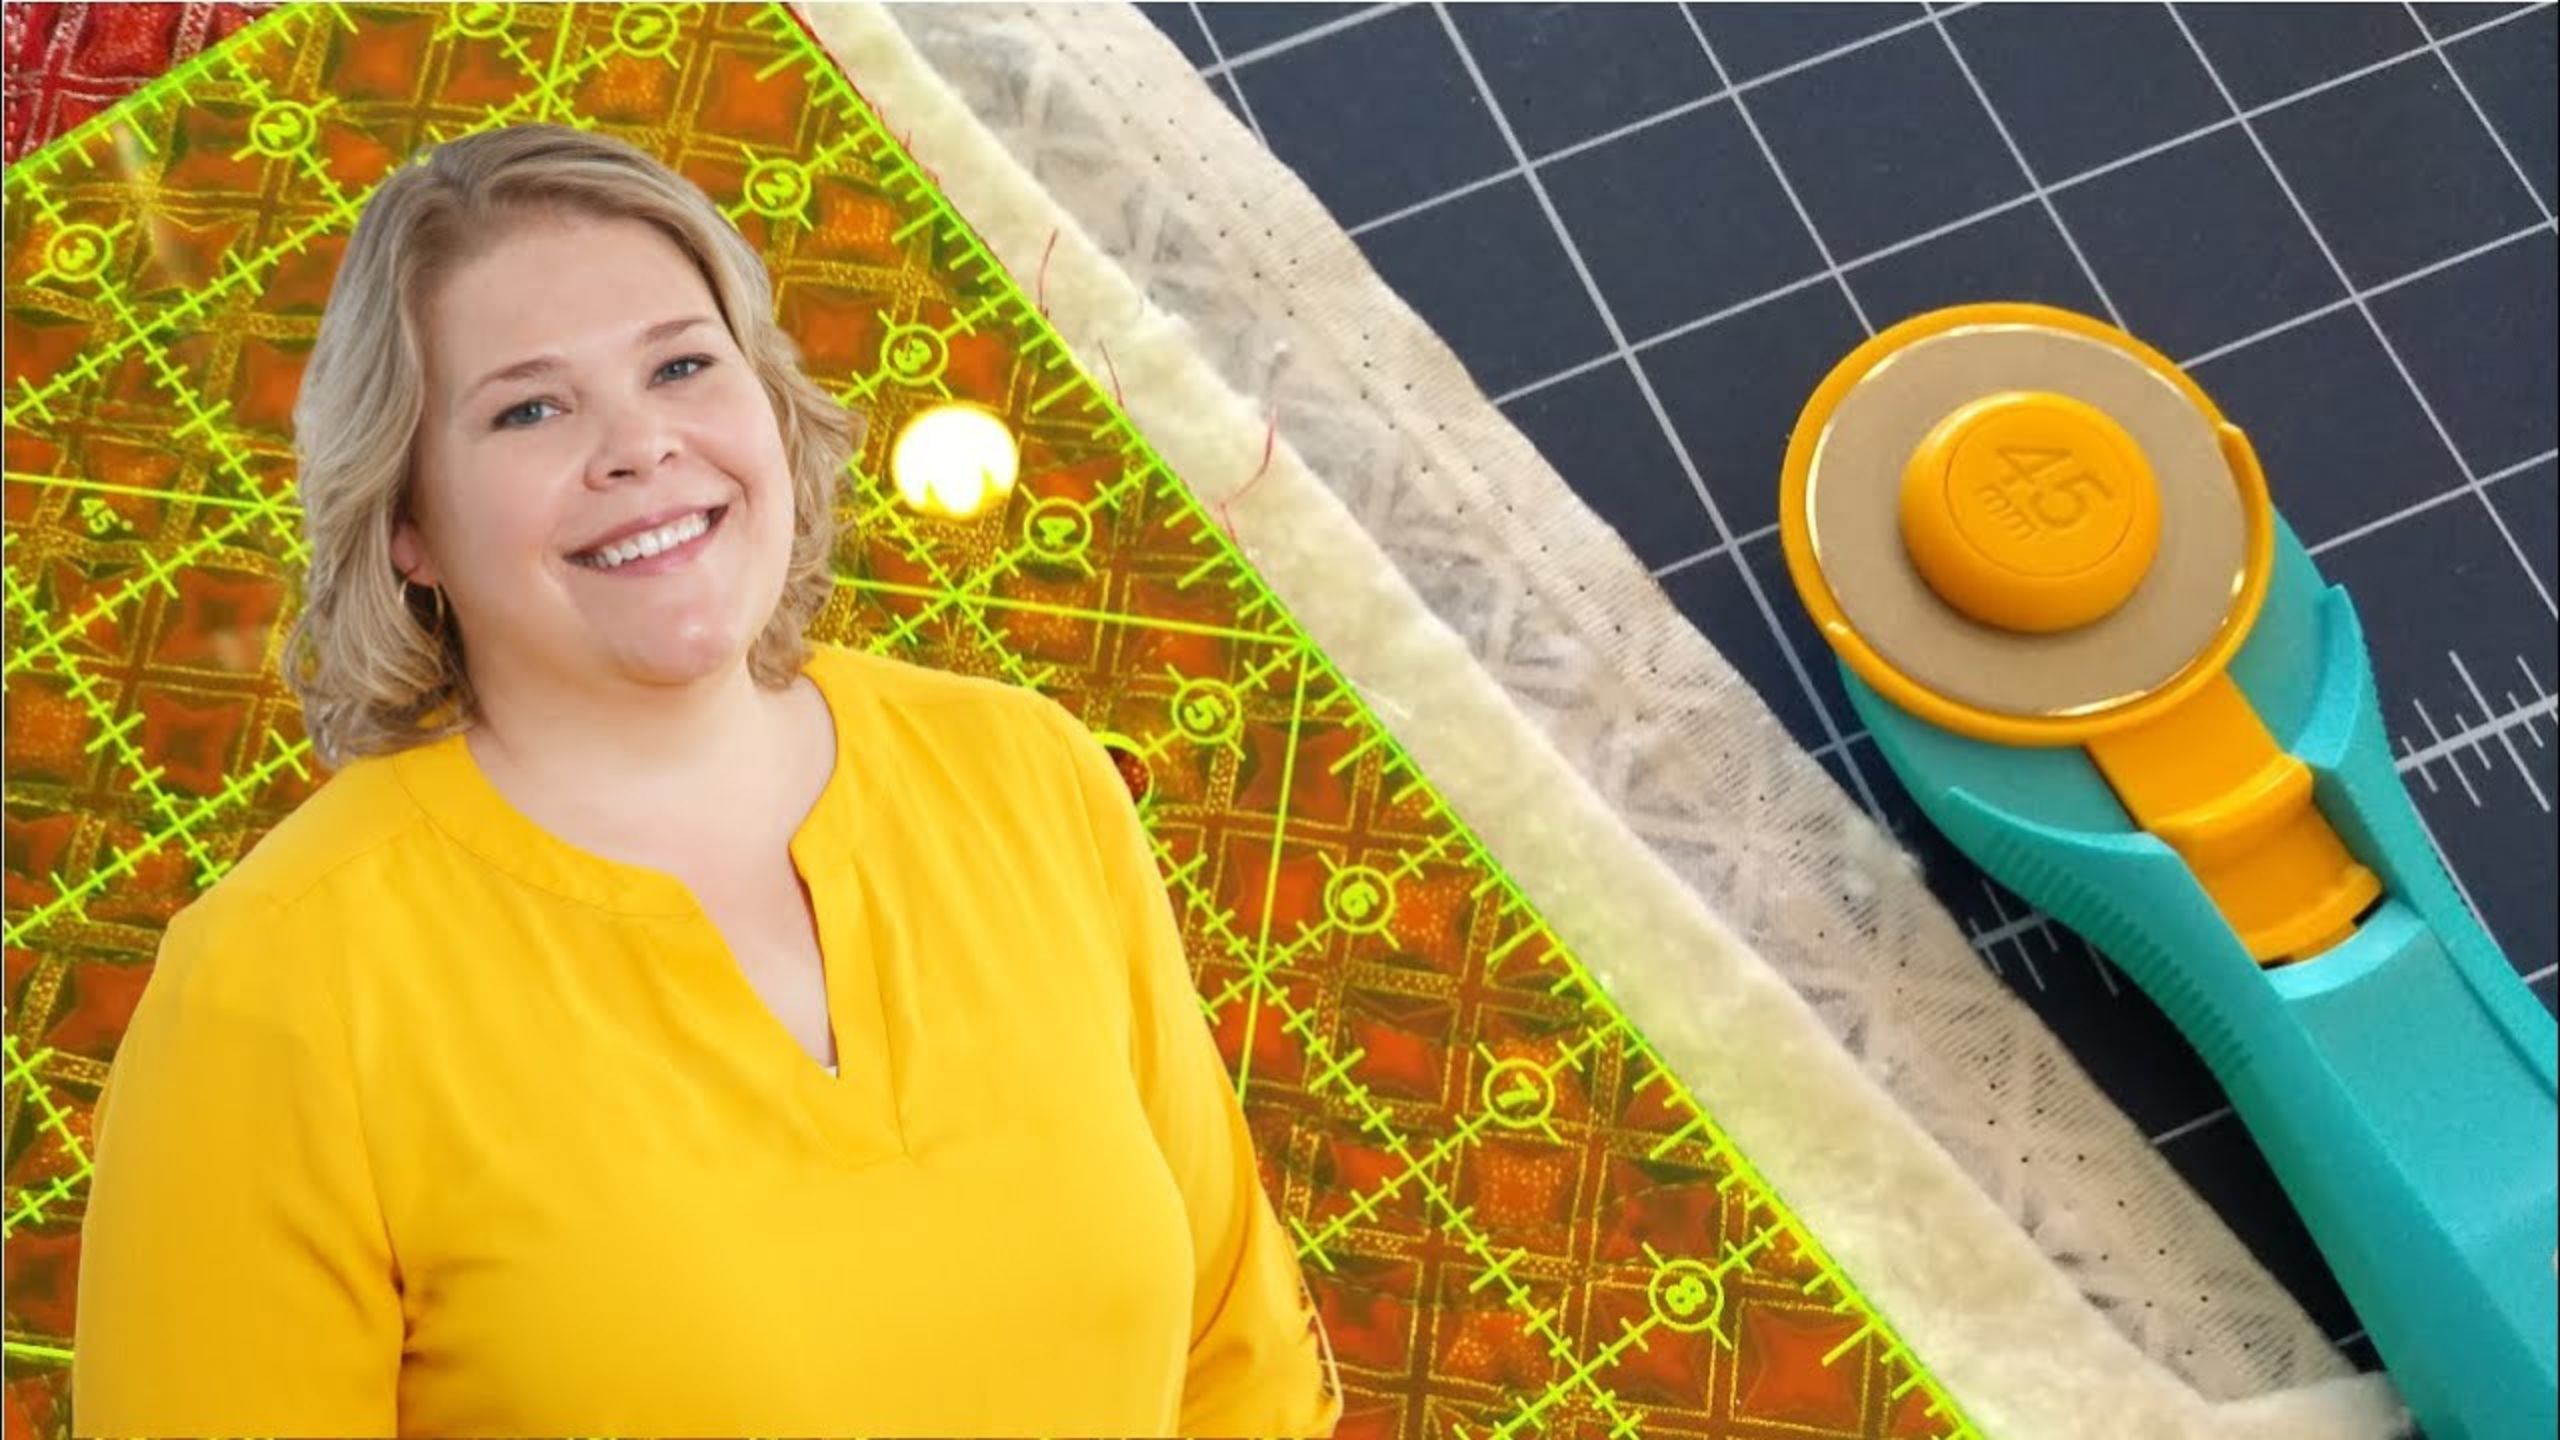
Quilting 101: How to Square Up Quilt Blocks with Natalie from Missouri Star
It's hip to be square! Taking the time to square or trim your quilt blocks before assembly will add up to effortless sewing later on. In Quilting 101 with Natalie, you'll learn how to do this in a snap! Watch how easy it is in Quilting 101, a series of quick and easy quilting tutorials especially for beginners.

Instructor
Natalie Doan
Natalie is the host of Quilting 101, Embroidery 101 and the Creative Strategist and Editor of Block Magazine at Missouri Star Quilt Company. She was taught how to sew by her mom, of course, and began quilting when she grew up.
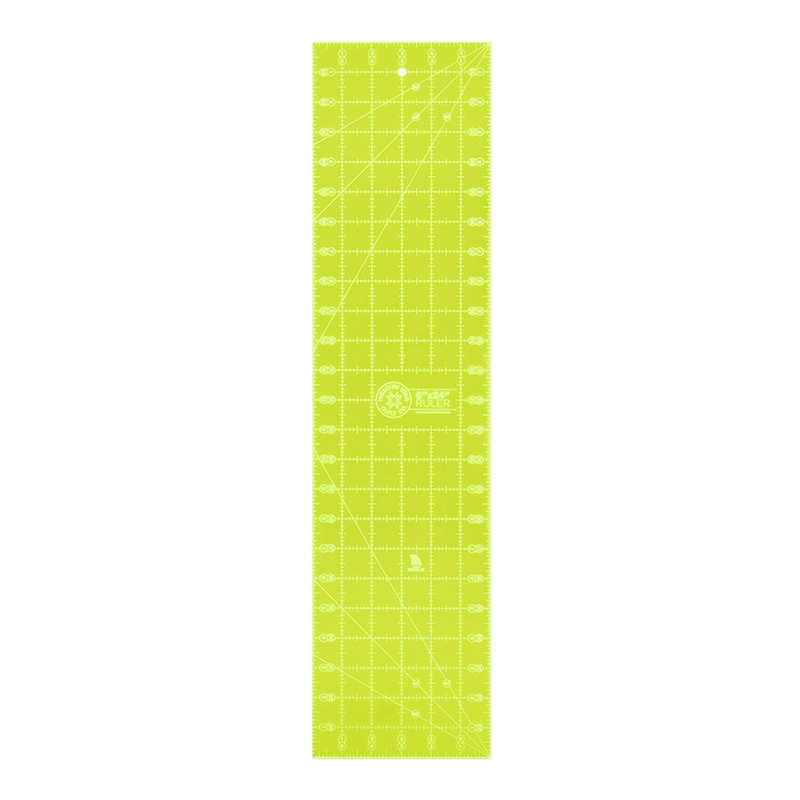
Shop this tutorial




Common Questions
What is covered in Quilting 101: How to Square Up Quilt Blocks with Natalie from Missouri Star?
It's hip to be square! Taking the time to square or trim your quilt blocks before assembly will add up to effortless sewing later on. In Quilting 101 with Natalie, you'll learn how to do this in a snap! Watch how easy it is in Quilting 101, a series of quick and easy quilting...
How long is the tutorial video?
The tutorial video is 00:09:45.
Is a transcript available?
Yes. A written transcript is available on the tutorial page.
Video Transcript
1. "Squaring up" your blocks means trimming them so that they're all the same size. You want your blocks to be the same size because they'll be flat and easy to put together in rows, creating a quilt that comes together more easily!
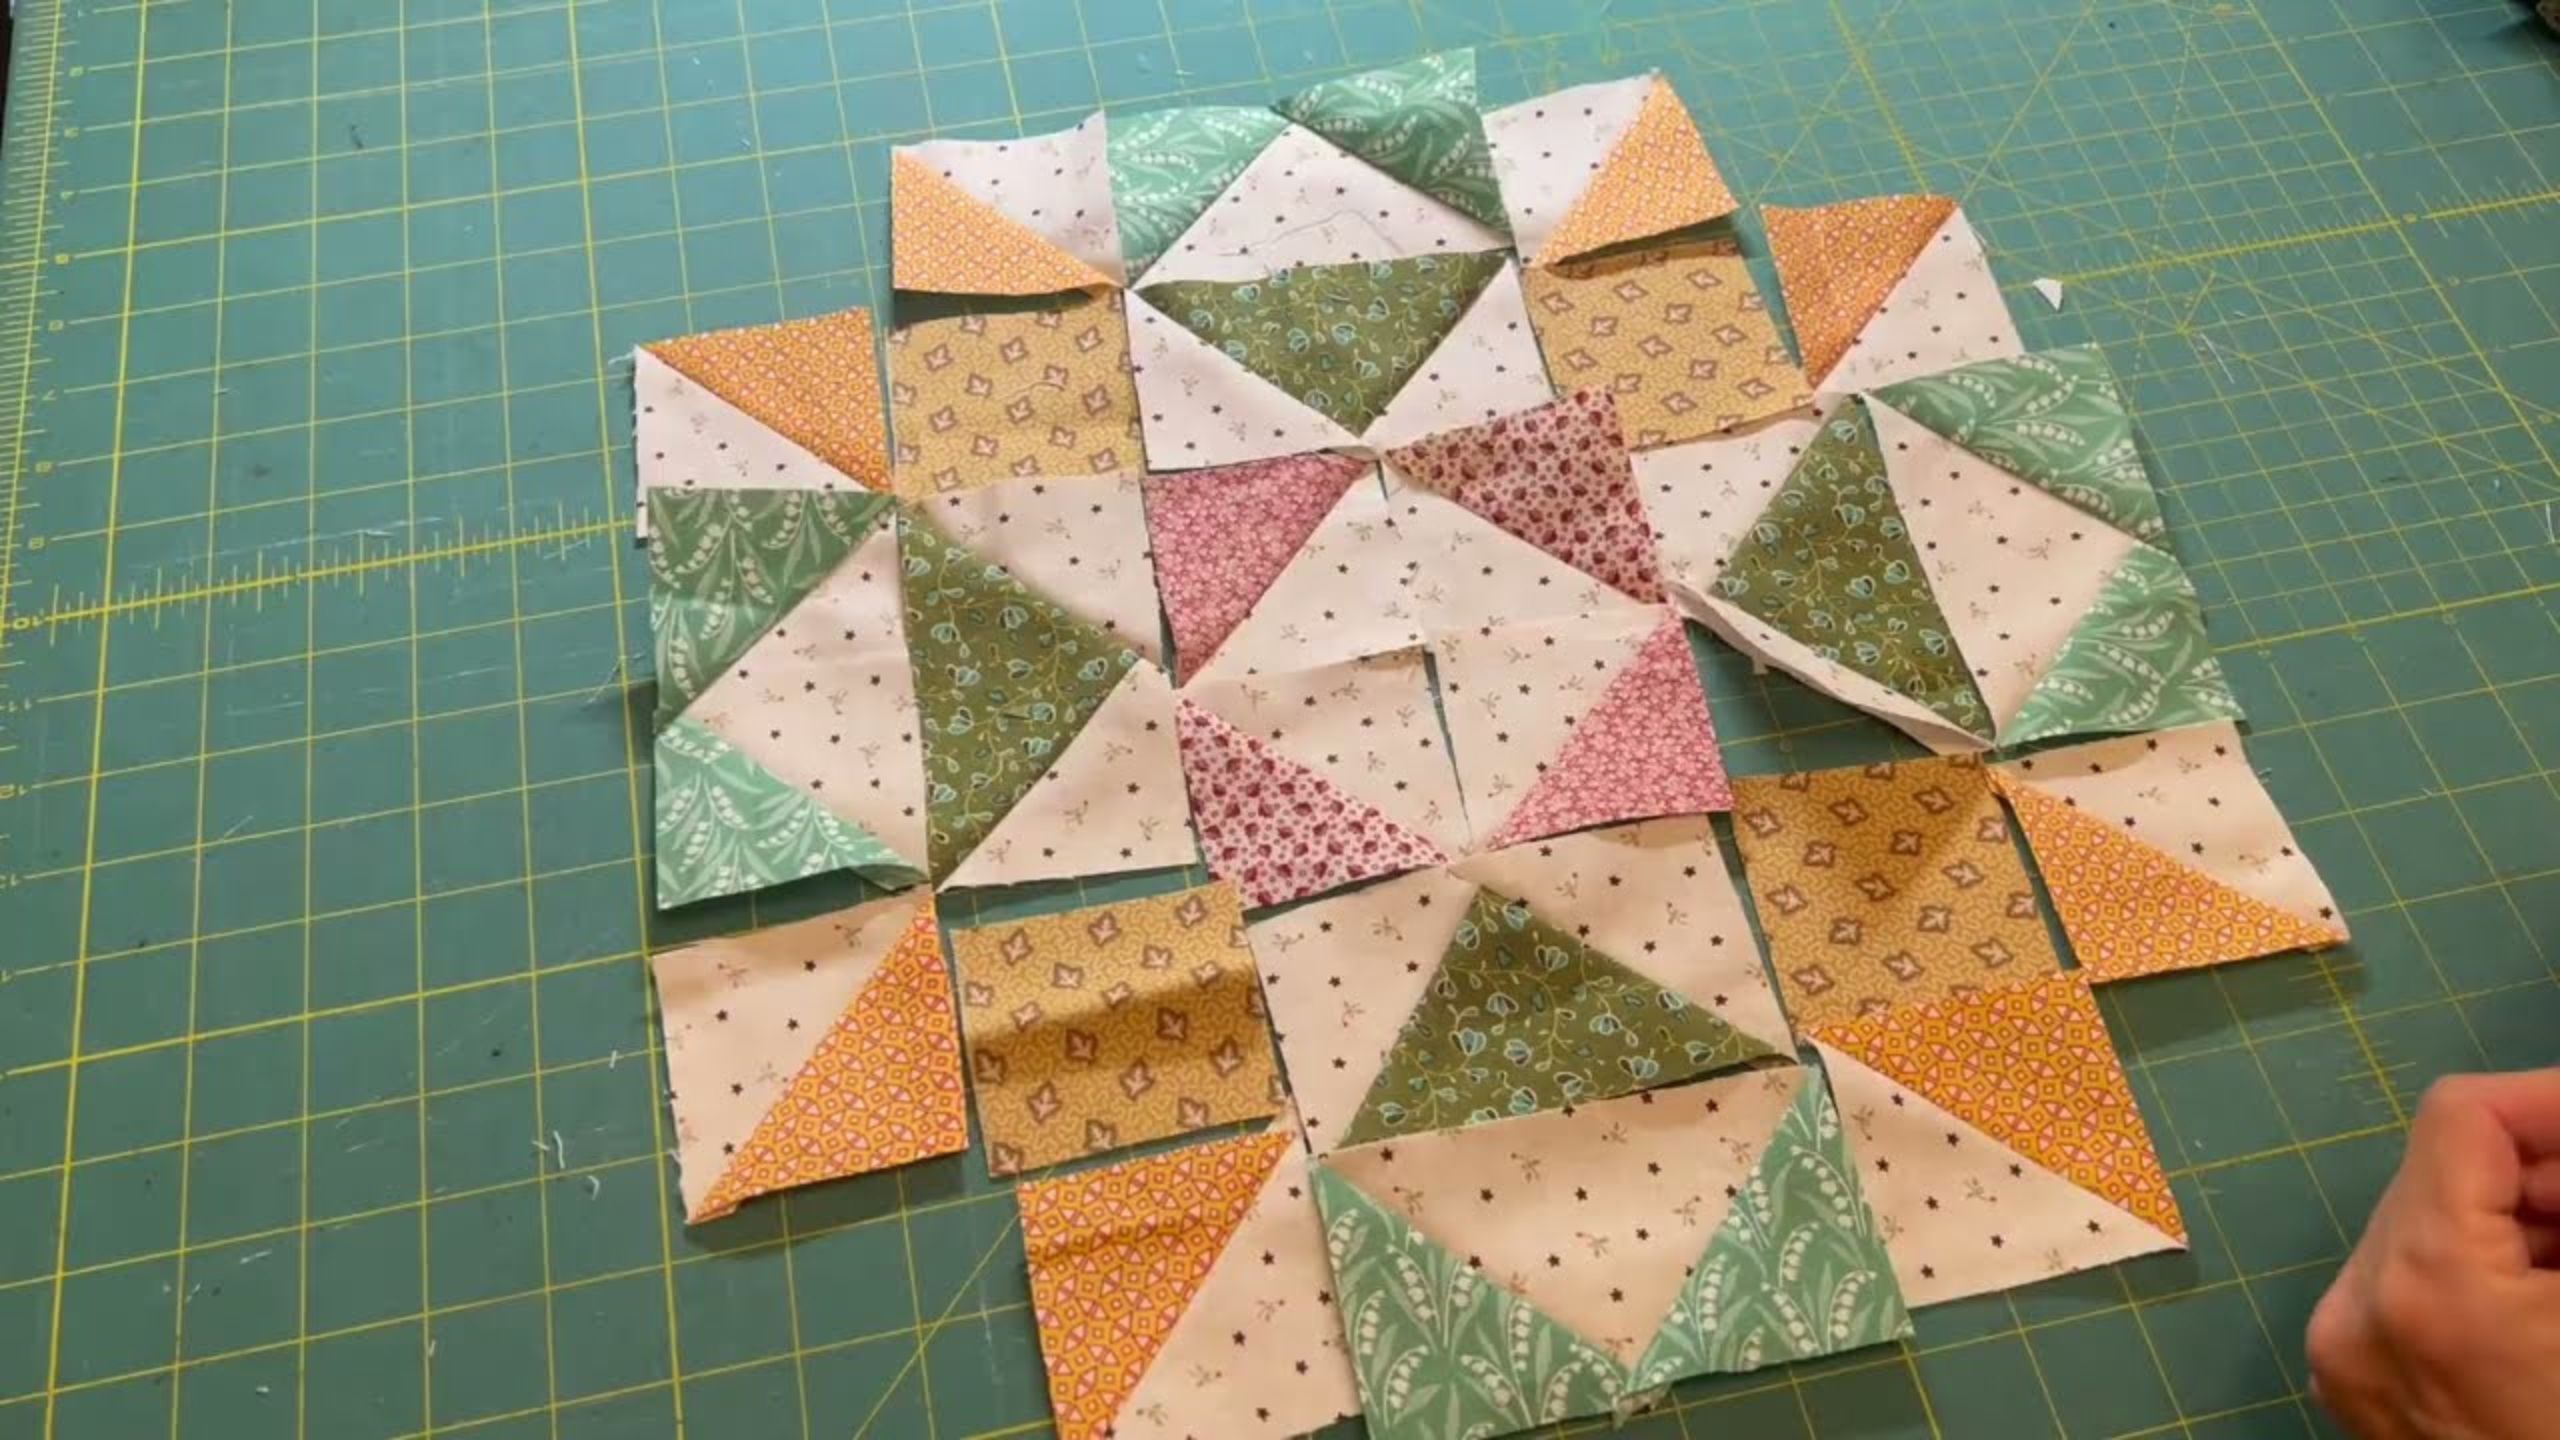
2. For half square triangles, you'll want a ruler with a 45 degree angle. Line that 45 degree line up with your diagonal seam. Then adjust the ruler, keeping the line and the seam aligned, and trim any excess fabric from two sides. Then rotate the mat (if you're using a spinning mat) or flip the block so that you can trim the other two sides.
3. Sometimes your finished block will be a little wonky. If you have multiple blocks, look at all of them and see what the most common size is before you start trimming! Start with the edge that needs a little help first and trim only a tiny portion, just enough to straighten it. Then rotate the block and trim the remaining sides as necessary. Use your ruler lines in combination with the lines on your mat.
Also ensure that you leave enough for your 1/4" seam allowance as you're sewing blocks together. If you have a part that is too far off, you could add a bit of stabilizer to ensure it will seam appropriately.