Skip to content

Free quilting video tutorials from Missouri Star

Quilting Tutorials
Quilting 101: Single Fold Bias Binding

Quilting 101: Single Fold Bias Binding

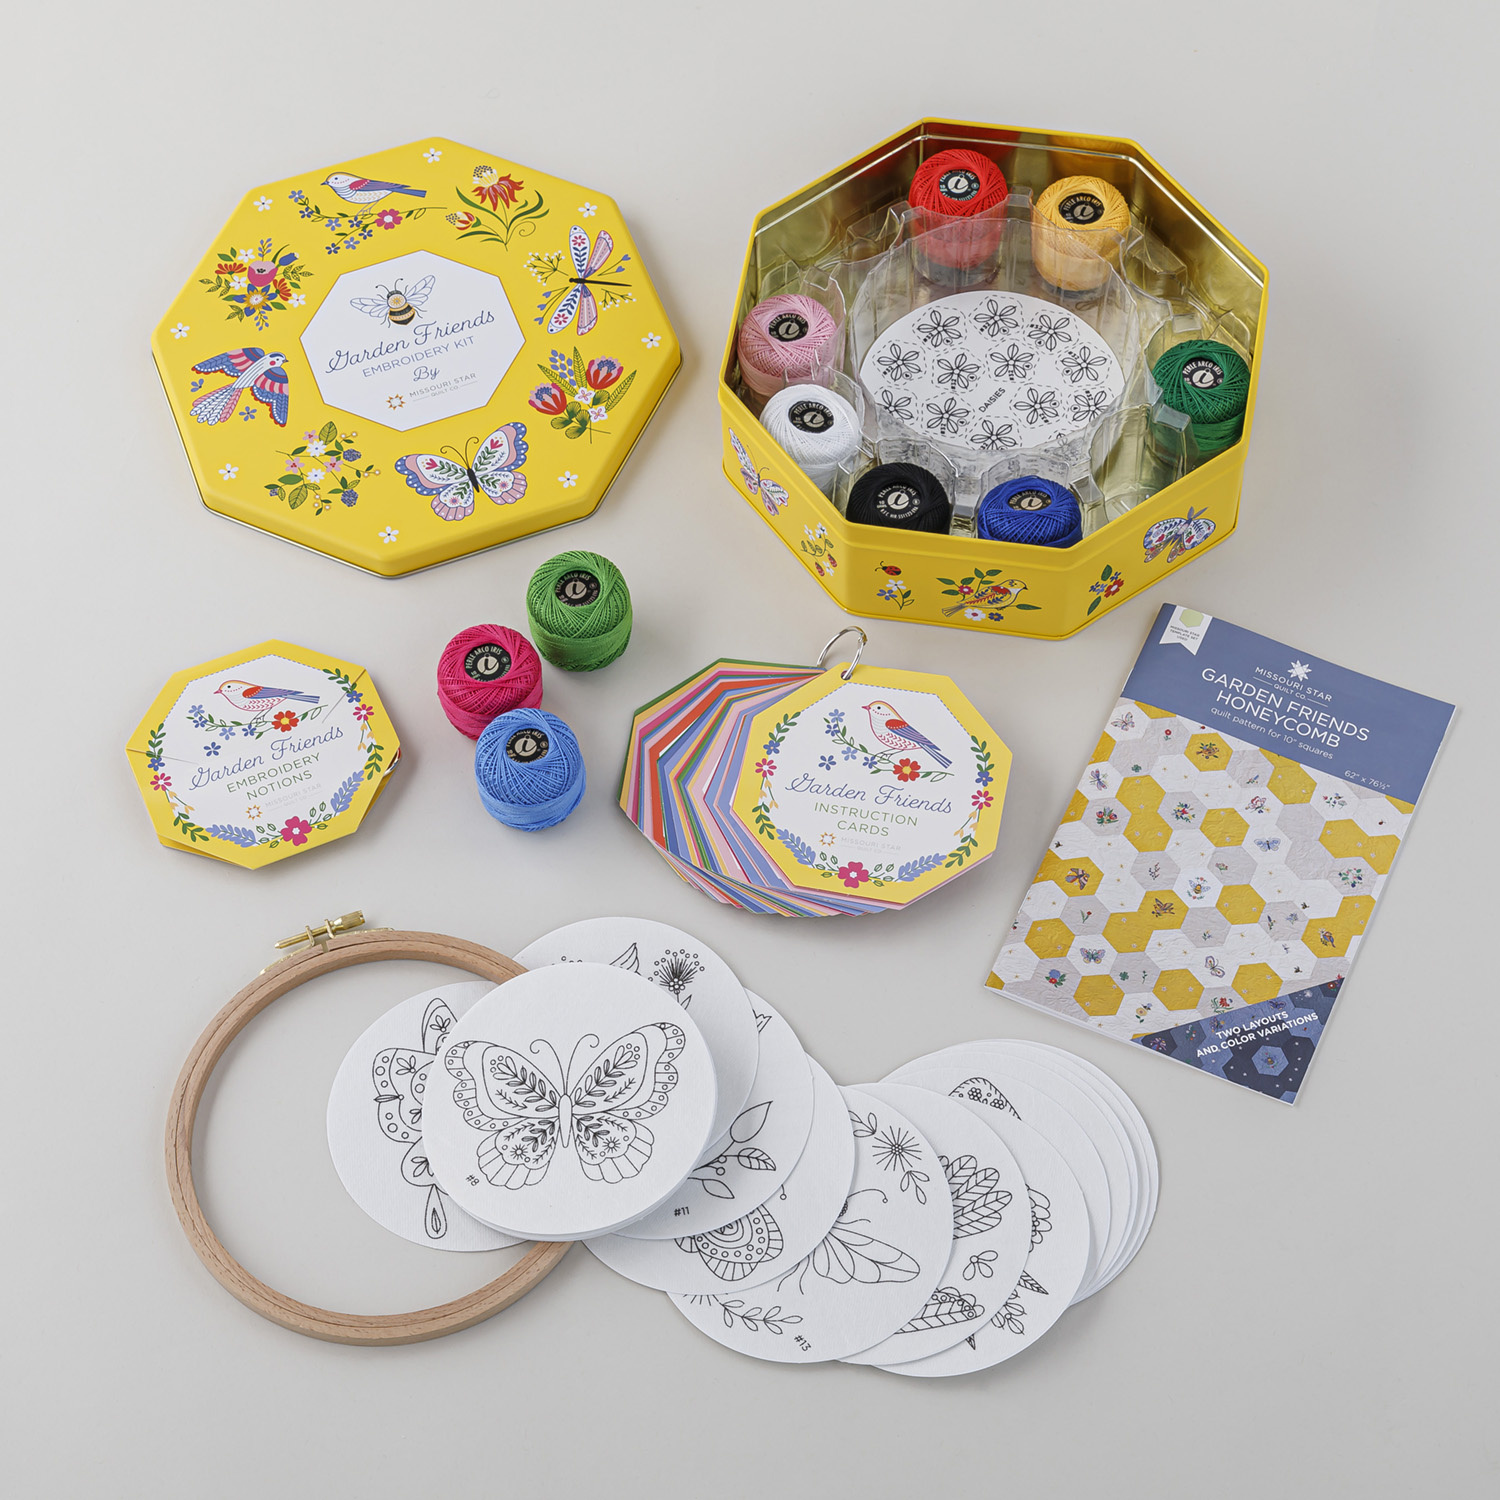
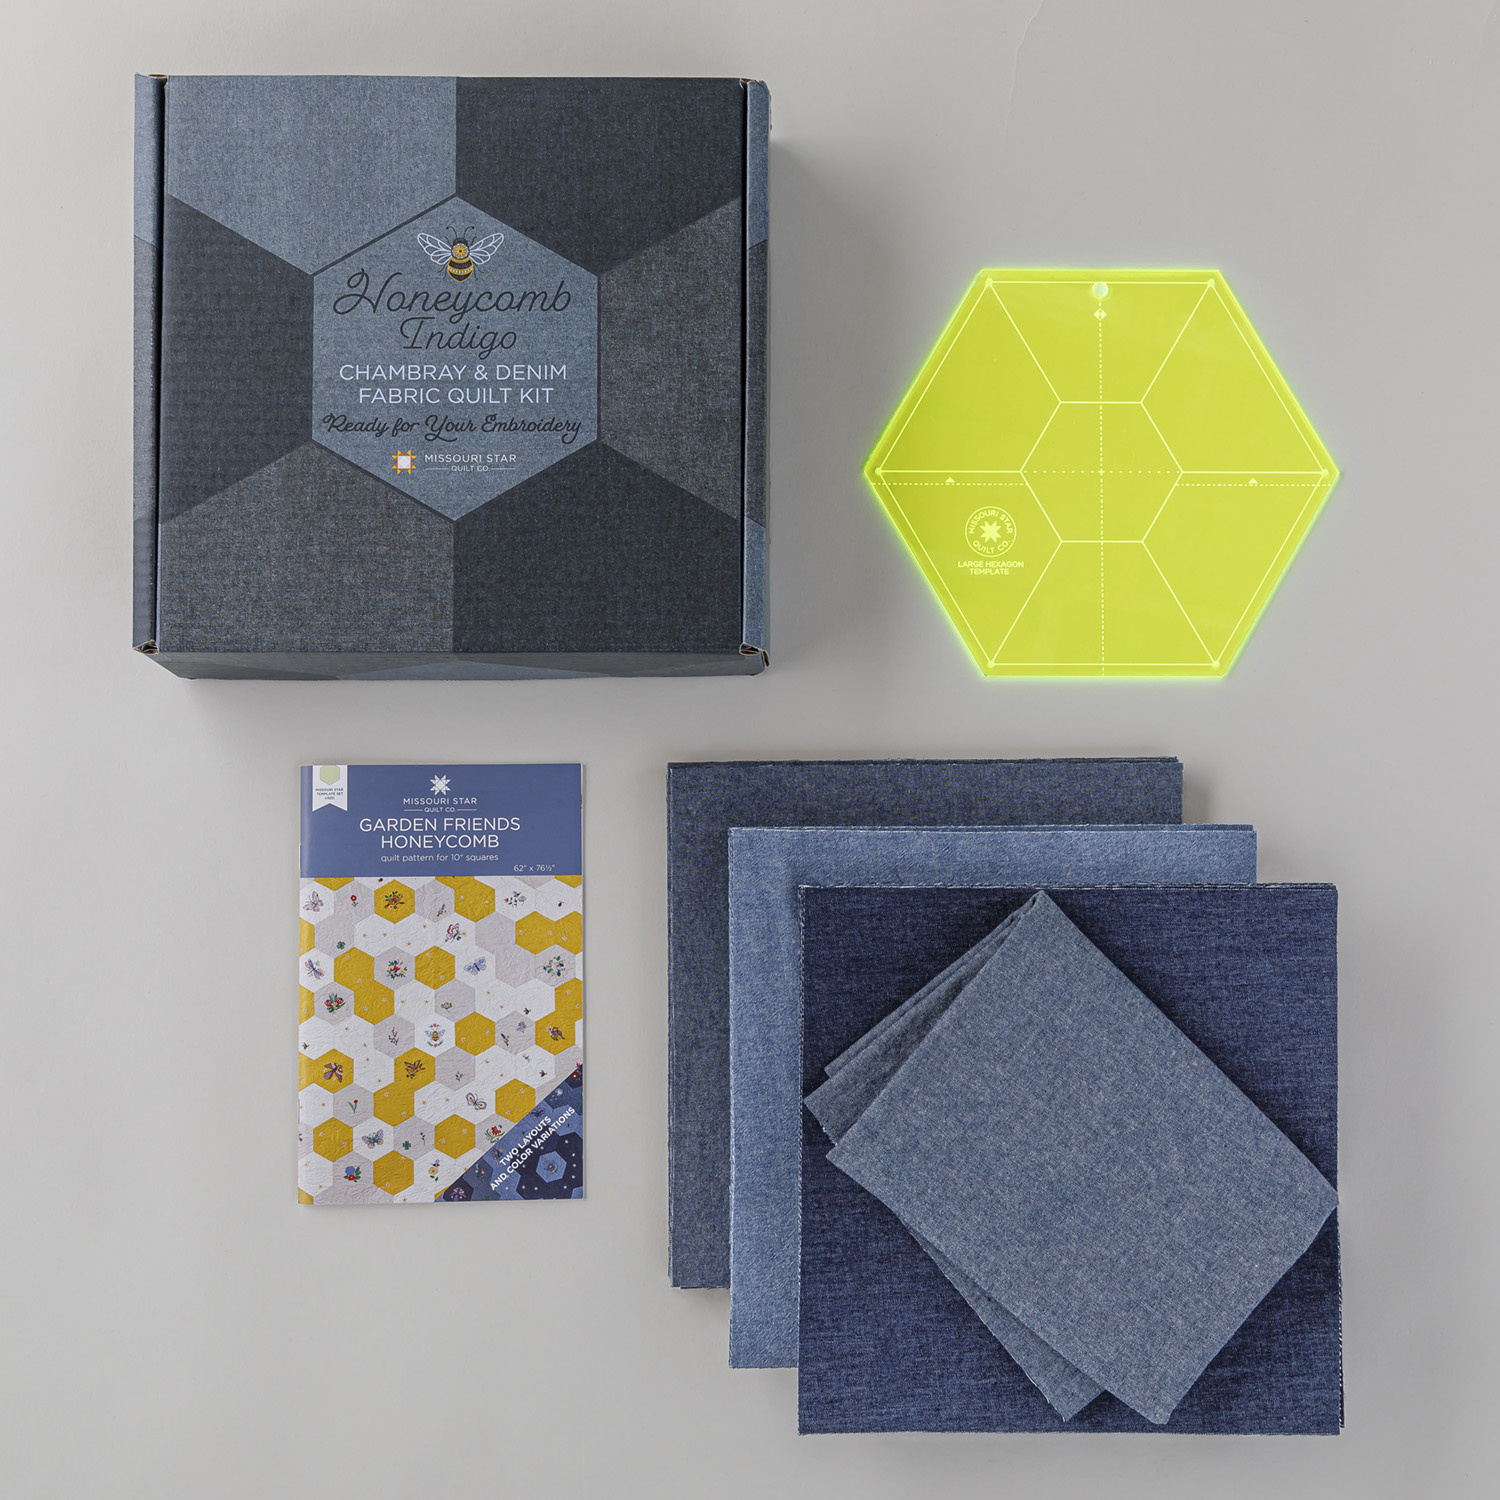
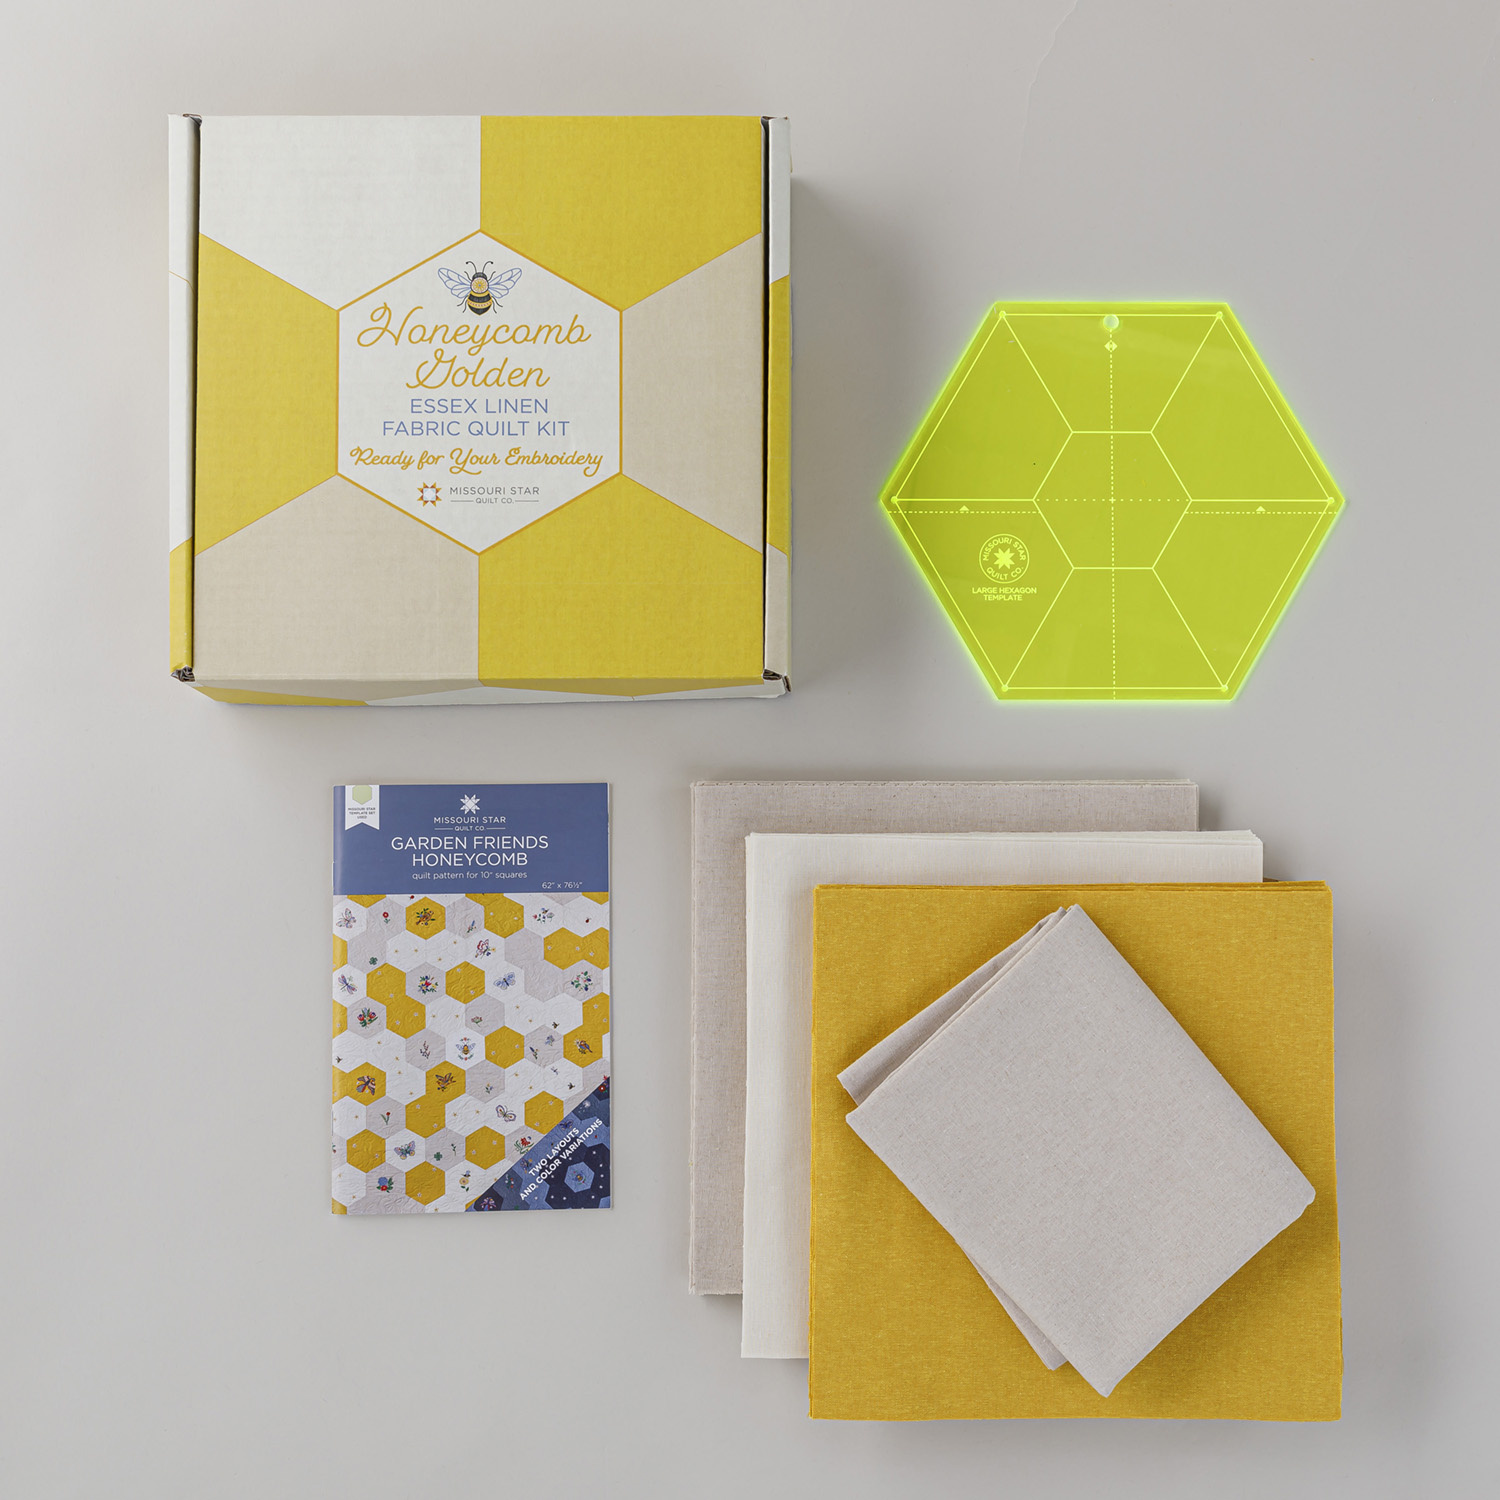
Today is all about binding! The new Garden Friends Honeycomb quilt has hexagon blocks which creates a fun angular edge at the top and bottom. But how best to bind these peaks and valleys? Natalie and Courtenay chat about single fold bias binding: why it's the best choice for this quilt and how to cut and sew it!

Instructor

Natalie Doan

Natalie is the host of Quilting 101, Embroidery 101 and the Creative Strategist and Editor of Block Magazine at Missouri Star Quilt Company. She was taught how to sew by her mom, of course, and began quilting when she grew up.

Common Questions

What is covered in Quilting 101: Single Fold Bias Binding?

Today is all about binding! The new Garden Friends Honeycomb quilt has hexagon blocks which creates a fun angular edge at the top and bottom. But how best to bind these peaks and valleys? Natalie and Courtenay chat about single fold bias binding: why it's the best choice for t...

How long is the tutorial video?

The tutorial video is 00:14:35.

Are supplies listed for this tutorial?

Yes. The tutorial page includes the supplies and materials connected to this project.

Video Transcript

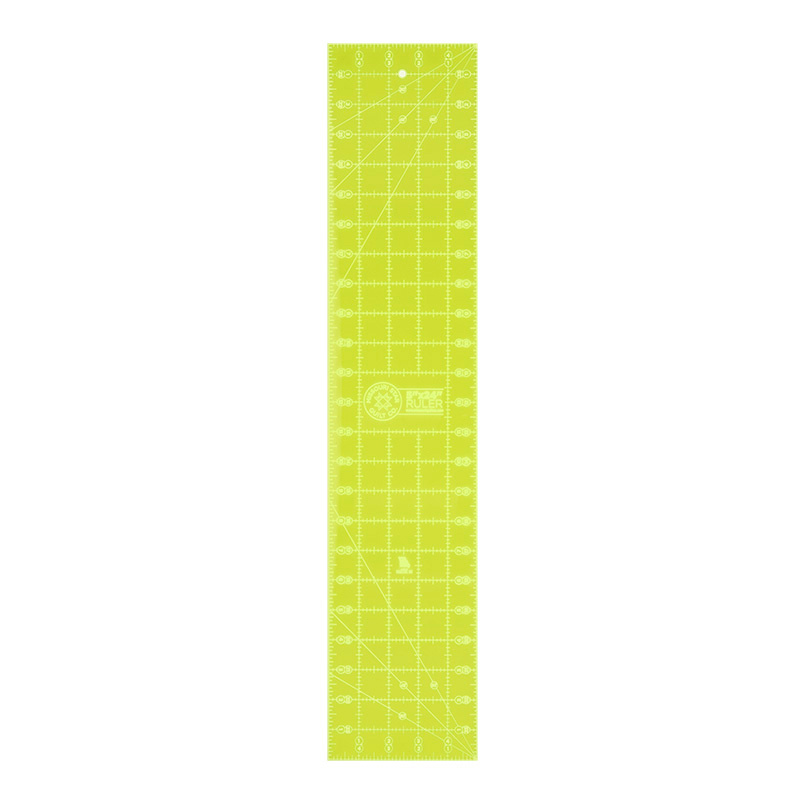
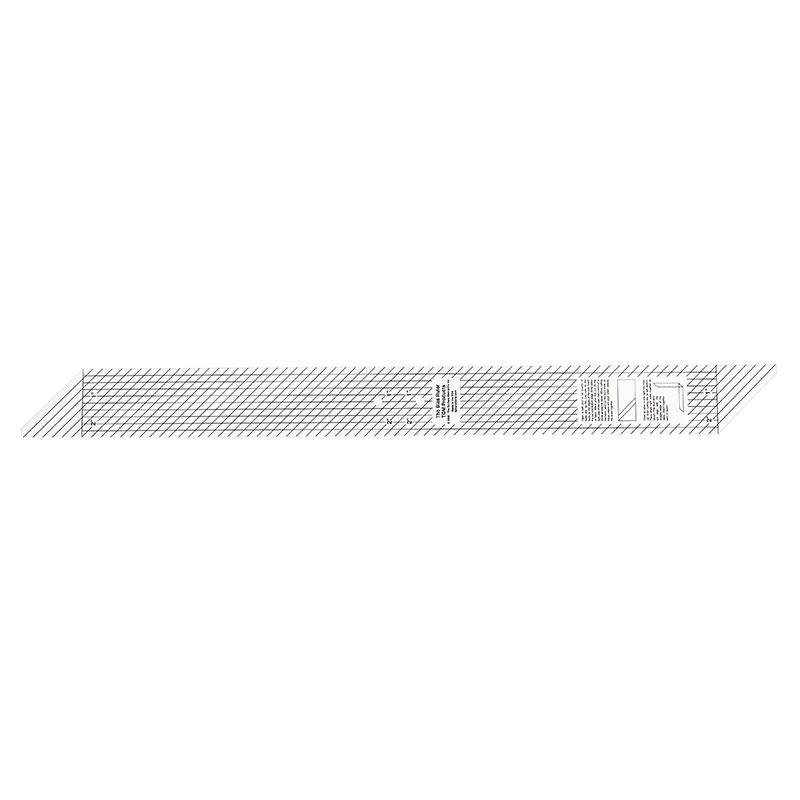
[Music] hi everybody I'm Natalie with Missouri Star Quilt Company and today on quilting 101 I'm joined by Courtney from our sewing team and we are going to talk about binding we have a an interesting new binding technique we're going to talk about cuz we've done some quilts that have some pointy edges MH pointy and the and then the inset seams or the inset curv that aren't a 90° they're a little bit more and you were also saying that you use this technique sometimes on smaller projects yes when um we're going to do a single fold binding so it's a lot a little less bulk on like place mats table runners wall hangings things that won't get washed a lot because you're losing you know a layer of fabric on that edge so right right okay so this is uh single fold bias binding yep and you do not have to cut single fold binding on the bias but that's how we're going to show you today right so I normally cut my um for the bias buing I usually cut myself a half yard so that's what I have here and then we're going to turn it yep open it up so it's nice and wide way yep just one layer you don't want two and then I'm going to start over here I'm going to find my 45 Dee mark on my ruler mhm I'm going to lay that flat across the bottom and then I'm just going to make a nice Cut going this way and now I usually cut my um single fold binding in an inch and a quarter because that's exactly half but to give yourself a little bit of room sometimes when you fold it over the edge you can cut it an inch and a half did I say an inch and a half or inch and a quar the though the first measurement was an inch and a quarter that's what you normally do okay yep but um but to give us extra space to give you extra space to fold it over and especially if you're doing like flannel or your batting is a little bit thicker you definitely want to go with an inch and a half okay but for here we can just do an inch and a quarter so you can just move your ruler over to that inch and a quarter Mark and just start cutting your strips so you're going to get a lot of binding out of this half yard you get um yes you can typically bind you your whole quilt with a half yard of yes yes 3/4 at the most if for the the largest quilts the bigger ones yep so that's how you use just a regular ruler now if you by chance happen to have um the bias ruler we have the SP ruler this is just perfectly made for this perfectly made for this it's by tqm products and and we love this ruler you can just lay it right on there and you're flat on either side and this is a 2 and 1 half inch ruler or you can just move it over to your inch and a/ qu yeah she's got the 1 in and the 2 in marked and it's yeah it's 2 and A2 so yep and you can just use this ruler makes it to cut your slies and there you go and that's all there is to cutting it all right so these get joined in the same way um you could either join your little yep your little cross pieces the way they're cut or you can do a um you know that little cross method where you sew diagonally from corner to corner yep just like that you can lay it down there and then sew corner to corner and then okay flip it open and you'll have that going across just like you'll join it just like regular binding and you've got a great tutorial on bindings to show how to we've done lots of different kinds of bindings and I know of you know two or three others that I still haven't done so oh there you go lots of fun ways to bind a quilt stuff to come and if you find sometimes that sometimes I find that the bias ruler slips a little bit on me I use this grippy um nonslip coating I just take the ruler outside and just give it a quick Spritz and that keeps it from moving so much on me awesome so I use that sometimes so through the magic of um television oh you've got your together we our strip sewn together Tada excellent very nice and so I also made this sample and just to show you the angle some of those right you know those odd angles for you yep so if you've made a hexagon quilt or a double wedding ring or anything that has curves and points and Yep this is what you do now one of the things you can do um to prep you can fold this in half and iron it right sides together but you're only going to sew one side of one side of that raw Edge okay you don't need both just one side okay okay and I usually start on a flat it's easier to start on start and stop on the flat side oh yeah you don't to start definitely cuz you're going to do the same kind of closing yes yep the same kind of closing which also be on your videos okay use a quarter inch seam like all do you leave a long tail so you can connect them so I'll scoot that up a bit is that y m okay and we're going to go right along the edge here and do a quarter inch oh I'm still new I'm still new to this machine a bit what um what do I do when I get down to the edge here when you're a quarter inch away just like regular binding you're going to stop and then back off the quilt okay yep so when you say back off do you mean that you pivot and Stitch towards the corner you can yep you can either do that or pivot 90° and go straight off whichever is easier I usually go diagonally it kind of helps my um seam a little bitay like a diagonal seam or no yeah yep you can do a diagonal seam right to the corner of your quilt okay thinking that's a big big quarter inch yeah yeah you should be using the edge of this part of the foot oh the skinny part well thank you thank you for telling me I'd really like to be able to just lift it a little yes I'm not really sure how to do that um I don't know if this machine has a some machines have where you hit a button and it comes up just a little bit to let you do that I think I need to engage the um then you pull it off and then even though this is an odd angle you're still going to go you're going to lay this back so this is even all the way up okay just like we do on and then you're going to come back on yourself and it it's going to look weird because you don't have a lot underneath that corner but that's okay okay and then you're going to do the same thing on this quarter stop a quarter and go back off all right that makes more sense each machine has its little they do they have they have quirks and I'll get better at it that's all right it's kind of there we go all right so I'm just about there I think did I make it oh I'm a little far away yeah maybe one and then maybe put your foot down in the or your needle down and you're to Pivot y you can just pivot instead of pulling it all the way up okay so now and now lift your foot up and then you can swivel it and we cut or no you can you can cut it you don't you don't have to either so then you're going to pull that back straight back just like we did before so the edge of your binding is even in a straight line with where you're headed okay okay okay that makes sense yep and then oh I'm sorry I didn't mean to hit hand no worries and we've got our seam on the outside we started it with the make sure when you add your binding it's right sides together now you are going to stop where this where the where that at corner yep and then you're just going to turn your machine and go up the other side and you're going to kind of pull it straight pull it straight just like just like Jenny she does that on these little out yep and put your yep needle down yep then we'll just raise a bit Y and we'll just kind of pull that yep kind of straighten it out and it makes its own little makes its own miter in thereat on the other side yep all right yep it's the same thing you stop at a quarter and go up off and let me move that out of the way just forward a little bit okay so then we're going to make sure that this stays in a straight line that way perfect yep that's exactly right and then we pull it back down this way to make that little pleat MH and then this is the one where we pull it straight yep yep you got it it's a little bit whoops a little bit finicky there yeah it can be this the good thing about this angle here is it is nice and you can pull it straight it's easier than put my needle down here you go before I kind of stretch and pull on it you don't want to pull it too hard no uh-uh but it is easier with the needle down yeah yep yep definitely easier here if you have a needle down on your machine definitely use it if not just use your hand wheel and turn the needle so it's down it's no big deal I don't want to pull too hard though because it's bias binding right and I don't want to get it too stretched right yeah you don't want to stretch it too much but you can you can fiddle with you can tug on a little bit okay all right sort of adjust as we go or mm yep okay all right now we're going to be back at the point yep put our needle down turn and Stitch off yes thank you okay now we're going to have that match line line up and then you fold it back perfect in line with the uh yep yep okay perfect I'm getting it you are you got it all right well that seems pretty fairly simple yes it is and then go you just finish going around you end it just like the other one of the two and 1/2 inches that you do are the two and a qu uhhuh and then when you are done all you'll do is you'll bring this to the back I usually fold it up and up right into the okay so almost in half in and then I fold it again and hand Stitch it to the back okay so what do we do on on these when we get to this point how do you make these pretty so this one is GNA going to kind of be like pull it straight and Stitch across right just like we do with the scalloped edges yep and what about these Peaks how do we make that have a lovely MIT nice pretty it should it's a little bit fiddly at the top but what I try to do is see how I've got it kind of folded uhhuh and then I bring it to the back and then bring this over and just fold it it move mhm and then you've got your pretty little and you can just kind MIT on the back make make a pretty miter yeah okay yep it'll move for you just have to make it do it and then in the bottom a lot of times these they'll just look like a little it'll be rounded a little bit rounded and that's just fine okay and then here's what it look like on the front it gets a little bit rounded there too yeah yep and then this front you'll have that pretty miter just like just like a regular binding very cool so there you go yeah I like that all right plus it uses less fabric it does use less fabric so keep that in mind if you and I do think um that you could go through with a little appla glue and and put it down before you Stitch oh great idea sure to go ahead and especially on the um on the this side where you're trying to fold in here if you wanted to fold and then press it down do a little iron with that would make it a lot easier to to with yep absolutely yeah and the pressing which would give you that really nice press line yep if you go ahead and press that in half and then turn it over then you'd have that to line up with your Fe yeah I like that yeah so there you go well that's super educational I'm going to have to try it out on some small projects there you go yeah let me know when you do so I hope that you guys have learned as much as I have and that you've enjoyed this video get out there and try a single fold bias binding on a project and tell us how it goes we can't wait to hear from you send us some pictures too that's right see you next time time

More Fabric by Yard tutorials

See all