
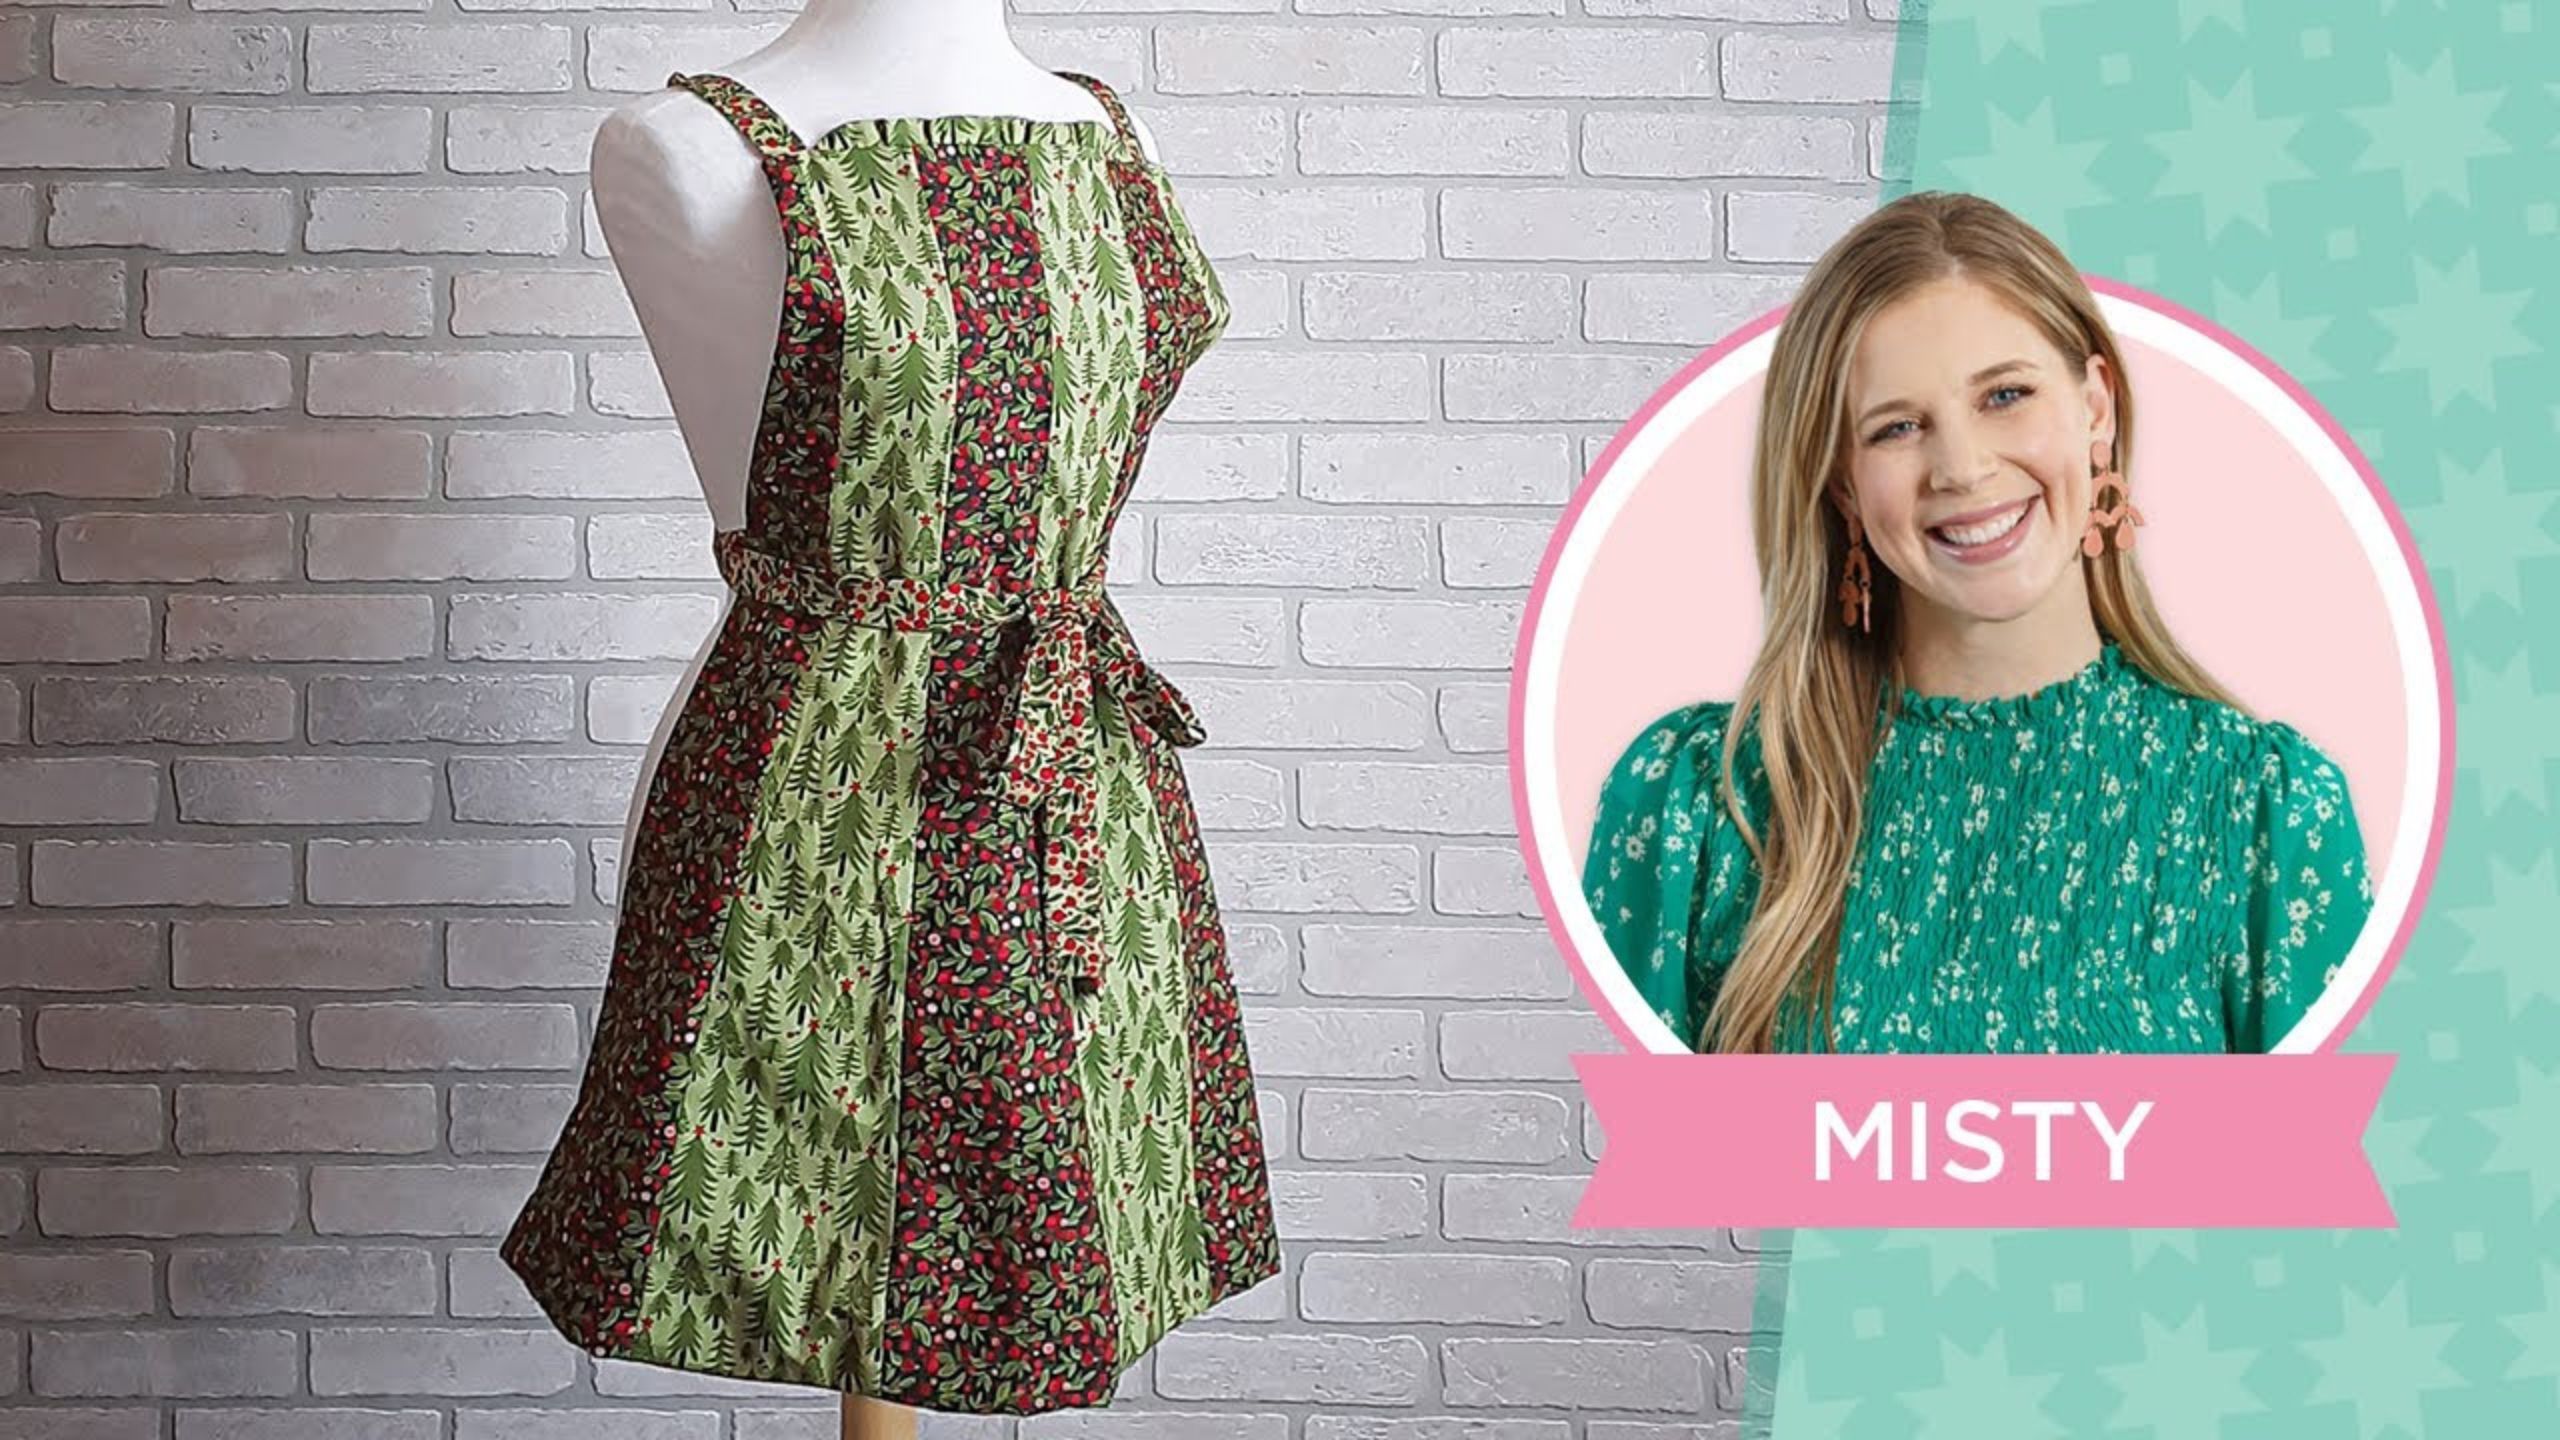
REPLAY: Learn how to make a Flour Flirt Reversible Apron with Misty and Courtenay!
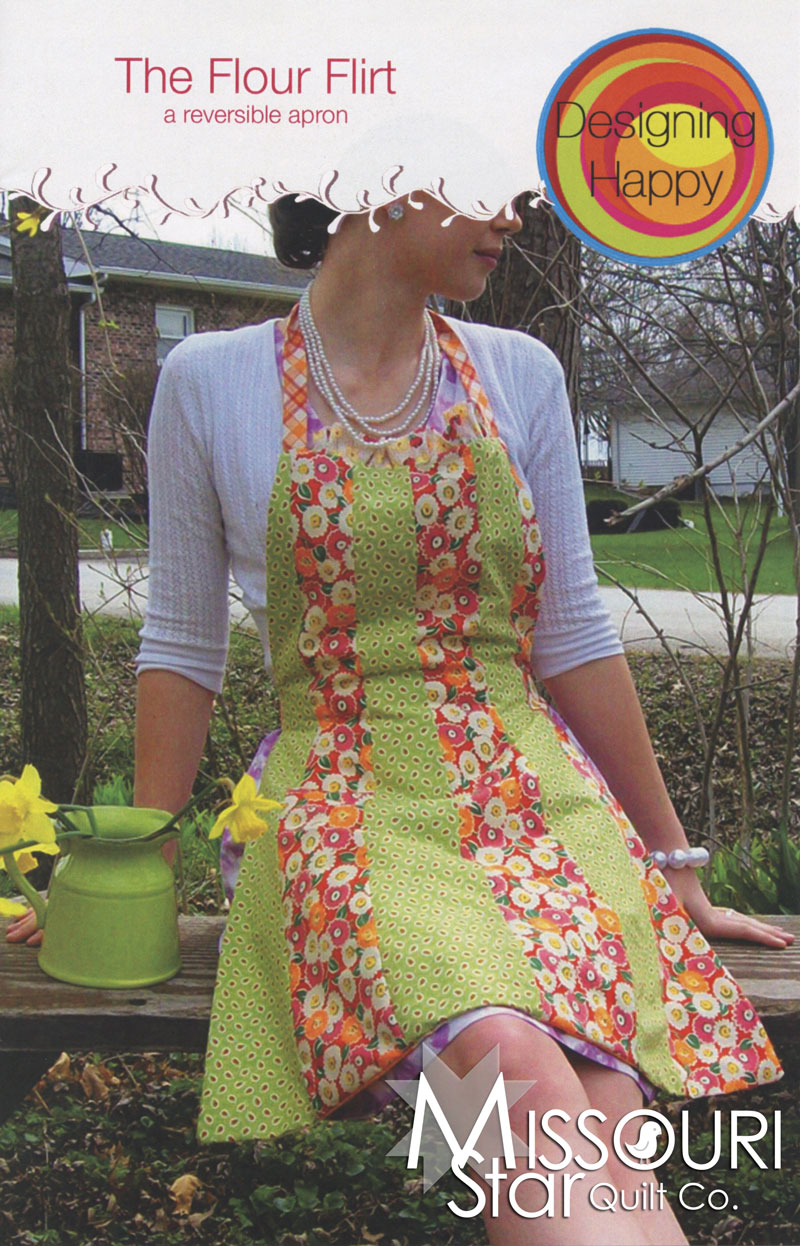
This super-cute and easier-than-it-looks apron is reversible and would look SO fun and flirty in so many fabrics! Misty and Courtenay make an everyday apron something special and Misty's wearing a Holiday version in fabrics that have you ready to start Christmas cookie-baking! Fun Fact: Misty's the model on this pattern's cover - pick up your pattern and show us YOUR version of the Flour Flirt apron!

Instructor
Misty Doan
Misty Doan grew up surrounded by sewing and quilting. She loves spending time sharing tutorials each week each week, and when she’s not stitching up one of her fun sewing projects for home decor, most likely you’ll find her hanging out with her husband and three awesome kids or working on a house project.
Shop this tutorial
Common Questions
What is covered in REPLAY: Learn how to make a Flour Flirt Reversible Apron with Misty and Courtenay!?
This super-cute and easier-than-it-looks apron is reversible and would look SO fun and flirty in so many fabrics! Misty and Courtenay make an everyday apron something special and Misty's wearing a Holiday version in fabrics that have you ready to start Christmas cookie-baking!...
How long is the tutorial video?
The tutorial video is 00:38:17.
Are supplies listed for this tutorial?
Yes. The tutorial page includes the supplies and materials connected to this project.
Is a transcript available?
Yes. A written transcript is available on the tutorial page.
Video Transcript
Courtenay: Thank you for having me.
Misty: Courtenay works on our sewing team here at Missouri Star. She's a fabulous quilter and a wonderful asset to our team and she was kind enough to join me to teach this little apron that I'm wearing today. This is called the Flour Flirt Apron. It was actually designed by my sister-in-law Hillary and fun fact this is me on the cover. Years and years ago when Missouri Star first started, Hillary designed this apron for us and I sat in Jenny and Ron's backyard and we did a little photo shoot.
Courtenay: That's so fun!
Misty: There it is still today. So we decided, you know, we haven't talked about this apron in a long time. It's really quick and easy, deceivingly easy. I think it looks a little tricky and then it comes together really quick so we're going to walk you through how to make this and I think you'll enjoy it. It's a great time to make aprons and things for gifts so you know let's get started.
Okay. So to make this project you're going to need four half yard cuts. This is actually
reversible so you can see there's a difference yes on the back. So you're going to use two of those contrasting prints on the front and two of them on the back. You're also going to need a quarter yard of accent fabric for the straps and the little ruffle at the top, so keep that in mind. And another little fun fact - in the pattern it actually includes a child size version as well, so it'll give you the directions for that in there.
So this one I'm wearing is in Christmas and you can get a link to this fabric in the description below.
Liz: That's right.
Misty: But we are using this really cute collection called Joy in the Journey by Danny Mogstad for Riley Blake Designs to make this next one we want to show you. So
Courtenay, you want to dive right in and tell us how to get started?
Courtenay: Sure the first thing you're going to do is take your four half yard cuts and you're going to cut them into three six inch pieces.
Misty: So you'll have to be pretty pretty careful. Make sure you have a full half yard because you need that whole thing okay.
Courtenay: And if not, if you can only get five and three quarters it's gonna be just fine okay? So don't worry about that.
Misty: Just adjust it to make sure they're all the same size.
Courtenay: Then you are going to cut your strips into 31 and a half inch lengths. Then this is kind of the tricky part which when I first read I was like what on earth? But it works really great. Just follow the pictures and check out Misty's tutorial and you'll be all great to go.
So we're going to fold the strip in half lengthwise here
Misty: And did you just kind of finger press?
Courtenay: Yeah I finger pressed it to get nice and flat. Then you're going to go in an inch
and a half from the fold. Turn the ruler over right, so you can see here. There we go inch and a half in from the fold and you're going to cut down 12 inches. So again let me flip that over
and
Misty: Did you mark or anything or did you..
Courtenay: I didn't mark it. I just eyeballed it. Okay. Well I followed…I didn't eyeball it. I guess I followed the ruler.
Okay cut that, and I know this looks strange, everybody, but hold in there with me, it works out. Then I fold this flat. Then you need the bigger ruler and you're going to take it down to the corner about an inch up from the top and you're going to make a slice here to make this angle, okay? And there you go and that's the trickiest part.
Misty: Okay let's show that one more time.
Courtenay: Alrighty. And she has in the directions, if you want you can go ahead and stack these three high and do them all at once. For the first couple, I did not. But once you do one or two, then I stacked all three and they worked just fine.
Misty: You had no trouble.
Courtenay: Yes, this pattern is very forgiving. Hillary wrote it. It's a great pattern and
so the three saved a little bit of time when you stacked them three at a time.
Misty: That's always a good tip because I think I would be like you. I'd be a little leery to stack them when you're dealing with folds and you know so many layers, but I'm glad to know it worked well.
Courtenay: It worked beautifully. So I have to make sure the ruler is right side up. All right there's my 12. There we go.
Misty: So she measured 12”, that's just a straight cut.
Courtenay: and then I'm going to go all the way up on the mat, get my longer ruler out. There we go.
Misty: There you go and so then when you open those up they kind of look like a broom. They just have like a little wedge at the bottom and so you're going to have three of
these out of each fabric. So we already cut the other one of these and so this is our contrasting fabric that goes with it and now you're looking at all these and if you are like my brain I would think oh we're gonna have to flip these around to make them all line up
but that's not what we want with this apron. We actually want it to create this skirt that you see here and it flares out at the bottom. So we're going to keep all of the wide parts down and we're just going to alternate prints. So we're just going to put this in between and lay right sides together.
Courtenay: To me it didn't look like it was going to work sewing it, but it totally did. You just follow the line down and it works just fine.
Misty: Did you pin or anything?
Courtenay: I did not pin.
Misty: Okay I did not put it so then we're just going to start by lining up. Did you
have any trouble with them lining up as you sewed or at the bottom?
Courtenay: Sometimes maybe I was a little off once I got to the bottom sewing the sides together. And once I got all of the other side done, I just evened it out with my scissors.
Misty: And had no trouble. Okay perfect. So then we we've got these right sides together. Starting at the skinny side on this one and we're just going to sew our usual quarter inch seam.
Liz: And you don't need to shorten your stitch or anything like that?
Misty: Well I haven’t. You didn't do that on your other? I usually have my stitch length right around a two or 2.5. Then when you get to this part where it starts to flare it is so gentle you can just tug your fabric a little bit, you don't even have to pivot or anything. So I just keep it on my quarter inch line and we'll just keep this lined up as we go. There's that one and now we need to add one more right? So for this one I'll probably start from the wide side, since I like to have the bigger piece of fabric on the bottom. Same idea.
Liz: If you didn't have the bigger ruler is there any trick to getting that flare cut?
Misty: If you didn't have the bigger ruler? I would probably mark it or cut it with scissors. I think that would be the easiest thing if you didn't have the long ruler measure down your 12 and you know make a mark. You could probably cut that part even, and then just use your shorter ruler and aim for this a little bit at a time, trying to aim as carefully as you can. Use a chalk pencil or something that'll rub off.
Courtenay: And I love how your brain works because I always think oh I have to sew top to the bottom.
Misty: Oh really?
Courtenay: Just like oh, I'll just sew it and I thought that is such a great idea. I never thought of it.
Misty: I just don't like having the bulk on the top so I like being able to see my small piece line up. I think that's that's a good reminder though that everybody's brain works differently. And so then we have the other half of this front panel ready to go, right? So you can see we've got these three and these three and we're just going to lay these together just like before, and we can sew right down what will be the middle seam of our apron.
Liz: Very cool.
Misty: All right, so let's stitch this one up. I think with projects like this it's so handy to see them done because when I look at this and I can tell there's angles on it, I immediately get just a little leery. I think all of us do if we're not super comfortable working with
new shapes.
Liz: I agree.
Misty: It's mentally it's fun to see how quickly it really does come together. It’s a great little
Project. So that's one whole side, right?
Courtenay: That is one whole side!
Misty: So then you would just repeat this with your other fabrics because you have a half yard of each cut, remember. So two of them are the front, two of them are the back and we have that one ready to go. Court, you've got all your little pieces here…
Courtenay: I do.
Misty: I don't want to lose those. Here we go and you've gone ahead and made the straps.
Courtenay: Yes
Misty: Okay so you can see this is just the reverse of this. These are such cute prints! Do you want to talk a little bit about this cute camper print, because it's a directional print.
Courtenay: Right it is directional. So if you have a directional print that you'd like to use in your apron go ahead and get a yard because then you can cut it going in the lengthwise direction. Because it really was going to bother me if these campers were…
Misty; Yeah, I mean it would be sad to have those darling little campers all sitting sideways instead of… they look so cute upright like this. I love that.
Liz: So since it's a 31 inch cut, that's why you want to go ahead and get a yard because that will give you plenty of room to do that right. Just want to clear that up.
Misty: Yeah then you don't have to worry about them being upside down or sideways.
Liz: Perfect.
Misty: Okay that looks great. So let's just cover the straps really quick. They're just simple little tubes but we can show you.
Courtenay: These are the side straps. So it's just the width of fabric.
Misty: Okay, and is it three inches wide?
Courtenay: Yep. So we're going to sew these you're gonna fold it in half lengthwise and you're going to sew across the short end and then down one long end. And leave the other end open. And you're gonna do that to two of those.
Misty: Ok and that's for the side straps. And also this and then why don't you talk
about the neck strap and how and what that measures?
Courtenay: So the short strap, and this is for the neck, is two and a half by twenty three and a half inches long. You are going to fold this in half as well, right sides together. But on this one you're just going to sew, you don't need to sew across either end, you're just going to sew on the raw edges and then flip the tube right side out.
Misty: You're going to catch the ends…
Courtenay: And you'll catch the ends…
Misty: That makes sense. All right.
Liz: And you've got all your straps out of your accent fabric and this is a really cute gingham. I love the gingham.
Misty: You can't go wrong with gingham right?
Liz: And since this is reversible Misty you're wearing a Christmas style and we're making kind of an everyday style, you could actually put every day on one side and Christmas on the other side.
Misty: That's true, that would be adorable. Or different holidays on either side.
Liz: You could have a combo Halloween/Thanksgiving.
Misty: I love that.
Courtenay: Yeah, just make sure your straps and your ruffle cord are something that will go with those.
Misty: That is a wonderful idea! All right I've got that one ready and then you've got the other ones turned.
Courtenay: The other ones are all turned. And here comes a tricky part with turning these too. There are tools on the market as far as helping turn, but I go to my great old safety pin here. So I put the safety pin in here and then it's tricky to start, you just kind of start working it down the tube. You just start working it down once you get it started then it goes pretty
quickly.
Misty: I usually use the end of a wooden spoon.
Courtenay: See that helps and that would probably go a little faster, but I didn't even think of the wooden spoon at work. I just had that.
Misty: Well exactly you don't necessarily have one at your sewing machine. But I actually keep an old one that's really cracked at the bottom that I no longer like to use for cooking and so I just have it up in my sewing cabinet at home.
Courtenay: You just keep working at it until you get it all the way to the other end.
Misty: I've also seen where they'll do that and they put a string through it?
Courtenay: Oh yeah you can totally do that!
Misty: And you just pull the string. There's all kinds of turning tips maybe that should be a little segment.
Courtenay: Well and the one trick with this is once you get done the pin is still in the in the inside so you have to open the pin and which is fine. I just opened the pin and shut it inside and and then set it back up and it falls right out.
And then once you're once you get it all folded you want it pressed just press it nice and flat.
Now let's do our ruffle.
Misty: Oh that's right. We do we have this cute little ruffle at the top.
Courtenay: I totally want to say ruffles have ridges. So your ruffle. You're going to sew
Misty: And what does this piece measure?
Courtenay: That piece measures two by 13 inches. So in this case you're gonna put them wrong sides together okay and you're going to lengthen your stitch at this point. and you want to make sure you have a tail…start with a tail on your bottom thread
Misty: Okay and so what did you lengthen your stitch too?
Courtenay: I lengthened mine to about almost a five.
Misty: Okay I will do it all the way up to a five
Courtenay: And you're going to start a little bit in on the fold side okay curve it come down your raw edge and come back up and curve again. So you are going to enclose your ends with the curve okay?
Misty: And did you, well no, you didn't backstitch because you have to tug it right right. Okay so nice big stitches… all right those big stitches are much bigger than I'm used to. All right
All right, so like Courtenay said, we've got those nice big stitches and we're just going to slowly curve towards the bottom we're going to go ahead and pivot there and then we can go all the way down this side.
Liz: And that long stitch moves, fast doesn't?
Mist: It it does it really does! Sometimes I'm a speed demon you guys. All right and then I'm just going to pivot a little bit again on this other side, and make sure we can get all the way to the edge, there we go. I didn't keep tails on this court so we're going to oh careful they'll be fine okay
Courtenay: So then you start gathering it and at this point we'll just gather a little bit because we're going to have to make it fit in between the straps anyway so we'll have adjusting to do later. So you just kind of want to pull real gentle on the thread and just kind of work it.
Liz: Are you pulling both threads or just one?
Courtenay: I'm just pulling… actually I'm really not pulling on the thread. I'm holding the thread and pulling it against to make the ruffle so I'm not really pulling on it too much. And then I have the bottom thread there and I'm just kind of holding it and pushing the ruffle just to let it gather.
Misty: I think that's a good tip is to really not tug too hard on the thread because you don't want it to break. You want to hold it taut and then kind of slide that fabric gently right along it.
Liz: That works way better than the way I've done it before.
Courtenay: And on this small of a gather I've done where you can zigzag over heavier threads, but on something this small you really don't need to do that because we don't have much to work with here. So here's our ruffle. And then we're almost ready to sew all of our straps in our ruffle. But first we need to trim up the sides of the apron up top to get it more angular.
Misty: Okay let's do that.
Courtenay: So we're going to lay this down and I'm going to look at the directions once more.
Misty: Always better to triple check, right?
Courtenay: Okay so to do the apron side, you need to come in two inches from the top
and you're going to come off of the apron 12 inches down. So I'm going to try to angle this. I'm going to lay my ruler here at the two inches in. I have my fabric lined up there I'm going to go two inches in okay and then I'm going to put my ruler this behaves a little bit on the 12
inches down here.
Misty: Okay I see. So you're cutting off this little corner to make the top a little bit more narrow, so it fits nicely to your body. That makes sense.
Courtenay: Okay so there you have that. Now we have to do the other side. So again I'm going to like come in two inches from my edge up on the top there and come down 12
inches so it hits that side of my apron.
Misty: It's a great way to show that you can use either your ruler or the mat…
Courtenay: Correct. And now it's ready to attach. Now we do that to the front and the back and now they're ready to attach our straps. All right, so our straps. The short strap is the
neck strap and it comes in a quarter of an inch from the end of your apron and I put the
seam in there. See this is what you don't want to do. You want to make sure that you're all in the same direction because you don't want your neck strap to tangle or to curve. So I'm going to lay that nice and now you know that it goes…
Mistly: So you've got a circle the seam all the way on the inside
Courtenay: Yep and the seam is all the way on the inside so I know it's nice and flat.
Misty: Great.
Courtenay: Then the side straps are 12 inches down from the top. So I have those with
the raw edges even and again I've got the seam on the bottom facing the bottom of the apron. Now we're ready to put our little ruffle on here. So this is where you're going to adjust it to fit right in there. You kind of want the raw edge, you kinda want to catch the
raw edge of your ruffle. So you kind of want to fold it around there that's going to hang off and that's fine into the seam but you really want to make sure you catch that raw edge at the top. And you're just gonna adjust this across, and adjust it coming up the other side so that ruffle fits right in that spot.
Liz: So this will be slightly finagly?
Misty: Yeah it just takes some maneuvering.
Liz: But it's not hard. It's just deciding how you want your your ruffle to to fit. I super love how the ruffle adds that little extra detail.
Courtenay: I love the ruffle.
Misty: It's a great little detail.
Courtenay: I don't do ruffles much. I don't have ruffles but it was really fun using them on this project.
Misty: And it's not too much. It's just pretty subtle which is nice.
Courtenay: Well and I will tell you too. The other thing that I noticed with the size of the ruffle. It was that thin and I thought, are you sure that's not a lot of ruffle, but you don't need a lot of ruffle, it was perfect. That's a great pattern. All righty let's make sure that's pinned; we don't want to have to fight with it later. I'm pinning it now and then we're also going to… When you put the right sides together I take these out and re-pin it okay. So now it's right sides together with your front and your back and you leave a place open anywhere you want. I left about six inches open on the one side seam.
Misty: Okay so let's let's do it. So let's show how you move your pins when you have the multiple layers so they can see.
Liz: Guys I'm excited for you to show us your Flour Flirt aprons. Remember you can use #msqcshowandtell to show us the projects you're working on. We would love to see what you do, what fabrics you choose. Remember, you take four fabrics, you can mix and match all kinds of things. I can't wait to see what you do.
Misty: I know I'm excited to see the half everyday half holiday version. That's a really fun idea!
Liz: I think that will make a great gift. I love giving kitchen-y things as wedding gifts. And so
it's kind of fun to say like, here's something you can have for every day and holiday and this is gonna be a really fun project to work on.
Misty: Well and aprons are so useful. Everybody needs one, so they are practical. Whether you're grilling or cooking in the kitchen, they're useful.
Liz: Oh grilling! I bet you could find some really fun stuff. You might you might leave off the ruffle. But you could actually totally have a very like hamburger and hot dog ruffle.
Misty: I have quite a few girlfriends that are like grill masters, they're so good. I am not a great griller, not yet in my life. I haven't learned that skill but I think you know maybe maybe you need a ruffly grilling apron.
Liz: Maybe you do. Show us your roughly grilling aprons.
Courtenay: Then I would pin going down this.
Misty: Just to help keep everything lined up right? I think it's a good reminder that no matter how long we've been sewing, sometimes there's a project that you just really need to pin it. It just helps with the overall outcome. I like to deny pins as much as possible, but they are so useful and usually once I give in and use them I'm so glad. Like why did I fight this so long
Liz: That was me and pressing. If I'm honest I didn't used to press things and then I finally started doing that step and I was like why did I put this off?
Misty: I know, it's so silly.
Liz: Oh so this is a good question as we're getting down here to the bottom. Courtenay did you have to worry about matching up seams along the bottom or did you just make sure it kind of fit?
Courtenay: You know, I did not worry about that.
Liz: I love it! Less things to worry about.
Misty: But you just kind of made sure it's all laying nice and flat right?
Liz: Excellent.
Misty: And did you sew all the way around?
Courtenay: I sewed all the way around. And here you can see, for whatever reason,
this side is shorter. Before I start sewing, I'll go trim that so they're even.
Liz: Just a quirk of how it comes together.
Misty: Well and probably what I would do. I would go ahead and pin like you're doing both these sides and I would maybe even wait to trim until after I sewed and just used my top fabric as my guide.
Courtenay: Absolutely, yeah, do that. Use the shorter one…
Misty: Because if I got to this point, I wouldn't want to take it apart.
Courtenay: That's a great idea.
Liz: So Misty do you have to turn now that you have your ruffles done do you have to turn your stitch length back?
Misty: Yes good catch Liz. We would have regrets with those big stitches for our seams.
Courtenay: That’s why you need a Liz in your studio. Team sewing is dream sewing.
Misty: And we're off. Okay we are just going to zoom around the side and take our pins out as we go.
Courtenay: You could also leave the hole at the bottom, but it's on a curve so that's why I did not leave a hole. I opted for the side because it’s straight.
Misty: That makes sense.
Liz: Good tip, good tip.
Courtenay: This would be cute with a set of matching pot holders.
Liz & Misty: Yes, that's a great idea!
Misty: Okay we're getting up to the top, so I'm going to leave my needle down and we're going to pivot here. I'm just going to take my pins out as I go so I don't have my ruffle slip on me and all of our layers stay where we want them. Because we are working with a few more layers up here you just kind of want to take your time. Don't force it through never want to sew over a pin. Okay we're on this other side so remember needle down and pivot.
I am going to check here, I could feel the neck strap was getting too close to that side seam so I'm just going to go ahead and tuck that out of the way because we don't want to catch that in the side, only on the top. And now that I've got that we're just going to zoom down this side.
One thing I forgot to mention on the other side. when you get to where your side straps are or even your top straps, you can go ahead and back stitch over that area just to give it a little bit of extra strength. So I'll do that here and then we'll just keep on stitching around and we'll meet you back when we are done.
Okay we have made it all the way around. Now remember we left a nice size opening here to turn this out but we are going to go ahead and trim off our excess off the bottom here. You can see I used the shorter side as my guide fabric for that quarter inch seam and then Courtenay's just going to carefully trim off the rest of our bulk.
Courtenay: And this might have come up because I cut part of it on Friday and part of it
today. You never know. It doesn't make any difference.
Misty: And sometimes just even different prints in the same collection are just a little bit longer or shorter or have a little bit more stretch to them. So these are things that we can just totally adapt and roll with. It's nothing to stress about right? So we've got that all done we can flip it.
Courtenay: Do you want to?
Misty: You can do it. You can do the honors.
Liz: And you can use the neck strap to help you turn it.
Misty: Exactly. Give you something to grab a hold of there.
Courtenay: All right and then you want to poke out your corners.
Liz: The ruffle looks so cute!
Misty: It looks so good. Awesome.
Courtenay: And then just go through and press all this nice and flat. And then you'll turn these in on itself and hand stitch them closed. Now there's no direction about you could go through and top stitch this all down and then you can catch this with your sewing machine, if you went all the way around the edge. But I hand stitched that and it looks really nice. You can't can't see it anywhere.
Misty: Thanks so much for joining me and Hillary, my darling sister-in-law, thank you so much for designing such a wonderful, cute pattern!


