
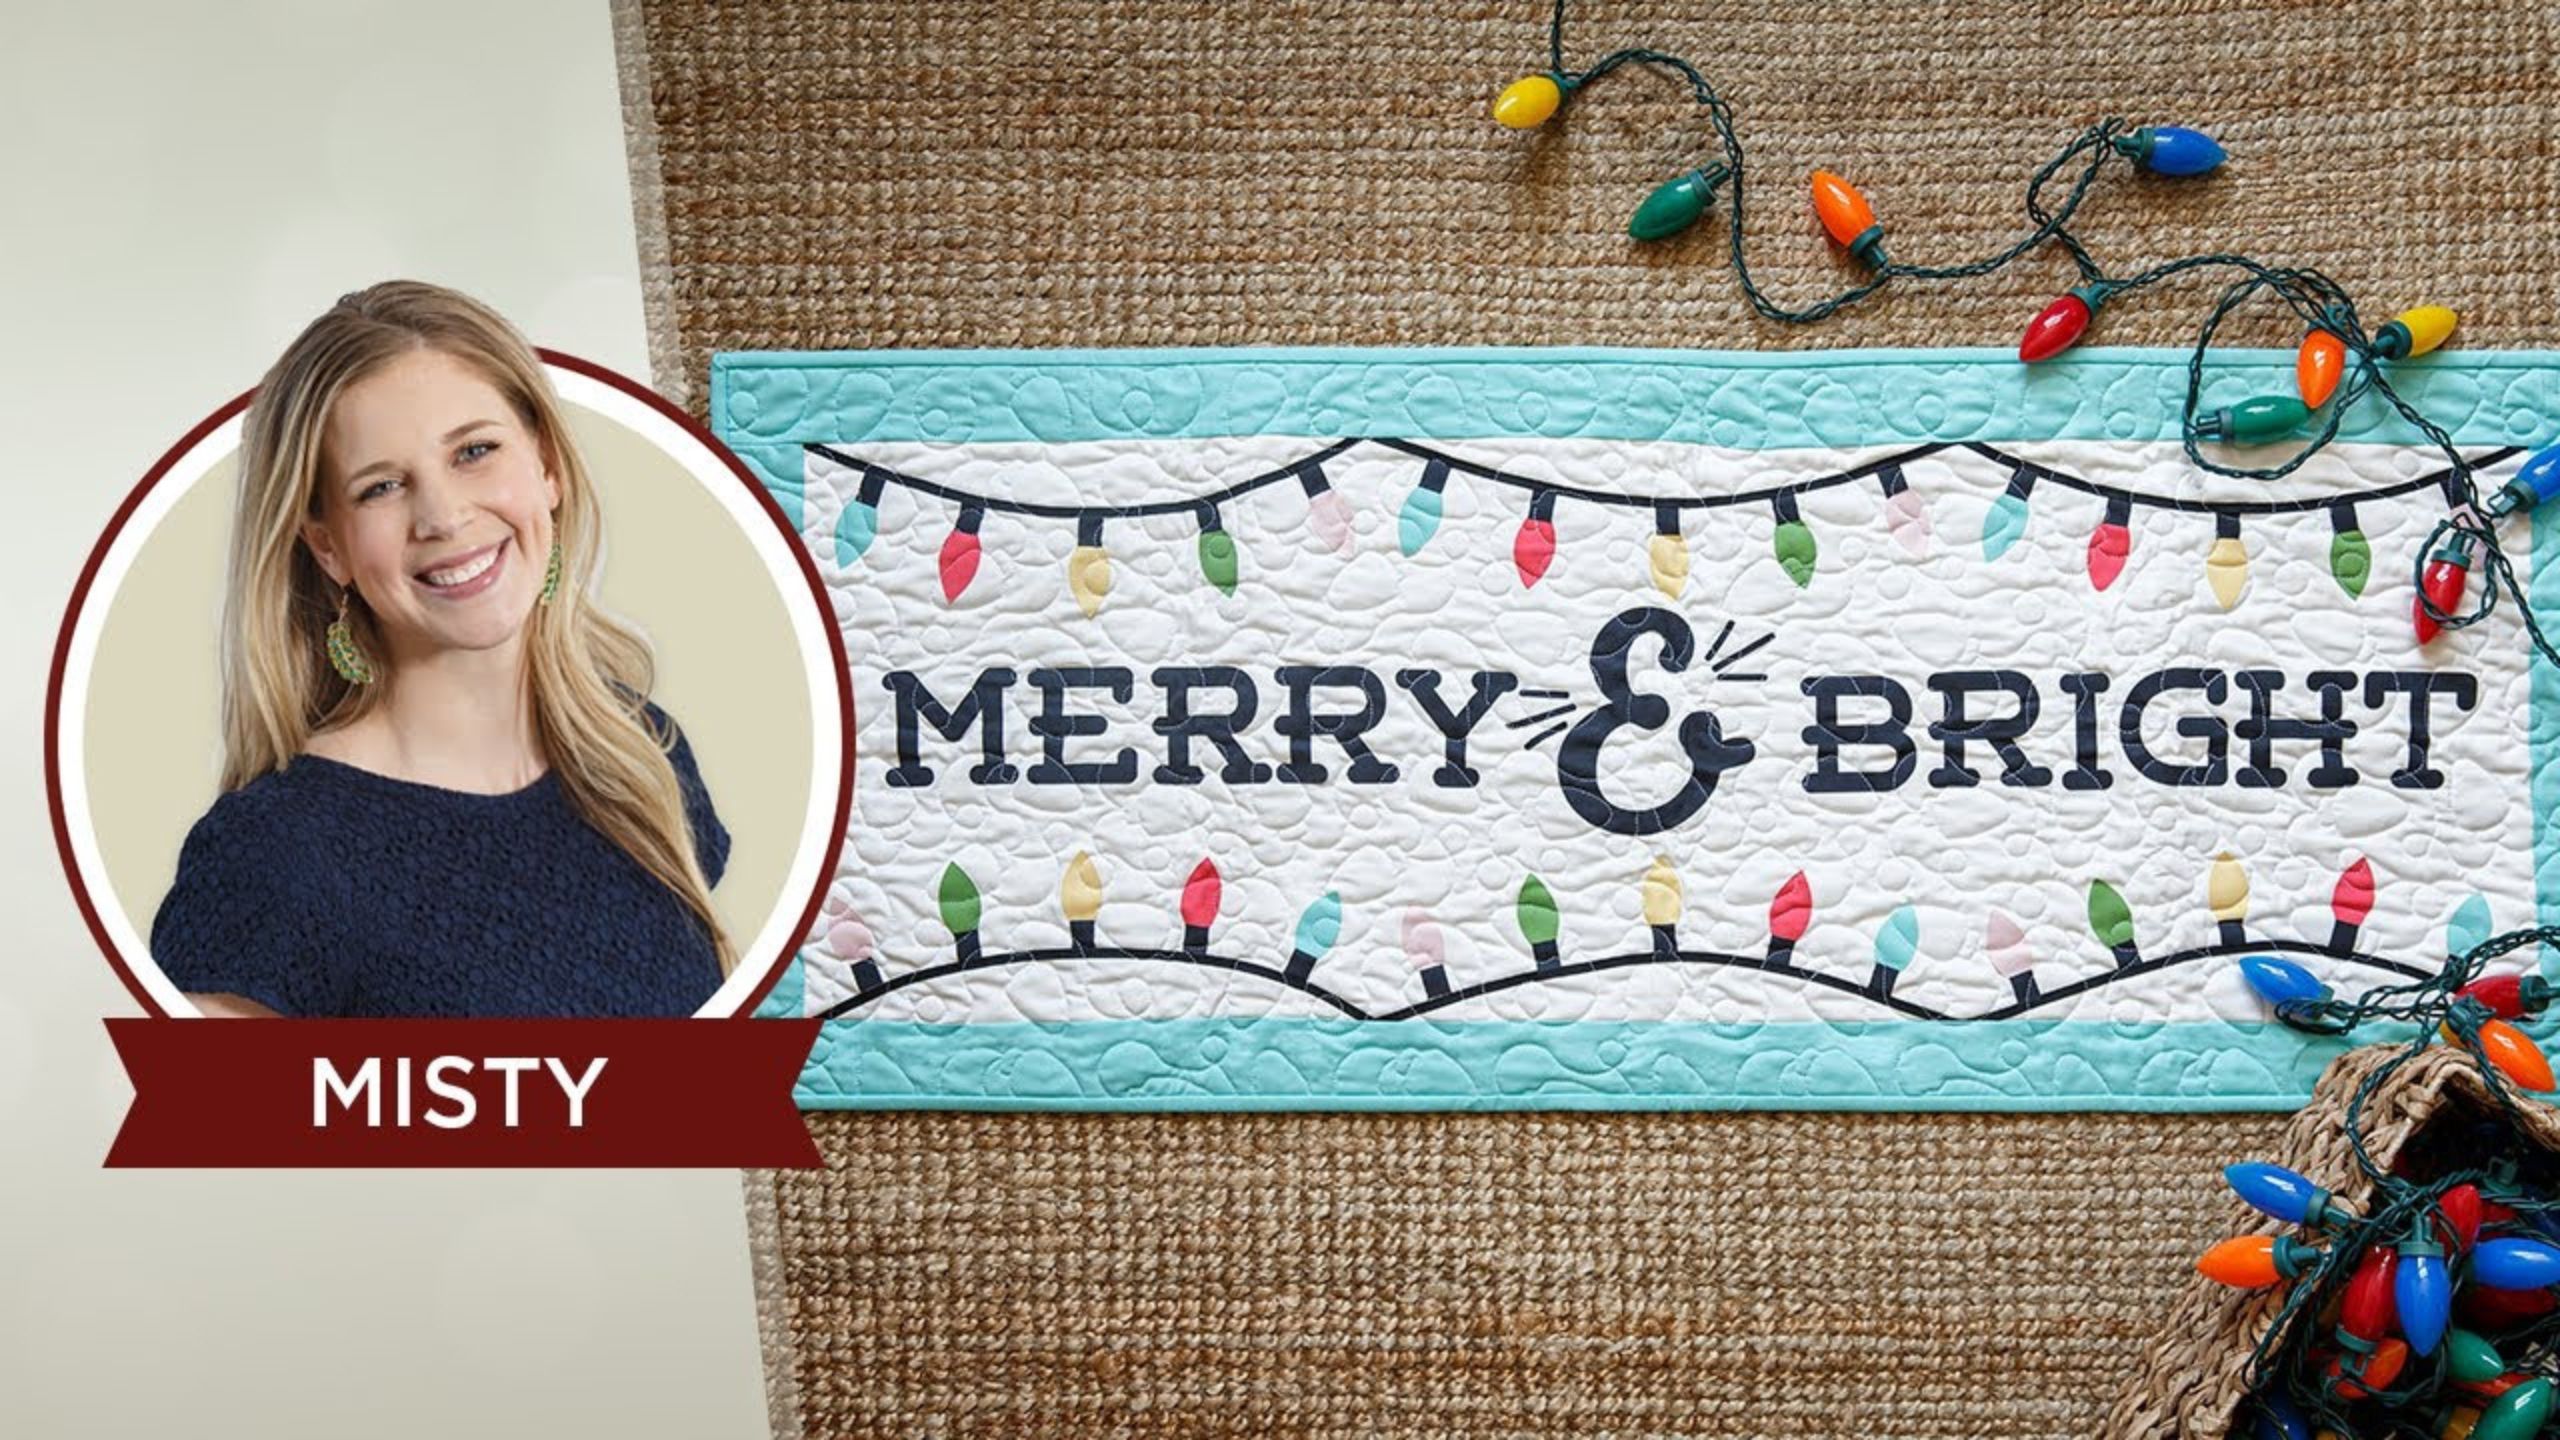
REPLAY: Learn how to make a Merry & Bright Table Runner with Misty on Missouri Star LIVE!
 Misty Doan
- Fabric by Yard
- Holiday
- Table Runner
- Intermediate
- Quilt size 17" × 44"
This lovely table runner is sure to make your holiday season very merry! Stitch along with Misty as she creates a quick and easy precut, prefused applique project featuring strings of colorful twinkle lights framing the phrase "Merry & Bright." Christmas is just around the corner and it would make a wonderful gift too.
Instructor
Misty Doan
Misty Doan grew up surrounded by sewing and quilting. She loves spending time sharing tutorials each week each week, and when she’s not stitching up one of her fun sewing projects for home decor, most likely you’ll find her hanging out with her husband and three awesome kids or working on a house project.
Shop this tutorial
 Missouri Star Merry & Bright Precut Fused Appliqué Pack$17.95Shop →
 Kona Cotton - White Yardage$7.28Shop →
 Kona Cotton - Aloha Yardage$7.28Shop →
 Clover Quick Bias Tape 1/4" x 11yd - Black$16.95Shop →
 Magic Pins™ Quilting Pins - 100 count$18.75Shop →
 Baby Lock Accomplish - 1500 SPM Straight Stitch Machine$999.00Shop →
 Missouri Star Quilter's Best Blend Bed/Table Runner Batting$14.95Shop →
 Olfa Splash Aqua 45mm Rotary Cutter$18.75Shop →
 Missouri Star 2.5" x 8" Ruler$10.95Shop →
 Missouri Star 6" X 24" Ruler$25.95Shop →
 Exclusive Missouri Star Jenny TG1600 ProPlus Oliso Smart Iron$199.99Shop →
 Missouri Star Wooly Betty Board - 17.25" x 25.5" Orange Border$98.95Shop →
Common Questions
What is covered in REPLAY: Learn how to make a Merry & Bright Table Runner with Misty on Missouri Star LIVE!?
This lovely table runner is sure to make your holiday season very merry! Stitch along with Misty as she creates a quick and easy precut, prefused applique project featuring strings of colorful twinkle lights framing the phrase "Merry & Bright." Christmas is just around the cor...
How long is the tutorial video?
The tutorial video is 00:24:13.
Are supplies listed for this tutorial?
Yes. The tutorial page includes the supplies and materials connected to this project.
Is a transcript available?
Yes. A written transcript is available on the tutorial page.
Video Transcript
Here are the steps you can follow to create a fusible applique:
Choose your fabric: Select the fabrics you want to use for your applique shapes and your base fabric. It is best to use 100% cotton fabrics for this technique.
Prepare your fabric shapes: Trace or draw your applique shapes onto the paper side of a fusible web. Make sure to trace the shapes in reverse if they are asymmetrical. Cut out the shapes roughly, leaving some margin around the edges.
Fuse the shapes: Place the fusible web rough side down onto the wrong side of the fabric and press with a hot, dry iron for a few seconds. Allow the shapes to cool for a minute, then cut them out precisely along the traced lines.
Arrange the shapes: Arrange your fabric shapes onto your base fabric in the desired position. Once you are happy with the placement, fuse them onto the base fabric using a hot iron. Place a pressing cloth or parchment paper over the applique to avoid melting the adhesive.
Secure the edges: Stitch around the edges of the applique shapes using a straight or decorative stitch to secure them to the base fabric. You can use matching or contrasting thread to highlight the shapes.
Finish the project: Use your applique to decorate a quilt, pillow, bag, or any other project you desire.
Fusible applique is a versatile and easy technique that can be used to add a touch of whimsy and personality to any sewing project. Just remember to always follow the manufacturer's instructions when using fusible web and to test your iron's temperature on a scrap piece of fabric before applying the shapes to your project.


