
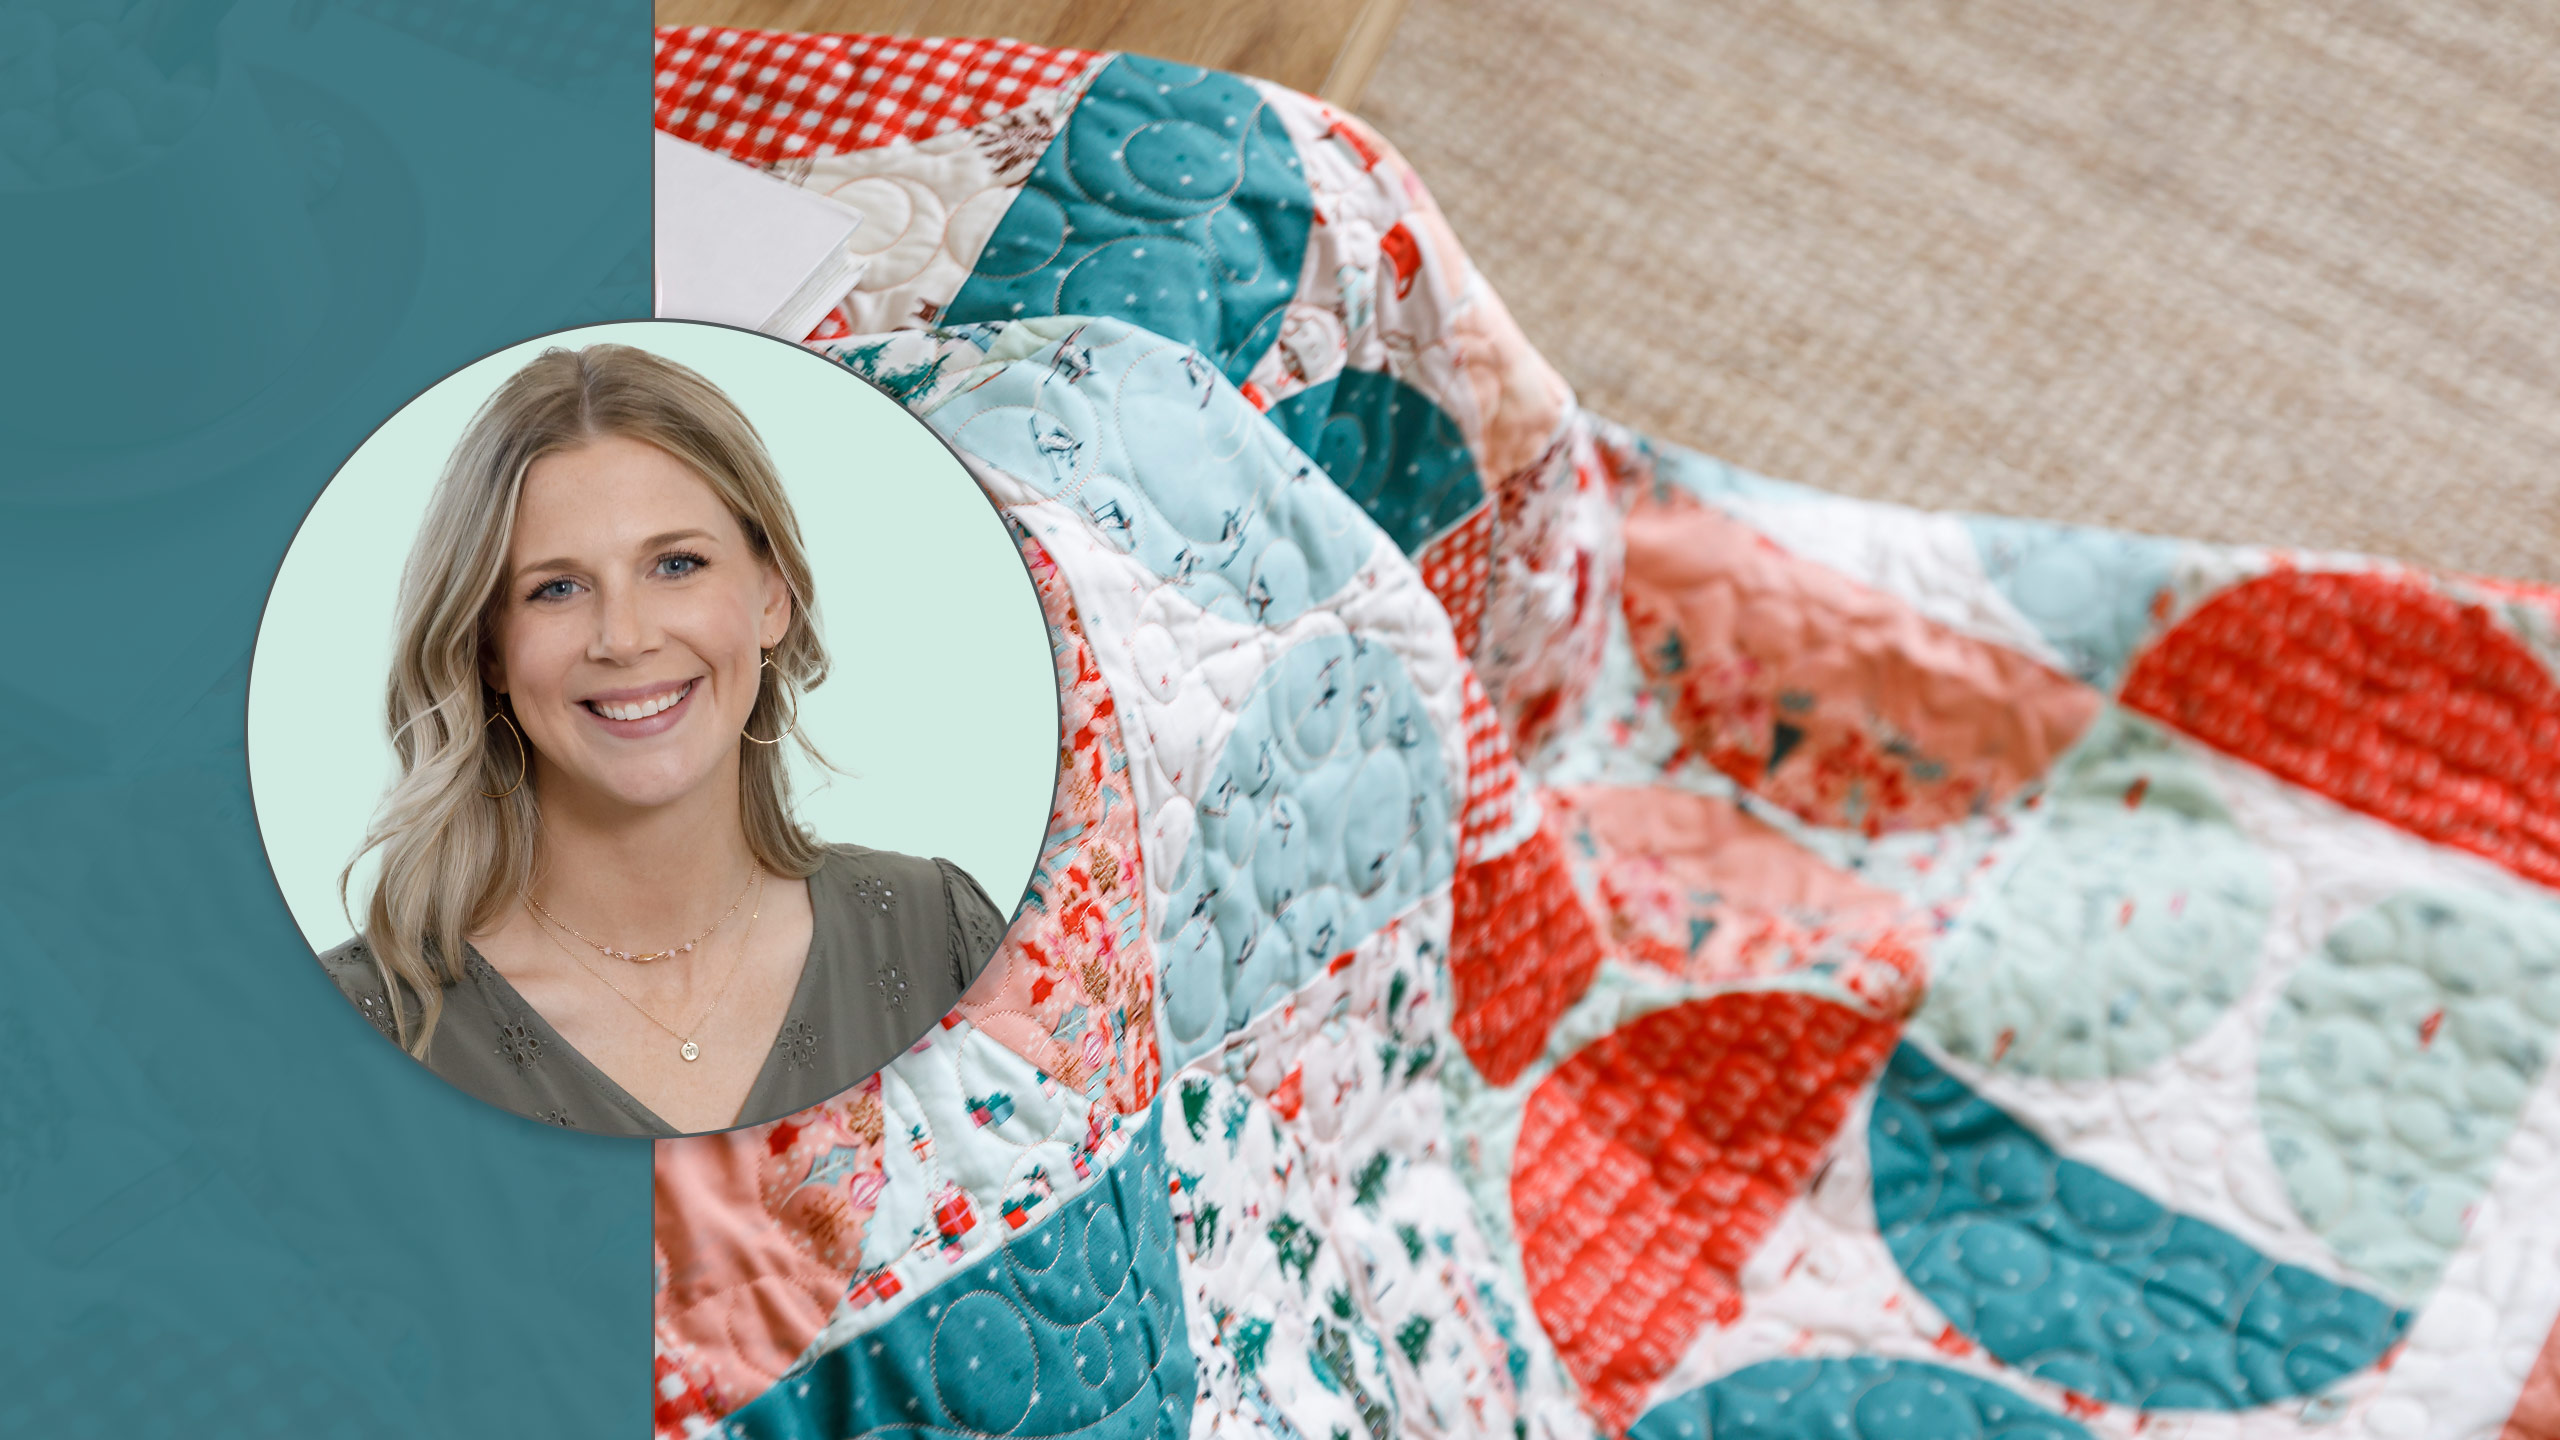
Retro Snowballs
 Misty Doan
- Layer Cake
- Traditional
- Quilts
- Intermediate
- Quilt size 72" × 82"
You’ll have a ball making this quilt! Appliqué is the secret to making these rounded half-circles of fun, and Misty shows you just how easy it is! This quilt is made with the festive Christmas in the Cabin collection from Art Gallery Fabrics. Switch up the colors and prints to make a fun quilt for any time of year! Don’t miss out! Like and follow our pages to learn about upcoming tutorials, in-town events, special deals, and other Missouri Star quilting adventures.
Instructor
Misty Doan
Misty Doan grew up surrounded by sewing and quilting. She loves spending time sharing tutorials each week each week, and when she’s not stitching up one of her fun sewing projects for home decor, most likely you’ll find her hanging out with her husband and three awesome kids or working on a house project.
Shop this tutorial
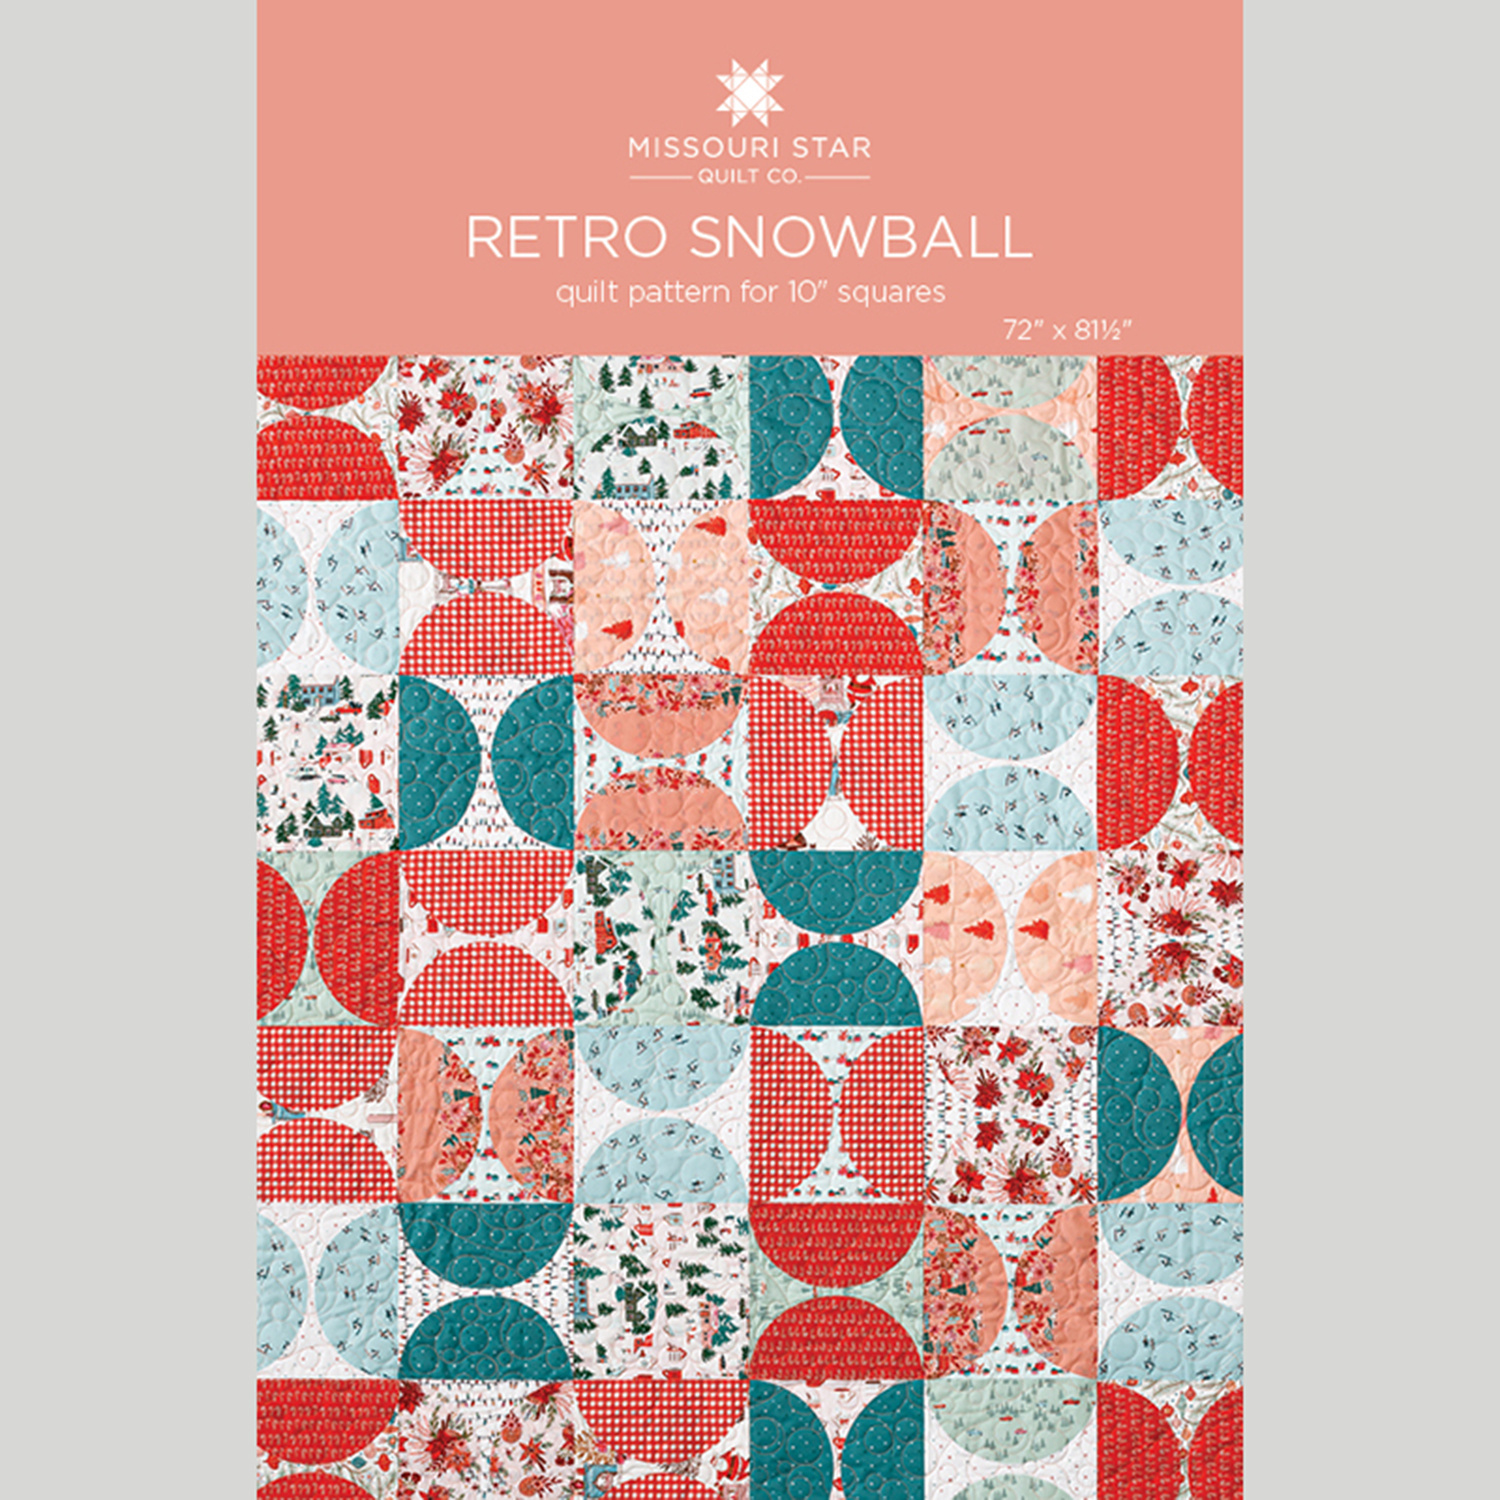 Retro Snowball Quilt Pattern by Missouri Star$8.50Shop →
 Digital Download - Retro Snowball Quilt Pattern by Missouri Star$6.95Shop →
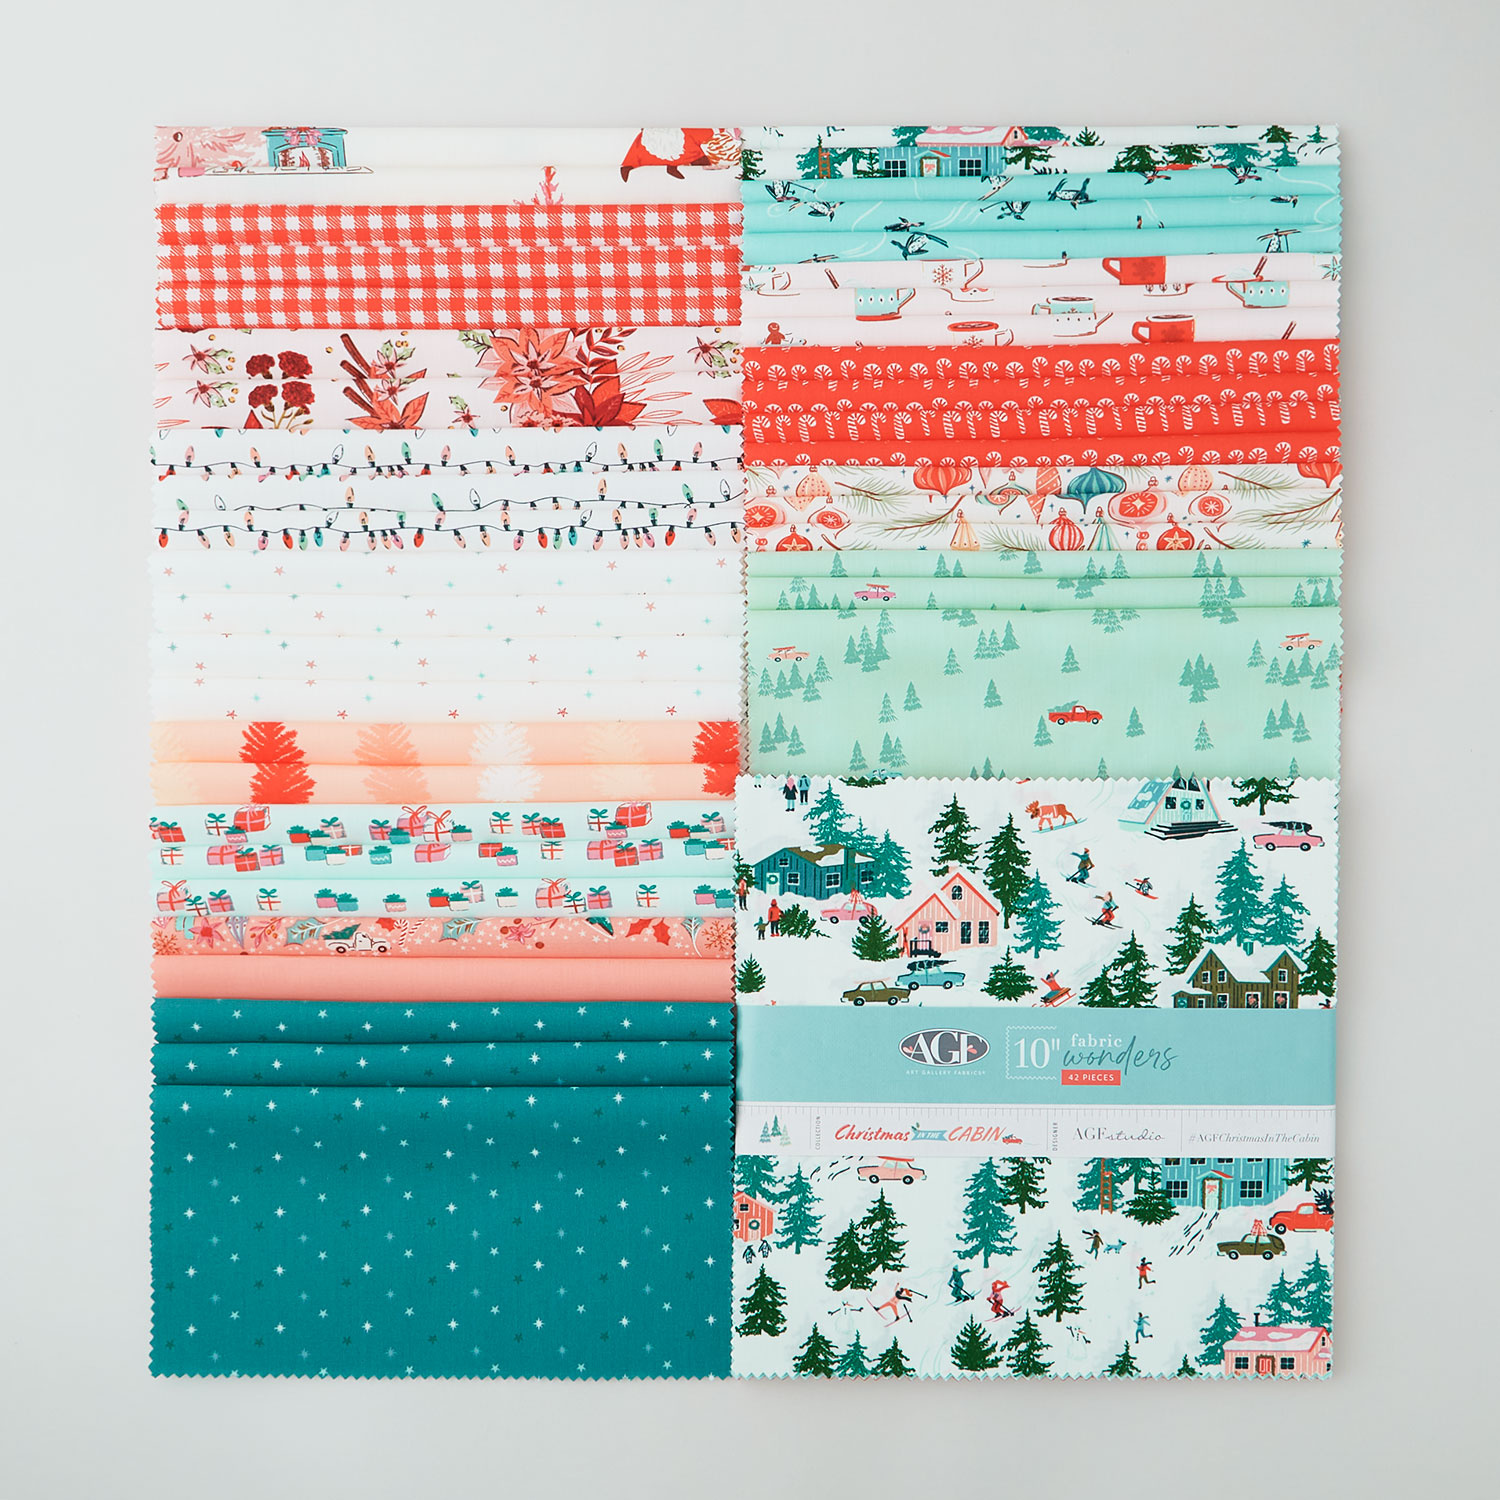 Christmas In The Cabin 10" Squares$49.00Shop →
 Kona Cotton - Snow Yardage$7.48Shop →
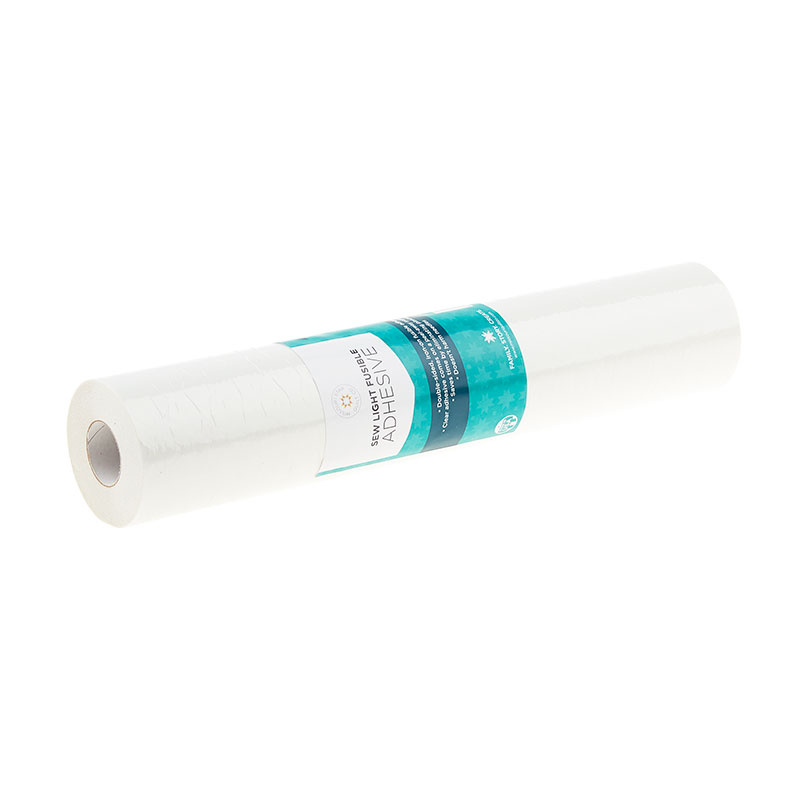 Missouri Star Sew Light Fusible Adhesive - 12" x 15 yards$28.95Shop →
 Quilter's Favorite Dispenser - Quilt Town$18.95Shop →
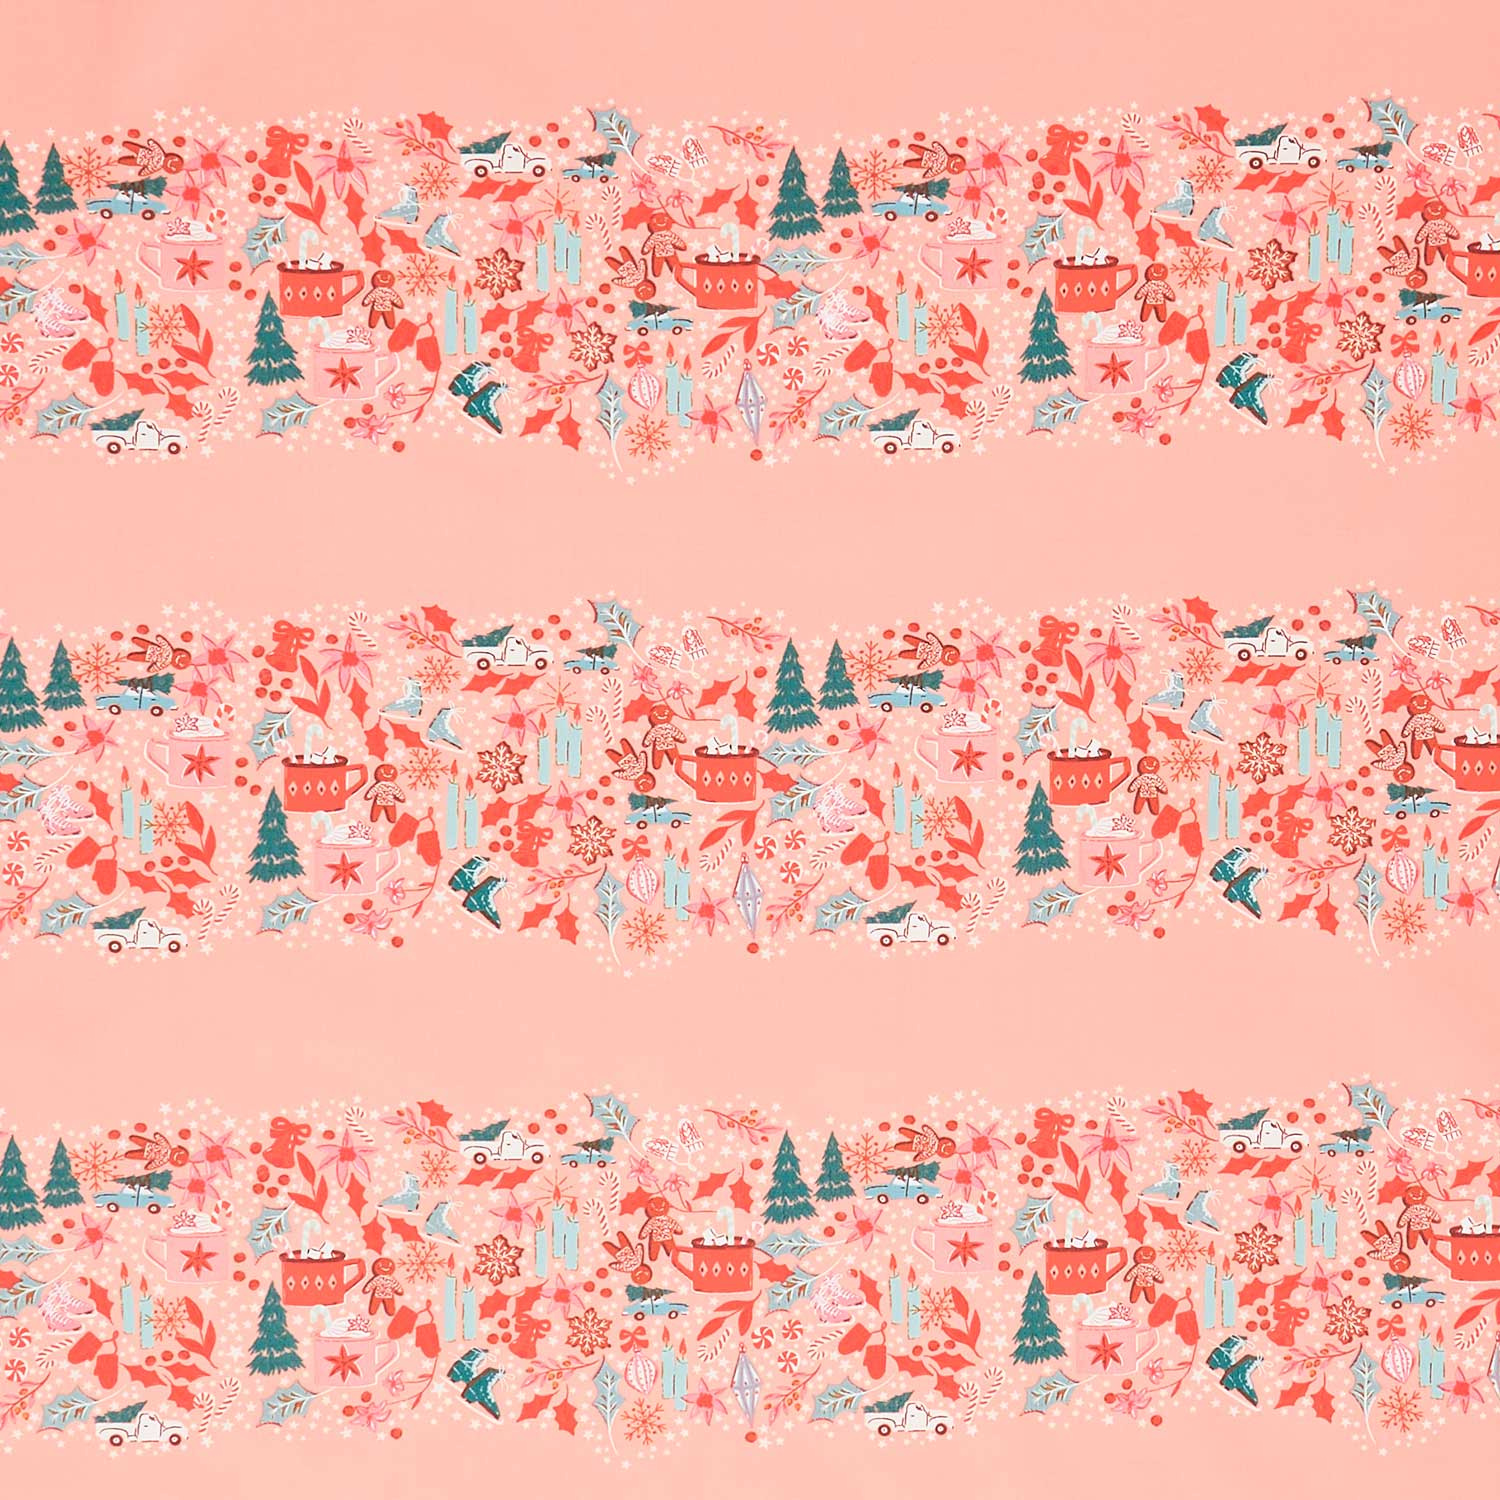 Christmas In The Cabin - Christmas Gatherings Pink Yardage$12.64Shop →
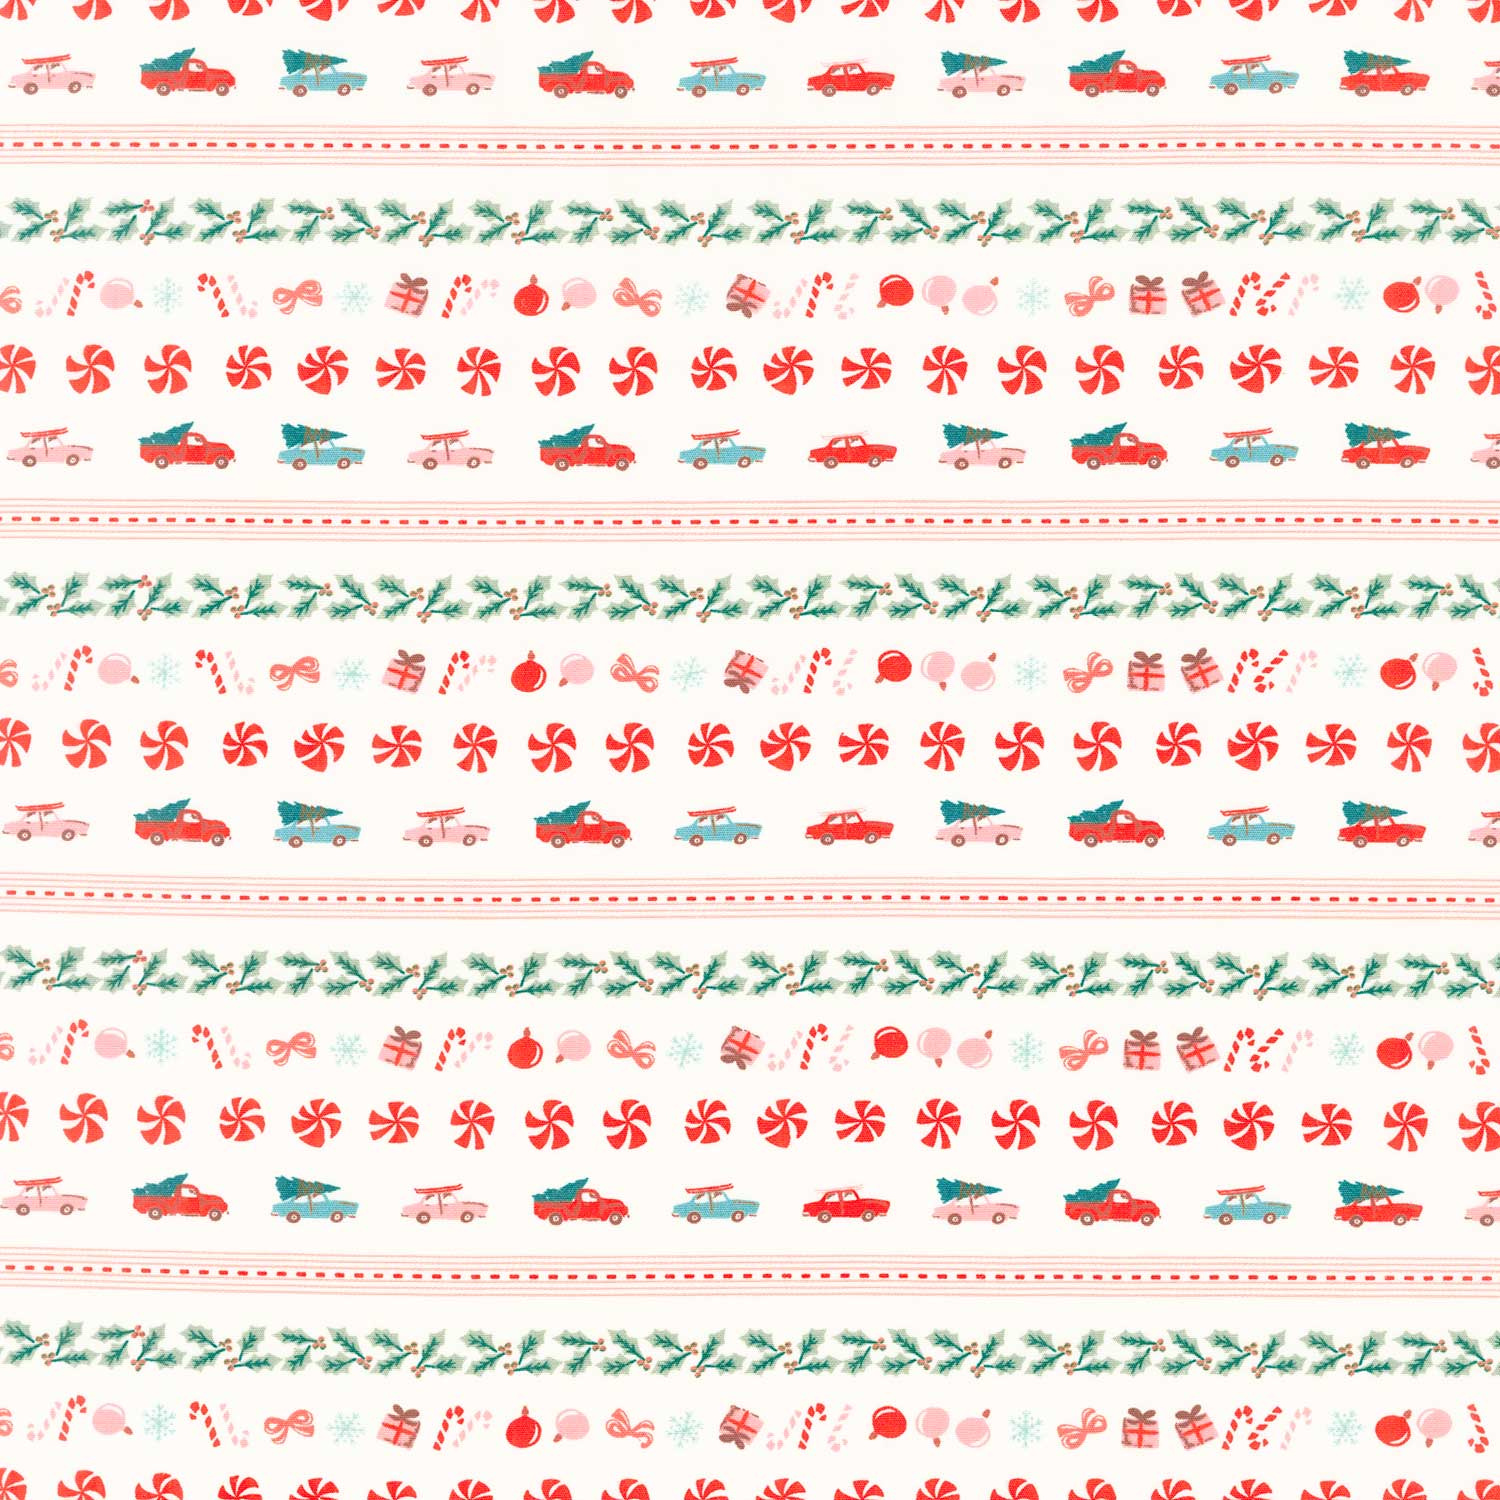 Christmas In The Cabin - Holiday Bound Binding Stripes White Yardage$12.64Shop →
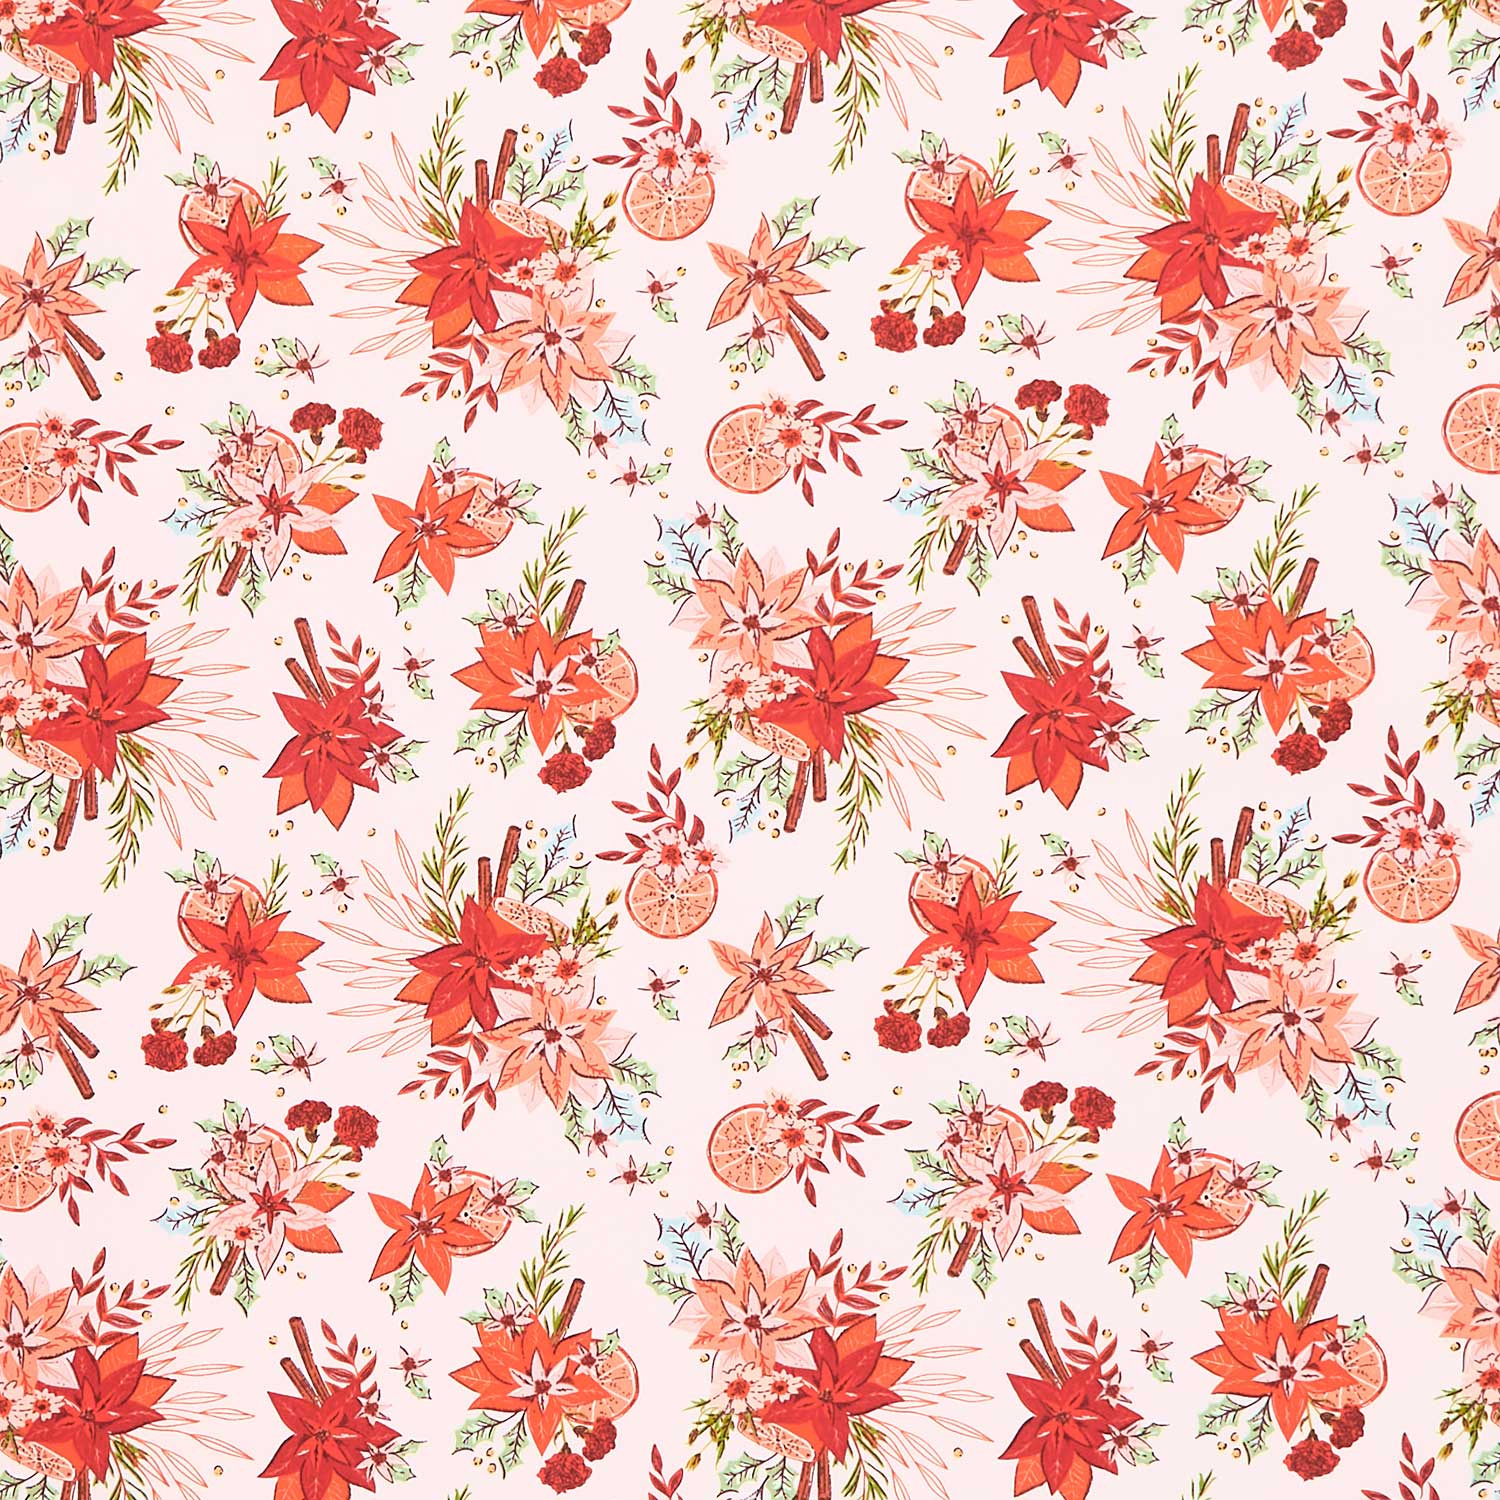 Christmas In The Cabin - Yuletide Blossoms Pink Yardage$12.64Shop →
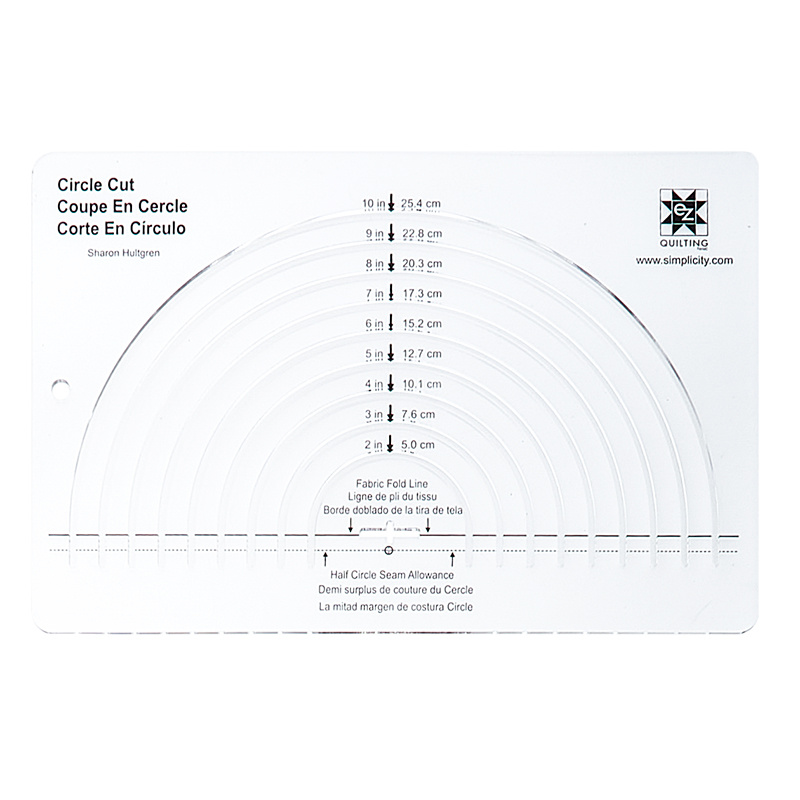 Easy Circle Cut Ruler$22.95Shop →
 Missouri Star 6" X 24" Ruler$29.95Shop →
 Missouri Star 45mm Rotary Cutter$19.95Shop →
 MonoPoly™ Invisible Thread - Clear$8.75Shop →
 Exclusive Missouri Star Jenny TG1600 ProPlus Oliso Smart Iron$199.99Shop →
 Missouri Star Wooly Betty Board - 17.25" x 25.5" Orange Border$99.95Shop →
 Bernette 77 Sewing and Quilting Machine$1499.00Shop →
Common Questions
What is covered in Retro Snowballs?
You’ll have a ball making this quilt! Appliqué is the secret to making these rounded half-circles of fun, and Misty shows you just how easy it is! This quilt is made with the festive Christmas in the Cabin collection from Art Gallery Fabrics. Switch up the colors and prints to...
How long is the tutorial video?
The tutorial video is 00:11:28.
Are supplies listed for this tutorial?
Yes. The tutorial page includes the supplies and materials connected to this project.
Is a transcript available?
Yes. A written transcript is available on the tutorial page.
Video Transcript
All right, today's quilt is super easy. It's using applique. You know I love curves, but I know a lot of you don't love to set in those seams. So this one
is all fusible - you don't have to sew any curves. We're just going to applique them on top and you get this awesome round shape that gives a lot of movement to our quilts. So let's dive right into this!
To make this quilt you are going to need two packages of 10 inch squares. I have used Christmas in the Cabin from Art Gallery Fabrics. You're also going to want this Easy Circle Cut Ruler. We did use a little bit of accent fabric, just for this inner border right here and you are going to need 5/8 of a yard for that. Then for your outer border, this collection has this really cool print that is designed for a 6 inch border and so I used that. You are going to need 1 ½ yards. If you're worried about fussy cutting that or making mistakes when you're cutting that out, you might go ahead and get a yard and 3/4 just to have a little bit extra, but it's designed for that 6 inch cut, so you should be fine. Then for your backing, I use this beautiful floral and you'll need 5 yards. You can see that here. I think that is so pretty with the little orange slices in there and then they also have this really fun binding print which I just think is genius and. So for that you will need 2/3 of a yard and it is designed to cut into 2 ½ inch strips, so you get these cute little prints to show up on your binding, which is so great. I also use an invisible thread and you'll need some fusible to do the applique. So let's go ahead and get started.
So the first thing you're going to want to do is grab both packs of your
10-inch squares and you're going to divide those into lights and darks roughly. So this doesn't have a ton of really stark differences in them. You can see some of these are more mediums and we just use the lighter ones in the background, but just divide it up as best as you can so that you have contrast between your background square and the circles that we're going to put on top. So take some time, do that sorting, because half of them are going to be for circles and half are for your background squares. So now we can set these aside and I have two here that I picked. So we're going to do the circles out of this cute little gingham and we'll use these stars for the background.
So first we're going to take our fusible I'm using the Missouri Star Sew Light and we are going to press this onto the back side of whichever square we decide to use for our circles. So let's go ahead and take this over to the ironing board. I always cut this just a little bit smaller than 10 inches, because I don't like it to hang off the edge and run the risk of getting onto my mat. So we're just going to fuse that in place. Then while I'm here at the iron, I'm also going to fold this in half just like so and we're going to press this in half.
All right. So then now we can use our Easy Circle Cut Ruler and we are
going to cut this at 9 inches. So I'm just going to line up, want to make sure I've got this right, yes. I want the raw edges not the fold to be lined up on this “fold line” but for our intents and purposes, because we only want half circles we're going to put this on the raw edge and then we want to make sure that we can get this full 9 inch cut, and that looks great. And so now I'm going to use my rotary cutter and cut out our 9 inch half circles. It works
so great.
Now we have these two pieces ready to go. So now I can disregard that and bring in our background square and we are just going to peel off that fusible on the back. If you just kind of crease the edge, you can get a hold of that and it peels really easily. So let's do the same on this one, that little crease that makes it lift ,and then we can peel that all off. So we want to line these up on opposite edges, and you should have just about a ¼ inch on either side just like so. Now we can fuse this down. So let's go ahead and move it over to the iron. And I'll just readjust, make sure my edges are lined up and that I still have that seam allowance on the sides, there we go. And then we can just press.
When you're working with fusible you want to make sure that you are pressing and lifting. You're not dragging your iron across that, because we don't want to run the risk that we'll flip up our shape and have that fused to something we don't want it to. So I just use a really hot dry iron and then make sure that's all fused in place. That is really as simple as this block is.
Now we're going to use our Invisible Thread and do some top stitching. So I already have that in the machine. If you've not used Invisible Thread before, you only use it in the upper thread; you use standard thread in
the bobbin. So that's what I've done here and I think I'm just going to use a little zigzag on this today. So let me just go ahead and get this oriented the way that I need to and check my width here. That's a little wider than I wanted, that looks nice, all right. And so the beauty of using the invisible thread is you don't need to worry about changing your thread color on any of these blocks. You can just sail one after the other and it just blends right into the fabric. I really love this Invisible Thread by Superior. It does a beautiful job. It doesn't tangle, it doesn't break on me. So you can see I can just gently follow this curve and it's super easy, just like so. There we go!
So maybe you can see, maybe you can't.. it is invisible after all, how we've done that little zigzag and that's just going to secure the edges of that fabric. So as we wash it and use it it's not going to fray or pill which is what we want. So now we have our blocks complete, and I would obviously go around and do the other side so that the block is all finished.
So let's go ahead and talk about the layout in this quilt. I just took my blocks and one goes this way and one goes this way. I just alternated back and forth for each one. So it is 1, 2, 3, 4, 5, six across by seven down. And then I did this little stop border - this is just a 2 ½ inch border with that accent fabric. Then this is that fun border print that I showed you at the beginning - I think it is just so cute. It's a 6-inch border and I did miter these corners, so that it kind of continues all the way around, which I think is just a really fun detail. Then of course this binding is adorable - I did it so that the little trucks showed, but let's take a look closer at that binding and how it works. So here is this fabric and so you can see when you open it up it has these fun little dashed lines and the dashed lines are printed every 2 ½ inches. so you can cut on that and then use it for your binding. Here's a strip that I've already cut, so depending on which side you place up you either get these really cute peppermints and these little cars or the holly and the Christmas candy. I just love this addition - I think it's such a fun idea and I hope we see more of this in the industry because it has just that little touch of whimsy. So again here's these cute little cars on the front and then we have the peppermints along the back of our binding, which I just love!
Let's talk about how you would sew that down. So let's pretend my block here is the edge of the quilt and if I wanted the cars up like I have on the
quilt behind me you would put them face down, so that they're right sides
together and of course you would stitch this with your quarter inch seam to the front of your quilt. Then when you fold it back those cars are going to show and the peppermints are going to wrap around which is so cute! And so this quilt finishes 72” by 81”. It's a great throw size and I quilted it with this kind of fun peachy thread in a circle meander. I absolutely love this project because it is so, so fast.
So hopefully you get started here a little early for Christmas in July, but even if you want to do this the week before Christmas you can probably get it done! So I hope you enjoyed this tutorial on Retro Snowballs and I'll see you next time!



