Skip to content

Free quilting video tutorials from Missouri Star

Quilting Tutorials
Reverse Applique Pleated Heart Pillow Tutorial

Reverse Applique Pleated Heart Pillow Tutorial

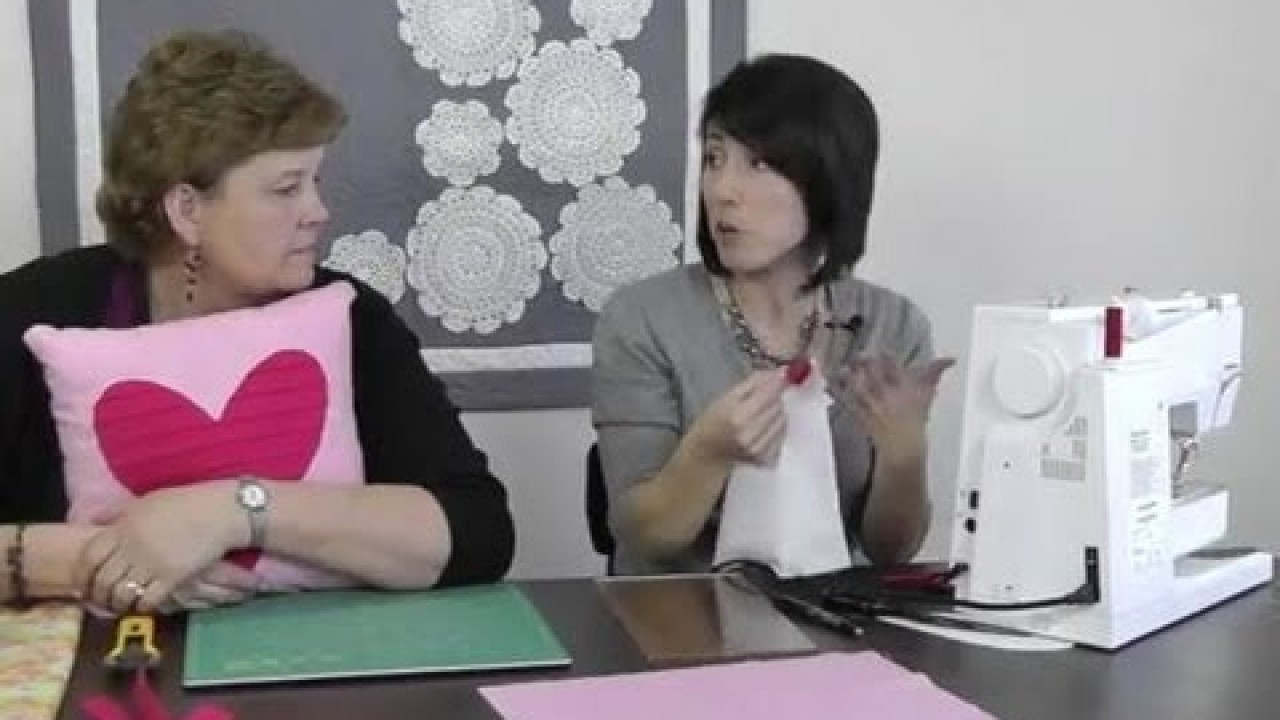
MSQC is proud to feature our good friend Vanessa Christenson on our channel as she demonstrates how to make her absolutely adorable faux-pleated reverse applique heart pillow. It's a perfect project for Valentine's Day and even other holidays (using different colors). For full instructions on how to make this project visit V and Co.'s wonderful blog at . Solid Colored Jelly Rolls. Solid Colored Layer Cakes. ?&c=Layer+Cakes. Frixion Pens. Muslin Yardage. Rotary Cutters. Pinking Blades. Thread.

Instructor

Jenny Doan

Jenny Doan is an American quilter, author, and YouTube personality. Jenny started Missouri Star Quilt Company in 2008 and today it is the largest quilting supply vendor in the United States.

Common Questions

What is covered in Reverse Applique Pleated Heart Pillow Tutorial?

MSQC is proud to feature our good friend Vanessa Christenson on our channel as she demonstrates how to make her absolutely adorable faux-pleated reverse applique heart pillow. It's a perfect project for Valentine's Day and even other holidays (using different colors). For full...

How long is the tutorial video?

The tutorial video is 00:15:56.

Are supplies listed for this tutorial?

Yes. The tutorial page includes the supplies and materials connected to this project.

Video Transcript

[Music] hi it's Jenny from the Missouri Star Quilt Company and I'm here with Vanessa Christensen from venco and she's got an awesome project for us just in time for Valentine's Day this is so cute thank you um yeah it's actually the faux pleaded reverse applique heart um last year I did the reverse applique of the gathered heart so I thought this time it would be fun to do a plea it's so cute um it's really simple too so what you'll need for this project is a rotary cutter um I if you don't use jelly rolls I use um one of those pinking shears rotary pinking blades pinking blad PR um and what we'll need is we'll just need three of these um strips um two 14x 14 um squares in uh for the background the outside one and then we'll need one um stabilizer for the pleat in 10 by 10 so this square is 10 by 10 so that's a layer cake Square mhm and layer cake square and then this one's 14 by 14 perfect you'll also need um a marking this marker that you have here um I also have a cutout of this heart and it's just freehanded heart um that I did out of a piece of paper and I'll talk more about that when we get closer to it okay so the first thing that we're going to do is we're going to take one of these strips and we're going to use our scissors and just cut it okay so you folded it in half and then in half again so here's here's and then you have it in half again so I'm going to take these scissors and right here where we have already can and then we're going to that quickly makes four strips yep you get four strips so out of each strip you're going to have four strips total of 12 M okay so we're going to take each one of these and we're going to fold it in half and press with the iron you don't mind doing that not at all all right there's one perfect oops do a couple more for you there okay so then what do we do next the next thing that we're going to do is we're going to take the white fabric it's just white Muslim block and we are just going to draw lines all the way down starting from the top 3/4 of an inch and I've already done it here but you're going to just draw a line and then go from that line three how many how many lines do you need you're going to do 12 so that's why you strips so that's why you just have a little bit of an extra it doesn't really matter it's not going to show anywhere um but we are doing 12 lines right here okay so now that we have our strips all fold it up we're going to line it up starting from the bottom and we're going to sew um less than A4 of an inch seam okay so a scant quarter mhm scant quarter and one thing that I do want to um let me help this cute heart P one thing I do want to uh draw attention to is I did go with red it's not hot pink which is the fabric we're using but it's not really going to show if you don't have hot pink just to go something close to what you have cuz you won't see the stitching cuz the pleat lays over it okay very good okay okay okay so here's the first one stitched on and now we're going to lay the next one right up above it making sure that the line right there is our guidance our guide um and then we will use that and we will sew the next one on okay so then we're just going to that's basically what we do for that whole piece we're just for all okay well we'll just sew those on okay okay so we're going to do this last one here it's a little bit okay so now we have all of our 12 pleat right there okay oh that looks awesome uh now what we're going to do is if you notice these are a lot longer than our 10 in square so we're just going to um if you don't mind I don't mind at all all right so I'm just going to line this my ruler up with the edge of the square and both sides so that will be my guide this nice little square okay and now if we turn it around you see it looks very nice and neat oh really cleaned up and pretty okay so uh the next thing that we're going to do is we're going to use that pen this p right here and we're going to measure um this is 14 in so we're going to measure in and draw a line 2 in from each side okay this is going to be our guide as to where to place our Square all right so 2 in and I am just going to draw the line all the way down and I can do that because um this pen is a friction pen and it is removable with heat so if you draw the line on which um was what we're doing I can just touch my iron to it and that Line's going to disappear little Magic Pen love love this pen it's really NE pen so after we have those lines drawn on this is going to be your guide as to where to place your Square so MD um so which square is it that we're putting on then the the hearts yes I'm just a little lost sorry that's okay cuz we're going to do um reverse applique so we're going to um now what we're going to do here I've not done this before so this is kind of fun for me all right so um we want our pleat to face down so um if the block is facing that way notice how I can just place my oh yeah it's right in there in there okay so what I'm going to do is I'm going to with this awesome pen write top so that way we don't ever lose sight of which way is top okay so now what I'm going to do is I'm going to sew around the whole entire thing a quarter of an inch oh okay inside my block so you may want to pin this if you're not comfortable with doing it but you have the Line to Line it up on so you're okay doing that yes okay so I'm going to note right here I stitched all the way to a quarter of an inch to the end because I want it to look kind of um I want it to look um finished finished thank you like just so because so this is this Stitch line is actually going to show on the outside of the pillow okay so if you want the your bobin to have the same color thread as your uh fabric that would be a good thing um I have it as cream which I don't mind it showing as cream on it be pretty okay and we're just going to go around the whole entire Square so the pleated Square we've placed right sides together on our Fabric and we're stitching it all the way around actually you're doing the wrong side of the fabric facing up to you oh so it's the pleats the pleates are facing down on the wrong side it's hard to tell with when you use a like a bella solid because it's the same on either side right so lucky enough this doesn't matter but if you were using a print you'd want that to be the wrong side you want you want the print to be facing out so the print would be facing this way oh okay right that makes sense okay oops okay we are now done with this part okay so you now have this is what you have this so this will be your front of your this will be your front Okay so now we're going to go back to this side okay we have the top marked so I've already cut out this heart basically what I did is I just wanted to make sure that my heart fits inside this little slot okay okay so okay I'm going to draw oh so you're going to trace around it mhm I'm going to trace around the heart now this is really a pretty quick little project isn't it yes this is definitely one that you can do you have people coming over and you need to have some kind of holiday Decor whip this little baby out yeah because really you know if you did Green pleats you could cut a tree shape out or anything I mean it's really acute yep fast little okay oh oops one more forgot that part right there okay we have our heart okay so now we're actually going to stitch right on top of our drawn heart you follow me I am beginning to see how this is going to turn out okay so now we're going to I like to start on the side of the heart because you're going to want to just back stitch a couple of stitches not too much because again this will be [Music] showing okay so right on the line put my [Applause] this is going to be really fun it's really cute it looks really cute in Katie's room where all pillows go in our house for some reason all pillows end up in the girls room okay rounding this corner okay and then we end up right where we started and we just need to trim off these right there oops and right there okay okay so now we've have our sewn heart and now we need really pointy scissors can I use your pointy scissors thanks okay but this is the part that we need to be very very very careful with you need to separate this pink fabric from the fabric underneath okay so we' got that little incision okay oh you sounded like a surgeon right there yeah they did incision into your heart okay so I am now going to cut all the way and leave kind of like close to probably about a quarter maybe but you need to be careful because if you're not careful you will cut these um pleats underneath so just make sure that you put your finger underneath and make sure that you are not cutting any of the pleats As you move up yeah it might be easier to even cut the other direction where your pleates are L down oh I guess you have to cut part that board don't you uhhuh and I learned that when I was was making it the first time cuz I tried to do it all down and it doesn't work it doesn't work M okay seemed like a good idea at the time okay so we will continue this is such a great idea yeah it's really fun um you can do any kind of holiday with it and if you're really if you're not comfortable making your own heart you can go online and print out a a heart you know um or any shape that you want to do this with really yeah all I did was I halfed a piece of paper and Drew a so both sides would be identical so they would match okay so we are now you can actually see our pleat showing through and I think this actually turned out pretty cute it really is I like the light inth dark pinks M my husband thought we should have gone with white but I I think Valentine should be pink and hot pink and all kinds of shades of Pinks so you're right when you do when you are going down the pleats it's a lot easier to know that you're not catching it okay cute okay look at that now you have your reverse applique and all you're going to do next is just grab another 14x 14 in square place it right sides together this time you can look at this and then and then just sew around the whole thing leaving I leave about what 3 to four in right here um hand stitches so fill it with fluff that is so cute yeah Vanessa it was so much fun having you thank you oh you're welcome thank you so much for teaching us this reverse heart applique and we hope you enjoyed this tutorial from the Missouri Star Quil company [Music]

More Fabric by Yard tutorials

See all

