
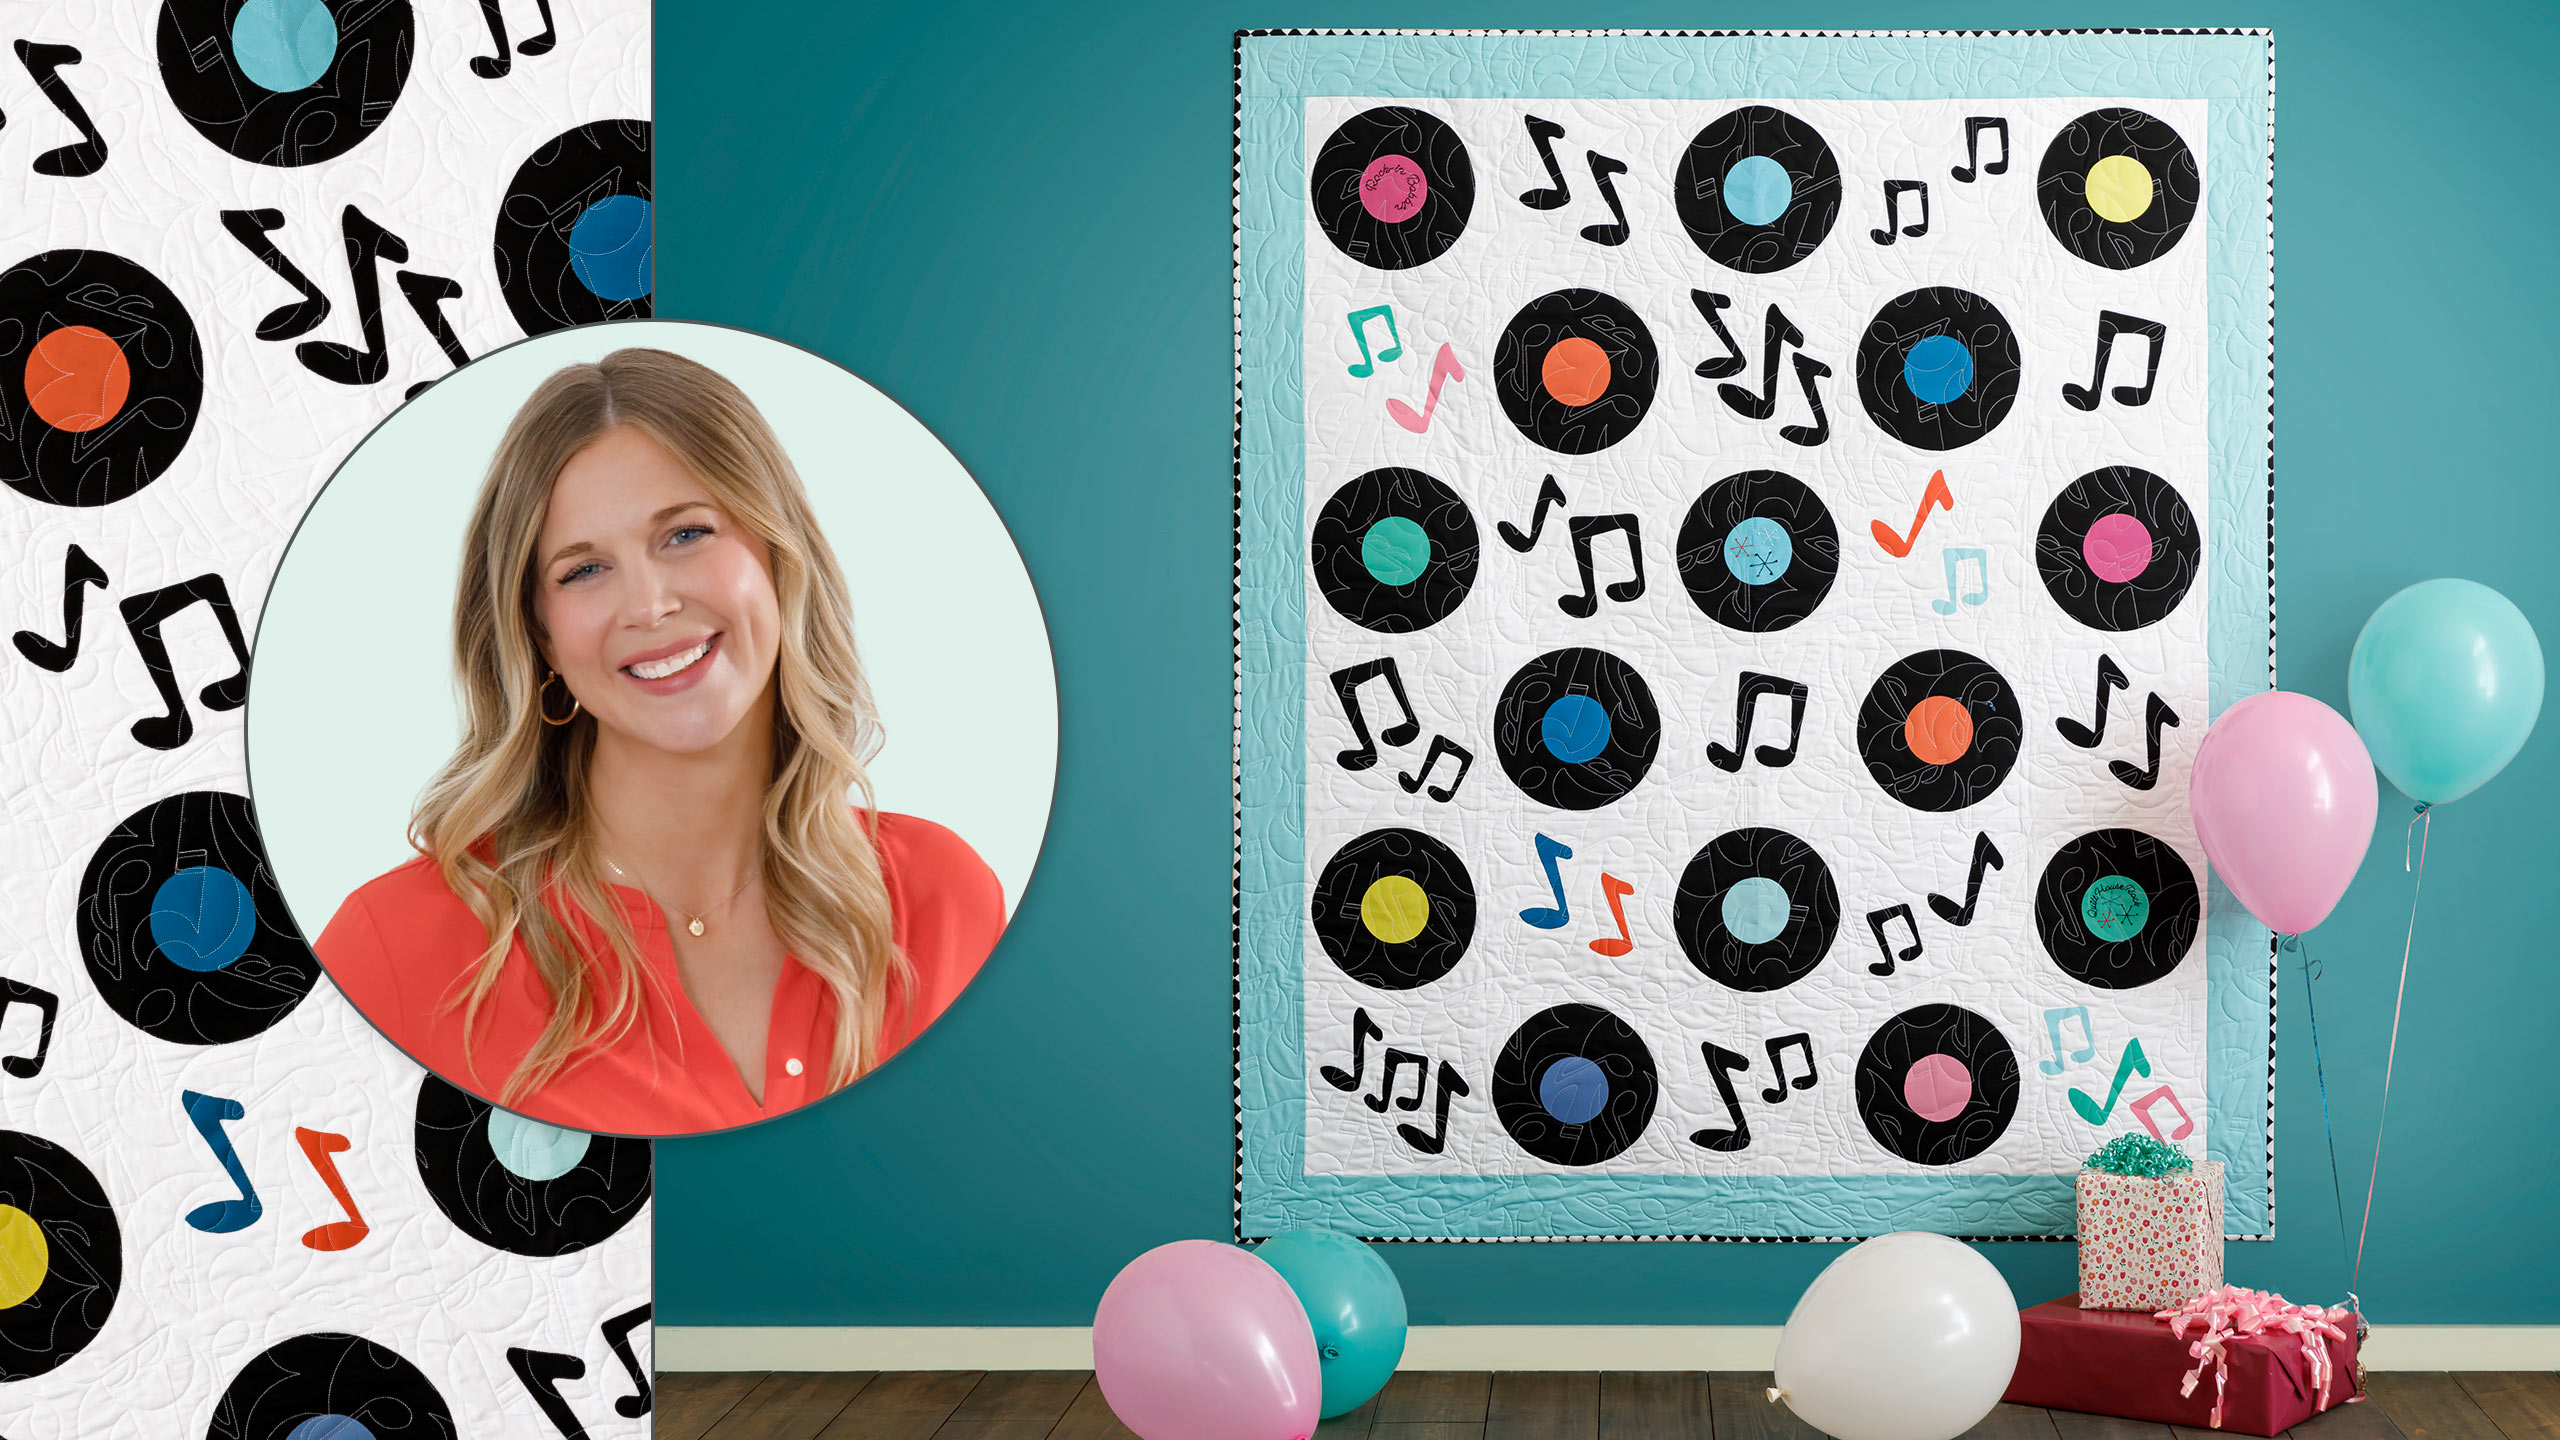
Rock Around the Clock Quilt
 Misty Doan
- Layer Cake
- Modern
- Quilts
- Intermediate
- Quilt size 55" × 64"
Let’s go to the hop! Rock around the clock with Misty as she makes a nifty quilt that will take you right back to the ‘50s. Appliquéd music notes dance around vinyl 45s in this fun and energetic project. Put on your blue suede shoes with Peggy Sue and Donna. There’s about to be a whole lot of quiltin’ going on!
Instructor
Misty Doan
Misty Doan grew up surrounded by sewing and quilting. She loves spending time sharing tutorials each week each week, and when she’s not stitching up one of her fun sewing projects for home decor, most likely you’ll find her hanging out with her husband and three awesome kids or working on a house project.
Shop this tutorial
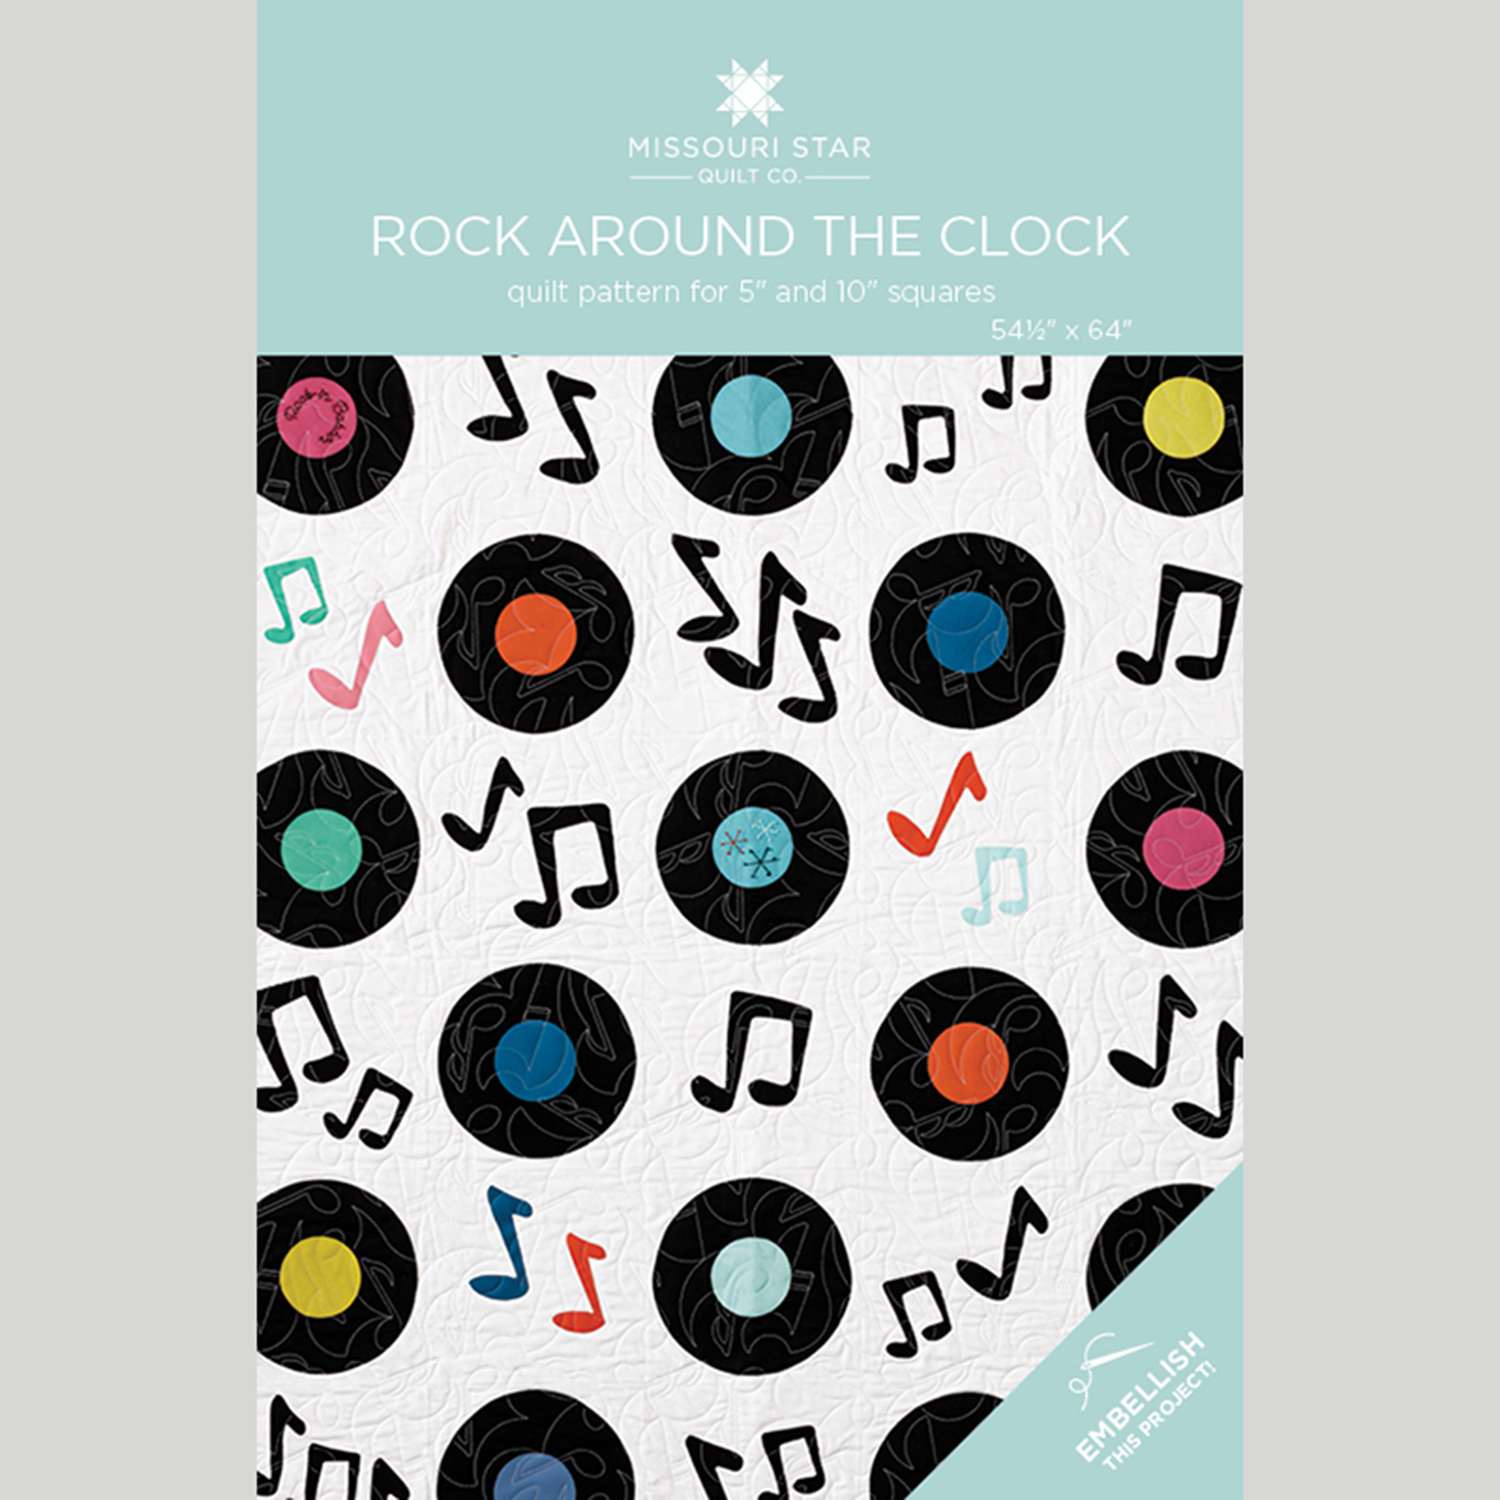 Rock Around the Clock Quilt Pattern by Missouri Star$8.50Shop →
 Digital Download - Rock Around the Clock Quilt Pattern by Missouri Star$6.95Shop →
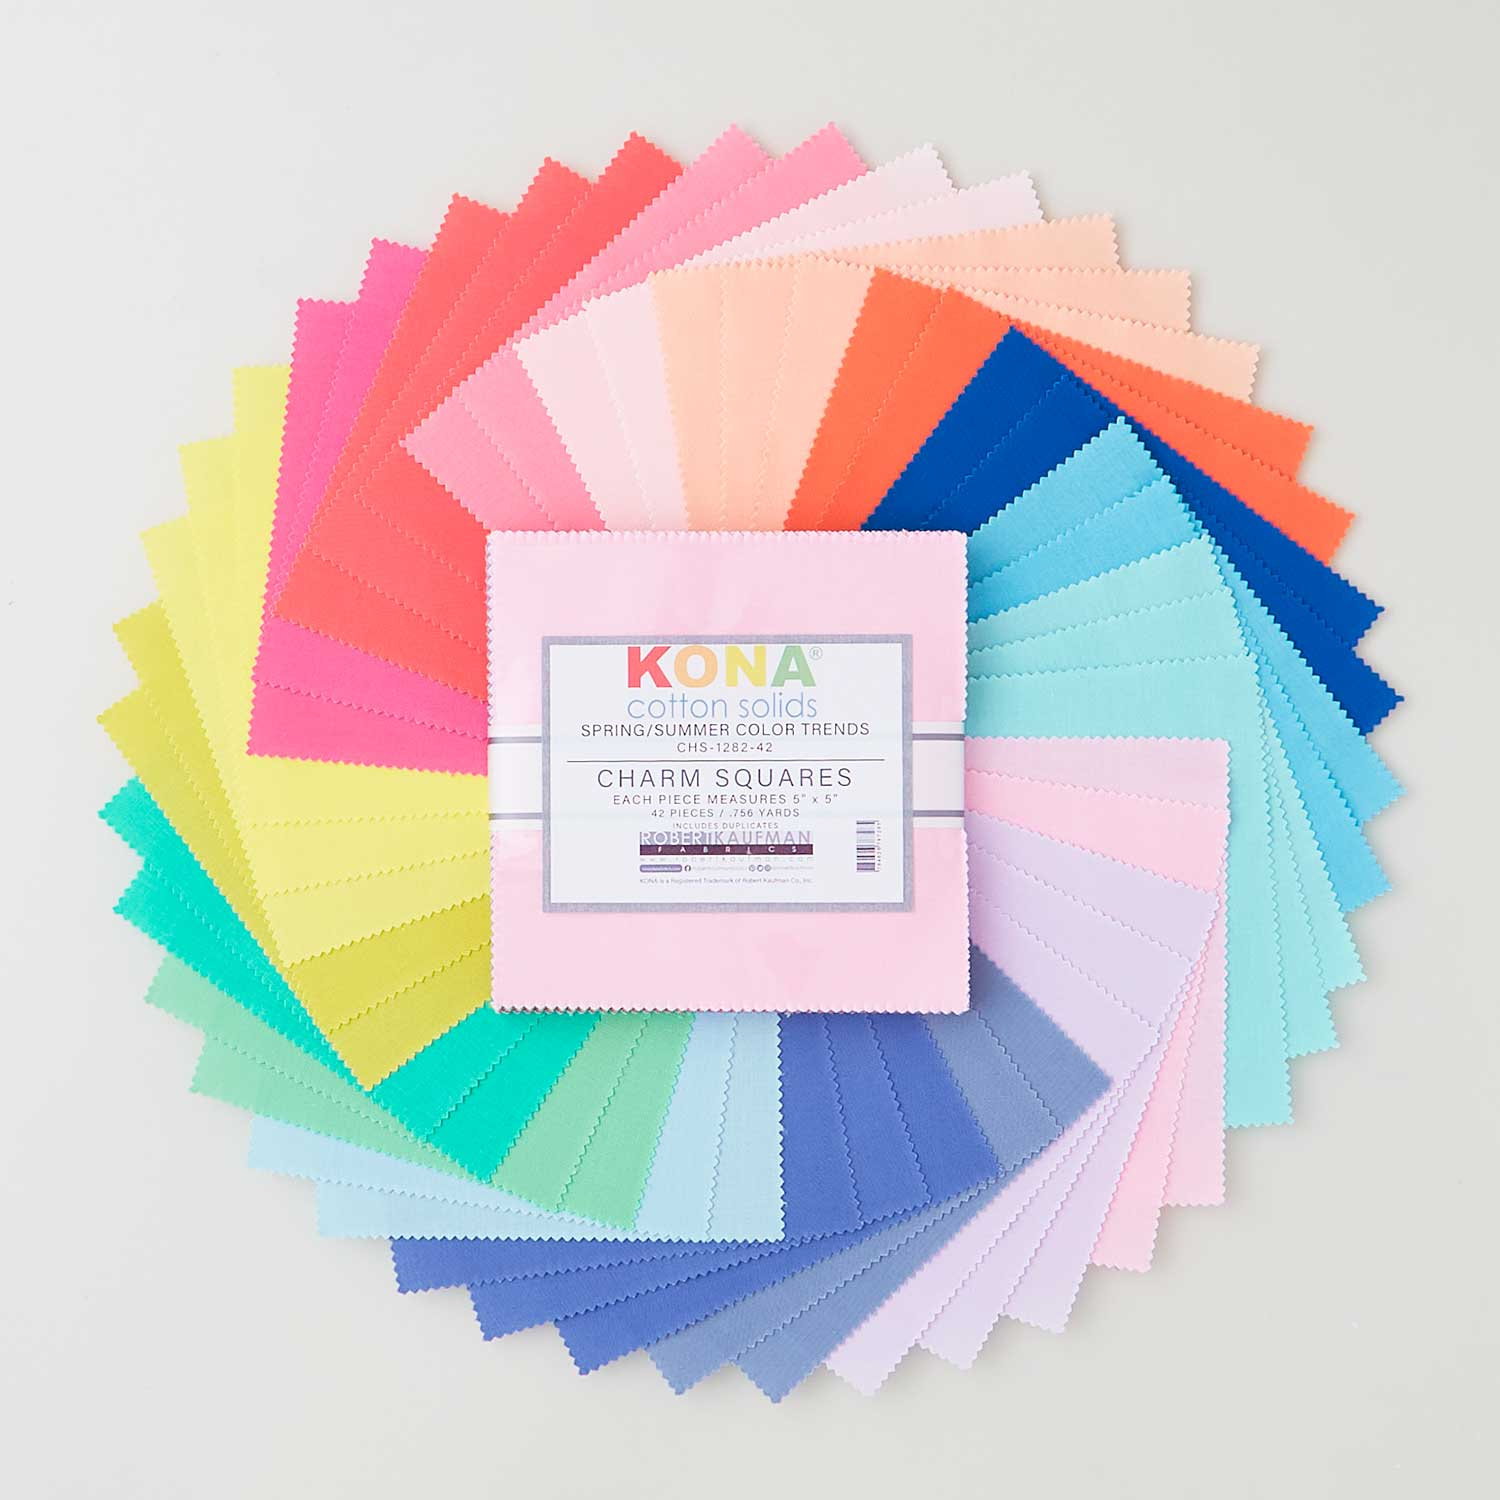 Kona Cotton - Spring/Summer Color Trends Charm Pack$9.95Shop →
 Kona Cotton - Black Ten Squares$30.95Shop →
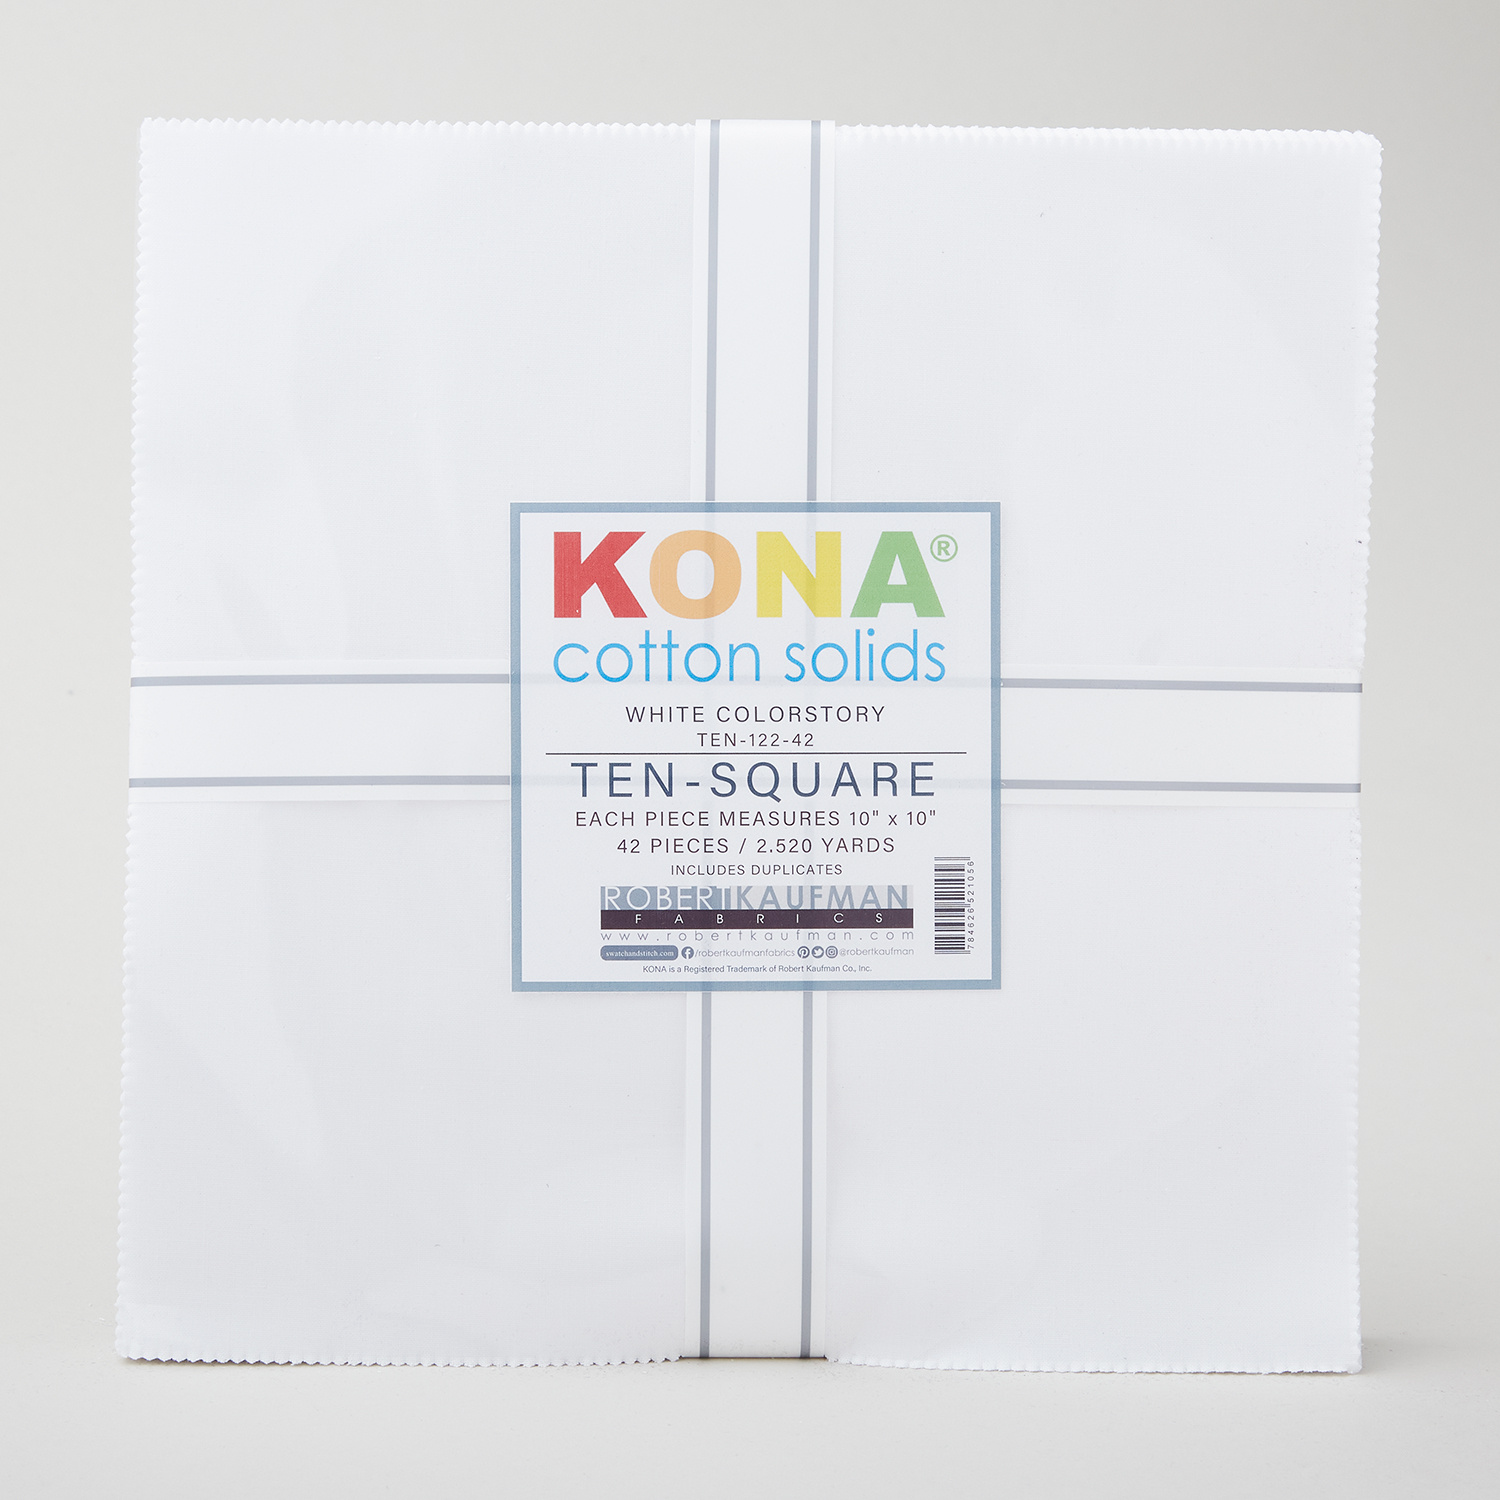 Kona Cotton - White Ten Squares$30.95Shop →
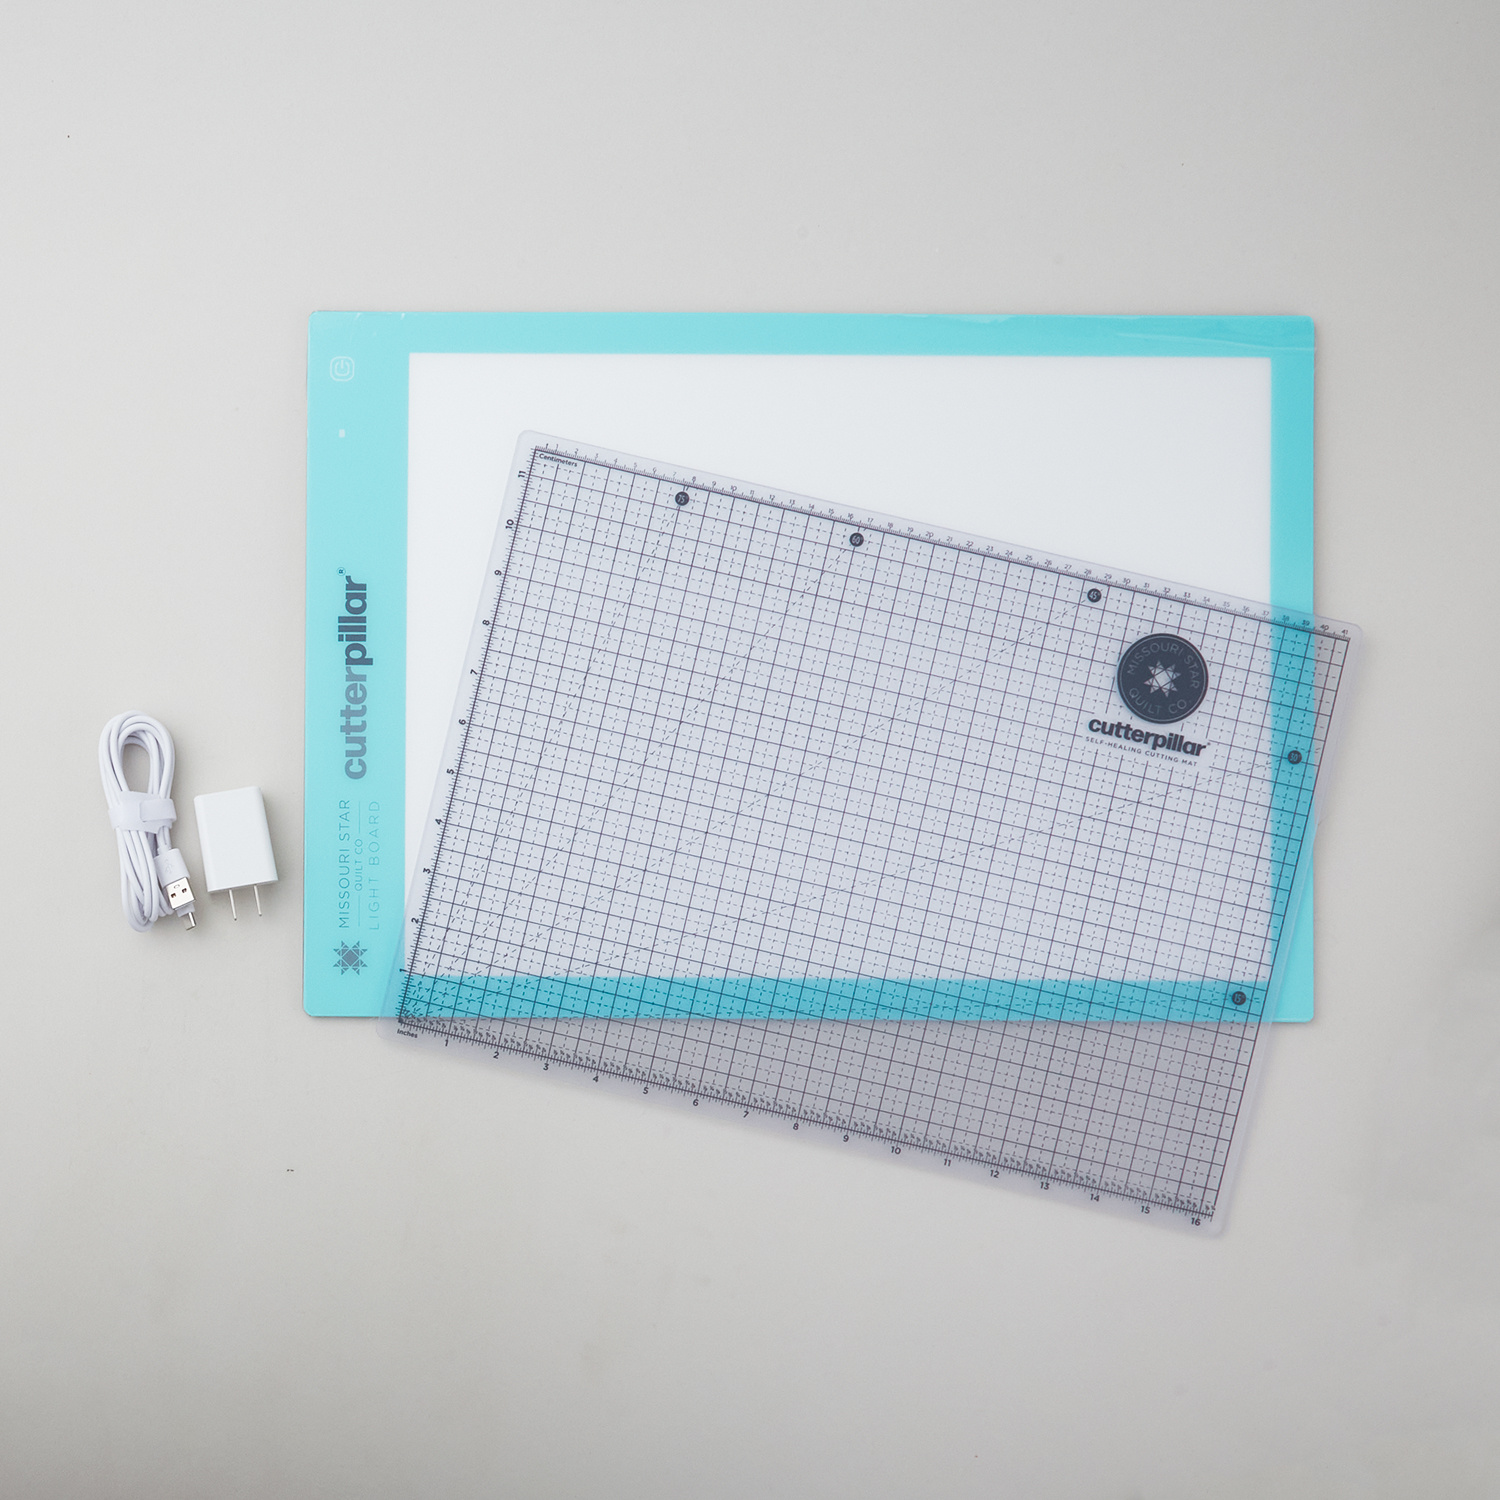 CutterPillar & Missouri Star Glow Premium Light Board$169.99Shop →
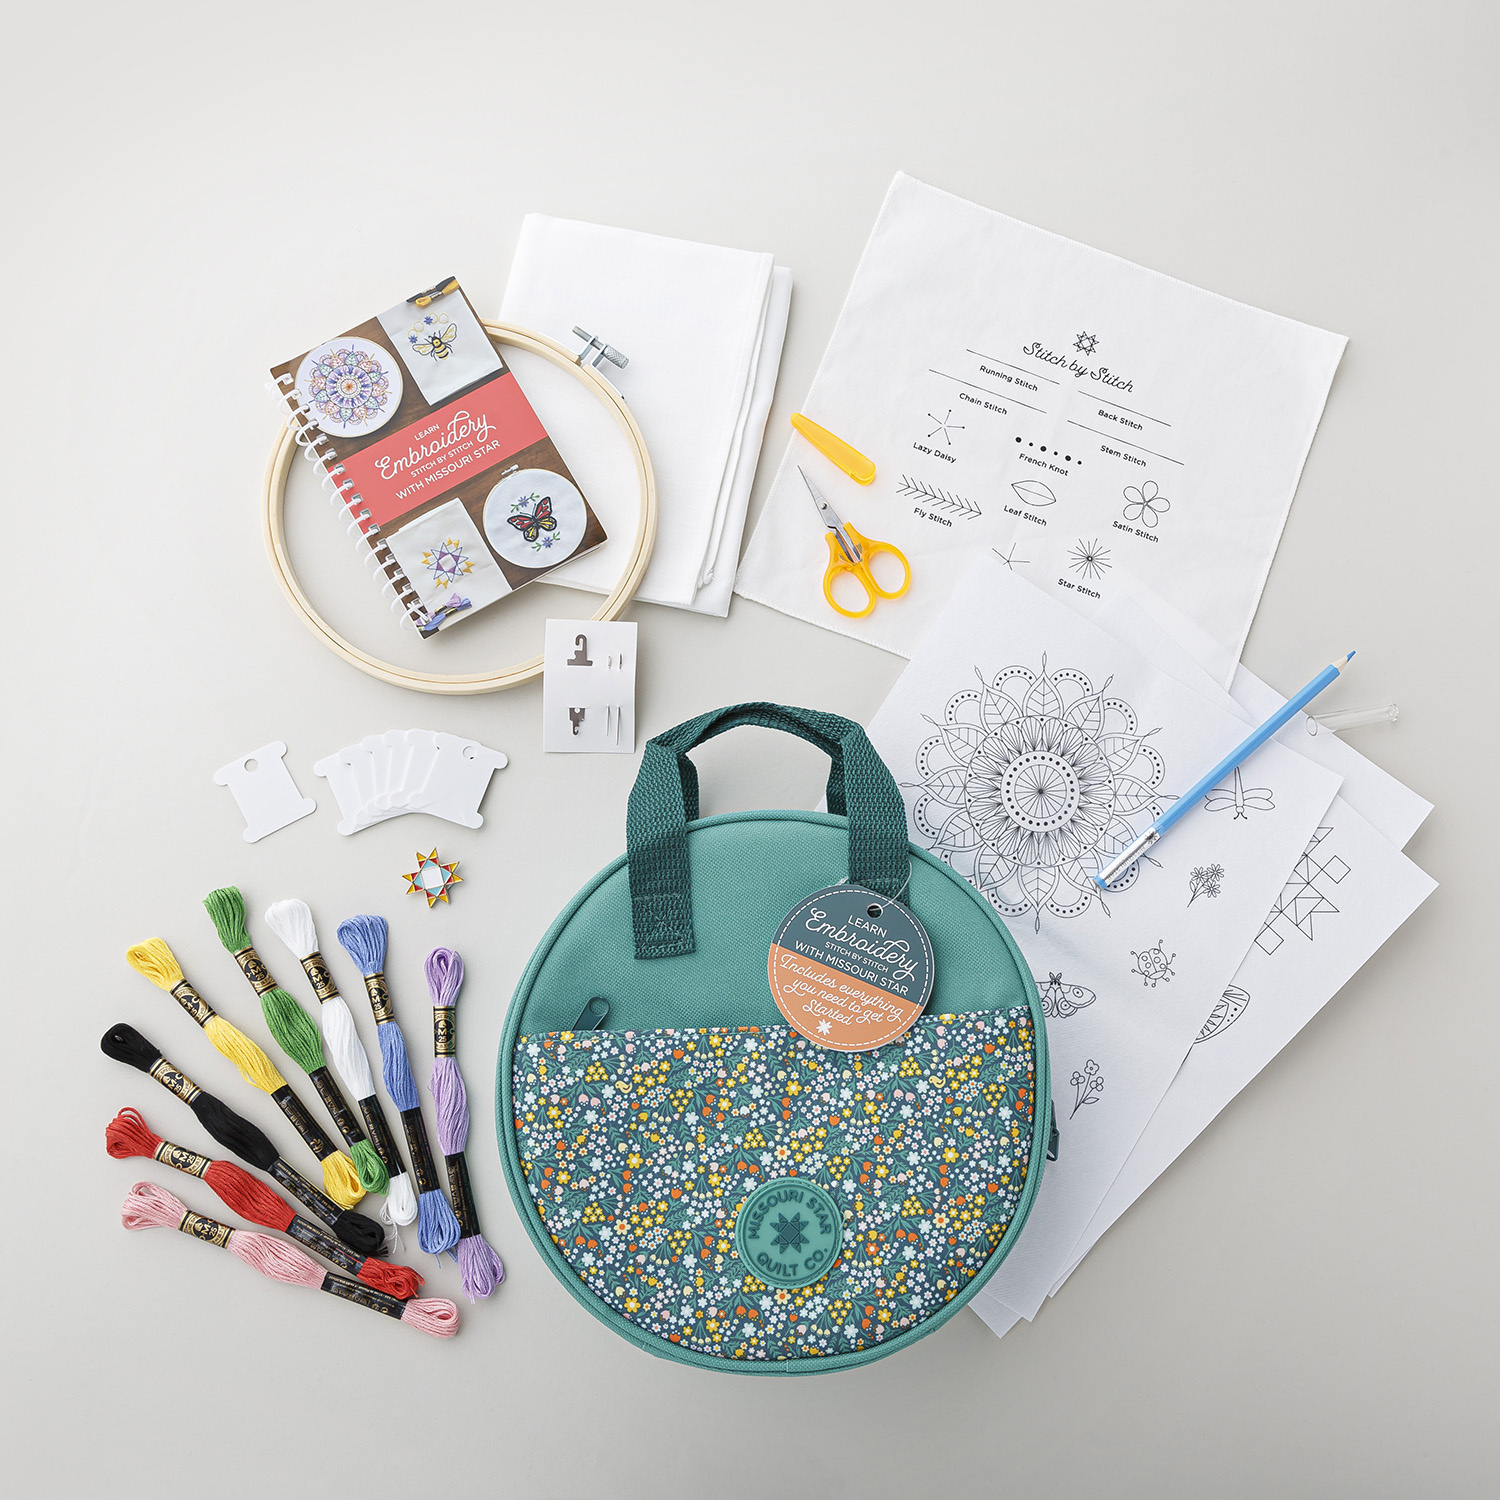 Learn Embroidery Stitch by Stitch with Missouri Star$34.95Shop →
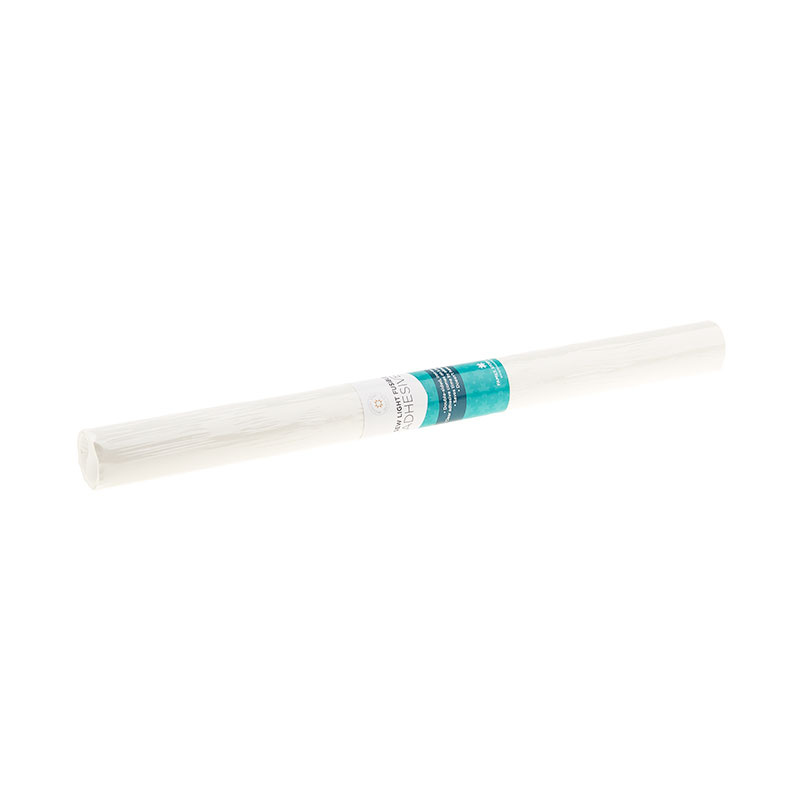 Missouri Star Sew Light Fusible Adhesive - 17" x 2 yards$4.95Shop →
 Kona Cotton - Azure Yardage$7.48Shop →
 Eloise - Checker Black and White Yardage$11.96Shop →
 Kona Cotton - Black Yardage$7.48Shop →
- Eloise - Checker Black and White Yardage$11.96Shop →
 Missouri Star Quilter's Best Blend Throw Batting$21.95Shop →
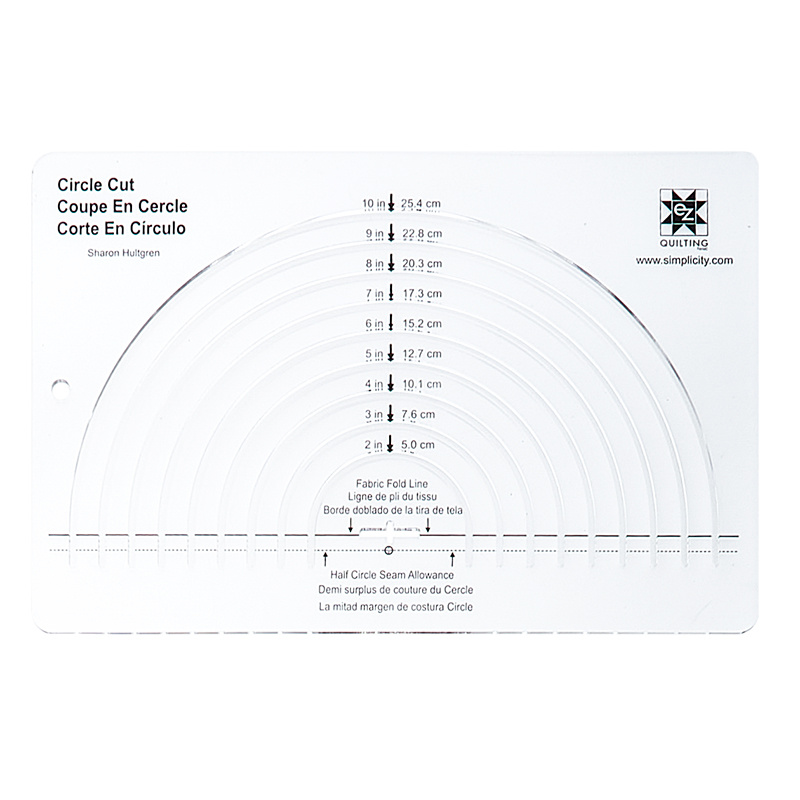 Easy Circle Cut Ruler$22.95Shop →
 Missouri Star 45mm Rotary Cutter$19.95Shop →
 Missouri Star 50 WT Cotton Thread White$7.95Shop →
 Exclusive Missouri Star Jenny TG1600 ProPlus Oliso Smart Iron$199.99Shop →
 Missouri Star Wooly Betty Board - 17.25" x 25.5" Orange Border$99.95Shop →
 Bernette 77 Sewing and Quilting Machine$1499.00Shop →
Common Questions
What is covered in Rock Around the Clock Quilt?
Let’s go to the hop! Rock around the clock with Misty as she makes a nifty quilt that will take you right back to the ‘50s. Appliquéd music notes dance around vinyl 45s in this fun and energetic project. Put on your blue suede shoes with Peggy Sue and Donna. There’s about to b...
How long is the tutorial video?
The tutorial video is 00:13:40.
Are supplies listed for this tutorial?
Yes. The tutorial page includes the supplies and materials connected to this project.
Is a transcript available?
Yes. A written transcript is available on the tutorial page.
Video Transcript
So our theme for this year's Birthday Bash is a Sock Hop. It's our sweet 16 and I have designed this fun quilt that I'm calling Rock around the Clock. I think it's just perfect for the occasion, so let me show you what you're going to need to make this.
You're going to need a layer cake of both black and white. You could use yardage if you want, but this just makes it really easy since it's already pre-cut to our block size. You're also going to need one package of prints
for your record centers and some of these accent musical notes. I just use solids, but it's just a variety of these beautiful colors in this Spring/Summer Color Trends. You're going to need 3 ½ yards for your backing and I used this fun checkered print, and I also used it for my binding. If you do that
you'll just need an additional ⅝ yard. And then for that border I use this beautiful kind of aqua color and you'll need ⅞ yard. It's also handy to have our Missouri Star Sew Light fusible as well as the Easy Circle Cut Ruler. And
I also added some fun embroidery details, so grab some embroidery floss in your matching colors if you'd like. I highly recommend using Invisible Thread.
So let's get started! So to begin with, we are going to use our white 10-in square pack that we got as the basis of all of our blocks, so you can just leave those whole. That's going to be the foundation of both our record and our musical note blocks that we're going to make. So let's start with the record block. In order to do that, if you have the Circle Cut Ruler (I love it) it's super helpful, but if you don't there is a printable included with the pattern that has the circle sizes that you need, as well as the musical note shapes.
So you're going to want to grab that and have that ready to go. But let's begin by grabbing a piece of our fusible and I've just gone ahead and cut it to 10 inches, since that's what we're working with. I'm going to fuse it to the wrong side of my fabric. Of course with a print it doesn't really matter…I mean I'm sorry with a solid it doesn't really matter, but with a print you want to be careful and make sure you've got that wrong side. So I'm just going to put that bumpy side down. If you've never used this adhesive before there's a bumpy, kind of shiny glue side, that's going to go to the wrong side of your fabric. We're just going to press that with a hot dry iron, so let's go ahead and fuse that in place, just make sure it's fused all the way around. Now if you did not have the circle cut ruler you would want to trace your circle shapes onto the fusible before you fuse it to your fabric. But because I'm using this template to cut, I can use it first.
So I've now folded it in half and I'm going to use the solid line at the bottom of this template…there's like a dashed line and a solid line. I'm going to line this solid line up with the fold. And I am looking for the measurement that says 8 inches on the Circle Cut. Weirdly that actually gives you an 8 ½ inch circle. That's what it says on the printable, so don't be alarmed. It's actually the same size. I'm just going to take a pencil now and I'm going to mark my 8 inch line. There we go, just like so. And then now we can cut that out with either our rotary cutter in here (it actually will fit). But I like to cut it with scissors, so I'm just going to use my scissors here. Keep that folded, just follow real quick and cut out that shape.
And so now we'll take that 10-inch background square, and I like to kind of
finger press this or you can press it at the iron. I just like to have center
points as kind of a guideline so I can center this up and make sure I'm not too far off. So I'm just going to fold this in half in both directions and finger press just like so, so I have some reference points. Then now we can peel off this paper backing and I'll line up that center line there and just kind of eyeball it. Now we can take this over to the ironing board and give it a good press to fuse this in place. So if you want to measure you absolutely can, but I just always eyeball it. It's close enough for me. Make sure that is fused all the way - we don't want any of those edges lifting.
All right, so step one is done. So now we're going to pick a color from our pack that we want for our middle and I think I'm going to go maybe with this fun coral-y color here. And much the same, we are going to cut some 4 inch squares of our fusible, because we're not going to use all 5 inches, so I just did four. It's going to be plenty to get our half circle and we are going to fuse that to the back side but I want to show you just a little tip.
On some of these, I've added some fun embroidery details that are included in the pattern. So you'll notice here I've got these little stars, Rockin’ Bobbin up here. Down here it says Quilt House Rock. If you're going to be doing that embroidery you're actually going to want to cut away some of that fusible both on this first one and this second one, so you don't have as many layers that you'll be stitching through in the middle. And so I'm going to show you that concept just on the little one here, but you'll do the same on the large.
So we are going to use our Circle Cut Ruler. Again, I'm going to fold this in
half and we're looking for the three inch size. So again lining up that straight line with the fold and I am actually then going to trace the 3 inch and the one right inside, just like so. Then I'm going to, before I fuse this, cut away this middle section of the circle. So let's go ahead and get rid of that. Boom and now we can open this up, I'm going to fuse it to my fabric and then I can refold it and finish cutting my circle. And it will keep that adhesive out of the middle to make it easier to stitch through if we decide we want to add that embroidery. If you don't, don't worry about it and keep the fusible all the way across.
So let's go ahead and bring it over here, just lining that up. Perfect. And now I will just fold that in half again and I can cut out this middle circle just like so. And then now, much in the same way, I like to have those guidelines. So we'll fold again to just find the center in both directions and then we can plop our circle right there in the middle. So we'll go ahead and pull that paper off and take it to the iron just as before. There we go, all right. So once we have that all fused in place, you can go ahead and finish that off with whatever applique stitch you choose. I love to use the Invisible Thread and a blanket stitch which turns out just like this. The reason that I love it is you don't have to change your top thread to match all of your colors and so it just makes it go really fast and it turns out like this and just blends right in with your fabric. I think it's a beautiful finish.
Now let's talk a little bit more about if you want to add that embroidery detail, because I think it's a really fun thing. So I used our Missouri Star Peel and Stitch. This is a wash away stabilizer that's great for embroidery. And I went ahead and printed the designs right onto that, so that's what that looks like here. I've cut them out. If you don't have the ability to print onto that, you can just trace the designs using a lightboard which is why I've got that here. But I have these ready to go. I just put my individual squares into the hoop and embroidered them individually. You could totally do it once you put the whole top together - it's really your preference. But this is just so great once you have it on here. We just need to peel this paper backing away and then we'll be able to center that on our little record and it just sticks right in place. And we'll put this in the hoop and we'll be able to do all of our stitches. Then you just soak this in water and it will wash away that stabilizer when you're all done. So you can see how it turns out in the quilt - it's so adorable! It just adds this fun detail to the center of those records. So that's all it takes to do that!
Let's move on to the musical notes! All right, so to get ready for those musical notes I am going to pull in my lightboard. And I have the pages
from the printable portion of the pattern ready to go. One thing I do want
to point out is there are a variety of sizes of these notes and these larger
ones you're going to use with your black 10 inch squares. These smaller ones will fit on your 5 inch squares. So if you want to add some color like you'll see behind me, we have a few of these colorful notes mixed in on this page here that will fit on your 5 inch squares.
So let's go ahead and use those for our example. So I'll move these other ones out of the way and I'm going to turn this on so it's nice and bright. I have my chunk of fusible here and you can see how easy that is to see through. Then we are just going to trace out those shapes. It doesn't have to be perfect, just as close as you can get. There we go, perfect. And you'll just continue with however many you want. Then we have our notes on our fusible ready to go.
So once I trace that out I'm just going to kind of rough cut around this just like so. And since this one is going to be a colorful note I'll just pick one of these squares out of my pack and I will just fuse that on, just like we did with our records in the exact same way. I already have some other notes that I have done the exact same thing - traced, fused, rough cut and then did my final cut of these musical notes here. These are so fun because you can just kind of mix and match and make these your own. Lay them out however you want - just keep in mind you want to make sure that you keep plenty of space for your seam allowance when you sew these blocks
together. Then you're just going to fuse these down and top stitch in the exact same way with that Invisible Thread just like we did on the records. It comes out so great.
So now let's go ahead and look at the quilt behind me. So we just started our first row with a record and it's one, two, three, four, five blocks across by six blocks down. I added this great little 4 inch border just to frame it up. I quilted it with musical notes and this ends up…let me check here 54” by 64”, so great throw size. There's plenty of fabric in the pack if you wanted to make it a little bit larger, you totally could.
So anyway, I hope you enjoyed this tutorial and have a great week celebrating with us! Happy birthday Missouri Star!



