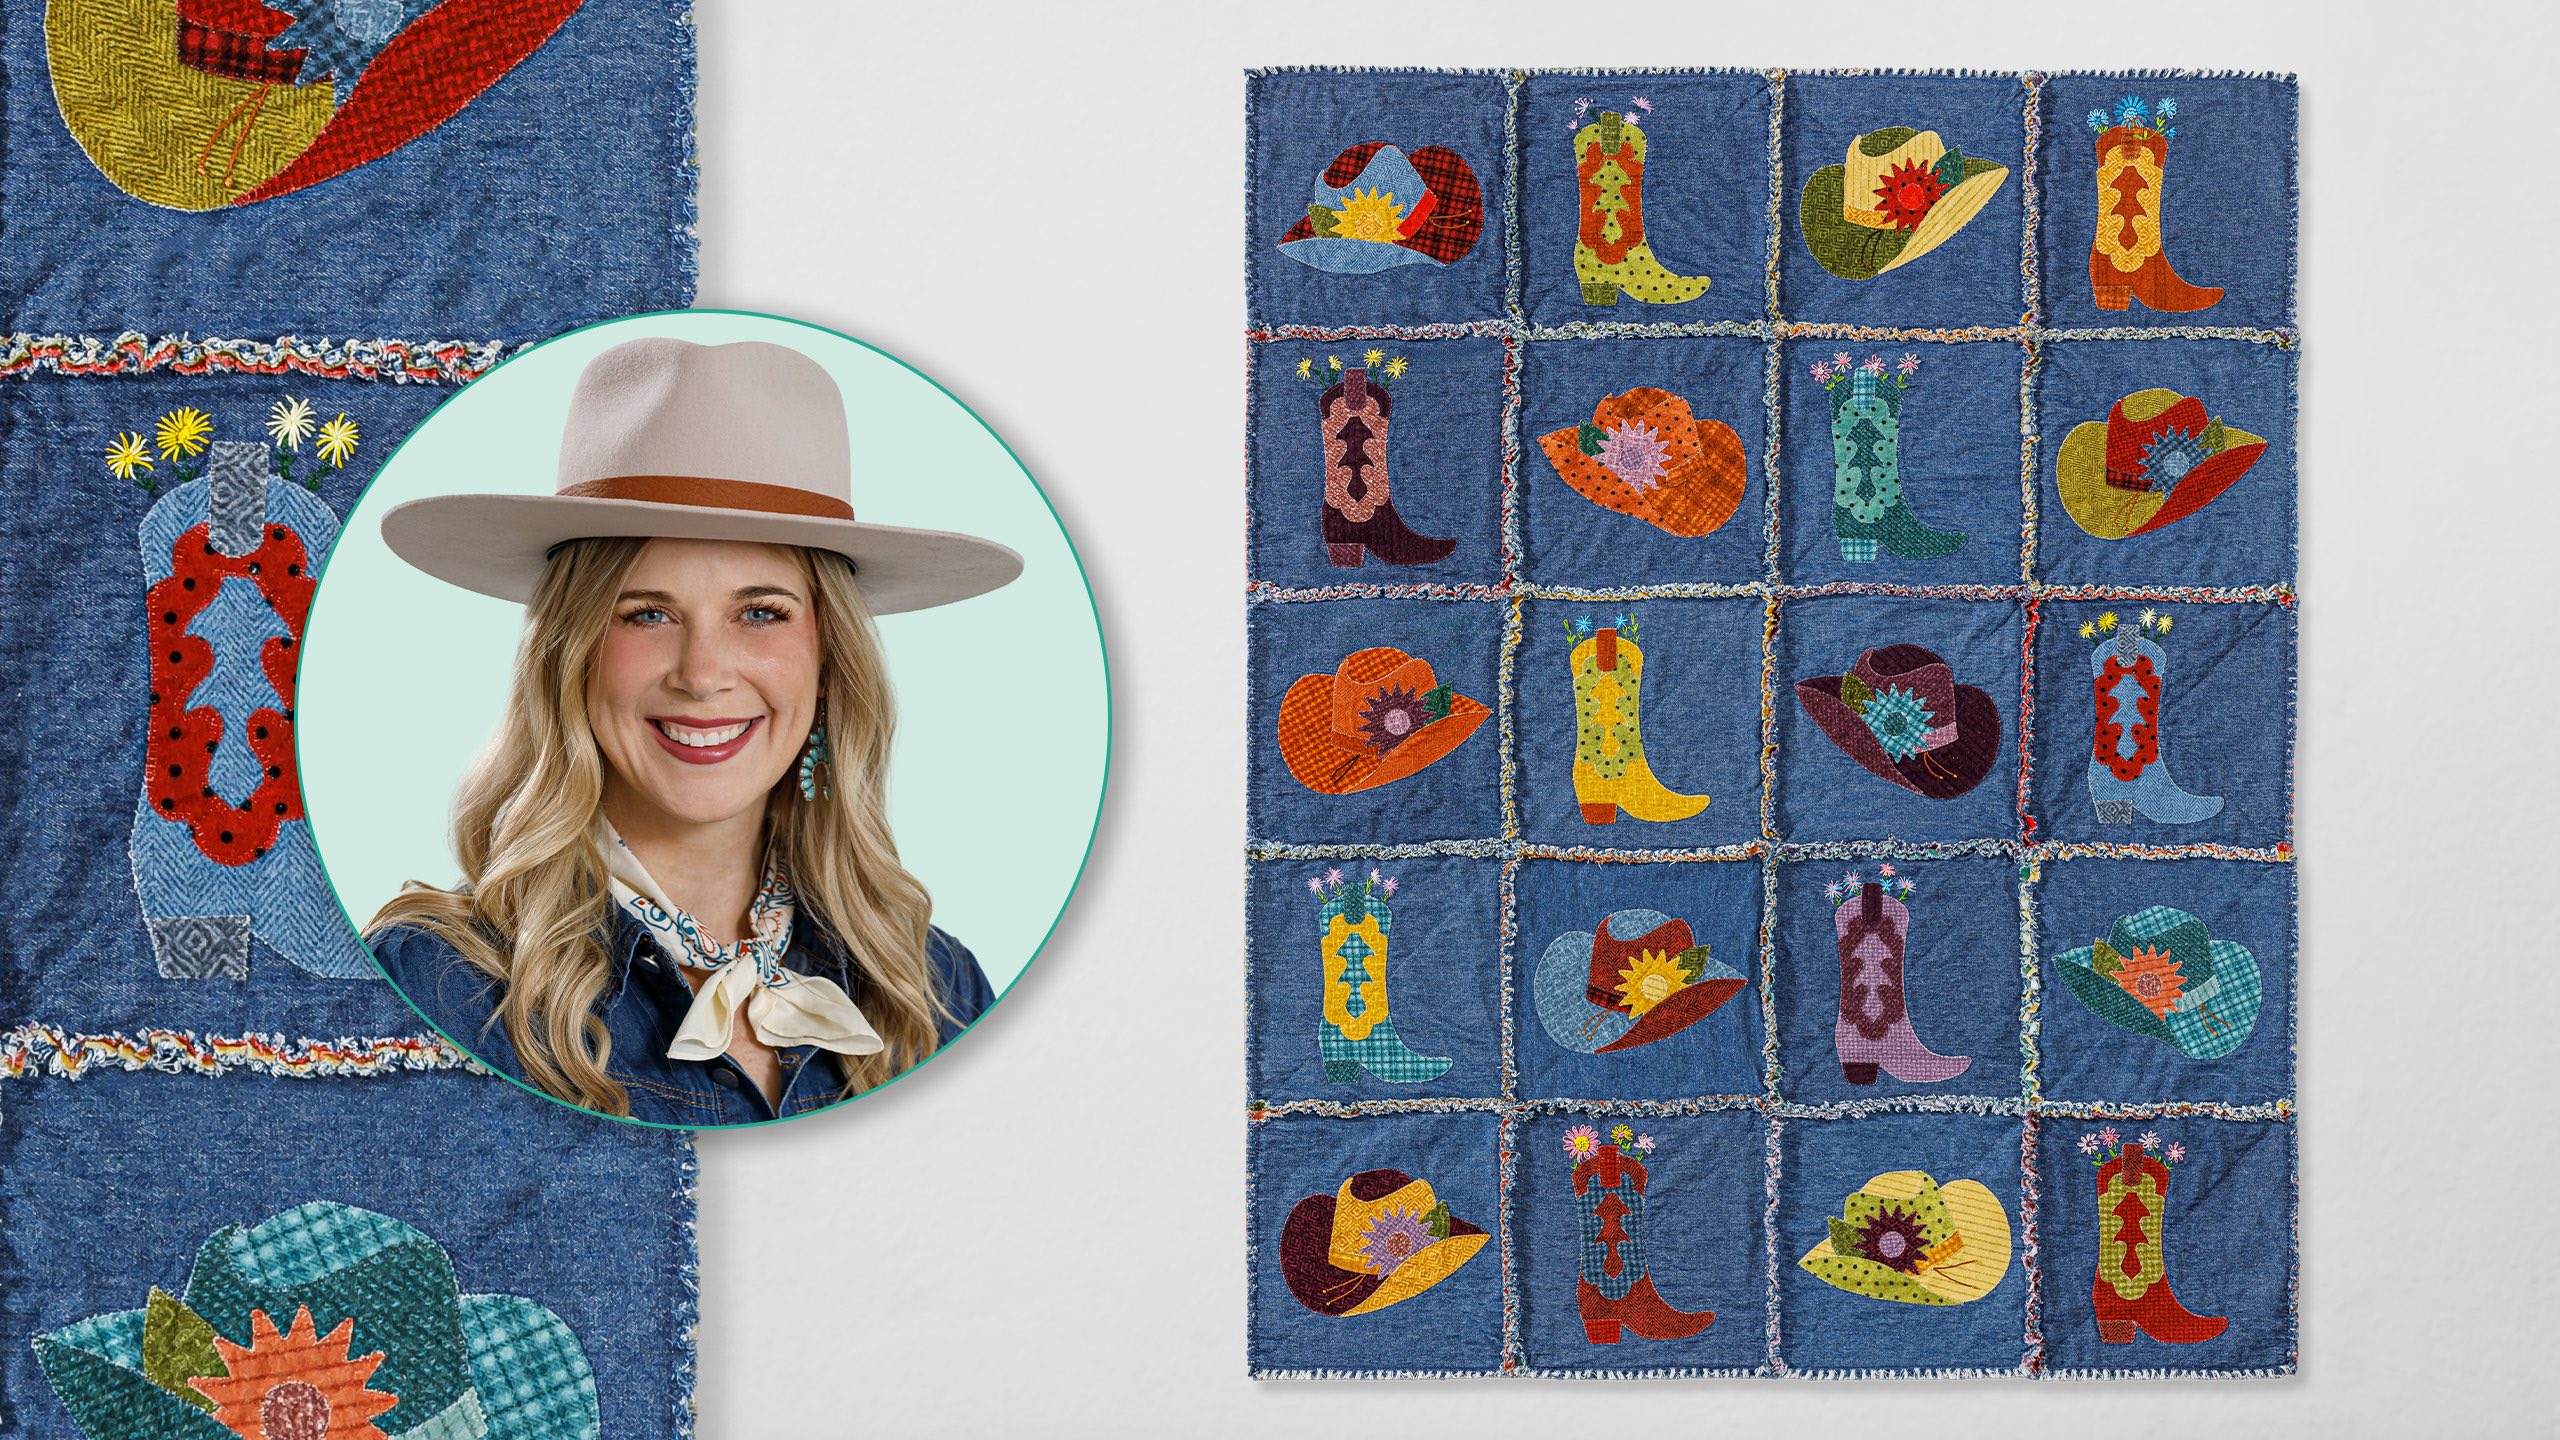
Hey, buckaroos! Round up denim and flannel to corral a comfy rag quilt! Learn the easy quilting technique that creates fluffy "rag" seams and a laid-back look. The addition of appliques from the Missouri Star Hats & Boots Template Builder Set gives this quilt fun Western appeal!
Misty Doan grew up surrounded by sewing and quilting. She loves spending time sharing tutorials each week each week, and when she’s not stitching up one of her fun sewing projects for home decor, most likely you’ll find her hanging out with her husband and three awesome kids or working on a house project.
Hey, buckaroos! Round up denim and flannel to corral a comfy rag quilt! Learn the easy quilting technique that creates fluffy "rag" seams and a laid-back look. The addition of appliques from the Missouri Star Hats & Boots Template Builder Set gives this quilt fun Western appeal!
How long is the tutorial video?
The tutorial video is 00:12:43.
Are supplies listed for this tutorial?
Yes. The tutorial page includes the supplies and materials connected to this project.
Video Transcript
Hey everyone, it is birthday bash week here at Missouri Star. We are celebrating our 17th birthday with a little stitch and stampede. And so I have a project with that in mind. We'll be using our hats and boots template builder set to make this adorable rodeo roundup quilt. So let's get started. Yeehaw. A [Music] [Music] today's project is super fun and like I said, it's to help celebrate our 17th birthday at Missouri Star. So, thank you guys for being here for all these years and having so much fun with us. It means the absolute world. We couldn't do it without all of you. And so for today's project, you are going to need, of course, this template builder set that will give you all the pieces for the hats and boots that you see behind me. You're also going to want a pack of these denim uh light indigo washed uh 10-in squares. There are only 24 in these denim packs, so you'll just need one. I also use these adorable Woolly's flannels from Maywood. So, you'll want to grab a pack of those. And you'll need some Solight fusible, some scissors, and a marking pen. So, let's get started. So, in this template builder set, there are three different styles that you get. You get this side view of the western hat and all the little pieces to add the details. You get a front view that's just a little simple option with a band. And then also the boot with all the pieces as well. And so, I just used the side view of the hat and the boot in the quilt that you see behind me, but feel free to mix it up however you'd like. I'm going to go ahead and move some of these out of the way for now. And we are just going to use our soite fusible. And I like to just start by tracing my shapes on here with whatever marking pen you like. Whoops. Make sure it doesn't shift on me. There we go. There's the base of our hat. And then you'll just continue tracing these out. But typically you want the base of the hat and this little brim and the top. And I like to use different fabrics for these so it gives our hat some dimension. And so you'll just trace all the shapes you need for whichever design you are deciding to play with. I have some of them already ready to go. So that gives you the idea. And we will set these aside for now. And now we can just rough cut around these with our scissors. and we can find what fabric we want to be the base of our hat. And so I think I'm going to use this little tan polka dot. I think that's super cute. So I'll put that right sides down on my ironing board. And then we're going to put, of course, the bumpy side, the glue side of our fusible down towards the fabric. And we're going to hit it with a nice hot dry iron. Lovely. And then once that is fully fused, we can come back and now we can cut directly on our outline. And you know, hold on to this piece because you can use it for other little details in your hats. So, you might actually want to take the time to go through your pack and pick out maybe the 20 that you don't think you'd love for the the boots and the hats that you'll be making because there are some like blues in there that maybe don't have as much contrast as you'd like. And then, you know, you'll have enough for the back side of our little rag quilt. And you'll be happy with all the options you choose for the front. So, there we go. Now, we have that all cut out. It doesn't really look like a hat yet, but we're about to make some magic. So, I have some other pieces in different prints that I already traced and cut out. So, now that we have all of these cut out, we can grab one of our 10-in denim squares. And I like to just set this on my pressing mat. move this out of the way so you guys can see here. There we go. And then now we're just going to peel off that paper backing from all of our shapes. I like to just crease that. If that's difficult for you, you can score it with a straight pen. We just want to peel that away and leave the glue behind. There we go. And so I'm going to begin by just kind of floating this in the center here. Here's my other pieces. And I'm just going to test all of this layout before I fuse anything. So that kind of overlaps there. And here is there we go. How does this work? Like that. I got turned around. There's that piece. We have a little detail for our hatband. Here. It's going to tuck in there. You see, you just have to do a little bit of maneuvering so that everything covers where it needs to. Beautiful. So, actually, let me move this over to the middle here so you guys can see it. Make sure you can see all the details here. And then we'll just finish peeling these off and adding all these little fun elements. So, I'll tuck this flower in behind there. And then we need a center for our flower. and a leaf. There we go. And I cut one other bill just as an option, but I like that one that I used. So, I'm just going to tuck this in here behind my flower. I think that looks adorable. So, if you have like a little stiletto, you can gently adjust things. But now I'm just going to carefully press my iron straight down. No shifting because we don't want any of these pieces to slide around. So I'll just hold it there. Lift and press and make my way across. There we go. All right. I think that looks great. So, from this point, you're going to take this block and you'll want to top stitch this down. So, I have put invisible thread on my machine. I'm not going to take the time to do all of this on camera, but just go ahead and tack all of these edges so they're nice and secure. But for our next step, now we're going to sandwich this with a piece of flannel. So, I'll grab this here. And so, we are just going to put these wrong sides together. And we are going to put this together like a rag quilt. So, I'm going to take this to the machine and I'm just going to sew an X corner to corner in both directions. I'm going to eyeball it. If you wanted to use chalk or something to mark it so you can see, feel free to. So, we're just going to stitch point to point. And I like to take a few stitches and then just make sure that this opposite corner is in line with my needle. There's that one. Now we'll turn and go in the opposite direction as well. Just make sure I'm as straight as I can be. Beautiful. So, that is the base of all of our blocks. You can see how that turns out. If you want to give it a little press, you can. I just had white thread in the back. It doesn't bother me for that to show up on the flannel. So, I have a few more that I have finished here. Got another hat. And I have a little cowboy boot. And I did want to point out, it's super fun to add some little embroidery details. And so, we put some flowers coming out of the boots here. And we put a little tie on the hatband. Just fun. Totally optional. I just thought it was super super cute. And so, now let's talk a little bit about the layout. So, I just did four across by five down and I just alternated between the hats and the boots. And so, now let's talk about how we're going to put these together since we did them rag quilt style. So, I went ahead and I switched the thread on my machine back to regular uh thread. No more invisible thread now. And so, we are just going to put these with our flannel sides together. And we are going to sew down the side with a half inch seam allowance. So, a little wider than we traditionally use, but we really want that fray effect for this rag quilt. And so, that's what we're looking for. So, let's go ahead and take this over here. Make sure I'm still all lined up. Beautiful. [Applause] And so then you can see once you open that up, you've get you get all of these layers that are kind of poking up. And so we're just going to take our scissors. Where did I set mine? And we can just snip those. You just want to be careful not to snip through your threads. So just close to them. And I snip every, I don't know, quarter inch or so. And this will just help us have all that fun texture when we wash it. And so I would, you know, sew them together in rows just like you do a traditional quilt. And you can either snip in between or wait till the very end and snip it all at one time. That's totally up to you. But once you have your whole top all four by five put together, the last thing you're going to want to do is you're going to come and you're going to stitch that half inch all the way around the outside edge. So you can also snip that and have that frayed edge on the end. And that is it is really that simple. I think it's such a fun project. I hope you guys have a wonderful birthday bash week and we'll see you next time on At Home. Hey everyone, thank you so much for watching at home. We're so excited to be almost a million quilters strong here at Missouri Star. And so if you haven't already joined our family, be sure to subscribe and hit that notification bell so you can be notified of all of our future tutorials. And we'll see you soon. [Music]

 Misty Doan
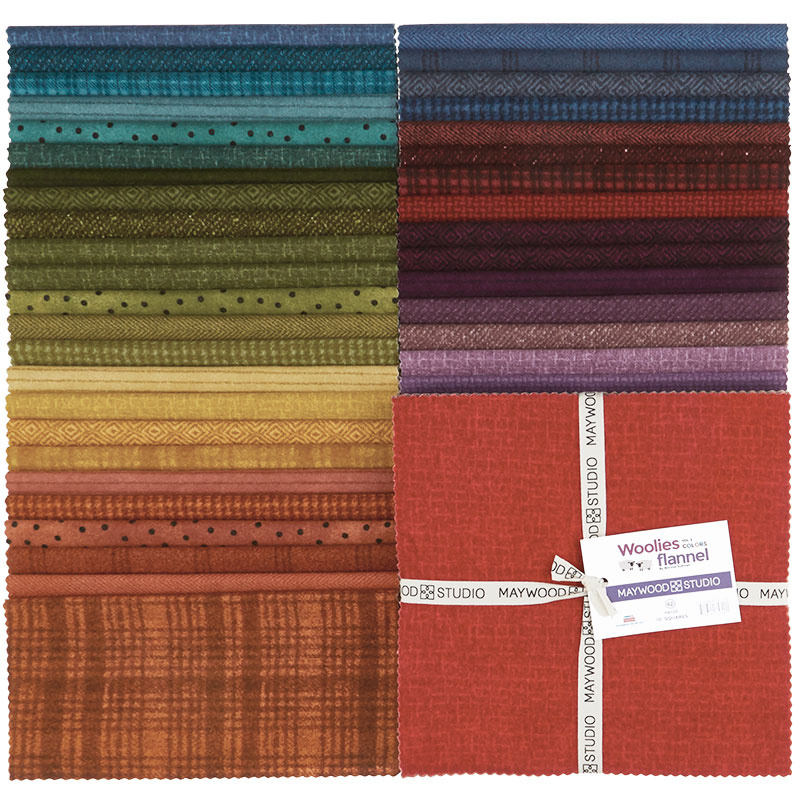 Woolies Flannel Colors Vol. 2 10" Squares$47.50Shop →
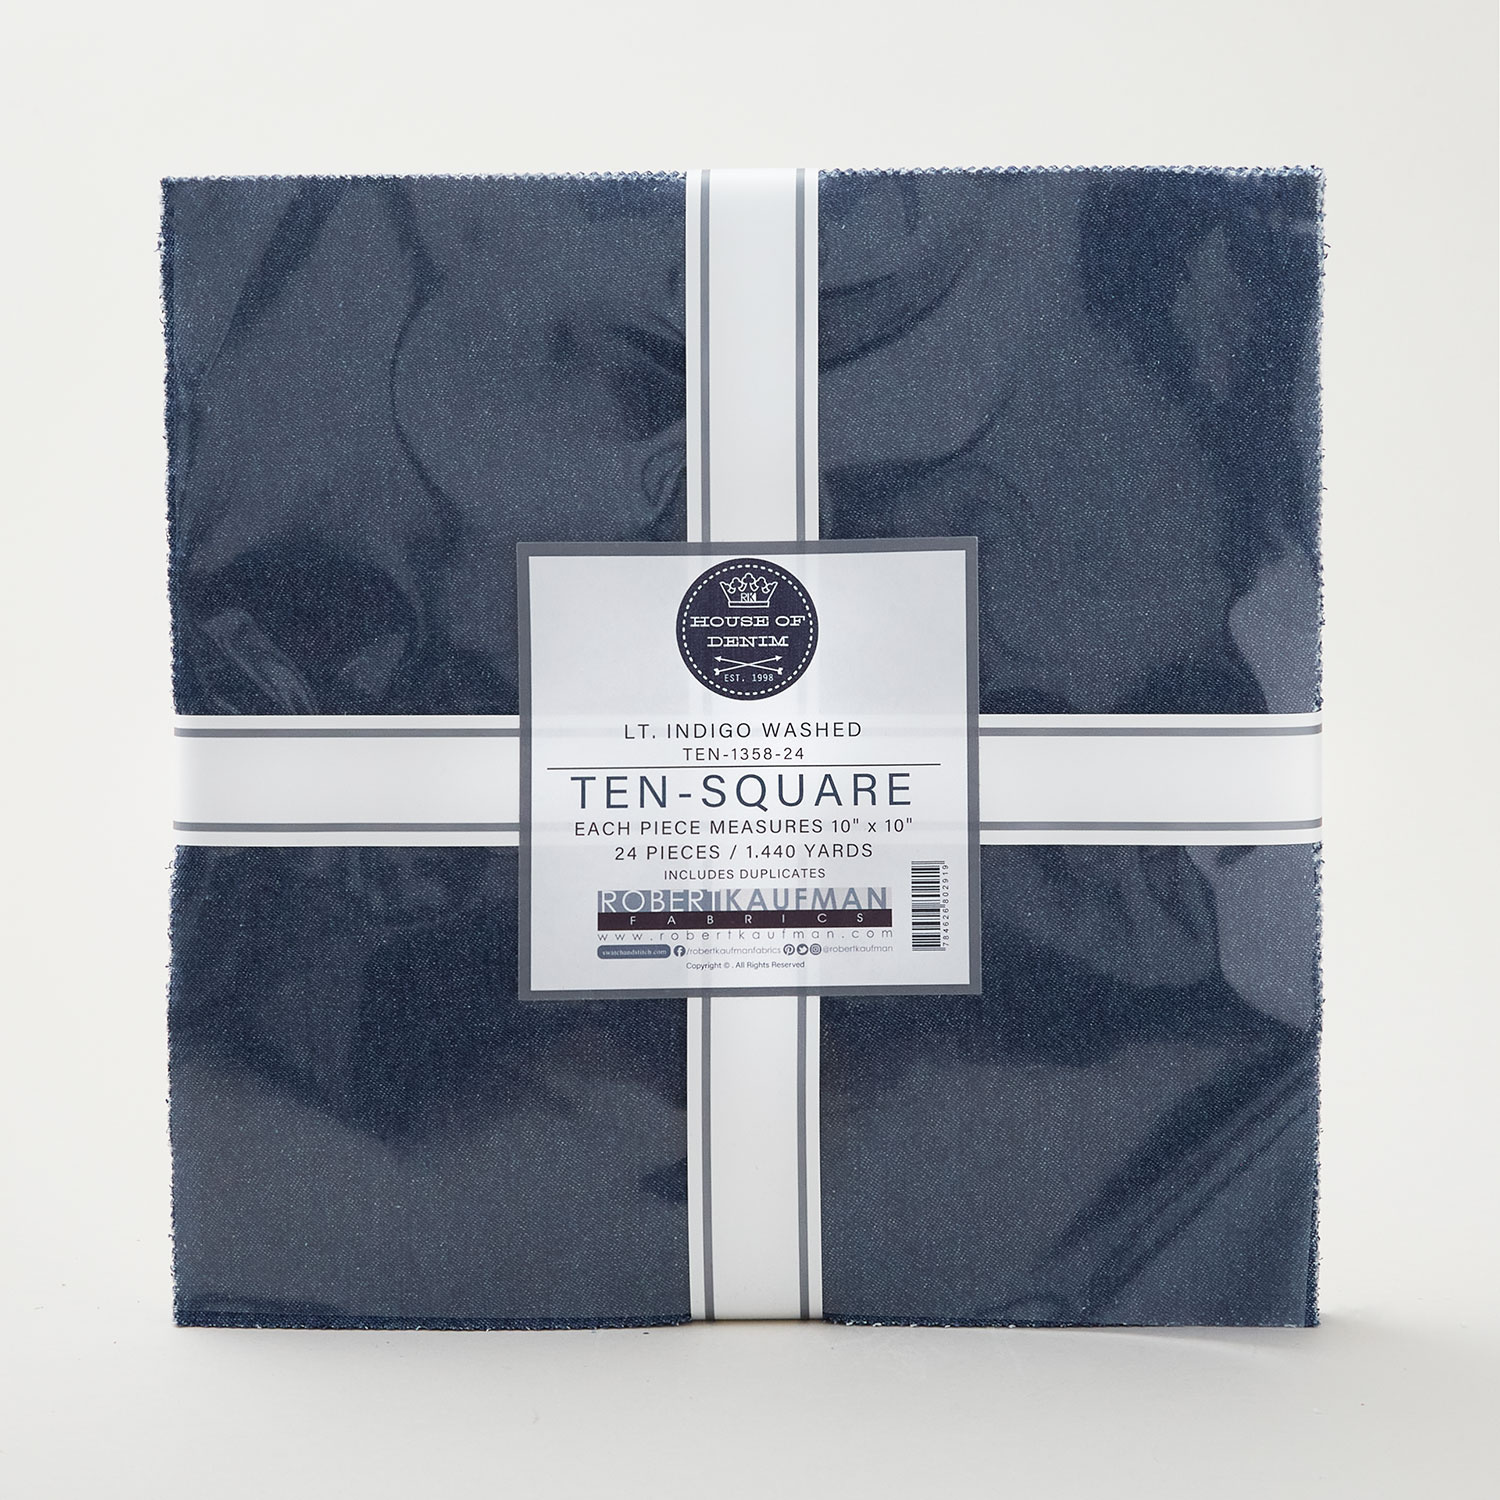 Denim - Light Indigo Washed Ten Squares 24 Ply$23.95Shop →
 Missouri Star Sew Light Fusible Adhesive - 17" x 2 yards$4.95Shop →
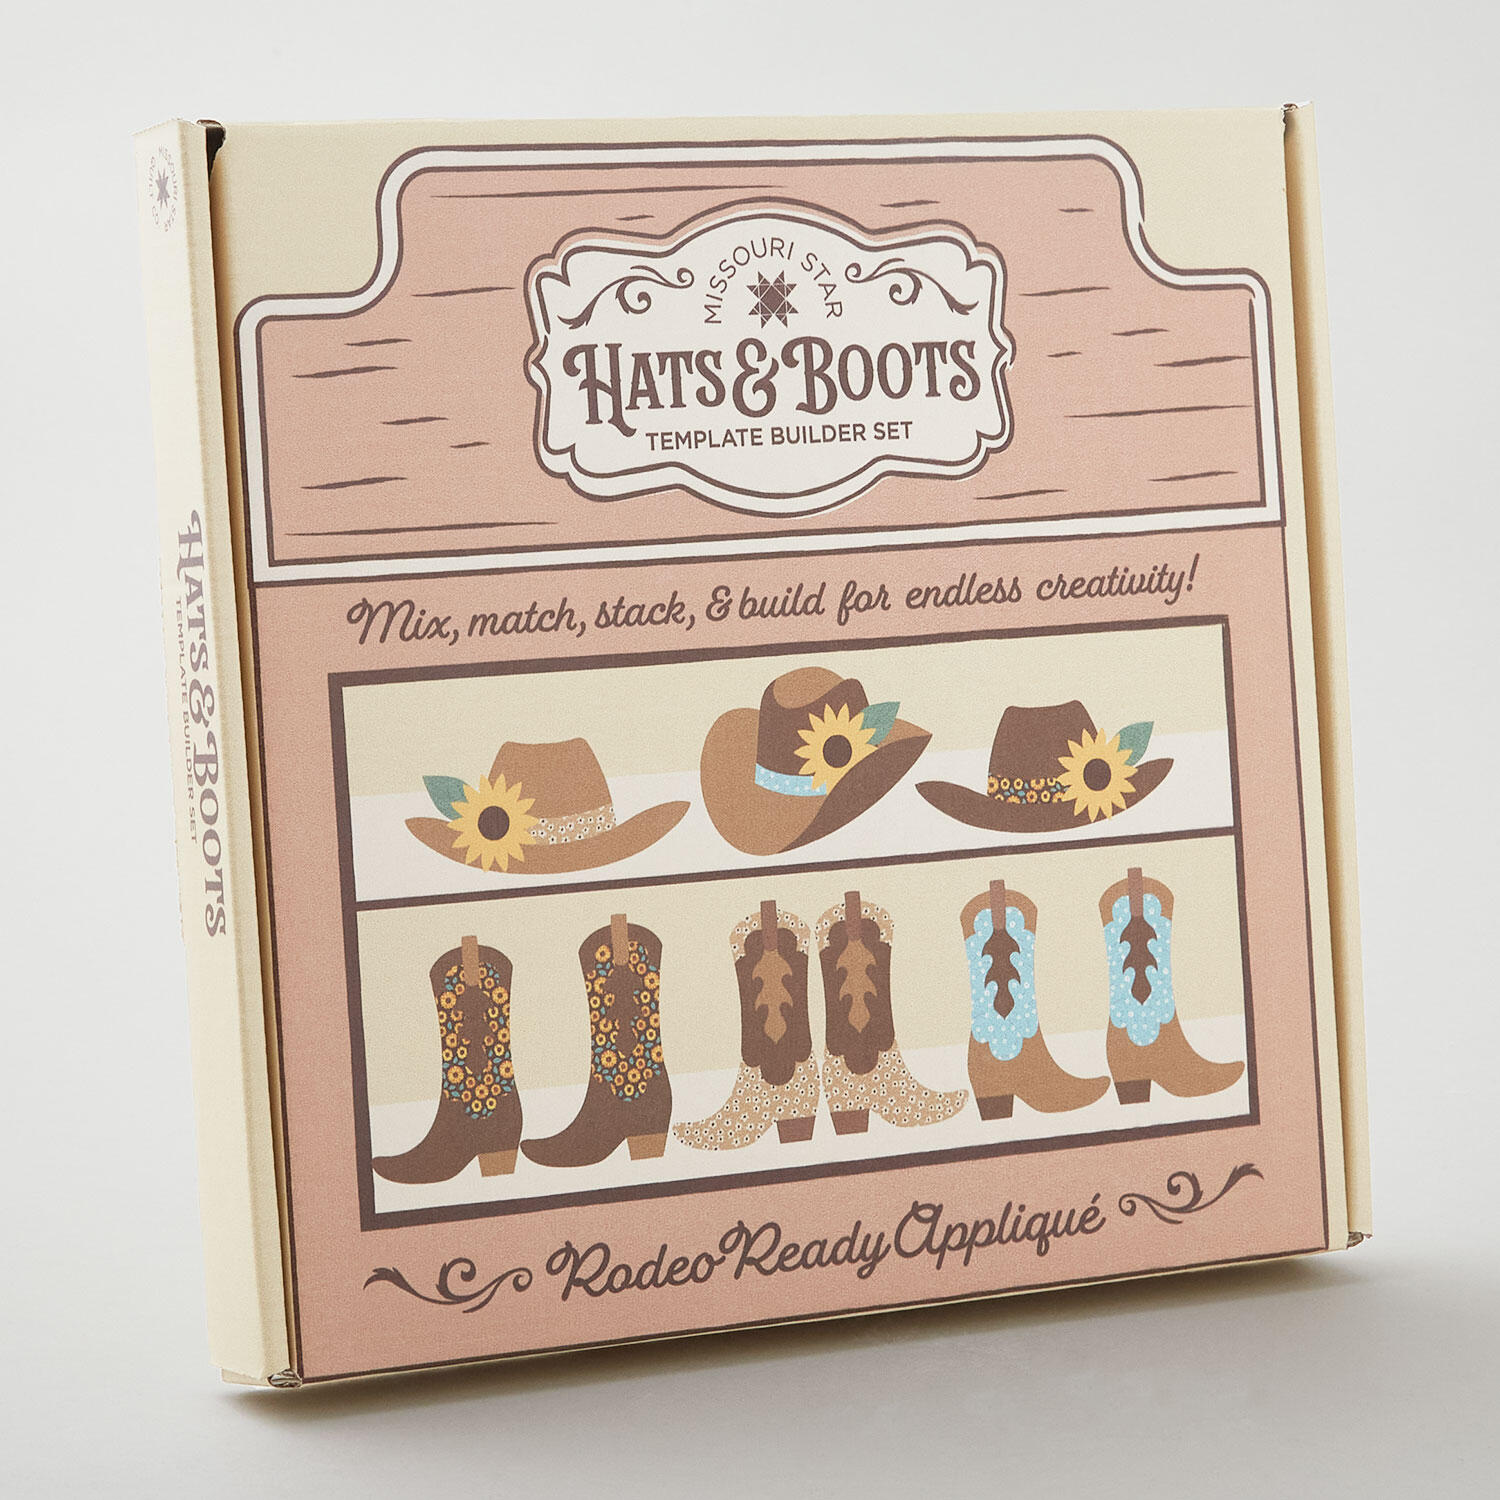 Missouri Star Hats & Boots Template Builder Set$29.95Shop →
 Missouri Star 45mm Rotary Cutter - Olga$19.95Shop →
 Missouri Star 8" Everyday Scissors - Amelia$19.95Shop →
 MonoPoly™ Invisible Thread - Clear$8.75Shop →
 Missouri Star + Oliso TG1600 ProPlus Iron$209.95Shop →
 Missouri Star Wooly Betty Board - 17.25" x 25.5" Orange Border$99.95Shop →
 Baby Lock Accomplish - 1500 SPM Straight Stitch Machine$1199.00Shop →
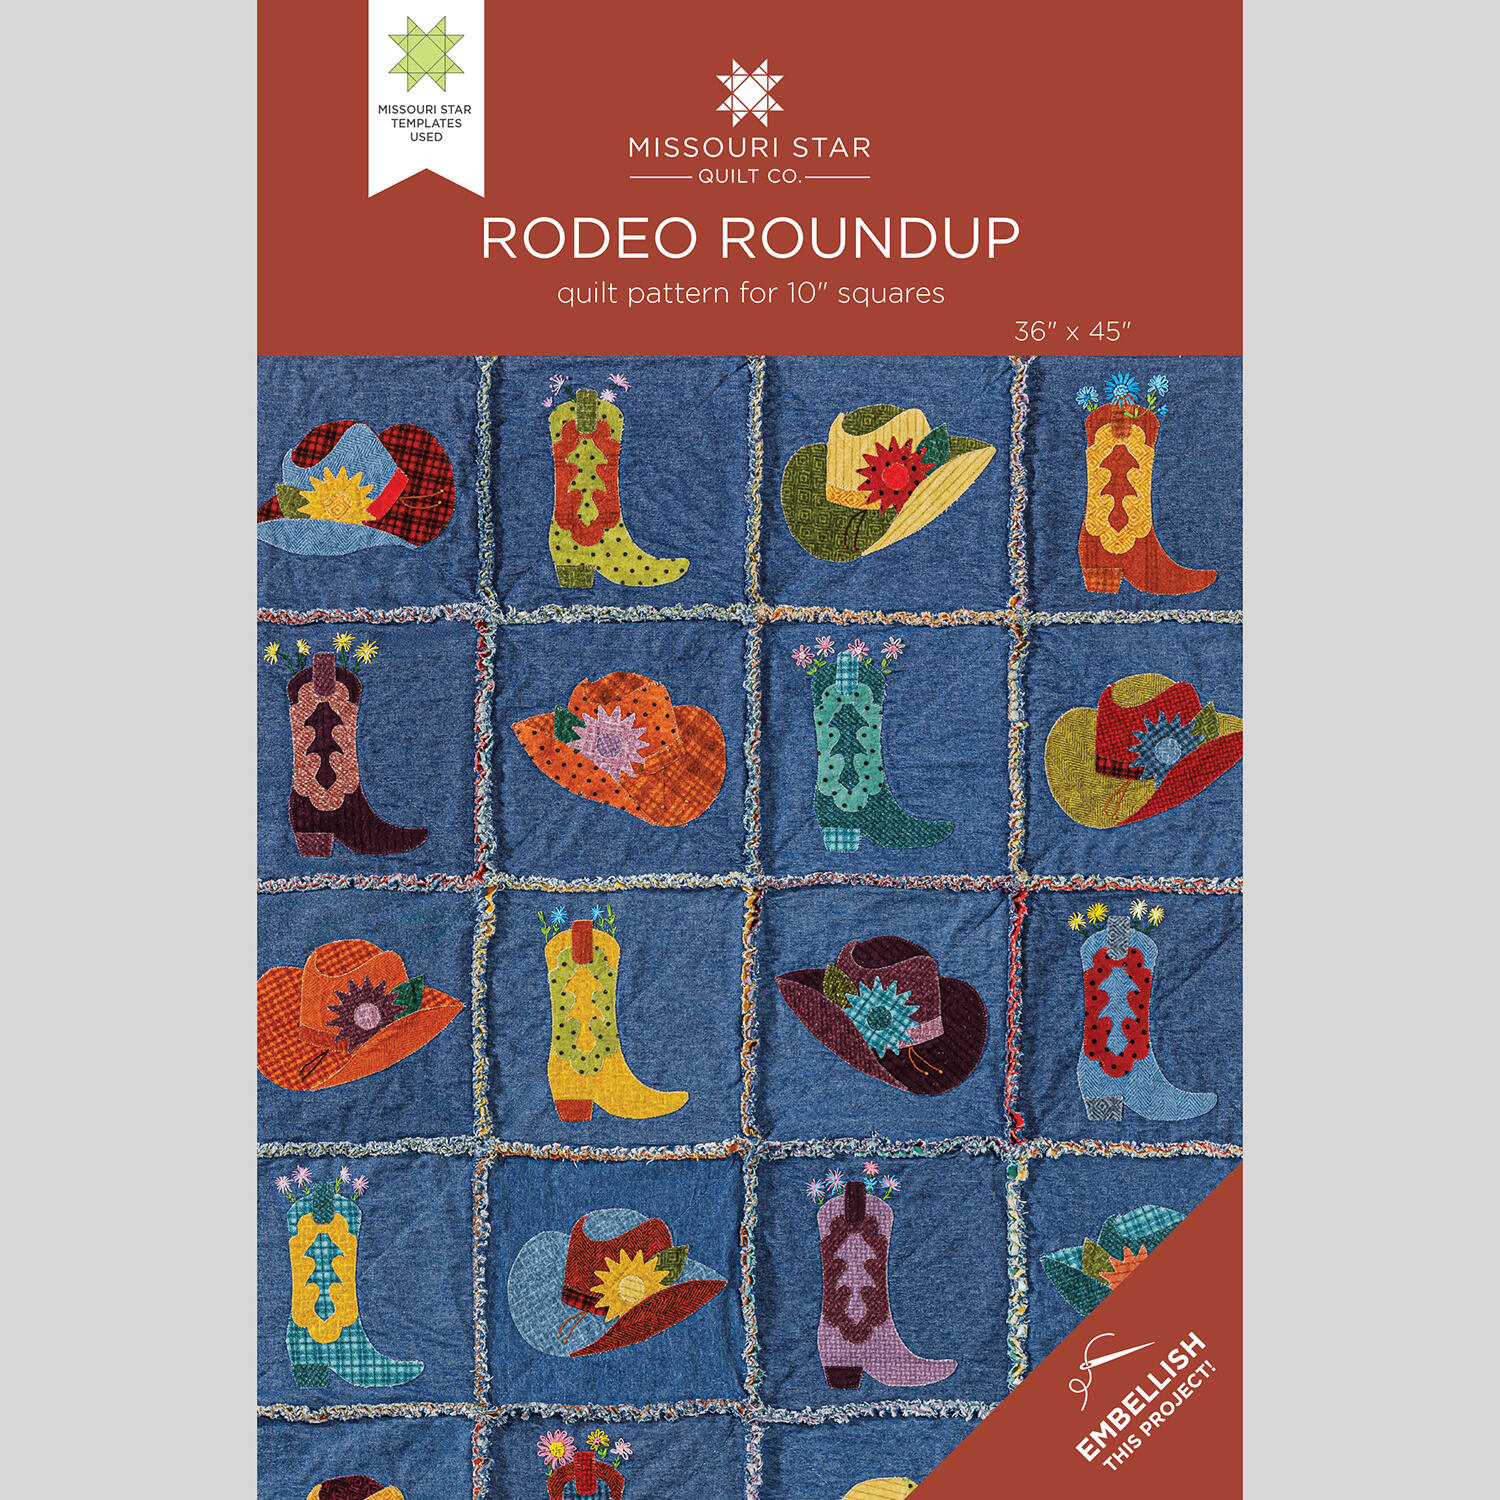 Rodeo Roundup Quilt Pattern by Missouri Star$8.50Shop →
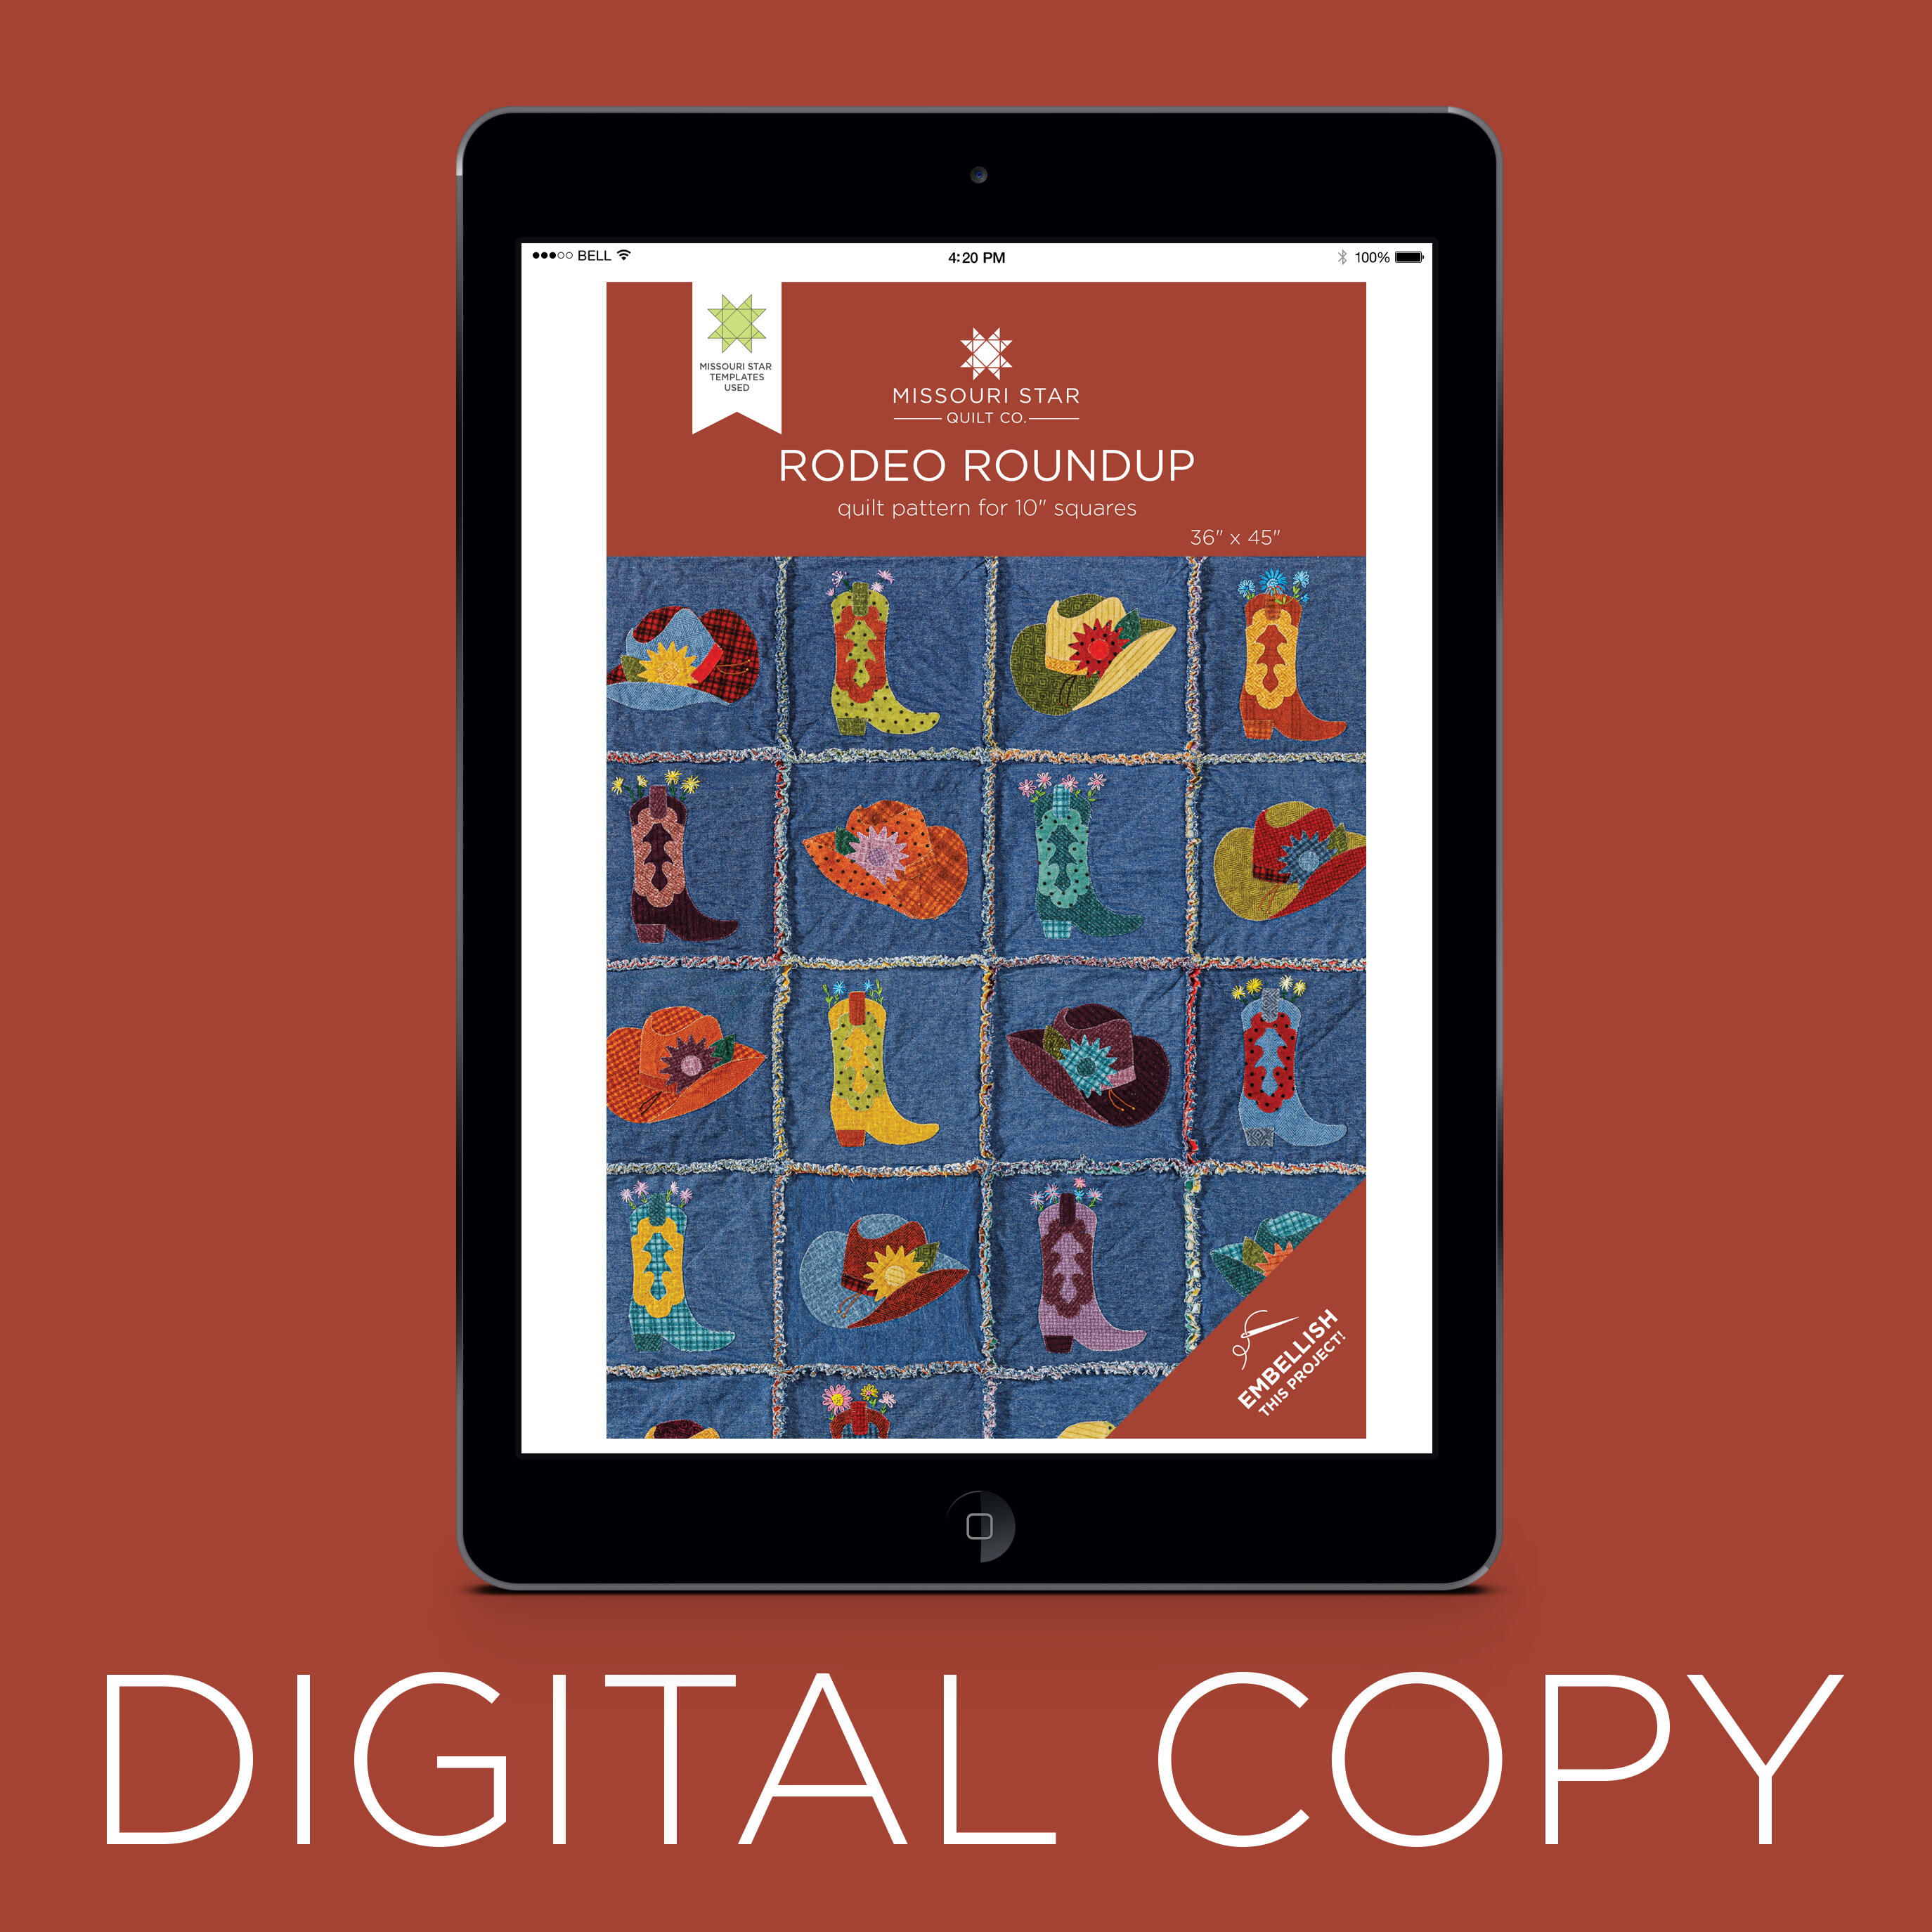 Digital Download - Rodeo Roundup Quilt Pattern by Missouri Star$6.95Shop →



