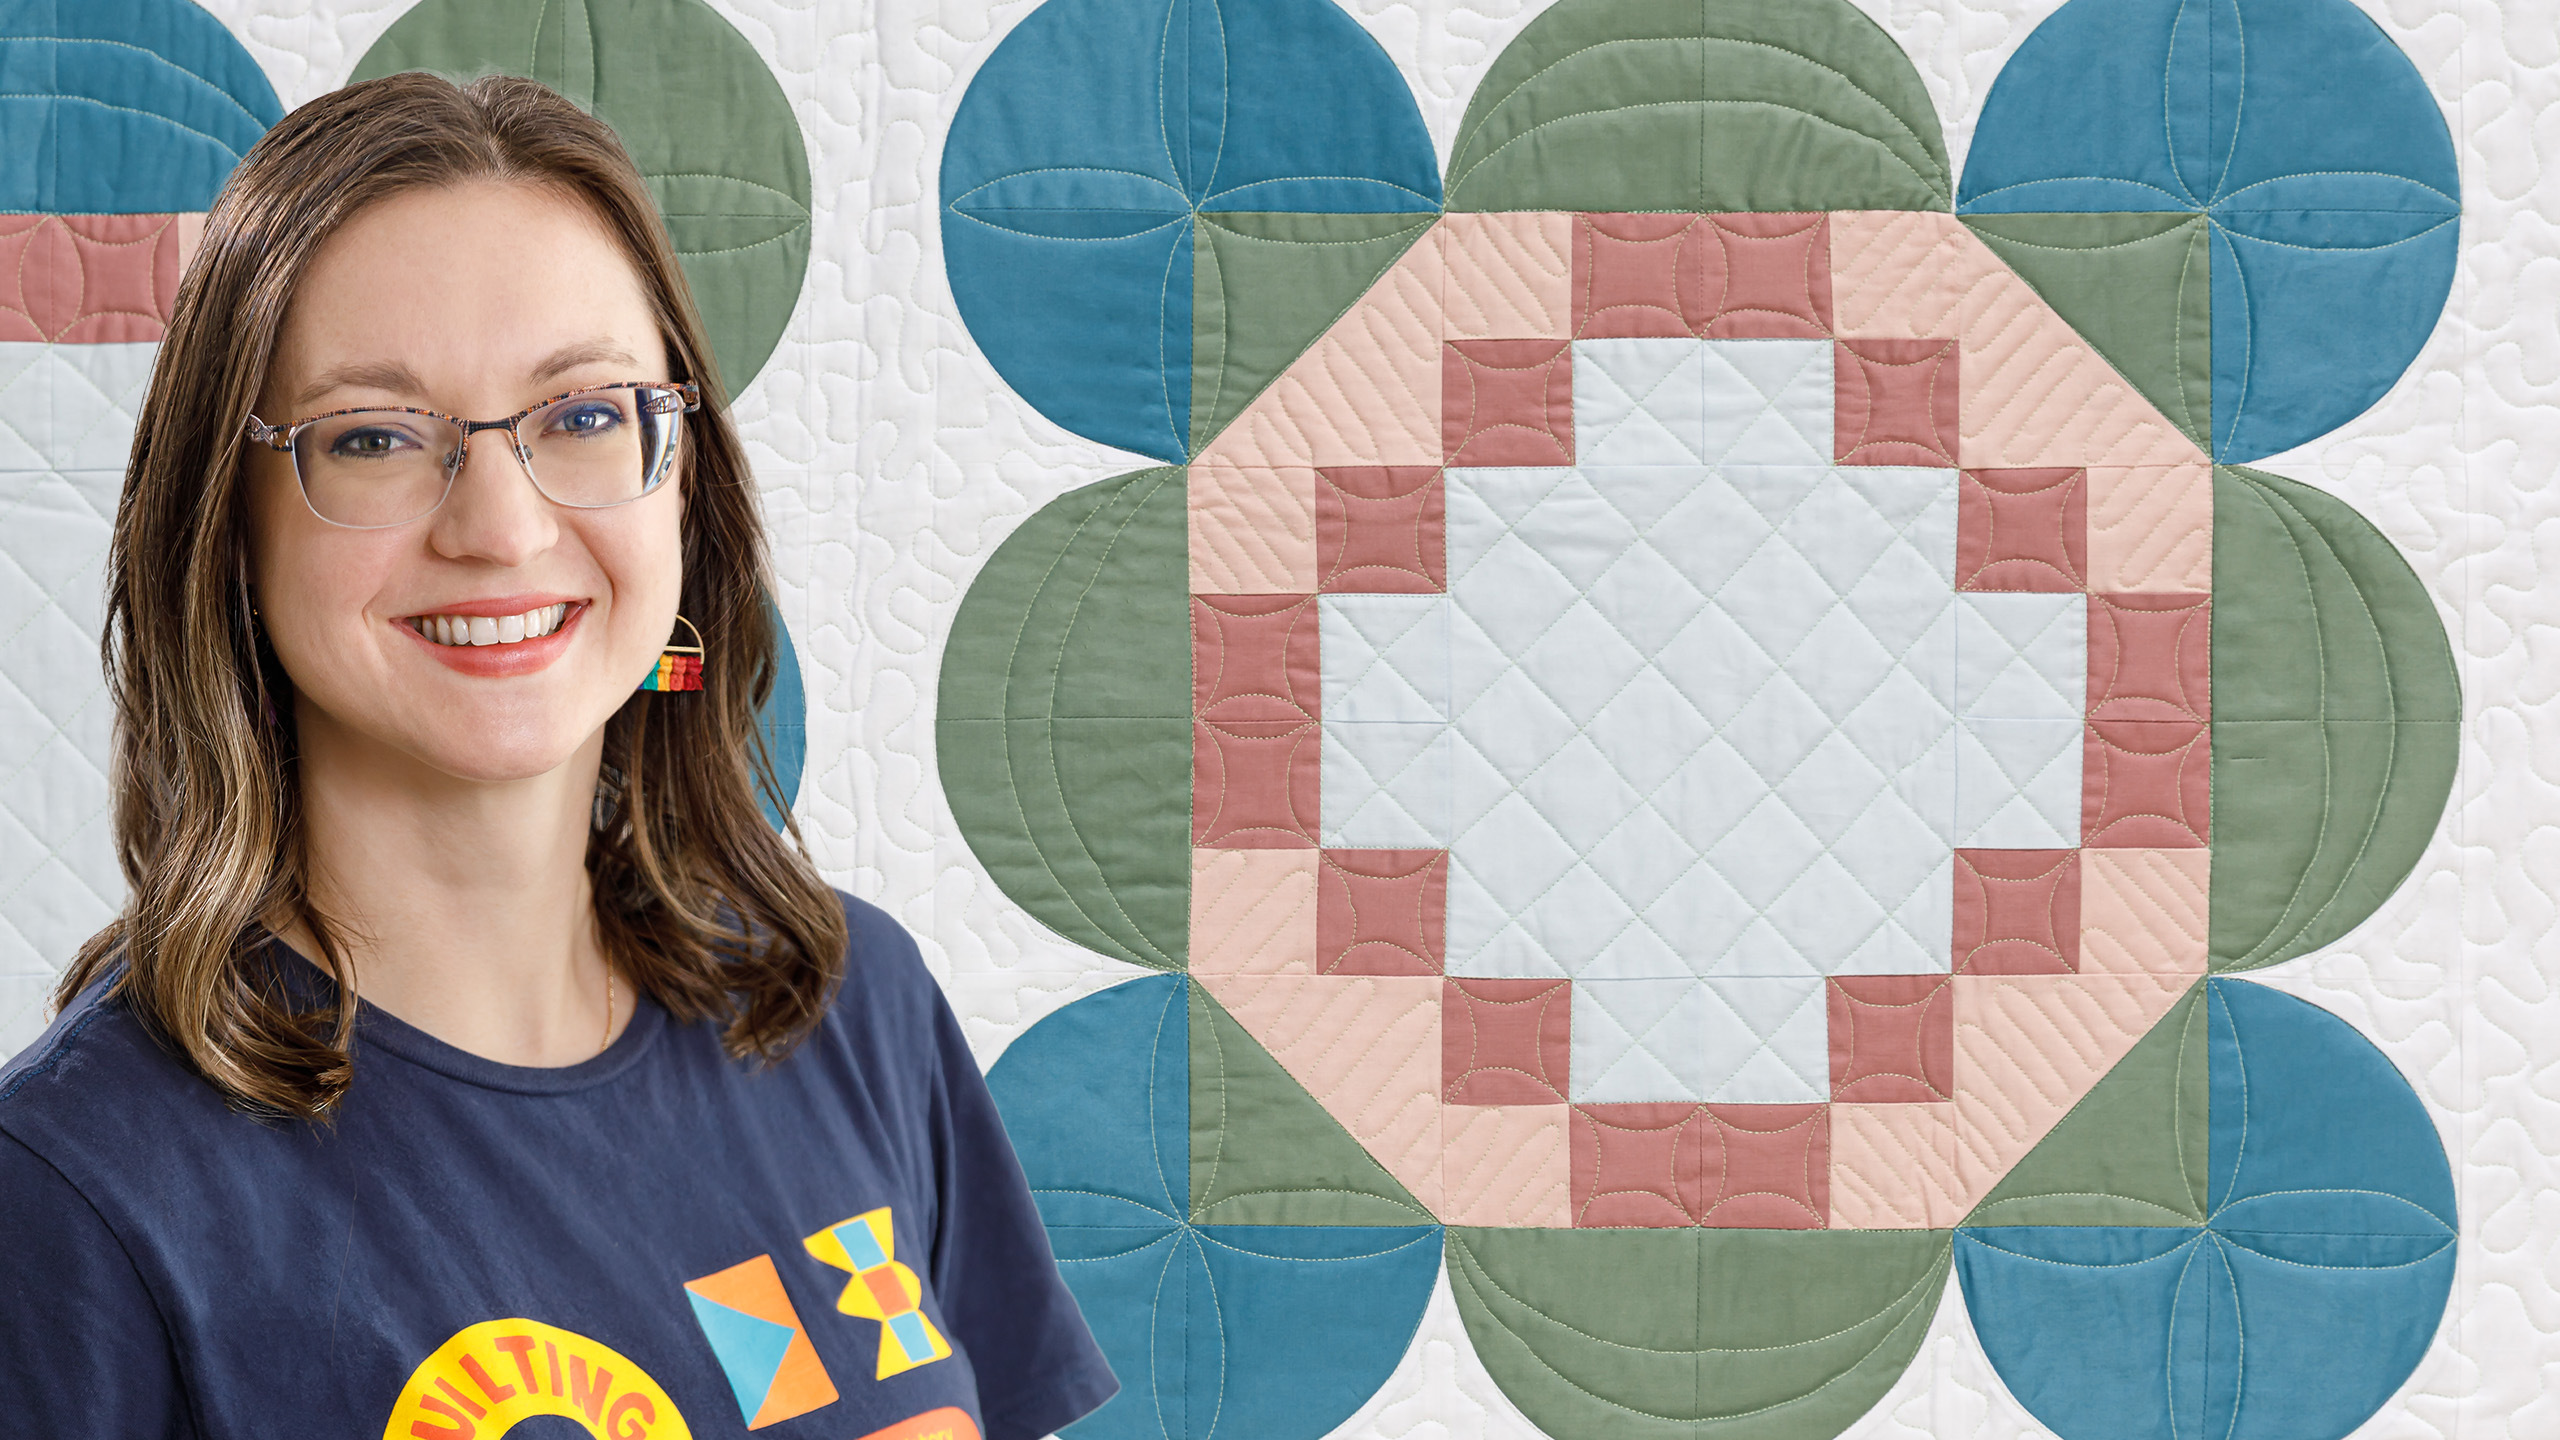
Quilt like a rockstar! HollyAnne Knight of String & Story shows you how to get great results by using a ruler when quilting on your domestic sewing machine. HollyAnne will help you quilt with confidence as she demonstrates her techniques on Misty's Clover Hollow quilt. You rule!
What is covered in Ruler Quilting with HollyAnne Knight?
Quilt like a rockstar! HollyAnne Knight of String & Story shows you how to get great results by using a ruler when quilting on your domestic sewing machine. HollyAnne will help you quilt with confidence as she demonstrates her techniques on Misty's Clover Hollow quilt. You rule!
How long is the tutorial video?
The tutorial video is 00:36:49.
Are supplies listed for this tutorial?
Yes. The tutorial page includes the supplies and materials connected to this project.
Video Transcript
Welcome Rockstar. My name is Hollyanne Knight of String and Story and I'm here visiting a Missouri Star Quilt Company to guide you to quilt with confidence. Today we're going to be quilting a wonderful quilt designed by Misty called Clover Hollow. And I'm really excited because this is going to give us a special opportunity to work with rulers together. Now quilting rulers are a little bit different than cutting rulers. They're thicker along the edge and they're designed to guide along the foot of your machine so that you can make specific shapes and designs as you're stitching. I'm going to show you a number of different motifs today, including basic grid work, continuous curves, and even some ruler guided switchbacks. Let's get started by choosing our threads. Before we start our stitching process, let's take a moment to look at threads. I do this every single time I quilt a project. I grab a whole bunch of different colors, some of which are in the quilt, some of which are adjacent to colors in the quilt, and I lay them out just like this to decide how I want my stitching to look. Now, I think sometimes it's our inclination to just grab the nearest neutral, and that can be totally fine, but sometimes it's fun to do a little something extra. Now, here I have, of course, chosen some of the main colors from this quilt, right? I've got a green, I've got a pink, I've got a teal, and this is actually a really light green that reads as a neutral. And then I grabbed this super fun variegated because it's just fun to see how those different threads can show up. And then this, this is Orurafhll 6731. I love to shout it out because it's one that when I see it on the spool, I find it incredibly uninspiring, but time and time again, it looks gorgeous on a project. So, anytime you're wanting to choose your threads, you're going to lay them out just like this. And pay not only attention to what it looks like on the spool, but also what it looks like laying out on your project. And then we play what I call the elimination game. And you just start picking out ones that maybe don't float your boat and eliminating them from the process. I'm going to go ahead and take this pink out. I really like that mauve, but I think it's probably a little too matchy matchy for what we need to get do together. And so I'm going to just continue playing this elimination, and I'll surprise you at the machine with which one I chose. All righty. I've got my machine all threaded up. I decided on a nice super light green that I think will be visible enough for y'all to see as we're quilting. And let's take a moment now to check on our tension and introduce the idea of quilting with a ruler. Now, as I've already mentioned, a quilting ruler is different than a cutting ruler. It's going to be a lot thicker along the edge, and that's designed so it can bump up against a ruler foot. I have a hopping foot on this machine, and very specifically, it's a ruler foot because it has these tall sides. Anytime we're quilting with a ruler, as much as possible, we want to work forward and back. Our elbows and shoulders are designed to work like little train tracks, and that's going to make everything a lot easier. When it comes time to do things like curves with the ruler, we will do a little bit side to side. And we'll talk about that when we get there. But for now, let's introduce these basics and talk about just quilting some straight lines with this ruler. I like to put my ruler in my left hand. That way, it's out from underneath my throat space. Most of us, our throat spaces are going to get nice and crowded with a whole quilt as we're quilting. So, we don't need to put one more thing over there. My left hand's primary job is going to be controlling and guiding the ruler. Notice that I put my first three fingers on the ruler, nice and far away from that edge. We don't want to get our needle caught in our finger, but then I do still have a couple of fingers hanging out on the quilt so that I can move this whole thing together. My right hand is going to be primarily responsible for guiding the quilt. Now, when we freeotion quilt, it's very important to understand that we only control the area that's kind of right in the triangle of our hands. The same is true when we're ruler quilting. Our hands are just more parallel to each other. And it's very important to stop often and reposition your hands in order to maintain control of that ruler and get the nice crisp effect that you desire. So, when we're ready to quilt with that ruler, we're going to start by just going in a straight line away from us. So hold that ruler in your quilt and stitch, keeping the ruler up against the side of your foot. This is a great opportunity to check your tension as well to make sure that those stitches look nice and crisp on the back side. I'm just using a practice sandwich for this so I can get the feel of my ruler and then we'll be able to be on our quilt in just a second. If I'm going to make a grid, I'll then use the little lines that are going the other way on my ruler to measure. And so I'll just stitch a couple lines over and then we'll go back the other way. So spend a little bit of time on your practice sandwich just going back and forth, understanding what it feels like to quilt towards you and away from you, pausing and starting again. And then anytime you're quilting away from you and you're kind of in your own blind spot back there behind the machine, don't be afraid to actually stop and lean and look to make sure your ruler is aligned how you want before you resume your quilting. I don't recommend trying to quilt sitting like this. It's going to mess up your neck. It's going to be dangerous. All those things. But make sure that your ruler is lined up where you want it. And then you can resume that quilting and pause as needed to double check. So grab a practice sandwich. Get a feel for how your ruler works and how it feels to quilt with it. Double check your tension and then we'll get started on Clover Hollow. We're going to start by quilting a grid right here in the center block of Clover Hollow. This grid is going to be kind of set on an angle and we're going to use the piecing around the edges of this center block as our points of reference. So, I have dropped my needle down into one side of this center area and then lined my ruler up. So, it's going to connect on the diagonal all of these points. Notice that my ruler actually falls a little bit away from the point of the fabric itself. That's because from the needle to the edge of a ruler foot is one/4 of an inch. So, when I line my ruler up, I'm going to line it up right about a quarter of an inch from where I ultimately want to stitch. I'm going to get this pretty darn close to get started and then we'll pause and adjust as we need to make sure that our line lands exactly where we want it to. So once again, you're going to position your left hand on the ruler with a couple of fingers off to the side to maintain control. You're going to use your right hand to mainly control the quilt. And we're going to start by simply stitching corner to corner. You put a little bit of pressure on the ruler to keep it up against that foot. and just move nice and steady. Slow and steady is the secret to working with a ruler. This is not something you want to rush. It's designed to be precise, but that means that you have to be careful and attentive as you go. Now, our next line is going to start from this corner. So, we'll just pivot the quilt a little bit and we're going to stitch in the ditch. And then we're going to go back the other way. Now, anytime we're moving away from us, we're kind of quilting into a blind spot. So, as much as possible, we want to use the previous stitching line as a point of reference. So, when I line up my quilt like this, this stitching line in this instance is just going to barely skim the top of the letters string and story on this ruler. These are String and Story Quilting Rockstar rulers. And right now, we are using the straight edge. And we're going to just continue quilting corner to corner just like we did on that first line. I'm going to pause kind of every couple of inches and make sure that I'm lined up exactly where I want to be. Just like with freeotion quilting, don't worry if this line is not perfectly straight or your stitches aren't perfectly even the very first time you do it. practice will make progress. You will get more precise as you go along. But also, our eyes tend to autocorrect things. So, your eyes are going to look at these lines and because your brain knows it's supposed to be a grid, it's going to read it as a grid, even if they're not perfectly even. Once again, I'm lining up just with the letters on the ruler here as a point of reference. and matching it to my piecing. And between those two references, you should be able to get a pretty straight line. And we're going to continue in this same way all across this quilt. This is your longest line of the grid. So, take your time and just work your way to the other side of the center. You'll notice here I decided to hold my ruler at a little bit of an angle. That is totally fine. One of the great things about rulers is that they're omnidirectional, just like freeotion quilting. The one tip that I would give you though is to never put your ruler behind. You'll notice that these rulers, when I was first showing them to you at the beginning, they all say long arm for the height. That just simply means that the rulers are nice and thick. And I really like using a long arm ruler no matter what I'm working on because it makes it a little bit safer. I'm less worried about my ruler ending up underneath my foot. And that's going to improve the safety as I'm going along. And it means that I can use this ruler on any machine I happen to be using for quilting. Notice there I'm going to bend and look before I stitch. And finally, these last little corner to corners to finish us off this direction. And then from where we end is actually where we're going to start the grid going the other way. So, exactly what we just did going from one side to the other here, we're going to repeat to turn these lines into a grid. Remember, let the table do the work and put the quilt way back there instead of putting it on your body. There you have it, Rockstars. Your very first ruler quilted grid. Next up, let's do some continuous curves. Now that we've done those grids with the Quilting Rockstar straightedge ruler, it's time to get our Quilting Rockstar amperand ruler out that has all these fun and funky shapes. And we're going to get to use several of them together. First up, we're going to do some simple continuous curves. These are just curved lines that go dot to dot on our quilt, and they're a really fun way to accent things like Iris chains to give them a little bit of extra texture. We're going to use this little half circle and work first on all the inside edges of this chain, and then we'll come back around the outside edges and catch the centers to complete this look. Take your quilting Rockstar ruler once again in your left hand and position it so that the curve of the ruler is on the square you're going to be quilting. You want to have, of course, the space of your foot where you're starting, but then on the other side you're going to have about a quarter of an inch space as well. And that's because ideally this foot is going to swoop around and just stick right up against that ruler until your needle lands in this corner. Notice I say ideally, you are also a human. If something slips, just pause and reposition and try again. and it's going to be totally fine. All right, once again, left hand, fingers on the quilt to give it a little extra stability. And we are going to simply swoop around until we land in that corner. And then we're going to pivot the quilt. This one's going to have a lot of pivoting. Make sure you keep the bulk of the quilt up on the table. Let it do the work for you. And the more kind of slack you can give yourself right here under the needle, the easier it's going to be to move this and stick up against the edge of the ruler. This one I'm actually going to quilt from right here. Notice here I put a couple of fingers on the ruler and then leave my hands on the quilt so I can move it as a whole. and then turn to do the side. Again, play around with which positioning you find to be the most comfortable. You may find that having this ruler in your left hand is the easiest, or you might find that you really like this position down in front. You can always pivot the quilt to keep the ruler in the position where you have the most control. Totally up to you. All right, we're going to just continue on around here. until we reach where we started. And then we'll start on that outside loop. Now that we've come back around to where we've started, it's time to start that outside loop. Now, as you saw as I went around, every time I need to reposition the quilt, I just push and shove it. This is not something that we're going to try to keep rolled up or nice and tidy. You need that quilt to be able to move freely. Don't worry about it looking cute. Just worry about it being out of your way. Okay, this next section, we're going to catch all of these little inside sections of our squares so that all four sides of every square is quilted. I'm going to start with these right here. And this is going to be quite the big flip around of the quilt under your machine. And then it's going to start coming together and look really awesome. So, we're going to loop here. And this is where you're going to be tempted to put your ruler behind your machine. You're going to be really tempted to do this. Please don't. And here's why. On different machines, the screws at the back of your machine and the back part of your foot can hang down different heights. This is part of what comes into the idea of shank height, right? But we don't ever want to risk all of that hitting your ruler. It could break the ruler. It could break your machine. It could throw out the timing. It could cause the needle to break. All bad things, right? Take the extra couple of seconds and just pivot the quilt. Okay? We only need to go about 90° here and we're going to be much safer and have a lot fewer risks. Again, make sure that quilt is up on the table and then we can continue on. Now, if you were paying careful attention as I focused on rotating our quilt out of the way, you may have realized even before I did that I was about to quilt myself into a corner. Now, what I probably should have done was come across the top over here and instead by going back to where I've started, I can't go where I need to go next. But it's okay. This happens all the time. And the great thing is that it's quilting. You've got two options from here. One option would be that you could break thread and unpick this little line that we just stitched and start back at the top. But honestly, who has time for that? So, we're just going to stitch in the ditch to get ourselves out. Okay. So, take your amperand ruler and you're going to just position that little straight edge up against your ruler and you're going to travel in the ditch over to this next corner. And as I already mentioned, we're working our way around these outside edges. So, we're going to continue on around the outside edges and we'll catch these two when we come back around. So, continue just as you were now that you have freed yourself from your little hiccup and position your quilt so that we can quilt this edge. Same thing with those continuous curves. And we're going to work our way around these corner squares. We're not putting that behind. See, even I sometimes I'm like, "That seems convenient." And then realize it's going to be an error. These corner squares are exactly like the first ones that we did that we're just bumping two at a time all the way around. There we go. And as we start to have a couple of them that are complete, you'll see how cute this design looks that it just rounds off those squares and gives it a nice little texture. This part is a lot of quilt turning. Just put on your favorite audiobook. You'll be fine. One step at a time. And when you get to where you want to go to this side, push the whole quilt through the throat to get it out of the way. All we need underneath here is just enough to be able to move up these right hand or these left hand sides. So, we're going to quilt here and we're back to where we have those inside curves to do. So, we're going to do one and then the other and then continue on around the outside edge. So here and then here. And then continue the outside. And you're going to keep repeating this pattern all the way back around. Once you've made your way all the way around, it's going to be time for us to tackle the switchbacks that are going to go in this nice pink section. So, let's get started with that. Go ahead and grab your String and Story straight edge ruler again and we're going to use this to guide our switchbacks. Now, switchbacks are a straight line with a U-turn at the end. You can freeotion quilt them, but today we're going to use a ruler in order to help those lines be extra straight and to help us with our spacing. We're going to start by stitching in the ditch about halfway up this block. And then we're gonna turn our quilt on like a 45 degree angle to be able to work straight across this little section of pink. Now we're going to use the ruler right up against our foot and we're going to use it to guide those straight lines and then we'll freeotion the little U-turn part and then slide the ruler over. Let me show you what I mean. We're going to use the ruler until it's time to turn and then I will move away from the ruler to do my little curve and then I'll move the ruler back over. And ideally, this first little line on the ruler will show up right about on that line that you just stitched. So, I like to quilt my switch bags to be about a half an inch wide, which is the width of this foot. And that means that from the center to the first stitching line should be a/ quart of an inch, which is the distance that I have marked here on the ruler. So, you don't have to get that measurement perfect and exact every time, but keeping that guidance in mind will help those switchbacks turn out more even as you're stitching along. So, stitch back down. Once again, we're going to freeotion that U-turn away from our ruler. Pause. Move the ruler over. And then continue stitching. And we're going to do this all the way across this little pink section. We're going to see this motif again later in the mauve border, the really wide border that's around this quilt. And while these smaller areas can be pretty straightforward to freeotion quilt, this motif, a nice wide border like that is really going to benefit from having really straight and even line. So treat this like a little bit of a rehearsal for the border that you're going to do in a couple of steps. Notice again as I'm doing this, the extra parts of my quilt are just bunched up out of the way. We've put as much of that up onto the table as possible. If you've ever hesitated to freeotion quilt your quilts or ruler quilt your quilts because you're nervous about your throat space, don't be. I actually learned how to quilt on a quilt that had a 4 and 1/2 in throat and I quilted bedsiz quilts on it. The big trick is exactly what I've been telling you over and over again, that we want to keep as much of the quilt on the table as possible and pushed through our throat space, not bunched up right next to the machine. Now, to move from one little pink section to the other, we're simply going to stitch in the ditch. So, I'll put my ruler right here at the front and hold it with both hands. I'm going to go a little bit onto that pink. And then we'll turn once again to that 45° angle. If it is very important to you to make sure that your back looks very even, you can be very intentional about making sure you stitch in all the ditches. It is also okay if you just stitch in the ditch when you need to. It's okay if it's not every single ditch showing up on the back of your quilt. If you're nervous about trying to catch all the ditches, but you also don't want them all to show, just put a busy back on the back of this and no one will ever be able to tell. Once again, here we're going to just stitch in this ditch. And then I'm going to stitch these last two little sections of pink exactly the same way that I did the first two. Y'all, look at how far you've come. You have already done three different ruler quilting motifs. We've done a grid here in the center with the quilting Rockstar straightedge ruler. We've done our smaller continuous curves here in the Iris chain around and we've added our switchbacks in these light pink sections. I just want to take a moment and just notice that if you were nervous going into this, you've already done so much and you should really pause and celebrate what a big milestone this is. From here, we're going to take our amperand ruler again and we're going to do some larger continuous curves in the corner of this block and then some big echoing arches in these half circles. You'll notice that those echoing uh arches are going to be larger than our ruler. That's okay. We can guide this ruler along in sections in order to make those curves complete. Let's get started over here with the continuous curves. You've already done this motif and this Iris chain. We're just doing it bigger this time. We're going to start by making all of the little curves around these seams. And we're going to end back where we started. Then we will stitch in the ditch to come along to the next half circle. That way we can go all the way around this block without ever having to break thread. I've already showed you how to bury threads in our tension video, but just as a reminder, if you at any point need to break thread because you get stuck in a corner or if you run out of bobin, you'll just take those tails and run them under with a needle, and it'll make it super easy to make any starts and stops invisible. All right, let's get started. Once again, you're going to bunch that quilt up. So, we've got a nice little quilt puddle here, and we're going to start with this first curve. Same thing. We've got the little space over here on the left hand side where our foot is and we're going to leave that same quarter inch space over on the other side. So this ruler can this foot can just travel along our ruler and land in the corner. I find these easiest to do with the ruler in front because it is a long curve. So, I'm gonna actually turn the quilt every single time to make this happen. Give this one a whack coming down the side. Save us one turn. There we go. Notice here I can turn it the other way and not have to pull the whole quilt through and it'll just save a little bit of fluffing. The biggest thing when you turn a quilt like this is just make sure it's not doubled up on itself. The last thing you want to do is accidentally quilt your quilt to itself. Yes, I've done it. Yes, it made me upset. That's why I'm trying to advise you not to do it. And then from here, we can use this little itty bitty straight edge that's on our amperand ruler to stitch in this ditch. You could, of course, grab your straight edge ruler if you wanted to be able to go directly across without pausing, but this is exactly why I put this straight edge here. is to make it as easy as possible for you to move from one section of your quilt to the next. All right, we are going to turn this and reposition. And as we do it, let's talk about these curves that are coming up. These are a nice half circle that we've done with two of those curve blocks that we made with Misti. And now I simply want to echo that curve with my quilting. I'm going to do two lines and then we'll stitch in the ditch to get across to the next corner. Remember those ditches are like little highways for how we're going to be quilting. And I'm going to show you over here on this because it's going to be a little bit easier for you to see. But we're working in a half circle just like this, right? And we need to be able to take this curve and make a half circle that echoes inside. And the easiest way to do that is going to be very similarly to how we pieced it. We pieced this half circle in two pieces. and we're going to quilt it pretty close to the same way by using this curved ruler first to come across over towards our center seam. We'll have a little bit of a pivot here in the middle to keep that curve smooth and then we'll bring the ruler around to finish the curve. So, there's going to kind of be three parts to this. I really like to demonstrate this because it's really tempting when we're working with rulers to think that we need the exact quilting ruler for every single shape and size that we could possibly ever want to quilt. But in fact, with a multi-tool like the Quilting Rockstar Amperand ruler, you can do just about everything with just this one ruler. That makes it a really great place to get started and a really valuable tool to have in your toolbox. All right, let's cover these half circles. We're going to come up this way and I'm actually going to turn the quilt so that it is down the side and I can really see what I'm doing and so that as much of that bulk is on the table as possible. And I'm going to position my ruler so that I'm going to be quilting. I want my curve to come about an inch in from this side seam. So, I'm going to quilt to about here. I'm going to pause and reposition my ruler so I get a nice smooth top of the curve. And then we'll come back around. Remember that you're going to have that extra quarter of an inch as well. This almost like a seam allowance as we're using this ruler. So, we're going to quilt together to here. We're going to pause. We're gonna smooth out the top. And then we're going to pivot to come down the other side. Then we're going to repeat that going back the other way. We're moving away from us. Now, if you're nervous about this, you could rotate the quilt and do everything on the other side, but we can also just work in sections. Trust your ruler. Go up, smooth out the top of the curve, and then come back down to the corner. Beautifully done. Then once again, we're going to use that straight edge and stitch in the ditch down towards the next corner. If you ever hit a thick spot in your quilting, by the way, you can always just lift your foot up and put it back down. And sometimes just lifting that foot up over the bump will help it then continue to sew. Now, we're going to do the exact same thing in the other three corners of this quilt. We're going to do continuous curves in these almost circles here on the edge, and then we're going to do those echoing half circles here in the center sections. Let's get started. Congratulations, Rockstar. You've quilted this whole block. All that's left is to add a little bit of a meander in the background and some switchbacks in the border. As a review, we've done this grid with our Quilting Rockstar straight edge ruler. We've done two different types of continuous curves with our amperand ruler and also added these switchbacks with that straight edge. Let's take a little break from ruler quilting for a moment and do some freeotion quilting in order to put some nice meander stitches into this cream background. All that's left on this Clover holo quilt is to add the finishing touches. We're going to quilt the background with a meander and some switchbacks around the border. This meander is a simple wiggly line. If you quilted the Breezy Blocks table runner with me, this is the exact same meander that we did there. And we're going to simply fill in all of these nice cream spaces with this filler. Once you've filled in all of your background with the meander, the final step is going to be putting switchbacks in this mauve border. This is the exact same switchback that we did before in the light pink of the black. We're just going to do it a lot longer. And for this, we're going to use our quilting Rockstar straighted edge ruler. Let's do it. Our switchbacks once again are going to be a straight line with a curve at the end. So, we're going to use our ruler and we're going to go straight down and about 3/4 of an inch from the edge of the quilt, we're going to do a little U-turn. So, we end up with this nice little halfinch gap at the bottom. That's so that our binding has somewhere to sit on our quilt without covering up the end of our switchback. Then we're going to slide our ruler over. Ideally, that stitching line is going to line right up with that first line on the ruler. And we're going to go straight back towards the quilt. If you notice that you're veering at all, you can pause and reposition. And as you get close, you're going to do that same U-turn. And we're going to just repeat this motion all the way around the quilt. Thank you so much for joining me to quilt the Clover Holo Quilt. Together, we have used the Quilting Rockstar straight edge ruler and the Quilting Rockstar amperand ruler to do all of our quilting together. We started in the center creating this grid and then added more textures with continuous curves, switchbacks, even larger continuous curves, echo quilting, and then finished off with a meander in the background and switchbacks in the border. This is a beautiful custom quilting design and Rockstar, you did that. Again, I'm Holly and Knight of String and Story visiting here at Missouri Star Quilt Company. Thank you so much for joining me and I hope you enjoyed today's tutorial.


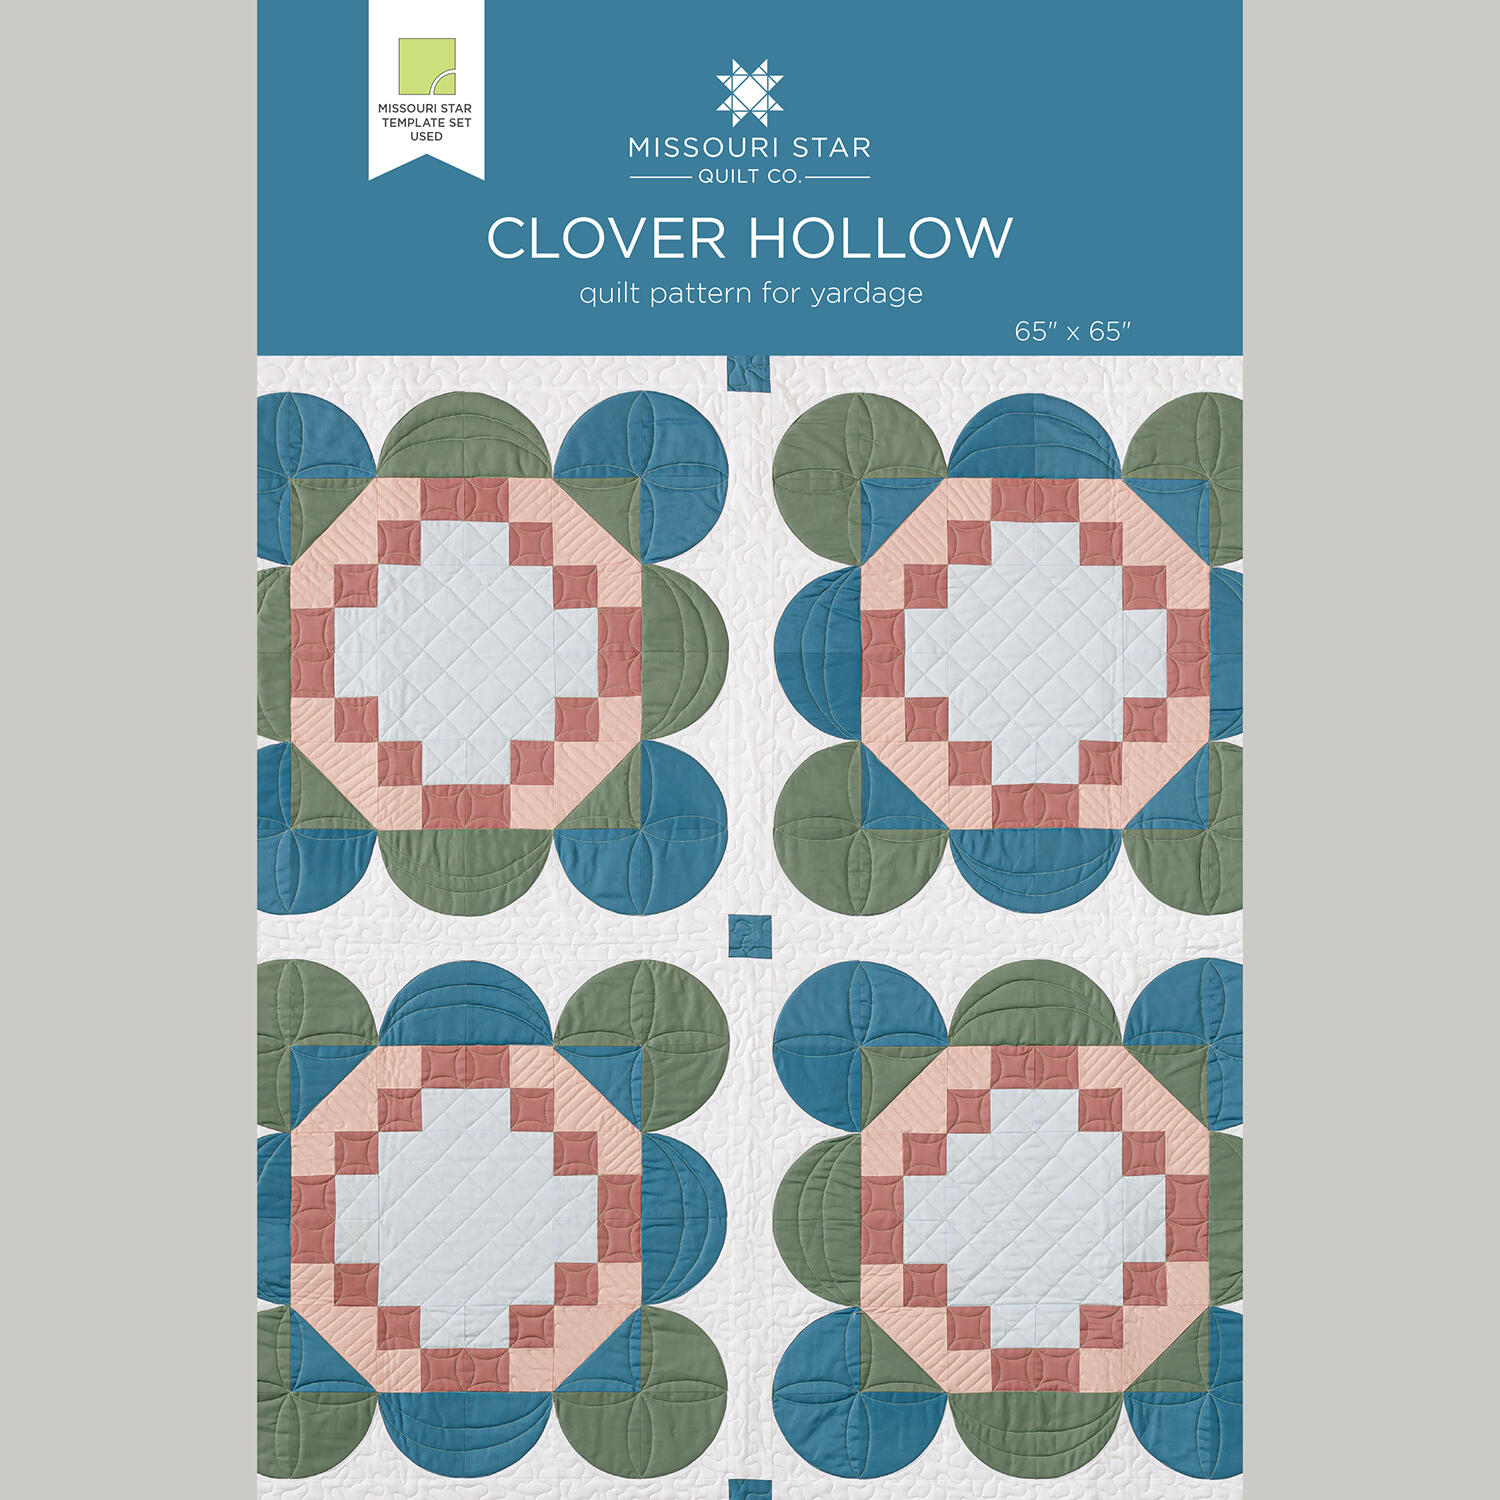 Clover Hollow Quilt Pattern by Missouri Star$8.50Shop →
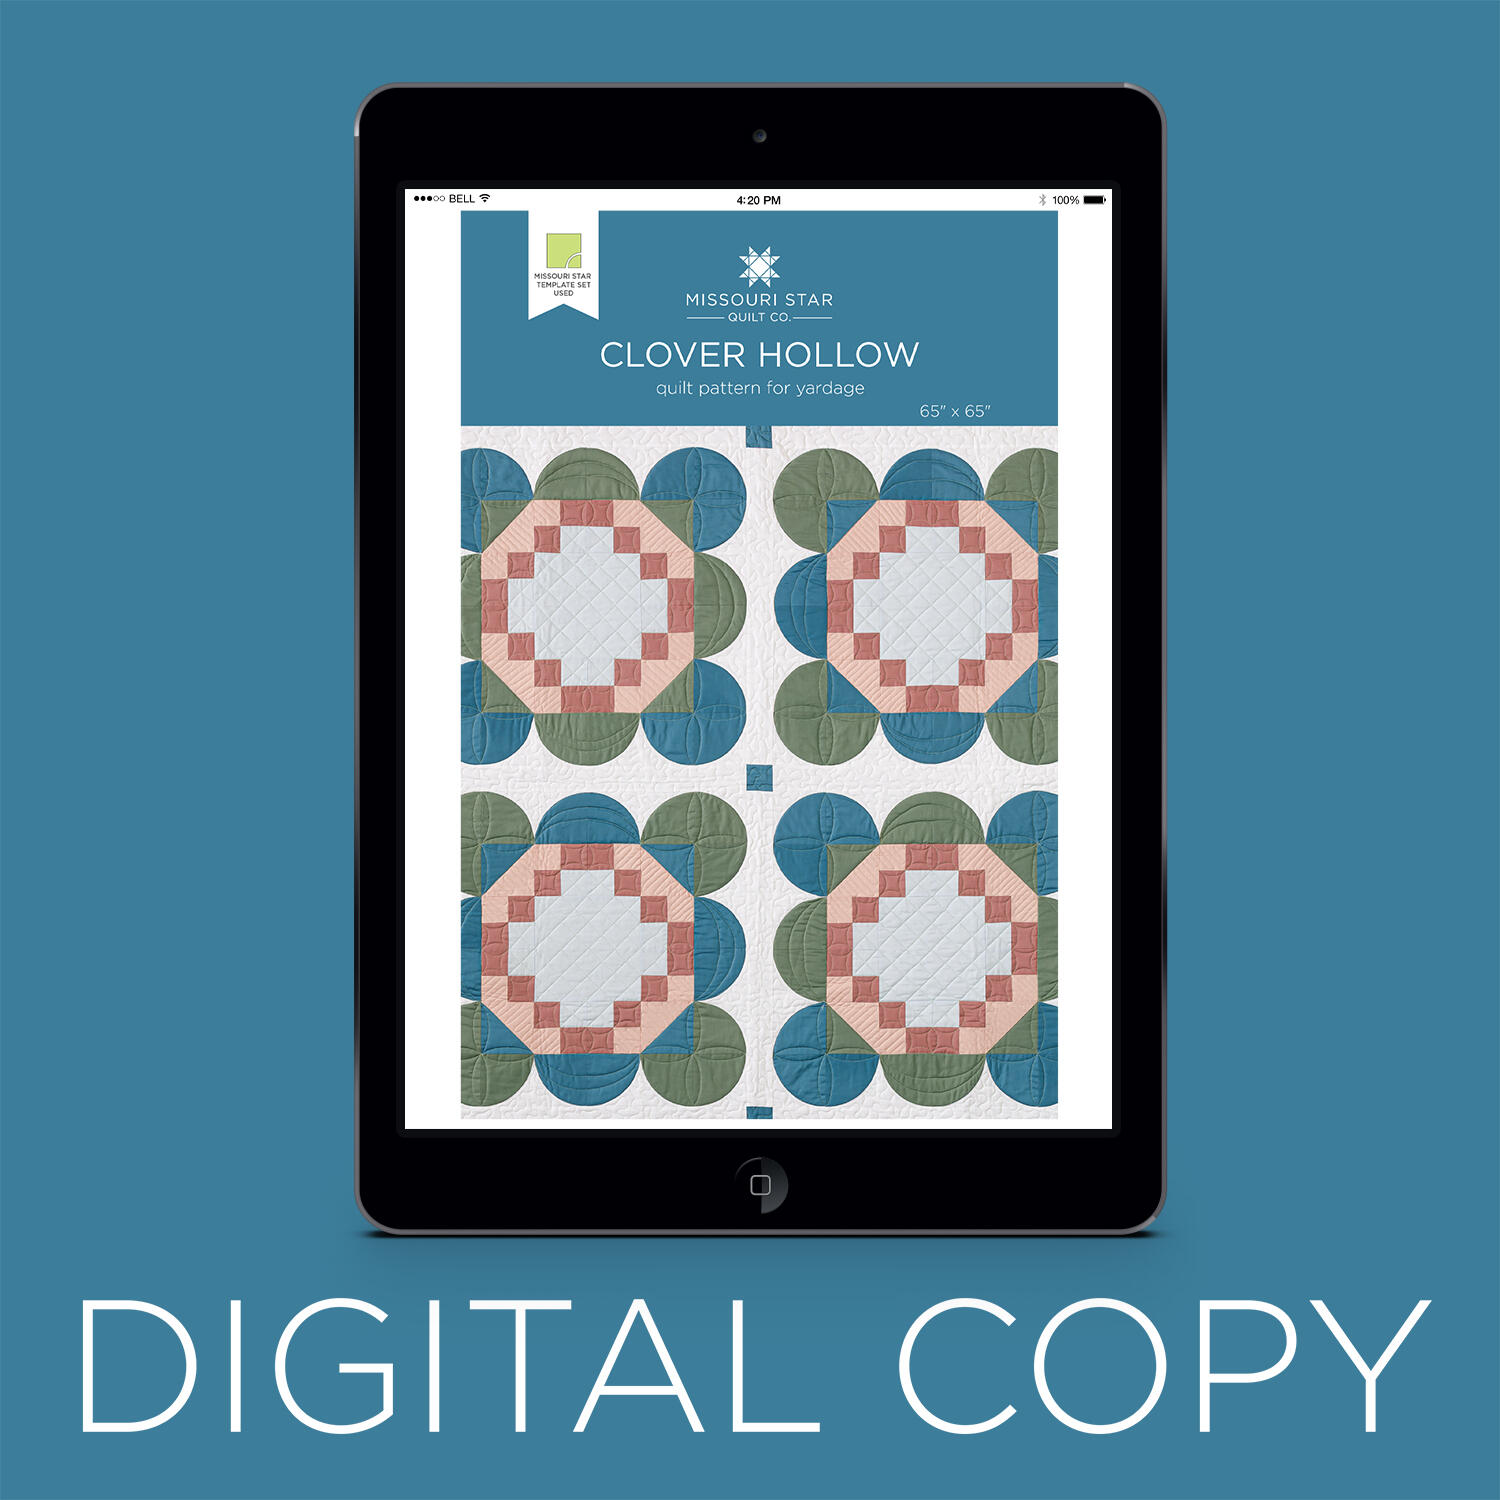 Digital Download - Clover Hollow Quilt Pattern by Missouri Star$6.95Shop →
 Colorworks Premium Solids - Superwhite Yardage$8.12Shop →
 Colorworks Premium Solids - Romance Yardage$8.12Shop →
 Colorworks Premium Solids - Faded Rose Yardage$8.12Shop →
 Colorworks Premium Solids - Reflection Yardage$8.12Shop →
 Colorworks Premium Solids - Bucket Yardage$8.12Shop →
 Colorworks Premium Solids - Balsam Yardage$8.12Shop →
 Missouri Star Quilter’s Best Blend Twin Batting$26.95Shop →
 Roxanne Glue Stick$8.25Shop →
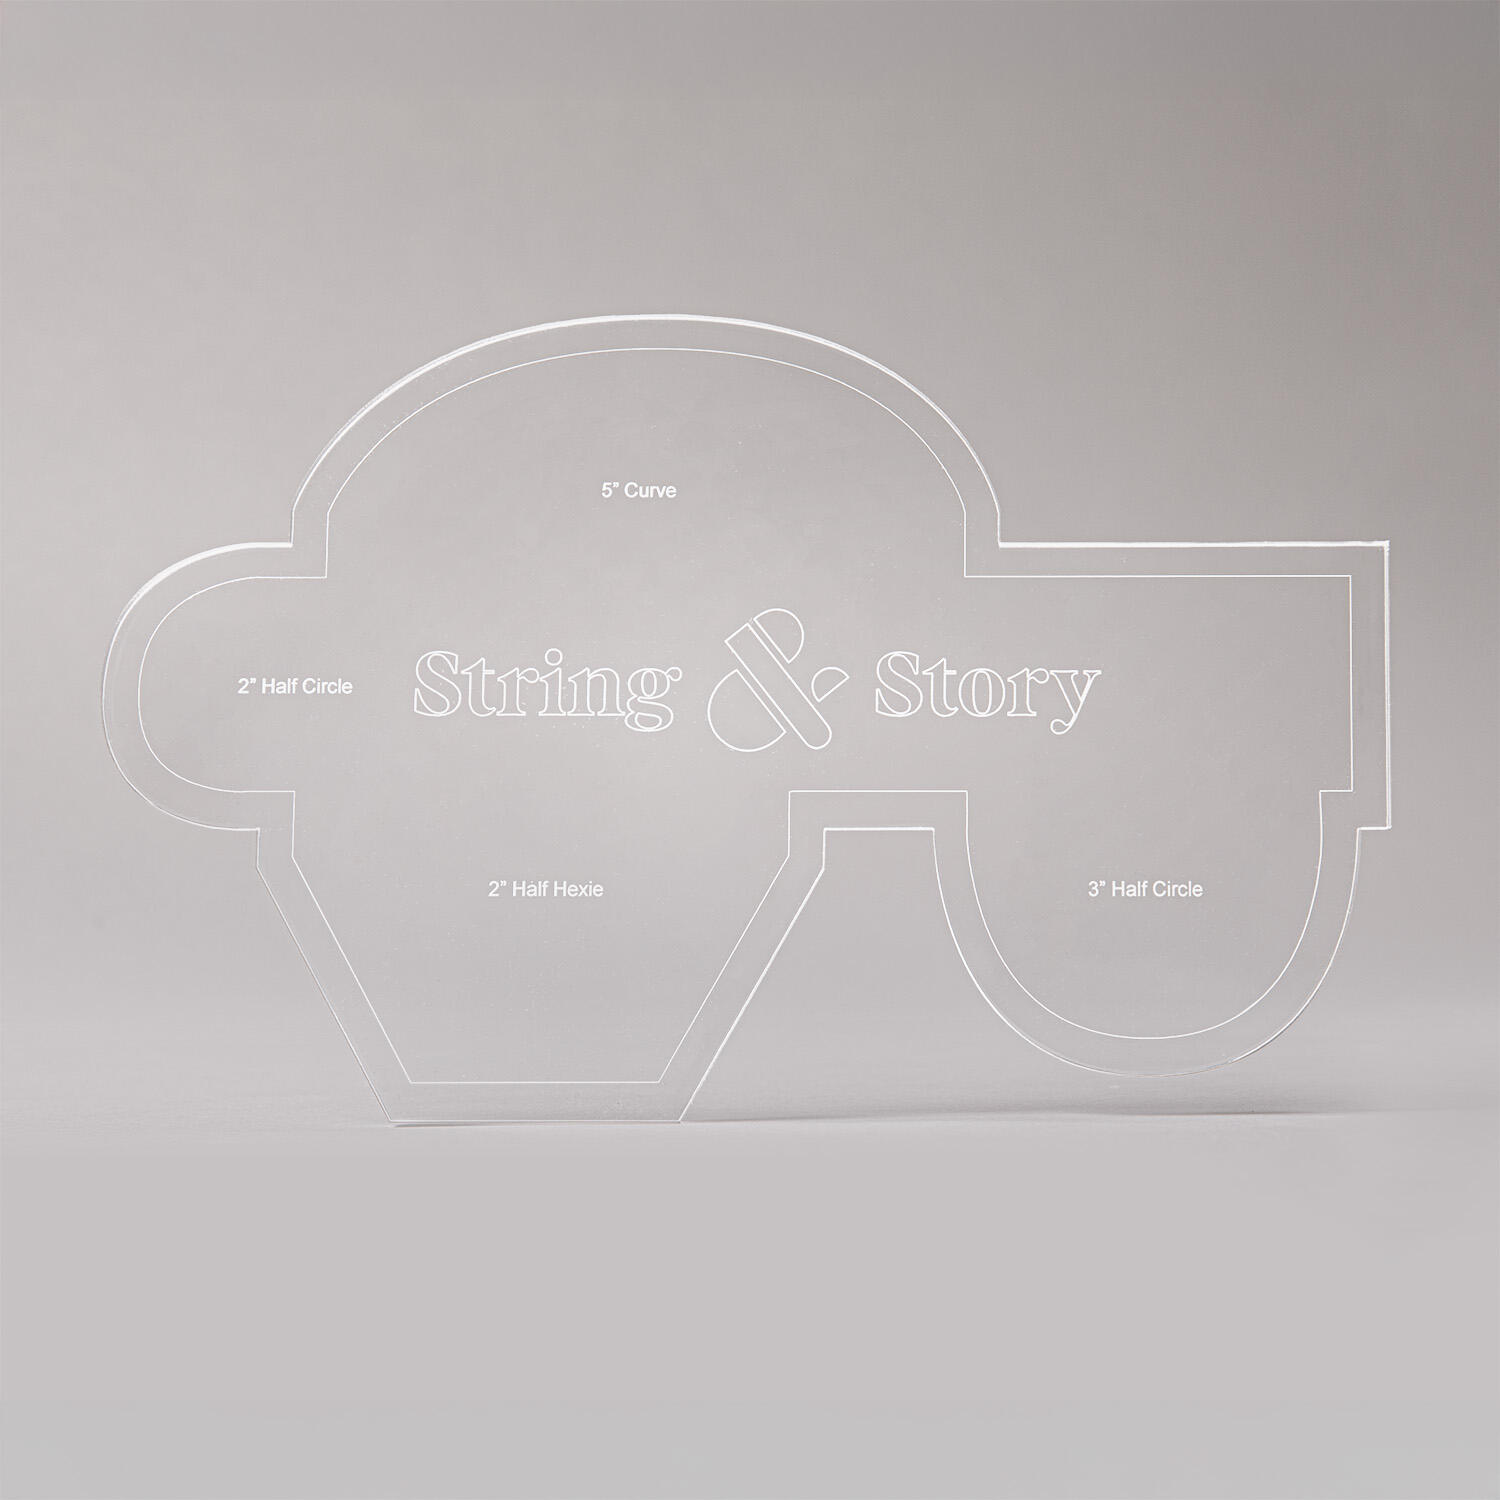 Rockstar Quilting Ruler - Long Arm$21.75Shop →
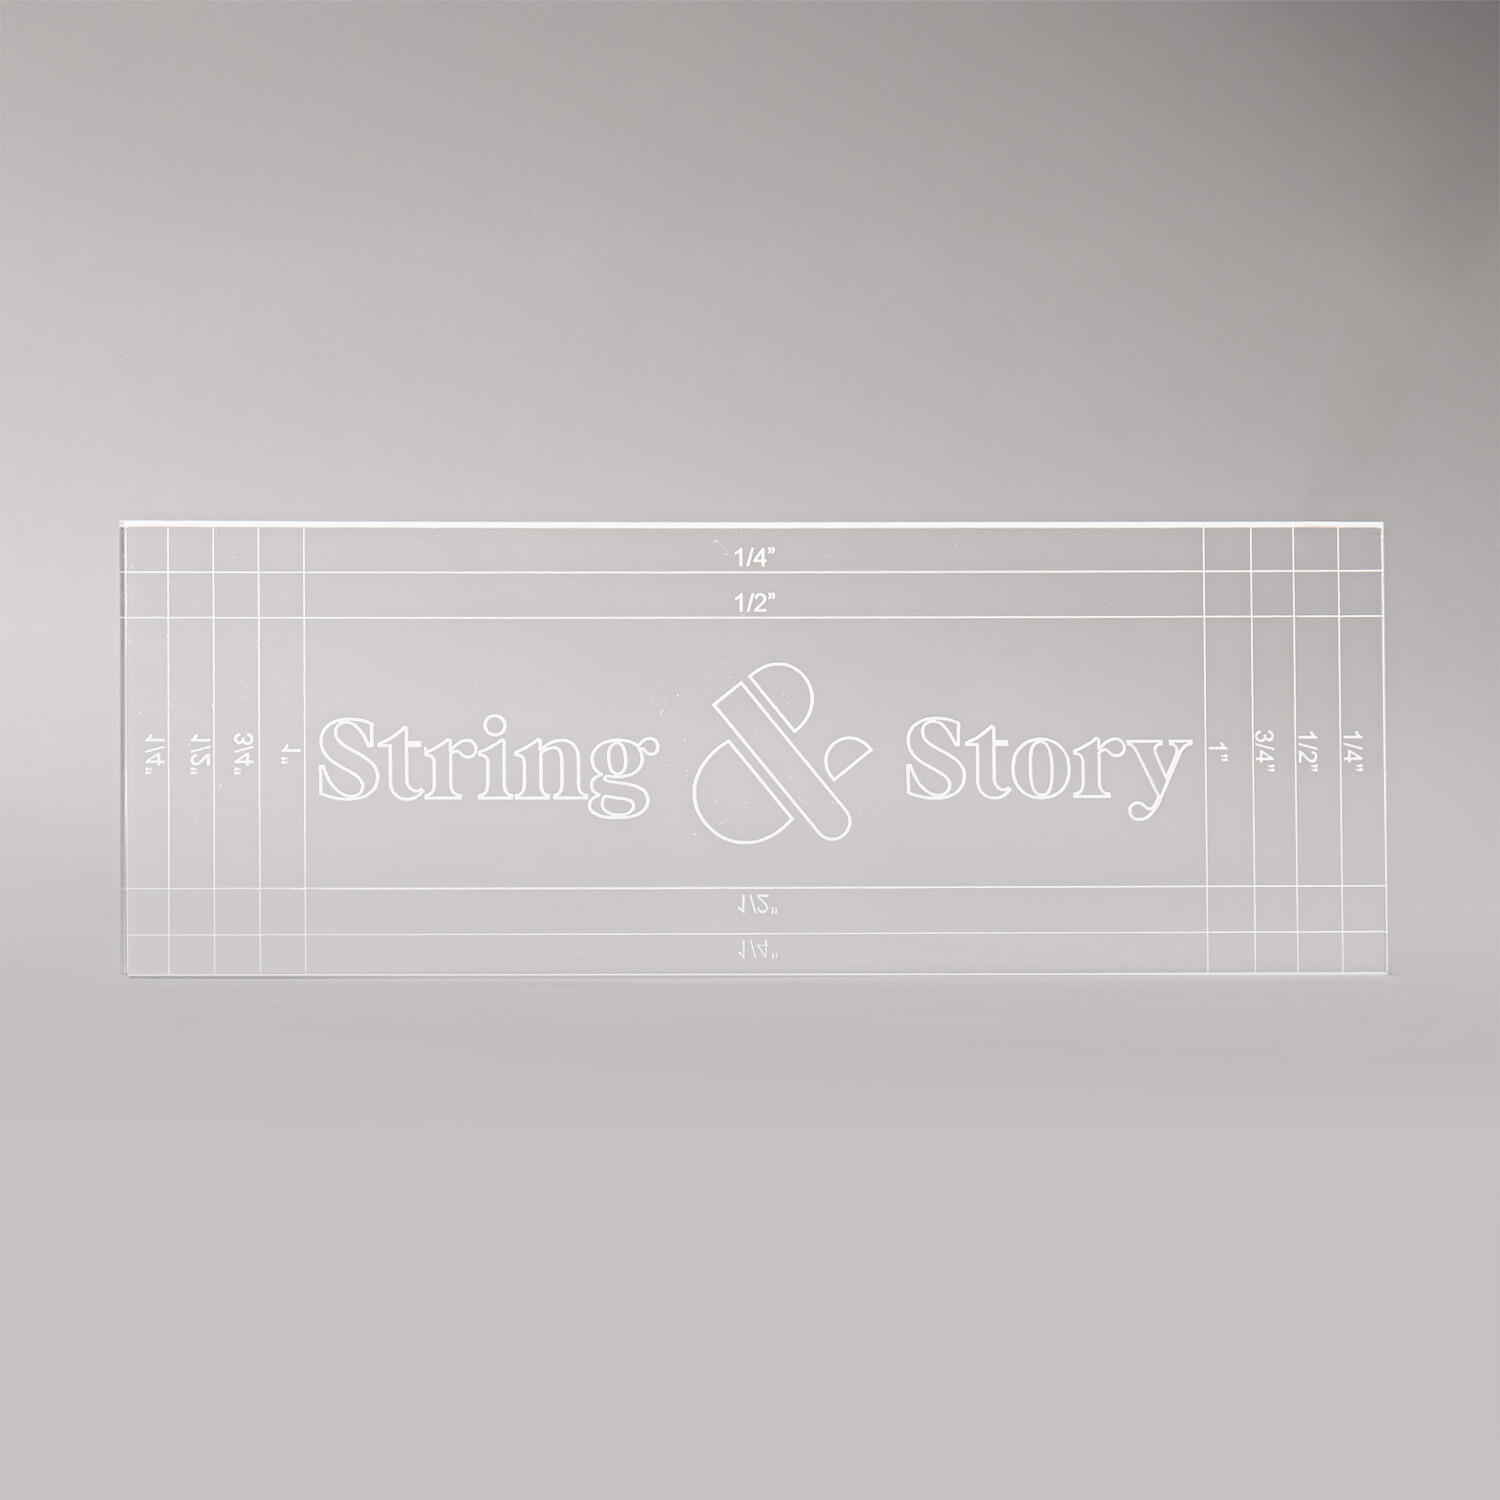 Rockstar Quilting Straight-Edge Ruler - Long Arm$15.75Shop →
 Machingers Quilting Gloves - Small/Medium$9.00Shop →
 Machingers Quilting Gloves - Medium/Large$9.00Shop →
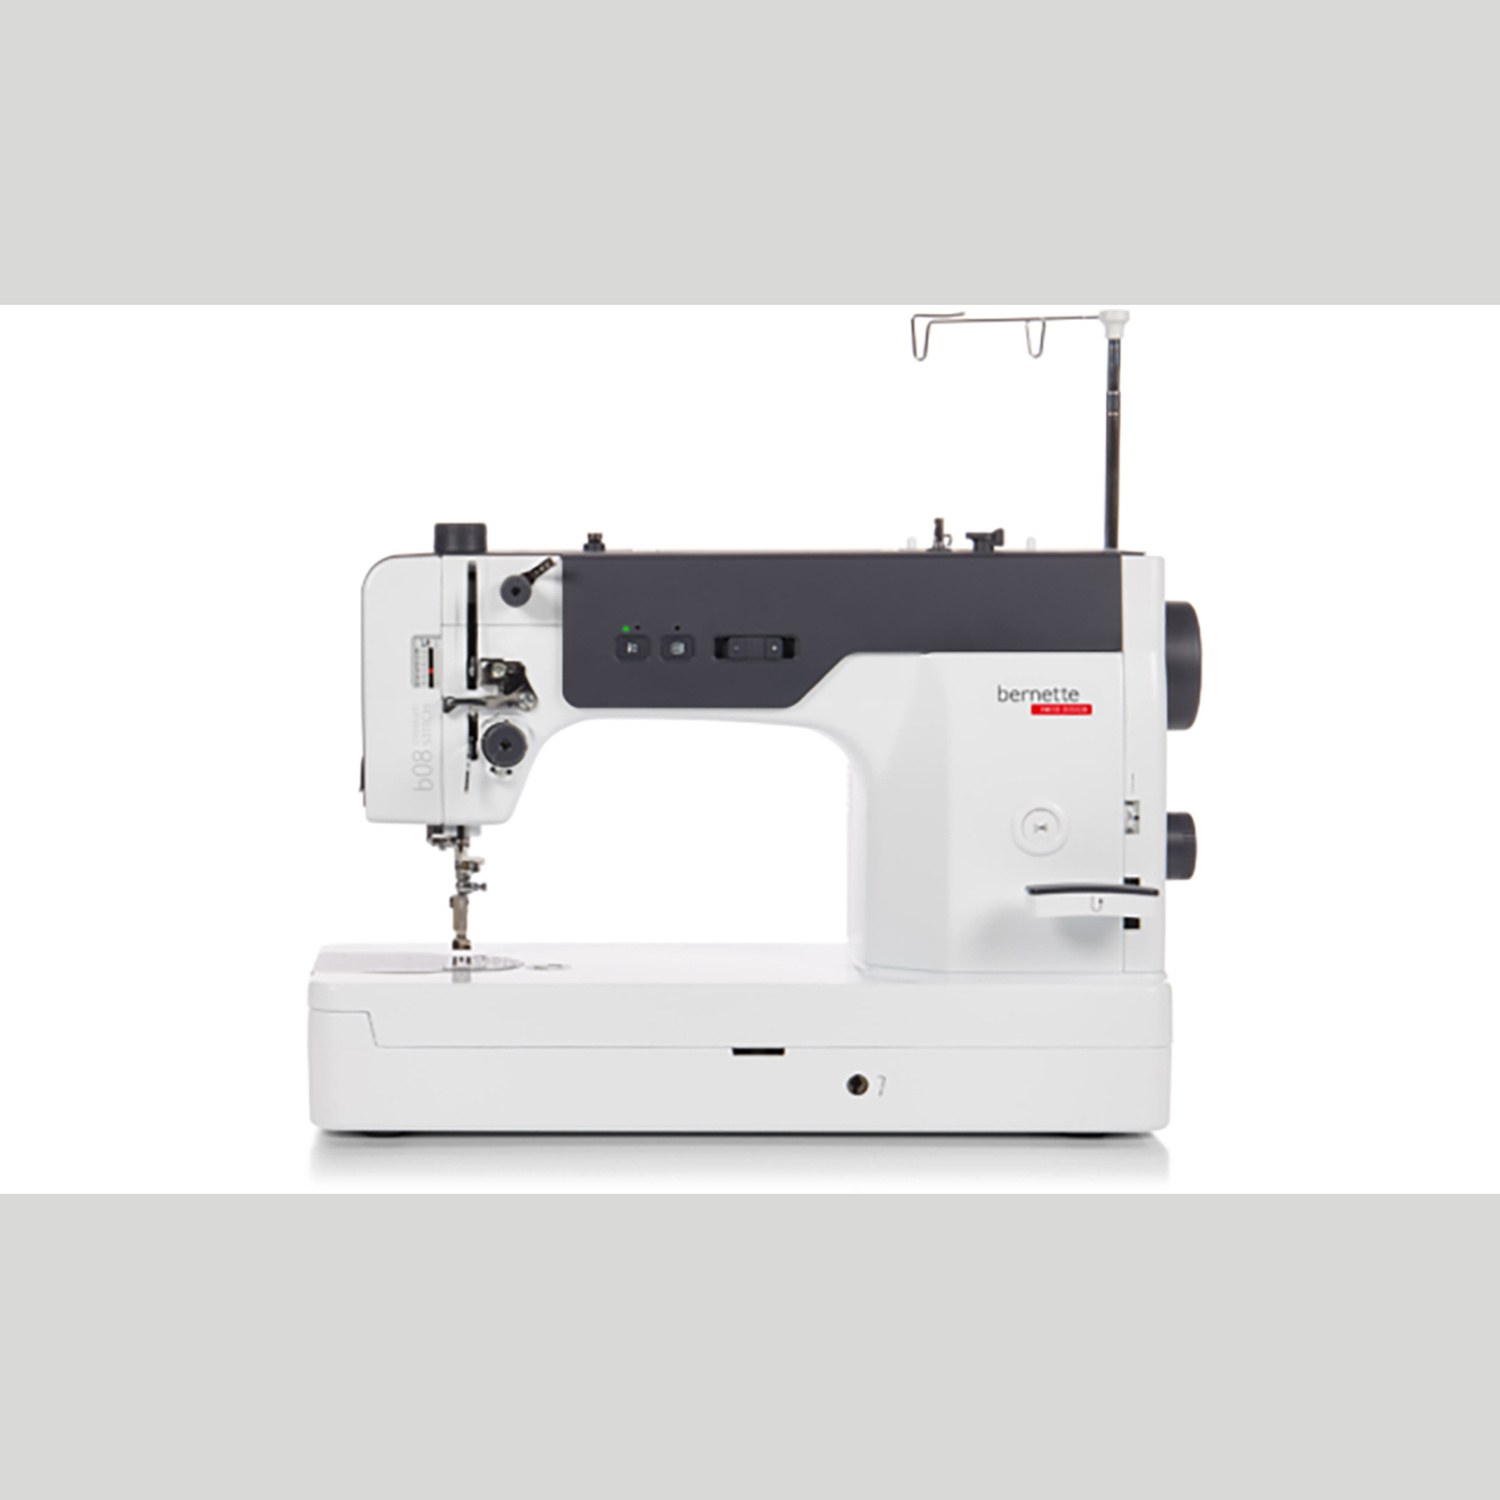 Bernette 08 Straight Stitch Sewing Machine$2299.00Shop →
 Missouri Star 8" Everyday Scissors - Amelia$19.95Shop →
 Missouri Star 50 WT Cotton Thread White$7.95Shop →
 Missouri Star + Oliso TG1600 ProPlus Iron$209.95Shop →


