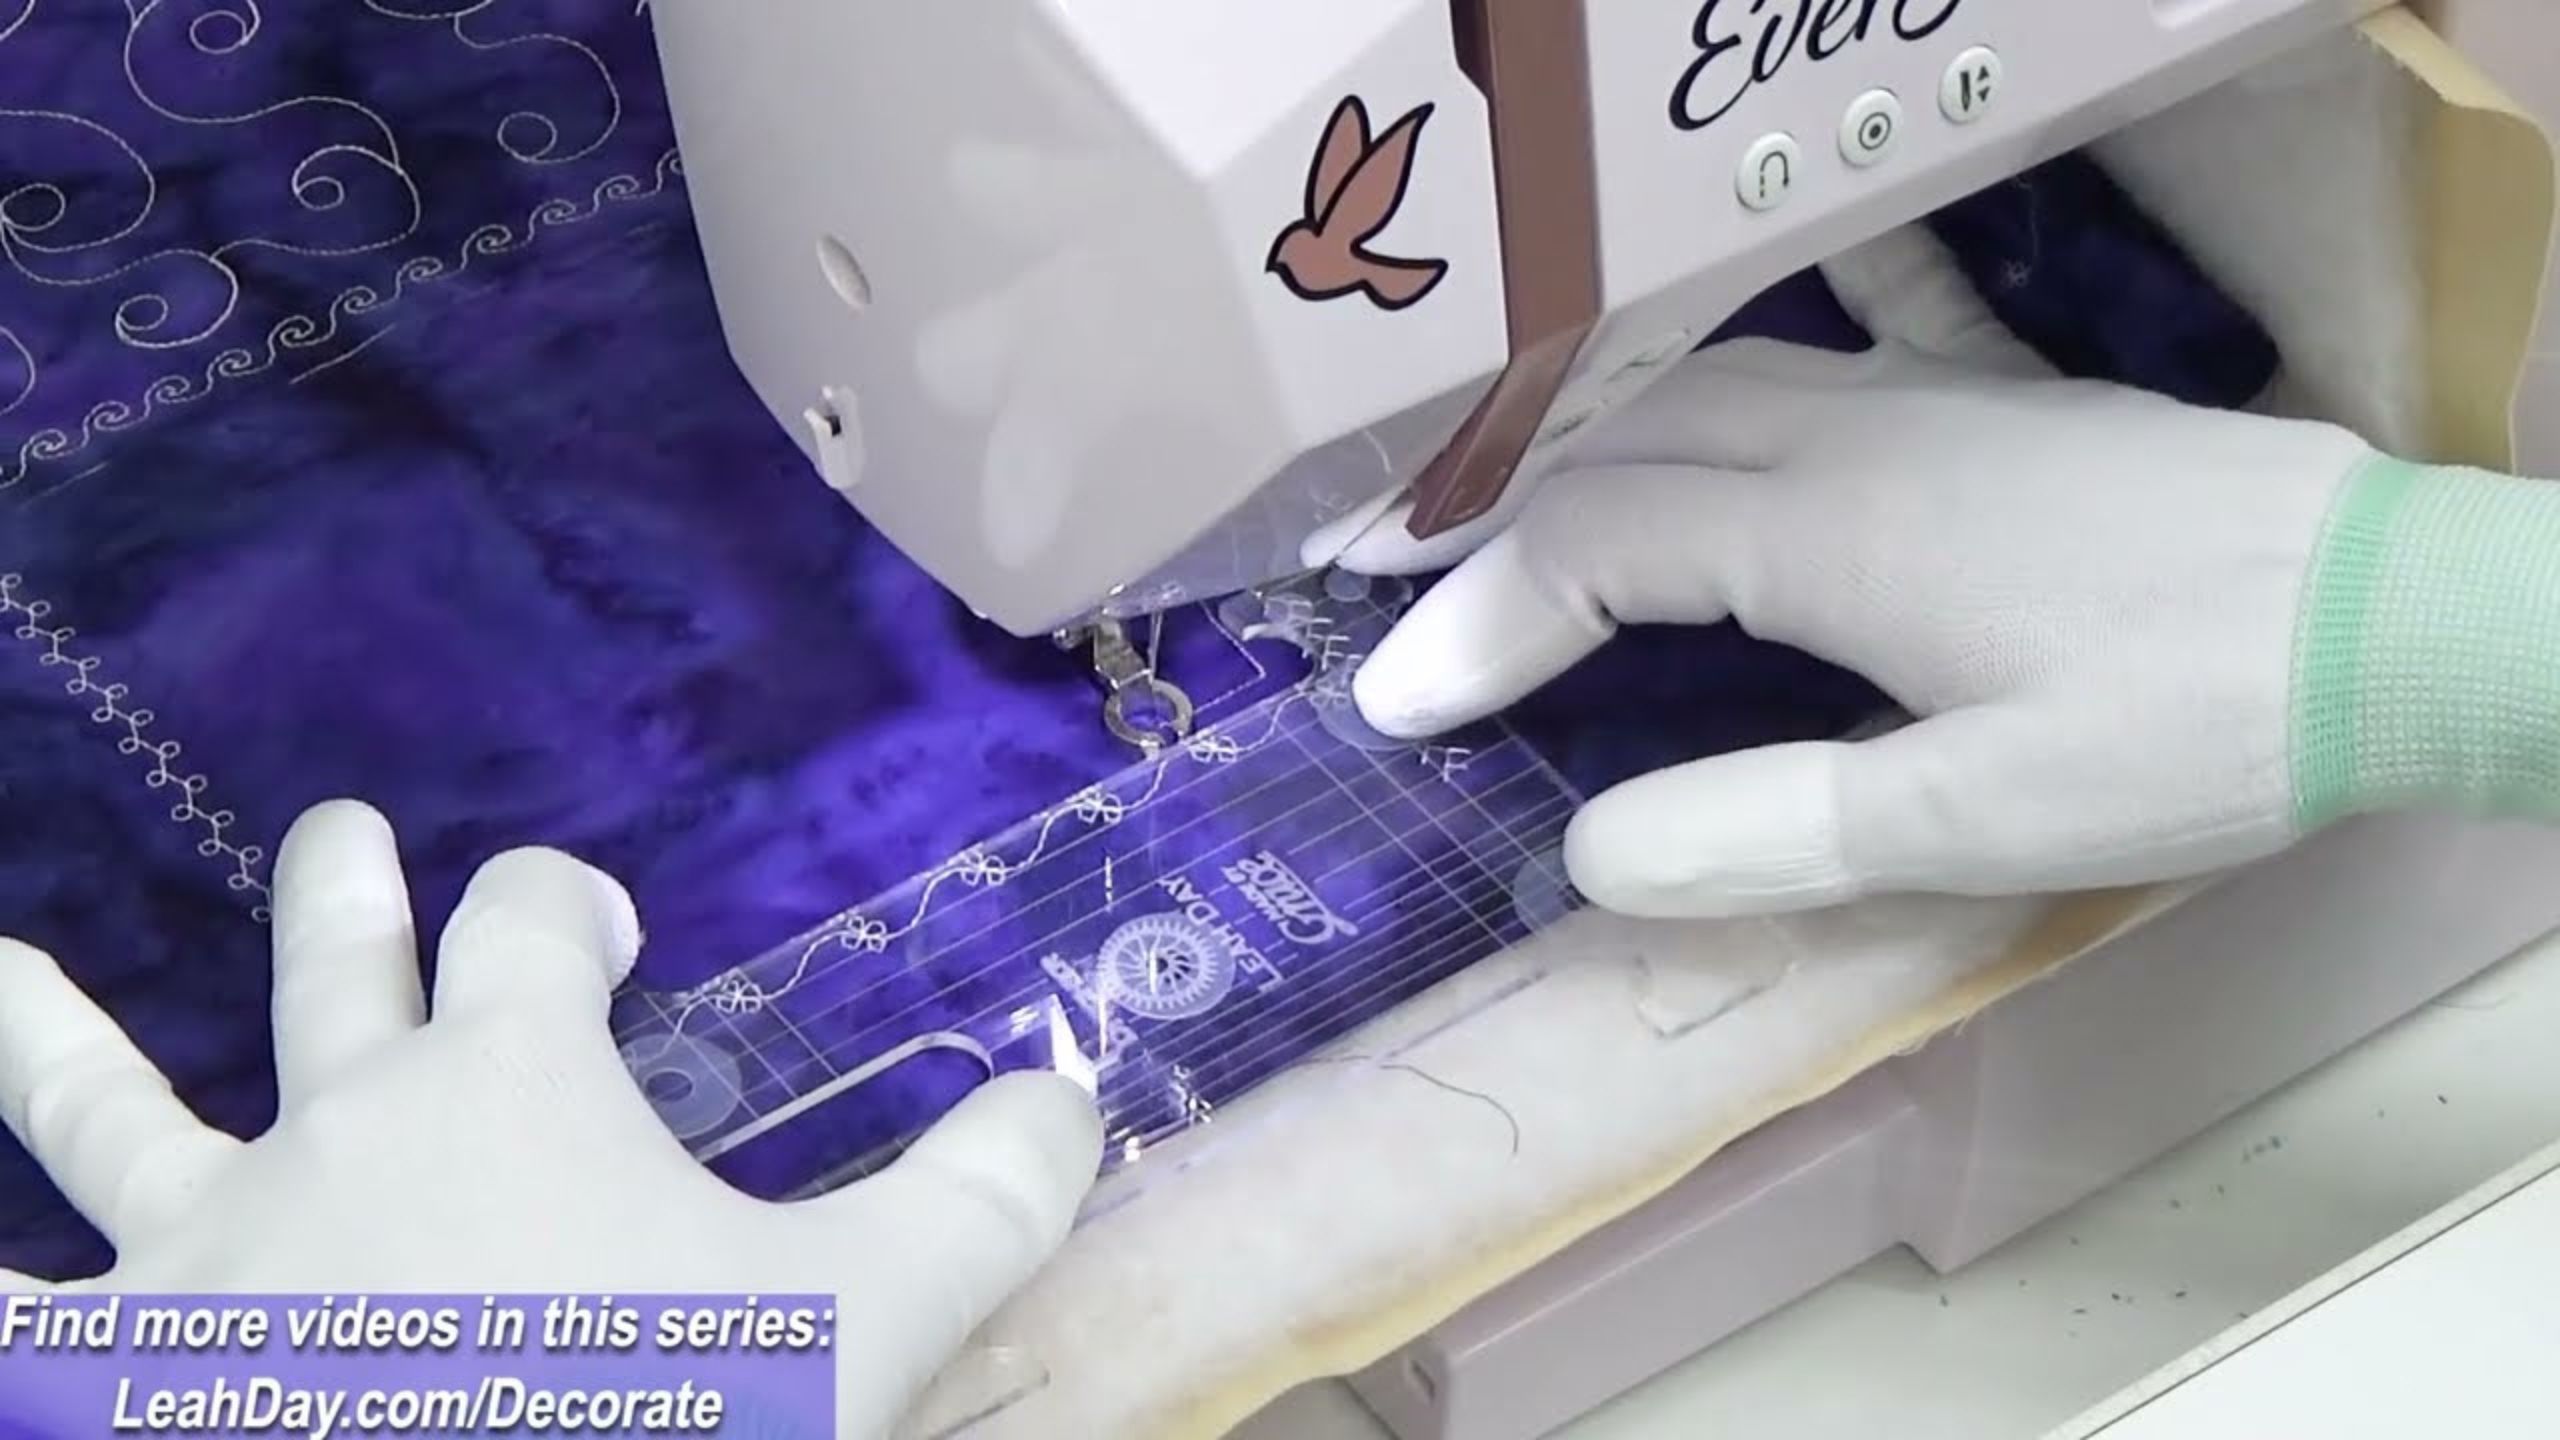
Ruler Work Quilting - Ditcher - Easily Sew Around Decorative Stitches!
Need more help with ruler work quilting? In this video Leah Day shares tips on ruler quilting on her home machine as she sews around decorative stitches using the Ditcher Ruler.
Instructor
Leah Day
Leah Day is an online quilting teacher and founded LeahDay.com in 2009. She teaches quilting online via free YouTube videos and is also a dealer for Grace longarm machines and frames. Her mission is to empower and encourage quilters of all skill levels learn to make beautiful quilts.
Chapters
- 0:00Ruler work quilting around decorative stitches
- 0:26Why you must use a ruler foot when ruler quilting
- 0:41See why you don't have to rotate the quilt!
- 1:16All my hands and ruler are doing when ruler work quilting
- 1:44Very easy quilting around decorative stitches
- 2:16Ruler quilting more lines within the block
- 3:31Creating a beautiful frame between the decorative stitches and free motion designs
Common Questions
What is covered in Ruler Work Quilting - Ditcher - Easily Sew Around Decorative Stitches!?
Need more help with ruler work quilting? In this video Leah Day shares tips on ruler quilting on her home machine as she sews around decorative stitches using the Ditcher Ruler.
How long is the tutorial video?
The tutorial video is 00:04:23.
Is a transcript available?
Yes. A written transcript is available on the tutorial page.
Video Transcript
Hello, my quilting friends. My name is Leah Day and I am doing some ruler
quilting on my decorative stitch quilt.
So this is the Ditcher Ruler and it has nicely spaced quarter inch lines, eighth inch lines and lots of slots and areas to help us quilt evenly spaced lines.
So what we're going to do is use the edge of the ditch your ruler to line up right with our decorative stitches. And I've got a ruler foot here on my machine. You want to make sure to always use a ruler foot when you're using rulers. It's kind of dangerous to you and your machine if you don't.
So I just carefully push the ruler and the quilt all through the machine
at the same time. Now you don't have to shift the quilt if you don't want to. I did mark because it's really, really easy to misjudge your spacing.
So I did mark where I'm changing direction and that is exactly a quarter inch from my decorative stitch.
So I've got a little mark right here. I gonna a stitch right up to that mark.
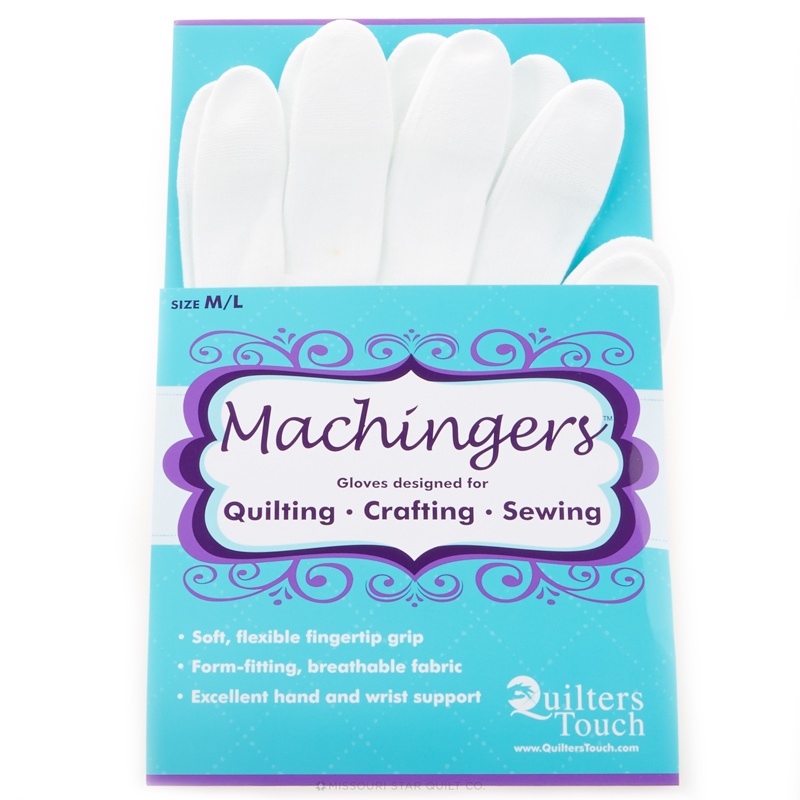
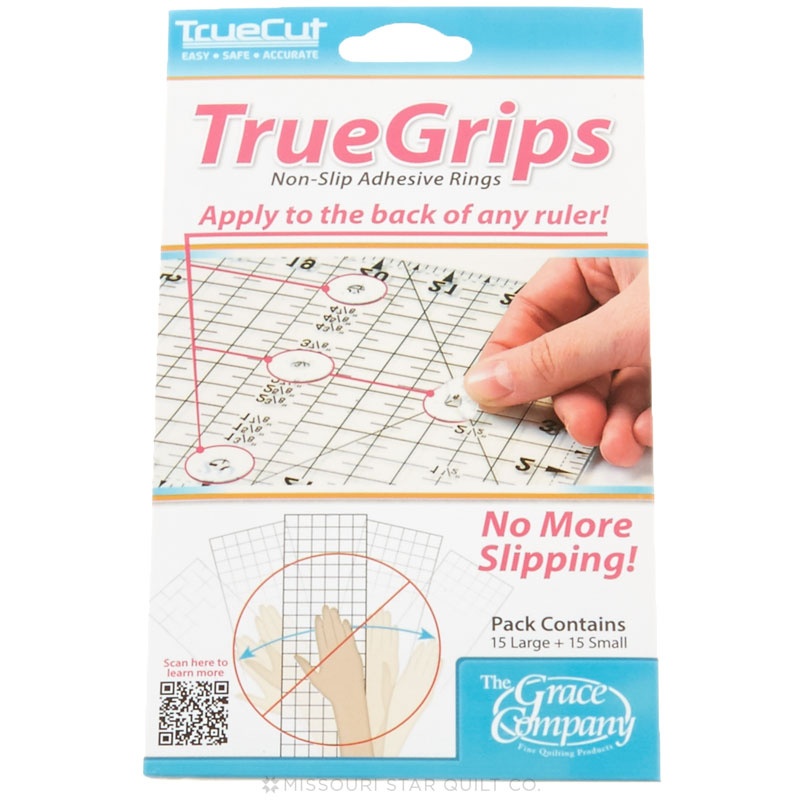
And what I love about this, it's a little bit faster, a little bit easier. I don't have to shift the quilt. I don't have to rotate it around. I just move my ruler and I press that firmly against the quilt. I press that firmly against the ruler foot. All my hands and ruler are doing when ruler work quilting. And then just in this case, holding the quilt towards me, very, very natural feel. And I'm just pressing firmly down with my hands and pulling with both hands downward, not only wearing gloves, but I also have some true grips on the back of the ruler that really helps to grip the quilt and not let the ruler slip.
So as for stitching along the decorative stitches is really, really easy. I mean, you have that edge of how wide the decorative stitch is. You can clearly see that. And I have actually stitched this once before and already filled it with a free machine quilting design. You can see how that looks with just one line of quilting. I think that's really, really pretty in this particular case Peace Paisley.
You really needed those edges. You needed that outline to that square in order to stitch along. It really wouldn't work to try and stitch along the decorative stitches.
So let's actually take this square and continue doing more ruler quilting.
I'm going to stitch just a little diagonal line to get inside of this flock
and I'm just going to stitch until the edges of my foot line up with the line we just did. Got to remind myself, I don't have to rotate the quilt. I'm so used to rotating my quilts around. Right. A lot of walking foot quilting got me used to rotating the quilt, but you really don't have to when your ruler quilting.
Now, just one thing to keep in mind, some machines really don't like to stitch backwards in in certain directions. Left to right can sometimes also be a little bit tricky, so just watch out for that. If you notice that your thread is breaking or shredding when you're quilting in one particular direction or another, no big deal. Just rotate your quilt if you have to stitch in that direction for a long length of time and with time you'll start to figure out, okay, what are the limitations?
What can you do?
Where do you need to rotate?
But I love being able to use the stitch or ruler and just line back up with that line I just stitched. And you can see I got perfectly space, a quarter
inch lines and again, this is just adding that buffer. It's almost like a little frame, creating a little bit of space, a little rest for your eyes between that busy decorative stitch and what will probably be another busy free machine quilting design in this square too. So it's nice to have that little bit of a buffer.
And I really like adding those straight lines to this part. I really think there's a lot to using our decorative stitches, but just haven't had any practice with that, right? I just never have had the opportunity to really play and see what works. So that's what it looks like when I switch two lines. You can keep going. You could even spiral inside. You could keep going as long as you wanted to. But I think that's a great place to stop.
quilting on my decorative stitch quilt.
So this is the Ditcher Ruler and it has nicely spaced quarter inch lines, eighth inch lines and lots of slots and areas to help us quilt evenly spaced lines.
So what we're going to do is use the edge of the ditch your ruler to line up right with our decorative stitches. And I've got a ruler foot here on my machine. You want to make sure to always use a ruler foot when you're using rulers. It's kind of dangerous to you and your machine if you don't.
So I just carefully push the ruler and the quilt all through the machine
at the same time. Now you don't have to shift the quilt if you don't want to. I did mark because it's really, really easy to misjudge your spacing.
So I did mark where I'm changing direction and that is exactly a quarter inch from my decorative stitch.
So I've got a little mark right here. I gonna a stitch right up to that mark.
And what I love about this, it's a little bit faster, a little bit easier. I don't have to shift the quilt. I don't have to rotate it around. I just move my ruler and I press that firmly against the quilt. I press that firmly against the ruler foot. All my hands and ruler are doing when ruler work quilting. And then just in this case, holding the quilt towards me, very, very natural feel. And I'm just pressing firmly down with my hands and pulling with both hands downward, not only wearing gloves, but I also have some true grips on the back of the ruler that really helps to grip the quilt and not let the ruler slip.
So as for stitching along the decorative stitches is really, really easy. I mean, you have that edge of how wide the decorative stitch is. You can clearly see that. And I have actually stitched this once before and already filled it with a free machine quilting design. You can see how that looks with just one line of quilting. I think that's really, really pretty in this particular case Peace Paisley.
You really needed those edges. You needed that outline to that square in order to stitch along. It really wouldn't work to try and stitch along the decorative stitches.
So let's actually take this square and continue doing more ruler quilting.
I'm going to stitch just a little diagonal line to get inside of this flock
and I'm just going to stitch until the edges of my foot line up with the line we just did. Got to remind myself, I don't have to rotate the quilt. I'm so used to rotating my quilts around. Right. A lot of walking foot quilting got me used to rotating the quilt, but you really don't have to when your ruler quilting.
Now, just one thing to keep in mind, some machines really don't like to stitch backwards in in certain directions. Left to right can sometimes also be a little bit tricky, so just watch out for that. If you notice that your thread is breaking or shredding when you're quilting in one particular direction or another, no big deal. Just rotate your quilt if you have to stitch in that direction for a long length of time and with time you'll start to figure out, okay, what are the limitations?
What can you do?
Where do you need to rotate?
But I love being able to use the stitch or ruler and just line back up with that line I just stitched. And you can see I got perfectly space, a quarter
inch lines and again, this is just adding that buffer. It's almost like a little frame, creating a little bit of space, a little rest for your eyes between that busy decorative stitch and what will probably be another busy free machine quilting design in this square too. So it's nice to have that little bit of a buffer.
And I really like adding those straight lines to this part. I really think there's a lot to using our decorative stitches, but just haven't had any practice with that, right? I just never have had the opportunity to really play and see what works. So that's what it looks like when I switch two lines. You can keep going. You could even spiral inside. You could keep going as long as you wanted to. But I think that's a great place to stop.