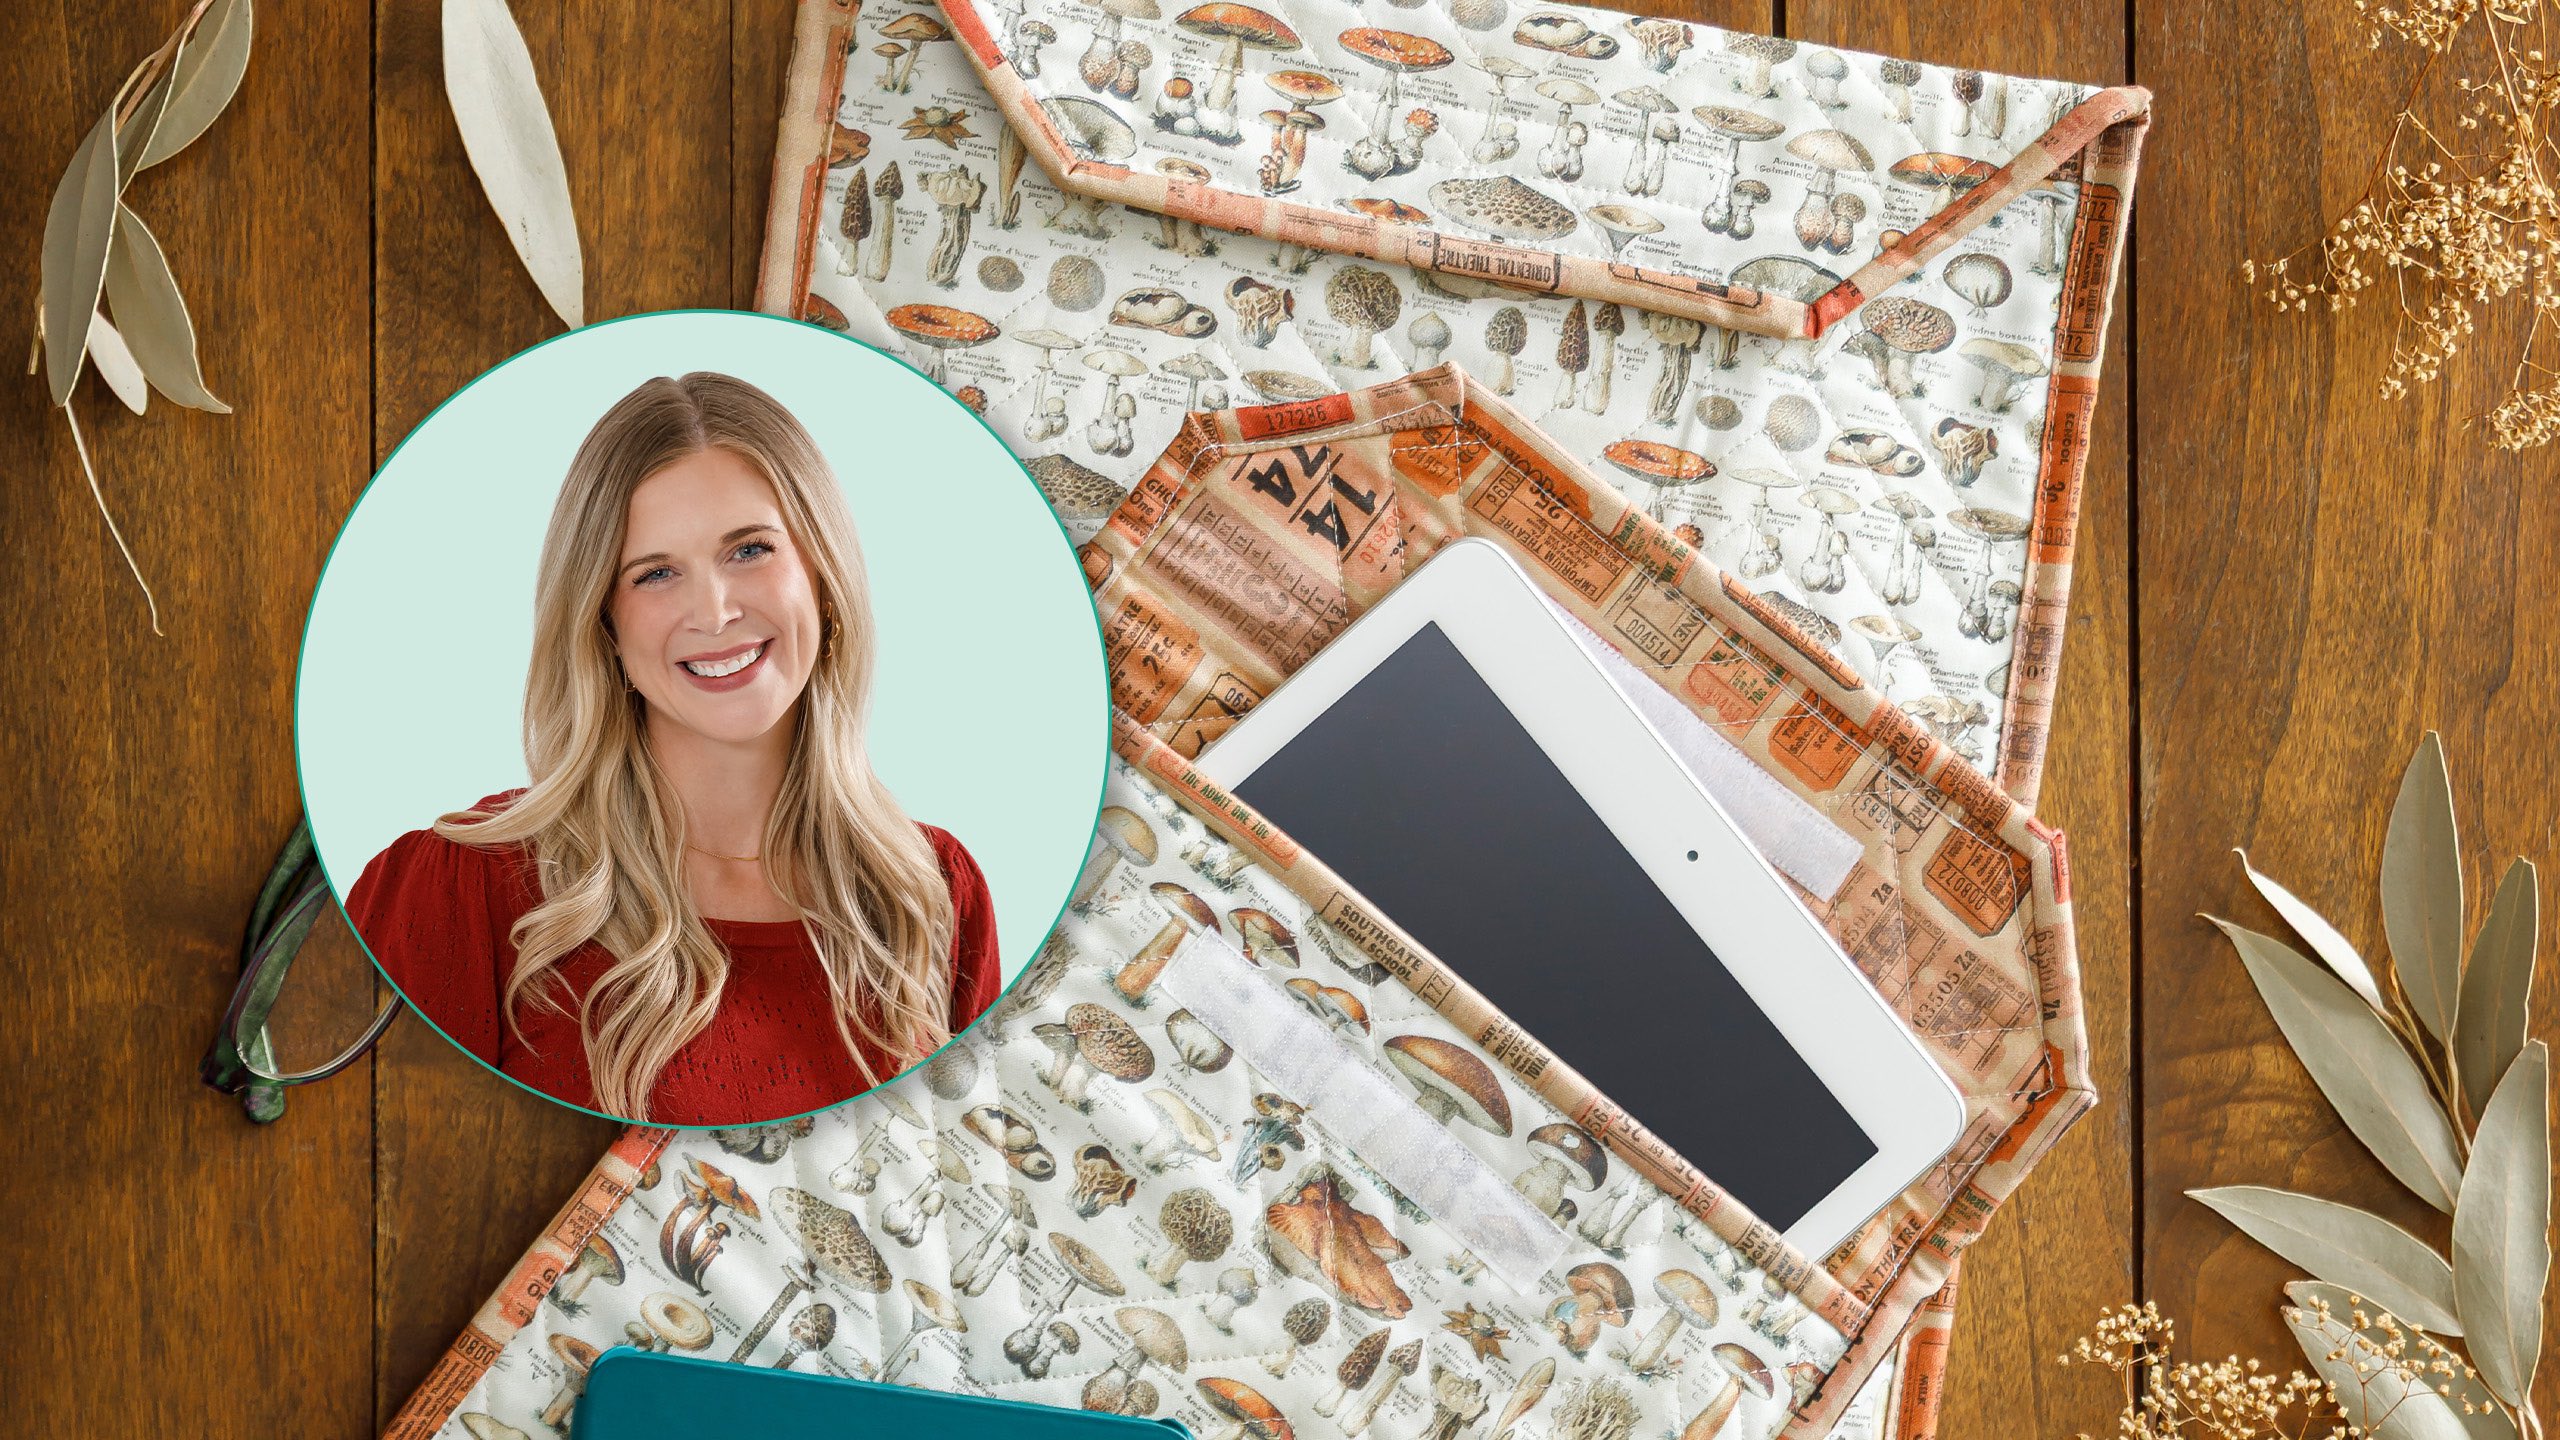
Quilting merges with electronics when Misty makes a laptop sleeve! This cute and functional quilted sleeve can be made in three sizes to fit a variety of devices. Fusible foam stabilizer helps protect the device, and a Velcro strip keeps the sleeve closed. Make one for yourself and whip up some for gifts!
Misty Doan grew up surrounded by sewing and quilting. She loves spending time sharing tutorials each week each week, and when she’s not stitching up one of her fun sewing projects for home decor, most likely you’ll find her hanging out with her husband and three awesome kids or working on a house project.
What is covered in Safe and Sound Quilted Tech Cases?
Quilting merges with electronics when Misty makes a laptop sleeve! This cute and functional quilted sleeve can be made in three sizes to fit a variety of devices. Fusible foam stabilizer helps protect the device, and a Velcro strip keeps the sleeve closed. Make one for yoursel...
How long is the tutorial video?
The tutorial video is 00:19:39.
Are supplies listed for this tutorial?
Yes. The tutorial page includes the supplies and materials connected to this project.
Video Transcript
Hey everyone. This past Christmas, I made each of my kiddos a custom laptop sleeve for their devices, and they loved it. And so, I thought, why not share it with all of you? So, that's what we're going to make today. So, like I said, I made each of these for my kiddos, and it turned out so great. And I decided I needed one for all of my devices. And so the pattern actually includes this laptop size as well as one for my Kindle and an iPad. So with one yard of quilted fabric, you actually will have enough to make all three of these sizes. And it's just super super fun. So let me show you what you're going to need to make this. Up first, you will need both your outside and lining fabrics. And I use these adorable prints from the Tim Holtz palette collection in orange. You'll also need either some batting or boz foam. Both work, but I do really love the extra stability from the bozel. You'll need a little bit of velcro and some fabric for your binding as well. So, let's get started. All right. So, up first, we're going to quilt that fabric because we want our project to be quilted. And so, like I mentioned earlier, if you want to make all three of these sizes, a yard of fabric will be more than enough for you if you just make that quilt sandwich with whatever you're going to use for your outside on top, then your batting or Boozel foam and your lining fabric as well. Um, I went ahead and I have cut this to size for the medium size, which is for the iPad. But let me tell you the sizes for each of them. So, if you want to make the small, you need to cut a 6 1/2 by 19 in rectangle. For this medium, you need 9 1/2x 25 in. And for the large, you need 11 1/2x 33. And so, like I said, I have the medium cut and ready to go. So, let's go ahead and get started. So, now that I have this cut to size, we need to decide which is going to be the inside and the outside. Of course, I love this little mushroom print, so I'm going to use it for the outside again on mine. And so now the first step is to take our binding. You want to have this ready to go for the project. And we're just going to cut a little piece that's going to be big enough to do one short side. And I'm going to bind this entire thing on the machine. And so I'm just going to cut this little piece here. So if you've never made binding before, this is just a 2 and 1/2 in strip by the width of fabric. You do not need to cut it on the bias for this particular project. And so I have just cut it at 2 and 1/2 in. and folded it wrong sides together down the middle. And you know, you can sew each of those lengths together for as much as you need. And so this first little piece, we're just going to line this up on the end and we're going to sew it with a quarter inch seam to begin with. So let's go ahead and take this over here to the sewing machine. And I'm just kind of floating this over my project so that I can trim it off at the end. All right. So, now it looks like this. I'm going to go ahead and take this over to the ironing board and we are going to start by pressing this back and rolling it back so we have a nice clean line. And then I'm going to go ahead and fold this over and press it again just to try and get it to lay as flat as possible. And if you have some clips, you could absolutely use a few of those to hold this in place. Beautiful. Really, all I want to make sure since this is going to be on the inside of my project is that I'm going to have plenty of fabric behind here so that when I come back, I'm going to stitch right where my two fabrics meet. And I want to make sure that I can catch that back fabric so it will secure that end. So, let's go ahead and take this to the machine. And I'm going to stitch right in the ditch of those two fabrics. If you want to stop for a moment, make sure you've caught it. I've got plenty of fabric there. No issues. So, we're going to keep going. All right. So that first little step is all done. And so now I could just use my scissors, trim this off even with the sides of my rectangle. Just like so. And let me grab a ruler here. Where did I put it? There we go. Because up next, we need to add our Velcro. And so I'm going to measure down 1 inch from the the bound edge that we just added. And I'm going to take one half of my Velcro. I've cut this at 4 in for this size. And I'm just going to float this in the middle here. And make sure that we're about the same distance. Looks like it needs to be about 2 and 3/4 in in on both sides. and one inch down from the top. And so then I'm going to grab a pen and I'm going to pin this in place. This is There we go. Make nice and secure. And then now we're going to stitch just as close to that outside edge about an eighth of an inch all the way around the uh rectangle that we've cut of our Velcro. And once I have one line of stitches, I'll pull that pin out of the way because we don't want to stitch over that. And for this one, I should mention you want this side of the Velcro to be on the outside fabric that you chose. As I get to that corner, I've left my needle down. So then I can just pick this up and turn it and pivot under the machine. And I'll do that at each of the four corners until I've secured my Velcro in place. last little bit. Make sure to back stitch. There we go. So now the first half of our Velcro is attached. And so now we're going to flip this around to the opposite end on the inside fabric. And so just like we did before, I'm going to measure down one inch from the top. And we are going to center this up right there in the middle. And so we'll put a pin in there again to hold it in place. And then I'm going to go ahead and stitch around this in the exact same way. And I'll meet you back here when it's done. All right. So now we have attached both pieces of our Velcro and it's ready to go. And so the next thing we're going to do is we're going to trim the corners of our top flap. And the way to remember that is it's the piece that we have not bound yet. And so for this medium size, we're going to measure in from the outside corners an inch and a half on the top and along the side and make a mark. So let's go ahead and do that. And I'm just going to use this little Sharpie and just make sure that it's not so big that you will see it after you add the binding. So there's the first one and then an inch and a half down here for the second. And I'll do the same on this other side. Beautiful. So I've got my little marks there. And so now I can take my rotary cutter or scissors and you can either draw a line and cut with your scissors from here or you can use your ruler and rotary cutter to trim off those corners. So I'm just lining my ruler up on those two marks that I made and cutting this away. There we go. So now the next step is we're going to fold this over and we are going to line up our Velcro so that it matches. And then I will make sure that this is laying all nicely. And I'm going to grab my pins and I'm going to put a few pins to secure this on both sides. So, just to show you guys, I've just kind of slid this. So, I've got just a little bit of overlap with this flap, and this is going to match up beautifully. There's really no exact measurement. As long as your Velcro is matching, it's all going to work out in the end. So, maybe you want your device to peek out a little bit more. You could actually spin it down more. I like it to be fully enclosed, so I prefer to have it there. And so as long as your Velcro matches, that's the measurement you're looking for. And so once you have this pinned in place, we're going to do a basting stitch. So I'm going to lengthen my stitch length and we're going to stitch a very scant quarter inch just to secure these sides in place. So let's go ahead and take this to the machine. And I'm just going to base where they are folded over. There's one side. And we'll flip this around and do the same thing on the other side with that scant quarter inch and our wide basting stitch. Okay. And now before I forget, I'm going to turn my stitch length back to what I like it for regular stitching. And so now I have this secured in place. I can remove these pins and I don't have to worry about fighting with this when I go to add the binding. And so we're going to use the rest of the binding that we have ready to go. I'm going to take this over to the ironing board. And the first thing we're going to do is we are going to turn under. Let me make sure you guys can see about a half an inch. So the raw edge of this is tucked inside. And then I'll press that back in half just like so. And then once I have that all tucked in, we can line this up with the edge of our project. And so I'm going to put that bottom edge right in line with the bottom of my little sleeve. And we'll put a few pins in here or clips if you have them to secure it. I don't really use a lot of uh pins, but do whatever is comfortable for you. And then we're going to just take this to the machine and I will show you how to do each of these corners. But just before we get too far, you're going to want to leave about 6 in here before we finish off this other edge. So, even if you make it all the way around, make sure you stop when you get to this point. So, let's take it to the machine. All right. So, now we're going to do that full quarter inch with our regular stitch length. And that should catch that basting stitch that we did initially inside this wider seam. You do want to back stitch at this first little bit and just remove those pins as you go. [snorts] So, as I'm approaching this first little corner, I am going to actually kind of put my finger or a pen right at this corner and then stop before I get to that point. So, I'm going to put my needle here at the end. So, let's just hold this as a guide for me as I'm approaching the needle. And so then I'm actually just going to back stitch one stitch and trim my thread. And then now I can fold this back. And if I've done it correctly, it should line up exactly with that angle that I've cut. So you can see that there. And then I'm going to fold this over again. And so now I can start stitching right where those fabrics meet. that same quarter inch. Go ahead and back stitch again to secure that in place. And I'll show you again when I get to this next corner. So, I'm going to line up. Here's my corner. Use this as a guide so I know where to stop. Trim my thread. Fold this back and over again. and continue on. And so I'm going to go ahead and finish stitching until I get to that stopping point about 6 in from the edge and I'll meet you back here. Okay, so here we are. We have made it most of the way around our project. I've left about 6 in from the end. And so now I'm going to lay my binding just past the edge. I'm going to use my ruler and I'm going to give myself a half an inch past that bottom edge. So just keeping this straight, trimming that off. And so then now we can take this over to the ironing board again just like we did at the beginning. And we'll carefully fold down that half an inch. I'm just eyeballing. I've done this a few times, but feel free to measure. Press that in half. And then now this should match up with the bottom edge of our project. And we can finish stitching back stitching there at the start and the end. So let's go ahead and do that. All right. So, now we have our binding sewn all the way around. And so, now we can take this over to our ironing board and we're just going to press all of this back just like so. And you can see here on those corners, because of the method we used, it kind of automatically miters them. And they look so nice. They turn out beautifully. So, we'll just press those back all the way around. And then we'll start rolling it over. So, we can secure this. Now, because we have more bulk on this, this is a little bit thicker. And so, I really like to use binding clips for this part. So, I'm going to go ahead and grab those and I'll meet you right back here. Okay. So, I have my binding clips ready to go. And so, I'm just going to roll this back. And if you want to trim away any of these threads so they're not poking out of the bottom, this is a great time to do it. And we are just going to tuck this in, making sure that we catch all of that seam in our binding and put a clip. And so then I'm just going to make my way around this whole project and put my clips every few inches. And I do want to show you when I get to these corners again the best way to prepare. And so just like we did before, I'm going to kind of take this straight out. And then we're going to fold this. It kind of automatically gives us a little fold here. We're going to fold this over. And it continues that mitered corner. And it looks just absolutely beautiful. And so that's what we're looking for. So I'll put a clip right there to hold that so it doesn't move. And we'll do the same thing here. I've got lots of threads today, don't I? Just clip some of those out of the way. So, I've folded this straight. And then me make sure I can get it laying smoothly. That's going to tuck in there. And we've got a nice mitered corner. Make sure my fabric's not tucked. There we go. And we'll clip that in place. All right. I'm going to finish this up and take it to the sewing machine and I'll meet you back here when it's all done. Okay, we are all done. We have attached our binding all the way around. I did use a stiletto at the very end to just hold that binding all the way over so I could get all the way to the edge and it worked perfect. There is our cute little case. So now we have a matching set in all three sizes. So, I hope you guys enjoyed this tutorial for these cases for all of your devices, and I'll see you next time on At Home. Hey everyone, thank you so much for watching at home. We're so excited to be almost a million quilters strong here at Missouri Star. And so, if you haven't already joined our family, be sure to subscribe and hit that notification bell so you can be notified of all [music] of our future tutorials. And we'll see you soon.


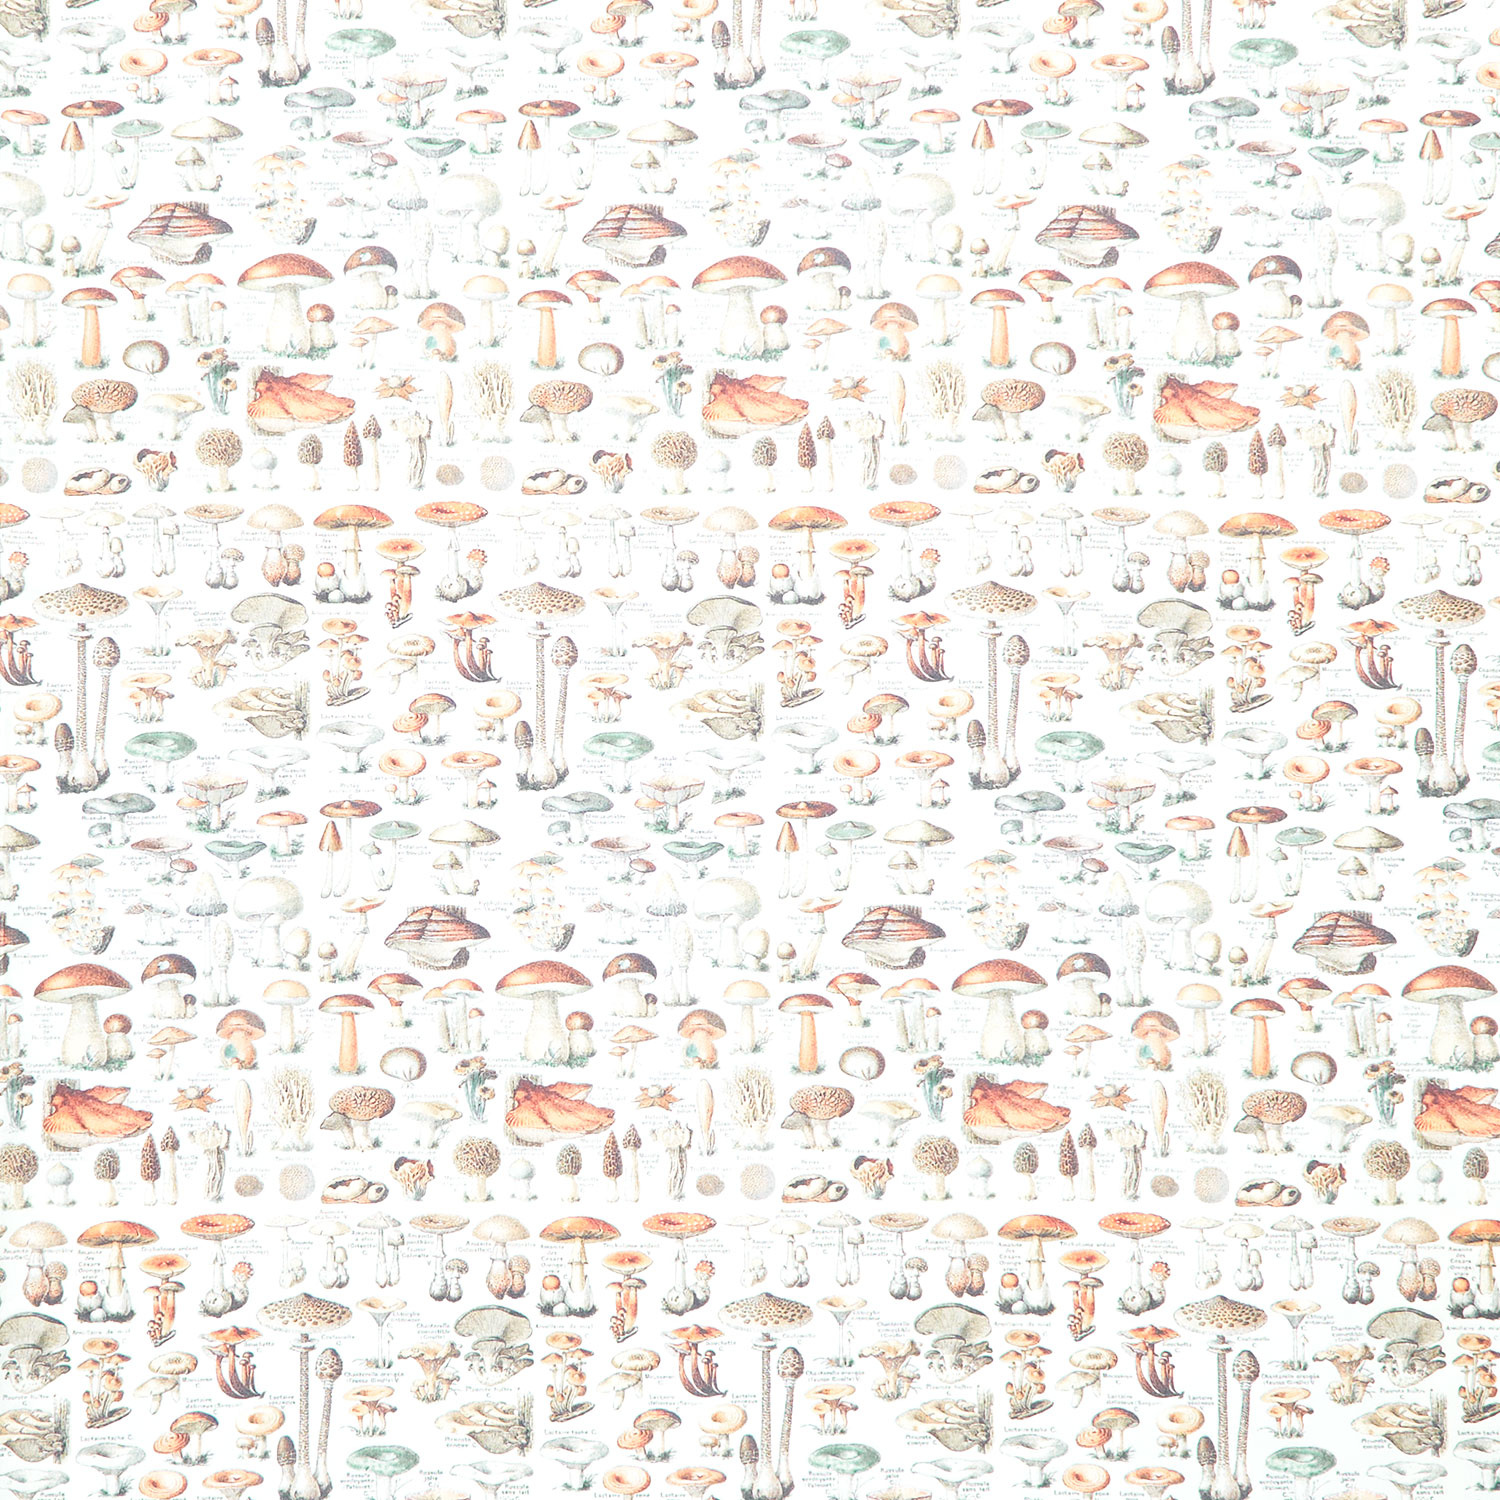 Eclectic Elements - Palette Orange Toadstools Orange Yardage$13.15Shop →
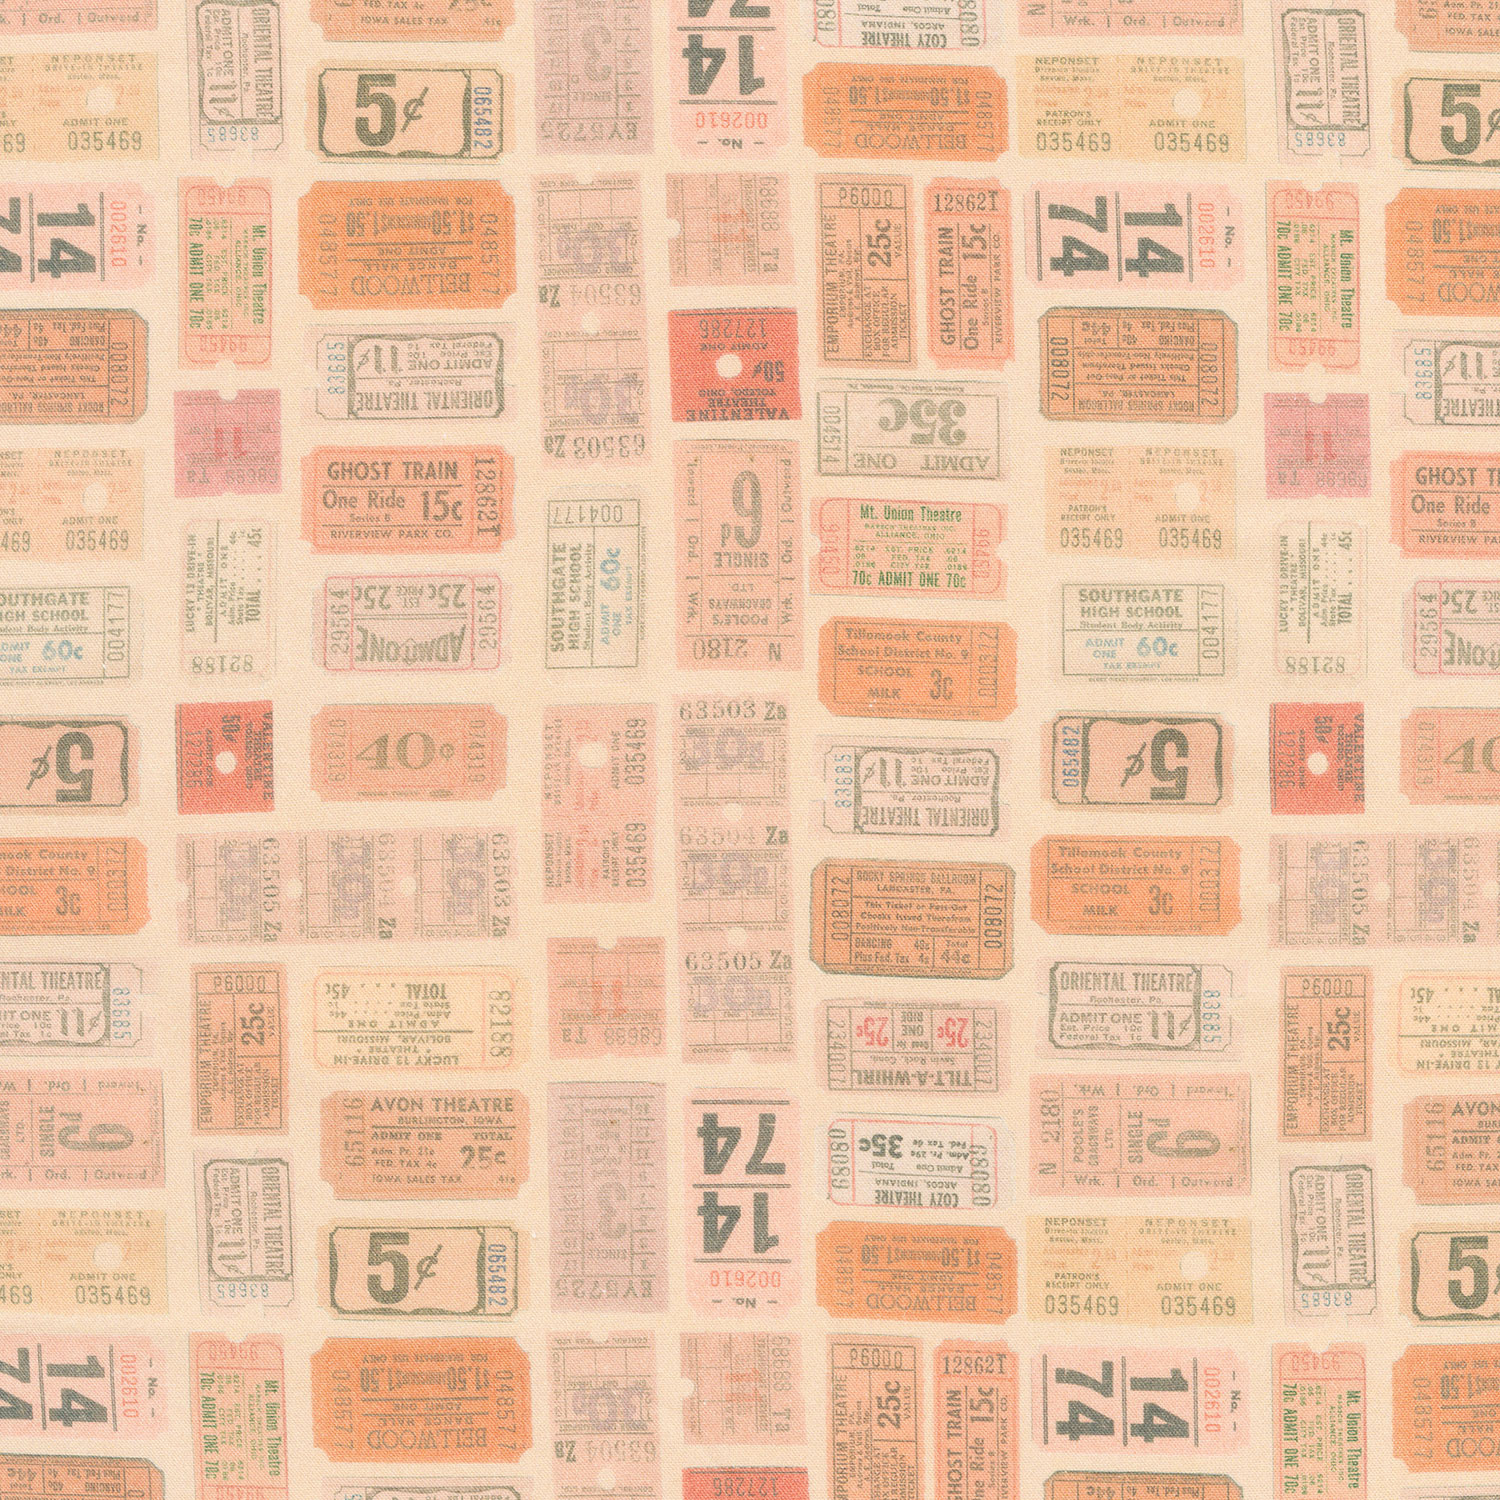 Eclectic Elements - Palette Orange Tickets Orange Yardage$13.15Shop →
 Bosal In-R-Form Plus Fusible Foam Stabilizer - 20" x 58"$16.95Shop →
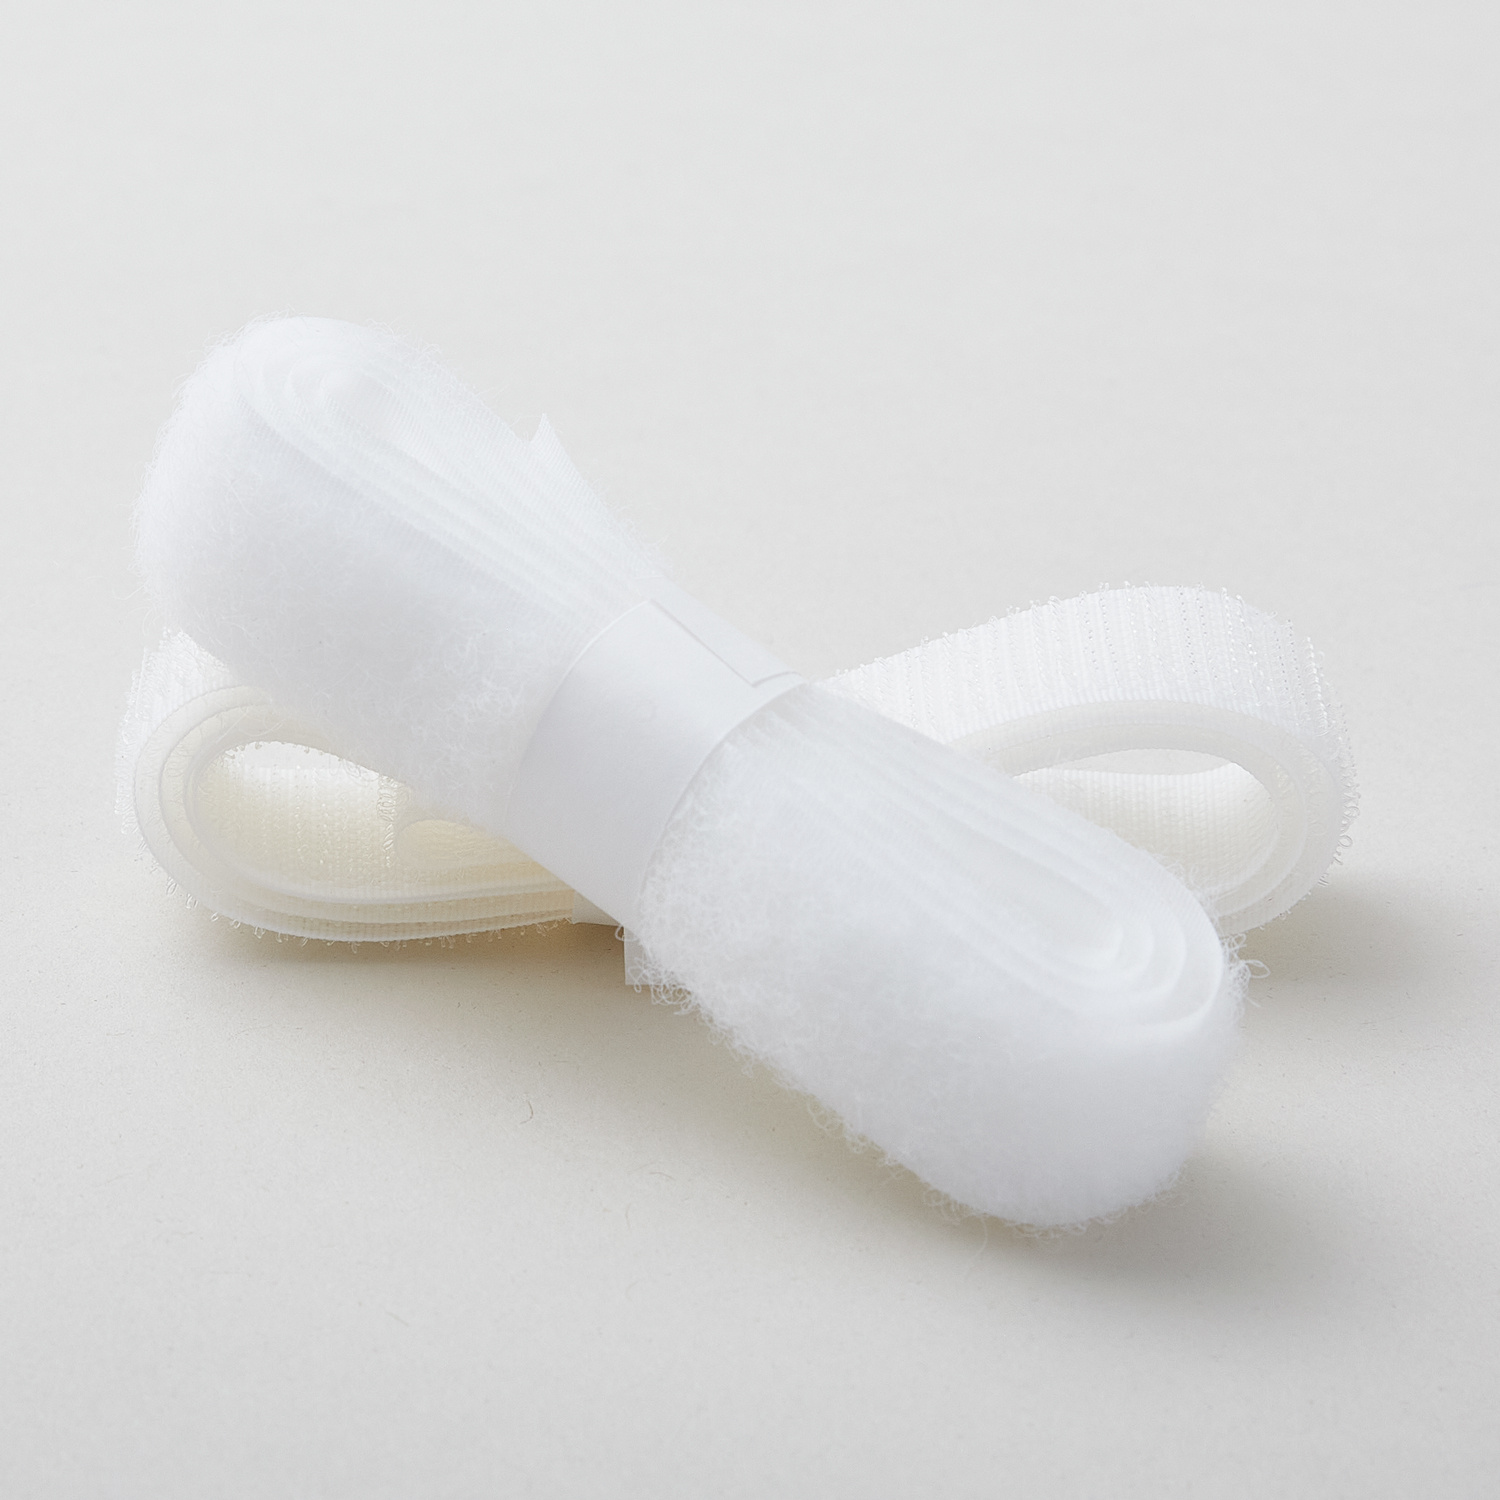 Velcro® Brand Fastener Regular Duty Strip White 3/4" x 30"$3.75Shop →
 Missouri Star 45mm Rotary Cutter - Olga$19.95Shop →
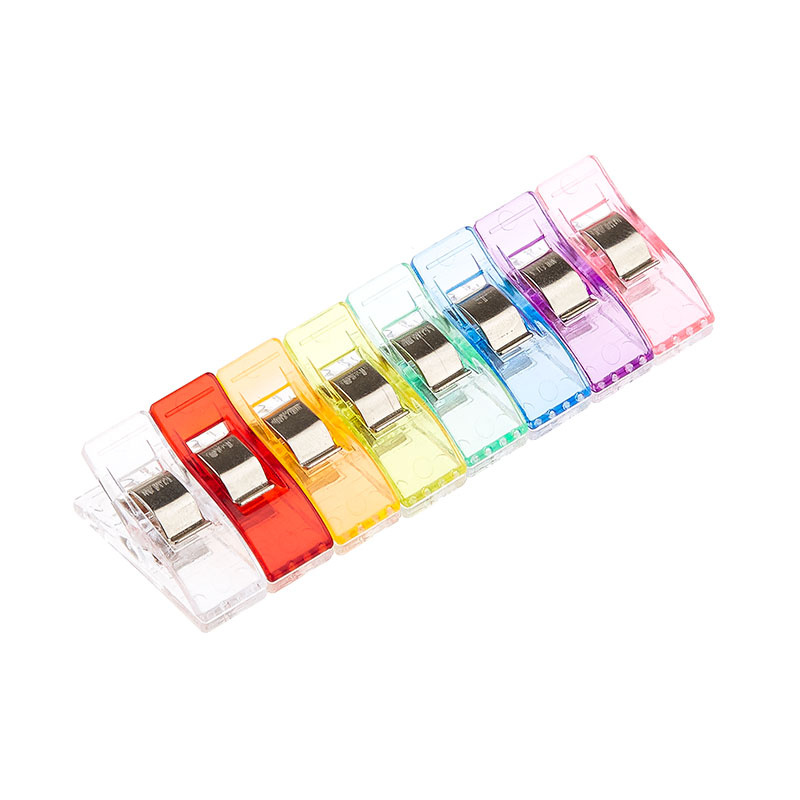 Missouri Star Colorful Quilting Clips - Pack of 50$29.95Shop →
 Missouri Star 8" Everyday Scissors - Amelia$19.95Shop →
 Missouri Star 50 WT Cotton Thread White$7.95Shop →
 Missouri Star + Oliso TG1600 ProPlus Iron$209.95Shop →
 Missouri Star Wooly Betty Board - 17.25" x 25.5" Orange Border$99.95Shop →
 Baby Lock Accomplish - 1500 SPM Straight Stitch Machine$1199.00Shop →
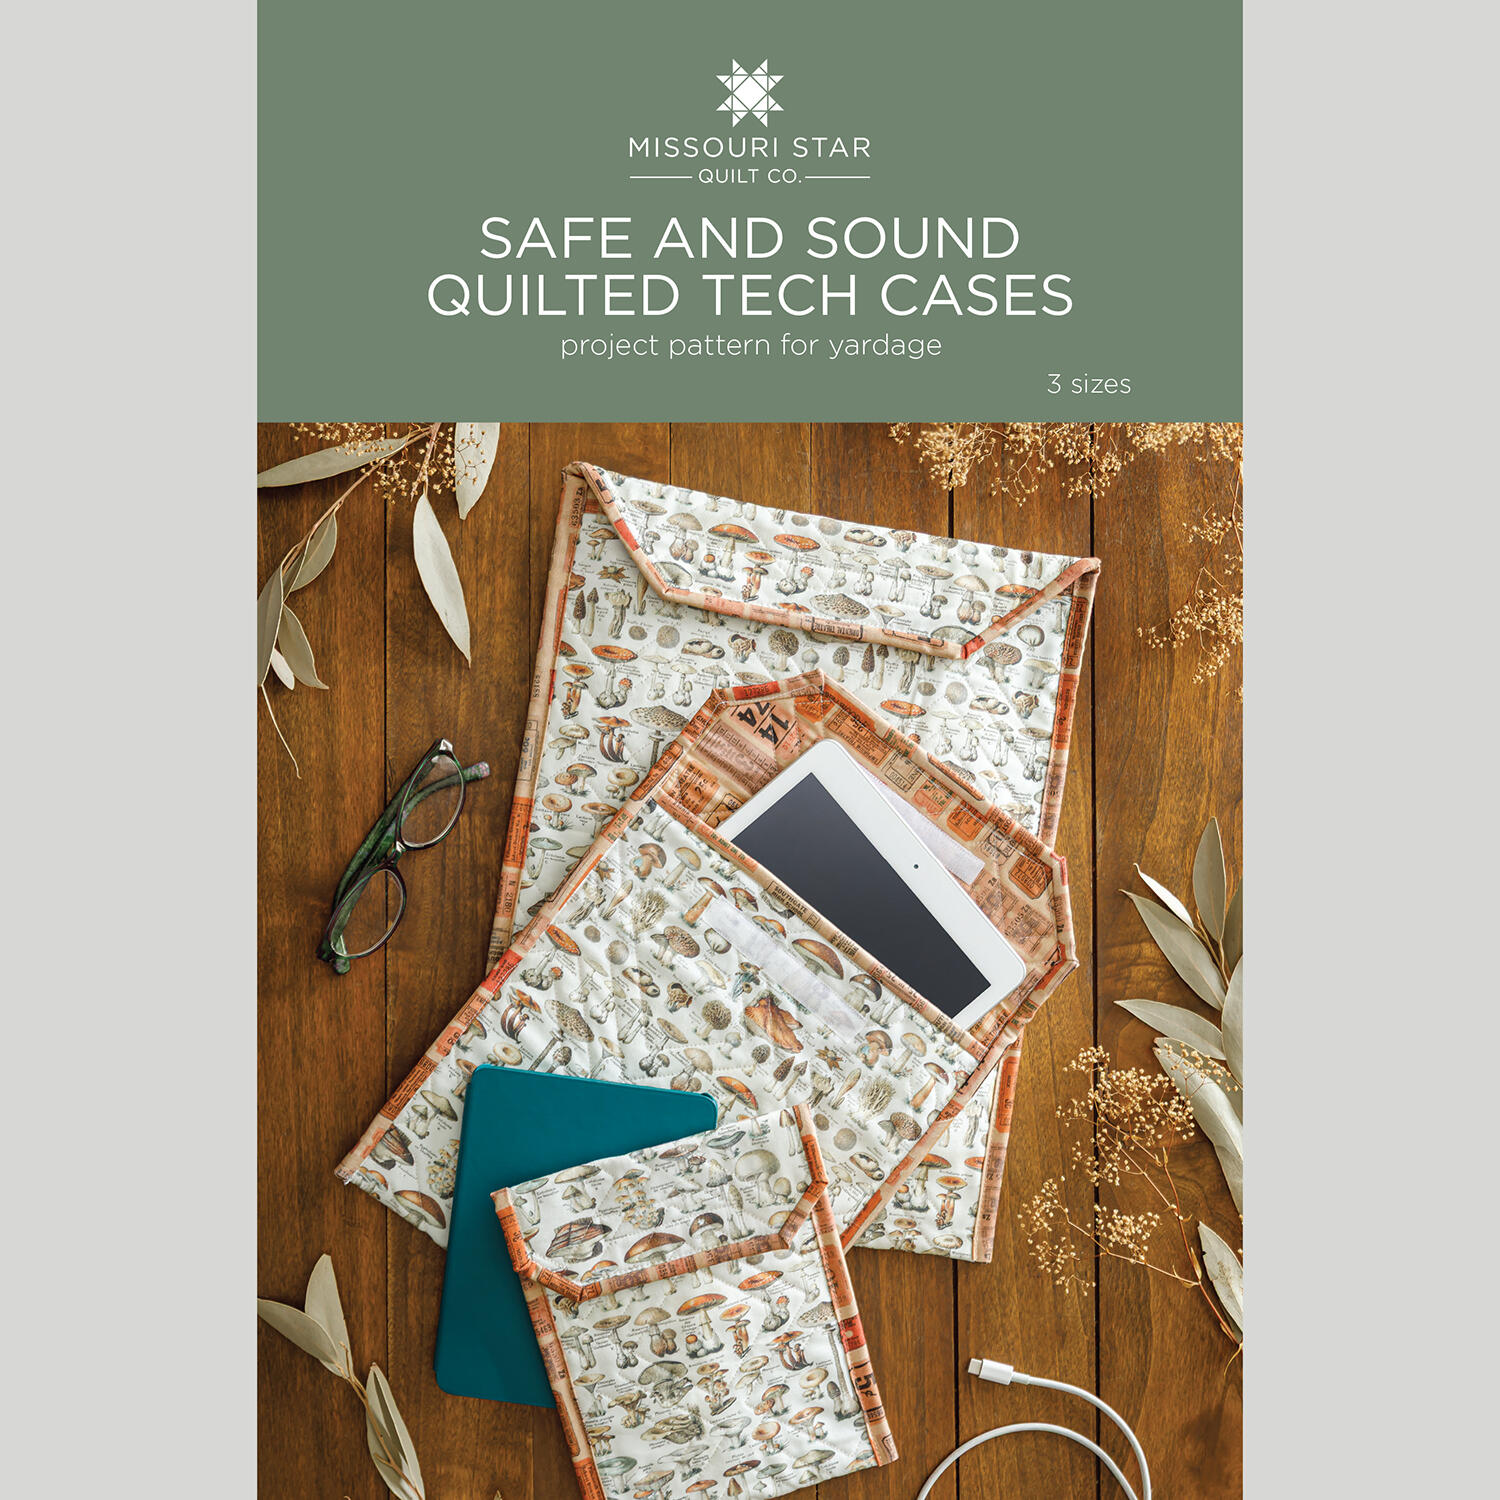 Safe and Sound Quilted Tech Cases Pattern by Missouri Star$8.50Shop →
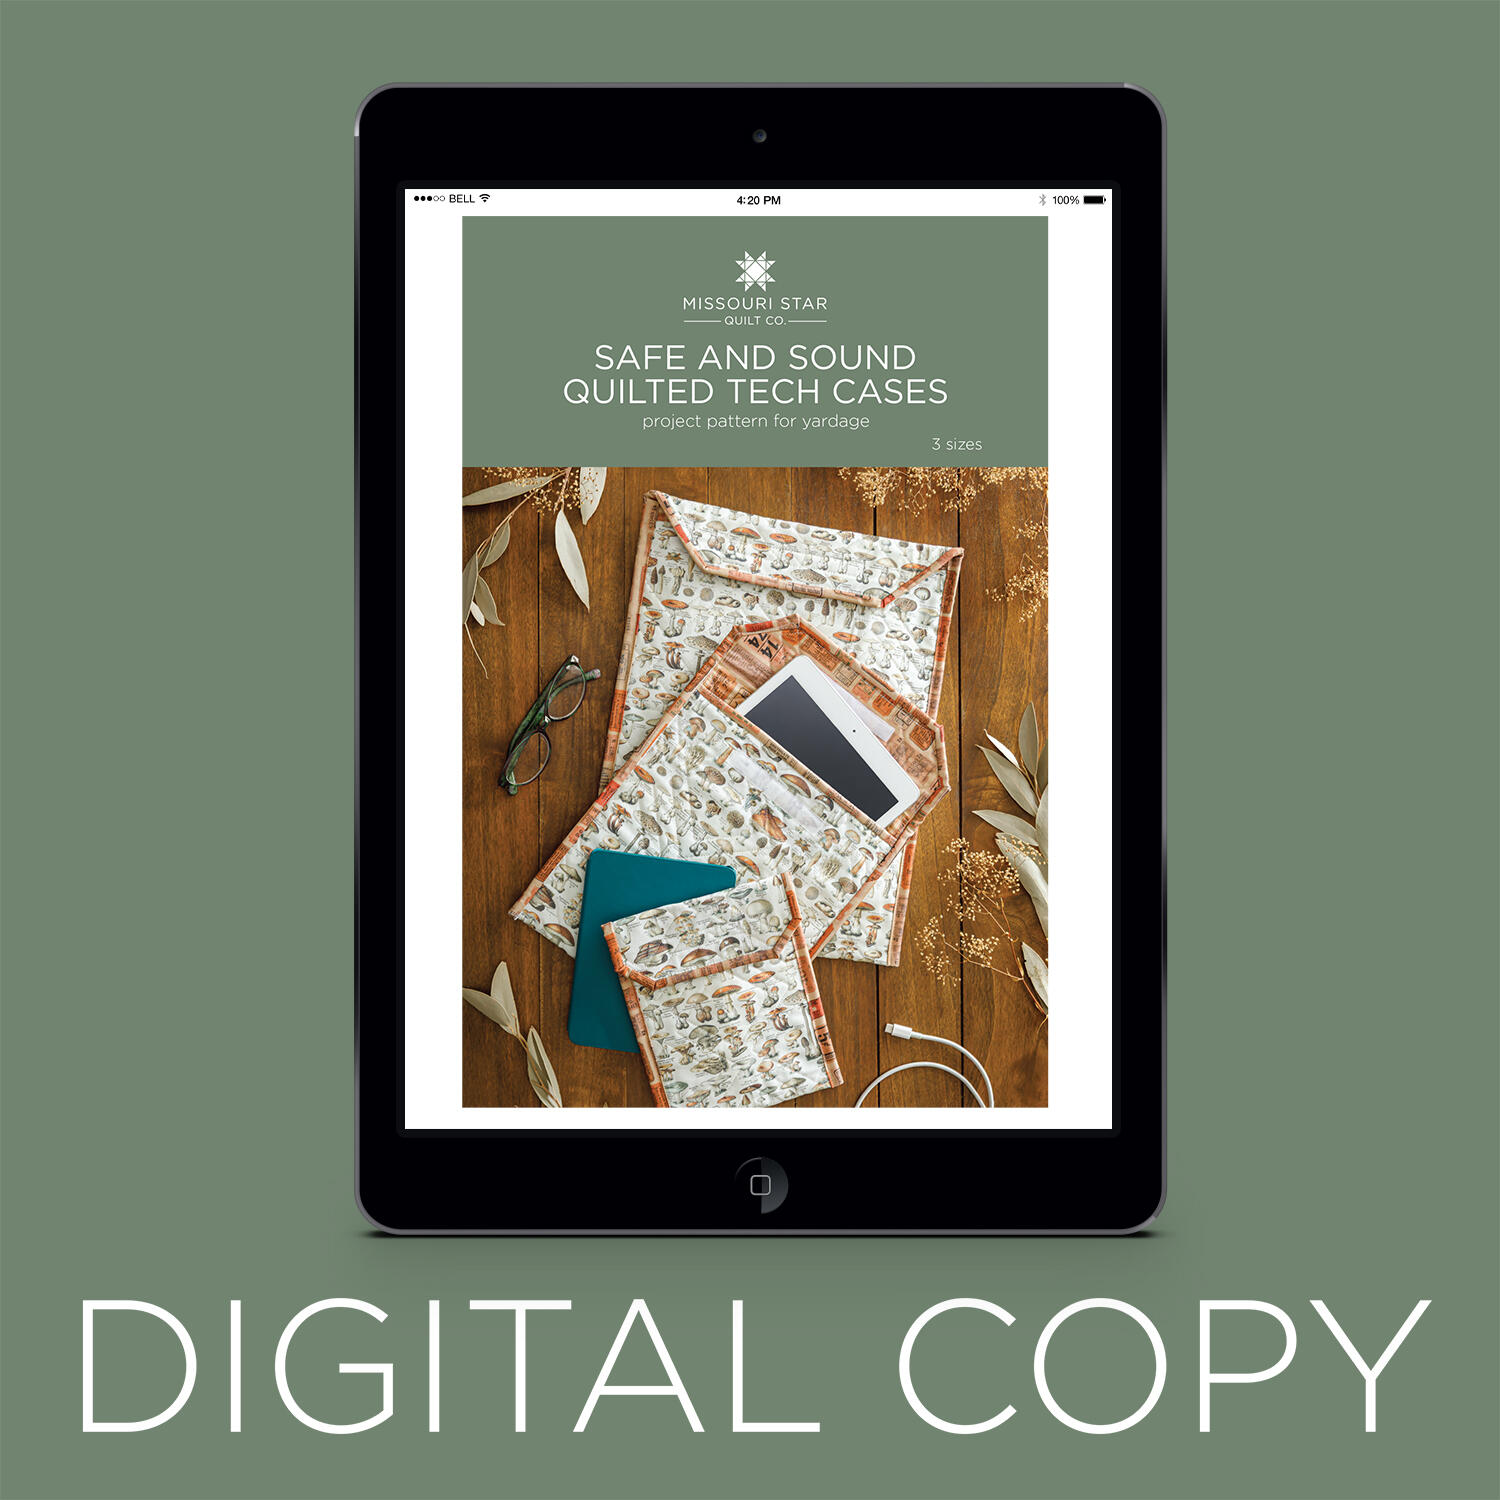 Digital Download - Safe and Sound Quilted Tech Cases Pattern by Missouri Star$6.95Shop →


