
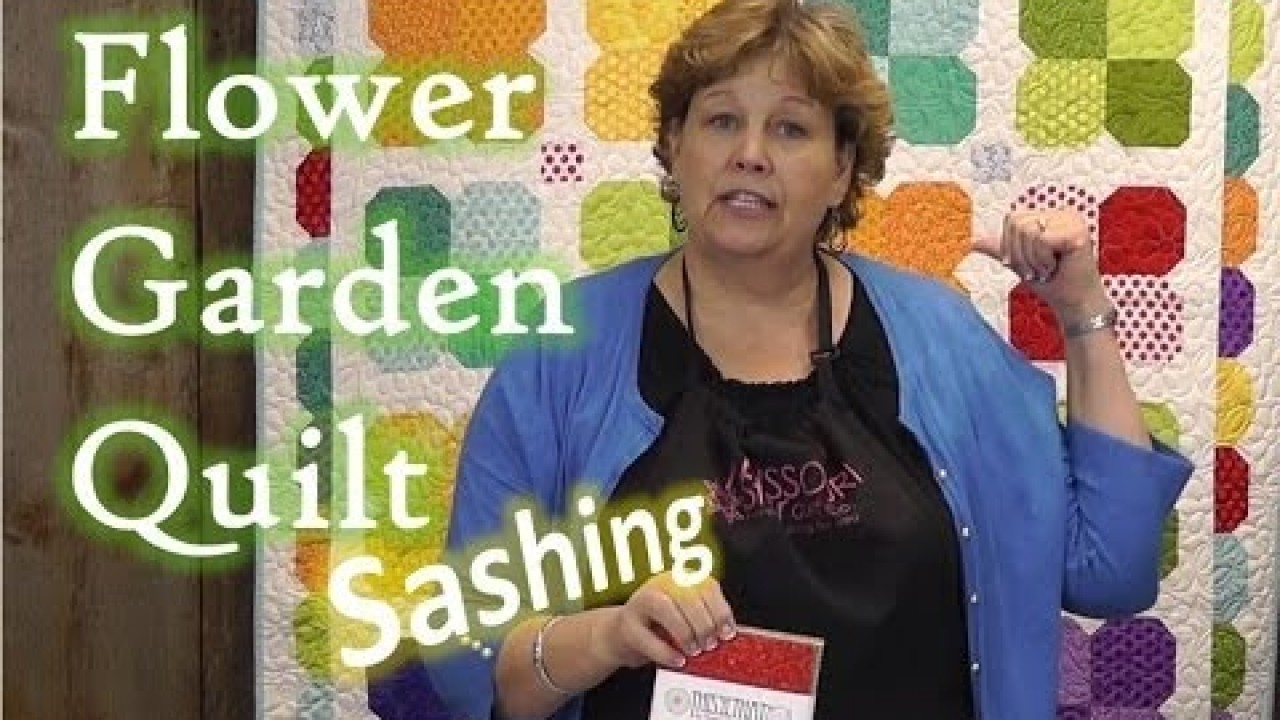
Sashing for the Flower Garden Quilt
Jenny pulls the popular Flower Garden Quilt from the MSQC archives and shows a simple, yet lovely sashing idea to spice up the project. Charm Packs - the best selection of 5" squares anywhere!. This 'n That Collection by Nancy Halvorsen of Benartex Fabrics (featured in this tutorial). Charm Pack - . Other Precuts and Yardage -.

Instructor
Jenny Doan
Jenny Doan is an American quilter, author, and YouTube personality. Jenny started Missouri Star Quilt Company in 2008 and today it is the largest quilting supply vendor in the United States.
Shop this tutorial




Common Questions
What is covered in Sashing for the Flower Garden Quilt?
Jenny pulls the popular Flower Garden Quilt from the MSQC archives and shows a simple, yet lovely sashing idea to spice up the project. Charm Packs - the best selection of 5" squares anywhere!. This 'n That Collection by Nancy Halvorsen of Benartex Fabrics (featured in this tu...
How long is the tutorial video?
The tutorial video is 00:06:28.
Are supplies listed for this tutorial?
Yes. The tutorial page includes the supplies and materials connected to this project.
Is a transcript available?
Yes. A written transcript is available on the tutorial page.
Video Transcript
Hi, it’s Jenny from the Missouri Star Quilt Company. Back in 2011, I did a tutorial on this Flower
Garden quilt right here. And it’s, it’s just a really great little pattern. But, we added some sashing
with cornerstones and we’ve been getting a lot of questions about sashing. So, over here, this
quilt right here, we remade the quilt, but we put a sashing and a cornerstone in there. So, that’s
what we’re going to talk about today.
When I made this quilt, I used “This and That” charm pack from Nancy Halverson this one right
here behind me. And it’s made using three charm packs. Now, remember, how many charm
packs you use is going to change the size of your quilt. One makes a baby, two makes a crib,
three makes a lap, four makes a twin. So that just gives you a general idea of how many you
need to use to make a quilt. When you add a sashing in here, in between, which are the strips
that go in between, your quilt’s going to get even bigger, faster. So, you can get a really big quilt
really fast with the sashing.
So let me go through this block just generally, quickly, to show you how we did it. And if you
need more info, you can check back with that other tutorial. It’ll be in the description below if you
need to go to that. So, to make this quilt, what you’re going to do is, you’re going to take four
charm packs that are like colors, you know, like this right here. And you’re going to put them
together.
The first thing you have to do is, each charm pack, you’re going to snowball three corners. So
you have your charm pack right here, you’re going to take your little, I used inch and a half
squares, and you’re going to put them on three of the corners, just like this. And you’re going to
sew diagonally, corner to corner. You can mark that if you want or press it. And then you’re
going to sew, three er four of those together.
So I have one here, right here. This has all the three corners sewn right here, you can see. And
I just sewed on the line and trimmed off this little edge back here. And then you’re going to put
four of those together, so I have some over here that are cut. And of course yours will be
matchers, mine are leftover pieces. But, when you put them together, just like this, it will form a
fourpatch. So, let me scoot this down here so make sure you can see it. So, you’ll sew these
two together so you’ll match color to color, white to white, color to color, white to white, on all
four sides, just like this. And you’ll sew these two like this, quarter inch seam, then these two
like this, a quarter inch seam. And so then you end up with a block and your block is going to
look like this.
So now what we’re going to talk about is the sashing. Sashing really can make a quilt, and it can
be any size that you want it to be, and it just really is up to personal preference. Right here, in
between our squares, we’ve used a 2 1⁄2 inch sashing. And let me show you how you figure that
out.
So, whatever size your block ends up being, and this works for any size blocks, on any quilt,
you’re going to measure that block. My block measures to be 9 1⁄2 inches. So what I’m to do
then is, I’m going to decide how wide I want my sashing, and this is a 2 1⁄2 inch strip, and I’m
going to cut my strips at, at 9 1⁄2, the exact same length as my square. So let me go ahead and
do that. And then, I’m going to attach this sashing right here, quarter of an inch, in between
every block. So, let me put a row of these out and show you how this is going to look.
So see how we just keep adding a sashing and a block, and a sashing and a block. Now when
you’re ready to do your second row, your in between row, right here, that has this little
cornerstone right here? Your sashings are going to be the same size. They’re still going to be 9
1⁄2 because your block is square, but then you need that little cornerstone. Now, the cornerstone
is going to be the same width as your sashing, it’s just going to be a square. So ours is 2 1⁄2 and
so we’re looking for 2 1⁄2 inch squares. So what I’m going to do right here is, I’m going to take
some of my leftover charm packs, and I’m going to cut this in half, both directions, and that’s
going to give me four, 2 1⁄2 inch squares. So, just like that, there we go. Now what we’re, what
we’re going to do now is we’ll take our... we’re going to make our row again, just like that. And
then we’re going to get ready to put our sashing here. So what we’ll do is we’ll take our sashing
piece, and again, they’re the same size as your blocks, put our little square in, put another
sashing piece in and it’s as easy as that. So let me show you, I’ve got one cut here that I’ve
done.
So, see how these line up? Your sashing, your sashing is going to line up row to row, like this.
But we then have our long, middle strip, right here, and it will go just like this and it will fit in
here. So just to recap on this, when you have your block finished, you’re going to measure it.
That is going to give you the length of your sashing. Your sashing is going to go in between the
blocks. So you’re going to go block, sashing, block, sashing and that’s how you’re going to
make your rows. And then when you go to put your rows together you’re going to make a
sashing strip. The sashing strip is also going to be the same width as your block with a little
cornerstone that is the same size, the same width as your sashing strip, only in a square. So
we’ve got 2 1⁄2 inch strips and 2 1⁄2 inch squares. And that goes in between your rows. And that’s
going to give you this great look right here that’s just going to pop your squares. Sashing is
awesome for setting quilt blocks and just making them just pop. And it’s also good for making
your quilt a little larger if you need to. So, we hope you enjoyed this tutorial on sashing from the
Missouri Star Quilt Company.


