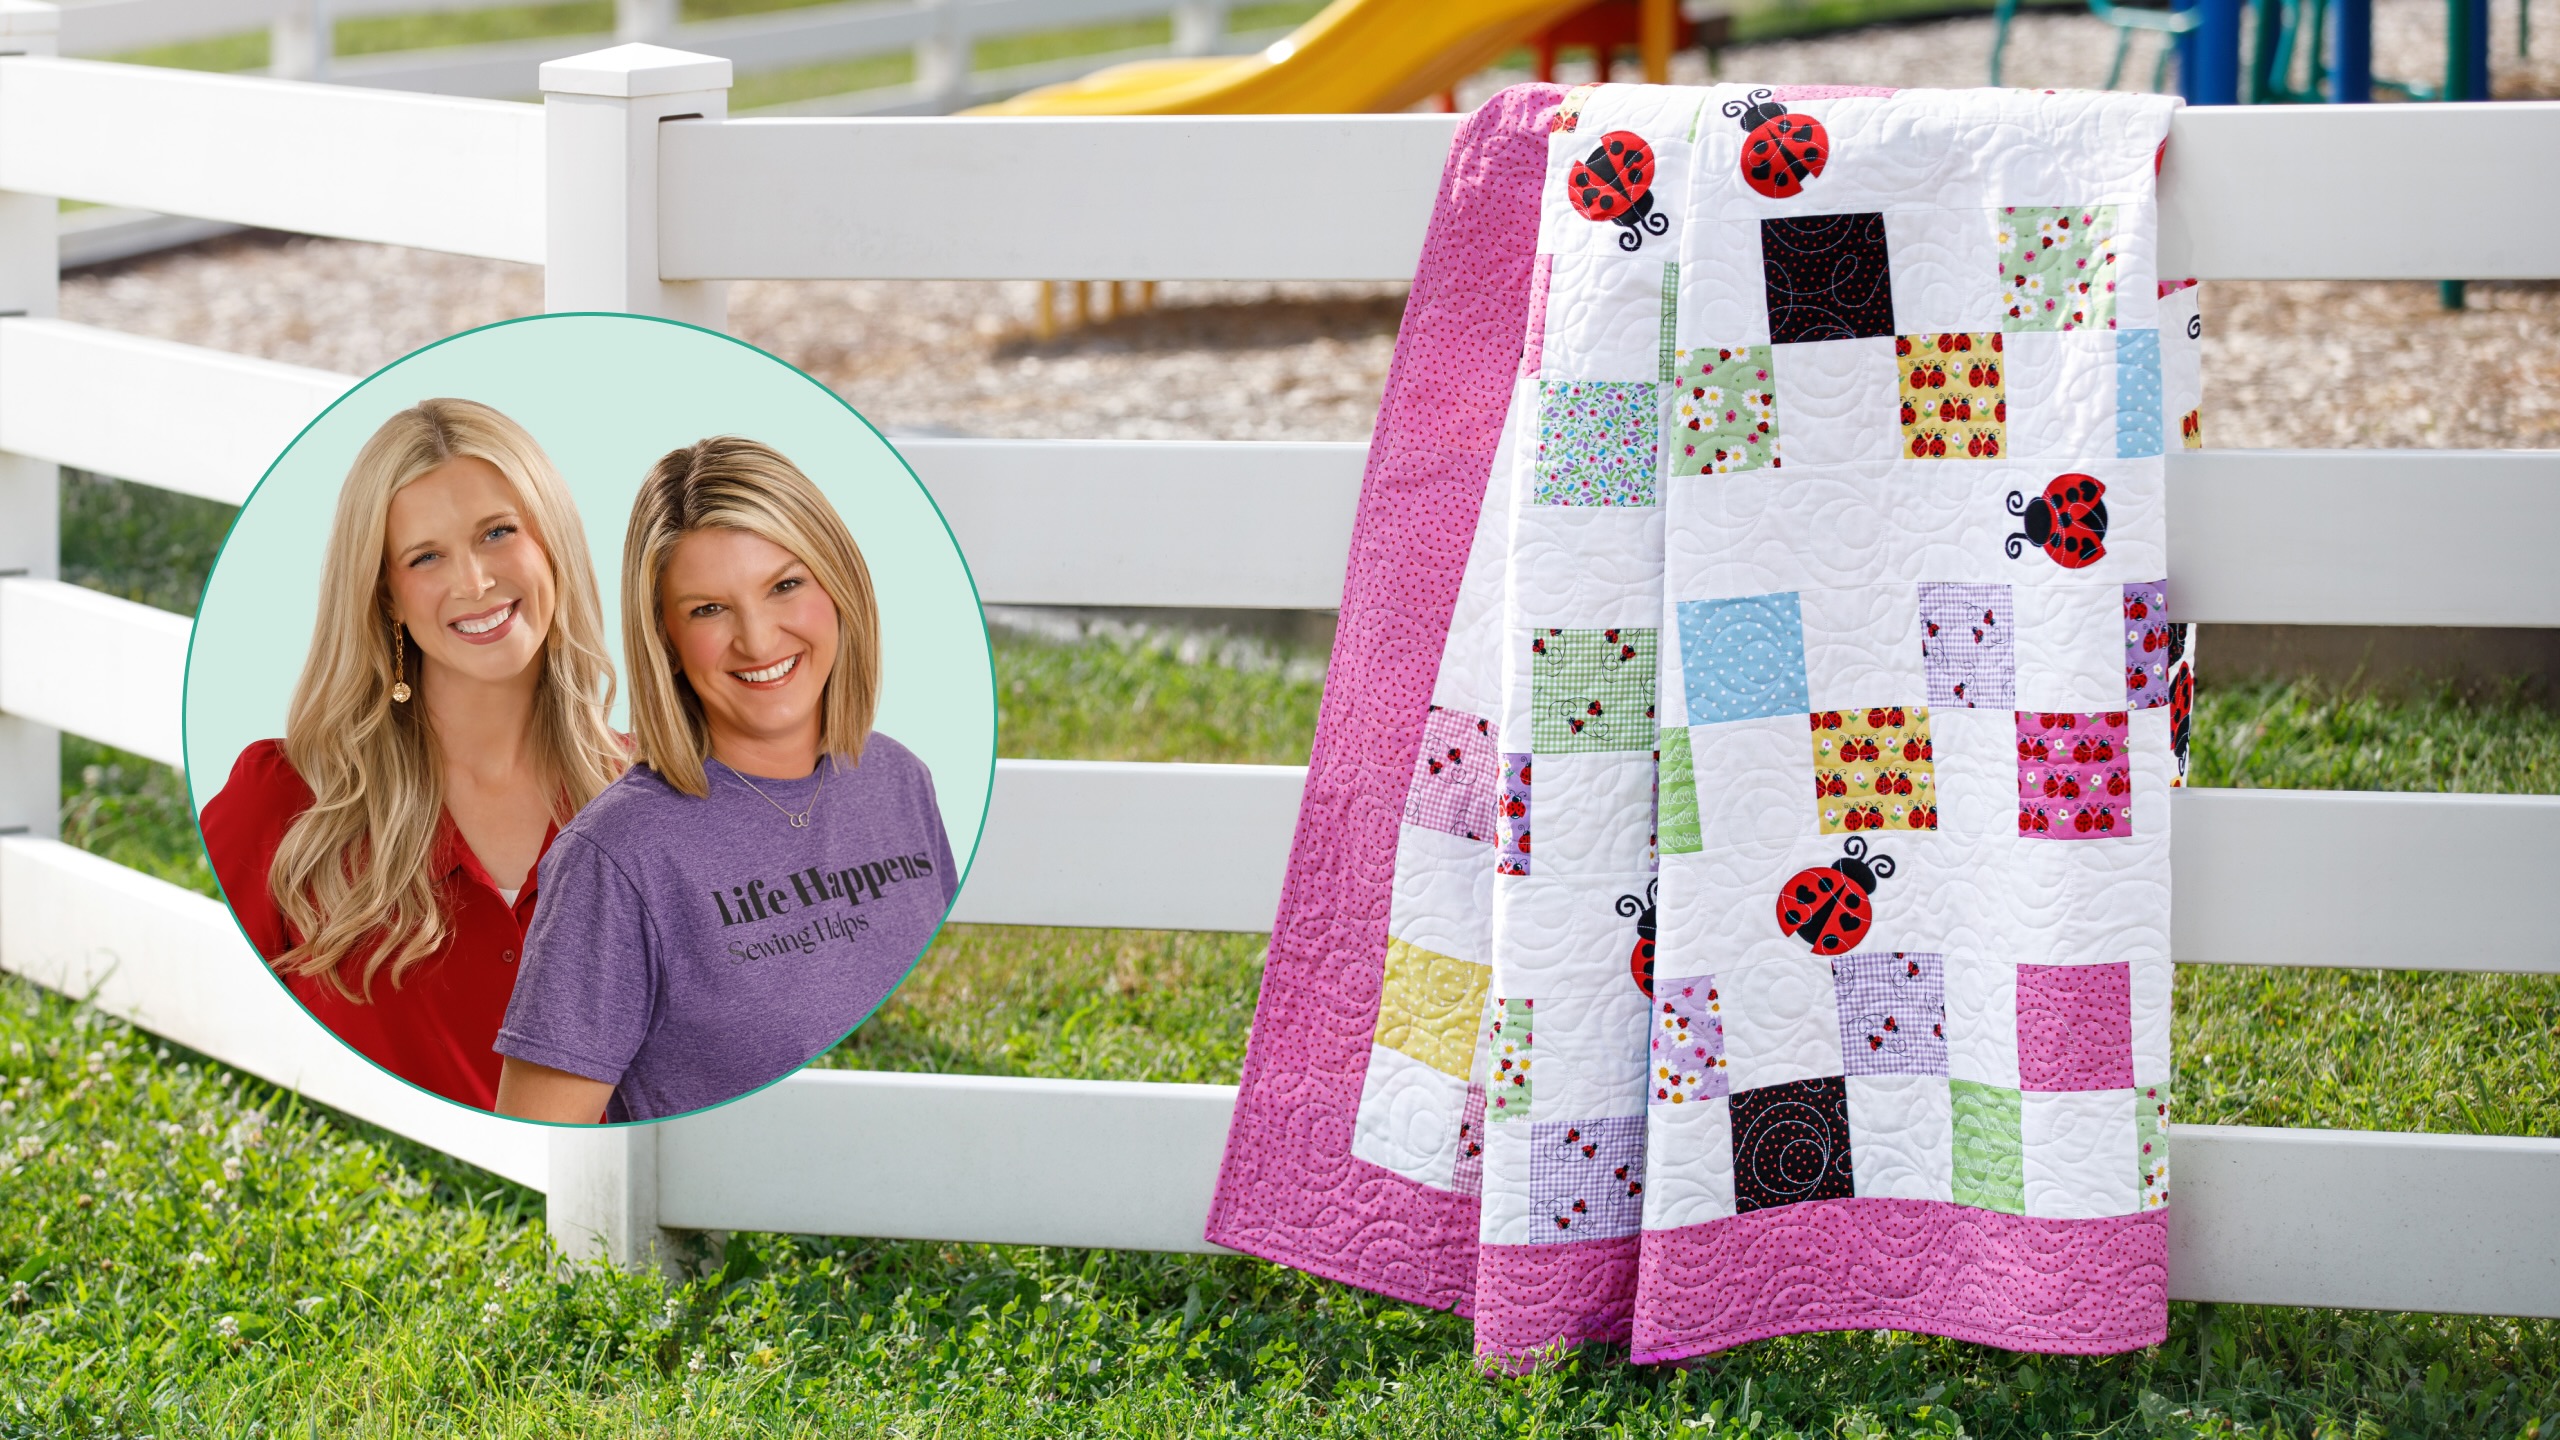
Your little one will be snug as a bug in this sweet quilt! Cute lady bugs alight among tiny hearts, dots, and other mini prints in the See Saw quilt made from simple squares. A layer cake from the Little Ladies collection by Tami Jones is the secret to creating the sweet look. The quilt is adorable as is, but you can go a step further and use Missouri Star Favorite Things Embroidered Charms to embroider darling motifs in the plain squares!
Misty Doan grew up surrounded by sewing and quilting. She loves spending time sharing tutorials each week each week, and when she’s not stitching up one of her fun sewing projects for home decor, most likely you’ll find her hanging out with her husband and three awesome kids or working on a house project.
Your little one will be snug as a bug in this sweet quilt! Cute lady bugs alight among tiny hearts, dots, and other mini prints in the See Saw quilt made from simple squares. A layer cake from the Little Ladies collection by Tami Jones is the secret to creating the sweet look....
How long is the tutorial video?
The tutorial video is 00:29:39.
Are supplies listed for this tutorial?
Yes. The tutorial page includes the supplies and materials connected to this project.
Video Transcript
Hey everyone. I am so excited to be joined by Tammy Jones. It is my honor. Aw, we are so excited to share this adorable quilt with you today. It's called seesaw and we're going to show you how to make it. Is that not the cutest thing you've ever seen? I walked in this morning and I was like, "Stop it. [laughter] Stop it. Stop it." Well, it is very fun to make, so let's check it out. All right, Tammy. Thank you so much for being here. I'm so excited and will you tell everybody a little bit about you, where they can find you, and then we'll talk about this adorable fabric. My name is Tammy Jones and I am an online sewing teacher. But more importantly, I have three children, a 24-year-old and a set of 4-year-old twins. Don't ask. Long story short, I did not empty nest well. And the 4-year-olds I refer to as my little ladies. So, whenever it came to creating a fabric collection, it had to be little ladybugs, right? Mhm. So, this is the fabric collection. Now, it's available here at Missouri Star and Misty has created this the most amazing quilt. So, somebody asked me, "What is Misty making?" I said, "I have no idea. I'm going to be as surprised as you are, but I know it'll be gorgeous." And I walked in this morning and I couldn't stop looking at it. It's so cute and so easy. I can't wait for us for her to show us how to make it. It is super simple. You guys are going to love this and because the fabric was inspired by her little ladies and I knew Tammy would be joining me, my inspiration was a quilt that I thought you could make with the girls. Aw. So, I wanted to keep it super simple. I know you love to do some raw edge applique, so I brought that in as well. And so, let me show you guys what you're going to need to make this. Up first, you're going to want to grab a package of 10-in squares. Of course, I'm using this adorable collection called Little Ladies for Andover by Ms. Tammy Jones. It's so cute. In addition to that, you're going to need some background fabric. I'm just using white. You need 3 and 1/4 yd and that includes your sashing strips there where we put those ladybugs. You're also going to need a 1/4 yd of black accent fabric and an 1/8 of a yard of red. For your outer border, that's a 5-in border, you need 1 and 1/3 yd. And then for your backing, you need 7 and 1/2 yd with horizontal seams. You also might grab some So Light Fusible. That'll help with the applique and if you have a light board or a window, that'll come in handy. So, I have questions. Sure. Okay, this So Light Fusible is Missouri Star's brand, right? Okay, so I've got it and it got I have purchased it in a pack, but I didn't know it came on a roll. So, you can get it in a roll and then you the dispenser actually comes separately. And so then you can just put it in there and it makes it super easy just like you're you know, cutting your plastic wrap. Stop it. Stop it. Okay, and it's rough on one side so you know what side the glue's on. Exactly. it doesn't matter if you need a piece this big or this big. You can just trim it to your size. Genius. Perfect. All right, let's show you how to make this. All right, Miss Tammy, you ready to make this? I am. All right, so the first thing we're going to do is just make some simple four patches. And now this is the first block I made with my daughter and so I thought perfect for the girls. Maybe in a year or two. So, the professional here has just told her team how she's going to make this. I've never made a four patch like this. I'm very excited. And Missy, so you may not know this, but this is my very first collection, right? And it's inspired by my little ladies. The little ladies will be five in just a few days. They're not quite old enough to sew. They're really into it, but they have the attention span of their mother, basically, [laughter] right? And so in a couple of years, but I'm like, what do I keep to make with them when they learn to sew? Because when they learn to sew, I want this to be what they touch. be perfect. Right? And so, I think this is incredible. Something easy, beginner-friendly, totally doable for some littles in your lap when they're first learning, and I'm way excited to see how this four-patch is going to come together because I did not know what she's about to show you. Okay, let's do this. So, on the table here, I have two 10-in squares of background and two contrasting 10-in squares of print. Now, what you're going to do is actually for this size, you don't even need your whole pack of 10-in squares. I think you need about 24 of them. And so, we're just going to pick those, have a whole variety, and we'll take all of those and pair them up with a 10-in square. So, I'm going to put them right sides together. If you want to put that one right sides with that one. Okay. Center it right there on my background, and then what we're going to do is we'll take this to the machine, and we're going to sew our 1/4-in seam on two opposite sides of both of these sets. Okay. And so, let's do that first. This is genius. [laughter] Like, really genius. time-saver. Yes. We all like something that makes things a little bit easier and faster, right? Exactly. And so, I'm just going to chain piece, so I'll do this one, and we'll slide this in right behind. I want to hurry up and get finished with one project so I can start the next. Well, you can just be like me and just start another one anyway. You'll get to it eventually, so. How many do you have unfinished? Probably like I'd say at least six that are in in flux. Nothing crazy, but there's a lot. What I'm notorious for is getting it quilted and then not putting the binding on it. So, that's really bad. So, I don't love binding either. It seems like by the time you get all the way around the quilt, you're sure you've gone around at least 17 corners, right? Exactly. And you're like, how can [laughter] this be another corner? That's exactly it. So. So I have, I think, three that I need to finish the binding on right now. Okay. But you know, it's not crazy. I do really try to finish them. And I'm really good at finishing them if they're for somebody else besides me. So that's what I hear. I ask my people like, what makes you finish a project that you don't want to finish? And say deadline. 100% right. Exactly. So now, because these are 10 in wide, I'm going to use my 5 in ruler, lay it right along the edge, and Hang on. Which side is sewn, Misty? These two. Okay. So we're cutting down the center of the two sides that are not sewn, right? right in between those stitch lines. Yep, great question. So I've cut that one, and if you want to press those to the dark side for me, I like it. And I am going to do the same thing on this square. Okay. So now we have kind of like a little bar block unit. Yes. And so let's do the same thing with this. Stop. I am like [laughter] dying over here. Now I'm going home to make all of the four patches because this It's so fast. It's so fast. There we go. And so now we've got both of these. You'll notice they're exactly the same. We're going to put them right sides together, and this time we're going to make sure our print is touching our background on both sides. So we want to layer it the same way we layered it the first time. We had a print and a solid. So this is the same way. Print, solid, Print, solid, Print, solid, and we have our seams going in the same direction. Here's your seam, and so we're just matching up our seams. Yep. And so now, because we've already taken the seam this way, we know we're going to stitch these two sides. Okay. And so just like we did before, we're going to do our 1/4 in seam intersecting that center seam. I always kind of just feel that it's nesting. If you want to put a pin or something in there, you absolutely can. So let's just go ahead and take this over here now. And we will stitch our 1/4 in seam down both sides. Slip it around. There we go. So Misty. Yes. How long ago did you touch an Oliso iron for the first time? It's been a minute now. But they're pretty great, aren't they? It's like magic. I mean, I'm over here like, can you give me some more blocks to iron? I do have to say it can be dangerous though once you get used to it. And then if you like travel in a hotel or something, I have left a regular iron flat cuz it turns out they don't all just stand up for you. So weird, right? shocking. This is like a magic trick. [laughter] So this Oliso iron comes in this print, which is Missouri Star's print, right? And also in a travel size? Yeah, there's a travel size. And also there's some if you didn't want our branded one, there's I think there's like a yellow and a pink and tons of different colors. Tons and tons. And the carrying case that it comes in looks like a pet carrier. Like it goes in, it zips up. It's pretty snazzy. It's so cute. So. Okay, so I'm sorry. You're good. You're good. No problem. All right. And so now just like we did before, remember we haven't cut this side so we can measure over. This is still 10 in. And we've sewn these two sides, right? And so we're doing the same thing we did before, cutting between those two stitch lines. Okay. And so I'll just trim that. Okay, this is the magic trick like the Oliso. Watch this, y'all. There's our four backs. Stop it. Stop it. That easy. Stop it. All these years I've been cutting the layer cake into four pieces and then sewing them together. Yeah, it just gives it you get two for one this way and so you don't have to cut them into all those small squares and you've got them ready to go. Misty, you're a genius. Oh, well, thank you. Okay, so now I have a question though. So you instructed me to iron to the dark side. So now how do I iron? So honestly, I would just pick one but that's because I'm not fussy about my quilts. So some people would want to press it open and that would keep your darks hidden underneath. I'm just always pressing it one way or the other. Okay, same. The reason that we press to the dark side initially is so we can nest those seams when we're stitching our four patches. That's I want them to lock in. But other than that, as long as my quilt top lays flat Same. that's all I care about. Same. Same. Same. Same. Same. Same. Perfect. All right, so I'll let you press that and I have a bunch of other four patches that we finished here. And so then we can just talk about this layout. So what I've done is I did 1 2 3 4 5 6 Wait, yep. 7 8 blocks across and I made 1 2 3 4 5 6 rows just like that. And you're calling this a block, right? exactly. four patch, these four squares would be one block. So you're eight across, eight of these across and then six rows of that. But now not six connecting rows because it has this Exactly. sashing in it, okay? Exactly. And so you're just going to once you have all your four patches made and stacked up, you will notice this row starts with one of my print squares at the bottom and this one starts with it at the top. And so I kind of alternated it just so we have some movement and interest and because I wanted this nice space where we could add the applique. Oh, here's the seesaw. Exactly. Doesn't it look like a seesaw? Well, and I could just see your darling little girls on a seesaw. Those little redheads just so cute. So We have one in the backyard and it's on like a rotating stand. So, they sit on either end and they kick with one leg. So, they seesaw and they spin round and round and round. It is hilarious and so much fun to watch. This is perfect, Misty. Oh, well, thank you. That would have been a dream for me at their age. So, I love that they have that. And I didn't even know that story when I designed that. So, that is just the sweetest thing. And so, once you have your eight sewn together, then from your background, there should be a strip right there. Okay. Yep. You're going to cut some 5-in strips. And you'll need a couple per row. Obviously, there's a seam in here. And you're In between every row, you're going to add one of those 5-in sashing strips. And so, that's what we've got this done for. And then, you have a couple of options when you're doing the applique. You can either sew the whole top together or if you don't want all that bulk under the machine when you're doing the machine stitching, you could just sew like these blocks and this sashing and do them in sections. Genius. Yes. Genius, genius. Okay. put them back together. But, some of them I wanted the the ladybug to be up over the block. And so, I just wanted to make sure I had at least that much room. I didn't just add them to the sashing strips before I sewed them in. So, Well, that gives it some movement. But, if that is intimidating, you can just add them to the sashing strips and it would be gorgeous, too. Or, you could put some in the sashing strips and then, instead of this ladybug overlapping, she could be all the way up here. a block. If you had another one down here. So, there's It's really super versatile and you put it however you like it because at the end of the day, you're the one looking at it. That's exactly right. Just do what your heart desires. Just so you know, we'll get to how to do this applique in just a second. But, I did four and then three and then four and then three. I just wanted it to be staggered a little bit so it looked like they were moving all over the quilt. And so, that's what I did. But, like Tammy said, you can do whatever your heart desires. So let me show you now how to make that applique. All right, so let's dive into the applique and you know how to do this. So excited. It's so fun. So excited. So you're going to want to print out your little template that comes with the pattern. So when you buy it, you'll get this. And then I went ahead and cut a 10-in square of some of our So Lite fusible. Like we mentioned earlier, it comes on a roll if you'd like. What And you can actually get it pre-cut, too. So whatever is easiest for you. And so I'm going to use this uh great light board to trace mine. But if you have a window, you don't need to have anything fancy to do this. And we're just going to trace out those shapes. And so the only thing you want to be mindful of is on the little antenna, you are going to want to flip it over. And I just traced it with pen on the other side cuz you'll want one going in each direction for the top of those ears. So Misty, yeah, I do love the antenna, but you know what would be really cute? What? Pieces of rickrack. Oh, rickrack would be darling. easy. Or embroidery. Or embroidery. You just cut it off and snip it and then you curl it and stitch it on. And because it's included, the antenna is included, but it gets to be a pretty tiny piece. I was going to say and that's probably the most precise thing you have to worry about. So if that's too much for you, don't worry about it. There's tons of great other alternatives. And so you're just going to begin by tracing out those shapes and you can decide how many you want with the wings open like you see here or the wings closed a little bit more. Those We have the pieces for both of those styles. So here's the open wings. You'll trace two of these for your closed wings. And so I've gone ahead and done that here. Okay, so did you see the hearts for the ladybug spot? dots. I'm telling you, this is the cutest thing I've ever seen. I'm just so glad you like it. Man, do I like it? Well, it's a lot of it like I said, it's a lot of pressure. You've put your heart and soul into this fabric collection. I was hoping that you'd be able to join me, and so when that worked out, I was like, "Goodness gracious, I hope she really likes it." So an honor for you to design one, and then for it to be so meaningful. It's adorable. If it's not the cutest thing you've ever seen, we can't be friends. [laughter] I'm just so glad you love it. And so you can see here I've traced my different colors. So these are the shapes that need to be on the black. And so now you can take this over here. So wait a minute. Wait a minute. Hold up. Yes. Bring this back. Okay. Okay, so you're not ironing this to this. Not yet. And getting glue everywhere like me. Not yet. We're just We're just tracing the shapes. Tracing it onto here. Mhm. And then cutting it out. Yep. Genius. Genius. And so then now you can just fuse that. Of course, if you have a print with a right or wrong side, do you want to put it on the wrong side? This is a solid, so it doesn't really matter. Okay, and because Misty's a genius, we're not using any pressing paper or anything because you don't have glue that's overlapping your fabric. So on the back of this Mhm. piece of fusible, there's a rough side. And that rough side is the glue side. So you would trace on the smooth side and put the rough side on the back side of your fabric. Now this doesn't have a right and wrong side because it's just some solids, but if you had a right and wrong side, you would put this on the back side of your fabric, all right? Exactly. So she traced it, rough cut it, and we've ironed it, and now all you're doing is cutting it cutting this out. Exactly. So I have been ironing this onto this size piece. Yeah. And then I have glue everywhere. I have it everywhere. I have it on my iron, on my ironing board, on myself, and then I'm googling, and I am using a dryer sheet to get the glue off. Misty, okay. Can I just come hang out with you? When I grow up, I want to be you, okay? You can come hang out anytime. We need to spend more time together. Yes. And so then you're just going to want a good pair of sharp scissors uh to cut out all of these shapes, but I knew this would take us a little bit of time, so I went ahead and cut it out. So, let me go ahead and clear this off a bit. We'll grab a background square and I'll show you how to put it all together. All right. So, I have just put a 10-in background square on here just to demonstrate, but obviously you would either make those sections like we talked about or your whole quilt top and you would add these onto there. So, just keep that in mind, but I just wanted to be able to demo it here where you guys could really see. And so up first, you're going to uh get your body and your head. And so this is the little circle and oval from our black fabric, and I just like to kind of crease this, and that usually makes it release. Okay, so when you use fusible, Mhm. you glue it glue it you iron it to the rough side. Right. you iron that, then the smooth side that you drew on comes off. And that's what Misty just pulled off. And so then when she pulls it off, it's not sticky. It's kind of rubbery feeling, but then that melts when it's glued to the fabric, and that's what adheres it, right? that's going to hold it together in the end. And so we're just going to pop this on here. We'll do the same thing with our little oval that will be our head. If it doesn't work for you to fold and pinch like I'm doing there, you can score it with a straight pin. That helps get that uh kind of papery stuff off of there. And so I'm just going to not fuse anything yet. We're just going to have this on here. Cuz sometimes it acts like a sticker, you know, the kind that you can't get open. Exactly, and you can't really peel them apart. And so you just have to make it behave. I beat it into submission. Exactly. And so I'm actually going to tuck these wings under here. Put the little head right back on top. Okay, so your printed pattern comes with a photo of how it's laid out. So if you're confused about where your pieces go, then just look at your photo and lay it out that way. Absolutely. And you can totally just also make it your own. Like if you don't want to mess with the hearts, if you only want dots, you can. Or if you want all hearts, just feel free to play. And so we're going to try and do these little antennas. You want to peel one? No, I'm going to let you peel the antenna. [laughter] I see how you are. I think you have better nails than me. That's what I'm saying anyway. That's okay. The Okay, let's see Misty. Oh, you can do You're just fine. There's one of those. See Misty, I am in denial about my vision though. Oh, I Is that it? Yes. So Papa also why do you wear glasses in your videos? And I'm like, well cuz I can't see Papa. Oh, that's funny. And had great vision until I turned 40 and then all of a sudden it left me. Gone. I was just talking to Natalie about that cuz I am creeping up on my 40th birthday and I was like, man, maybe I do need readers cuz I could not see the little letters. Yes. so. And then your readers get stronger and stronger [laughter] and stronger and you're like, pretty sure I'm going to be blind, right? Yes, exactly. No, you just buy stronger readers. And so we're just going to put these on here. Oh, this is so cute. I just This is so cute. I have always loved ladybugs and so this just seemed like the perfect place to do some ladybug applique. So perfect. Well, and the other thing you can keep in mind too with this pattern is of course since it comes with the ladybugs, that's a great option. But you can print things offline or get old coloring books. So if you have a little boy that wants dinosaurs, you could do all of these exact same steps and make anything. Make any applique you want. Absolutely. And this applique would be great everywhere if you love ladybugs like me. So, let's talk about the front of a pair of jeans Mhm. or the pocket of a jean jacket or a few of them on the back. Or on a tote bag, absolutely. Yes. do whatever you like and it just gives you such a simple way to customize and make things your own or make make gifts for friends. And so now we have peeled all of these paper backs off of this and only the glue is exposed. And so now all we want to do is we're going to be very careful and we're going to press straight down, not slide our iron like we would be if we're ironing clothes cuz we want everything to stay just where we put it. So, we'll count to three or four, lift and press until we know everything is fused in place. Is this washable? Oh, absolutely cuz we're going to top stitch all of this. Okay. And But if we didn't top stitch it, is it still washable? You know, this is not a permanent fuse. And so there are other fusibles that are, but the problem I have with those is anytime I've tried to use them and even do like basic quilting through it, it's very hard to stitch through. Okay. And so I like that I can still quilt the whole thing Yes. and it's not going to gum up my needle or or break a needle. But if you wanted to do it on like a jacket or something and just know you don't have to wash it, don't have to stick or stitch through all of that thickness, there are permanent fusibles you can buy. Okay, but we've all been there gumming up a needle when you know, you bought the um adhesive Velcro instead of sewable and thought, "This will work." And then your needle's like "Crunk, crunk, crunk." And it doesn't work. So, It's not super fun. Yes, but this is sewable interfacing. Sewable fusible fusible, right? Exactly. It's made to stitch through. It stitches through beautifully. And so how I did all of this is I use an invisible thread. And so it's kind of like a smoky gray color. So, you can see here I just did a little blanket stitch all the way around those shapes to secure it. And this is where you're going to want to slow down a little bit. Now, if you don't want to do a blanket stitch, you could do a zigzag, you could do whatever you'd like, you could do a simple straight stitch. Well, in a straight stitch Yes. would if you did it around here, it would make it fray a little and I'm in love with the ragged edges of things. It makes it look like vintage and older. going to say well-loved, it gives it a little bit of texture. I agree. I am not one that has a problem with any sort of fraying, especially with this method because it's so minimal. You're not going to get a lot. It's it's pretty controlled. But every time I did only do a straight stitch on those antennas because it's it's just too fussy otherwise. Well, and when that frays and stands up, you've got this really cute like, I'm coming to life antenna. I think it's perfect. Aw, thank you. I think it turned out so cute and you'll notice as you look at the quilt here, I did a mix of those different types and I just going every which way. I wanted it to look like they were kind of crawling all over enjoying a picnic with you and the little ladies. So, I think it turned out so good. And so then to frame it up, I just put a 5-in border all the way around the whole thing. And so it finishes at 81 by 85 and 1/2. So, a really great size. And then for the backing here, you've got this great cheater print in the line and I just thought it was perfect on the back of the quilt. I'm emotionally attached to this fabric. I mean, I'm not even kidding. I tried to talk Nana into getting a sleeve tattoo, but she wasn't into it. [laughter] I love that so much. That is so cute. Well, you have every reason to be emotionally attached to it. It's so cute and it's so much fun and I'm just like I said, delighted that you like it. such an honor for you to have created something, but not But Misty, I have questions. Sure. Okay. So, you decided that you wanted four patches. Mhm. And then you were going to have the sashing, so we did the ladybugs. Now, when you laid this out, did you lay it out on the floor and kind of place your ladybugs before you sewed them on? Absolutely. So, we have a design wall. So, we we had all of this pinned up and because we didn't want to do the whole quilt top, we did the the sections of rows, like I said. So, we sewed this set of blocks to this row. And so, we had those pinned up on the design wall and then we just moved them around. And I kept stepping back and taking a picture and looking and tweaking a little bit until we were happy with how Okay. Because there's it's so great. The movement in it is great. The placement of them is great. I knew that it had to be or it for me, I would have to definitely lay it out and look at it. Okay, this is amazing. Aw, well, thank you so much. I The quilting pattern that I use is just called Ginger Snap. That's an edge-to-edge that we have. And again, I wanted it to kind of have some movement to it and so that's just some nice swirls to go with our nice big blocks. And it turned out great. So, Missouri Star has a quilting department, right? That's right. And it is so sweet. I got to go over there a few months ago and film part of the process and to see, y'all, it's real people. It They are real people standing behind a real quilt frame and they are loving your quilt. The amount of care that goes into every single one is crazy impressive and then after it comes off the frame, it goes to a sweet, sweet girl who squares it up and then she sends it over to the team that binds them. Now, when you get online to send your quilt off to Missouri Star Quilt Company, you have options, like tons of options, lots of options. So, you get to choose your quilt design, you get to choose whether you want it to be bound or not bound and if it's bound, you get to choose whether it is hand bound or machine bound. So, any of those things that matter to you, totally taken care of. For me, I don't care if it's hand bound or machine bound. Bound is bound. This will be drug through the yard and in the car and it will spend as much time in the washing machine as we do using it because I see tea parties and picnics and ball games and vacations, road trips, all the things. And then in 20 years, when they're grown, so much of their childhood will be in this quilt. And I always say every quilt has a story. And Missouri Star Quilt Company is very interested in your story. So, whenever you fill out the form online to send your quilt to be quilted, they ask you, "Who is this quilt for? What did you make it for? What was your inspiration?" to hear. So, that they know. And there's also a box to check if it's okay if they show your quilt. So, if it's a gift and nobody knows about it, don't check the box. Yeah. But, if it's not a gift and you check the box, then it potentially could be featured on one of their channels. Like, it is an amazing process and you know, so many times we think like, I don't know, a plumber, electrician, or whatever, some magic person comes in and does things that we don't do. So, you ship off your quilt top in a box and it comes back and there's not real people in between. Oh. And it was such an honor to me to meet the real people who care about the thread color and they care about the design that you've chosen and they care about who it's for. And then to follow the process and to get to meet the people who get to touch it and to hear them talk about the stories that they read on the sheets that you fill out and the beautiful quilts that they get to see and the color combinations that they would have never thought of, but turn out amazing. I mean, it's really incredible. So, if you're interested in having your quilt long armed, you can't go wrong. Oh, I love that, Tami. Thank you for sharing it cuz it's so true. We have such an incredible team here and it takes so many hands to make all of these things possible. And they really do care. do. The machine quilting department does a fabulous job. They care deeply. They treasure every single quilt that comes in. And so, thank you for giving them a little shout-out. I appreciate it. Made me a little emotional. [laughter] But anyway, I hope you guys enjoyed this tutorial. It was delightful to be able to design it and to share it with you. And so, if you will remind everybody where they can follow you, where they can find more of what you're up to, I would love that. Tammy Youngs, t a m i on all the places, all the platforms, YouTube, Instagram, Facebook, TikTok. And I would love for y'all to come sew with me. And when I grow up, I want to be Misty. She is so sweet. I just love you, Tammy. Thank you so much. We hope you guys enjoyed this tutorial on the Seesaw quilt, and we'll see you next time on At Home.


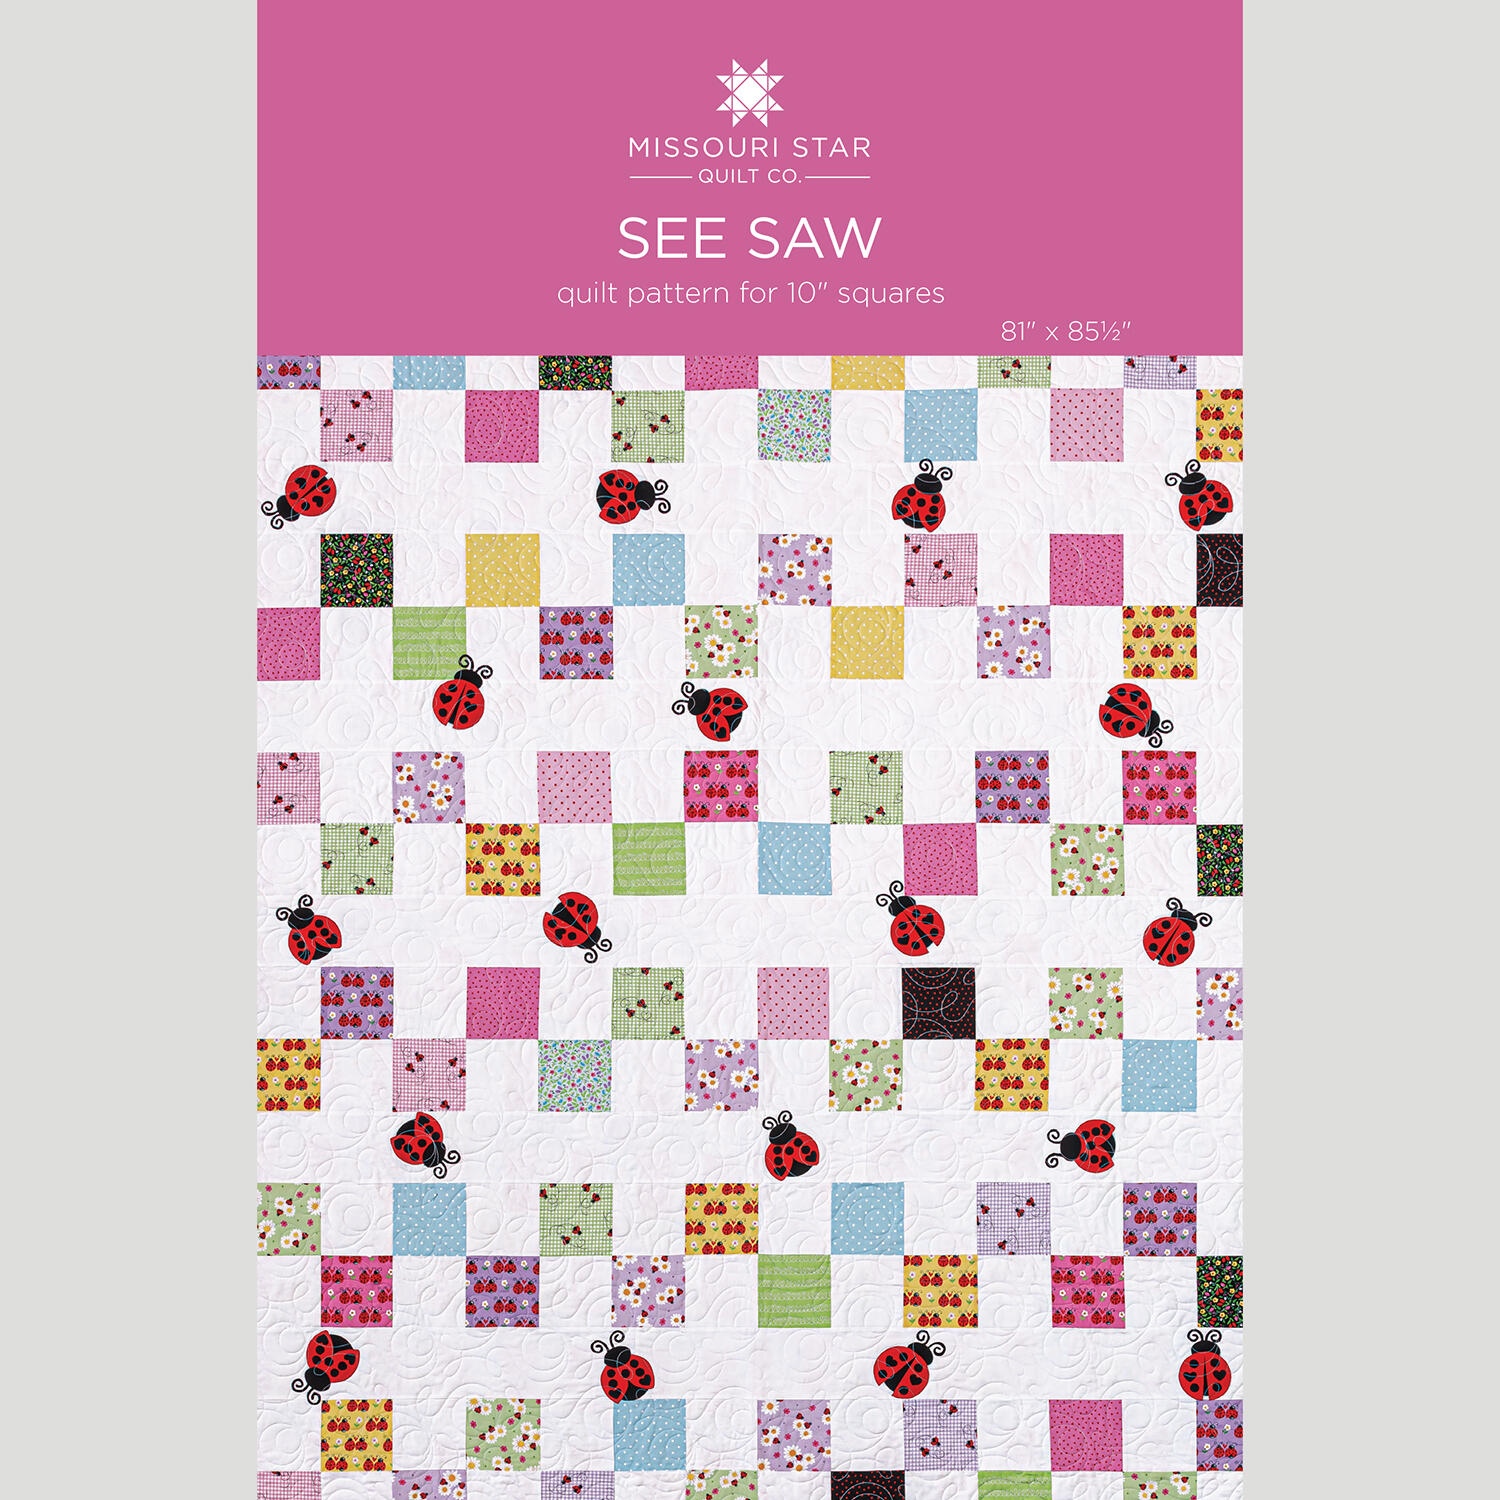 See Saw Quilt Pattern by Missouri Star$8.50Shop →
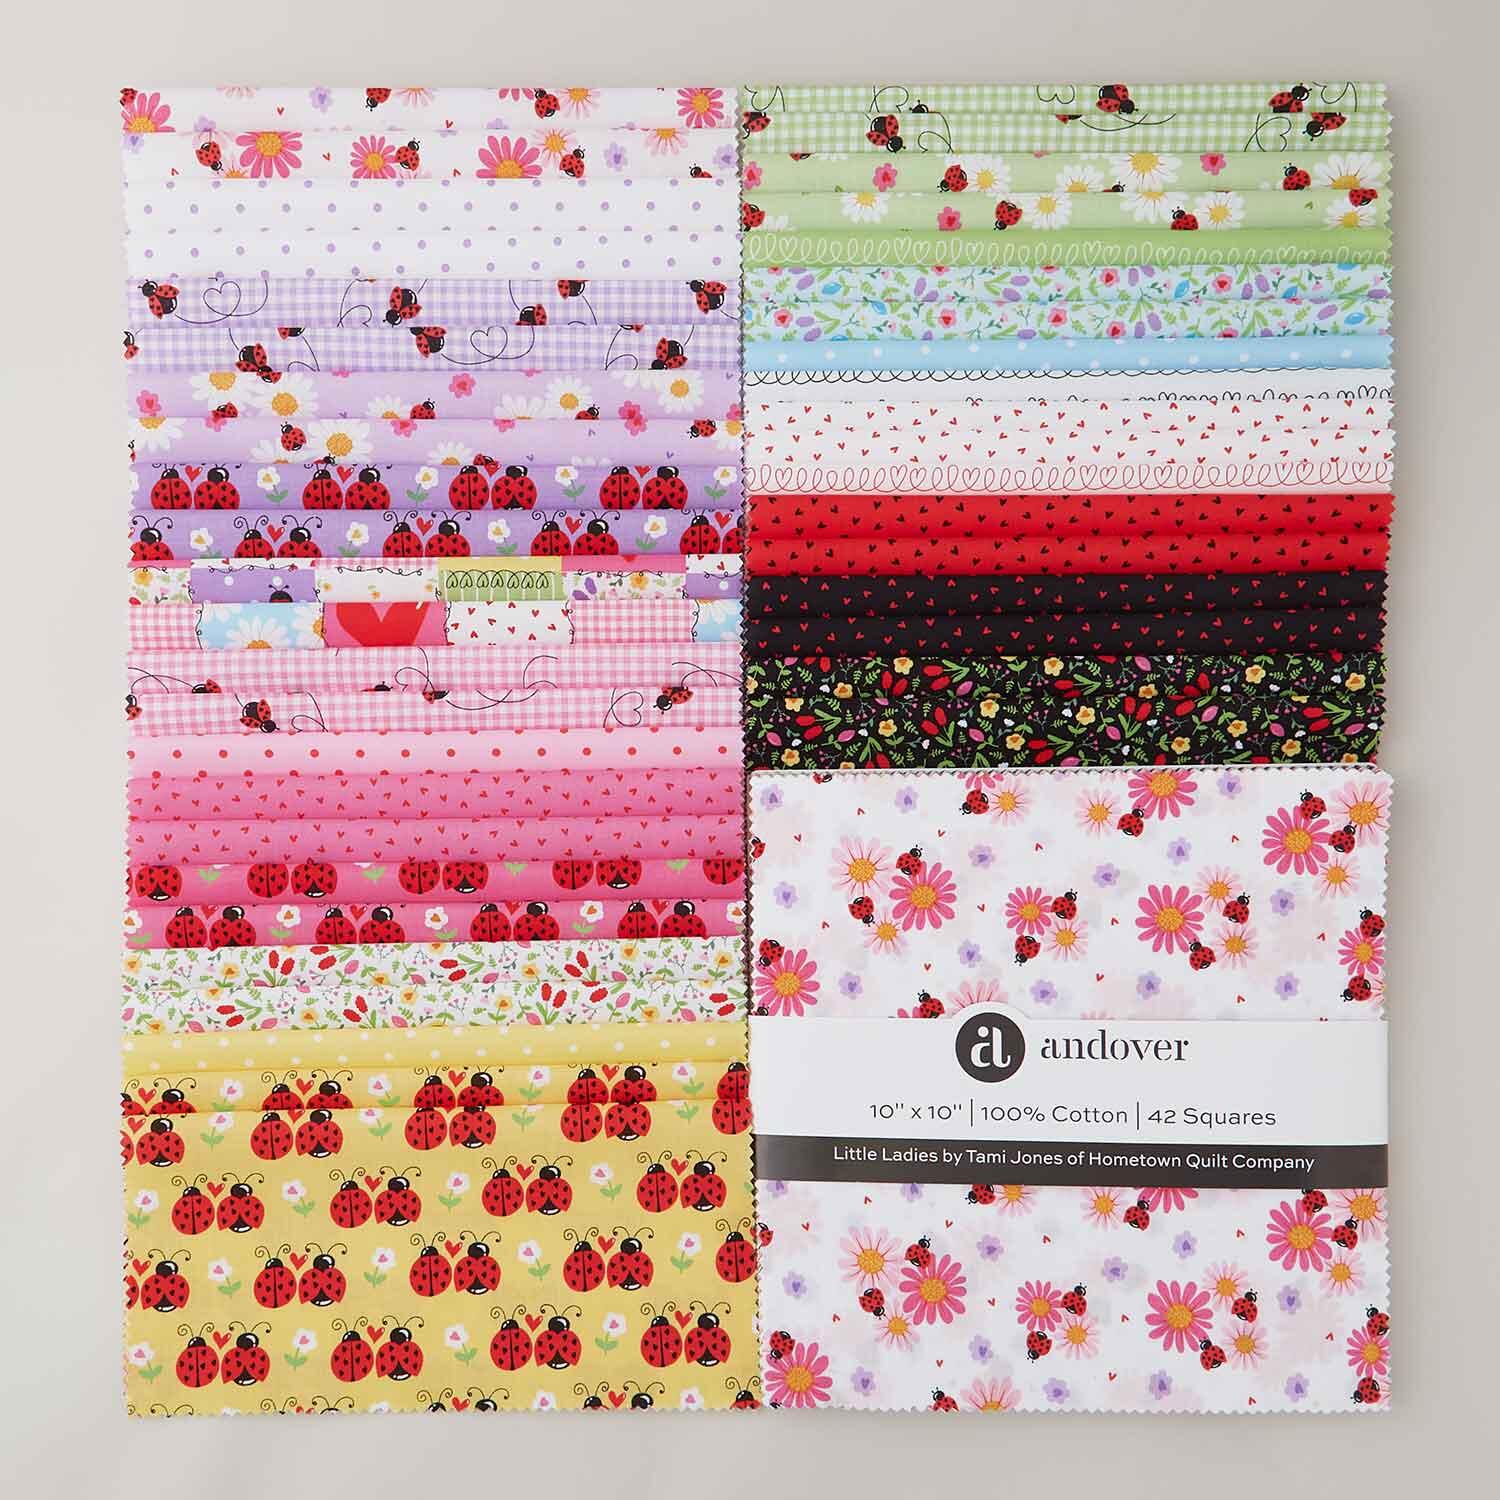 Little Ladies Sundaes$47.95Shop →
 Colorworks Premium Solids - Superwhite Yardage$8.96Shop →
 Colorworks Premium Solids - Candy Apple Yardage$8.96Shop →
 Colorworks Premium Solids - Black Yardage$8.96Shop →
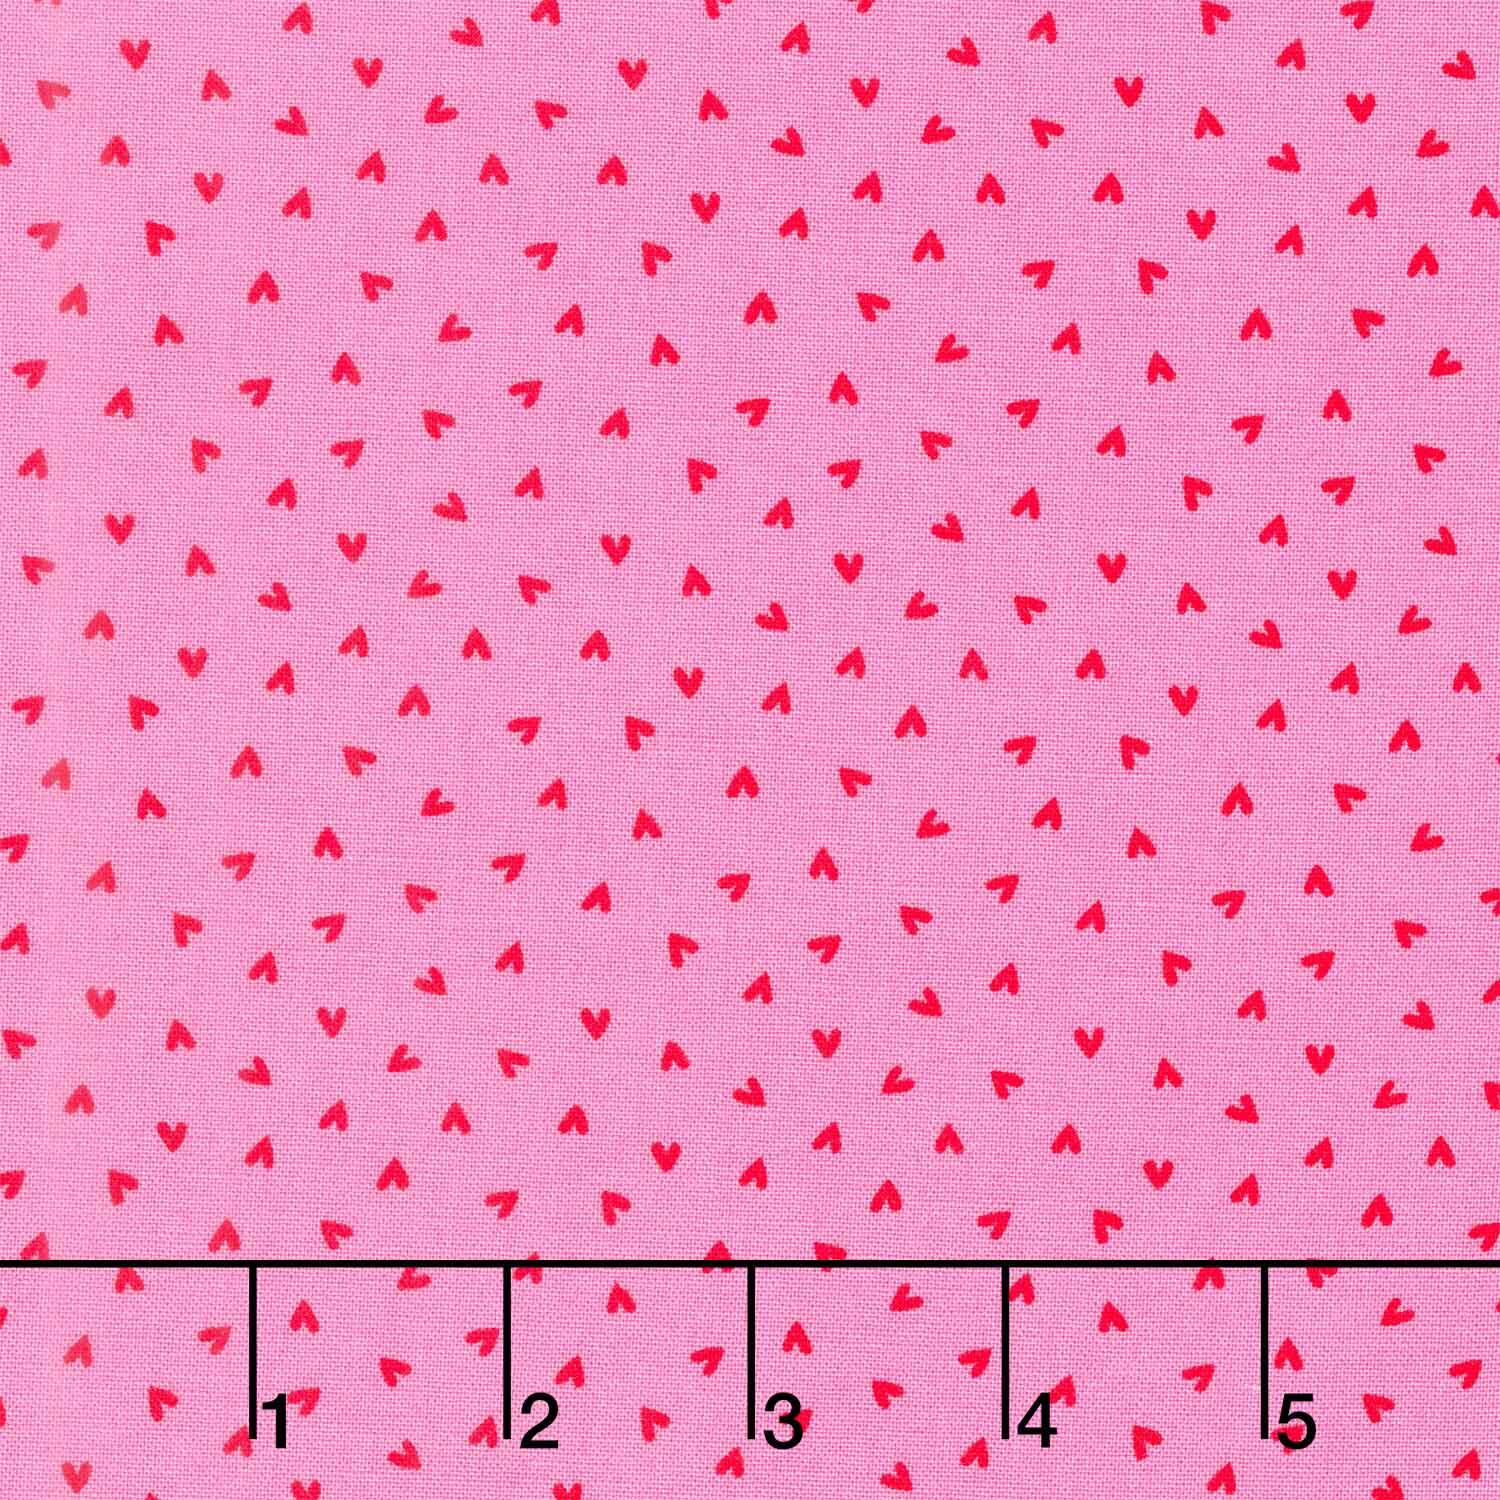 Little Ladies - Love Bug Hugs Hot Pink Yardage$12.08Shop →
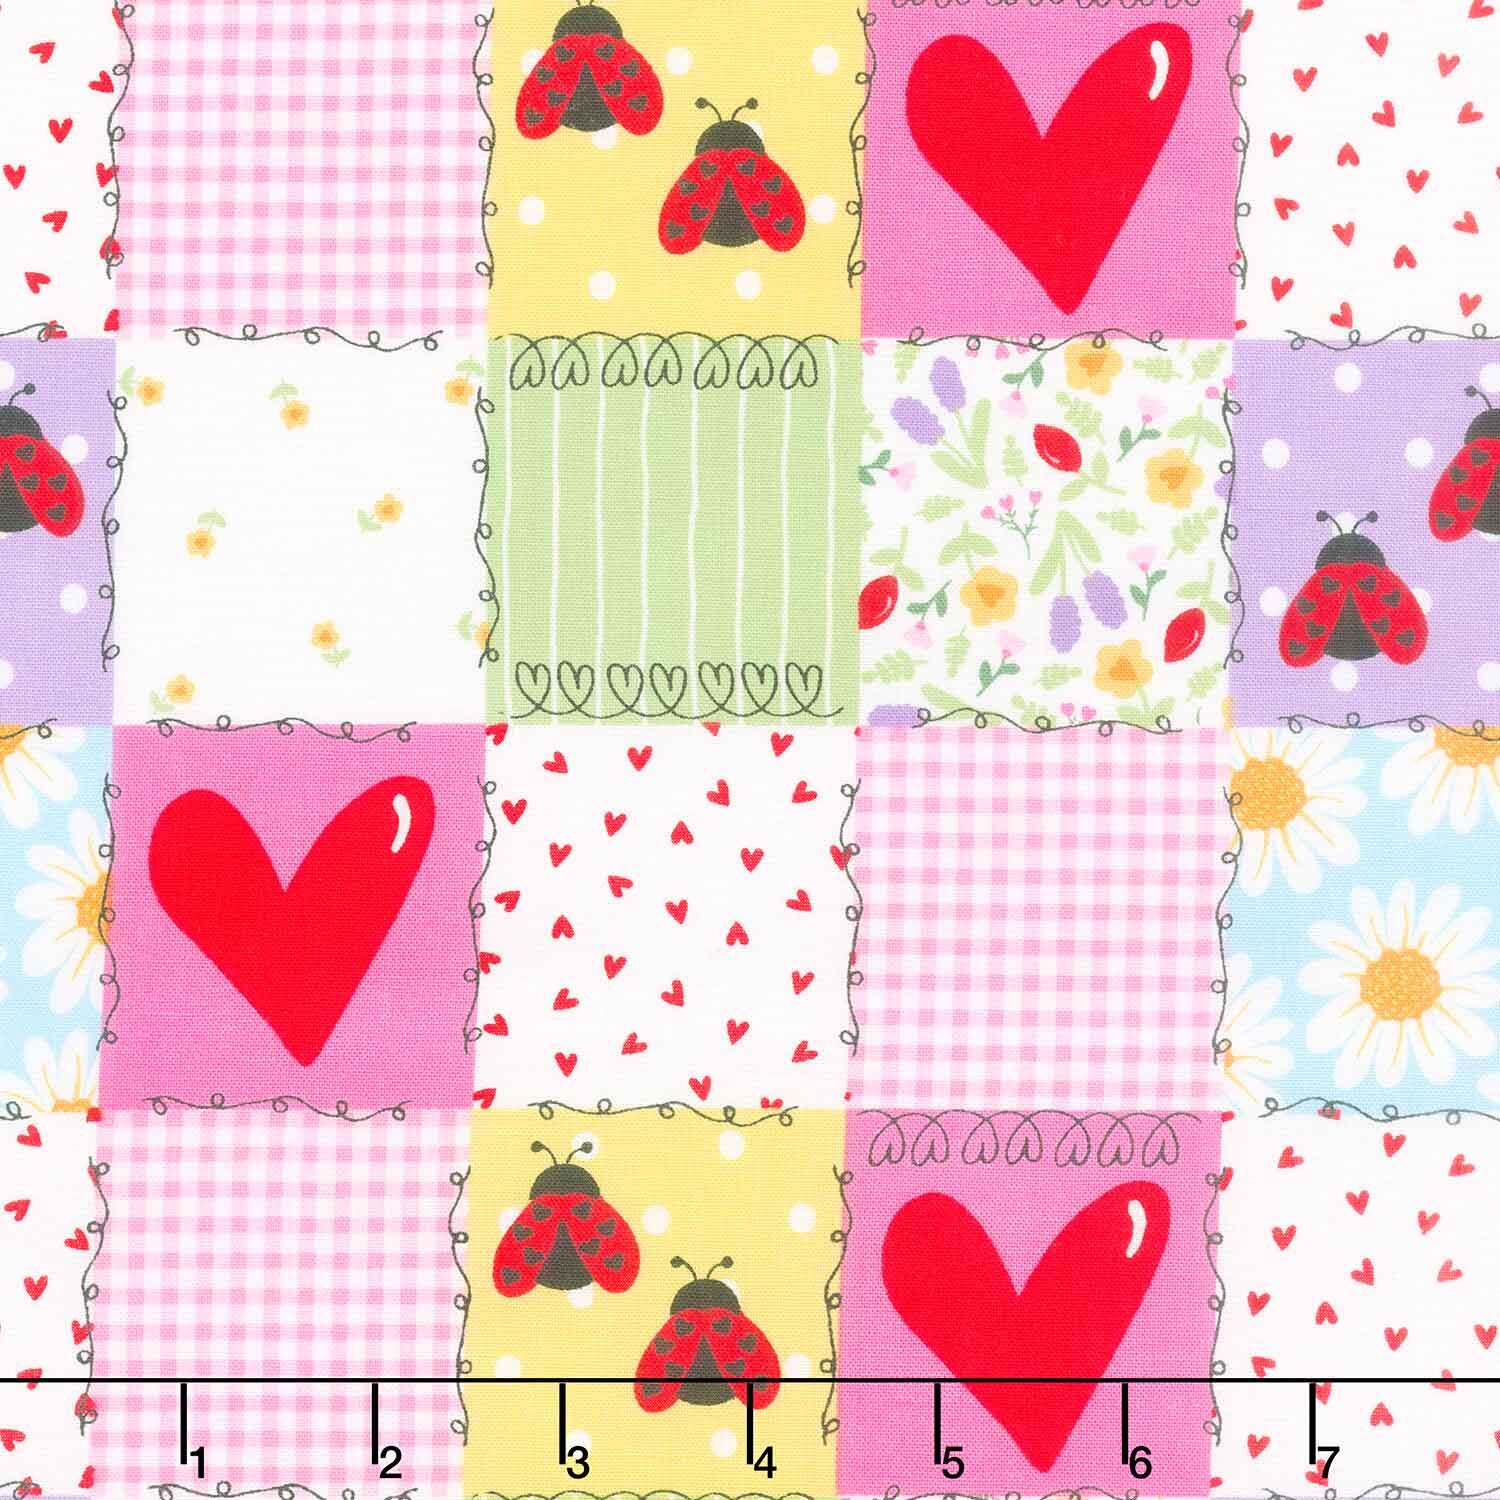 Little Ladies - Picnic Patchwork Blossom 108" Wide Backing Yardage$20.56Shop →
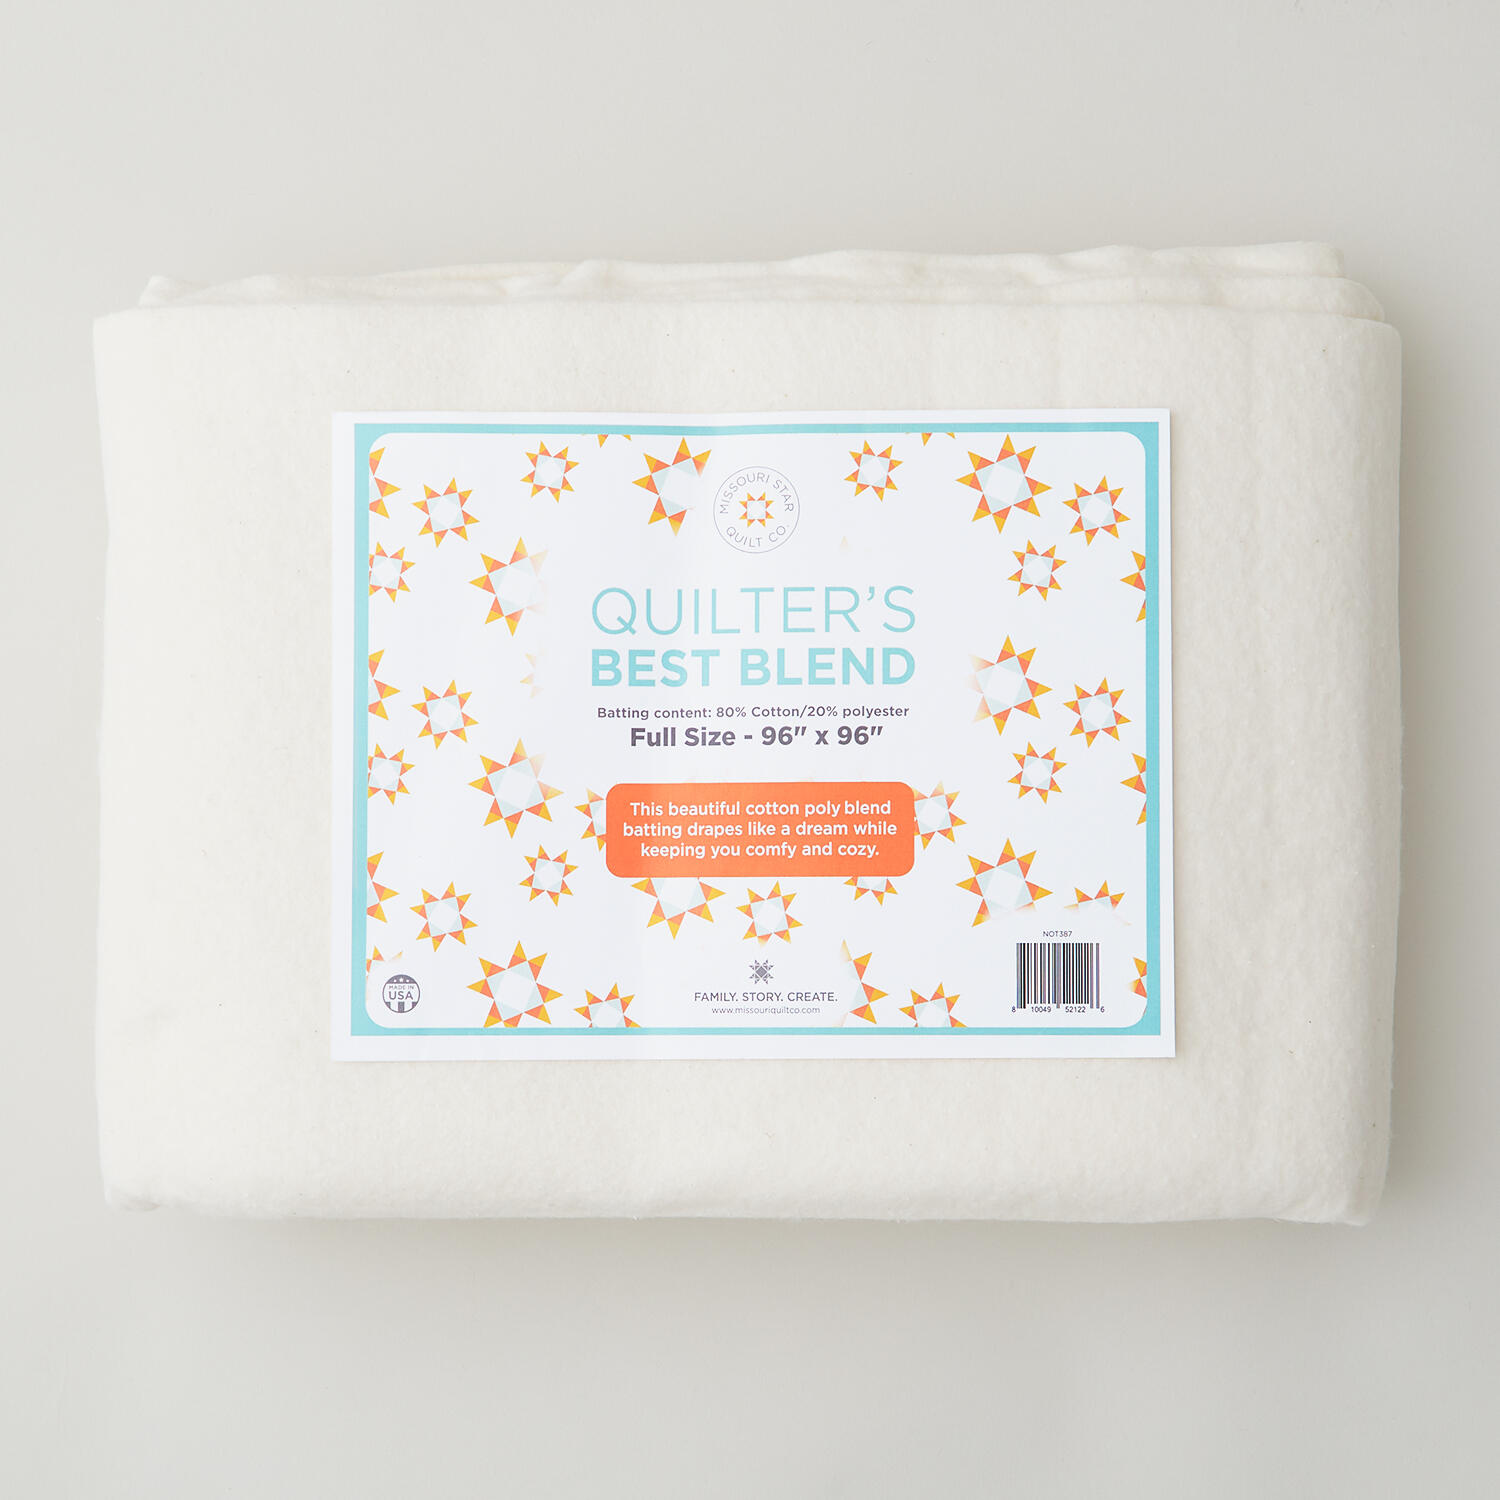 Missouri Star Quilter’s Best Blend Full Batting$32.95Shop →
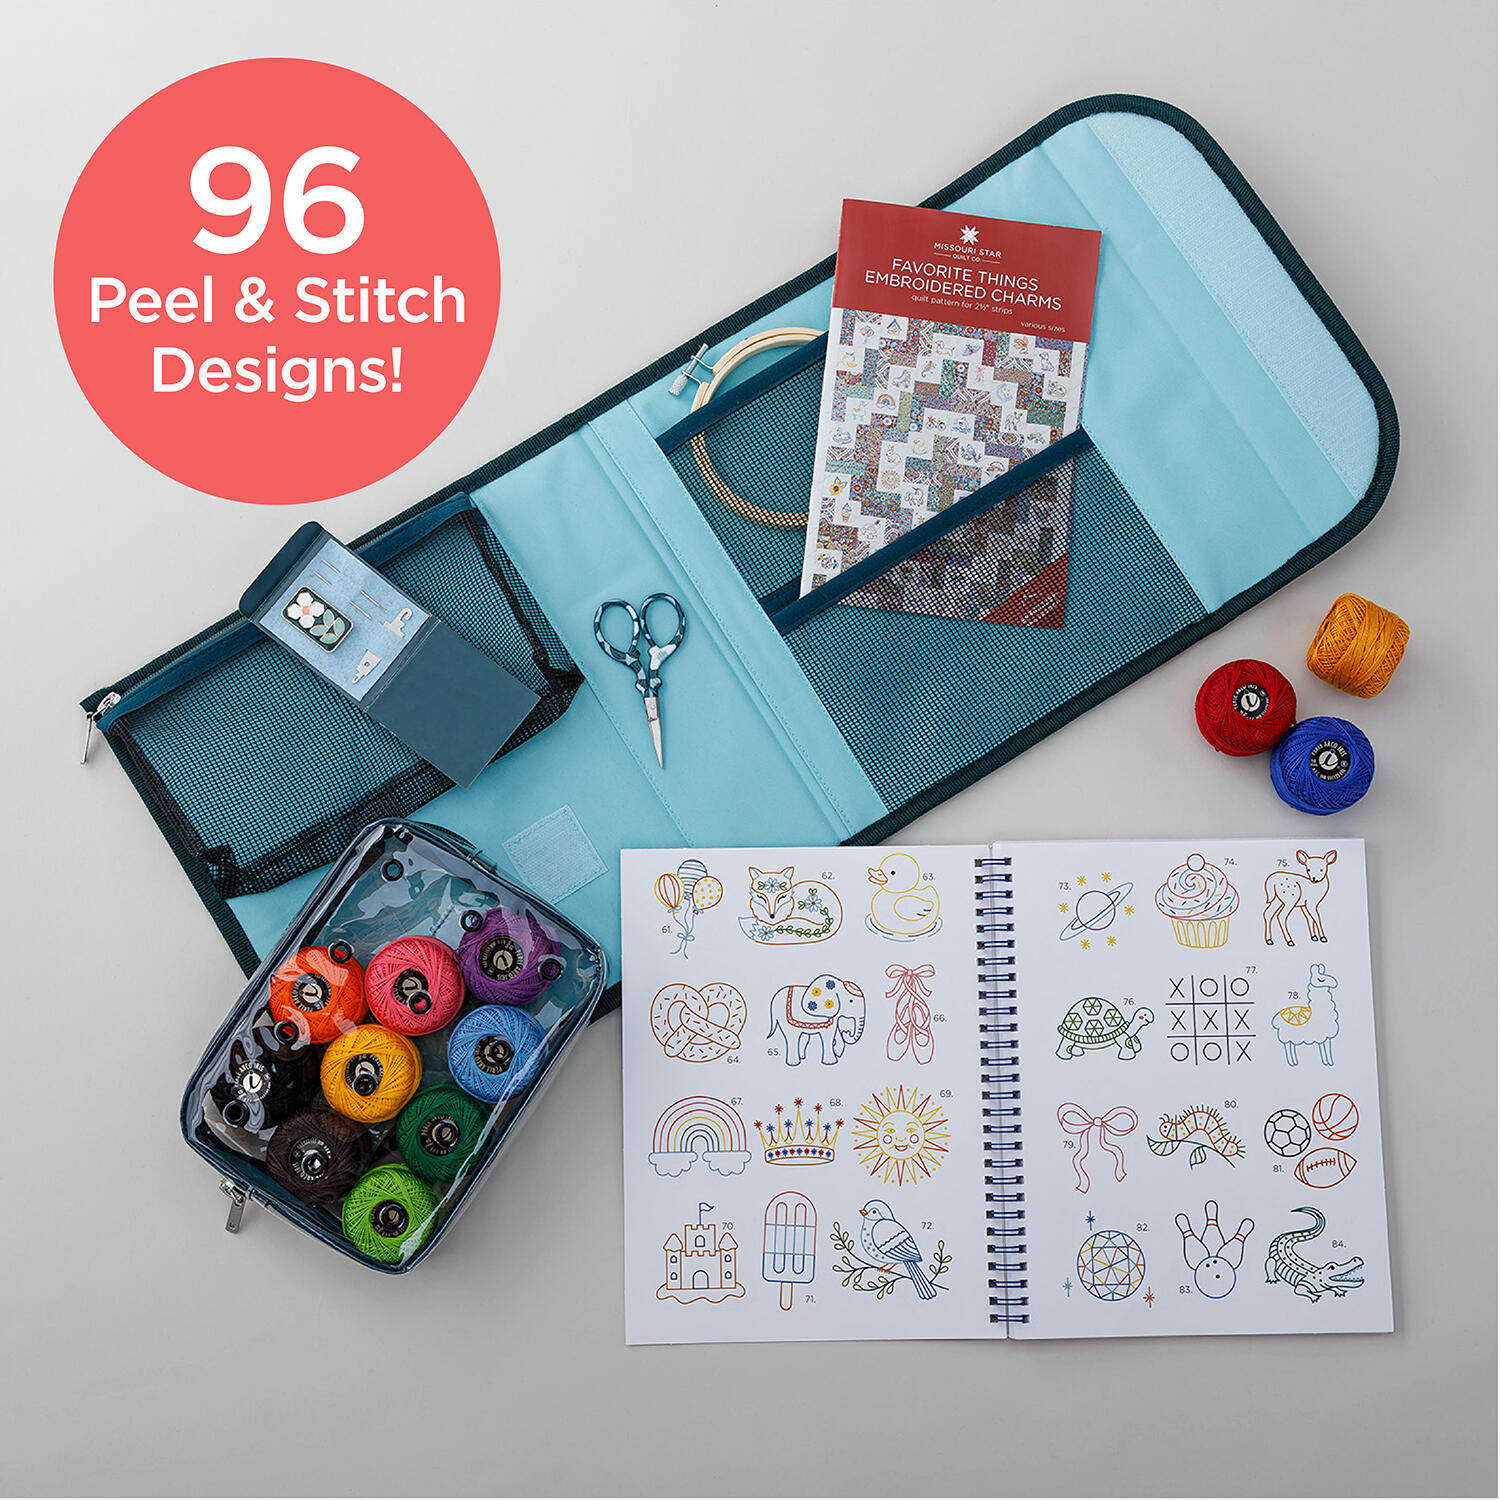 Missouri Star Favorite Things, Embroidered Charms Kit$59.95Shop →
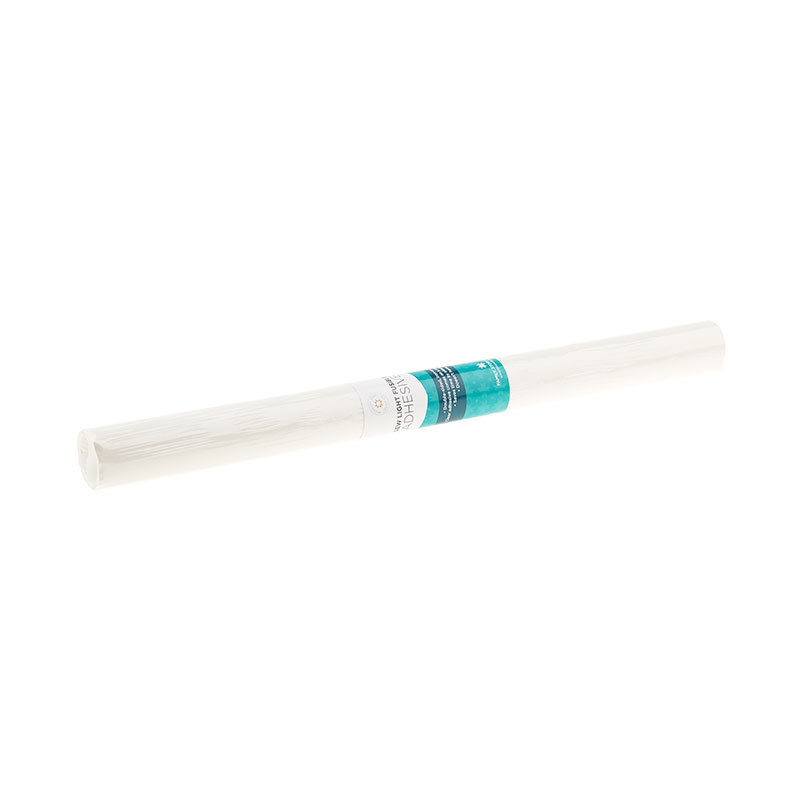 Missouri Star Sew Light Fusible Adhesive - 17" x 2 yards$4.95Shop →
 Missouri Star 45mm Rotary Cutter - Olga$19.95Shop →
 Missouri Star 8" Everyday Scissors - Amelia$19.95Shop →
 Missouri Star 50 WT Cotton Thread White$7.95Shop →
 Missouri Star + Oliso TG1600 ProPlus Iron$209.95Shop →
 Bernette 77 Sewing and Quilting Machine$1699.00Shop →
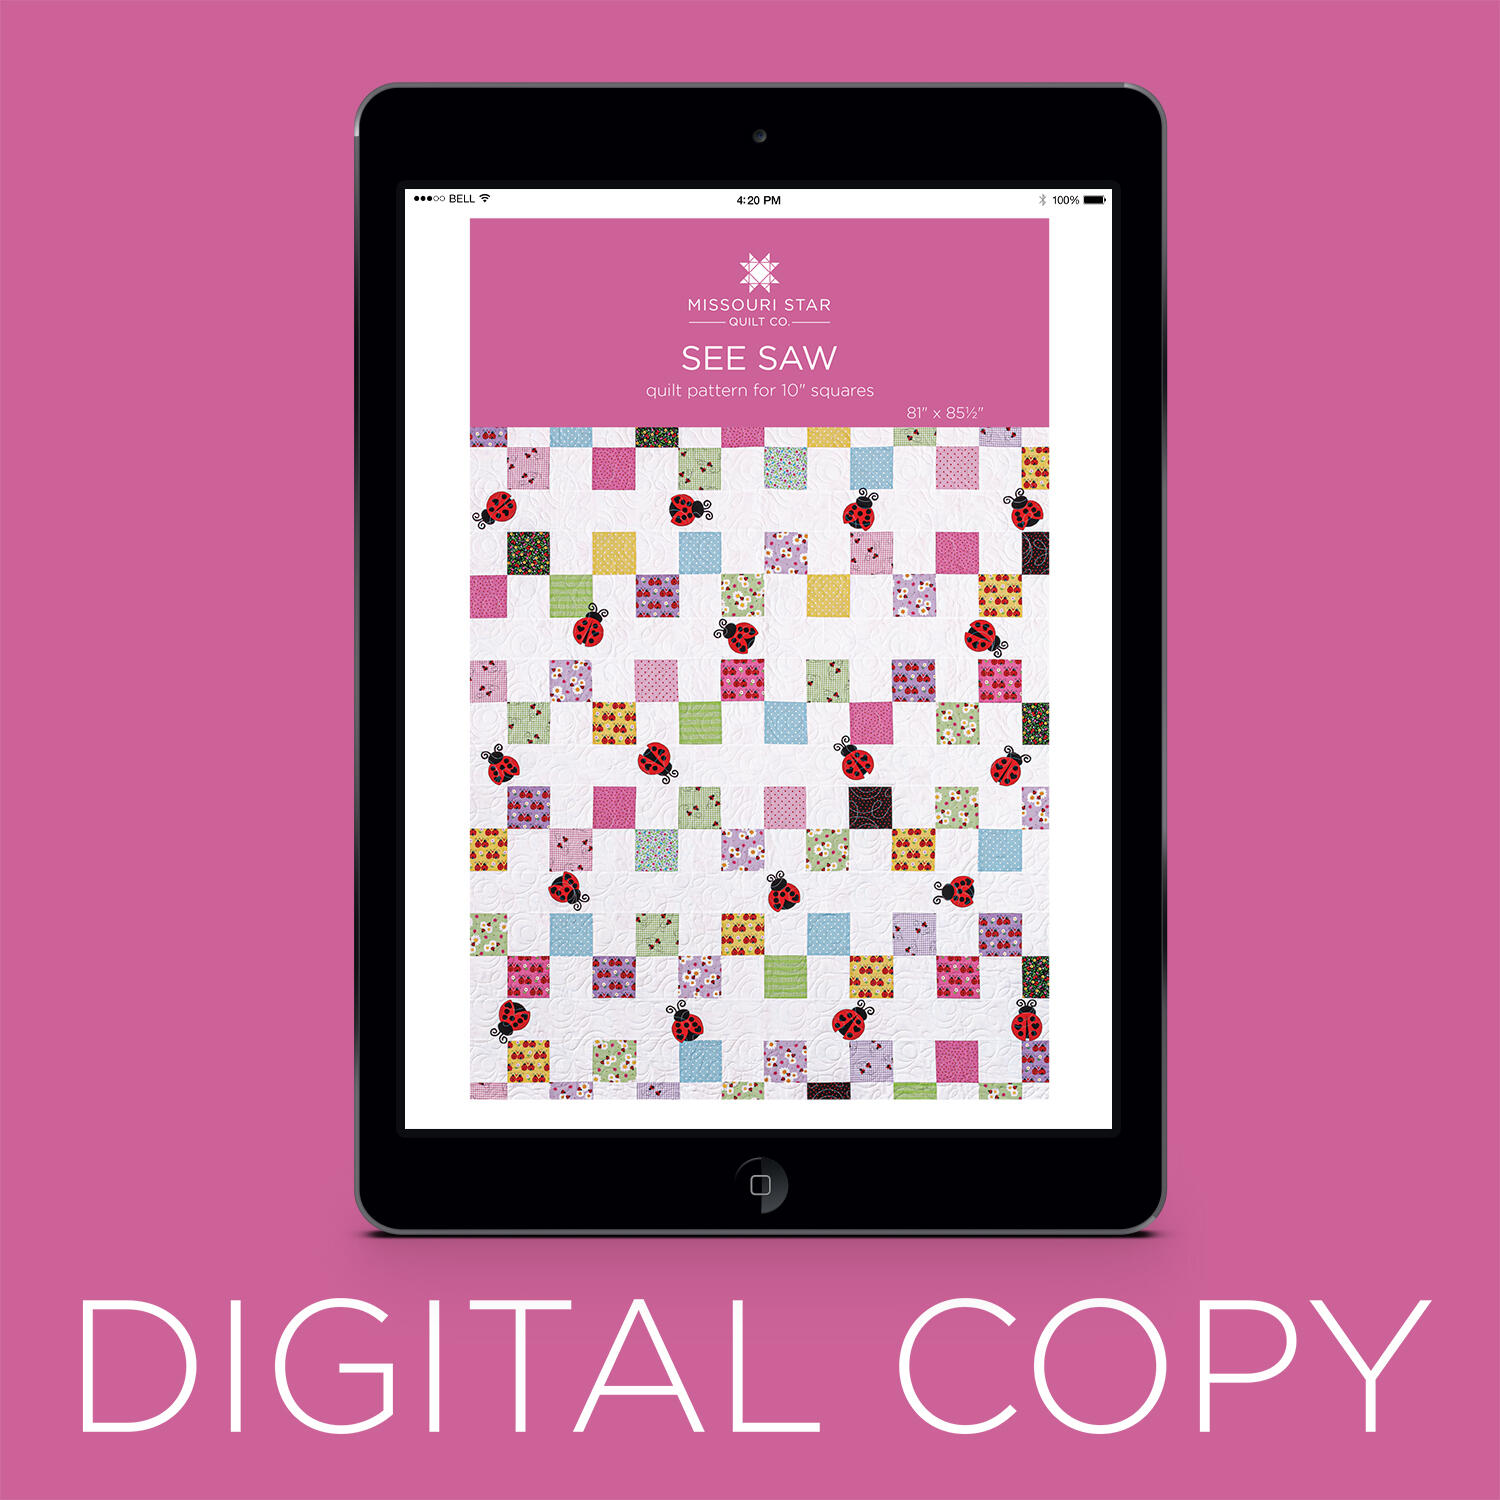 Digital Download - See Saw Quilt Pattern by Missouri Star$6.95Shop →



