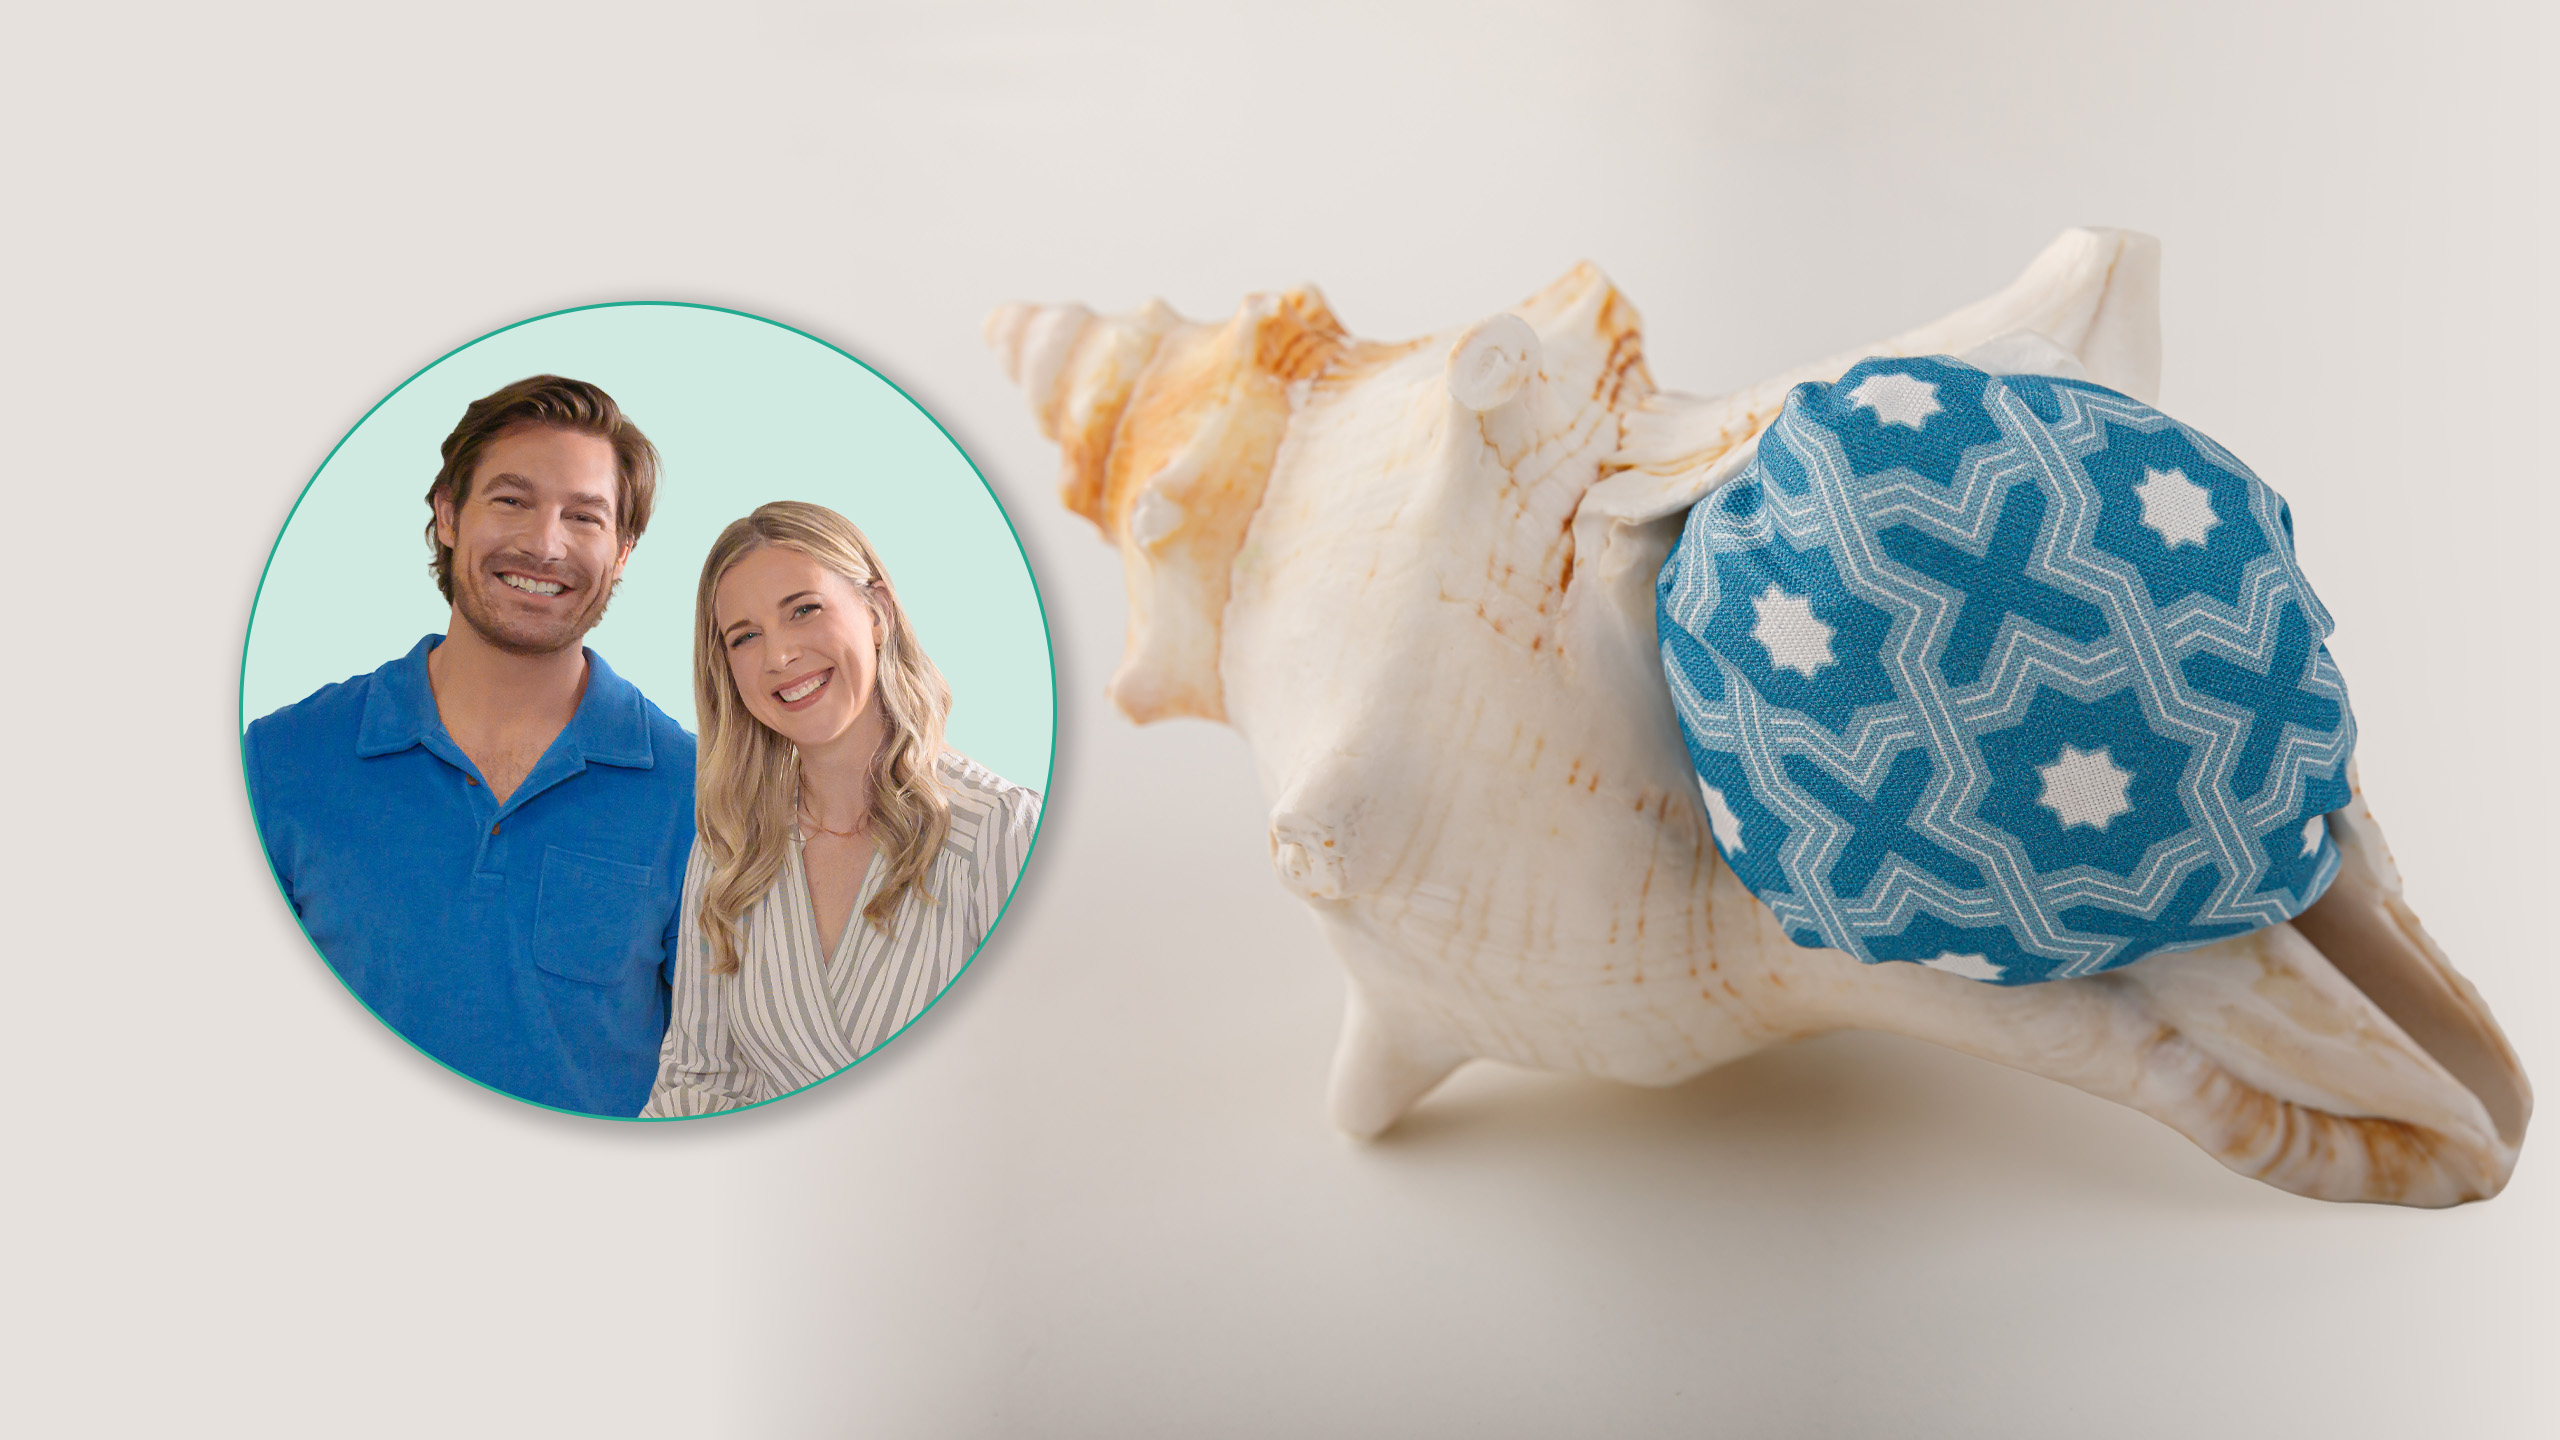
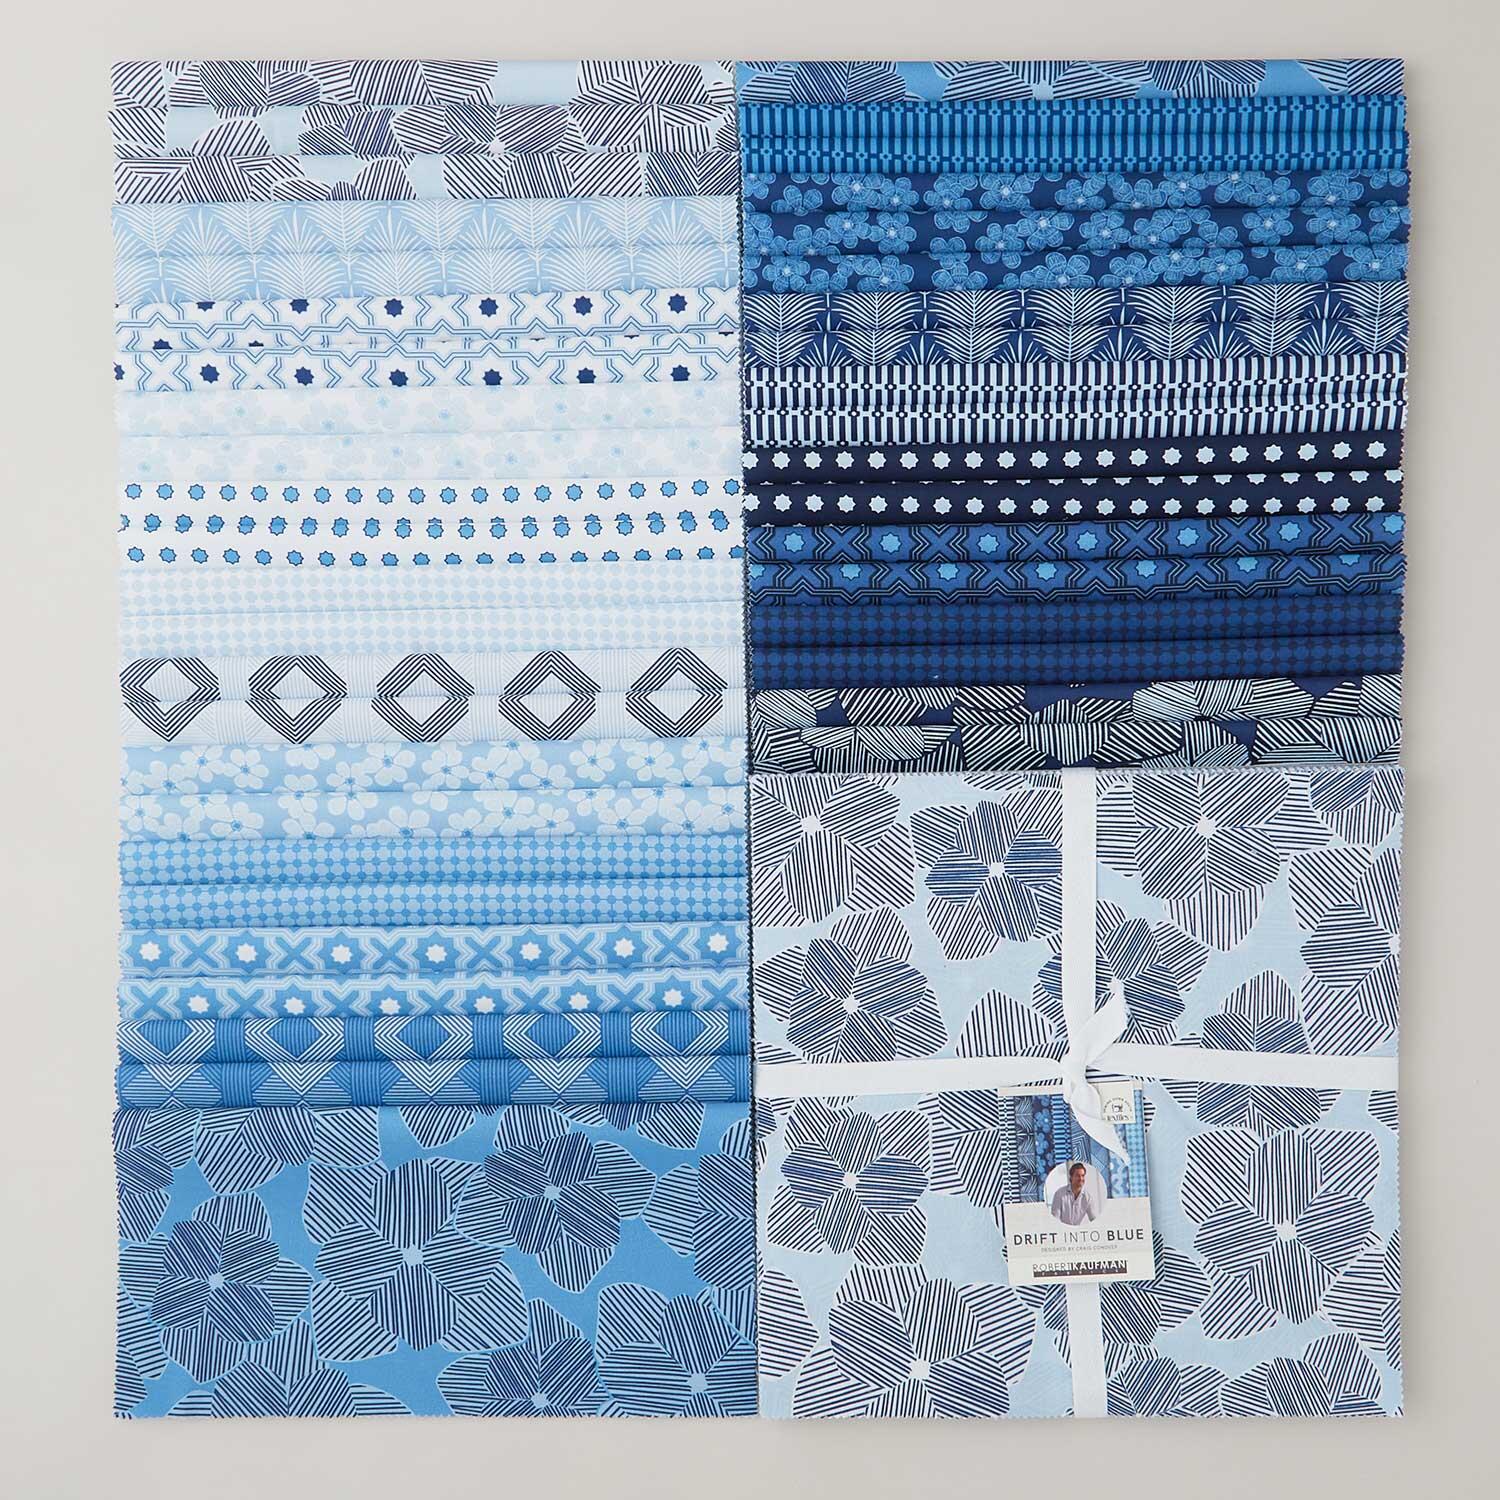
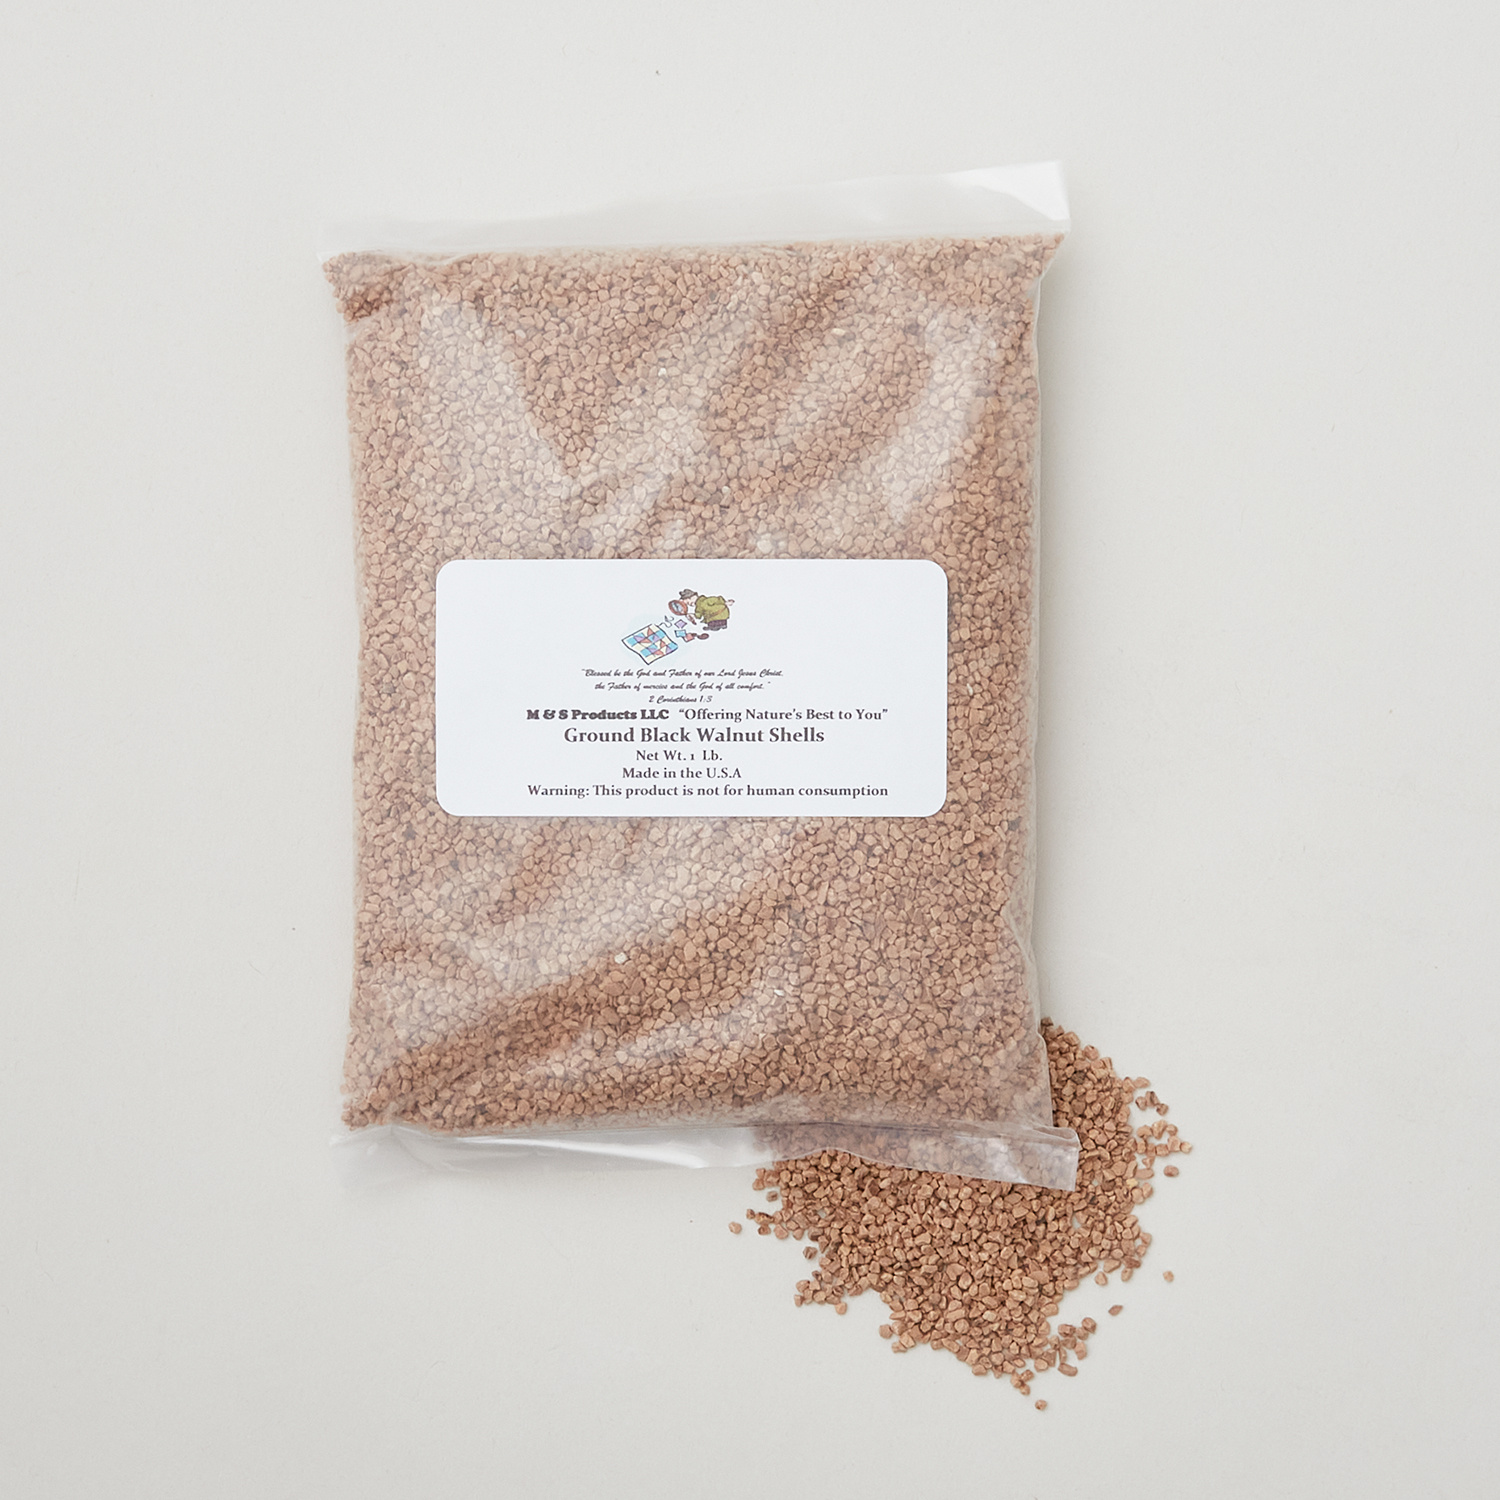
Bring a touch of the coast to your sewing space! Craig Conover of Sewing Down South joins Misty to make a seashell pincushion. Featuring fabric from Craig's Drift Into Blue collection, this pincushion fits inside an actual seashell! The pincushion features a filling of ground walnut shells to give it firm support, a substantial feel, and moisture resistance. This unique pincushion would make a darling gift for a quilting buddy!
Misty Doan grew up surrounded by sewing and quilting. She loves spending time sharing tutorials each week each week, and when she’s not stitching up one of her fun sewing projects for home decor, most likely you’ll find her hanging out with her husband and three awesome kids or working on a house project.
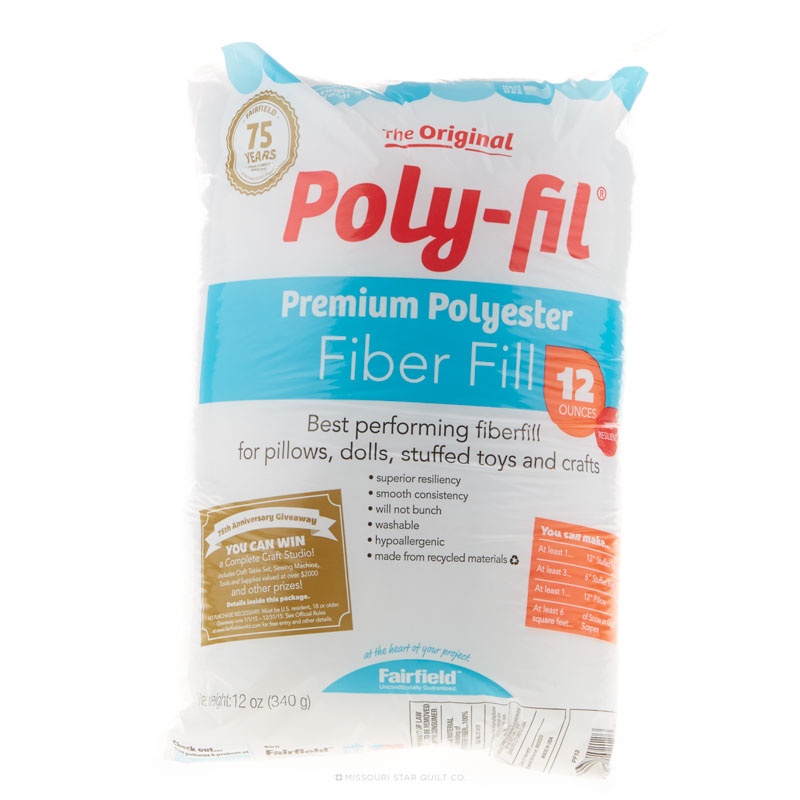
[music] Hey everyone, it is Misty and I'm back here with Craig. Thank you so much for having me again. Of course, any chance I get to learn a new project from you all is a is a happy day for me. So, well, this one is super fun cuz believe it or not, it is actually completely no. So, so even have to use the machine today. Well, I have always been curious how to make a pin. Well, what's inside a pin cushion? I've never torn one open. So, Well, there's a couple of different options. Some people just use like polyfill or this fluff that you see here. A lot of people like to use walnut shells. Um, this is supposed to help keep your pins and needles sharp if you use these. Okay. There's a lot of weight to these, too. Yeah. And so, they're they're crushed. And um, today we're just going to use the polyfill just cuz it's super easy with this method that we're making. But either way, walnut is more advanced. I mean, I don't know if more advanced. I think it's just a preference. Learn this and then I'll be able to apply it to them. Absolutely. And so I wanted to share this with you because my mom has helped me develop quite the pin cushion collection. She loves to make them and she loves to make them out of little things that she finds at antique stores or that she thinks I might love. Like I I collect owls. So she has like a little ceramic owl that she turned into a pin cushion. Very unique. And we've got this little shell pin cushion and that seemed right for your coastal world. Yeah. And I I actually love to go out to the beach and collect shells. I have since I was a little kid. So Well, perfect. So, this is super simple. I just have some 10in squares from your beautiful Drift into Blue collection. And I'm just going to use one of these. And honestly, if you want to kind of just rough cut a circle, I just like to fold it in fourths like this. This is pretty like you cannot mess this up, everybody. You really cannot. Well, one of the one of my favorite things about designing this this fabric line has been seeing what everyone is doing. all of the projects with our blues. Oh, it's so great. It's really been fantastic and fun and it feels like, you know, I'm sharing this journey with everyone and and the more people use our fabric, the more I feel like we're all connected. It's really, really Absolutely. It's so cool to see and to see like what began as your pillow designs then be translated into fabrics that we can make all kinds of beautiful projects with. I love it. So, now that I've folded this, I'm just going to rough cut like a quarter circle. This does not have to be exact. It's just, you know, close. And if you wanted to use a a template or something, of course, you could, but you don't have to. And so, I'll open that up. And it's round. Yay. Easy, [laughter] easy, easy peasy. And so, honestly, for this, because we're just going to use a little bit of polyfill, I'm just going to pull some of this off. Okay. And put it in the middle. And then just gather this up around the edge. And so if you want to, a lot of people will use like a rubber band or something, but when I was working on this one, I didn't feel like I needed anything like that because this opening just kind of naturally holds it, right? And so I just gather this up until I have a good surface on the top. And we're just going to actually just tuck this inside here. Wow, who knew, right? And once you get it in there and it's secure in a way that you're happy with, then you can add glue like either some hot glue or E6000. But literally, it is just that simple. This is our first no so project. I think it is. Well, I I don't do very many because I'm constantly at the sewing machine. But then you can kind of just look at it and decide, do I want more or less fluff? I mean, look how I mean, look, this is great. The magnetic I love, but look how great that'll be to have my sewing station. And so then to just have your pins in this great little shell, that's pretty awesome. Honestly, now it's going to change my whole purview when I'm like shopping or seeing things and now I'm going to be like, "Oh, is that a potential pin cushion?" Yeah. Can I turn that into a ridiculous collection? I have so many. It's kind of new cuz now I didn't know that before and now I feel like I'm going to start to collect even more trinkets just to turn into Yeah. And exactly like you saw me do here with the fluff, you can do the exact same thing with the walnut shells. With those, you just want to secure it so that they're not leaking into whatever container you're putting them in. That's perfect. But it's just a fun idea to, you know, look with new eyes, as you said, and consider what all can turn into a pin cushion for your sewing room to really make it your own. Very neat. So that's a cool one. That is it. Super quick and easy, but I thought you would enjoy it. Fabric looks great in the shell. Oh, it's just beautiful. So that's as simple as that. a no so pin cushion for you. I love it. Thank you so much. You bet.