
Simple Bloom Table Runner
 Misty Doan
- Fabric by Yard
- Traditional
- Wall Hanging
- Beginner
- Quilt size 12" × 65"
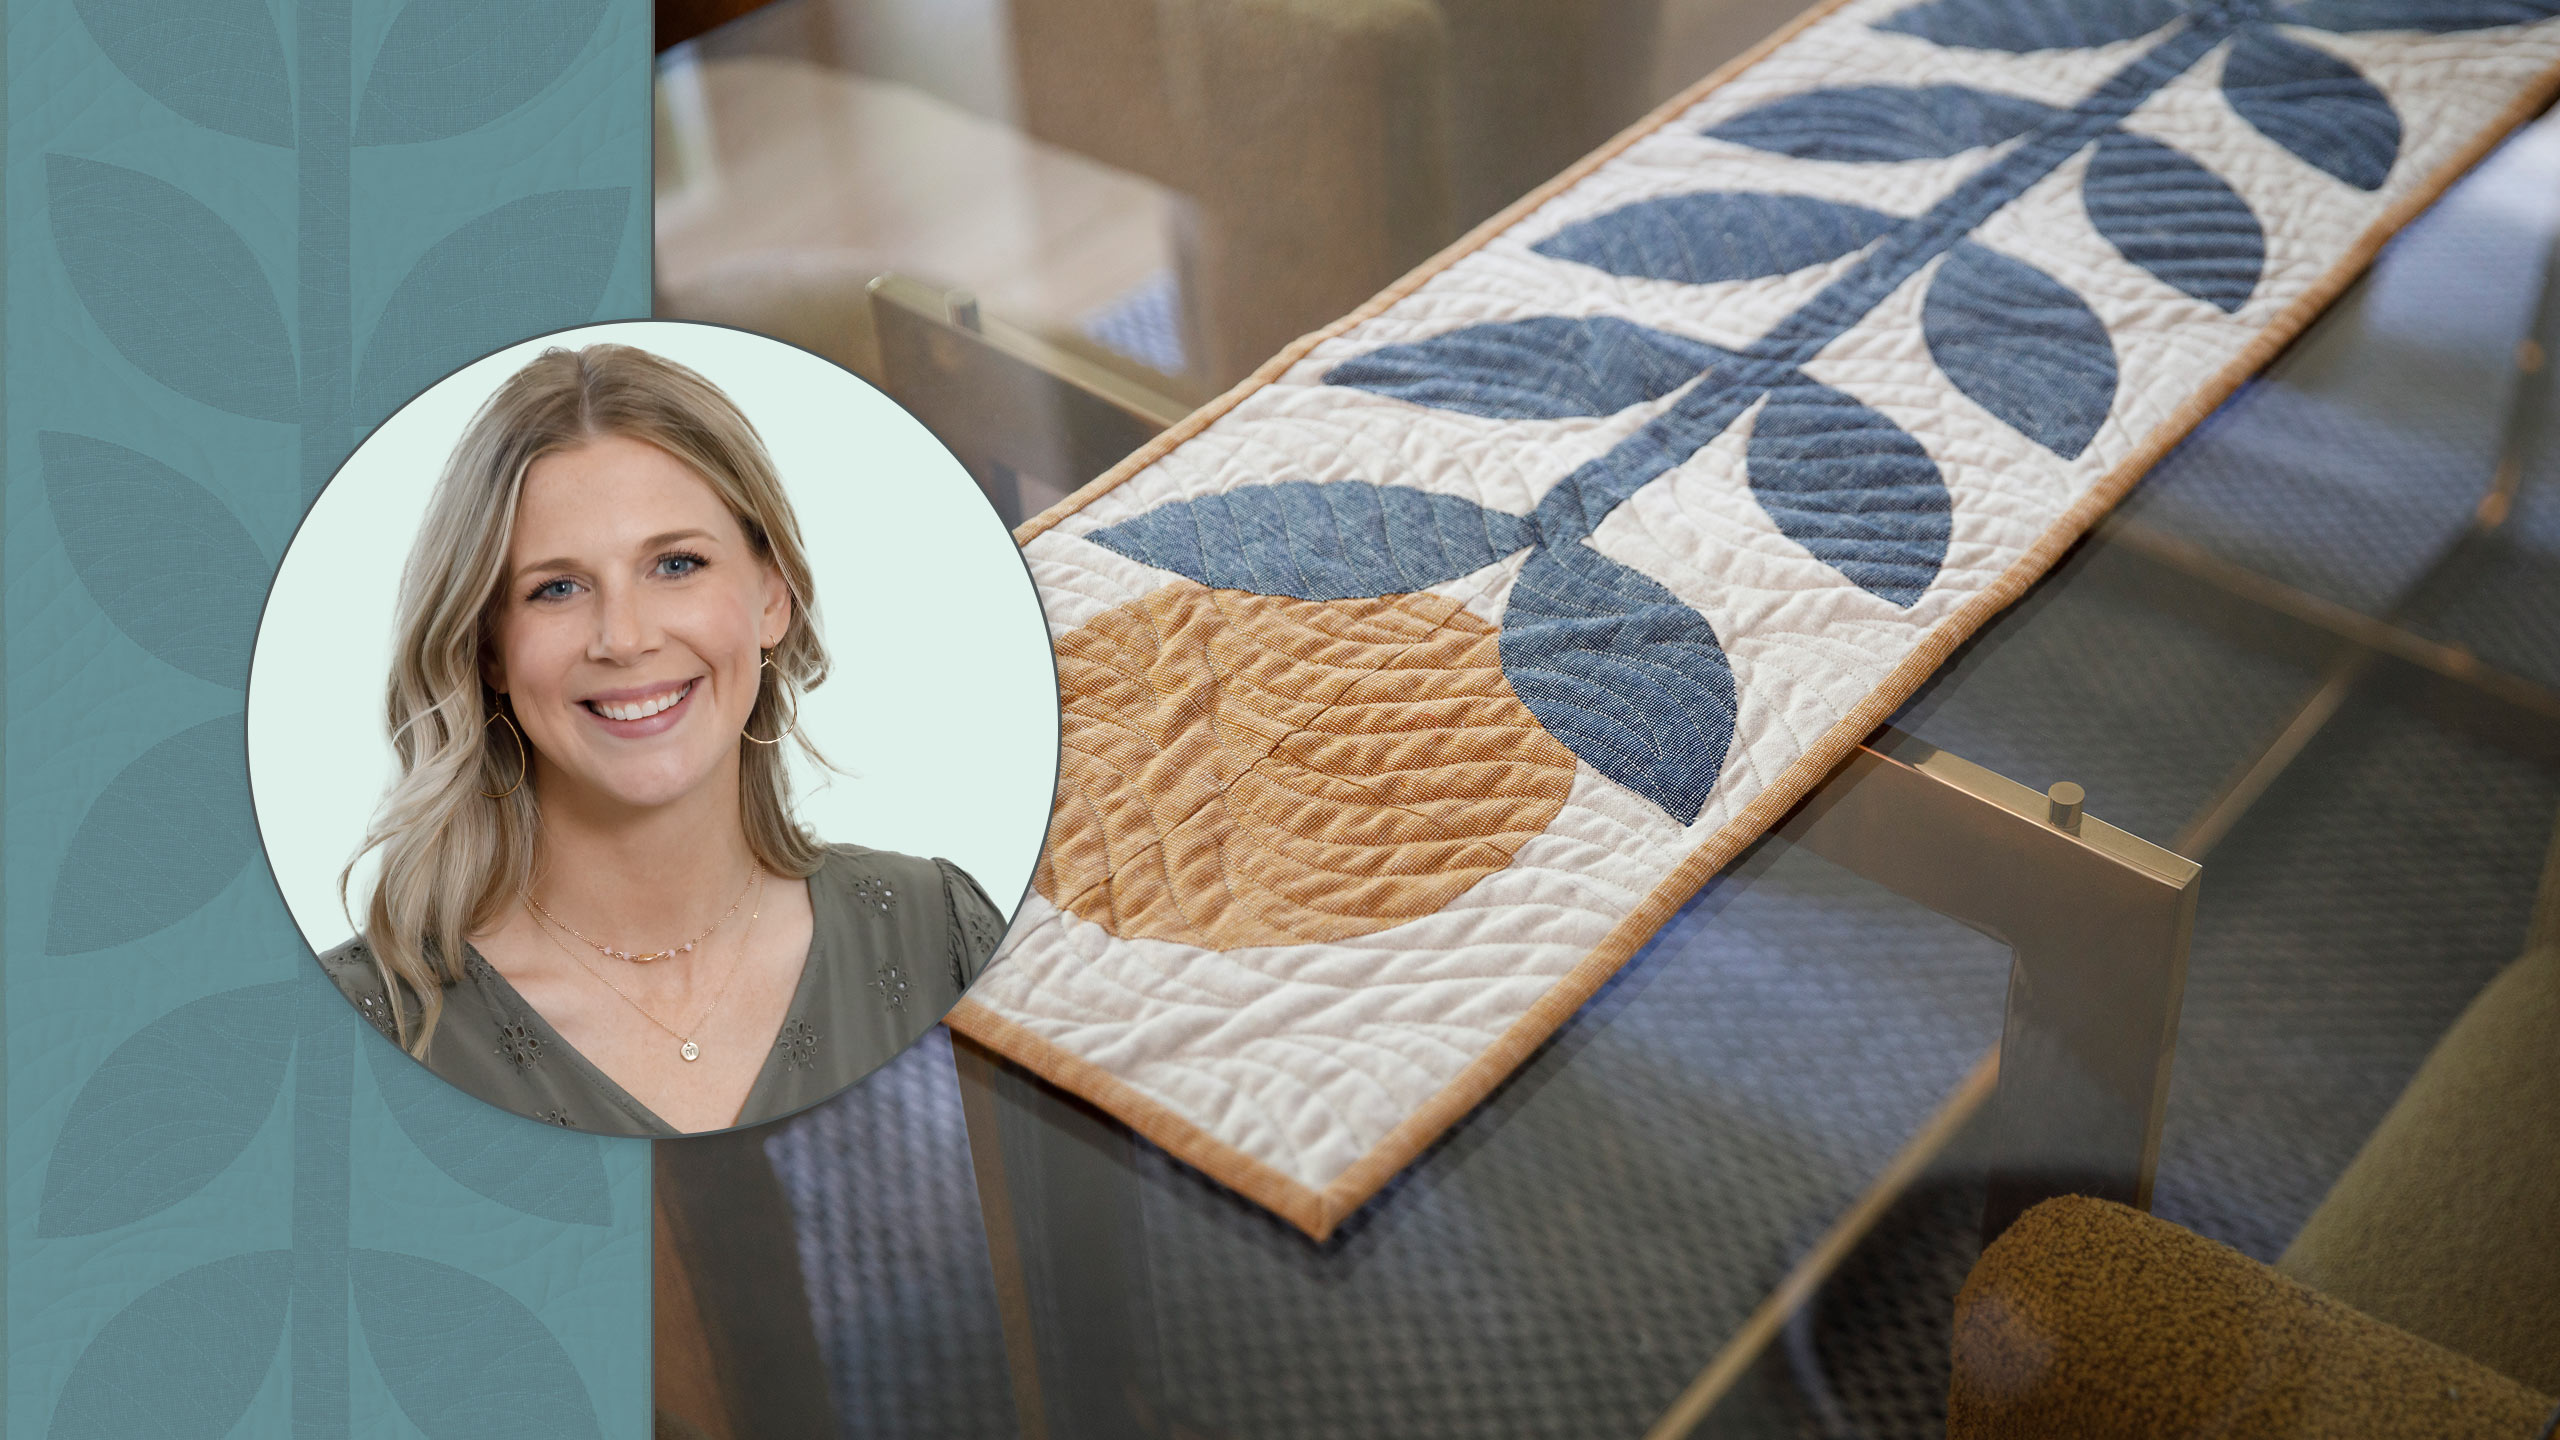
This table runner is bloomin’ lovely! The mirror image of a leafy vine with a bloom at each end will both accentuate and elongate the look of your table! Watch Misty as she demonstrates how an orange peel template and a drunkard’s path template can help you make this easy runner.
Instructor
Misty Doan
Misty Doan grew up surrounded by sewing and quilting. She loves spending time sharing tutorials each week each week, and when she’s not stitching up one of her fun sewing projects for home decor, most likely you’ll find her hanging out with her husband and three awesome kids or working on a house project.
Shop this tutorial
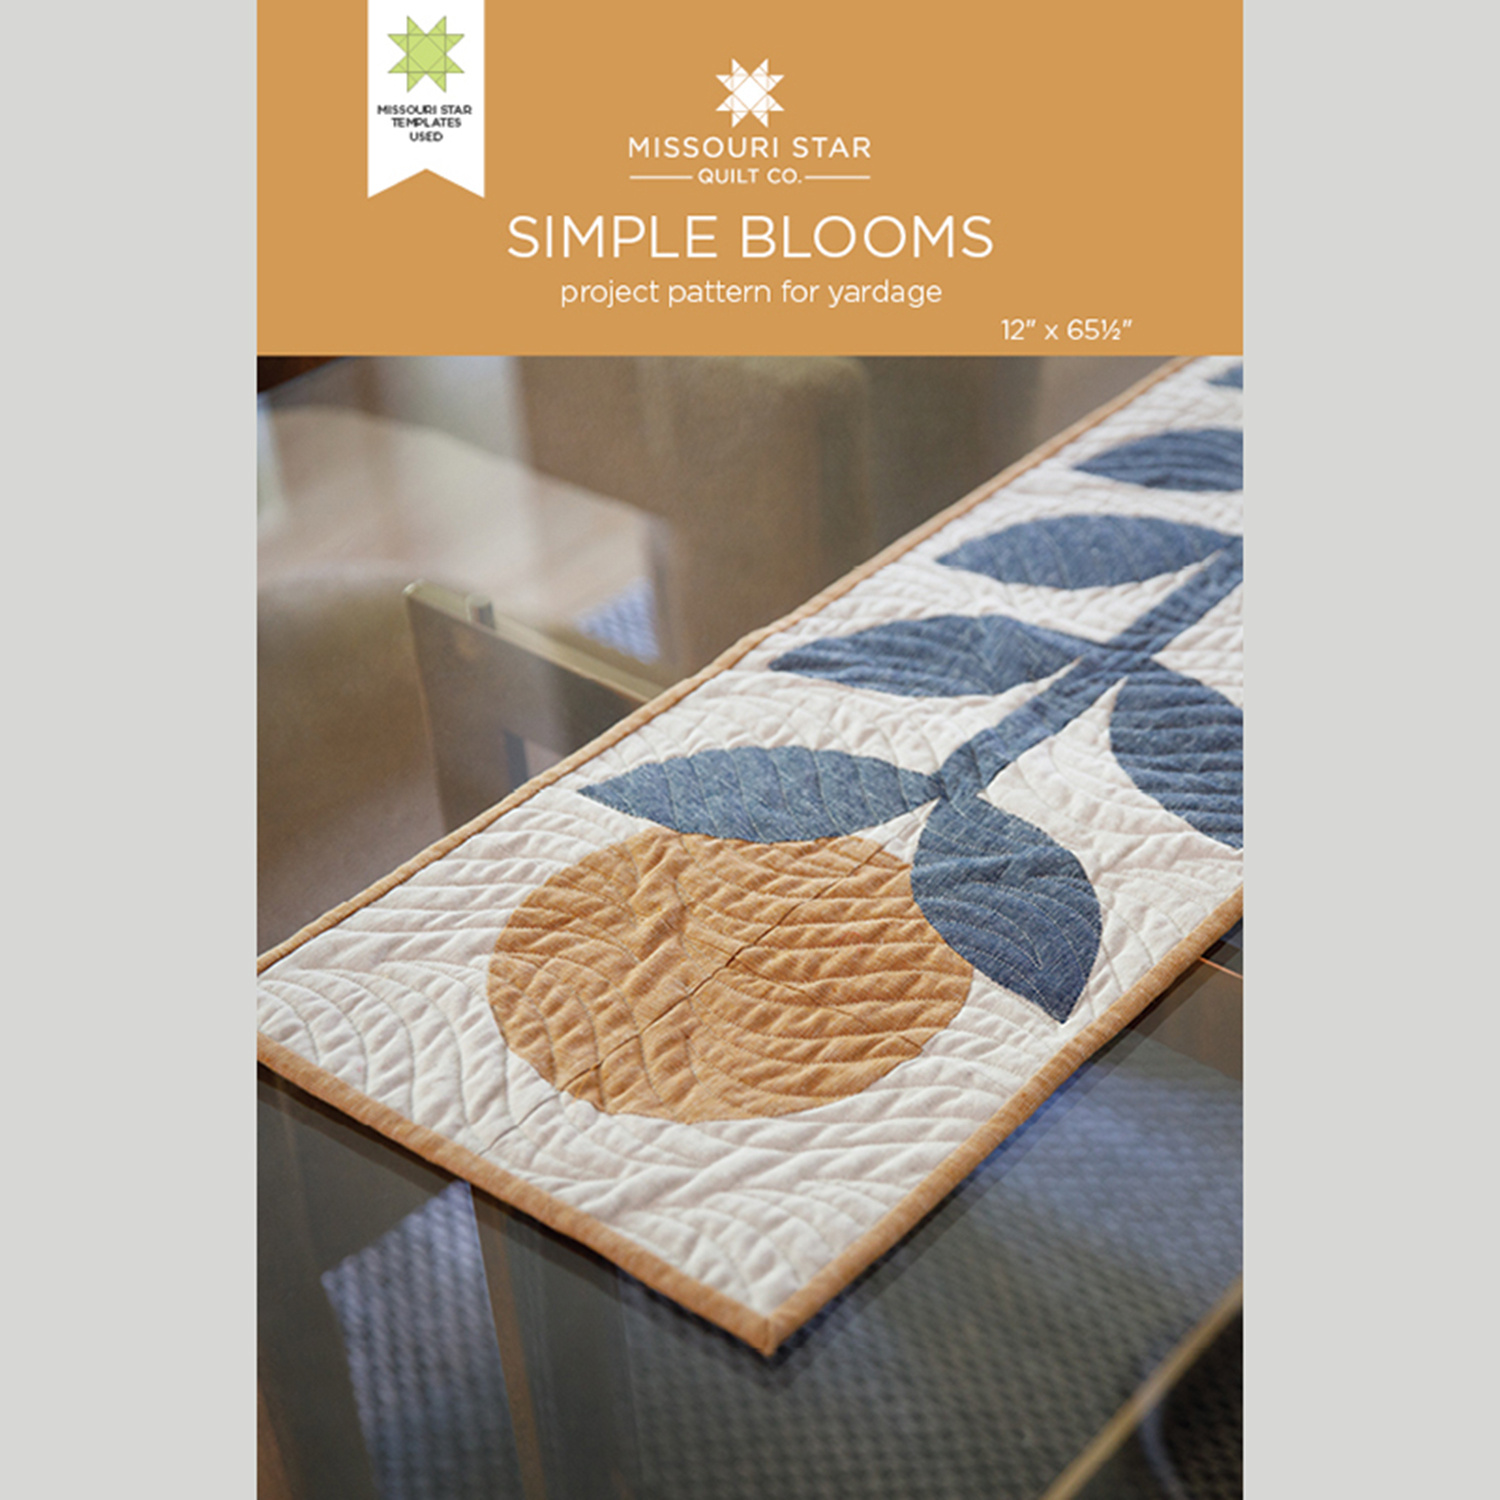 Simple Blooms Table Runner Pattern by Missouri Star$8.50Shop →
 Digital Download - Simple Blooms Table Runner Pattern by Missouri Star$6.95Shop →
 Essex Yarn Dyed Homespun - Navy Yardage$12.44Shop →
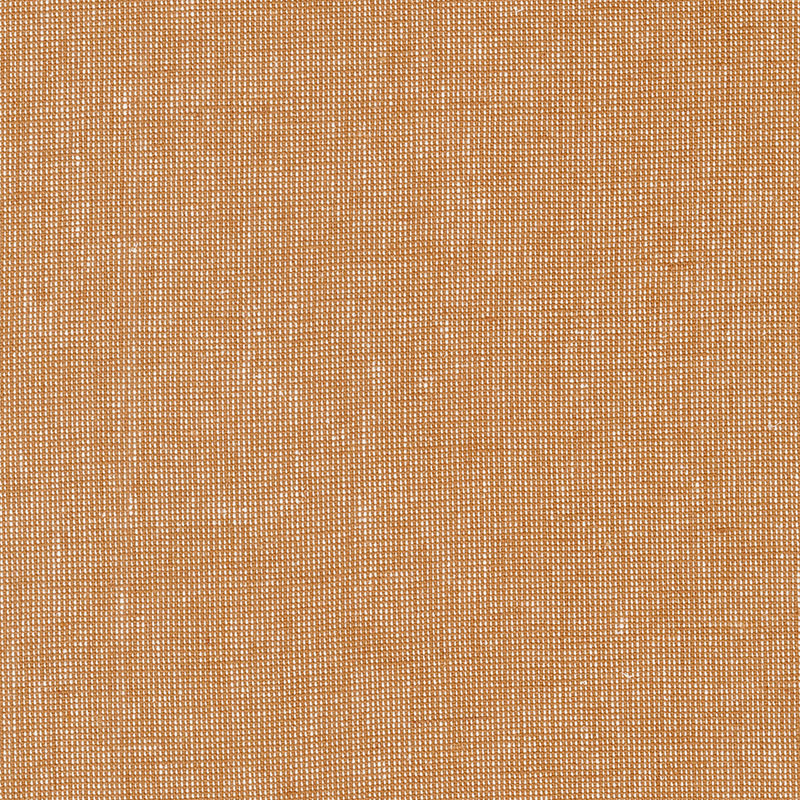 Essex Yarn Dyed Homespun - Roasted Pecan Yardage$12.44Shop →
 Essex Yarn Dyed Linen - Flax Yardage$11.24Shop →
 Quilter's Favorite Dispenser - Quilt Town$18.95Shop →
 Missouri Star Sew Light Fusible Adhesive - 17" x 2 yards$4.95Shop →
- Essex Yarn Dyed Homespun - Roasted Pecan Yardage$12.44Shop →
 Missouri Star Quilter's Best Blend Bed/Table Runner Batting$14.95Shop →
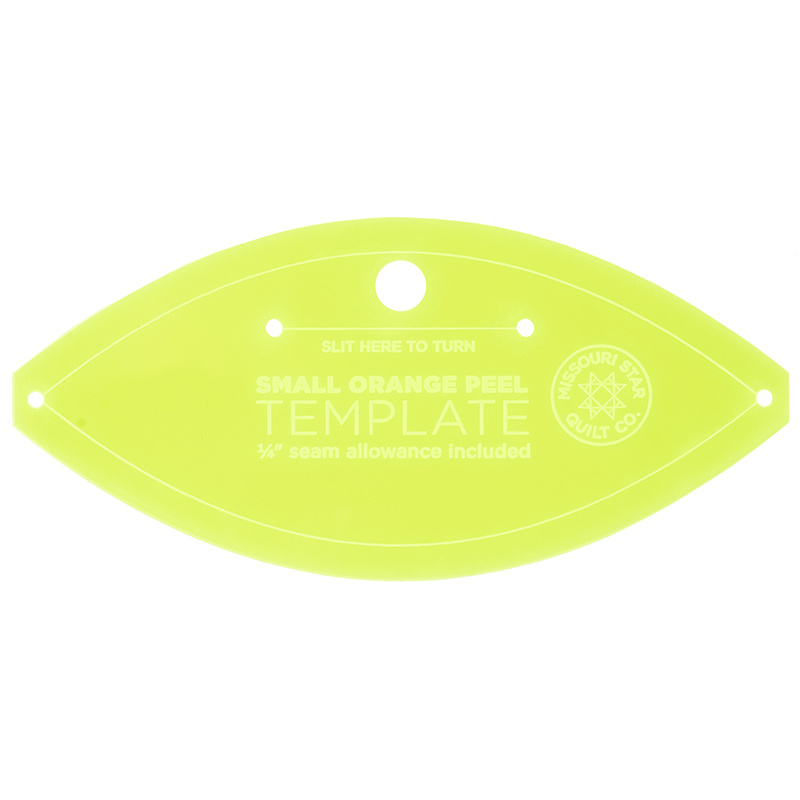 Missouri Star Small Orange Peel Template for 5" Charm Packs$8.95Shop →
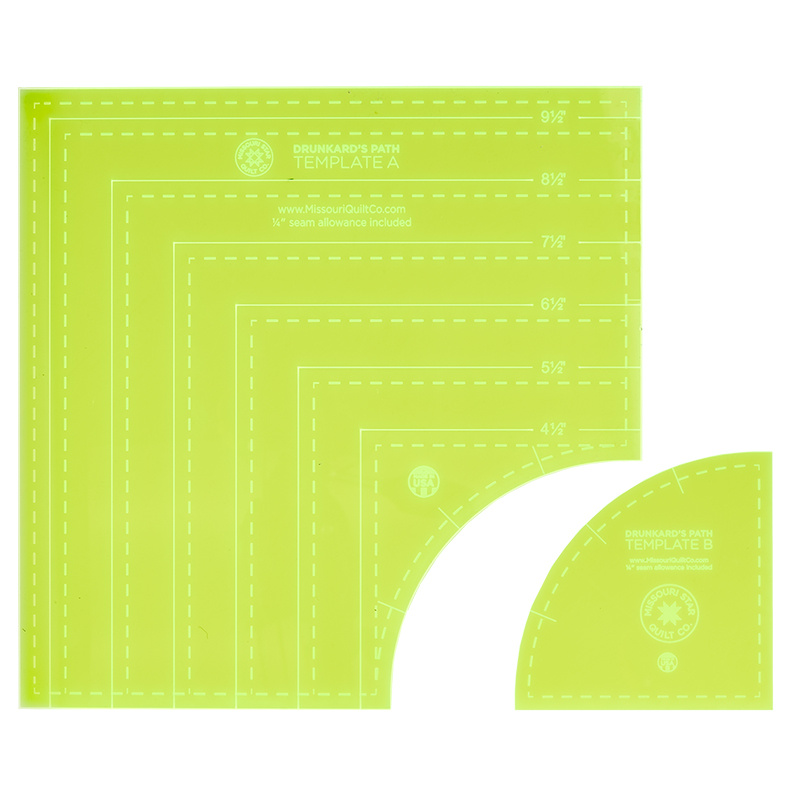 Missouri Star Drunkard's Path Circle Template Set - Small$21.95Shop →
 Missouri Star 2.5" X 15" Ruler$14.95Shop →
 Missouri Star 45mm Rotary Cutter$19.95Shop →
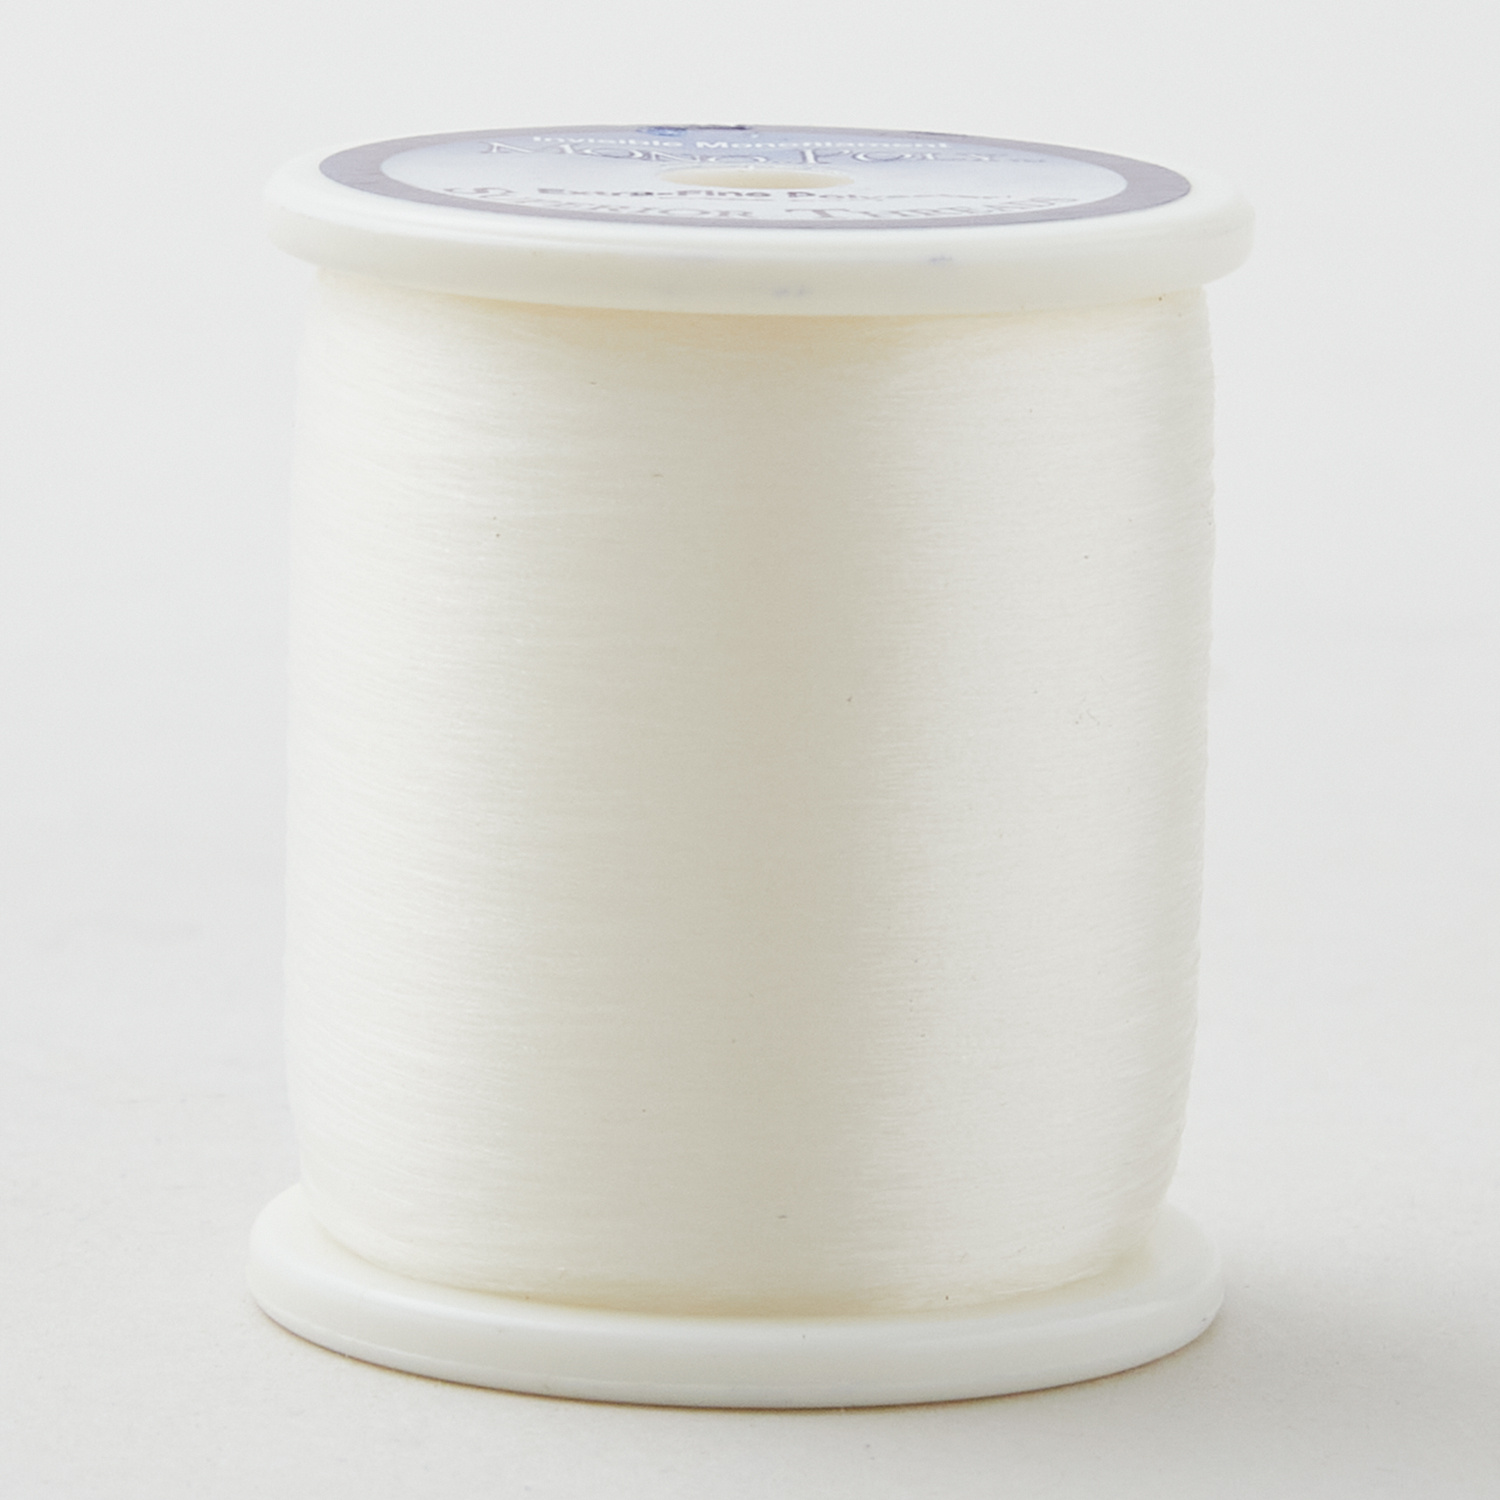 MonoPoly™ Invisible Thread - Clear$8.75Shop →
 Exclusive Missouri Star Jenny TG1600 ProPlus Oliso Smart Iron$199.99Shop →
 Missouri Star Wooly Betty Board - 17.25" x 25.5" Orange Border$99.95Shop →
 Bernette 77 Sewing and Quilting Machine$1499.00Shop →
Common Questions
What is covered in Simple Bloom Table Runner?
This table runner is bloomin’ lovely! The mirror image of a leafy vine with a bloom at each end will both accentuate and elongate the look of your table! Watch Misty as she demonstrates how an orange peel template and a drunkard’s path template can help you make this easy runner.
How long is the tutorial video?
The tutorial video is 00:15:35.
Are supplies listed for this tutorial?
Yes. The tutorial page includes the supplies and materials connected to this project.
Is a transcript available?
Yes. A written transcript is available on the tutorial page.
Video Transcript
I wanted to design an everyday runner for my dining room table that I could just leave out no matter the season. I like simple and a little bit modern and I think this design fit the bill. I used some beautiful Essex linen so that it still had some texture. Let me show you everything you need to make this beautiful runner.
Up first you're going to need ⅝ of a yard of this Navy Essex, then ¼ yard of Roasted Pecan and ⅞ of a yard of this background. You're also going to need the Drunkard's Path template A and B, and the Orange Peel template, as well as some fusible. So let me show you how to make it!
So first up we are going to make these circles that you see at the end. And to do that we're going to use our Drunkard's Path template. So you're going to begin by cutting a 5 inch strip of your Roasted Pecan color and then you're going to subcut that into 5 inch squares, and we are going to use this part of the template to cut these. And for each end we need four of these quarter circles. So you can just place this on here and gently follow that curve for this project. This is waste or you can set it aside for another project because you can use it to cut a background 4 ½ inch curve if you desire, so it's not totally waste, but we won't be using it today.
So I have the rest of these already cut and ready to go and so now we can move on to the background pieces. And so for that I cut a 6 ½ inch strip and subcut those into 6 ½ inch squares. And so then we are going to use the other part of the template to make the background. So I have my square here and I'm looking for the 6 ½ line on the template. And that's the solid line - the little dashed line you see here represents the SE line. So I'm just going to make sure that I am lined up with the edge of my fabric, and then I can cut this inside curve. And just like before this is not going to be used today, so we can get rid of that. You will just repeat this until you have four.
So let's go ahead and sew these together now. I like to fold them in half and kind of finger press the middle just for a reference. So I'll do that with both pieces here and if it's helpful to you, you're welcome to pin as often or as little as you like. I don't really like to pin. I know some people are very opinionated about pinning with curves but just try it out. Maybe test it with some scrap fabric if you haven't done this before, just to make sure you're comfortable.
So I like to start just like this. So I'm going to lay my curve on the top and we're going to start stitching here and I'll gently ease these together. So let's go ahead and take it to the machine. So I am just using my normal quarter inch seam allowance here. Just going to line this back up, place this under the needle and I'm going to take a few stitches to get started. Now I like to hold this top piece and guide the bottom piece with my hand so that they are matching up and I can maintain that quarter inch. You can go as fast or as slow as you're comfortable. I also watch to make sure that my middles that I creased are still going to match up and they're lining up here perfectly. So now once I get to that middle point, I can readjust and continue down. If you have a stiletto, that can be really helpful. As you approach this end here, you just want to make sure you don't get your finger under the needle.
Okay me see how this turned out. I got a little bit off there, but I think I can catch that in my quarter inch so I'm not worried about it. If you are worried about the end, that's really where a stiletto or even a little dot of glue to hold it in place or a pin will be your friend, but this is close
enough for me. So let's go ahead and press it. And we can just roll that back. When you're working with this linen it does have a little bit more stretch than typical quilters cotton, so if you're worried about that you can starch everything really good at the beginning too and that will also help, especially when you're working with curves.
So I have the rest of these ready to go. So I have all four. You're going to need four for each end, so a total of eight of these units and then we can just put it together like a four patch essentially at this point. And so I'm just going to fold these over and we'll sew down and then across the middle. So let's take these over to the machine. So I'll start by lining up this edge and then really the only other place you need to match is where your circle meets with the other side. There's the first one, and then line these up as well. I just always take a few stitches and then line up where I need those circles to meet and I'll hold those as I sew.
All right, now we can open this up and put these together. I'm going to make sure this seam in the middle nests going each direction and then match up the circle again. All right, there we go. There's our block. Let's give it a press so it'll lay nice and flat. Remember not to stretch your fabric when you're working with this linen, just press it gently, make sure my seam is going one way. There we go, that looks great!
All right so you're going to make two exactly like this and I'm just going to set this aside for a moment. Now we can work on this middle section. So this is actually really simple. It's done by cutting strips that are the width of fabric, so you're going to have a strip set that is two 6 inch background strips, and one 1 ½ inch blue strip. So these are the sizes and then we're going to sew them together into a set just like this. I've already done that here. And I've got it folded, so you can see it's just the full length of fabric. Now we can cut this to the measurement that we need which is 42 inches total or 21 inches from this fold. So I'm just going to move this out of the way, there we go. And I need to come over 21 inches, double check, it's always better to be safe. There we go, 21. So here's our little bit of waste.
Now we can attach our circles to each end. I just have one of these made, but let's go ahead and sew this in place. Grab that. So we'll take this to the machine and the width is going to match up exactly with this. And so we'll sew those together, make sure it's all laying nicely. Okay, perfect. Go ahead and press this back.
So for the rest of this I'm actually going to bring my pressing mat over here. So I went ahead and ironed. This is my center crease line here, so I know this is the middle of my runner. And so I'm going to be building it up from there. So I'm just going to have this on on my pressing mat to make it easier.
So for the petal portion I just cut a 7 inch strip of my fabric and I put my fusible all the way on the back of it. Then we used our Orange Peel template. So let's go ahead and slide this out of the way for just a second so I can show you. Because you'll notice I did not notch out these little edges. I wanted it to have the full point. So let's just cut a few of these. Almost forgot and so I just let the blade continue past the end there and then we can turn this and we can cut one more. So same thing and just let it continue and that's our little petal shape. So for each half you're going to need 10 of these petals, so 20 total. So you'll just cut, cut, cut till they're all ready to go.
We have our shapes here and I'm going to go ahead and peel the back off as I go. There we go. So we're going to start our first petal right in line with that crease that we made. And I'm just going to go ahead and peel all of these really quick, so that they're ready to go and I'll meet you back here for the layout.
So we're going to have one on each side, starting with that crease that we made at the halfway mark. I like to make sure I have about an inch from the outside edge. So I love to have this little ruler handy to check for that and then I measured up and I placed these every 5 inches. So here's my first one, which means this one's going to go right here, and then here, and then here. And then I'll do the same thing whoops slide that back in on the other side. And I really just kind of did this on the edges. I just knew I didn't want it to get caught in the binding. I wanted to have a little bit of room on the side there, and then one more.
All right, so now I'll run down this edge and just make sure I've got about an inch of space. There we go, I think that looks good. So now I'm going to take it and I'm going to press these first eight in place, just so I don't risk messing them up. So let's go ahead and bring this over here, hive these all a press. So remember when you're working with this, you just want to put your iron straight down so lift and press. Don't slide - just like so. And we can press all of these into place with a nice hot dry iron, but you don't want to run the risk of these flipping up and sticking to the bottom of the plate of the iron. That would be a sad day - luckily there's iron cleaner for that though. I have done it before.
All right, so then you would do that exact same thing going in the opposite direction on this other half of the runner. So your petals are going to come out this way. But let's talk about how we finish off this little top edge with our circle. All I did here was I placed this right into that corner seam
and made sure it came up and covered part of my circle. It's not an exact thing - I just knew I wanted this to match up with this stem and overlap, just like so. So same thing if you want to check that so this is about an inch and a quarter in. I just want to make sure it's the same on the other side, just so it's symmetrical. So now we can press that in place. Let's go ahead and grab the iron and just do it right here. That looks perfect!
So now this is pretty much done. All that we're going to have to do is top stitch these petals in place. I love to use that Superior Monopoly Invisible Thread because then you can use it with any fabric. It just blends right in.
So let's look at the finished runner here again. I quilted it with Time Warp. I think it's so beautiful in this kind of cream thread and it ends up measuring 12 inches wide by 65 ½, which is perfect for my table. I can't wait to put it on there - I think it turned out great!
I can't wait to see your version as well, so be sure to share it! I'll see you next time on At Home.


