
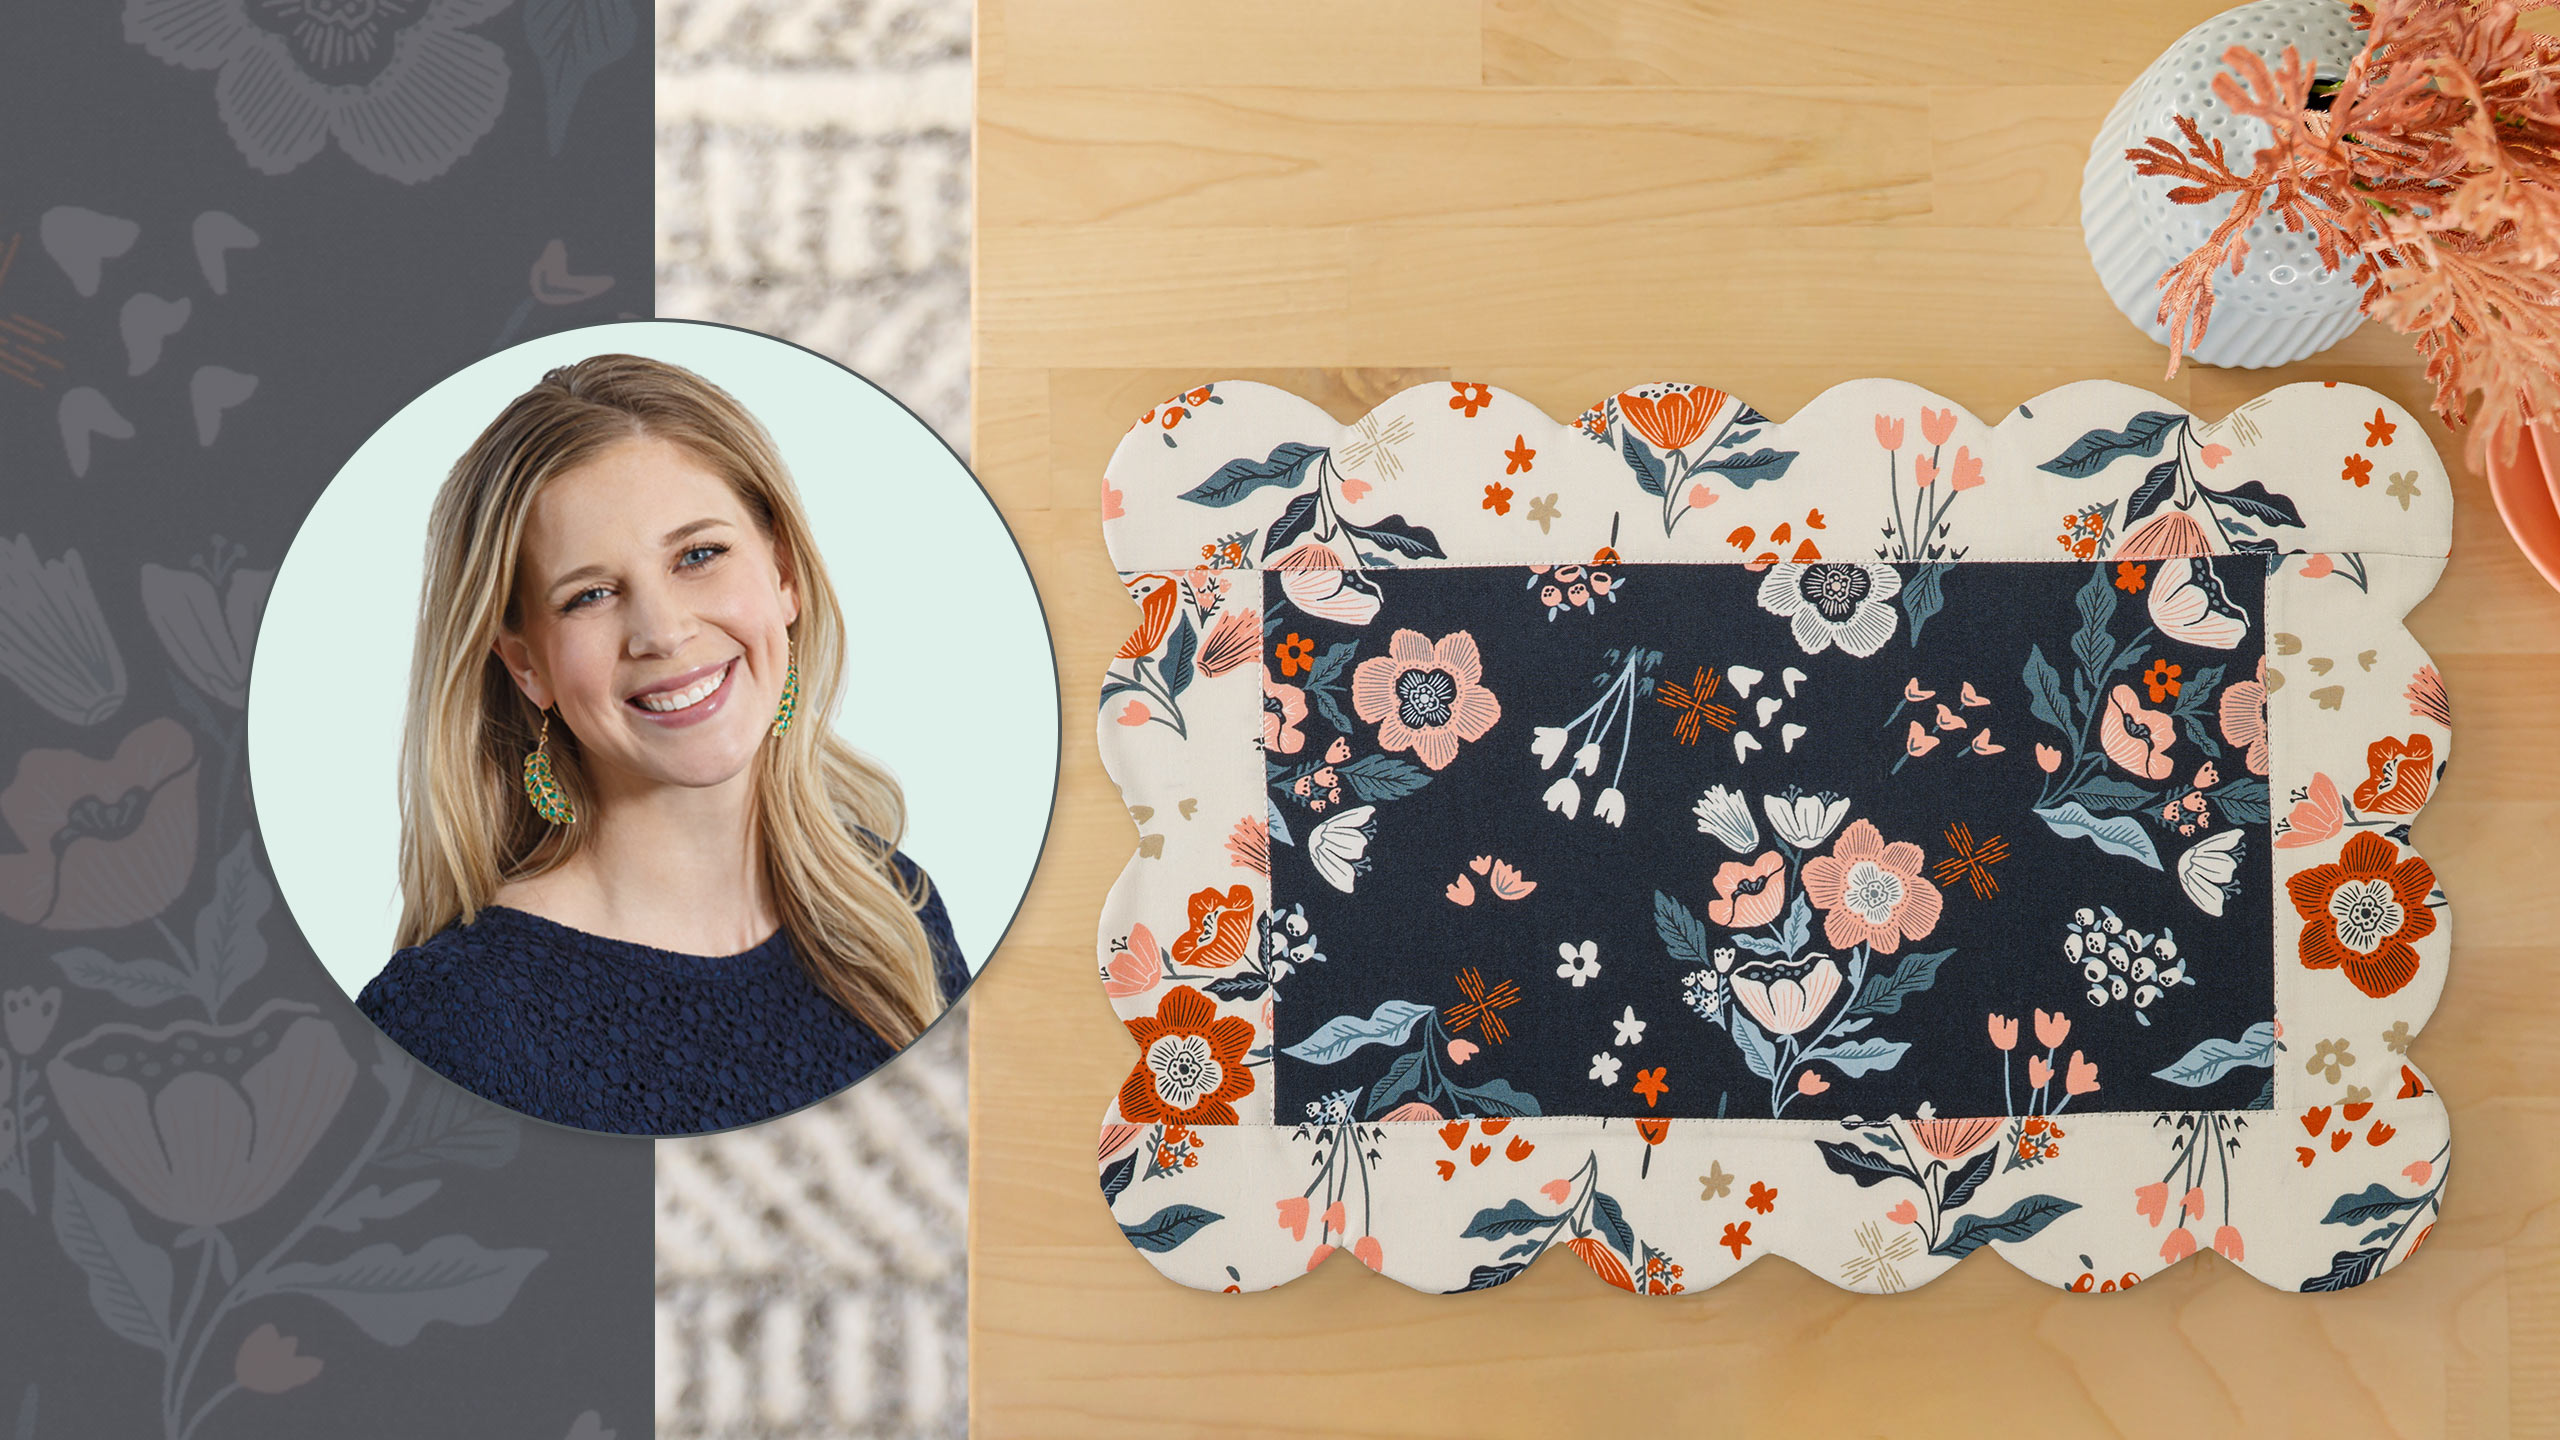
Simple Quilted Placemats
Protect your table and make it cute, too, with simple placemats! The Bosal Placemat Craft Pack makes it easy. Misty walks you through a few simple steps to create brand-new kitchen or dining room décor. Make a set for every season!

Instructor
Misty Doan
Misty Doan grew up surrounded by sewing and quilting. She loves spending time sharing tutorials each week each week, and when she’s not stitching up one of her fun sewing projects for home decor, most likely you’ll find her hanging out with her husband and three awesome kids or working on a house project.
Shop this tutorial
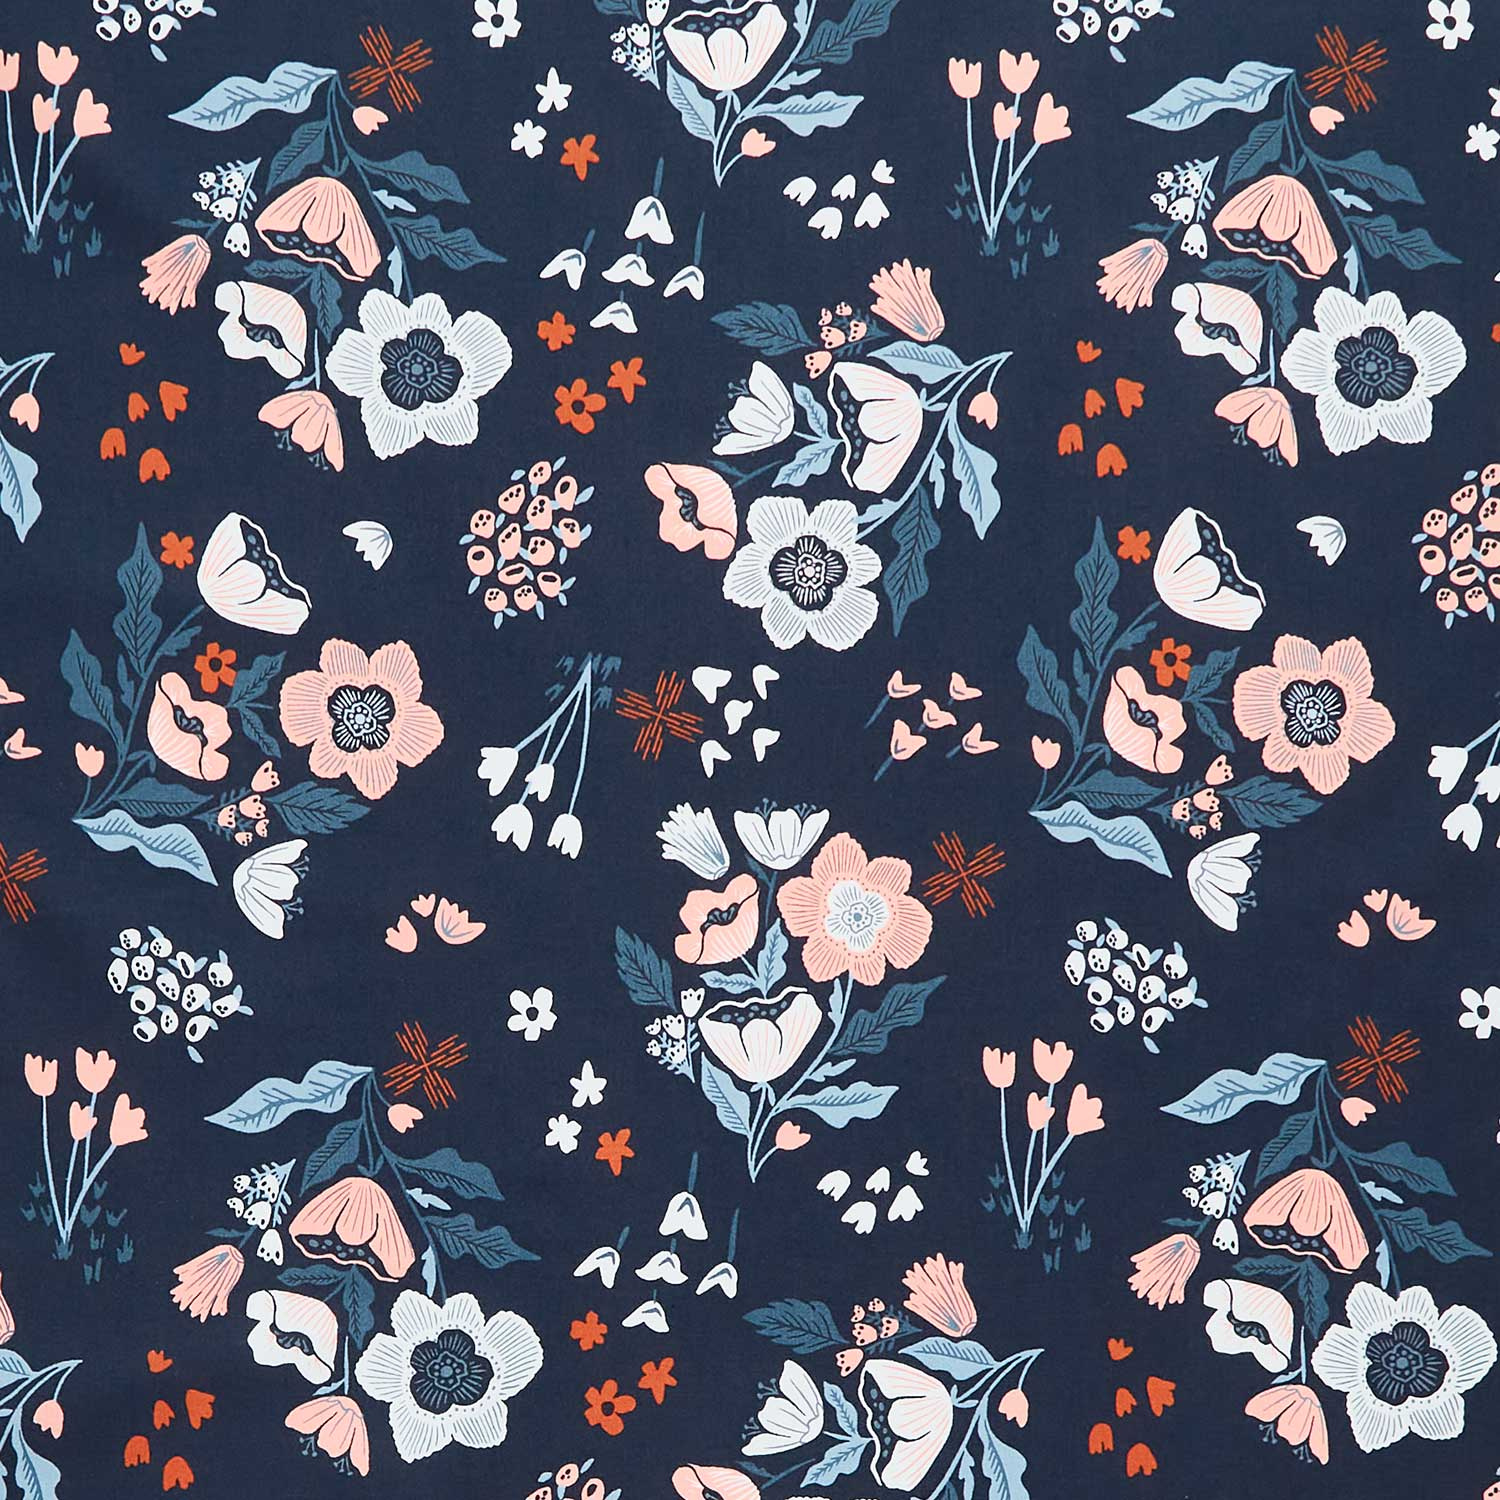 Folk and Lore - Garden Tales Peacoat Yardage$11.96Shop →
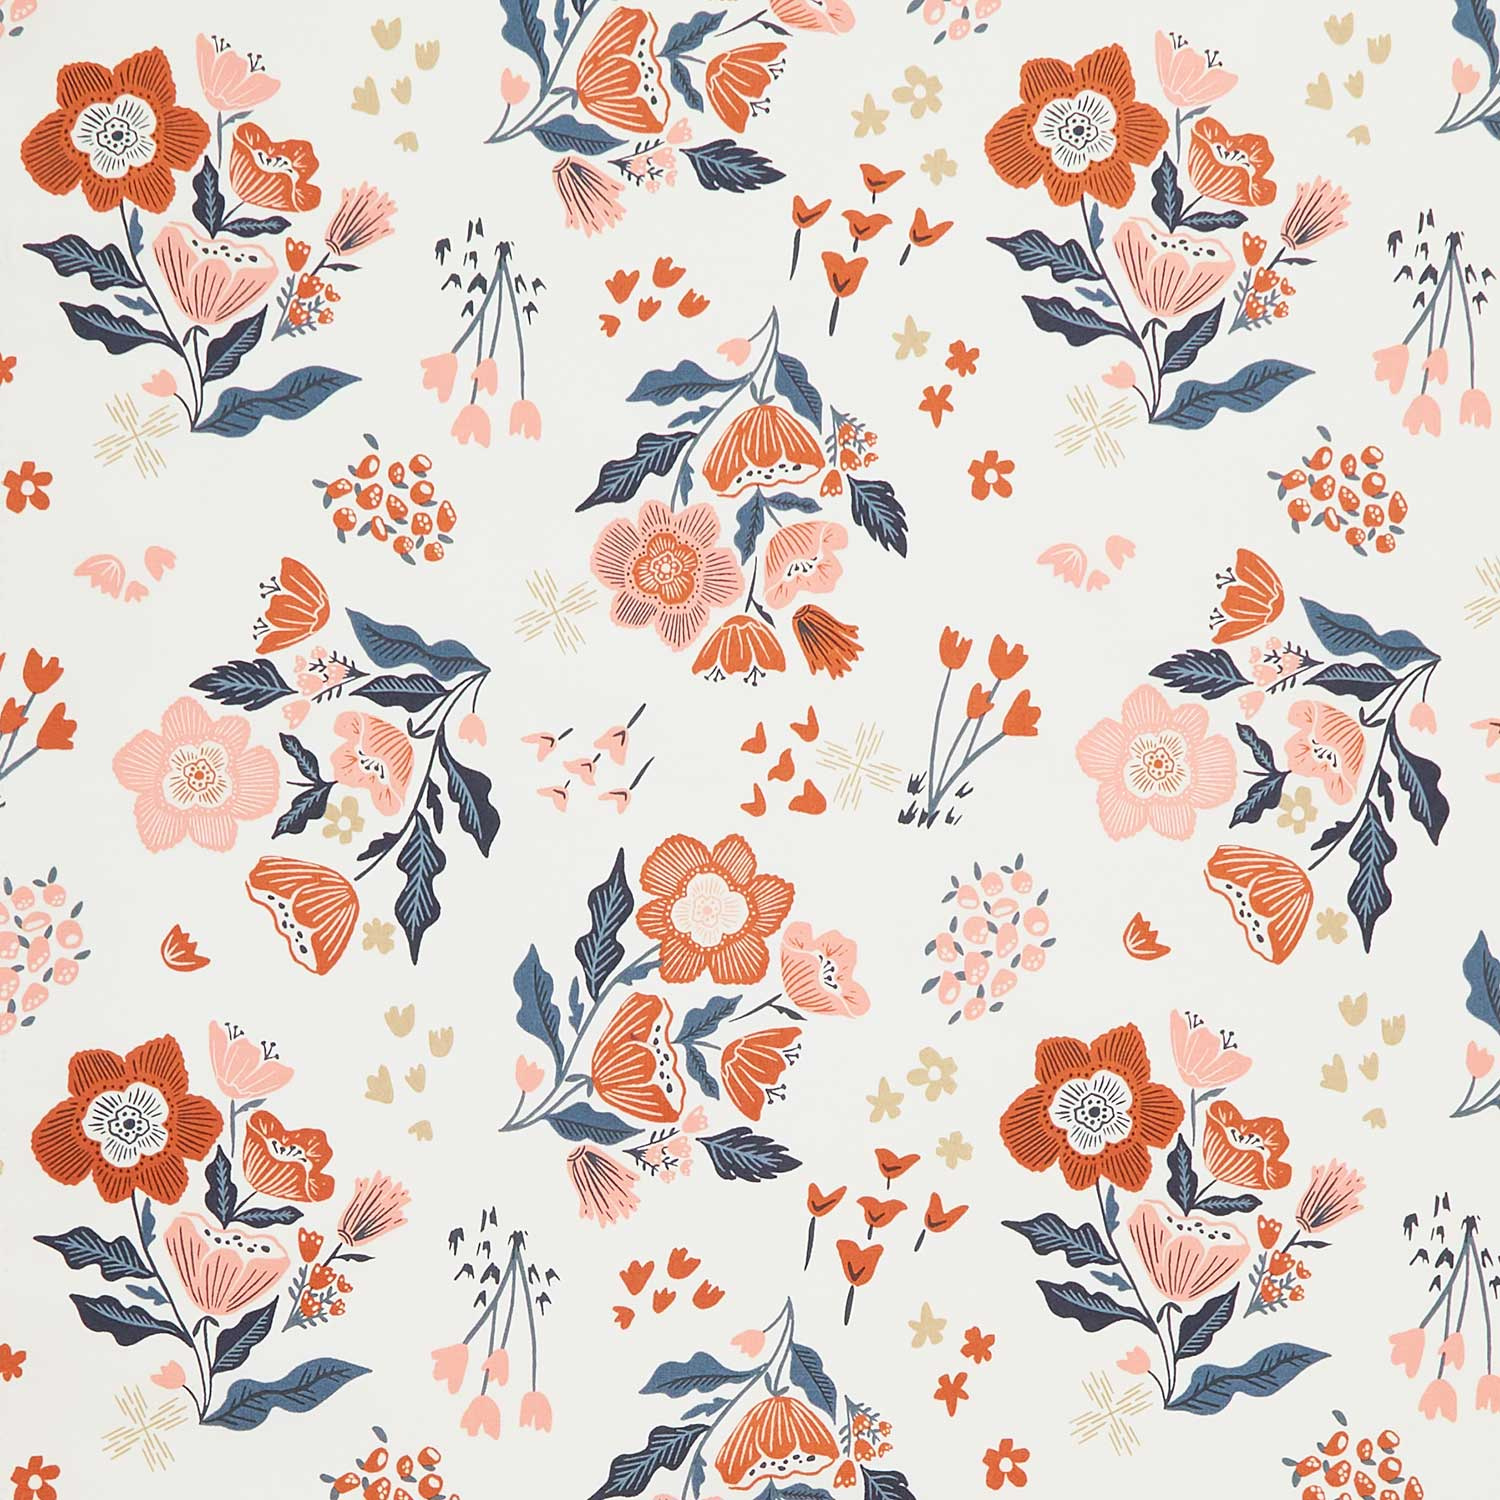 Folk and Lore - Garden Tales Eggshell Yardage$11.96Shop →
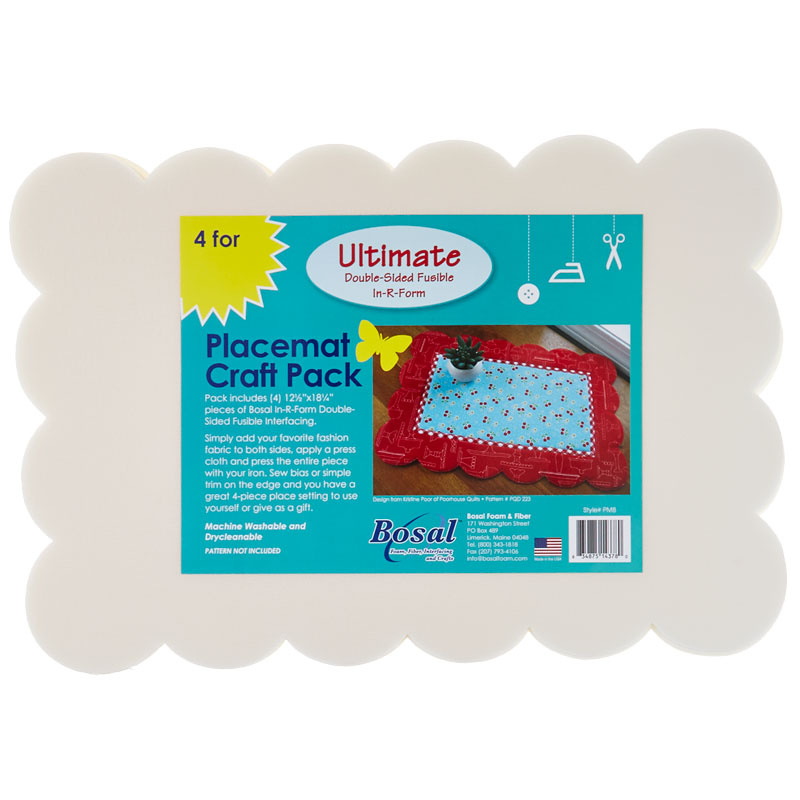 Bosal In-R-Form Ultimate Place Mat Craft Pack$24.95Shop →
 Missouri Star 8" Everyday Scissors$19.95Shop →
 Fine Line Erasable Marking Pen Air Erasable$8.45Shop →
 The Ultimate Quilt 'n Stitch Presser Foot$24.75Shop →
 Missouri Star 50 WT Cotton Thread White$7.95Shop →
 Missouri Star + Oliso TG1600 ProPlus Iron$209.95Shop →
 Missouri Star Wooly Betty Board - 17.25" x 25.5" Orange Border$99.95Shop →
 Bernette 77 Sewing and Quilting Machine$1499.00Shop →
 Appli-Glue 2 oz. Bottle$10.95Shop →
Common Questions
What is covered in Simple Quilted Placemats?
Protect your table and make it cute, too, with simple placemats! The Bosal Placemat Craft Pack makes it easy. Misty walks you through a few simple steps to create brand-new kitchen or dining room décor. Make a set for every season!
How long is the tutorial video?
The tutorial video is 00:16:13.
Are supplies listed for this tutorial?
Yes. The tutorial page includes the supplies and materials connected to this project.
Is a transcript available?
Yes. A written transcript is available on the tutorial page.
Video Transcript
So I saw these great placemat packs of the stabilizer that you use inside of
your place mats. They're made by our friends at Bosal and they have a few
different shapes available. And I just thought the scallops would be so cute. So you know, unbeknownst to me, I might have picked the most difficult shape, but I think whatever shape you choose, it's going to be easy. But I have found a way to make these simpler for you.
So when you open these up, there's just instructions and it tells you to
cut a 13” by 19” rectangle each for the front and the back. So that's what I did here. I cut my rectangles and I was like okay, I think these florals are so pretty. And then I can have a light and a dark side and then they'll be reversible right? And all you do is trace out the shape of this onto one of the sides, place them right sides together - so right on the marked line and leave an opening.
I'm just zooming through that, because I found when I was making these it didn't work out the way that I thought. Once you turn it right sides out and put your stabilizer in, this all looks great. But my first one you can see I cut my fabric too short, and so I couldn't get my seams turned under to actually finish this. So I was like okay, that's all right, we'll try again. That didn't work out right. And so the next one I did it the right way. This is where my opening was and I just turned it under, used a little bit of applique glue, and then just hand stitched it closed and invisible stitched in there. But again, not super easy. So finally I landed on this final version, and this is the version that I'd like to teach you how to make today. And so it adds this really cute little border around whatever fabric you choose for your middle, and then a solid piece for the back. So let me show you how to make this.
Okay, so up first, in order to make four of these, because that's what comes in a package, you are going to need a half yard of whatever fabric you choose for your middle, and then you'll need a yard and a half for the border, and then the back is that same print. So keep that in mind, like I said, I use these gorgeous florals. I absolutely love them and that gives you enough to make four.
So up first, we are going to cut a rectangle for our middle. And this
should measure 8 by 14 inches, and it does. I went ahead and cut it. And then we need some strips of our accent color, and we will cut those at 3 inches by the width of fabric. Then we'll subcut those into 3” x 8”. I'm going to add these to either end. And then 3” by 19” - that will go top and bottom. So the trick here is that I'm going to leave an opening in one of these long seams when we get to that point.
So let's go ahead and start by adding these two sides. I'm just going to put these right sides together and sew with a quarter inch seam. Okay we'll flip this around, do this other side. Okay now, let's go ahead and give this a good press, roll that back. And now we're going to take our first strip and we're just going to sew this all the way down this long side. Don’t worry about leaving an opening. Take a few stitches, make sure I'm straight, match up my end.
All right, and so now we can add the other strip to the other side. But if it's helpful to you to put pins or little marks, you want to leave about six inches so that you can fit the stabilizer shape inside. So I've just put two little dashes here to just kind of eyeball. Let's see how close I got to six inches… I'm at six and a half, that's not bad. I'll take it. And so we are just going to sew from the end to here. We're going to back stitch really well, and same here, back stitch and go all the way to the end. So let's go ahead and do that.
I'm approaching that mark, so I'm just going to go ahead and back stitch. This is going to have quite a bit of tension on it, so you want to make sure that it's nice and secure, so you don't pop those seams. Then I'll come back to my second mark and line up my ends here. All right, and so now you can see I have this opening right here and that's actually where we're going to put our stabilizer through in the end.
So let's go ahead and press this open. So I just want to roll this top layer back, and if you kind of put a little bit of tension on the opposite side here it will just lay and kind of automatically turn under that seam allowance for you. And so you can see I still have that opening, but I get this really nice crisp line, which is what we're looking for. So we'll just roll this back, there we go. And so now we've prepped the bordered part of our place mat.
So up next we are going to take our solid shape and we're going to put those right sides together. And I like to work so that I can see the bordered piece, but if you can't, it's not a big deal. It's all going to work out. So then you use the stabilizer as your guide. So I'm just going to float that right on top here and you can see, there's very little excess. Now we're just going to trace all the way around this shape, and the drawn line is going to be where we're going to stitch. So just take your time, use whatever marking tool you'd like. And then we can just, you know, finish tracing all the way and right where you drew, that is exactly going to be your stitch line. Then you can trim off the excess fabric.
So I've gone ahead and started that here. Let me show you what
that looks like. So you can see I stitched right on my drawn line. I've
trimmed it really close on most of this - I left somewhere between an eighth and quarter inch. And then let's talk about these little inside corners, because those are kind of the tricky part. So let's just grab our scissors.
To begin with, I'm just going to trim off the majority of this excess
fabric. And you just want to be careful not to cut through any of your
seams. But I do want to make sure that this is going to turn fairly easily,
there we go. Just trim that off and then when you come to these little inside points, I'm just going to take my scissors and carefully make sure I'm a little ways back from my stitch line, because I don't want to clip through those stitches. I'm just going to make a little notch and then I'm going to come in and get as much bulk out of there as I possibly can, just to make it easier for this to flip, let's do one more little notch and trim off some of that excess. And our last little guy here, there we go.
All right, so now this is all trimmed and we're ready to turn it right sides out so that we can insert our stabilizer. So remember our opening that we made in the middle there. We're just going to reach in and we're going to turn it right sides out. And I like to initially come through with my fingers and just sort of poke those little scallops out as I work my way around.
There we go, and this final corner. And then if you have one of these little bamboo tools, it's really helpful to kind of come in and just gently run it along those seams, just to kind of crisp it up. You don't want to push too
hard, but just to give you a little bit of a smoother edge. Turns out really nice, there we go. This is also where you can just make sure that you didn't miss catching anything. There we go, we are almost all the way around. I think that looks pretty good.
And so now we can roll up our stabilizer, kind of in thirds. And this is the part where you're like, I don't know, I'm not sure this is gonna work. And it just takes a little bit of maneuvering. You just have to be patient - it's very
flexible. And so you can just kind of make it behave and go where you want it to go. Just be patient with yourself. So I'm just going to gently unfurl this. It's kind of like a puzzle - you just have to guide it into place. So we traced all these little scallops. We just need to get them all lined up again, so I'm just going to slide this around. I can feel this corner here, there we go, starting to settle in. And come back to this side, there we go. See it's really not so bad, and so then I just like to kind of roll the edge with my finger to make sure that I have the seam as close to the edge of that stabilizer as possible. And if you have any places where it's not laying nicely or you're worried about it, you can you know turn it right back wrong sides out just check all those seams see if you need to trim away any excess fabric. But I think this looks pretty nice.
So I'm going to go ahead now, since I think it's laying right, and we're just going to go ahead and press this with the iron to fuse this in place and give it a little bit more structure. Then we can stitch along this to close it up pretty easily. So let's press it. We do want to hold it for a little while
because there is fusible on that stabilizer, so just give yourself plenty
of time for it to secure. Then once I have this top layer fused, I'm going to go ahead and you know stitch. I'm going to do some top stitching around here real quick and then I'll hit it all again from the front and the back to make sure it's really secure.
So let's go ahead and do that top stitching. So I want to lengthen my stitch length just a bit, and I will be just about, oh I don't know, a 16th of an inch away from that edge of the fabric. And this is going to close that opening that we had and I'll have my needle down and I can pivot this. All right and our last side here. All right and just back stitch. Okay, there we go. Quick and easy place mats without having to do scalloped edges and hand stitching! It comes together so fast.
I absolutely love how it turns out and it was much easier once I figured out this method. So I hope you'll give it a try. I can't wait to see the versions that you make and I'll see you next time!


