
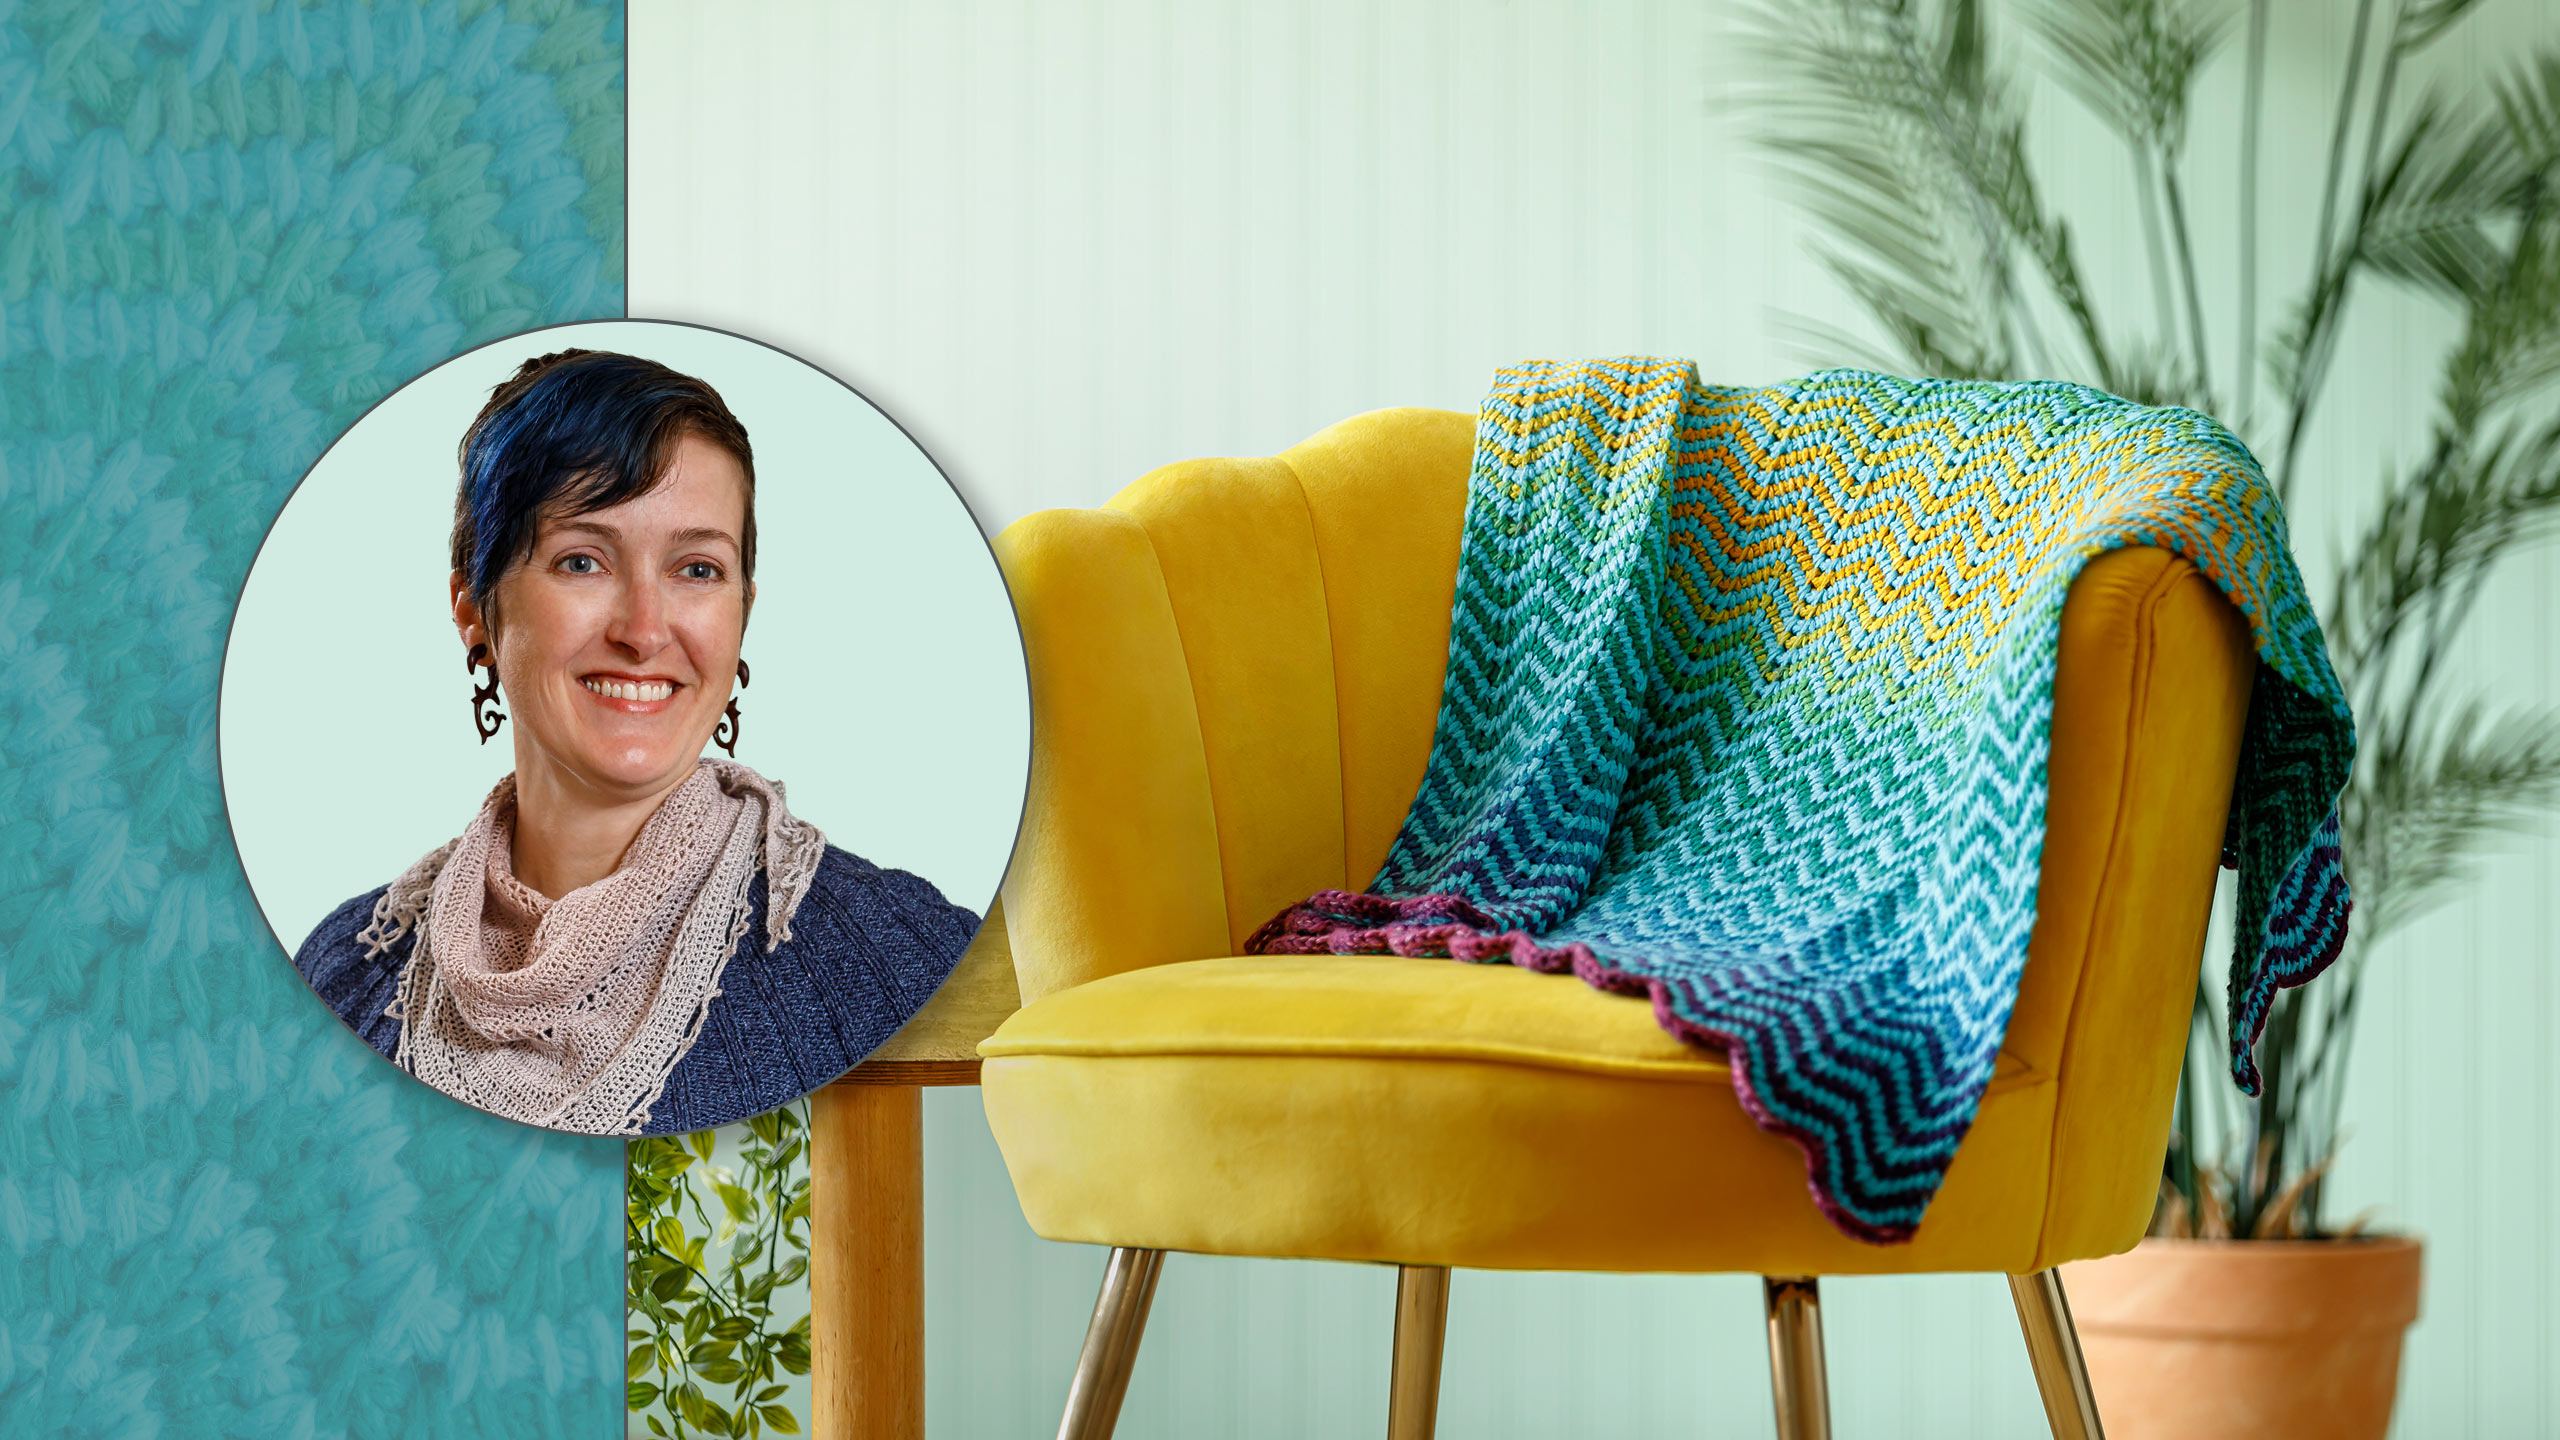
Slalom Stripes Tunisian Baby Blanket with Kira Dulaney
Crochet a baby blanket that’s as warm as it is beautiful! Made using Hybrid Crochet, also called Tunisian Crochet, the stitches created with this technique are dense and uniquely different from other crochet stitches. Join Kira Dulaney as she shows you how to make this cozy baby blanket in a pretty chevron stripe pattern.
Instructor
Kira Dulaney
Shop this tutorial
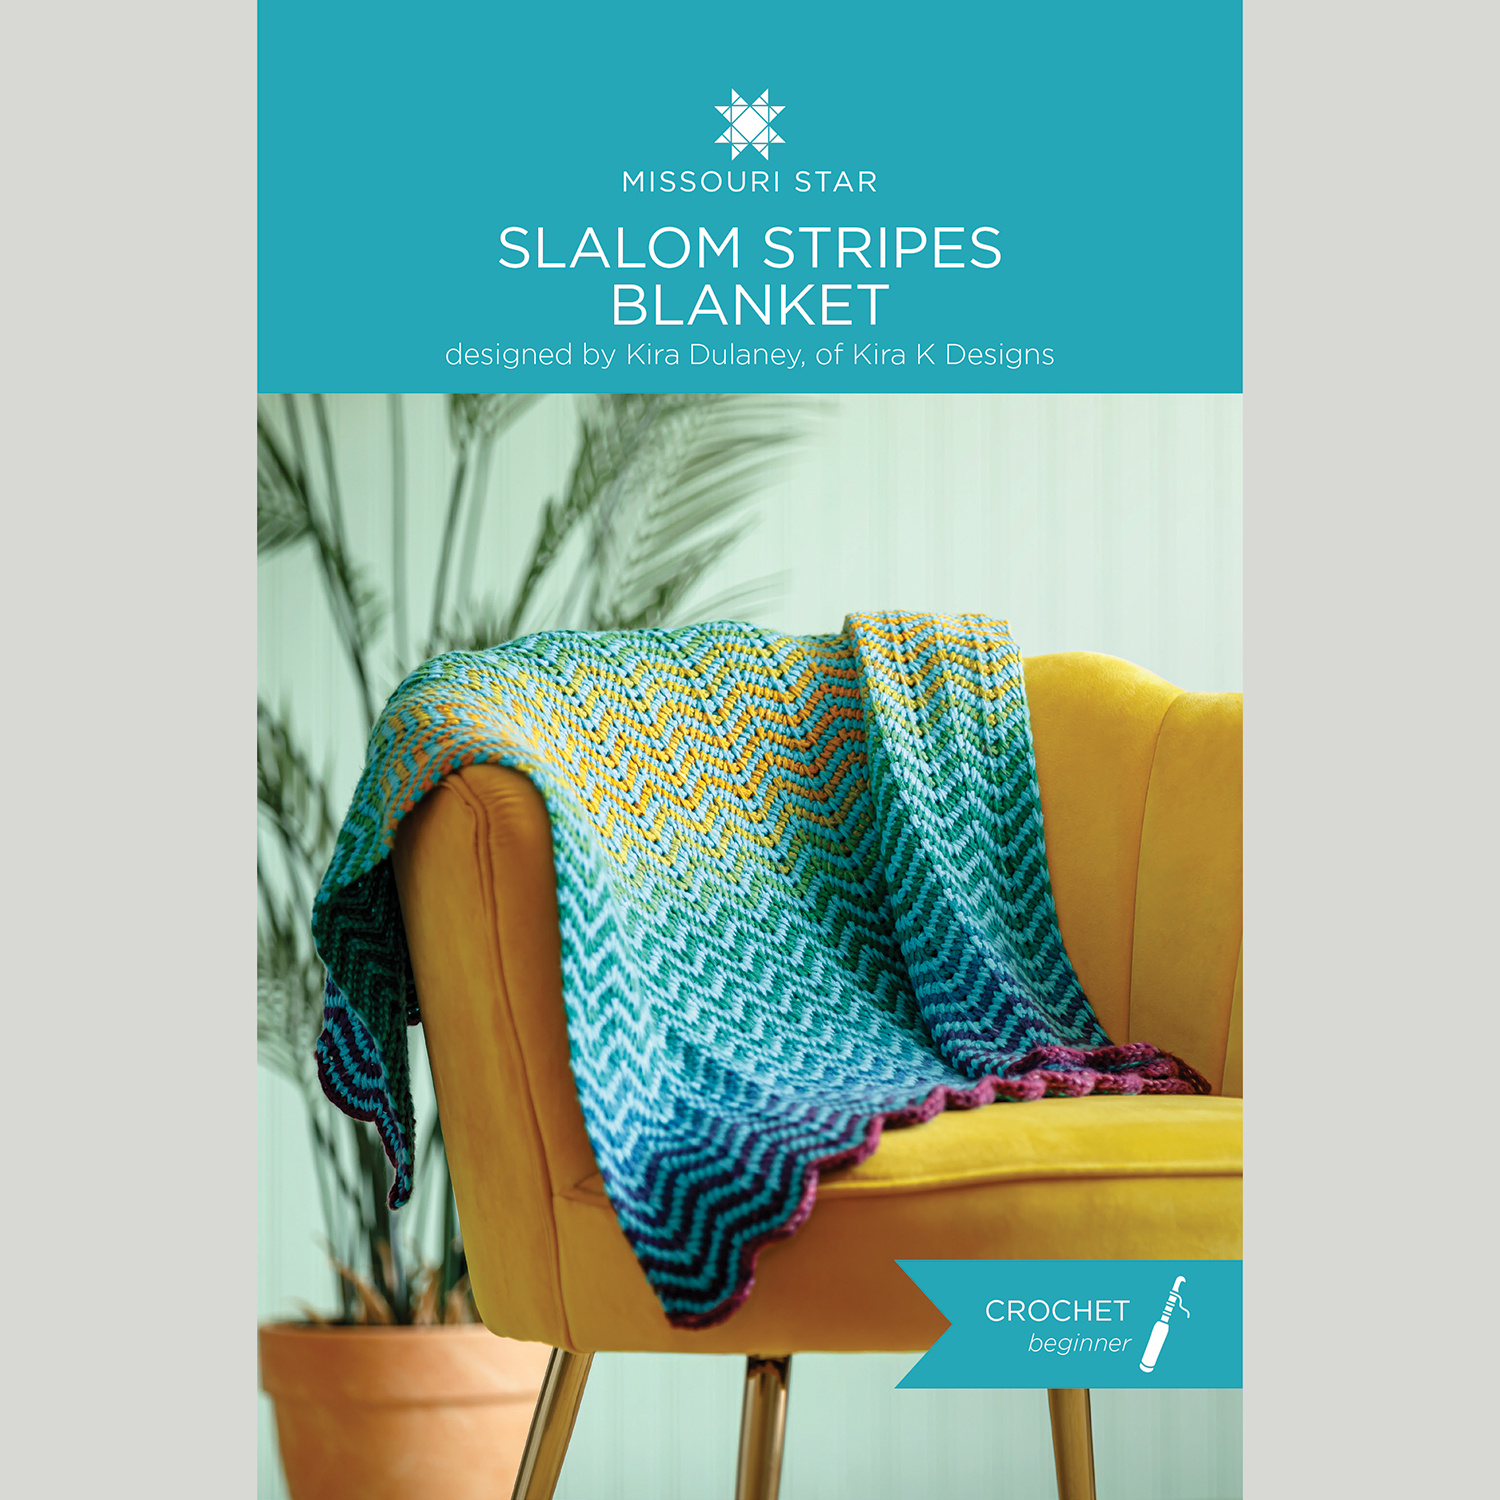 Slalom Stripes Baby Blanket Tunisian Crochet Pattern$5.00Shop →
 Digital Download - Slalom Stripes Baby Blanket Tunisian Crochet Pattern$5.00Shop →
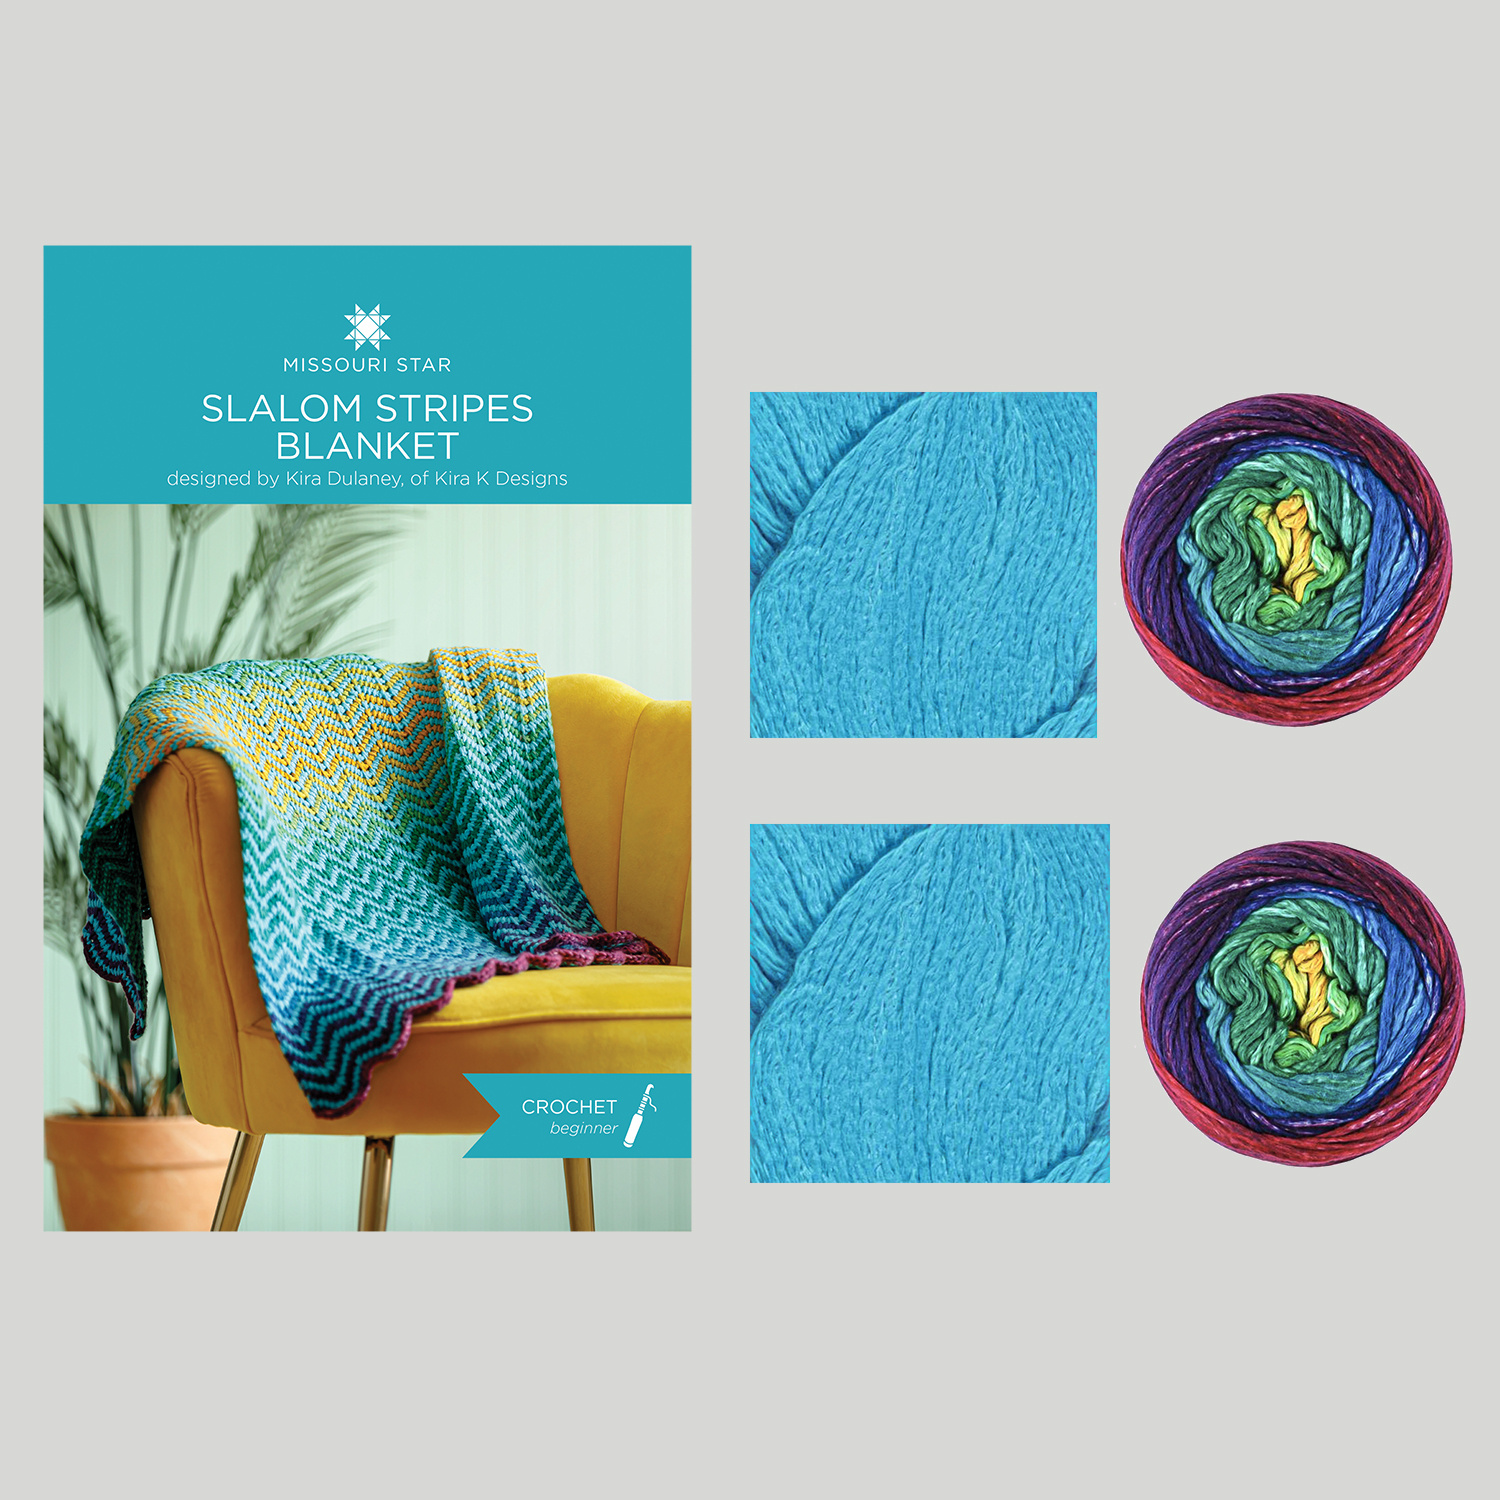 Slalom Stripes Tunisian Blanket Kit, Small - Aurora Borealis/Turquoise$99.99Shop →
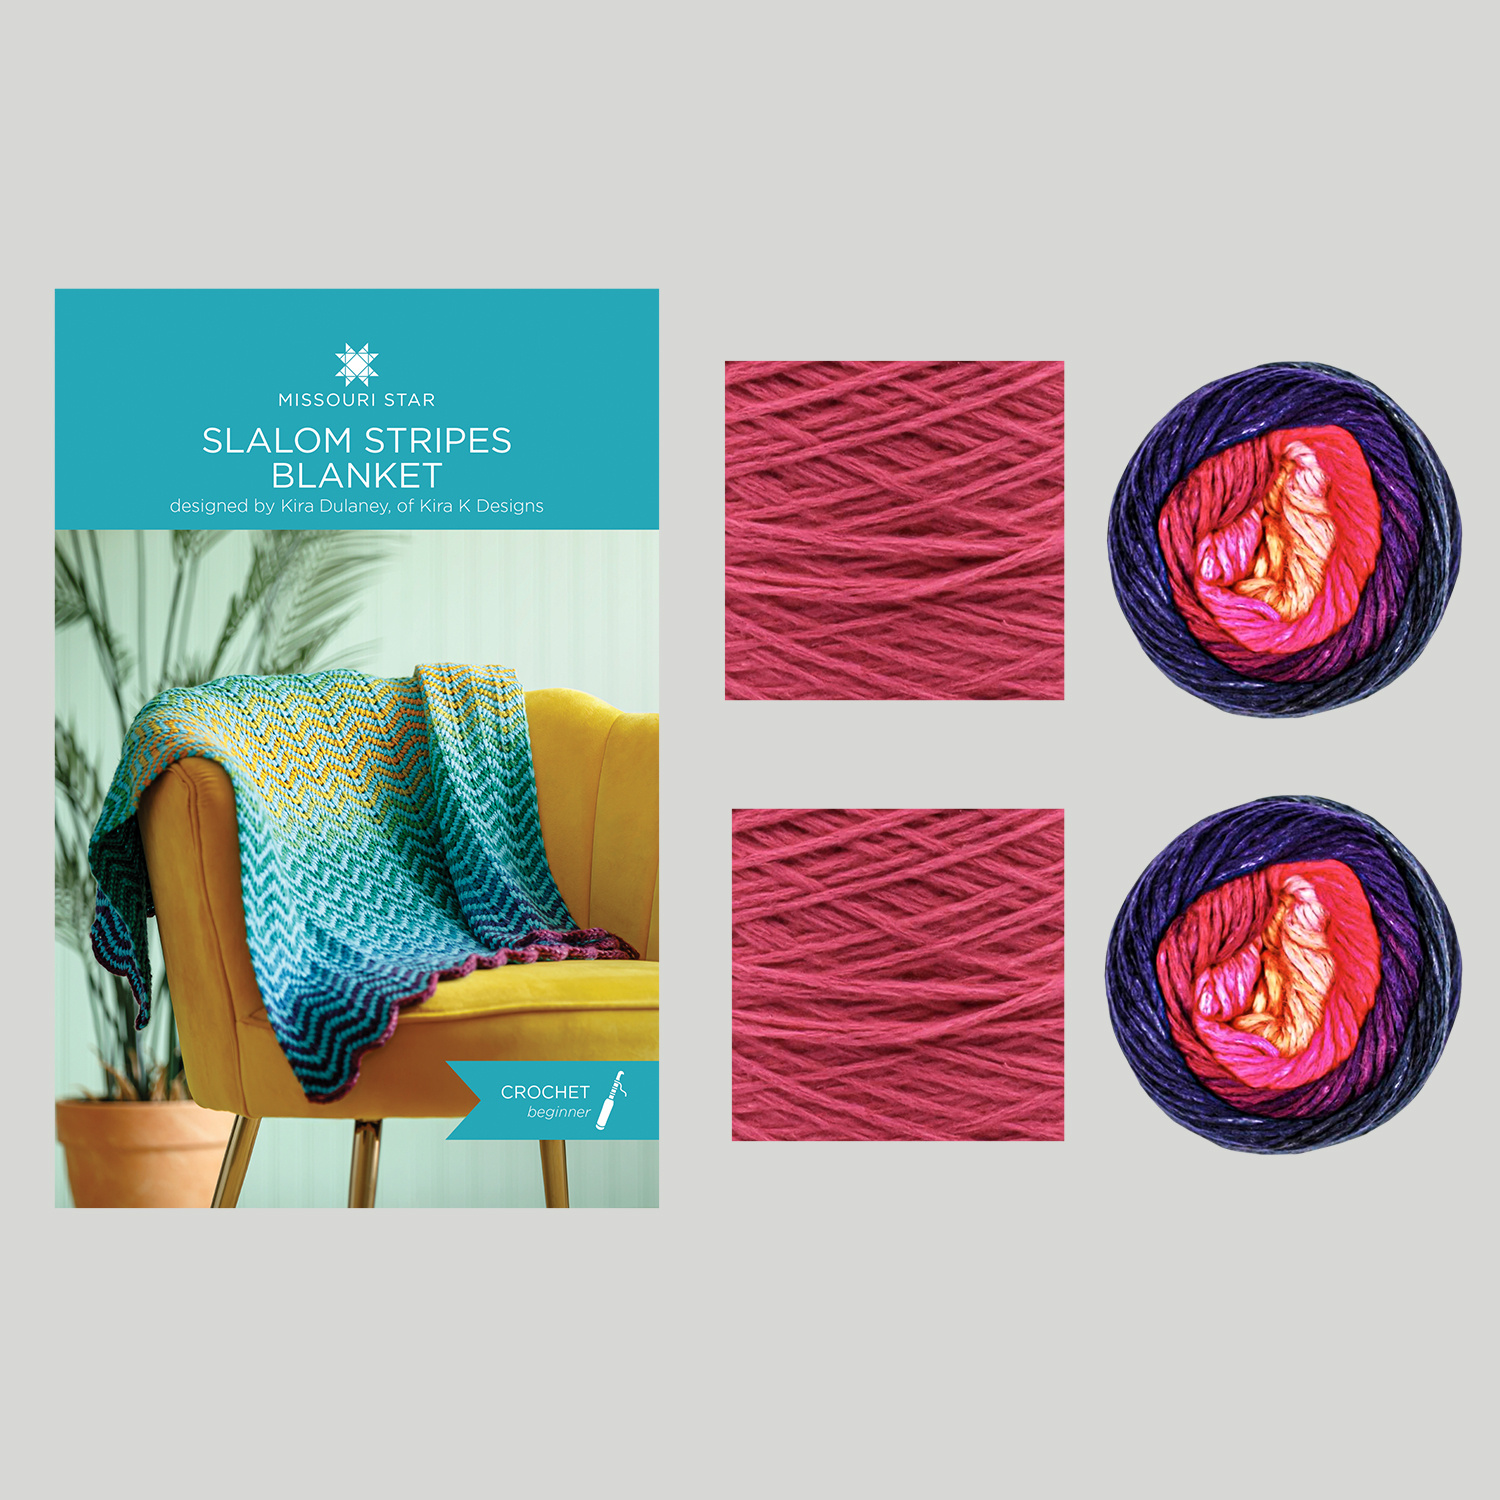 Slalom Stripes Tunisian Blanket Kit, Small - Nautical Twilight/Hollyhock$99.99Shop →
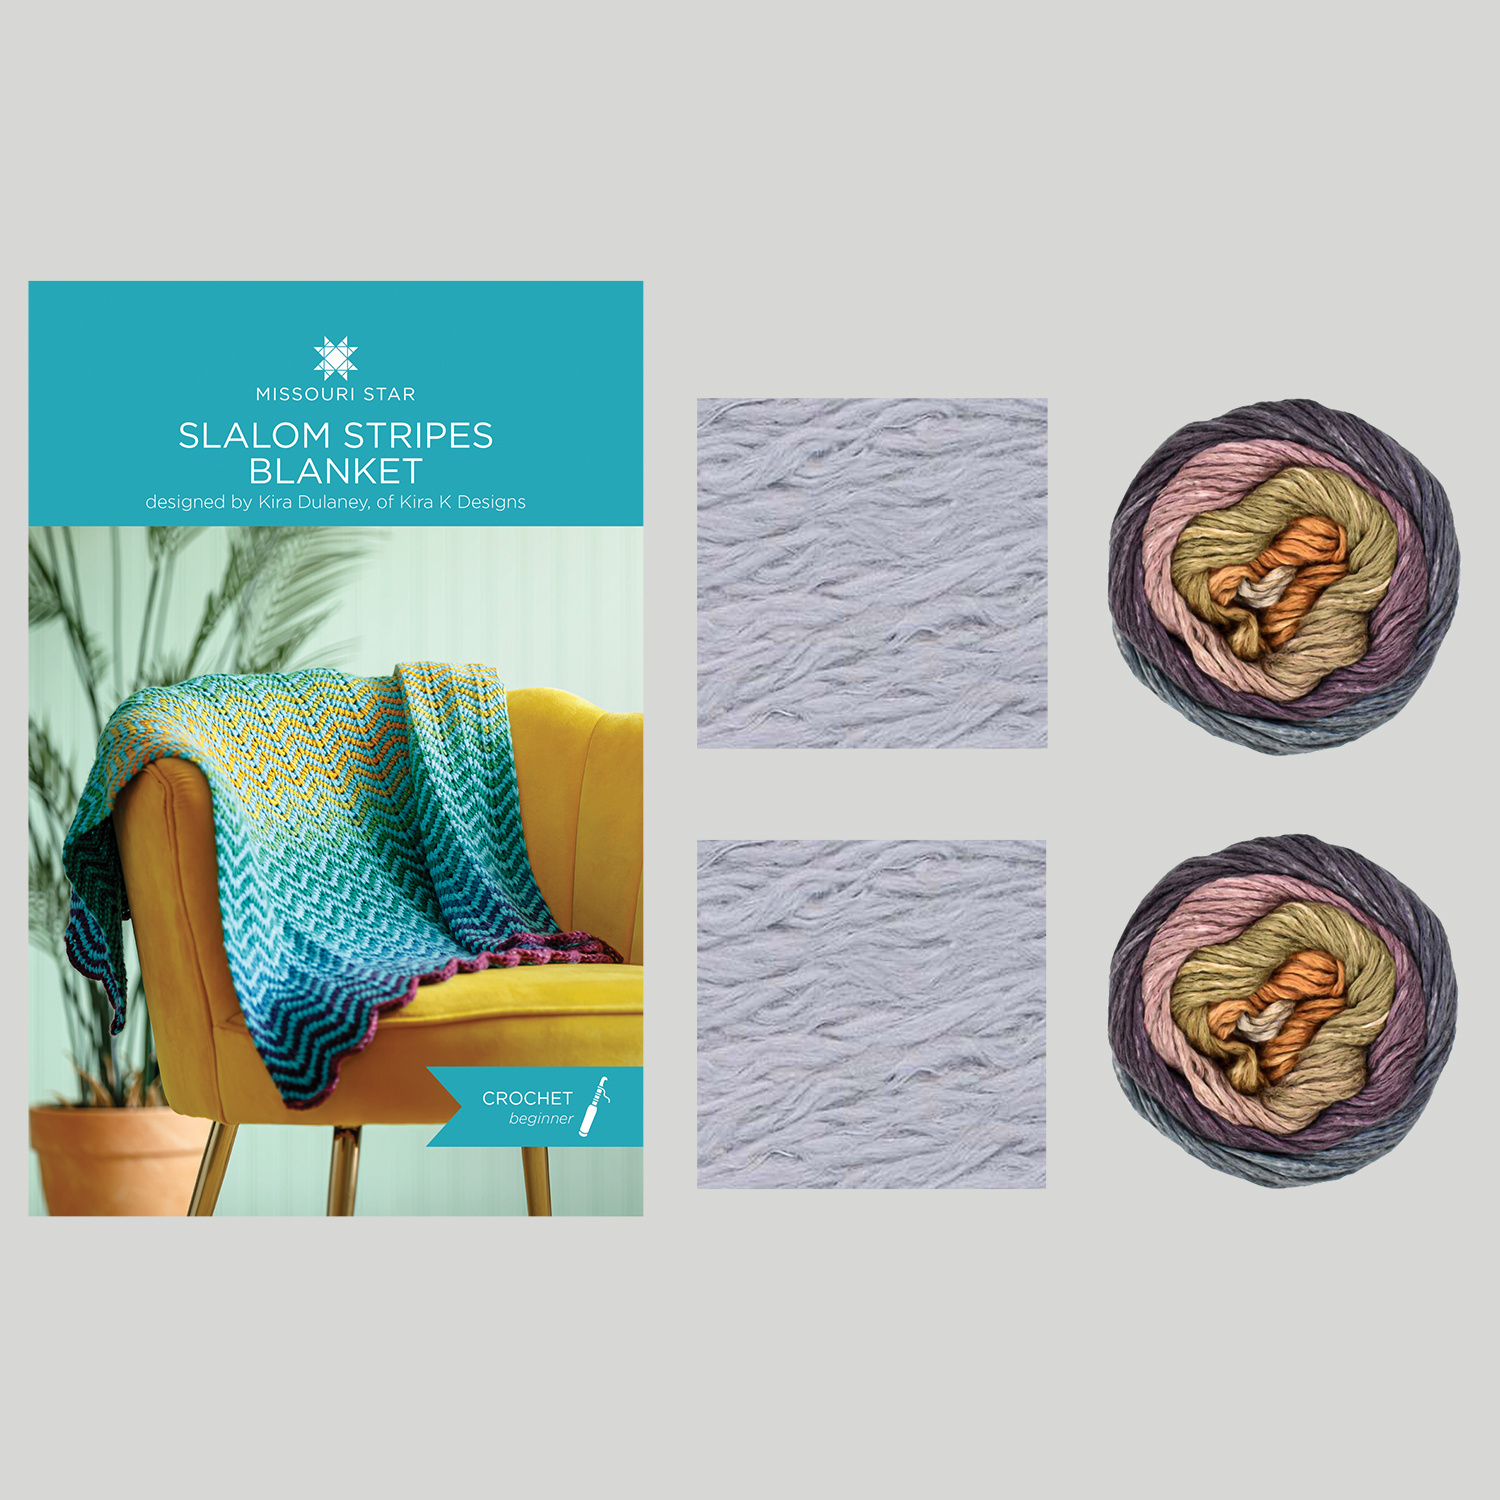 Slalom Stripes Tunisian Blanket Kit, Small - Sahara Skies/Stone$99.99Shop →
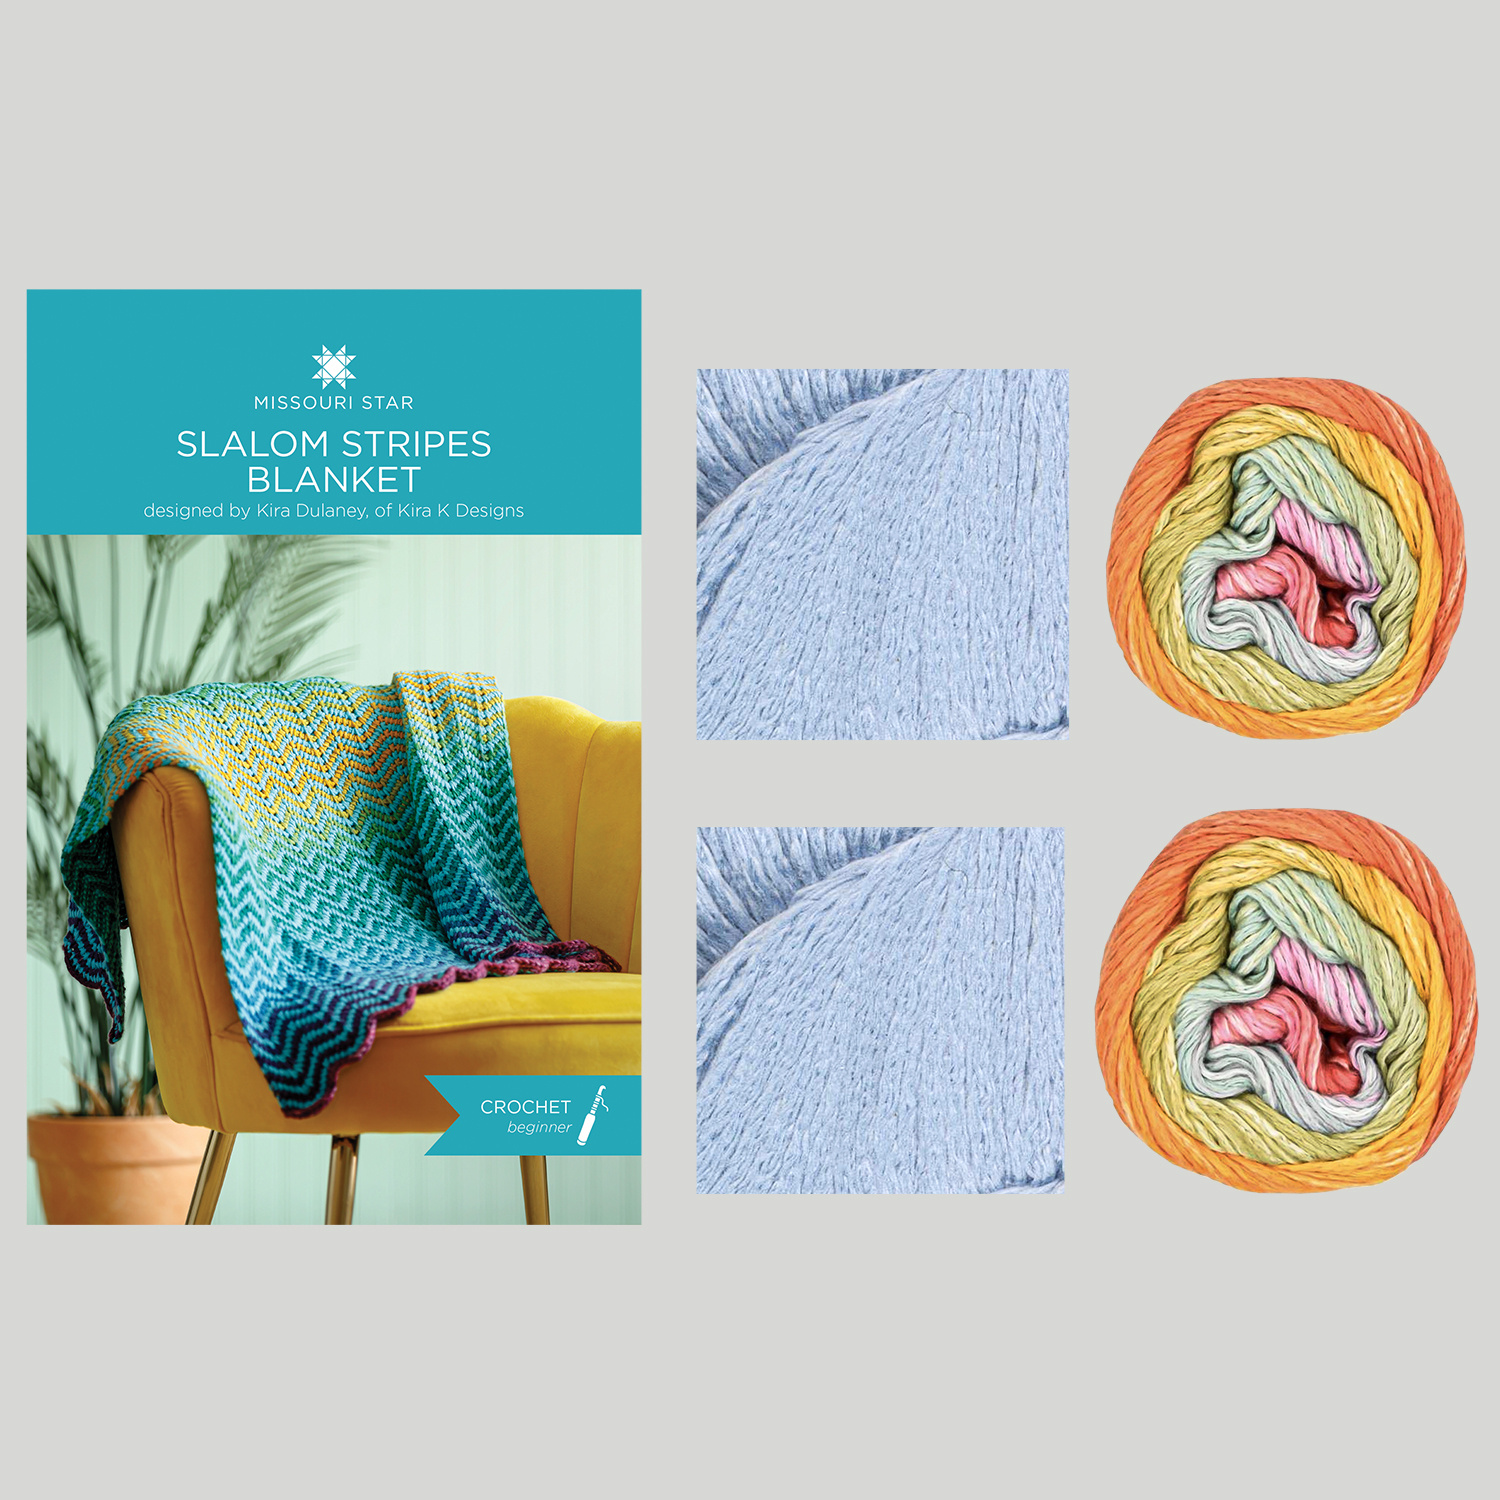 Slalom Stripes Tunisian Blanket Kit, Small - Prismatic Kaleidoscope/Toucan Bay$99.99Shop →
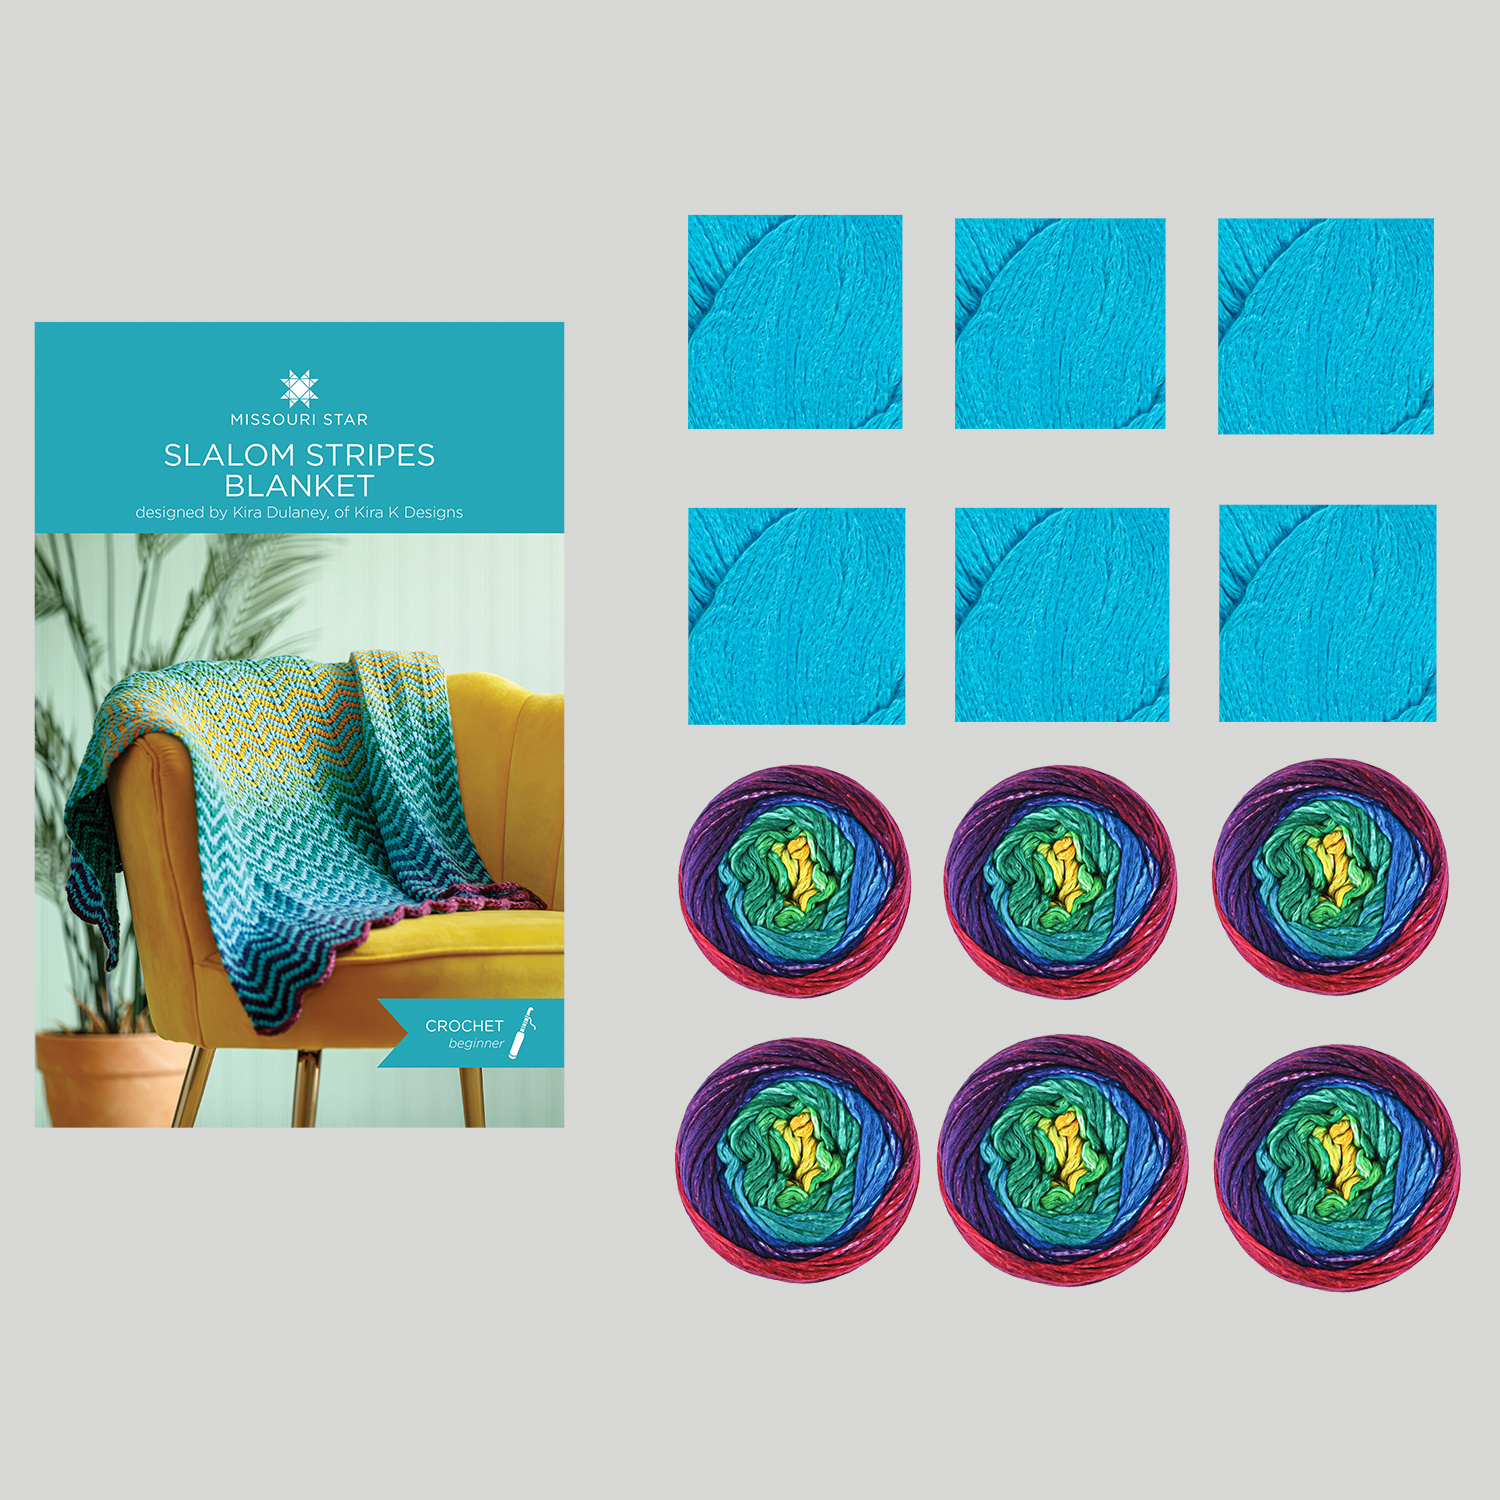 Slalom Stripes Tunisian Blanket Kit, Large - Aurora Borealis/Turquoise$289.99Shop →
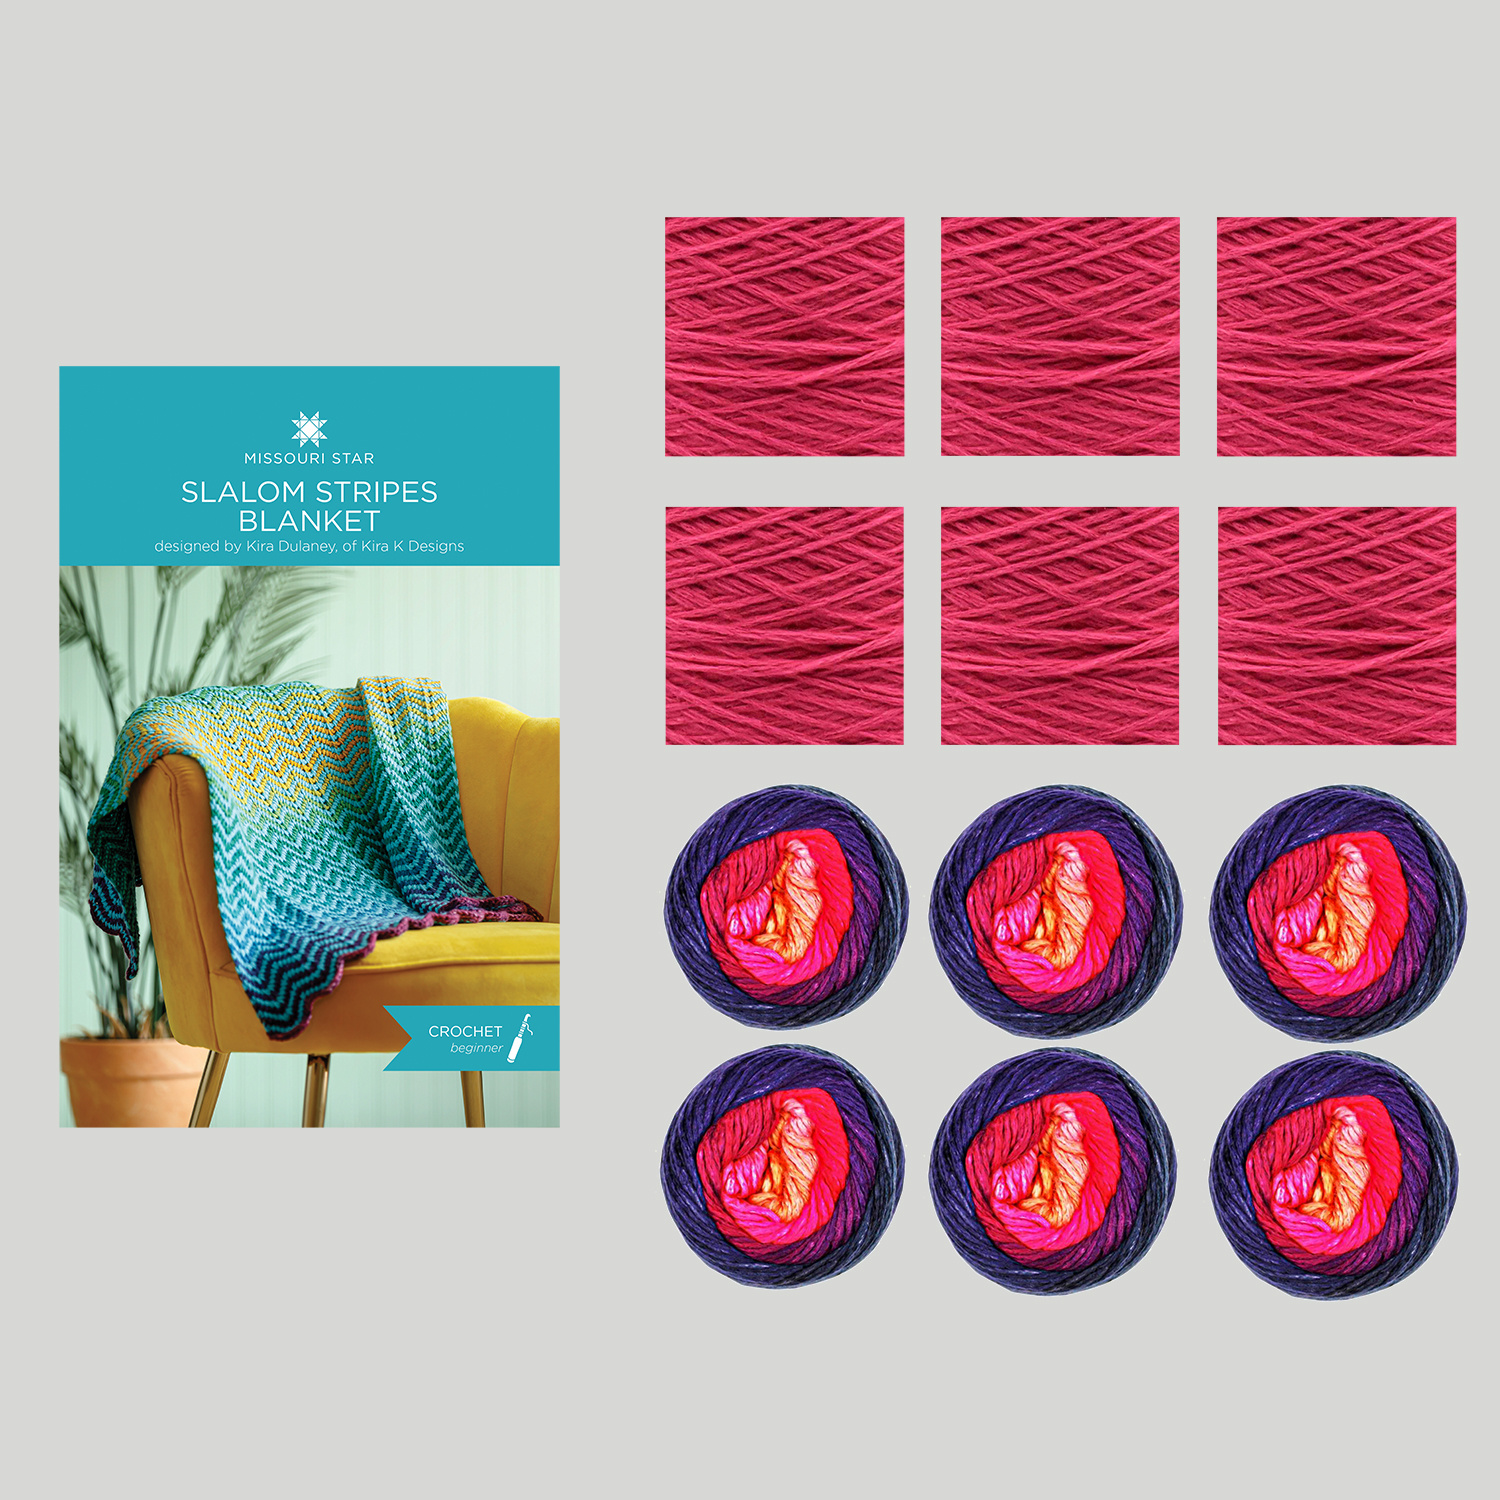 Slalom Stripes Tunisian Blanket Kit, Large - Nautical Twilight/Hollyhock$289.99Shop →
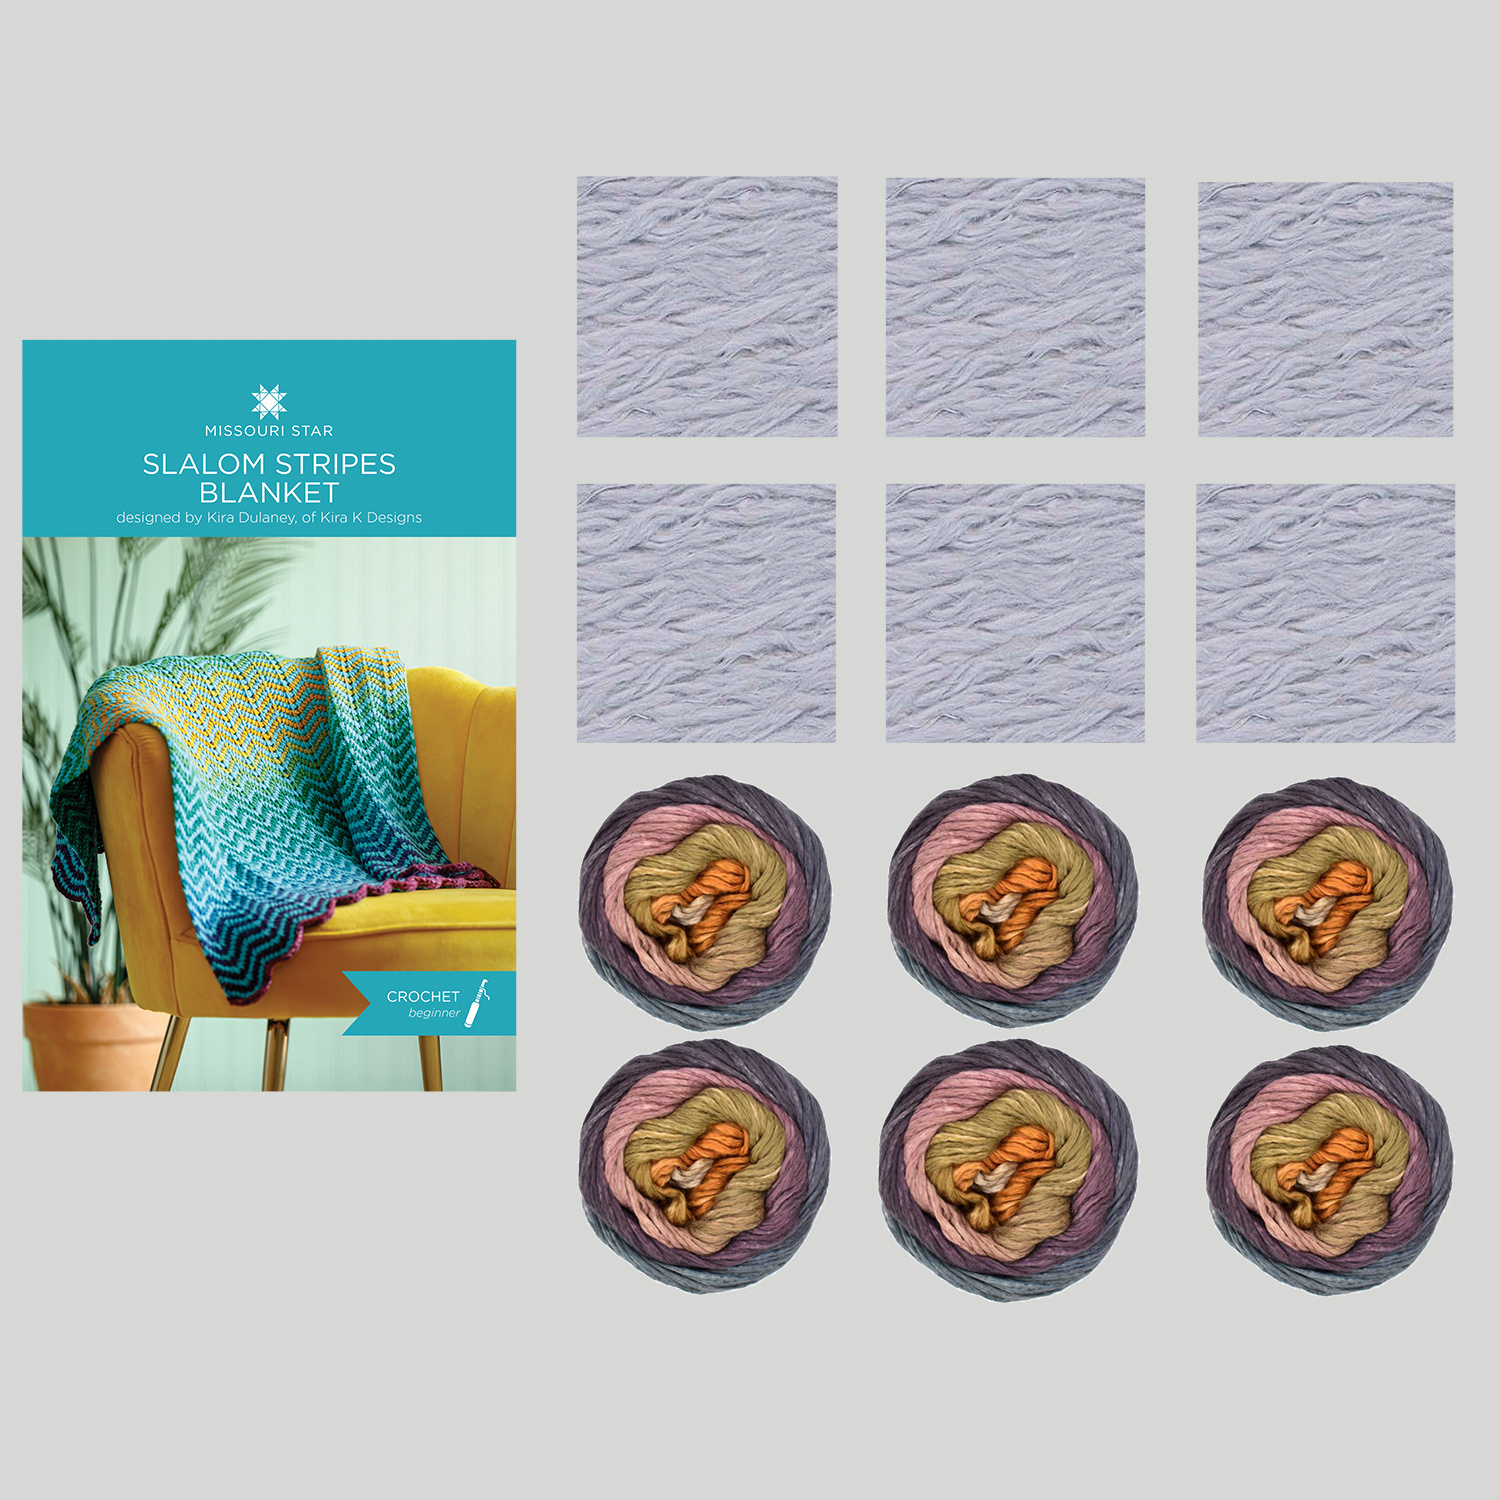 Slalom Stripes Tunisian Blanket Kit, Large - Sahara Skies/Stone$289.99Shop →
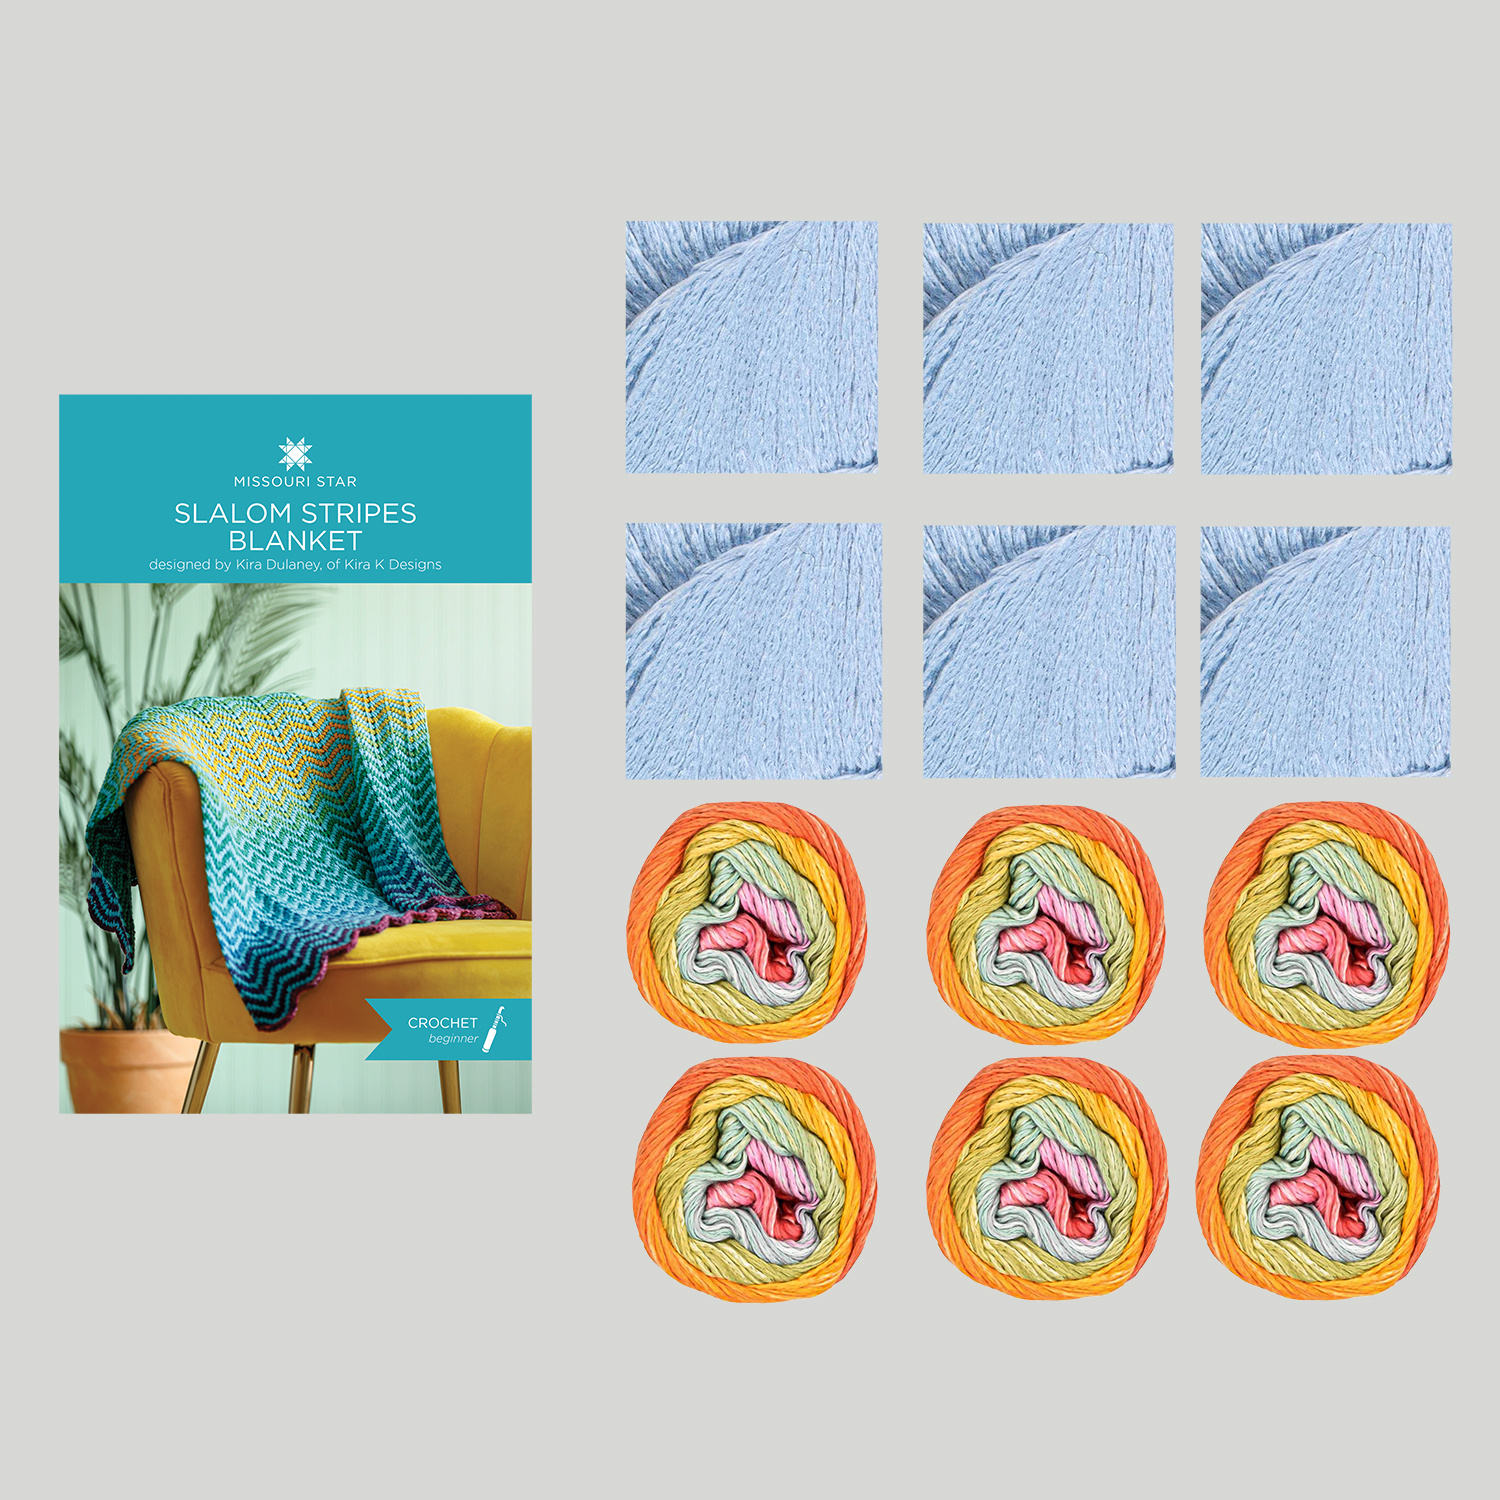 Slalom Stripes Tunisian Blanket Kit, Large - Prismatic Kaleidoscope/Toucan Bay$289.99Shop →
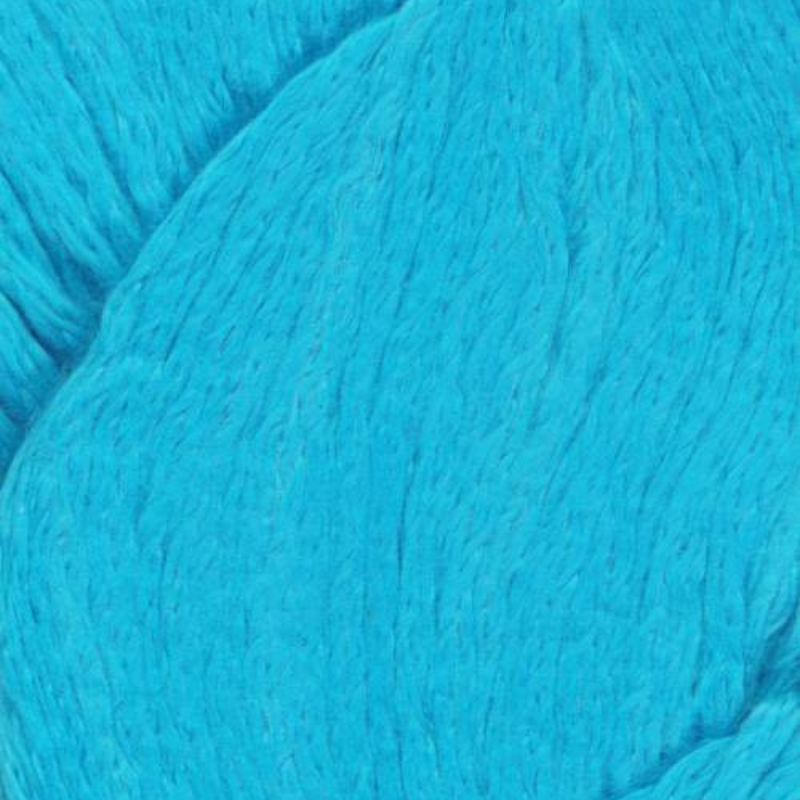 Juniper Moon Farms Cumulus Yarn$21.99Shop →
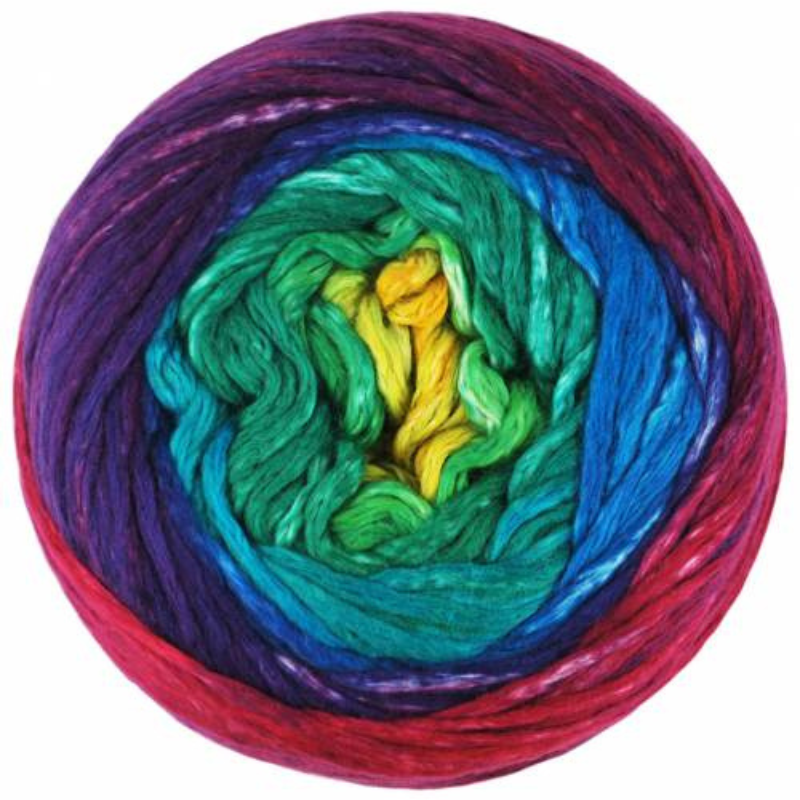 Juniper Moon Farms Cumulus Rainbow Yarn$24.99Shop →
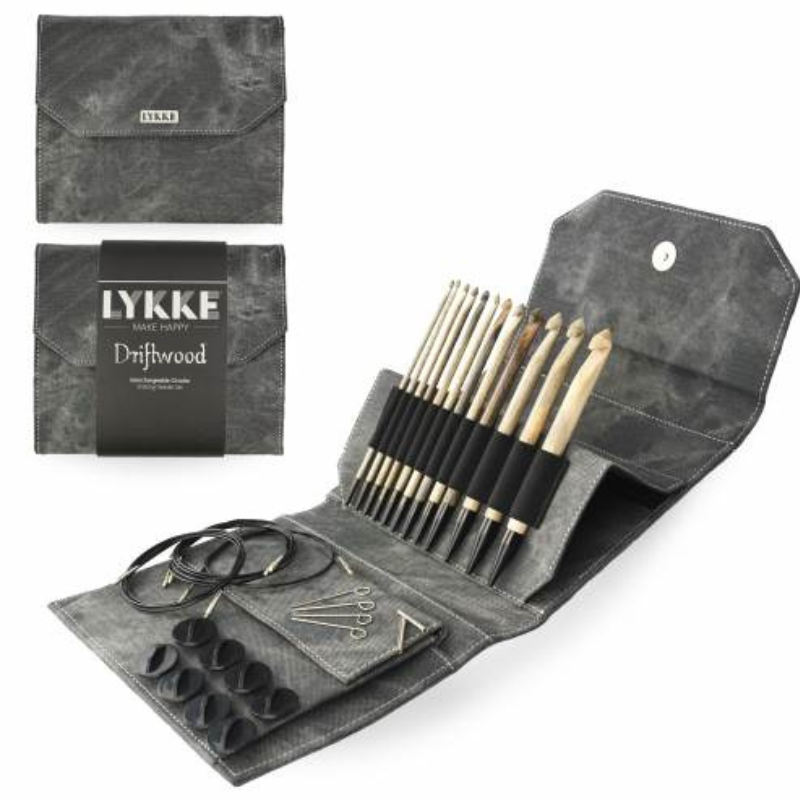 Lykke Driftwood Interchangeable Tunisian Crochet Hook Set$149.99Shop →
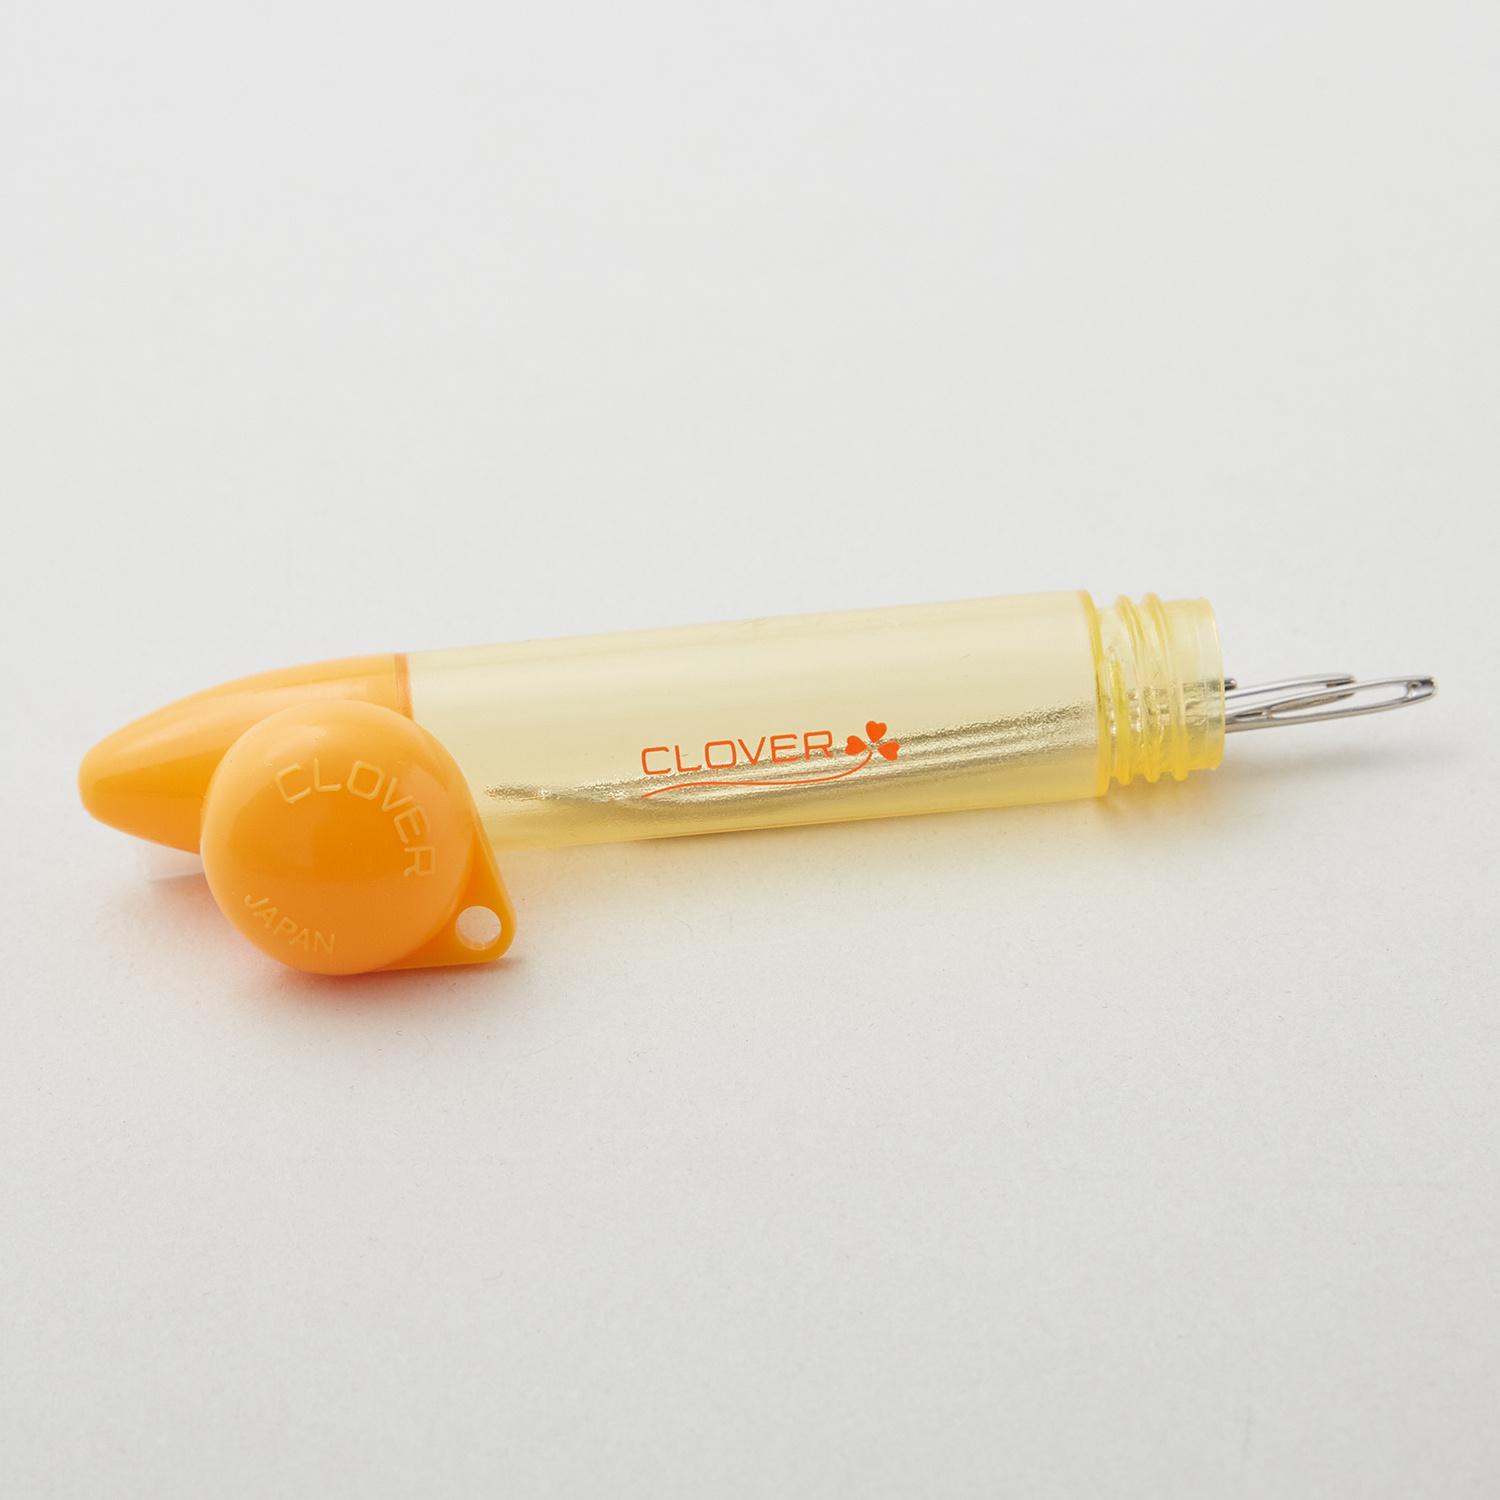 Tapestry Needle Set (Chibi Bent Tip)$6.95Shop →
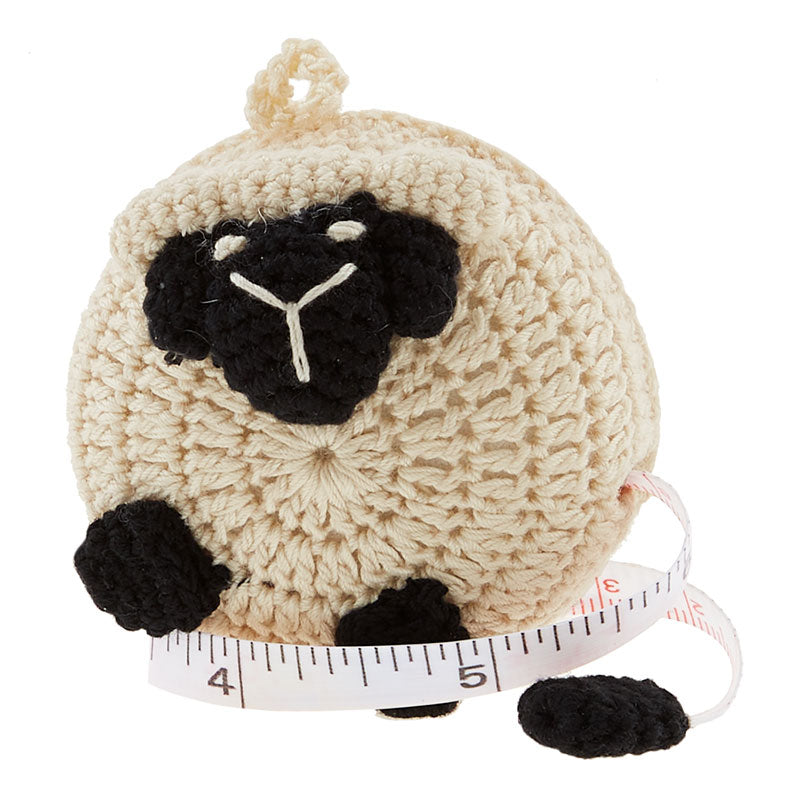 Animal Tape Measures$12.99Shop →
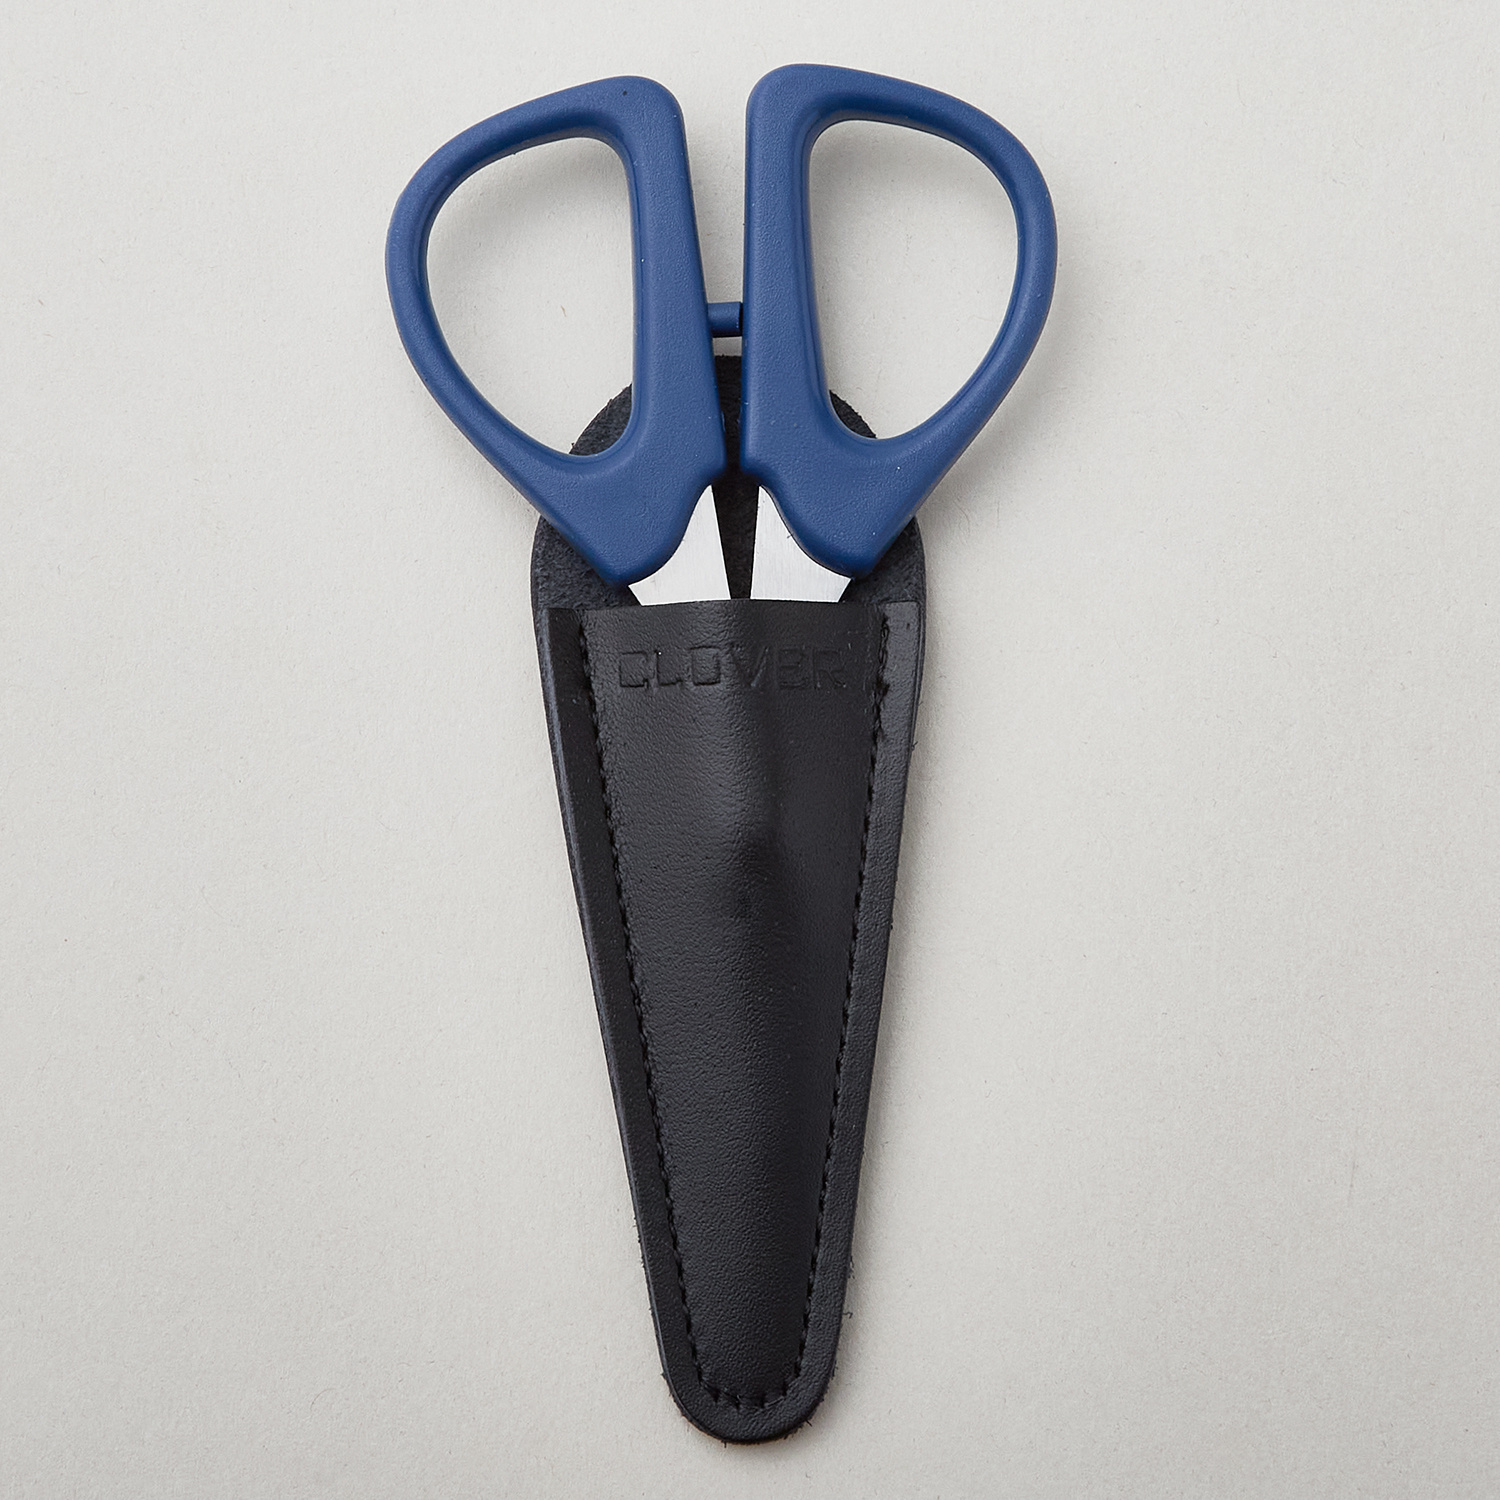 Clover Mini Patchwork Scissors$22.50Shop →
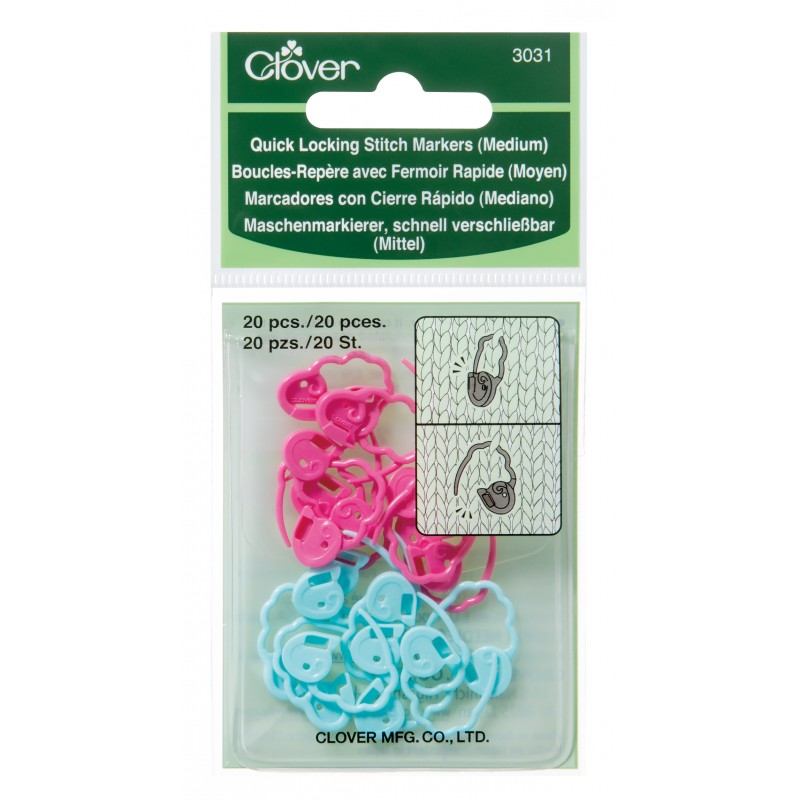 Clover Quick-Locking Stitch Markers - Medium$6.95Shop →
Common Questions
What is covered in Slalom Stripes Tunisian Baby Blanket with Kira Dulaney?
Crochet a baby blanket that’s as warm as it is beautiful! Made using Hybrid Crochet, also called Tunisian Crochet, the stitches created with this technique are dense and uniquely different from other crochet stitches. Join Kira Dulaney as she shows you how to make this cozy ba...
How long is the tutorial video?
The tutorial video is 00:31:11.
Video Transcript
[Music] hi I'm Kira Delany of kir K designs here continuing my pattern collection designed in collaboration with Missouri Star you've already done the bandana cowl or scarf to get the basics going now we're going to put it together into a slightly more complicated row but the good news is you get to do that row over and over and over so even if the first pass or two is a bit tricky you're going to get some pleasant repetition in it this is the slalom stripes blanket there are two sizes in this one and the yarn that I'm using here is from Juniper Moon Farms it's cumulus and there's two versions of it so I've got one of the solids and then one of their gradient cakes um and the fun part about this is that even though it's a big project and it is a little repetitive it gets really exciting to see the colors changing so for me that keeps me much more interested than if I was just doing two solid colors although you can certainly do that as well so this is a cotton yarn with just a little bit of nylon and it's a really interesting construction um the yarn itself is what we call a chain net which is a knitted tube let me get a lighter color so you can see a bit better so the yarn is actually a teeny tiny knit tube those of you who are knits are going to recognize it as iord if you look really closely um and the cool thing with that for crochet it means it's not going to split you won't have separate strands are applied together and can unapply and cause you to grab just some of the strands as your working it's really hard to poke your crochet hook through this yarn um which is nice it also gives it a little bit of stretch and bounce which isn't always true with cotton Yarns especially the fiber doesn't have the same crimp as a wool and so some cotton Yarns can feel a little hard and ropey um and be a little trickier on your hands maybe even cause some fatigue but this chainet construction is much better for that so if you're somebody who's tried cotton before didn't like it I suggest you give this one a try cuz it's probably a lot different than what you have worked with in the past it's also super soft which is great for a blanket um and easy to care for which is always nice for cotton I've also got for tools here a size J crochet hook and I put on a longer cord I'm just going to do a sample for today but when you're doing the blanket you do want either a long cord or a nice long straight hook um I like the corded ones because then the weight of the project rests more on your lap or on a table as opposed to resting on one wrist the whole time um you may or may not want a stitch marker for this one espe esally if you like to stop at the end of a row with just one loop on your hook a stitch marker can help keep that safe while it's in transit uh you will definitely need a yarn needle for the very end tucking in your yarn tails and a pair of scissors for when you need them but this project we're not going to cut the yarn even though it Stripes we're going to keep going and going and going through the colors for minimal finishing you can get kits for this at the link below or at missouriquiltco.com all right let's get started we're going to keep this nearby so that you can see it the thing I mostly want you to notice right now is the Chevron that we have this scalloped Edge we're going to be working today just in a simple Stitch so only one stitch but we're doing a lot of increasing and decreasing to create the pattern when you increase you're going to create the hill of the Chevron and when you decrease you create the Valley of the Chevron and we'll also have some plain stitches in between so if you already did the original project in this series you've done a bit of this and now we're going to put it together to a somewhat more complicated row but the good news is that the return pass stays the same throughout so I've got my yarn wound up I'm just using little balls that were left over I do want to make sure you know that with the gradient yarn you can work directly from this and I often like to work from the inside but you can make that decision based on which color you want to start with as well with the solid Yarns they come twist it up and if you undo this twist it's a big loop and if you start crocheting with it you're going to get a giant tangle and think that you don't like this yarn um but it's really just that the yarn isn't prepared so when you get it you're going to want to wind it into a ball and you can do that old school by having somebody hold it out in a loop while you wind it around and around and get a round ball like this or you can use a a Swift and a ball Winder to get a cake of yarn um and I like to work again from the inside of these as well just doesn't roll around as much on me but for today I'm going to work with my little rly poy balls now we're going to start the project with our foundation row it is the same as the foundation row that we did previously and a lot of stitches in um hybrid crochet or tanisian crochet start the same way so at the very beginning I'm going to do my chain stitch where I make a loop and pull a loop through that and put that on my hook now the blanket has two sizes and it's pretty adaptable to different sizes as well if you're trying to do something custom the numbers are all in there and I am not going to crochet a blanket for you today cuz it would take forever we're going to do a little sample that's going to have um two of our repeats so we're going to start with our foundation chain um for the sample I'm going to do 23 stitches which will give me two repeats plus my Edge stitches so I'm going to chain 23 as always try to chain them Loosely if you can imagine you could fit two hooks in there that is not too loose don't worry too much if it looks messy I think a little bit messy and functional is better than neat and even and nonfunctional and so tight you can't even do another row so go ahead and do 23 and I'll meet you there so I've done my 23 chain stitches and I've use some Stitcher markers to help me keep track of that especially with a big project like a blanket they're really helpful so this way what I usually do is chain 10 put a marker in the Stitch that's right below the working loop on my hook then it's going to end up on the next Stitch that you make so the the marker would go right below the loop that's on my hook at the moment and then I would count that 10 and make sure it's really 10 and then I would chain another 10 put a marker in double check that section and then when I need a lot in some projects you need hundreds I can just go 10 20 30 40 whatever it is and at the end here um check that I've got the right number afterwards so here's my last marker that's at 20 and I have 1 2 3 and then the loop on my hook which never counts as a stitch itself it's like the uh the potential to become a stitch and the way that that really clicked for me is when I realize at the beginning you make a slip knot you have not crocheted at all but you have a loop to start with and you always have a loop that's kind of a a standard thing that's happening so I'm now ready to do my Foundation row it'll be the same as the one that we did for the previous project I like to work in the bumps on the back of my chain and that makes the top Edge and bottom edge of the blanket look the same as each other which is a nice detail I'm going to skip the first chain insert my hook into the bump of the second chain yarn over and draw up a loop remember to keep them a little loose and I'm going to repeat so I'm going to do this across the row um I'm going to get there and count um and we'll do a return pass so if you want to meet me there it'll just take a quick minute so I finished my forward pass always a good idea especially if you're learning a new Stitch to count your Loops let's just make sure I've got the 23 I should have so I've got 2 4 6 8 10 12 14 16 18 20 1 2 3 and then I'm ready for my return pass the return pass is the same for a lot of different stitch patterns and specifically for the three that I chose for this pattern series to give you something a little easy and I find especially with the blanket where it's a lot of stitches it's great where half of every row is pretty simple so their turn pass here is going to be a yarn over and draw through one Loop and I often like to say when I'm teaching draw through just one Loop just one time to remind people that it only happens at the very beginning then I'm I'm going to yarn over and draw through two Loops repeatedly to get to the end of the row making sure I keep the loop on that's on my hook a little bit loose and just a reminder or if you're just starting with this project and didn't do the original one every Row in hybrid crochet which is also called Tunisian crochet every row consists of a forward pass where we work from our dominant side to our non-dominant side picking up loops on our Hook and the return pass where we work back towards our dominant side working off those Loops so um at this point I have now completed I'm actually going to pause right here and not quite complete it one row of the project even though I went across and back that still just as acts as one row now here I'm going to pause I've got two Loops remaining in my hook and that's because I need my other color for the next row and I want to change now to get a really nice color transition it'll feel better and look better if you change now so I'm take my new color I usually grab the tail of it and hold it alongside my hook in my dominant hand hand so that then I can get tension um as opposed to just having this dangling and I can't um hold on to it very well then I'm going to do my final yarn over and draw through two loops with my new color um and you might feel like that is a little early but you can see here I've got my purple row is very distinctly purple but I have a blue loop on my hook to start the next row if I waited and changed after this the purple would come up into the blue row and also it feel really loose and um hard to work with now I'm not going to cut the purple I'm going to use that again on the next row I'm just going to set it aside sometimes I'll even move it to a different side of me so it's more out of my way of my working yarn um whatever feels comfy for you is fine just don't reach for the scissors because then you would have so many yarn tails to weave in one of the beauties of the gradient Yarns is that you get to have a lot of colors without a lot of finishing and yarn tails to work through I'm ready for my forward pass of Row one um and it's going to feel a little loose because the loop on your hook is connected to the yarn tail you're welcome to hold that alongside the hook if it helps you just feel like it's a bit more attached otherwise don't worry too much about it it's going to feel better a couple of stitches in so the first thing I'm going to do is my make one increase so I need to rotate my fabric a little bit and find the bump on the back and it can be a little harder to find on this first Stitch so go ahead and track it down honestly if you don't get the right place it's probably not going to be a big problem I'm going to yarn over and draw up a loop so this is my make one where I've cre created a new Stitch between two existing stitches and then I've got three simple stitches so the TSS or chisan simple Stitch my hook goes in from right to left through the next vertical bar yarn over and drop a loop and again right to left next vertical bar yarn over and drop a loop and a third one at this point you should have five loops on your hook one you started with one from the make one increase and then the three simple stitches and now it's time to decrease and I'm going to decrease with a TSS two together which stands for Tunisian simple Stitch two together I'm going to do it twice so I'm going to insert my hook into the next two vertical bars again just skimming the the face of the fabric and yarn over and draw up a loop that turns those two old stitches into one new one and then I'm going to do that again in the next two vertical bars and that's going to create the um the valley of our pattern you can already see it's starting to curve a little bit on the sample now I'm going to do three more simple stitches so into the next Stitch drop a loop and I actually find that this can be nice if you're new to the craft because you can see I have all blue loops on my hook and if I made a mistake if I had just put my hook into this Stitch and not drawn up a loop it would be really obvious because I have something purple on my hook which means I'm not done that Stitch so sometimes people think stripes are hard I actually find they can in some cases help Orient you to what is this row and what is that row to um keep you from making mistakes sticks so now I'm ready for the hill of my pattern um which is going to be two increases and it's hard to do two increases right next to each other like the decreases so instead we're going to do an increase and then a plain Stitch and then an increase it also creates a pretty pattern on the project so I'm do my make one increase again I'm going to rotate my fabric a little bit to find the bump on the top it's almost a little bit on the back a little bit tighter too yarn over and draw up a loop there I've increased one then I'm going to do a simple Stitch and notice how the vertical bar for the simple Stitch is very very close to where you just pulled up a loop careful you don't skip that and move on it's also a good um reason for doing a sample Swatch even if you're not super worried about gauge you might be worried about running out of yarn but also gives you a chance to get to know the stitch pattern without lots and lots of Loops so I did my make one increase I did my simple Stitch I need another make one so again I'm going to rotate this a little bit find that bump on the top draw up a loop there and then I'm ready again for three simple stitches that first one is real close so one 2 three simple stitches and then we're already repeating so the way I kind of count this out in my head is I go um from the beginning we had our increase and I go 1 two 3 those are my simple stitches and then decrease decrease one two 3 increase we did have to a plain Stitch there too increase one two 3 and having them the same um looks nice but also gives it almost a rhythm as you're crocheting which is really handy so now for my decreases I'm going to do simple Stitch two together twice there's one here's the second one and my one two three simple stitches these Ripple and Chevron stitch patterns are made with increases and decreases but we do need some plain stitches in between and it also um feels good as a crocheter to have a little bit of easier Stitch now I'm near the end I have one more actual Stitch to go but I need to do a final make one increase first so I'm going to find that bump on the top yarn over and draw a loop and then for the final Stitch my preference is to go through two Loops of it cuz I find that gives me a neater Edge you can try doing one Loop and try two and see what you prefer so my final one I've gone through two Loops two strands rather of the last Stitch and yarn over and drop a loop now even though we've increased and we've decreased we should still have our 23 or for the blanket the same number you started with your foundation chain so I'm just going to check to make sure so I've got 2 4 6 8 10 12 14 16 18 20 23 now when you're doing the blanket if you like to count it's another time you can use your Stitch markers and there maybe you'll count up to 20 and stick a marker on your hook maybe you'll even do that as you're crocheting it do the first section check it put a marker on now you know that one's done and you don't have to worry about it and then do the next section put a marker on it check it and it's easier at the end cuz you didn't not want to get to the end of a really long row on something like a blanket and realize you're missing a stitch or you have an extra Stitch I'm also going to show you on the next row how you can look at it visually to line up this row on top of the previous row so forward pass is done I'm halfway through my row I need to do my return pass it's the same as it was before so I'm going to yarn over and draw through one Loop and then I will repeatedly yarn over and draw through two loops and then we'll meet back with two loops on our hook to change color all right so here I am almost done my return pass on Row one I still have two blue loops on my hook and I'm going to pause there because it's time to change to my purple yarn now I tend to like to move my balls of yarn around so that I can have the one that I'm working with towards my left since that's the hand that tensions my yarn and also just makes me feel neater in the space I don't have the two balls of yarn rolling around and tangling up with each other so to finish my Row one return pass I'm going to switch colors yarn over with my new color and draw through my two Loops you can see I've got a blue row with the purple loop on the hook you'll also see it's starting to create your chevron pattern which is kind of fun to see that it's already has that wiggle going on now I'm going to repeat Row one nothing's going to be different about it except that instead of working into my Foundation row I'm working into the previous pattern row which actually makes it easier because there are things you can look for to see that everything is lined up now we start with make one increase it can be really hard to find the bump on the back back of this first one especially with the color change that's happening here so you absolutely have my permission to go in this top strand it's not exactly a make one but it's really subtle and it is a whole lot easier so feel free to do that on this very first one and then I'm going to do my three simple stitches and you can always check that then you should have five loops on your hook one you started with one from the make one and then the three simple stitches now in my rhythm that's in my head it is now time to decrease and I'm just going to take a look at it and make sure it's really time to decrease and things are lined up so looking at the previous Row in the purple I have my thumbs here on the two decreases you can see two strands kind of come up and almost an upside down V shape and then the blue loop came out of them this is lined up perfectly because now I'm going to decrease these two stitches and then I'll decrease those two stitches so the space in between the decreases is perfectly lined up I'm going to do that and then show you what it looks like so here's my my simple Stitch two together twice and you can see there's like a little Gap almost um not a big hole just a little space you can see that things are lined up really nicely we'll do the same with our increases but first I've got three simple stitches so now it's time for me to make one increase and then one simple Stitch and then make one increase and you can see here how I've got this nice vertical line my simple Stitch that's in the middle is going to extend that vertical line it's another way for me to make sure I'm in the right place so for my make one I'm going to look at the back find that bump it's always a little tighter yarn over and drop a loop and then I've got my simple Stitch which is right near it and then my other make one and here again we've got something that lines up vertically so you can see that everything's in the right place I'm going to pull over the blanket here just so you can see up close how that works so this line here these are my decreases the decrease decrease and there's that little Gap in between I actually think it's kind of a pretty detail and then you also can see this vertical line here which is the increases and I like to see that those are lining up in my row especially if I have a big long row for the blanket to make sure that everything's in place and I'm not going to get to the end and be a little bit off on my Stitch count I'm now ready for my three plain stitches so simple Stitch 1 2 3 time for my decrease I'm just going to check the of the two stitches I'm going to decrease together the second one is on top of the first decrease from last time so that is perfectly placed so simple Stitch two together simple Stitch two together and I've got my 1 two 3 and I want to warn you when you get this close to the end it's really easy to just do the last Stitch because that's what you're used to in other projects but we do really need that make one increase here now if you forget it you're going to count your stitches any anyway at least for the first few rows and you will notice it and it's a mistake that just happened the end of the row is the best place to make a mistake the beginning of the row is really frustrating place to make a mistake but just slow yourself down a little bit as you get to the end and remember there is one more make one before that final Stitch so here's my final make one and then my last Stitch again I like to go into those two strands you can count your stitches make sure that you've got your 23 for this case or the blanket depending on the size you'll have a different number of stitches eventually might not count but at least for the first few rows of your Swatch it is not a bad idea to make sure then our return pass will be the same as usual on the when I'm down to two Loops I'll switch colors and I'm going keep doing that over and over and over again um now I want to give you a couple of tips and also talk a bit about playing with color because this is a great project to do that so on the blanket and this is the baby blanket size there's also a throw blanket size as well I needed more than one of my gradient skains so I just got started I picked my color I actually on purpose started with the ones that have a higher contrast and value my solid colors are light and so rather than starting with a light which is kind of a bright yellow on the inside here I started with a dark purple so I could see the stitches and see the rows and also so that you can see the stitches and see the rows when you're doing it um and eventually I ran out of my gradient yarn and that was in the middle since this particular project takes two of each color and rather than starting with the purple again um I started with the yellow so I finished the yellow my first gradient and then started the yellow on the second one so I get this smooth transition had I started with purple there would have been a really harsh change what changed from the bright yellow to the dark purple and that would have been a little glaring to my eyes this also means that for this particular project you've got nice symmetric edges when you fold it the two purple edges are together which is kind of nice as well so let's actually talk about color for a minute because this is a great time to play with color um I chose a pretty bright color combination cuz I like bright stuff um in general but also for babies and I have trouble resisting a rainbow but I've got another sample here um that would be a very different look for the blanket so we have a little bit more of a neutral gradient and if you're really gentle you always peek at the inside of a gradient because it looks like there's almost none of this color when it's just naturally in here but it's going to be the same amount as the other color at the opposite end um some yarn companies even wind their gradients at half of the balls they wind the opposite direction to help people realize what that inside color is so here I've got something that's a bit more neutral so we've got the Grays I've got kind of a rose color and it goes into um a little bit of a um almost an olivy green into this orangey color it has more color than you think looking at just the outside and it's been paired here as a suggestion with a neutral but I can also pair this gray neutral and I thought about doing this exact color combination with the rainbow and that looks kind of awesome too um I I'm not sure I would pair these but it' be worth swatching because sometimes it's surprising what's going to go well together um of course we'll have some kits that give you different ideas of colors that you can do but um it's also fun to play around and see see what you might be interested in when I was um on the newer side I used to work a lot I actually used to work a lot with black cuz I wore black and I had very young eyes and it wasn't that hard to see and I did a lot of gray cuz I knew I'd wear gray um but it's kind of nice now to get into wearing some brighter stuff and I probably wouldn't have picked up a sweater in this nice bright green color at a store but I dyed the yarn and the yarn was fun and I wanted to use the yarn that I dyed so it made sense to make a thing with it and now I wear it all the time and get a lot of compliments on it because it's bright and colorful and cheerful so um for the blanket you're going to keep doing that same row it's Row one over and over and over and over I hope that the gradient yarn helps keep you interested in doing it and keeps it from getting boring um at the very end we're going to need to do our finishing row so I've got a sample here got a little Tangled that's a danger with the cords they sometimes get tangled in your yarn um I've got a sample here and I have just finished almost finished the final row with my solid color yarn I'm about to work with a gradient yarn I haven't crocheted enough for you to see the gradient actually happening but it is the one that's purple that's going to transition through um the rainbow into yellow I like to start with the same color as I ended so since I started with that I'm going to end with it and so to finish my row here I'm going to do a yarn over and draw through those final two Loops so that I have this color on the hook and the finishing row is going to be similar to what we did with the previous project I'm going to work single crochet inserting my hook as for a tanisian knit stitch which means rather than going through the bar I go into the loop straight through to the back and let me do that again I'm actually going to do this one quickly I'm going do the next one slower so you'll be able to see the next one better this one since it's got the make one it's a little harder to see the angle so drawn up a loop and I'll yarn over and draw through both loops and I'm going into my next Loop that's over here into that Loop yarn over and draw a loop yarn over and draw through both check yourself after a little while because once you've done a whole blanket you are very likely to want to get a lot of loops on your hook here two is the most you'll have halfway through a stitch and every time a stitch is resolved you should be down to one so we'll single crochet all the way across um I usually on this row don't bother with increasing and decreasing um some people do like to do it I find it's not necessary to keep the Chevron shape and it gets a little messy to have those increases or decreases right at the edge it also kind of mirrors our original Foundation row we didn't increase on that or decrease on that um it is possible to but again I find you don't need to and it makes the edge look a little bit neater so you can see here I've got doesn't look quite the same as the other Edge but we at least are mirroring the colors and as usual it didn't look great before I did the finishing row um this really does kind of cap it off and fill in those gaps in a nice way for a nice clean finish the other thing to be careful of is that you don't start working tight because um a lot of people do when they're on that finishing row they just grip a little harder maybe they're racing to get it done um but if it's tight you will get an edge that has less stretch that maybe even pulls in and puckers your fabric which you definitely don't want to do and actually I want to show this I just poke through my yarn I mentioned in the beginning it is hard to do that with this chainet style yarn it is still possible um so I'm just going to undo that Stitch and do it again I sometimes even get my hands in here and kind of get that stray strand out of the way and as usual on the final Stitch of the row including on this finishing row I like to go under two strands at the edge CU I find that gives me a really nice clean finish and then we're going to take my scissors you don't need a long tail for this just enough to weave in and draw through that final Loop to tie it off now as with pretty much every project in my opinion you're going to want to block this um because blocking is going to smooth things out you can kind of see on the table it's a little bit um textured and three-dimensional that's not shocking cuz increases and decreases shape things it gets smaller here and bigger here so I'm not shocked that this kind of poking up over there um why don't we just go ahead and do some blocking together I'm going to get some water and I'm blocking that and I'll show you the process it's pretty quick and easy but that way you won't be worried about it all right so before we block we're going to weave in our yarn tails and I've got one here to show you I like to weave in the tails on the wrong side of the work and I'm going to start by putting my needle in not exactly where the yarn came out but somewhere that's pretty close and insert the needle I like to go in a a 45° angle if I can it really depends on the Stitch but this one I can really nicely about half an inch or so um check that the needle covered up on this side so you don't see through don't see big flashes of needle and also it doesn't go through to the other side it should be invisible on the other side pull that through gently you don't need to pull tight just go to there's no extra and then I like to turn it and come back right next to it you can go on either side maybe this side feels easier doesn't really matter um but the turn really helps keep it from coming out especially for something like a blanket that hopefully you're going to have in your family for a lot of years and it'll get washed a lot you want to make sure this tail is buried two passes is often fine but if you're feeling a little nervous or if you really just know this is going to be an heirloom and kept for a long long time go ahead and do a third pass it can't hurt and if it makes you feel more confident it's worth that extra two seconds and then if there's any extra I just cut off whatever's still there you don't have to re even your ends before you block but um it can be nice to do I'm just going to give it a little bath so this is just some regular water if you know this got grimy you can certainly put a bit of soap in but really what we want here is for it to get wet and if it's floating I'm going to leave it for a minute maybe flip it over or squish it so it really gets wet inside the stitches inside the center of the yarn so everything's completely saturated um just spritzing with water isn't going to do a good enough job of blocking we want to get it real wet and and then we're going to get it pretty dry so I'm going to set up my blocking mat I just need a little one here cuz I just did a little Swatch and squish out the water I sometimes will um roll it up in a towel or a paper towel just get out more of the water that'll help it block and dry faster cuz I am usually really eager to get the thing uh to photograph it to use it to wear it whatever that is so we got it really wet and now we've got it pretty dry um it's definitely still damp but it's not um super saturated anymore and I want to wiggle into position so what I usually do here is pull a little bit so that my Chevron Chevrons a little bit more and then I'll smooth out the edges for a project like this you don't necessarily have to pin it in place but if you do have like a corner that's really flipping up you could certainly pin that um you definitely want to use a pin um that is stainless steel you do not want to use a thumb tack and get it Rusty I know because I've seen people do that and get really sad when they have rust stains forever and ever on their project now with the Chevron I usually don't find a whole lot of curl to the fabric but if you do find that all of your little scallop points are curling upwards go ahead and just block it upside down and then the tension of the fabric against the blocking mat is going to help and if you need to pin a corner you can certainly pin a corner but this is not a project I want you to pull it and block it under tension you just don't need that here we mostly want to smooth things out make sure our sh Ron is pointy and our edges are pretty flat and then you're going to leave that till it's dry and then you got a finished blanket and if you enjoy the project you can certainly pick out a different set of colors and make another one you can get all of the kits at the link below or at missouriquiltco.com and I hope you had fun with this project happy crocheting I'll see you for the next episode thanks so much for stitching along with us on this Missouri Star yarn loving tutorial if you haven't yet you want to click that Bell And subscribe because come part of the Missouri Star Family and make sure that you never miss another tutorial you never know you might make your next favorite project [Music]


