Skip to content

Free quilting video tutorials from Missouri Star

Quilting Tutorials
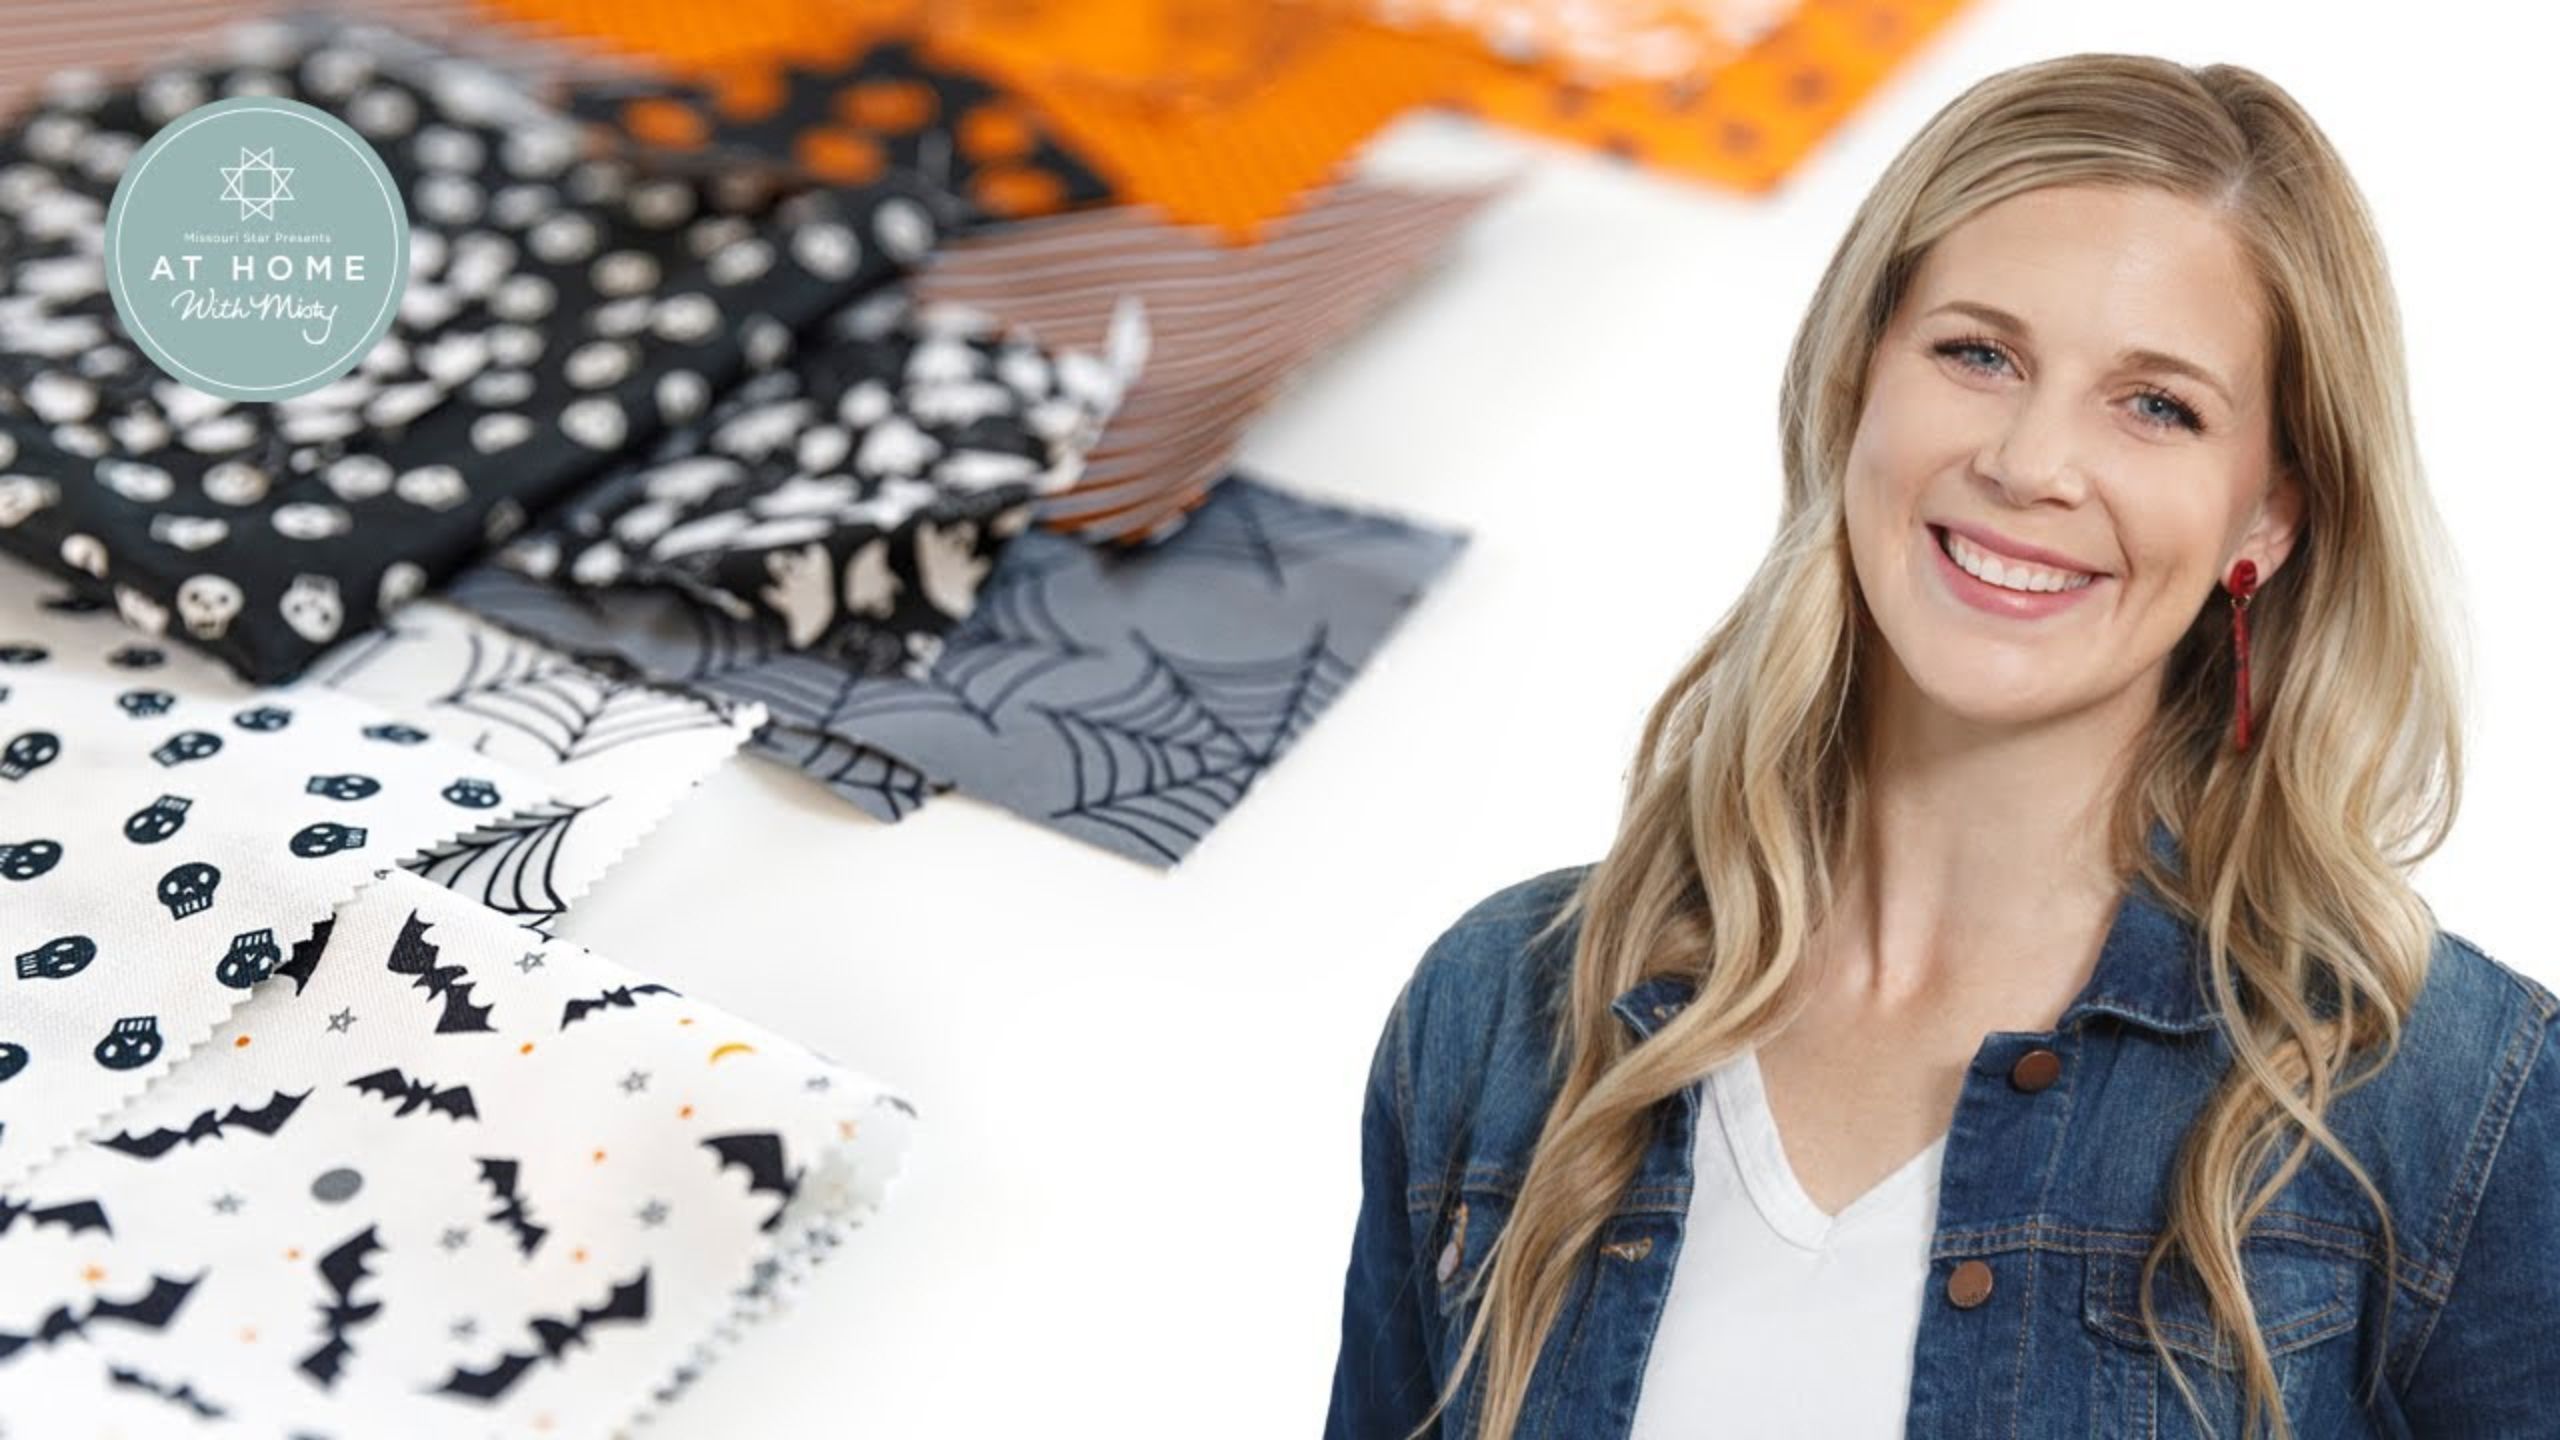
Spooky Season Sew Along Part 1 with Misty Doan

Spooky Season Sew Along Part 1 with Misty Doan

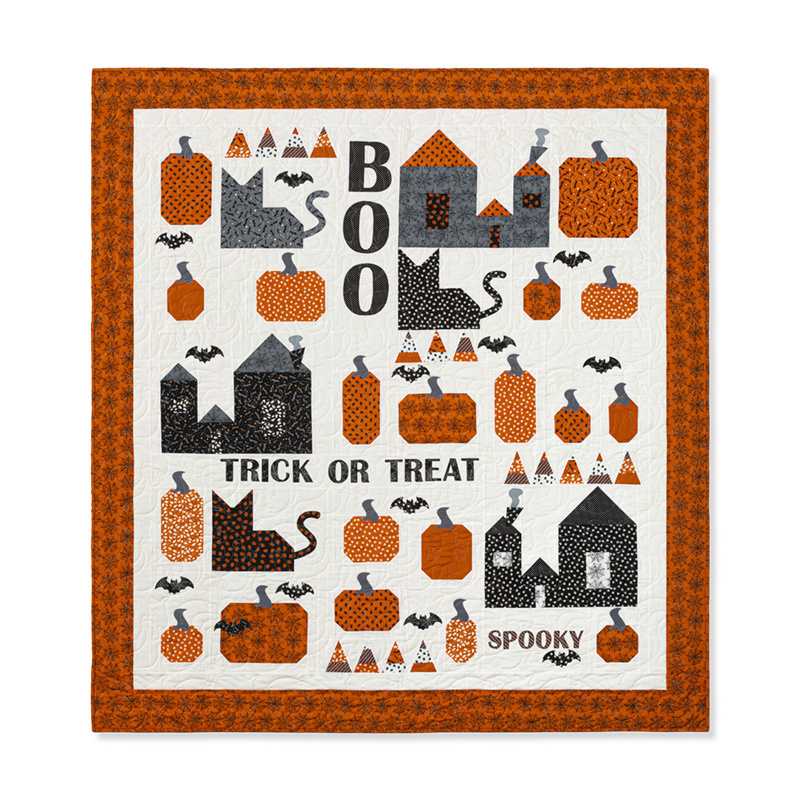
Spooky Season Sew Along has officially begun! Quilters who are batty for Halloween will enjoy every stitch as Misty guides you through her Spooky Season Sew Along, showing you how to make a boo-tiful Halloween quilt that's full of black cats, pumpkins, and more.

Instructor

Misty Doan

Misty Doan grew up surrounded by sewing and quilting. She loves spending time sharing tutorials each week each week, and when she’s not stitching up one of her fun sewing projects for home decor, most likely you’ll find her hanging out with her husband and three awesome kids or working on a house project.

Common Questions

What is covered in Spooky Season Sew Along Part 1 with Misty Doan?

Spooky Season Sew Along has officially begun! Quilters who are batty for Halloween will enjoy every stitch as Misty guides you through her Spooky Season Sew Along, showing you how to make a boo-tiful Halloween quilt that's full of black cats, pumpkins, and more.

How long is the tutorial video?

The tutorial video is 00:10:32.

Are supplies listed for this tutorial?

Yes. The tutorial page includes the supplies and materials connected to this project.

Video Transcript

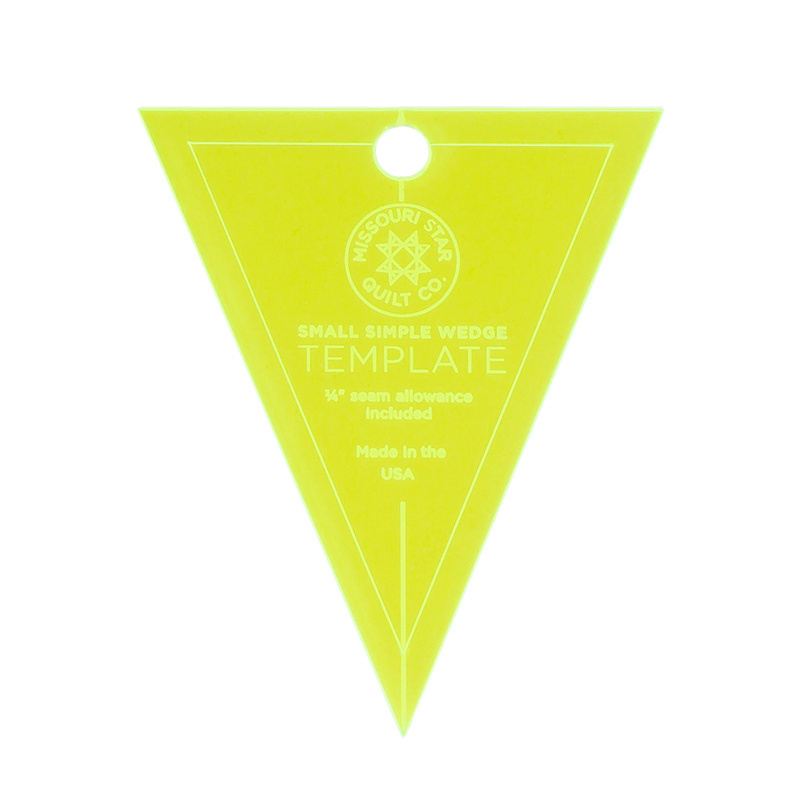
[Music] welcome to week one of the spooky season sew along i'm so excited to be making this quilt with you you should all hopefully have your kit that looks like this should have come to you in the mail by now and so we are going to dive right in in week one we're going to unbox our kit and do some sorting of our fabrics because we need to make sure that we have them ready for all of the following weeks so this is just kind of our prep week to get everything ready so that the rest is smooth sailing so let's go ahead and open this up first of all how cute is this box right i love the little detail and then when you open it you're going to find the pattern there's also a coupon for quilting services so hold on to this because you can send your quilt in at the end to be machine quilted by us here at missouri star and this will give you 10 off on that quilting and then we are going to have our pack of 10 inch squares i do want to point out that the pack that comes in this kit has been exclusively curated to make this quilt that you see here so it is only in the kit even if you buy this same collection from us here at missouri star it's going to have similar fabrics but different numbers of each i've specifically curated this so that i can get the right shades to make the quilt you see you know right behind me exactly like it is so we're going to have that and then we're going to have our pre-cut pre-fused applique shapes you can see it comes in a package like this these are all of the fun little details the bats the cat tails the words all of that is in this pack here this is also exclusive to the kit so you're gonna be really happy that you joined in and got your hands on this because this is a huge time saver then we also have our binding these are the binding strips your border yardage which is this fun spider web and then our background fabric and so that's everything that's in the kit let's go ahead and start sorting okay so like i mentioned we are going to start our sorting so when you open up the pattern on the first page it will say week one sort and then it's going to tell you to get some gallon bags and you're going to label them week two cat blocks week three pumpkin blocks week four haunted house candy corn and you can see i have all five of those bags ready weeks two through six and i have my labels on there so i know what they apply to and so i've done that already and have it ready to go and then now it tells us individually by week what we need to put in each bag so one thing to keep in mind is your pack of 10 inch squares comes in order of the fabric listed in the pattern so the top piece is a the second print is b and so that's not that's why there's not a diagram in here it's just in order already so don't shuffle it up keep it how it is and then let's go ahead and begin our sorting so in week two we know we need one fabric a square so that's this right here and i can just set this on the pile for week two and then we need one fabric b square and i'm just gonna put that there now i see i have another fabric b so now i'm gonna jump and i'm gonna see where else i need fabric b and it looks like i need two of my fabric b squares in week four so i'm gonna take those i'm going to put those on the pile for week four so now we're going to go to fabric c we're just going to do the same thing one in week two then i have one more one in week four there we go and then we're just going to continue on through our pack i do want to point out in our stack of 10 inch squares there is not a fabric d and that's because we've taken that and turned it into pre-cut preview shapes already and so you're going to skip from c to e so like these cats that i see here now that is fabric e and we're just going to finish sorting this and i'll meet you right back here all right so as you can see here we have sorted all of our 10 inch squares and we still have a completely empty week six that is accurate if you have this you've done it right week six is our applique and so let's go ahead and open up our pre-cut preview shapes and it comes in a package like this you can see they're just all kind of stacked on top of each other but i want to be sure and show you kind of how this works if you're not familiar with this product so to begin we have some cattails and you can imagine all of those cattails are going to be on the week that we make the cats so i'm going to start by pulling those out because they're already separated so i have those three right here and those go on week two and you'll notice that they coordinate with the squares that we put there and so that's another way to kind of triple check and make sure you've got it right and then you'll notice some of these pieces are stuck together like this and in theory it's so we don't lose the shapes that go together but you're just going to grab some little snips some scissors or even your rotary cutter whatever you're most comfortable with and there's just little places where the fabric is still there that you want to snip apart so that you can get these shapes separated and some of them i'm going to separate now and some of them like the words i'm going to wait to separate those until we get to the part where we're going to sew those down just because i don't want them to get bent up but i'm going to cut apart this bat right here for you to see there we go and so then you can see your shape is all cut out and ready for you and it has some paper on the backing and so just like any iron-on applique you can just kind of crease this and it will have the paper pop off and it leaves the adhesive on the back of the fabric and so don't do that now i just wanted you to understand how it works but i'm going to go ahead and clip these apart and follow along with my pattern and sort all of my applique pieces all right all of our applique pieces are sorted you can see we have a few on week two week three week four no applique week five and a bunch for week six so now i'm going to use my magic rotary cutter and we're just going to put all of these pieces in their bag all right so that's a little magic for you now from this point you can either set these aside and just wait to start sewing for week two but my own little personal tip is to go ahead and get your background fabrics cut and sorted each week as well it will save you a lot of time as you get to the week and if you're taking the time now to sort and prepare you might as well get that background fabric cut as well so for that you will need to turn into the actual weeks themselves in the pattern it will save from the background fabric and list out the cuts that you need to make so i'm going to go ahead and take the time to get all of those ready add them to my bags and we will be ready to sew along starting in week two all right you can see i've added all of my background pieces to my weekly bags but let's go ahead and go through those cuts that i made so i can tell you what i've put here in this week two we just have one five inch strip and then in week three this is where you have the most cutting overall we have one six and a half inch strip one four and a half inch strip one four inch strip one two and a quarter inch strip and twelve one and a half inch strips that's all i did you're going to sub cut that later but just having those initial strips cut is super helpful then we're going to move on to week four and for that you're going to need one five inch strip and one four and a half inch strip and then you also need one two and a half inch strip and so that's what i've put here in week four then for week five you need two four and a half inch strips for that week so that's what i have in here i do want to mention on this week if you have the small simple wedge template this is going to make your life much easier and so you can order that now or there is the diagram for it within the pattern itself so you can just make a paper template if you want but this does help so i'm going to add that to week five so then for week six you're going to cut one seven and a half inch strip one five inch strip one four and a half inch strip one three and three quarter inch strip and six sorry i lost it there six two and a half inch strips to add to your applique and those are the pieces that we're going to use for the sashing and setting it all together in the end so now you have everything ready we are finished with week one and we will be all set to go for week two when we start making our cat blocks so i will see you then hey everyone it's misty thanks for watching at home if you aren't already a part of our missouri star family be sure to subscribe and hit the bell if you want a notification every time we release a new video i'll see you next monday on the newest episode of at home [Music]

More Layer Cake tutorials

See all