Skip to content

Free quilting video tutorials from Missouri Star

Quilting Tutorials
Spooky Season Sew Along Part 2 with Misty Doan

Spooky Season Sew Along Part 2 with Misty Doan

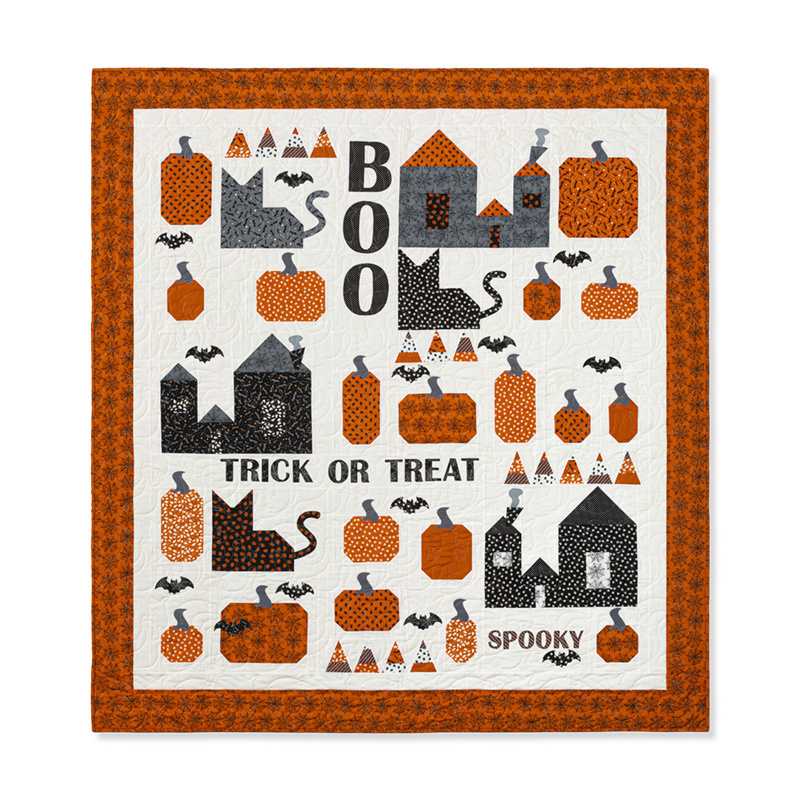
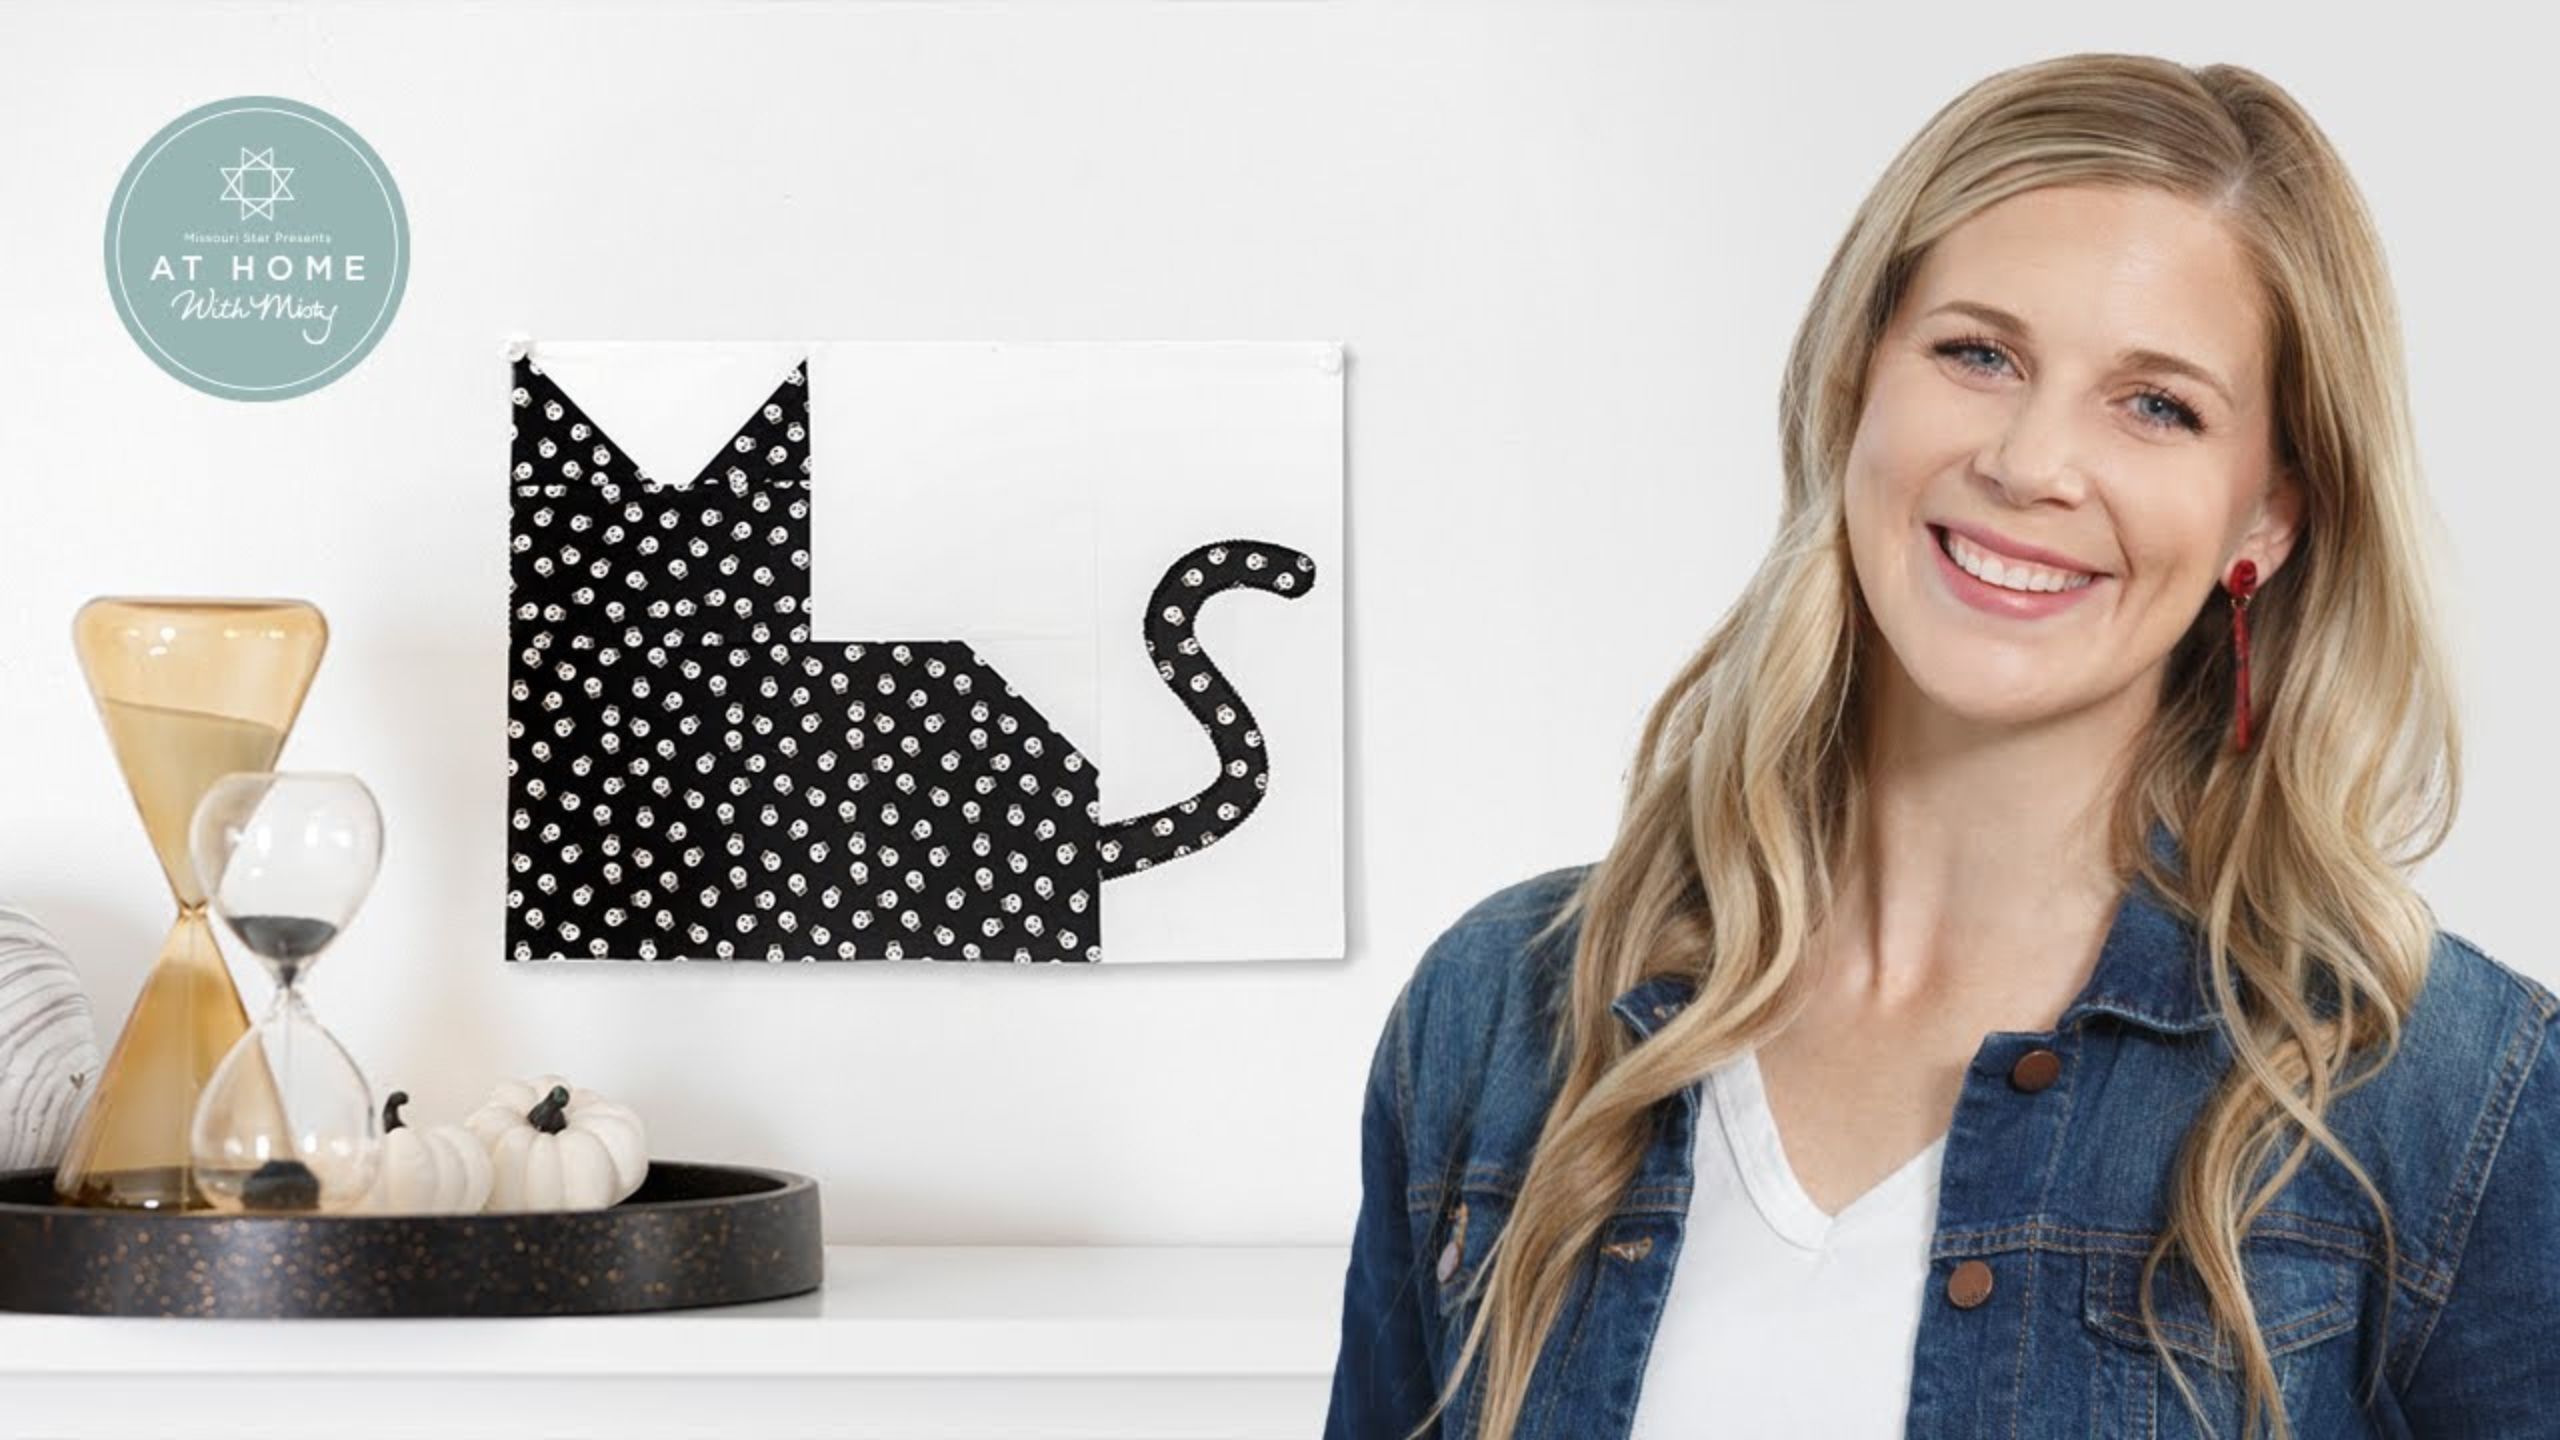
The Spooky Season Sew-Along continues! Last week, you and Misty sorted through your Spooky Season quilt kits together–today, she’ll be guiding you through the first official stitch. Let’s get this spooktacular sew-along started with some cat blocks!

Instructor

Misty Doan

Misty Doan grew up surrounded by sewing and quilting. She loves spending time sharing tutorials each week each week, and when she’s not stitching up one of her fun sewing projects for home decor, most likely you’ll find her hanging out with her husband and three awesome kids or working on a house project.

Common Questions

What is covered in Spooky Season Sew Along Part 2 with Misty Doan?

The Spooky Season Sew-Along continues! Last week, you and Misty sorted through your Spooky Season quilt kits together–today, she’ll be guiding you through the first official stitch. Let’s get this spooktacular sew-along started with some cat blocks!

How long is the tutorial video?

The tutorial video is 00:14:01.

Video Transcript

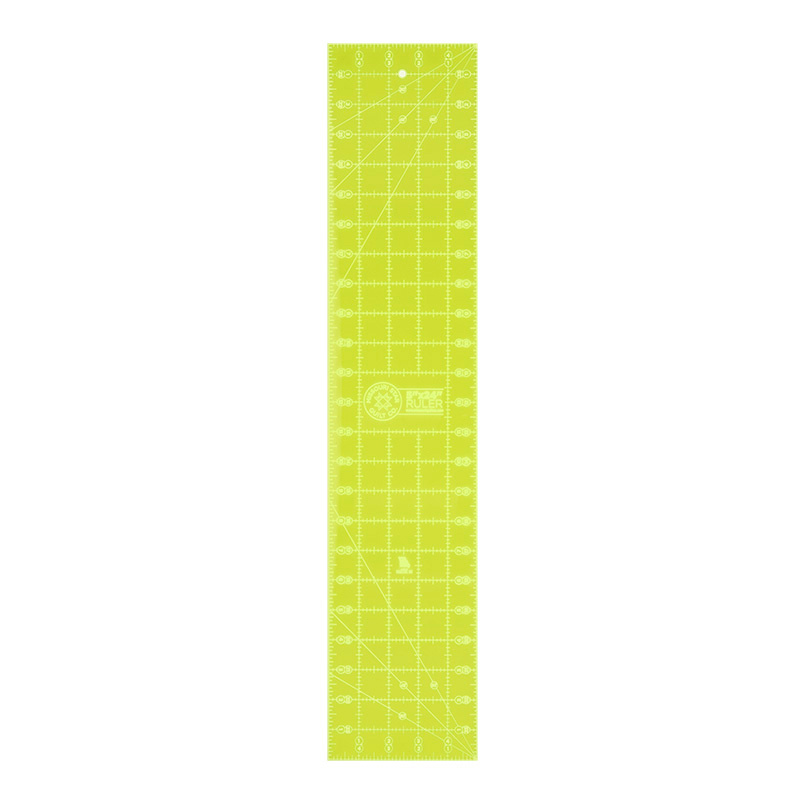
[Music] all right everyone welcome to week two of the spooky season so along if you're just joining in in week one we went through and sorted out all of our fabric into little bags like this so that we can really just dive in and focus on sewing going forward so now of course i have my week two bag and it is the cat blocks and so that's what we're gonna make let's go ahead and open this up and see what we have in here so we have some of our ten inch squares and these are going to make our cats there's just three of them sorry so you can see the three different prints and these are actually fabrics a b and c and so that makes it really easy you can always reference your fabric key if you need to double check that if you haven't sorted it already you're also going to need the matching tails from your pre-cut pre-fuse applique and so you can see these coordinate with the fabrics that we're going to use to make our cats and then there's also this really cute little bat that is this spiderweb print we're also going to need some background pieces and so i have a four inch strip and a five inch strip and so once you have all of that ready to go we can dive in and start making our cats so i'm going to start by using this cute little pumpkin fabric and this is the cat that we're going to make to begin so i'm going to bring it over here and with all of our 10 inch squares we're going to cut these the exact same way so i've got my 5 by 15 inch ruler here and i'm going to begin by laying this on one edge and i'm just going to cut a 5 inch strip so essentially i'm cutting my 10 inch square in half there we go and from one half i'm going to trim it down to five by nine and a half so i'm just going to take off a half inch there we go this is going to be like the body of our cat so i'll set that aside and then next i need a five by three inch piece so i'm going to use that other half remember it's already five inches wide so i can just measure down three inches and make a cut and then i need two two and a half inch squares so i'm just going to cut a two and a half inch strip by five inches and then i'm going to cut this in half so that i have two two and a half inch squares there we go and that is all the pieces that we need to make the cat so this little bit is extra if you have a little mistake you have a little bit left over to correct that so then now let's go ahead and cut out our background as well so from my five inch strip i'm going to start by cutting a five inch square so i'm just going to line this up on my mat and we're going to cut five inch square first make a cut there if i had turned this around i could just use the edge of my ruler but this works so five inch square and then a five by two and a half inch strip so i'm going to come over two and a half inches and i'm just making one of these cuts because we're just making one block but you would actually cut three of each of these since we're making three cat blocks total so then we're going to cut another two and a half inch strip and i'm going to sub cut this one down into two and a half inch squares i really only need one of these but then i can use the other all right and we're just going to use one of these we can set the other one aside to use with one of our others and so this is what we need for most of our blocks but remember we have that four inch strip as well so to finish this off we need to cut a four by nine and a half inch rectangle and so if you wanted to just cut three of these you absolutely could so that you have all of your blocks ready to go so i'm gonna straighten up that end and then we're gonna measure over nine and a half one two three four five six seven eight nine and a half ta-da and that is all of our pieces to make this first cat so let's begin by taking our two and a half by five inch background piece and our two and a half inch squares and we're going to begin by making the ears of our cat so there's a couple ways you could do this you could draw a line corner to corner on the wrong side of your fabric you could press a line but i'm just going to use my diagonal seam tape so i'm going to lay this right along the edge so it lines up right with my fabric and i'm going to sew corner to corner there we go now we can go ahead i like to kind of press it back just to get a good look at it first make sure it's going to stay nice and square that looks really nice so now that i know that that looks the way i want i can trim off my excess and just leave a quarter inch seam allowance let me move some of this out of the way for you so you can really see what i'm doing i'm just going to leave my seam allowance here there we go now that'll roll back and we're going to add the other side now these don't overlap and that is intentional we want a little bit of space between our cat's ears that's what we're making right here so again point to point [Applause] go ahead and press that back and then trim off the seam allowance the reason that i press it first is just in case it gets a little wonky i can always go back take that seam out and do it again if i feel like i need to so that is done let me trim up these threads and then i can sew it to my three by five inch piece and this is my little kitty's face so we'll sew those two together just make sure they're staying lined up and straight down with a quarter inch seam there we go now i'll press that down all right so from here we are going to take our five inch background square we're going to sew it to the side of this block just like so [Applause] press there we go now we're going to work on the bottom body of our little kitty and so this is our large five by nine and a half inch rectangle and we have a single two and a half inch background square and we are going to snowball one corner to make its little little bum to kind of add the curve that you see there and so you'll notice all of our cats are made the exact same way and so we're snowballing this right hand uh top corner all the little kitties are facing the same direction there we go and just like we did on the ears i can go ahead and roll this back just make sure that my block is staying nice and square which it is it looks great now same thing we'll trim off that excess fabric so we just have our quarter inch seam allowance just like so roll that back and now we can sew these two pieces together there we go we'll just line them up and sail right down then we can press it and if you've made any of our cat blocks this is exactly the same the magic now comes after that because i decided to add some pre-cut pre-fuse applique tails and so you remember we have this piece that measures four by nine and a half and this is going to end up sewing on right on this side but first we need to add our applique because we want this to be set in the seam so if you're not familiar with the pre-cut pre-fuse it comes like this it's already cut apart in your package and on the back is a paper that we can peel off and that's going to leave the adhesive on our fabric piece and so now we can just line this up and decide where we want our tail to go and we just want it to line up with the edge of our fabric so that it will be caught in our seam and so i think that looks great you could put a pin in this or you could line it up right here on your mat to double check then we're just going to press this down with a nice hot iron just like so oops my little corner wanted to turn up danger danger you don't want that adhesive to stick to your iron so you really should lift and press there we go looks great so before i sew these together i do want to point out i've made a few of the other cats and i kept this one apart because i want to show you how i finished off the edge of the applique and so i just did a blanket stitch and i used black thread on this one so that you guys could see it really well but i would probably use gray there's a lot of gray on this quilt that you're going to finish in the same way so you could just change it up to match but it works great this cute little blanket stitch you could do a tiny zigzag you could even just do a straight stitch but you do want to do some type of stitching along that edge to secure it down and so i'm going to wait and do that to this one before i sew these together but now we can go ahead and sew this together to finish up our block so let's do that [Applause] just like so now we can give that a press and then we have this cute little kitty block that is all done and you will make three of these i do want to point out on this particular cat that you see here let me find my piece this is the one that we're going to add that little bat that we set aside at the beginning too and so i'm just going to go ahead and do this and i'll go back and add the same blanket stitch around this that i did on the tail but this is so fun because you get to decide which way the bat is flying and exactly how you want it to set on here but if i'm going to make this match the quilt on the quilt it's flying just a little bit higher so i'll probably move him up there and then we'll just press him down and this is the only cat block that gets this bat added to it there you go just like so and then we have these other blocks that will finish up one two three to finish out week two and i will see you back here for week three hey everyone it's misty thanks for watching at home if you aren't already a part of our missouri star family be sure to subscribe and hit the bell if you want a notification every time we release a new video i'll see you next monday on the newest episode of at home

More Layer Cake tutorials

See all