Skip to content

Free quilting video tutorials from Missouri Star

Quilting Tutorials
Spooky Season Sew Along Part 3 with Misty Doan

Spooky Season Sew Along Part 3 with Misty Doan

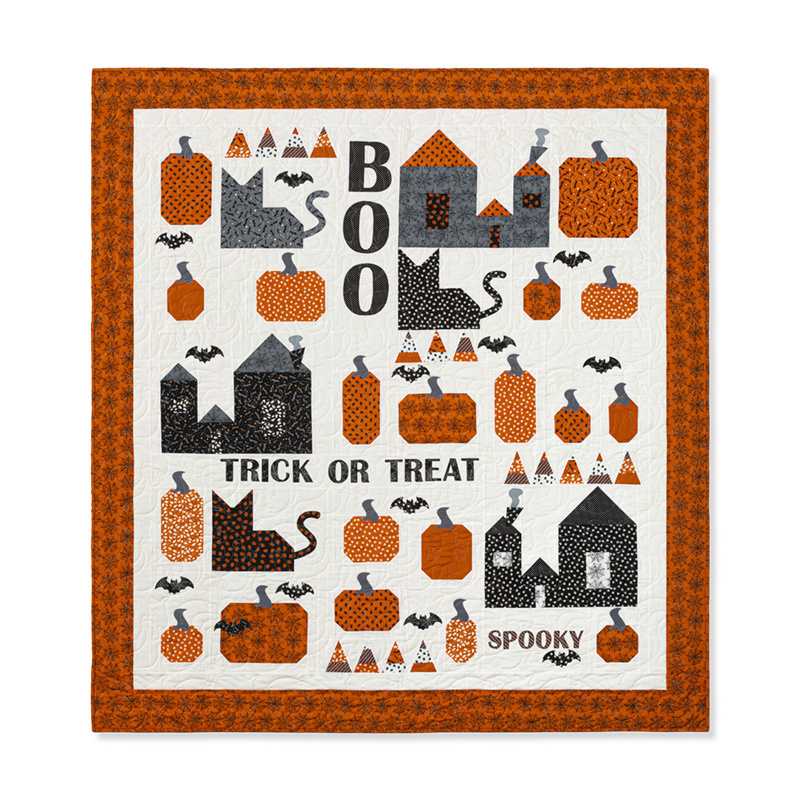
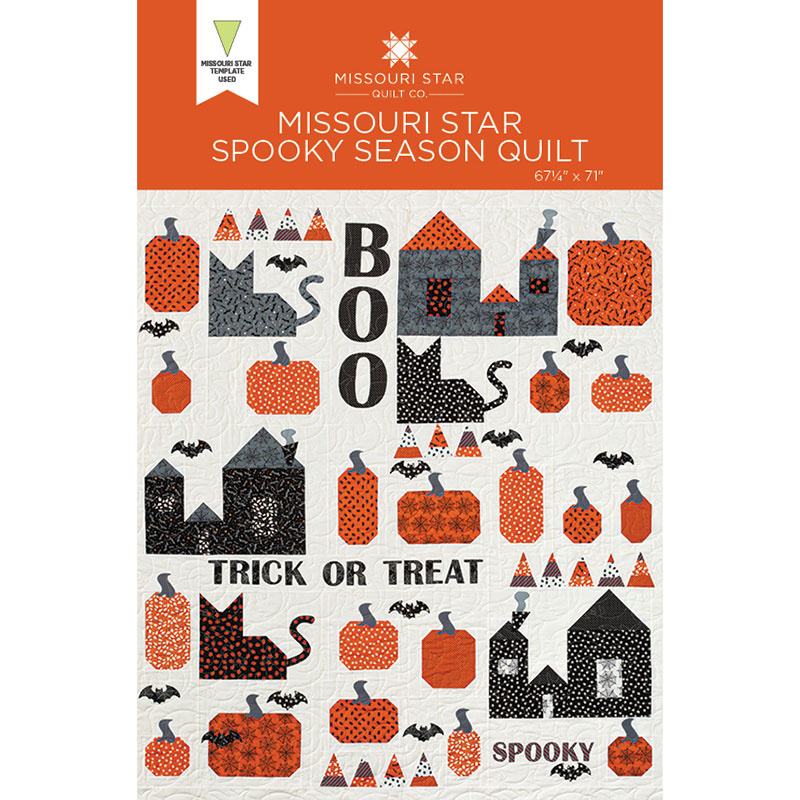
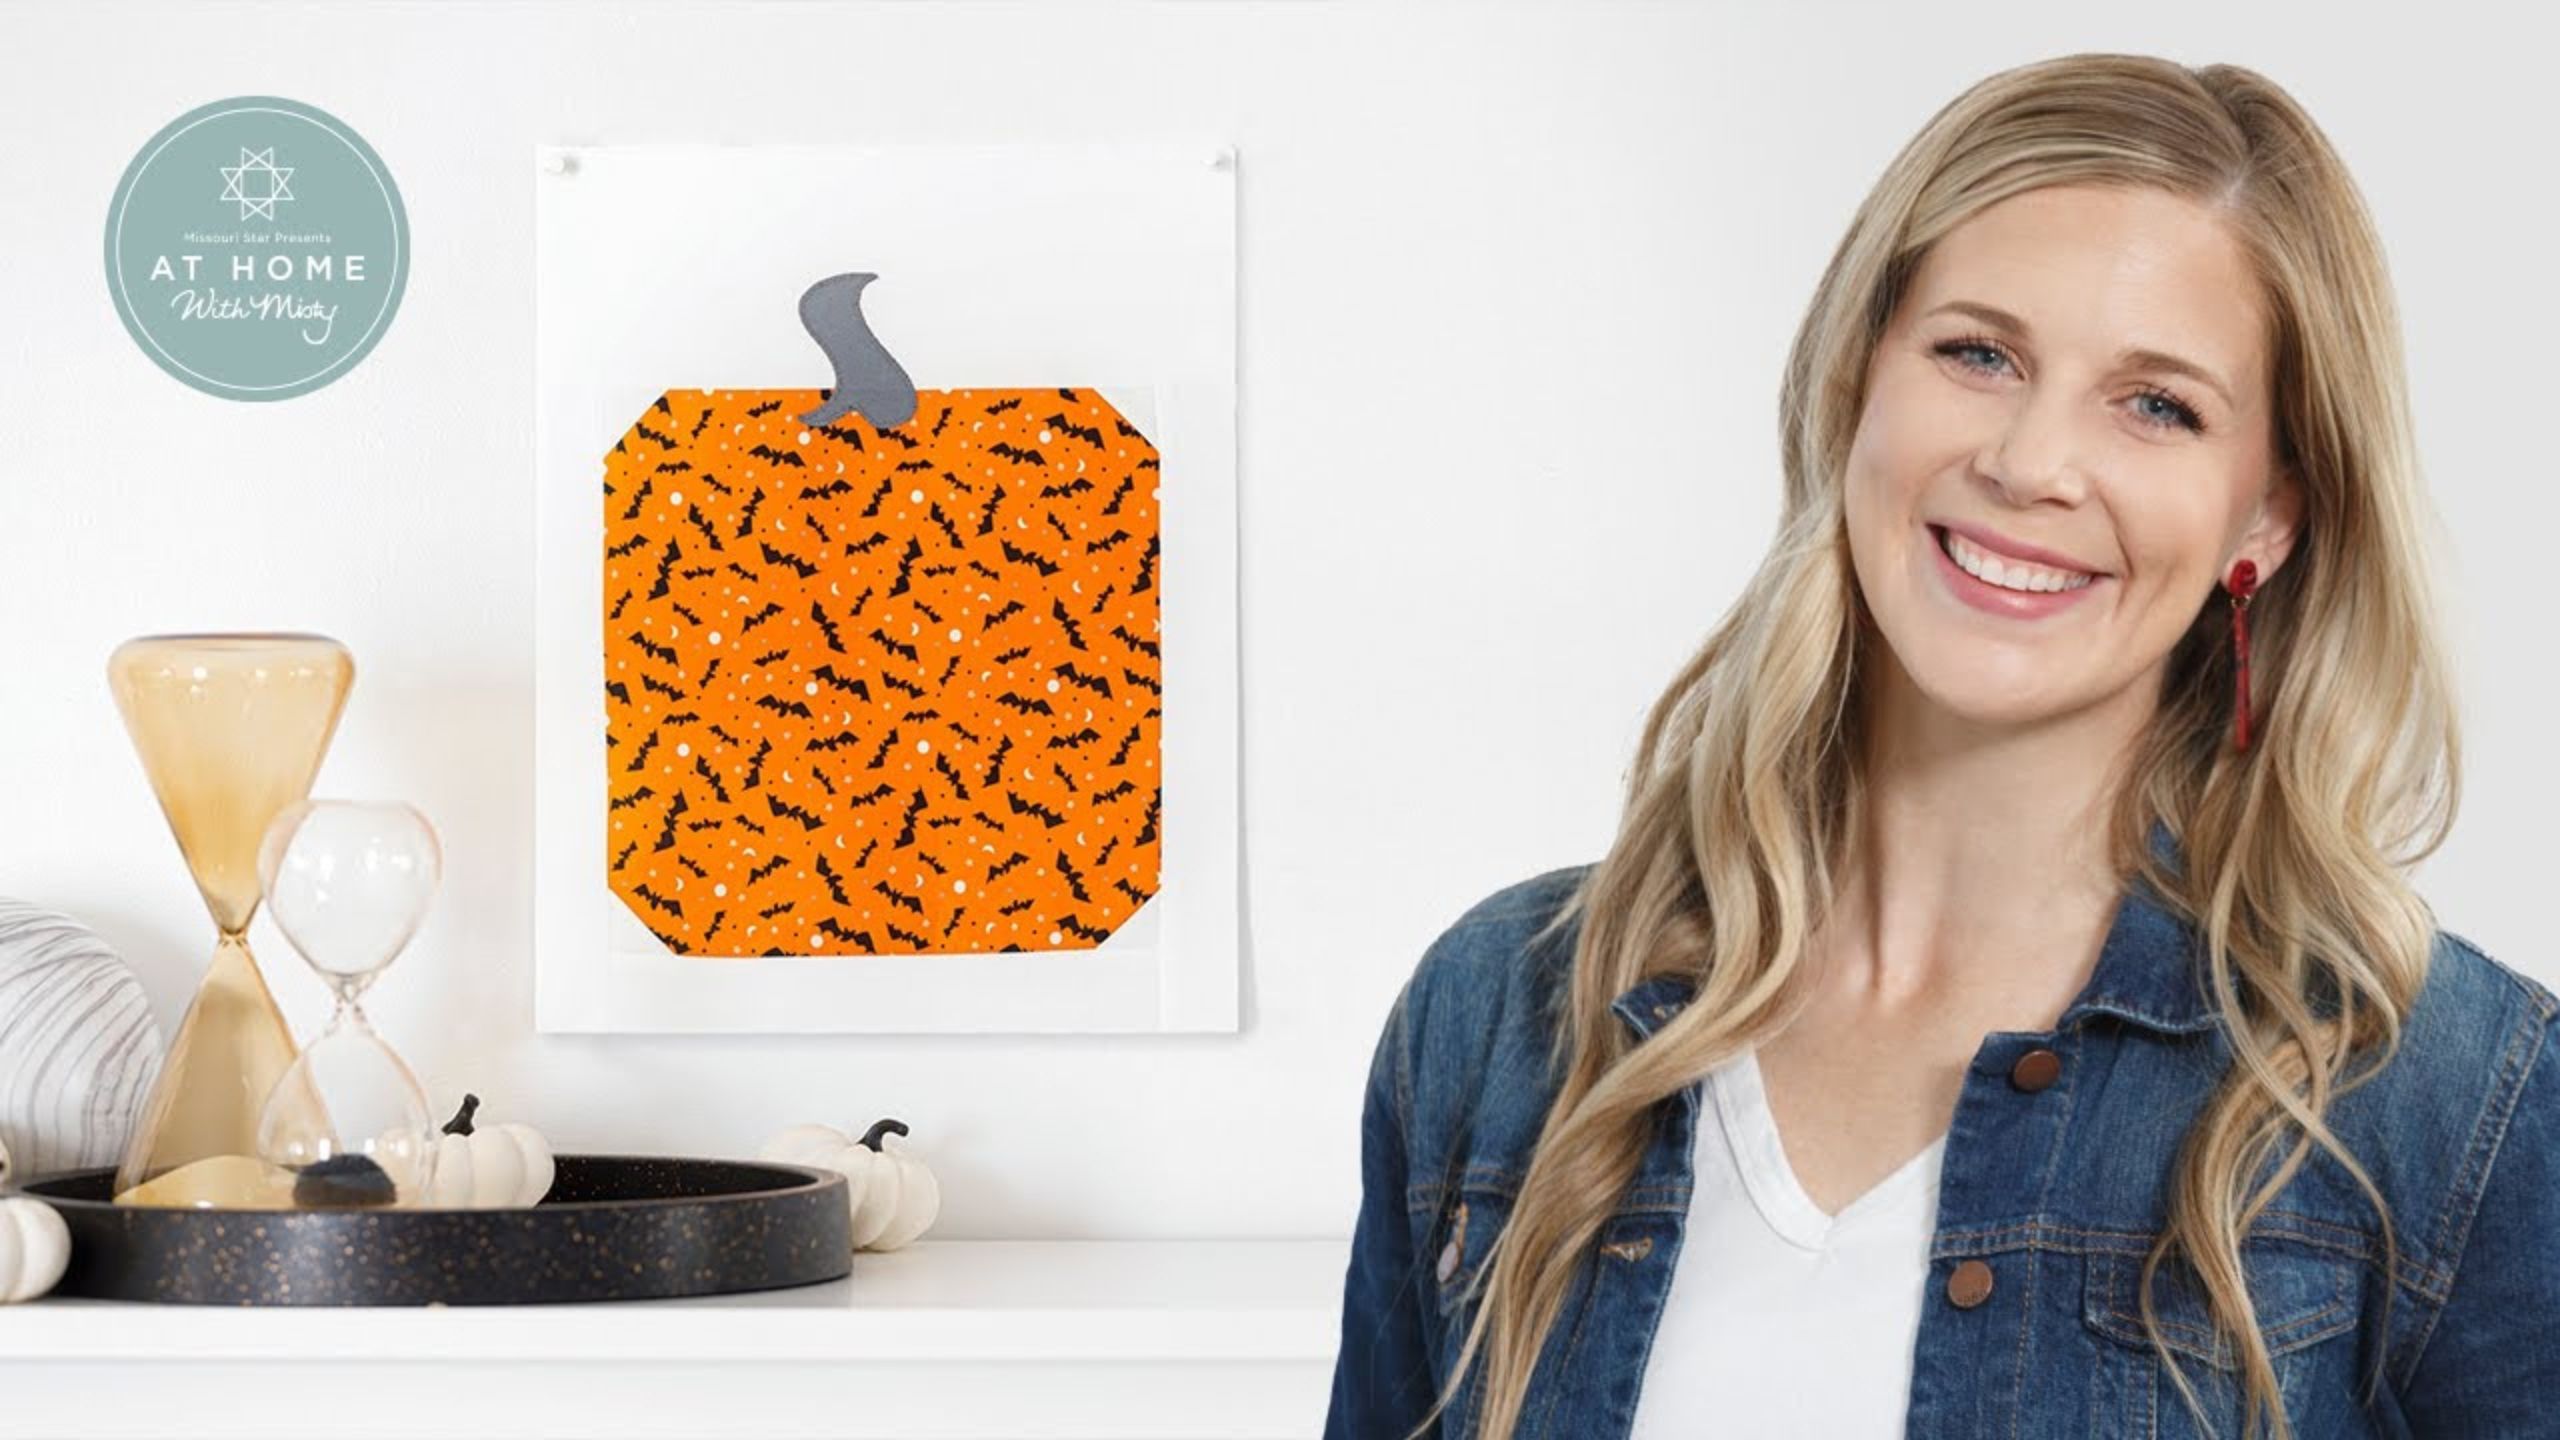
Welcome to Week 3 of the Spooky Season Sew-Along! In today's video, Misty continues to guide you through every step and stitch of your Spooky Season quilt kit. You're going to be getting a lot of cutting and sewing done today, so take a seat, have your scissors ready, and follow along with Misty!

Instructor

Misty Doan

Misty Doan grew up surrounded by sewing and quilting. She loves spending time sharing tutorials each week each week, and when she’s not stitching up one of her fun sewing projects for home decor, most likely you’ll find her hanging out with her husband and three awesome kids or working on a house project.

Common Questions

What is covered in Spooky Season Sew Along Part 3 with Misty Doan?

Welcome to Week 3 of the Spooky Season Sew-Along! In today's video, Misty continues to guide you through every step and stitch of your Spooky Season quilt kit. You're going to be getting a lot of cutting and sewing done today, so take a seat, have your scissors ready, and foll...

How long is the tutorial video?

The tutorial video is 00:12:19.

Are supplies listed for this tutorial?

Yes. The tutorial page includes the supplies and materials connected to this project.

Video Transcript

[Music] welcome to week three this week we are making our pumpkin patch all of our adorable pumpkins that will be scattered throughout our quilt i want you to be prepared this week is a lot of cutting a lot of organizing because we are making 19 unique pumpkin blocks but don't panic once you have it organized and labeled it's really simple and they all kind of go together the same way and so it's very you know the prep work makes it easy i guess is what i should say so let's go ahead and dive into that remember we have our bag so this is labeled week three pumpkins i'm just gonna go ahead and open this up and to begin with we're gonna focus on our 10 inch squares so i have these stacked up here just how they came out of the pack so they're still in order and if you look at the fabric key you'll it's pretty easy to figure out which fabrics are the ones we're going to be using in the pumpkins we've got fabrics e through j and so that's what i have in this stack here and then when you open up the pattern you'll see it's labeled week three and it tells you how to begin i do want to point out just a couple of things for you to be aware of as you begin when you start it says from fabric e that's this cute little kitties that are on this orange background that i have here you're going to have three of those fabric e pieces and so when you see the diagrams at the side every diagram correlates to one and ten inch square and so the fabric will actually change as you're moving on to a different square so hopefully that makes sense and you're just going to work your way through the stack and match it here the other thing i want to point out is when you make these cuts it tells you what number of pumpkin that it goes to so let's just start with our fabric e and i'll walk you through it and i think it'll give you a good idea what i'm talking about so here is our first fabric e and we are going to look at our diagram and i need a six by eight and a half inch cut so i'm going to measure over six inches one two three four five six and i am just going to trim this off like so so this is going to be extra there's quite a bit of extra fabric in this and it's the thought is that if you have an error you can pull a piece from somewhere else to help cover it it might not match exactly but there's plenty of extra fabric and so now that was eight and a half over so here is my eight and a half line and i have my six by eight and a half inch rectangle and this makes pumpkin one so i have a little piece of paper here that i've labeled with a one and i'm just going to go ahead and pin that to that piece and now i'm going to move to my next piece from this same fabric and i'm going to start by cutting it looks like a four and a half by eight and a half inch piece so my first cut will be four and a half inches make sure i've got this nice and straight so four and a half inches we'll turn this and measure over eight and a half there we go and this piece is going to be for pumpkin seven so i have another piece of paper here labeled with seven i'm gonna pin that to that piece then from that same square i'm going to cut a four and a half inch square and so i'm just going to go ahead and cut a four and a half inch strip off of this whoops almost cut it too small double check that that was almost three and a half instead of four and a half so i've measured over one two three four and a half we'll make a cut and then turn this so that it will be square just like so and this piece is pumpkin 10 according to the pattern so same idea i'm going to just label that and put a pin in it and then you're going to continue making these cuts all the way through your stack of 10 inch squares and labeling them you will have 19 different pumpkins so just follow through and do that and then we're going to go ahead and turn because there is a large section of cutting your background fabric and it's the exact same idea but from this point since you've cut all your pumpkins it'll tell you sub cut this size and set it with pumpkin one two three it'll give you the number of where those pieces go so i've gone ahead and done all of that for our pumpkins here and you can see for pumpkin one i have this stack of background pieces that go with it and so every single pumpkin begins in the same way and that is by snowballing the four corners we've got these four one and a half inch squares and we're just going to place one on each corner regardless of the size of our pumpkin and we are just going to sew from point to point you can draw a line here if you want but as usual i'm going to use my diagonal seam tape and just start with my needle at this first point and have this second point back on the red line i'm just going to go ahead and add all four of these because i have plenty of room to do that so we'll just add one after the other and our last one just like so all right now we can trim off our seam allowance here oops my paper and pin came out at some point i'm going to put that back on here because i do not want to forget what number this is and now we can trim off our seam allowance i'm just leaving a quarter inch seam on all four of these corners there we go now we can go ahead and press them back there we go [Music] so by doing it this way our pumpkin should stay the same size that it began because we're just replacing those corners with our background fabric so now we can add our sashing and so this pumpkin is actually it stands tall like this and so you'll notice once you've sorted all of these you're going to have one small piece that matches up to the bottom two long side pieces and then one piece that goes on top and every single pumpkin is exactly the same way so we're going to begin by adding this bottom piece to our pumpkin and this one happens to measure an inch and a half by the width of this block which is six inches so an inch and a half by six inches this is what i'm sewing on here [Applause] there we go we'll press that back and now we can add these long pieces on either side [Applause] there we go add this other one to the opposite side i like to take a few stitches and then make sure i'm lined up all the way down [Applause] there we go now i can press both of those back there we go and we can finish off this one by adding our wider piece to the top this particular one is three and a half inches by the width of the block let me just make sure i'm nice and lined up here looks good and we'll sew down [Applause] there we go and pumpkin number one is done well you might be saying but what about the stem well the stems for all of the pumpkins are from our pre-cut preview shapes they look like this and so we can just go ahead now that we have all of our sashing around this block and peel the backing off we can decide is the stem you know right in the middle is it poking up from a ways down here you can really play with it and choose where you want the stem to go sometimes i like to make them a little bit crooked just to give it some character so i think that looks great right there and now we're just going to press that down there we go and just like in week two whatever method you chose to finish off the edge of the applique you would then do that here and then your pumpkin really is done and you're just going to continue all the way through until you have a whole stack of pumpkins that looks like this pretty soon you'll have 19 adorable and unique pumpkin blocks that we're going to set together to make our quilt when we come back in week six so you'll just set these aside for now i hope you enjoy stitching these in week three and i'll see you back here in week four hey everyone it's misty thanks for watching at home if you aren't already a part of our missouri star family be sure to subscribe and hit the bell if you want a notification every time we release a new video i'll see you next monday on the newest episode of at home [Music]

More Layer Cake tutorials

See all