Skip to content

Free quilting video tutorials from Missouri Star

Quilting Tutorials
Spooky Season Sew Along Part 4 with Misty Doan

Spooky Season Sew Along Part 4 with Misty Doan

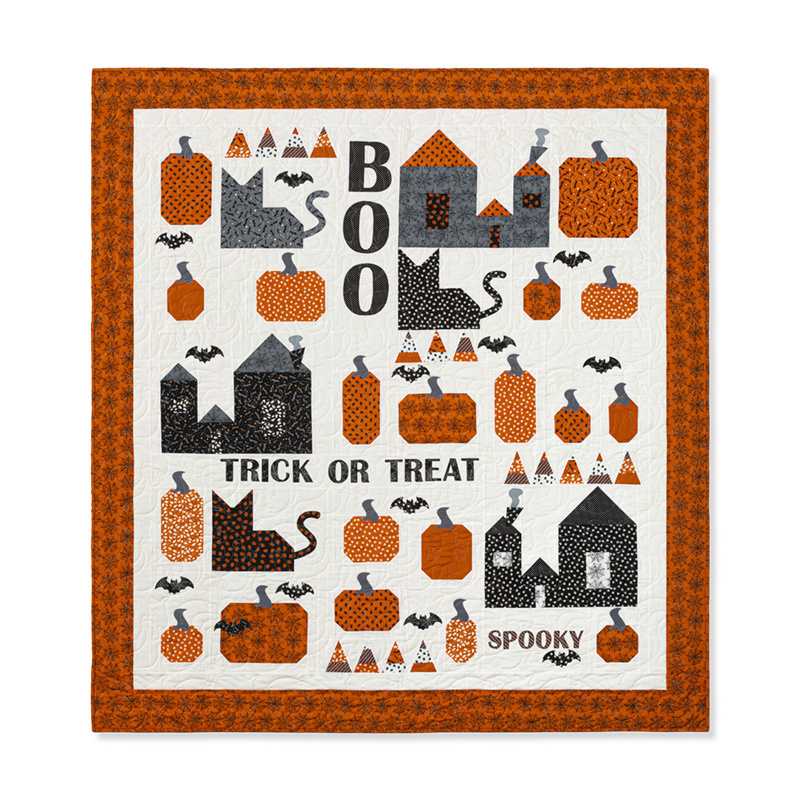
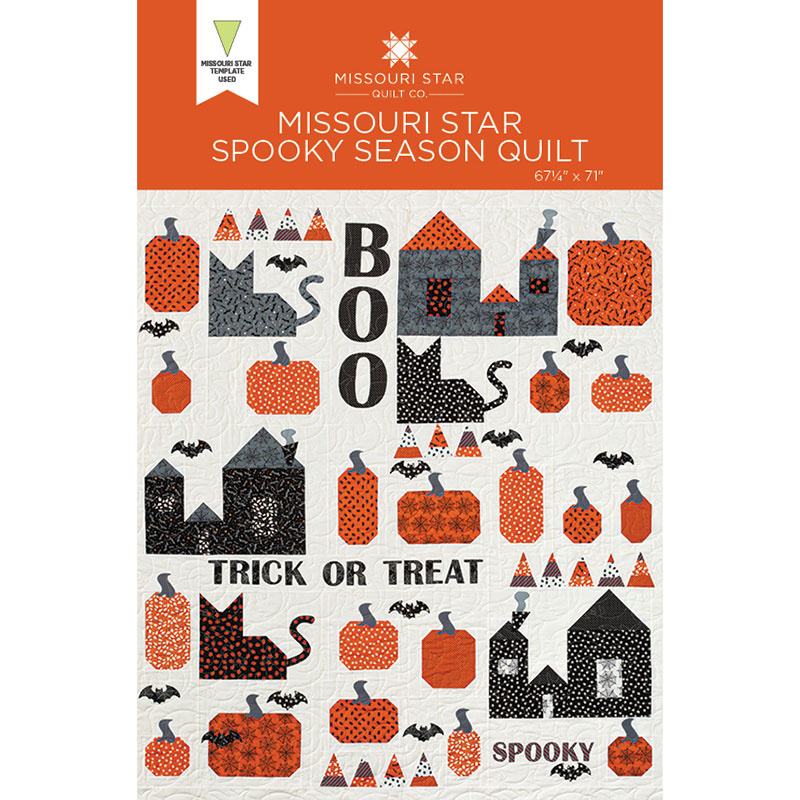
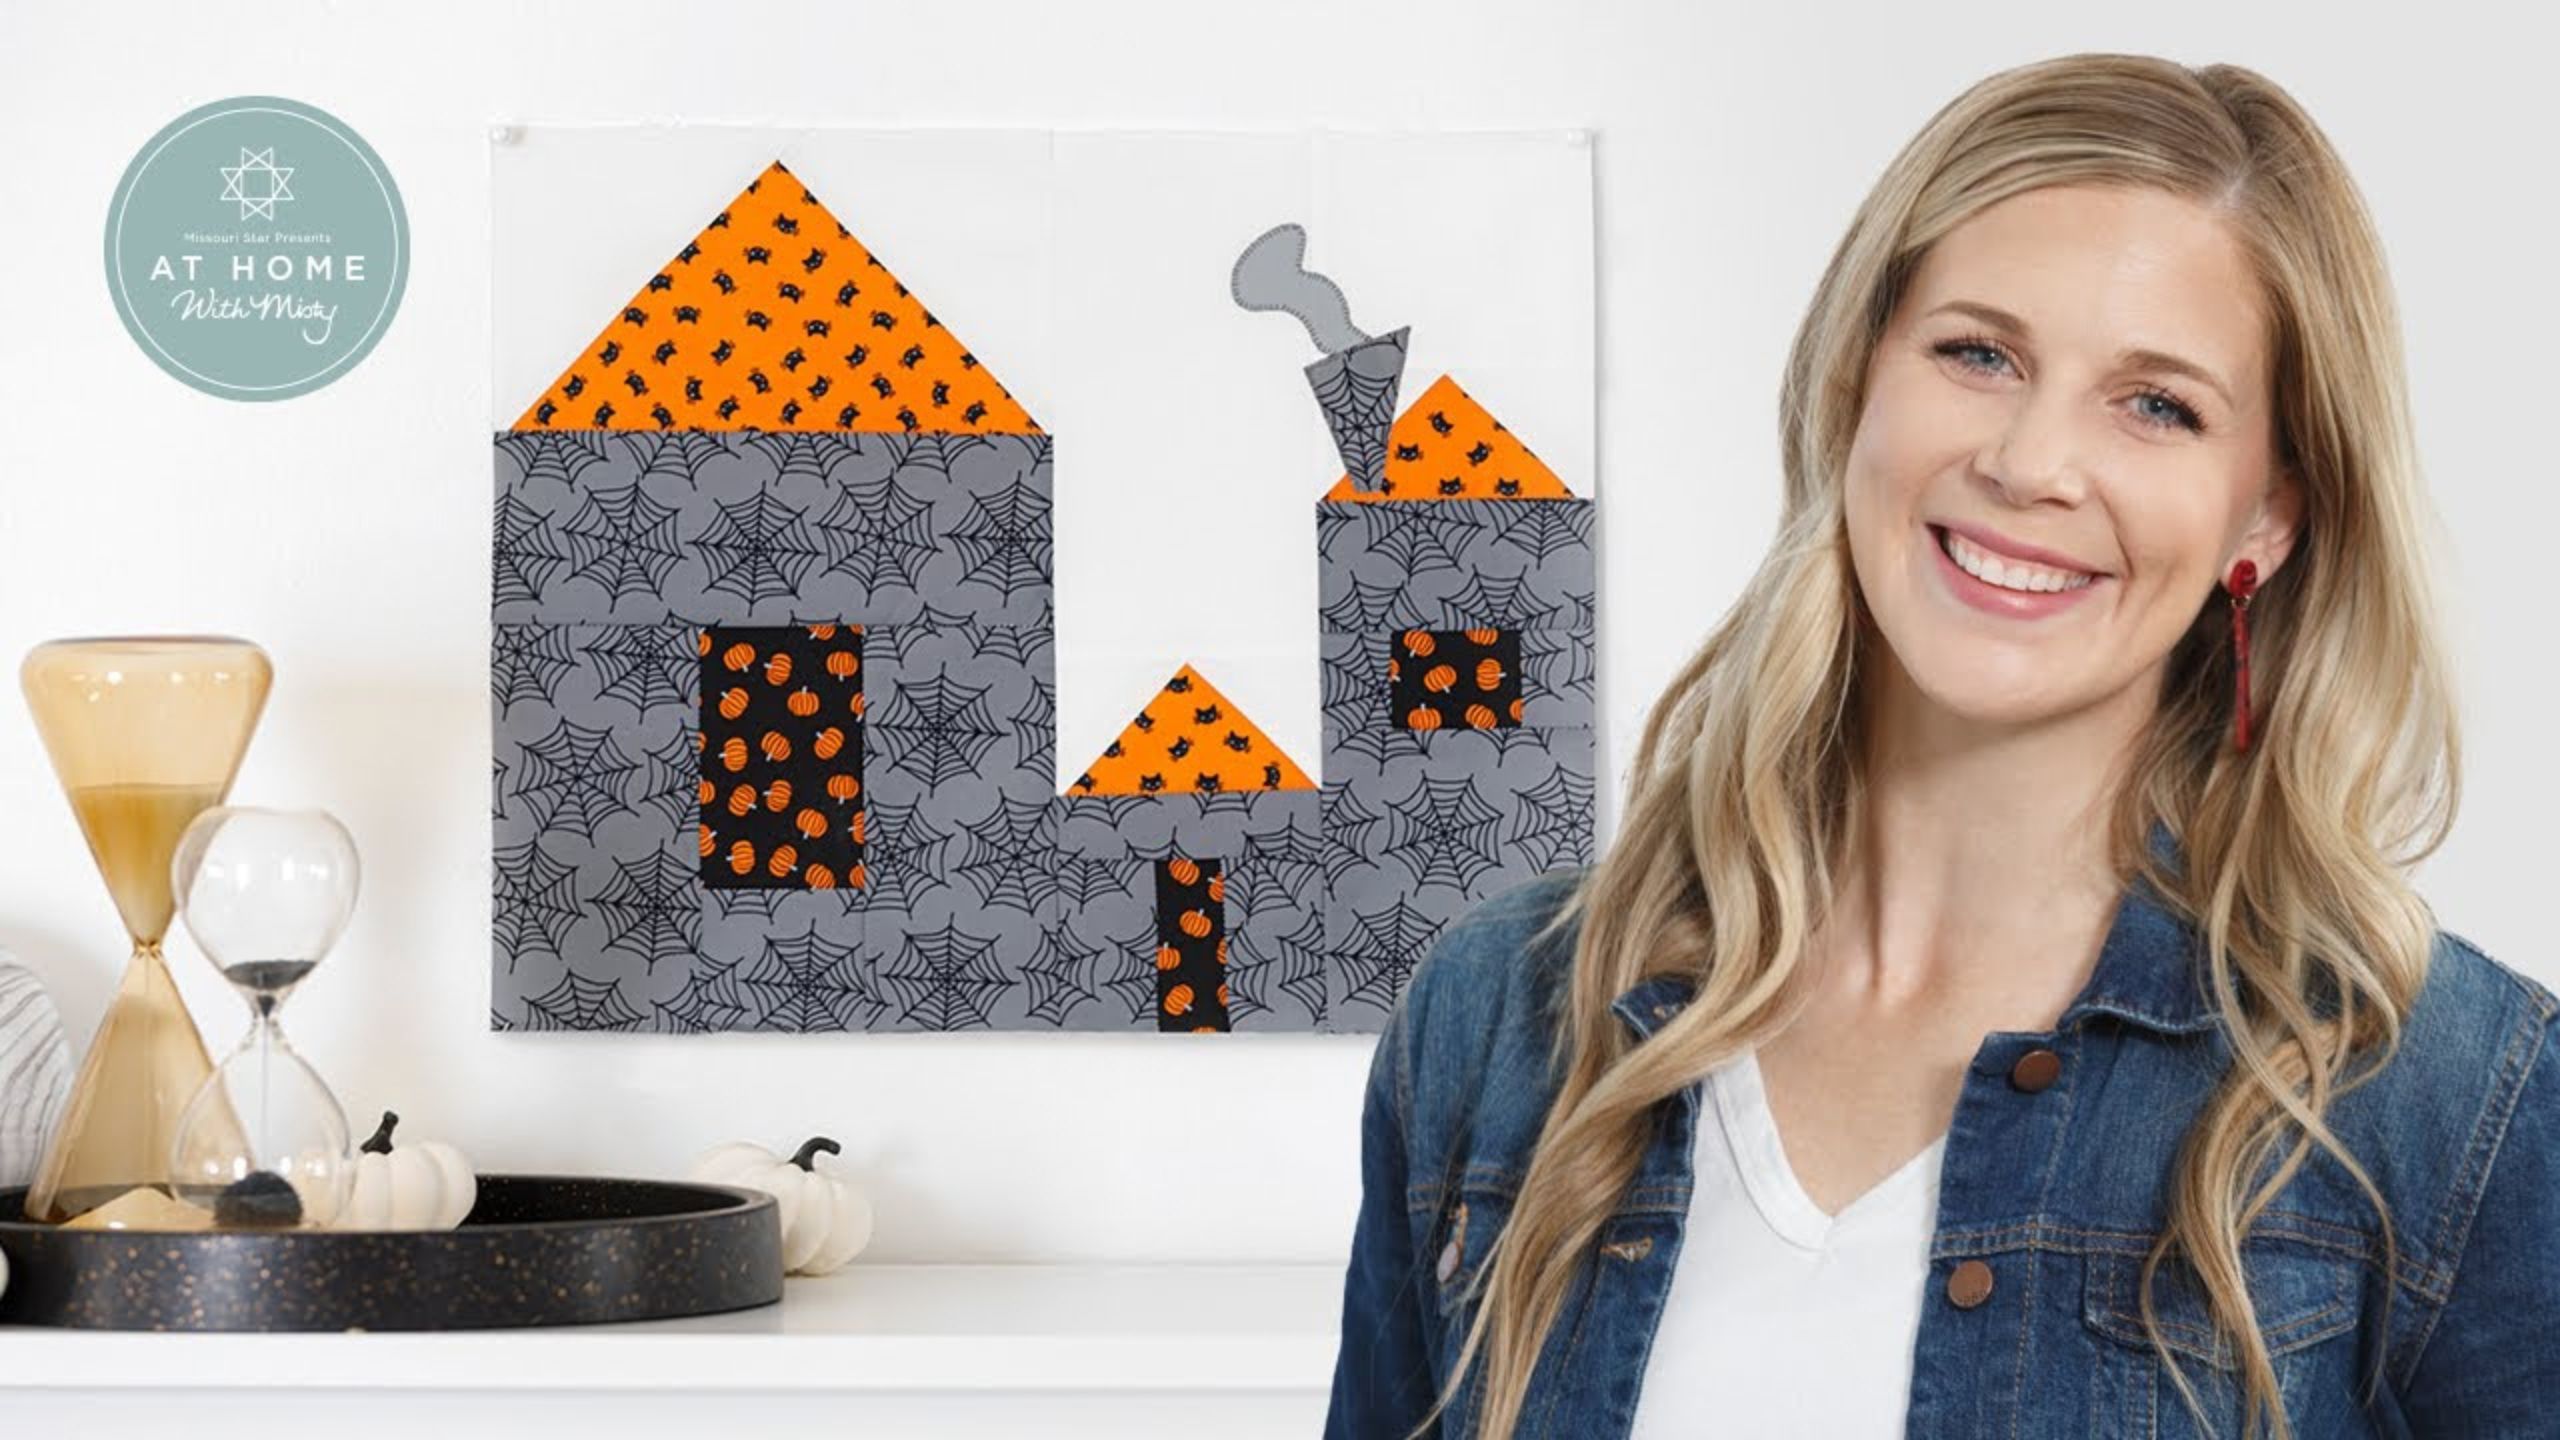
Week 4 of the Spooky Season Sew-Along has begun! This week Misty continues to take you through the process of making the Spooky Season quilt. This week is full of cutting and sewing, so settle down, grab some scissors and sewing supplies and follow Misty as she guides you through this spooky quilt!

Instructor

Misty Doan

Misty Doan grew up surrounded by sewing and quilting. She loves spending time sharing tutorials each week each week, and when she’s not stitching up one of her fun sewing projects for home decor, most likely you’ll find her hanging out with her husband and three awesome kids or working on a house project.

Common Questions

What is covered in Spooky Season Sew Along Part 4 with Misty Doan (Video Tutorial)?

Week 4 of the Spooky Season Sew-Along has begun! This week Misty continues to take you through the process of making the Spooky Season quilt. This week is full of cutting and sewing, so settle down, grab some scissors and sewing supplies and follow Misty as she guides you thro...

How long is the tutorial video?

The tutorial video is 00:31:58.

Are supplies listed for this tutorial?

Yes. The tutorial page includes the supplies and materials connected to this project.

Video Transcript

[Music] hello everybody welcome back it's week four we are past the halfway point of this sew along i can't believe how quickly it's coming together i hope you made it through all those pumpkins okay and this week we will be making our cute haunted houses we're back to a more reasonable number of blocks just three this week and it comes together really quick so let's dive right into it so remember we sorted them out we already have most of our pieces separated into our little bag here and it's all labeled so we remember what it's for so i'm just going to open this up just like so and we are going to sort this even further so that we can begin making our houses so now i'm going to open up my stack of five inch squares and remember you can reference your fabric key that's included with your kit but we'll turn to page 24 of the pattern which is where week four begins and we're going to begin just as it says by sorting our ten inch squares into three stacks for our houses so to start we need it says two ten inch squares each of fab fabrics b k and m so fabric b i know are these really cute little skulls so i'm going to set those aside in one pile fabric k are our gray spider webs right here so that comes next and then fabric m is our dark background with the bats right here so this is my third pile and you know each of these that you have two ten inch squares is going to make the structure of the house and so each one of these will be the background of our house itself and then we're going to move on to the doors and windows in which case we need one 10 inch square for each of those so we're going to start with fabric c which is our black background with that's going to go with our spider web fabric next up we need fabric l which i'm going to look at my guide here and that is my white spider webs and i'm going to skip ahead and see which one it goes with it looks like it goes with the skulls so we'll put that there and fabric oh are these cute little ghosts which i know have to go with my bat fabric so now we'll move on to our roofs we need fabric e so fabric e is this cute little kitty print and it looks like that goes with my spider webs here then fabric k is these spider webs and that goes with the bats and that just leaves me with these dots that is going to go with the skulls and so now i have each of my fabrics set aside for the individual houses i am just going to make one of these for you because they're all made the exact same way so i'm just going to slide these two aside for now and we're going to begin by cutting our two ten inch squares that make the bulk of our house so just like every other step that we've done on the pattern when you open this up it has great diagrams for you that show you how each square is going to be cut be sure to follow along with that it's going to make it super simple for you and more straightforward so we have our our fabric for our houses let's go ahead and get them cut so i can look here and the first strip i want to cut off of here is three and a half inches so i'm just going to take my ruler and line this up on my mat so it's nice and straight i'm going to measure over three and a half inches oh that's a little crooked let me just straighten that up there we go there's our first cut and then we want to sub cut that so it's only three and a half by nine so we'll just trim off this last inch there we go and then we're going to cut turn this because this leaves this piece at six and a half inches and we're going to cut two pieces at six by three and a half i slipped easy easy learn from my mistakes the good news is i have plenty even though i cut a little bit off i can catch that in my quarter inch seam so i'm just going to leave that and it's going to be just fine so this is my second six and a half by three and a half inch strip just like so and then we're gonna turn this this piece should be three inches tall that's left and we need to cut a two and a half by three inch piece so there's that piece and then we need to cut two one and a half by two inch pieces so since this is three inches tall i'm going to measure over two inches and then i can just turn this and cut it in half there we go so now we can move on to that second ten inch square and i'll move on to the next diagram that's in the pattern in order to catch all of those steps and so it looks like the first cut i'm gonna make is a five inch strip which is easy because we're just going to lay our ruler on the side and cut this right in half there we go and then we'll turn this first piece and we'll measure over four and a half inches so we have a piece that's five by four and a half there's our first cut then i'm going to go ahead and cut another four and a half inch square and then we'll turn this and we'll have a one and a half inch by four and a half inches and then we need a two and a half by four and a half there we go and then from this piece all we need to cut are two three by two inch rectangles so i'm actually just going to measure over 3 inches sorry i had to think about it just for a minute and then we can cut these at 2 inches there we go and now we have all of these little pieces ready to go you can see i do have this little bit left over so if you made a cutting mistake you should be able to go back and correct most of these little pieces based on what you have left over so now i'm just going to set those aside and we are going to move on and start cutting our roofs okay so these dots here are our roof and so now i'm going to do the same thing that we did for the house itself and we're going to cut out the pieces for the roof this is really easy to keep the pieces straight because you know all of these are for the house anything from this is going to be for the roofs and anything from this is going to be for the doors and windows so to begin with we're going to cut a nice five inch strip off of here and then we're going to turn this and trim it down to nine inches just take an inch off of that side there we go and then we need two two and a half by four and a half inch pieces so i am just going to measure in make sure this is nice and straight i'm going to measure in four and a half inches and make a cut and then i can turn this and cut it in half and get my two pieces that i need there we go those are my rooftops again a little bit of extra here and now let's cut out the doors and windows we'll turn the page for that you have so much extra here so if you wanted to use one square to make two of your windows you could probably even get all three of your windows out of one square i just really wanted it to be scrappy so i mixed it all up but let's go ahead and make these cuts because no matter which squares you use the measurements are going to be the same so we need a four and a half by three inch piece a two and a half by two inch piece and a three by one and a half inch piece so let's make a four and a half inch strip since that's the widest cut we need to make make sure we're nice and straight there we go this is all extra now we can turn this to get our four and a half by three there we go and then we need to make a one and a half inch cut and then i'll turn that trim it down to one and a half by three there we go and then one more little window is two inches that's extra we'll turn this and cut it two by two and a half so this is all of the cutting that you're going to do to make your houses and remember you'll repeat that with each of these stacks i've just cut enough for one of our houses but let's go ahead now and pair that with our background pieces and our pre-cut previews because that's going to complete all the pieces that we need for this so you can see here's my little chimney it's going to match the same as your house whatever your house is out of and then a little bit of smoke to come out of that chimney then for every single house block you're going to need four two and a half inch background squares two five inch background squares one four and a half by four inch piece and one four and a half by eight and a half inch piece of your background fabric so together all of these pieces are going to make our nice big house blocks so let's go ahead and start i like to start with my roof tops just because they're it's just an easy place to start for me it makes the most sense so we're going to take our two and a half by four and a half inch rectangles that we cut for our roof and we are going to use our two and a half inch background squares and we are going to make these cute little peaks for our roof so let's bring these over here and we are going to line it up on one side here and sew from point to point and i like to chain piece these there's our first one and we can just slide the next one in right behind whoops let me straighten this out there we go perfect we'll trim those apart then we'll trim off our seam allowance here there's that one and this one now we can press these back and we'll add the other side just roll that back like so and this one okay now the reason that we need to trim and press these before we add our second set of squares is because this has been designed so that it's going to overlap here at the top so that we keep our peak when we set all of these blocks together we don't want to lose the top of our roof so again i'm going to start from point to point and sew straight across and this one as well make sure they're nice and lined up there we go let me trim that off there we go all right much in the same way we have added these i'm going to press these back and we're going to do the same thing with our five by nine inch piece and our two five inch squares this is just a bigger roof top it's the exact same idea but i am going to go ahead and get a micron pin here and i'm going to mark on these squares just because it's a bit of a longer stretch all right so we're just going to set our ruler point to point here and we are going to draw a line corner to corner you could press this too if you'd like but i like to draw it and if you have an extension table like i do on my machine i can actually still do this with my diagonal seam tape but i think it's just good to know there's many ways to do this and whatever is easiest for you is the way you should choose so i'm going to line this up on this corner and we'll make this first seam we'll sew right on that line there we go now we can take this over here and trim it off just like before same exact steps just a little bit bigger pieces that we're working with now let's press that and then we can add that other square and so when you do that you want to make sure that that line that you drew is going to intersect here to create the peak and so you can see here's that first triangle that we added and we're going to add this one and it's intersecting so again right on that line let me straighten it up first it's always better to double check there we go and trim and press just like before we go all right okay so once we've made the rooftops i like to then lay out all of my little sections for my haunted house and so i'm going to clear off this cutting mat and we are going to start doing that so you'll notice when you turn the page in the pattern it has all these wonderful diagrams that explain the layout of the house and so we're going to take our little roof tops and i know i've got one big roof top and two small roof tops and then i'm going to have some pieces that come together underneath and so for the big rooftop let's go ahead and do our doors and windows first because our little short roof is where the door goes and that is this one and a half by three inch piece that we cut then this one has a little window that's going to go in it and this one has a larger window so those are those three pieces and now we can set in these pieces around it to make everything line up so this is actually going to go at the top here and then you find all my pieces these set on this side and this sets underneath you can see how as you're doing this layout it starts to take shape and this is the way i like to do it just because i am so visual and once i've done this layout it's easy for me to see how all of the pieces go together sometimes when i'm reading through the pattern it just becomes a lot of words but i do love that i can go back and double check and make sure i have the pieces where they need to go so i'm going to go ahead and finish up this layout and then i'll meet you back here to sew it together all right i've got all of my pieces laid out and now i just work in the sections that are most logical to me so for instance on this large one i'm going to sew this bottom piece to this window i'll do that first start by sewing these two together go ahead and press this back and then now remember this came from right in here and so i'm just going to add each of these rectangles on either side so i'll start by sewing this one make sure it's all lined up with our quarter inch seam there we go and we can flip this around and add this one on the other side [Applause] okay so now let's press that back there we go and now we can grab this top section and add it to this make sure we're all lined up again and sail down that side now before i press i'm going to go ahead and grab the rooftop because this is going to go on this side here just add this and then i can press it all together ta-da there is the largest part of our haunted house ready to go and now we'll just keep working on the two smaller sections so it's the same idea i'm going to add these rectangles here to either side of my door so we'll begin there there's that one i'm just going to give it a little finger press open this up and add the other side there we go now i can press this nice and flat this is going to be our door to our haunted house then we'll add the little top piece there we go and just like we did on the large section of our house we can go ahead finger press this back and add our roof top make sure it's behaving take a few stitches line up the end and continue down here we go look at that cute little house press that okay one more section and this is our tower part of the house so we'll begin with the little window same idea we're going to add these little rectangles on either side okay we'll turn this and add to the other side go give this a press there we go add this rectangle to one side we can turn it around and add the larger piece on the bottom just like so make sure i kept it straight sometimes i get so excited that they just get a little crooked before i get to the machine there we go and lastly we're going to add the rooftop it goes to this skinnier side just like this i love making these haunted houses they're so fun there we go now we'll press this here are the three sections of our haunted house and so now as you can see they are different heights so all we need to do now is add our background strips that we cut to finish these off so i'm going to go ahead and add these to both of them here's this one the taller house gets the smaller background rectangle and the shorter house gets the bigger one there we go once we can just do one after the other sorry this is looking a little wonky [Applause] there we go all right now let's just go ahead and press that back and this one all right now let's take this back to the cutting mat because i do want to show you how this goes together so two of our houses are made like this with our tower on this side our short little doorway in the middle and the larger section on this side and so you'll sew this block and i have the other one ready and this block the one with the bats behind it in the exact same orientation so let's go ahead and sew these together so i can show you what i mean we'll add this strip here sew down the side i am taking my time as i'm going down just to try and make my seams go the direction that i have them pressed they're not really nesting but that way it'll help manage some of that bulk there we go and now we can open this up and add this larger section on the other side and they just fit together so nicely so we'll just sew this one down [Applause] look at that isn't that fun all right let's give it a press and then this block is finished except for our chimney and our smoke so once i get this pressed i will grab that and we'll add that really quick i'm just going to turn it like so and then i have my chimney and my smoke these little pieces like this and remember your chimney is always going to match your house and so this is that same skull print and then this is the little smoke and so we're going to go ahead and lay these out and peel the backing off like all of our pre-cut pre-fuse and i'm just going to start by laying my smoke on here and then grabbing my chimney and i like to have it maybe about a half inch up from this rooftop seam and then i just kind of play around with my smoke to decide where i want that to come out but i always make sure that i have more than a quarter inch so that i'm not going to lose any of this in my seam when i sew my blocks together so i think that looks really fun and kind of spooky so now that i have that where i want it i'm just going to press straight down to set that applique in place there we go that should be fused and ready to go and now just like everything else you'll want to go through and do whatever finishing stitch you chose whether that's the blanket stitch zigzag or just a simple straight stitch so this block is ready to go let me slide my chair on over there we go this block is ready to go and i made this one that's set up the exact same way the only difference is this block actually has a little bat added to it as well so you'll see that there now the other block is the exact same components but it's just going in the opposite direction and so you'll see when we lay this out we're going to put the big section of the house on the left hand side the smaller one in the middle and the tower on the right just the complete opposite of these two that we've made and we'll sew those together and add the applique in the exact same way so that's it now you have three finished haunted houses to add to the quilt and i will see you next time for week five hey everyone it's misty thanks for watching at home if you aren't already a part of our missouri star family be sure to subscribe and hit the bell if you want a notification every time we release a new video i'll see you next monday on the newest episode of at home [Music]

More Layer Cake tutorials

See all