Skip to content

Free quilting video tutorials from Missouri Star

Quilting Tutorials
Spooky Season Sew Along Part 5 with Misty Doan

Spooky Season Sew Along Part 5 with Misty Doan

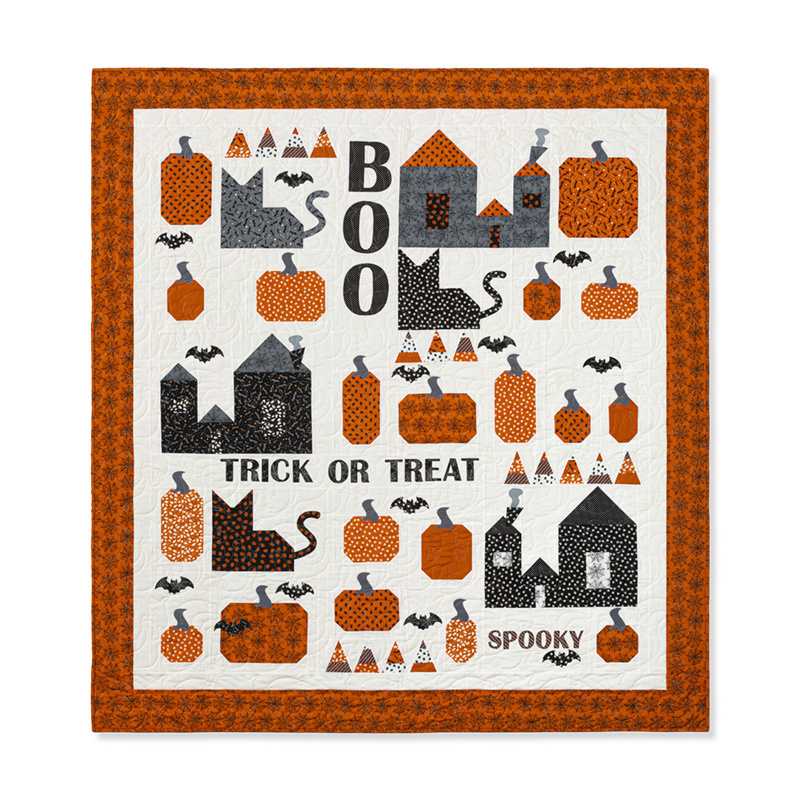
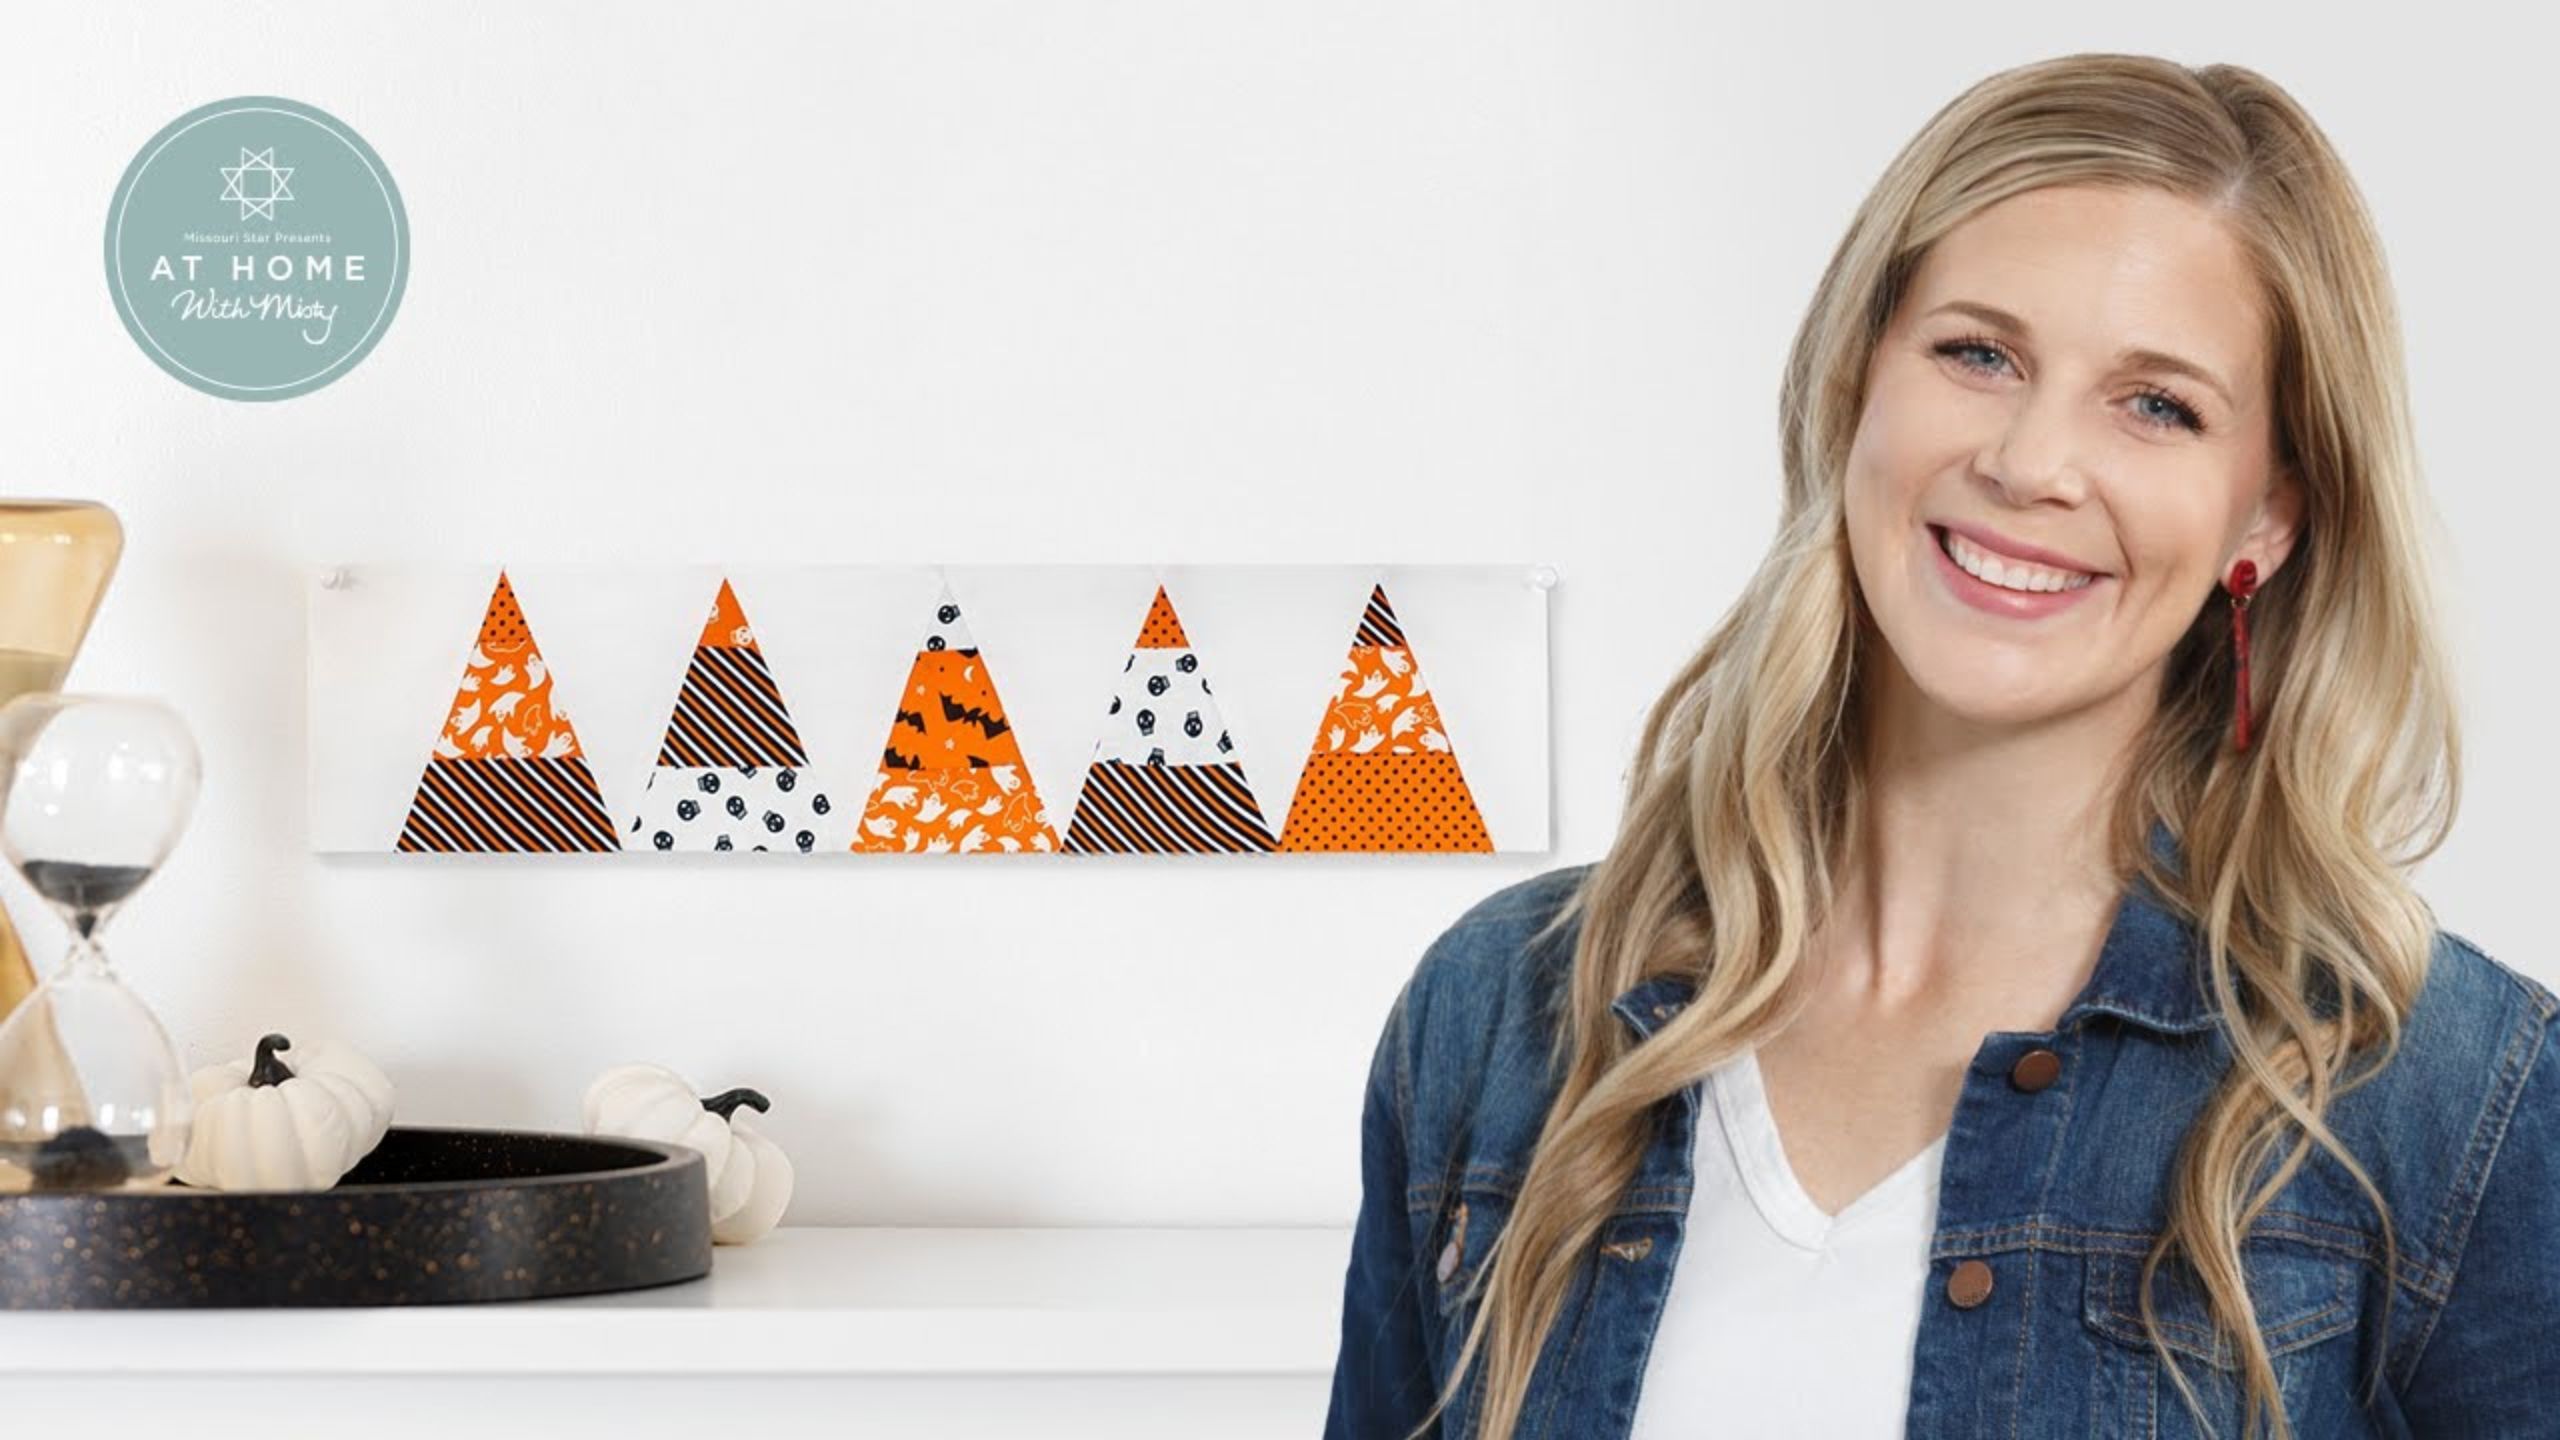
Welcome to week 5 of the Spooky Season Sew-Along! Follow Misty as she takes you through the Spooky Season quilt. You’ll be continuing to sew together blocks so find a comfortable spot to sit and stitch away! Misty will be there through every step in this stunningly spooky quilt!

Instructor

Misty Doan

Misty Doan grew up surrounded by sewing and quilting. She loves spending time sharing tutorials each week each week, and when she’s not stitching up one of her fun sewing projects for home decor, most likely you’ll find her hanging out with her husband and three awesome kids or working on a house project.

Common Questions

What is covered in Spooky Season Sew Along Part 5 with Misty Doan (Video Tutorial)?

Welcome to week 5 of the Spooky Season Sew-Along! Follow Misty as she takes you through the Spooky Season quilt. You’ll be continuing to sew together blocks so find a comfortable spot to sit and stitch away! Misty will be there through every step in this stunningly spooky quilt!

How long is the tutorial video?

The tutorial video is 00:15:45.

Are supplies listed for this tutorial?

Yes. The tutorial page includes the supplies and materials connected to this project.

Video Transcript

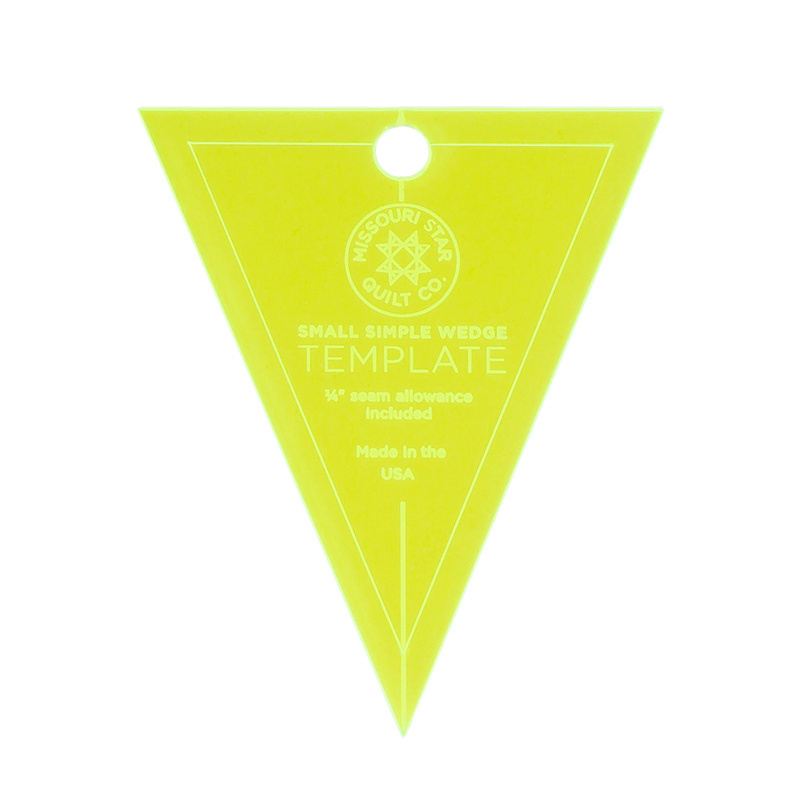
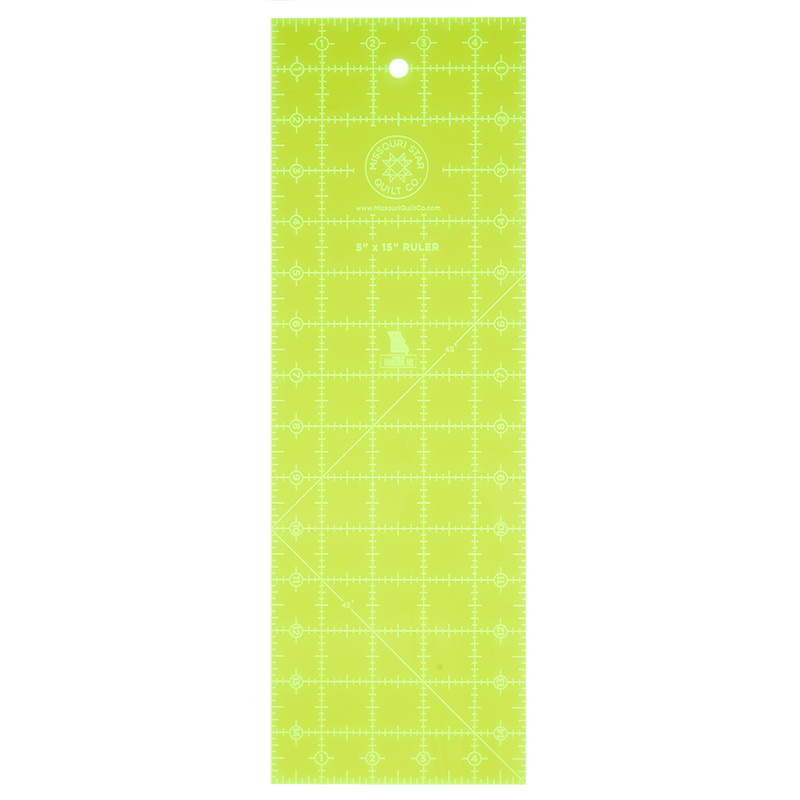
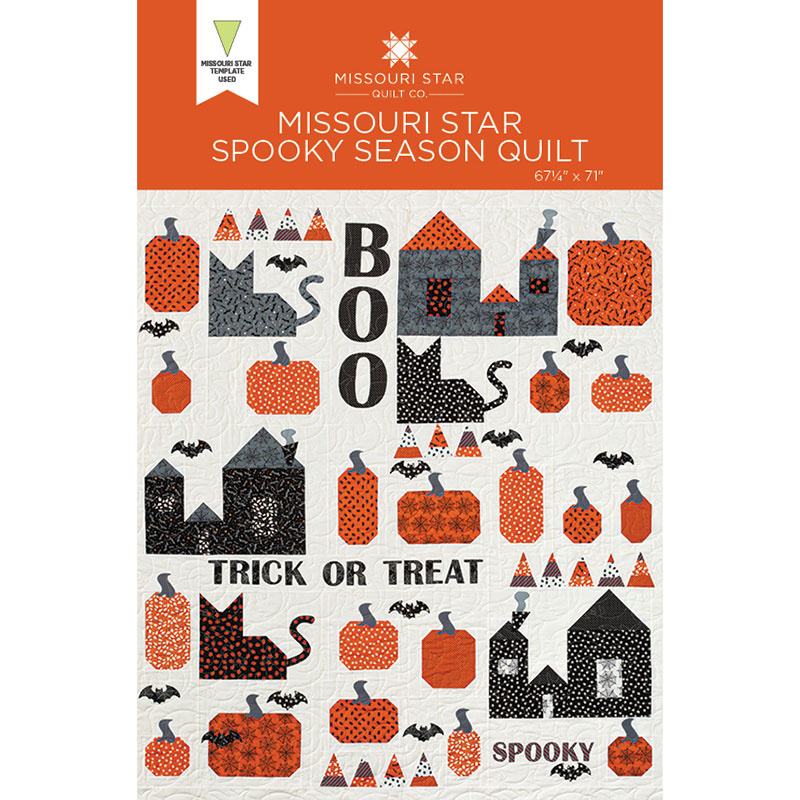
[Music] hello everyone welcome to week five of the spooky season sew along i am so excited we are getting down to the end of this awesome quilt and i hope you have had so much fun sewing along with me this week we'll be making our candy corn blocks which you can see there are four different sections of candy corn in the quilt and they're just really scrappy and fun so let's go ahead and grab our bag that we set aside for week five i have mine here we have our 10 inch squares some four and a half inch background strips and if you remember i mentioned earlier that this simple wedge template is awesome if you want to pick it up it makes it really quick and easy to do this there's also a paper template that you can make a copy of in the pattern so whichever way is just fine i'm going to be using the template and let's go ahead and dive right in so let's turn to our week 5 and our pattern which is on page 31 and we are going to start by going through our fabrics and remember i always keep this fabric key handy so i can reference it if i need to and we are going to go through our 10 inch squares and sort them so to begin with we have fabric f fabric g h j p and q so those are the 10 inch squares that we have pulled aside for this week and then i'm just going to work my way through them and this is one of the weeks that you can really pick and choose and do this however you want the idea is just to make them scrappy so you can you know use any fabric we have quite a bit of leftovers from some other weeks so if you wanted to pull one of those in you absolutely could so from our first fabric p i'm sorry fabric f we are just going to cut one two inch strip so i'm going to make that cut and i'm going to set it aside and then i will just move this over here for now so from fabric g we're going to cut two one and three quarter inch strips so i'm going to line up my on ruler and three quarters that's right between inch and a half and two inches make a cut cut one more there we go and i am just going to continue following the pattern and cut out the rest of my strips all right i have finished up my cutting and now we are going to mix these up and put them together to make some fun strip sets every single strip set is going to be made up of two one and three quarter inch strips and one two inch strip in the middle let's go ahead and look at our strip sets on the pattern here so we need a one and three quarter inch fabric p and so you know going back to the guide here is a good tip fabric p is this cute little skull print so i have a one and three quarter inch strip of that then we need a two inch of fabric f which are these bats and then a one and three quarter inch of fabric j which are these ghosts and so i'm going to sew these together in a set just like this and like i said you'll just continue down making four different strip sets all right i'll sew these two together first then i'll come back and add this other one make sure they're lined up always checking our quarter inch trying to make sure we're keeping it nice and straight there we go now remember we want our um one and three quarter inch on either side of our two inch strip and my bats here were the two inch strips i'm going to add the ghosts to the other side of that line that up and sew down again you could press in between if you want i'm going to wait to press till the very end there we go all right our first strip set is sewn together now let's go ahead and press that over here at the ironing mat i like for all of my seams to go the same direction so i am rolling these all in the same way they're not nesting with anything so you don't have to worry about that if they want to go a different way that's fine but for me i just think they lay nice when i press them all the same direction so now that we have this done let's go ahead and move the rest of these strips out of the way because they're all made in the exact same manner and we are going to take our simple wedge and i like to start on this end here and you can see it fits perfectly on our strip set and we are just going to make this first cut get rid of that then i'm going to take and turn this around so that i'm not working away from myself and then now i'll be able to cut on the right side and just rotate my template back and forth so now i can cut here rotate my template and cut again in here and one more you'll get four of these out of every strip set so now i'm just going to stack these up oh i do want to point out because we're working with a strip set you kind of have opposites so two of these from the set have the skulls on top and two of them have the ghosts and that's how you want it so we can just set these aside for now i'm going to go ahead and finish up my other strip sets and get them cut and i'll meet you back here all right we've cut out all of our candy corn shapes and i've gone ahead and sorted them according to the pattern because we have four different blocks and so we're going to go ahead and make block a together which requires these four candy corn pieces that you see here and then in between them we of course need to set some background wedges so let's take our four and a half inch background strip and do some cutting to get ready you're gonna have two strips that you've set aside i've gone ahead and already cut one but let's get this one ready so you know how to cut it you cut them both in the same way so let's trim off our selvage i have this on the fold so keep that in mind and we are going to cut four total from each strip four and a half by three inch rectangles there's two we'll do that one more time to have our four there we go and then now we can use the rest of this strip to cut out our background wedges so i'm going to use my template again so that this matches up with my candy corn shape we can turn this piece here always want to be cutting away from ourselves there we go and then now we can safely cut down this strip and just rotate our template there we go and you can just continue on down your strip i have a few already cut so i'm going to set that there before we get going i do want to let you know from these four and a half by three inch rectangles that we cut these are going to become the end pieces for each of our sections of candy corn and so i'm just going to stack mine i have four stacked up here and we're going to use the template and we're just going to lay it along the bottom you can see it's going to overlap here but i'm just lining it up with that bottom edge and we're just going to cut this angle just like so so this is our waist and these are our side pieces so i have some in a stack here i'm just going to add that to it and now let's go ahead and make our a block like i said i have them all in order and we're going to take our background wedges and let me show you how i like to do this because i know there's going to be one of these in between each of the candy corn blocks i leave the first one blank and then i stack one on top of each of these just like so and then i start from my left and work across and stack them up and then i know i have everything in order to take it to the machine and start sewing so let's go ahead and do that bring these over here and i'm going to go ahead and just press this it's got a little rumple in it so let me just give that a press so that i'm not fighting with it at the machine and then we can line these up i just like to make sure the wide side of my background wedge matches exactly with the narrow point of my candy corn and then we'll sew our quarter inch seam we'll add one after the other until this row is done you do want to take your time and press in between i'm going to try and roll my seam so it's hidden underneath my candy corn there we go now again lining up this bottom wide edge right with this point down here all right so we're just going to continue sewing each of these down and finish out our row all right we have finished up adding our last candy corn to this row let's go ahead and press that back and now we just need to add our end pieces remember those are the rectangles that we cut down using our wedge template they look like this we're just going to add one of these to each end like so so i'm just going to lay this like this and sew down with a quarter inch and do the same thing on the other side okay now we can press these back looks so nice all right there is our block a we're going to trim this up to the size that it says in the pattern so i'm going to lay this on my mat you can see i have a little bit that overhangs down at the bottom here i'm not worried about that because i'm going to square all of this up now so let's go ahead and do that so i'm actually going to start here just kind of center this up and then it looks like for block a i need to trim this to 13 inches by 4 inches so 4 inches tall by 13 inches wide so let's go ahead and take my ruler and i'm going to trim off this first side since i have this bottom edge running straight there we go then we're going to count over 13 inches 1 2 3 4 5 6 7 8 9 10 11 12 13. there we go so my two sides are trimmed now i can turn this because i know that my sides and top are nice and straight and i'm going to trim off this bottom edge so it's nice and even make sure that looks good just trimming a tiny bit off there so it's nice and square then we can turn this again keeping it all lined up and we'll do the same thing on the top so that it measures four inches tall there we go so now our block a is done i'm gonna go ahead and finish up the other three blocks and i'll meet you back here okay i have trimmed up all four of our blocks now just to go over it remember this is our block a and it measures 13 by 4 unfinished so that's what i have this squared up to our b block looks just like this and this measures 11 by 4 unfinished c is 17 by 4 and d is 12 and three quarters by four so i have all of those ready and so now we have our blocks made we're gonna come back next week to finish up the last little bit of applique setting this all together and adding our borders we are down to the very end thank you so much for sewing along with me and i'll see you in week six hey everyone it's misty thanks for watching at home if you aren't already a part of our missouri star family be sure to subscribe and hit the bell if you want a notification every time we release a new video i'll see you next monday on the newest episode of at home [Music]

More Layer Cake tutorials

See all