Skip to content

Free quilting video tutorials from Missouri Star

Quilting Tutorials
Spooky Season Sew Along Part 6 with Misty Doan

Spooky Season Sew Along Part 6 with Misty Doan

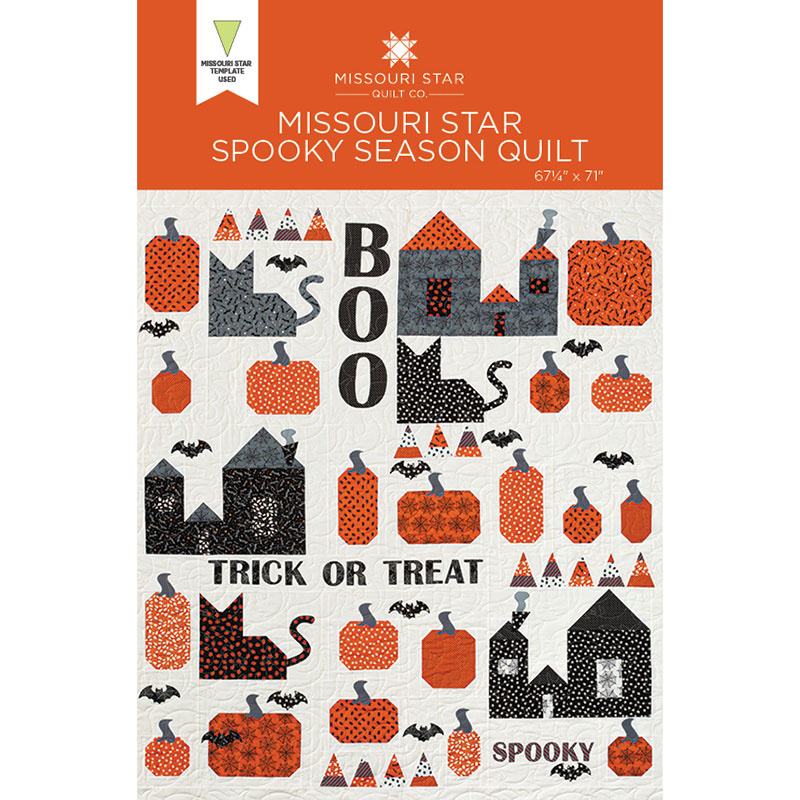
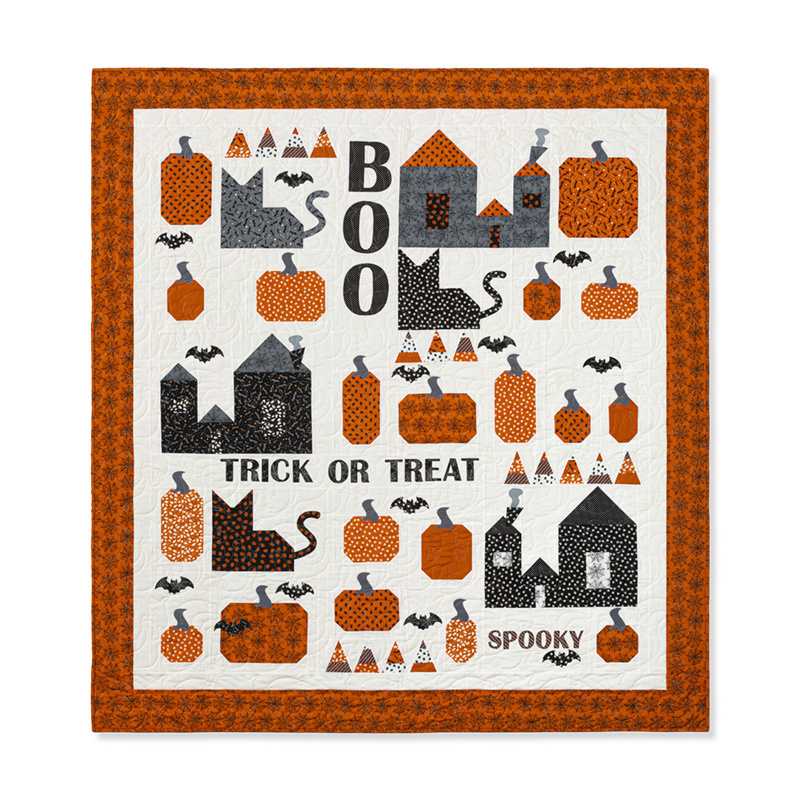
The final week of the Spooky Season Sew-Along is here! This week you’ll follow along with Misty as she finishes up the Spooky Season quilt. You’ll be making the final stitches to your gloriously spooky quilt. We hope you’ve enjoyed this detailed step-by-step guide to making this quilt and love showing it off in your home.

Instructor

Misty Doan

Misty Doan grew up surrounded by sewing and quilting. She loves spending time sharing tutorials each week each week, and when she’s not stitching up one of her fun sewing projects for home decor, most likely you’ll find her hanging out with her husband and three awesome kids or working on a house project.

Common Questions

What is covered in Spooky Season Sew Along Part 6 with Misty Doan (Video Tutorial)?

The final week of the Spooky Season Sew-Along is here! This week you’ll follow along with Misty as she finishes up the Spooky Season quilt. You’ll be making the final stitches to your gloriously spooky quilt. We hope you’ve enjoyed this detailed step-by-step guide to making th...

How long is the tutorial video?

The tutorial video is 00:18:39.

Are supplies listed for this tutorial?

Yes. The tutorial page includes the supplies and materials connected to this project.

Video Transcript

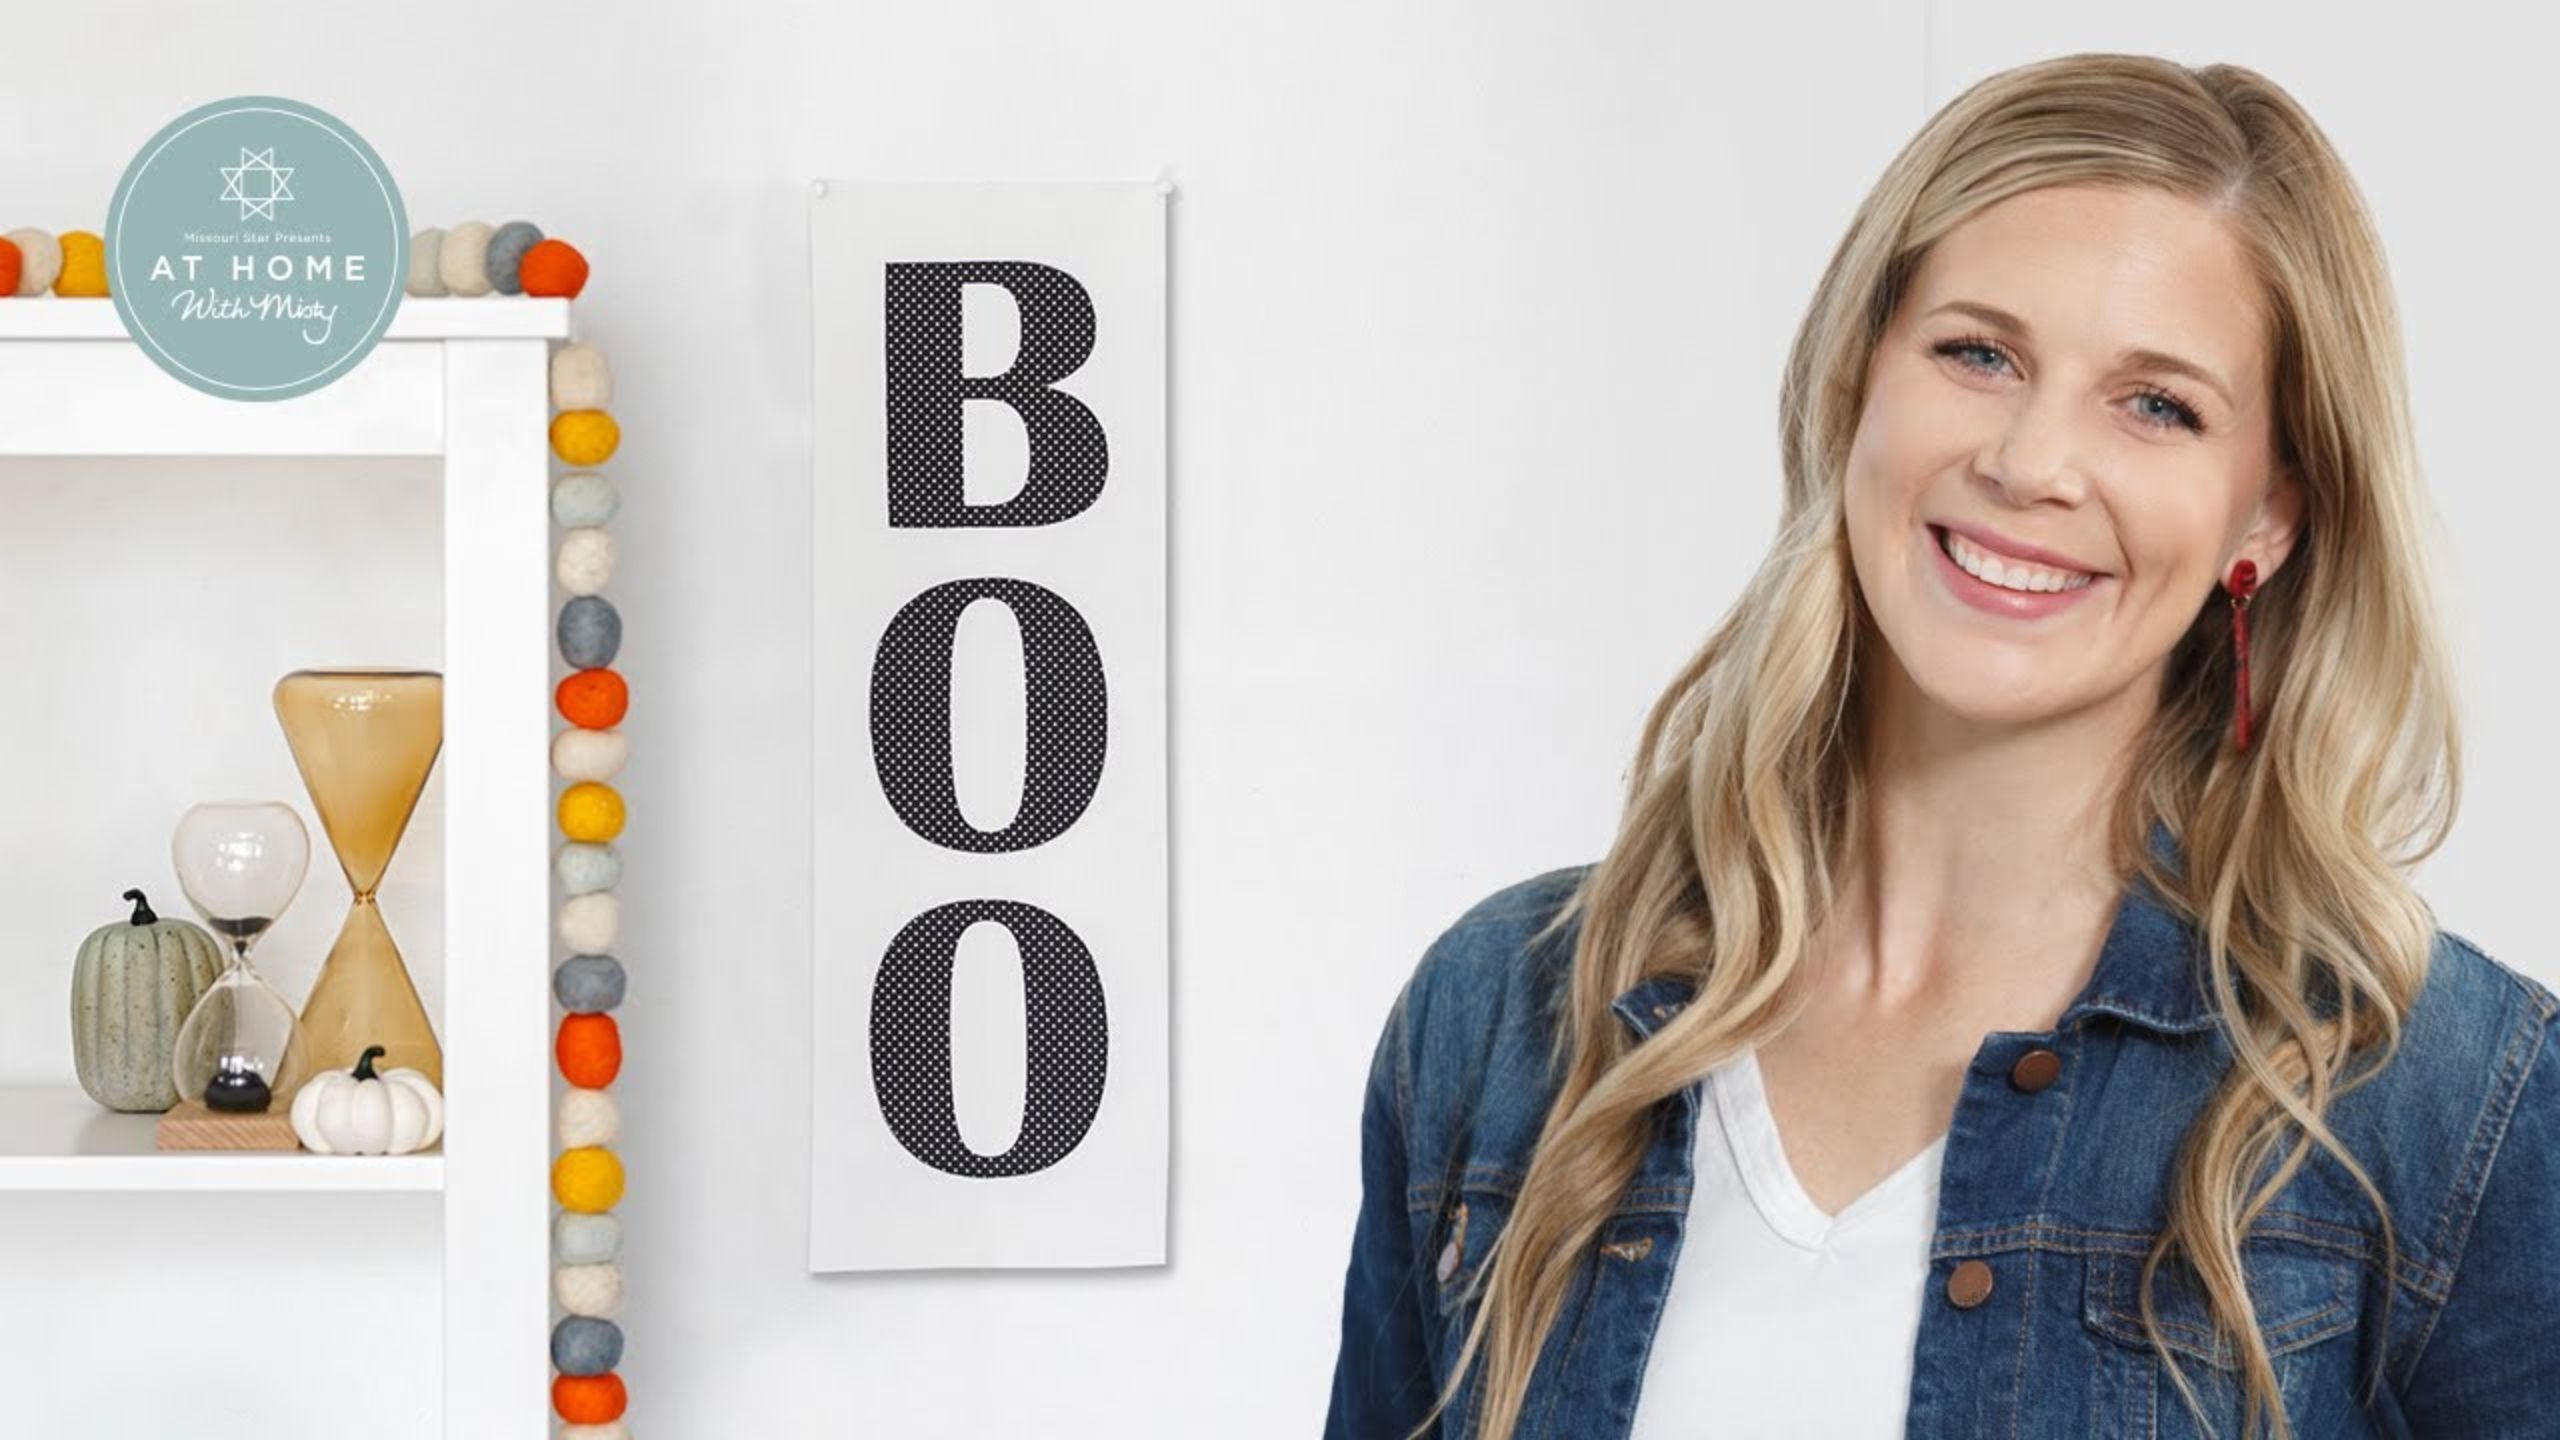
[Music] hey everyone welcome to week six of our spooky season sew-along we are down to the final week so let's go ahead and get started with that we're going to turn to page 36 of our pattern and that's where week six's instructions begin and we're going to start by cutting out the last of our background fabric there's a great diagram in here that breaks down all of those cuts to give you the exact details so you're using or having less fabric waste i guess is what i'm trying to say but essentially you're going to take and make a seven and a half inch cut across the width of fabric a five inch cut a four and a half inch cut a three and three quarter inch cut and six two and a half inch strip cuts and so then you'll get all of your sub cuts from there and once you have all of your background fabric cut out we're going to do a just a little bit of applique to finish up our projects we've added a lot of our pre-cut previews as we go and i told you you could finish off that applique stitch as you went along but if you waited this is the week that you're going to have to finish all of that up so to begin with though we're going to add our applique words so you can see in the quilt we have boo trick or treat and spooky so i thought we would start uh by making boo together so i have my letters here i've gone ahead and clipped them apart and i have that background piece and this piece measures seven and a half by twenty three inches and then we're just going to peel off i'm actually going to go ahead and move this over to the iron to start just because you know i've learned this the hard way over the years so we'll work over here and then we can peel off the backing paper of our pre-cut prefuse applique letters and it peels off so easily i'll just go ahead and get that ready first there we go and then i'll just set these aside because i like to press my background piece to give me some guidelines so i'm going to fold this in half both short ways and long ways so i've got a crease here at the halfway point and then i'm going to flip it this way and press it in half long ways as well and this just gives me a guide for my eye when i'm lining up the letters so let's just make sure it's nice and straight and press that down so then because i have three letters i know one of my o's is going to be right in the center and so i'm going to start with that and i just eyeball you could totally get out your ruler you know use your fingers to make sure it's it's centered whatever suits you best but i think we don't have to be too exact here it's pretty forgiving but you can see exactly where those press lines line up in the middle of my o and so now that i have that i'm going to go ahead and press this first letter just like that and now i can slide this down and i can add my b above it and my other o below it so i'm just going to make sure that looks straight to me and that is good enough i'll just press that down and add the o to the bottom i love these pre-cut preview shapes because it just makes adding these fun details so quick and easy just making sure that looks spaced right to me my letter doesn't look too wonky there we go and then press that one as well all right so i've talked with you guys quite a bit about how to finish off these applique stitches but we haven't really shown that so far since this is applique week i thought i would go ahead and show you on this machine the machine i've used before has been a straight stitch machine so i've switched over and i have some of the specialty stitches on here i like to use a blanket stitch which on this particular machine is number 24 and that's just the one that's like one stitch forward one stitch in stitch back forward just a little bit every time as you sew and so i have switched my thread i've done all my piecing using white but i'm going to do um all of my finishing stitching for my applique in either black or gray i used gray on all of the smoke and the stems of the pumpkin and black for a lot of the bats and the letters and so i have black on the machine and let's just go ahead and do some of that blanket stitching so i'm actually going to start on the straight side of the letter b and i do recommend when you do this that you take a few practice stitches on an extra piece of fabric just so you know exactly how big the stitches are going to be and you can make any adjustments that you want to the stitch length or width so i'm going to go ahead and make sure that we are all lined up so the straight side of my stitch is lined up right along the edge of the bead and the little bite that it takes in is going into the fabric portion now as we approach the corner i'm just going to watch my stitches carefully and make sure i needle down right in the corner and i can turn and continue around and i'm just going to keep sewing all the way around my letters and i'll meet you back here when it's done okay so i finished the applique on boo and i went ahead and did all the other applique finishes that you need done so again we made boo trick or treat spooky and i made sure all of the stems and cattails and bats were appliqued on now there are a few that will come in on this next section but for the most part all the applique is done and ready to go and now we get to start making the sections of our quilt there's six different sections and i'm going to walk you through section a because all six of them go together in essentially the same way so let's turn in our pattern to the next page and it says assemble section a and so to begin with we need to sew pumpkin block one and remember i kept all my labels on my pumpkin so we're gonna sew pumpkin block one to the top of pumpkin block three so i have those two here and i'm just going to sew them together so i'll put them right sides together and this will be the start of our first section make sure i'm all lined up i'm just sewing with my quarter inch seam allowance there we go now we can press this flat okay so we have those two sewn together and then up next we need to sew a three and a half by nine and a half inch background rectangle which i have that piece here to the left side of pumpkin block four so here is my pump pumpkin block four and i want to add that to the left side so that's going to go right here and i can just sew that down so i'll take that to the machine it's pretty fun when you get to these point to this point i mean and all these pieces start fitting together it's like a little puzzle there we go press that as well okay and then now we need to sew our cat block a which is this cute uh cat that has the little bat on it we're gonna sew that right to the top of the pumpkin that we just added the background strip to so i'm just going to lay those right sides together and sew him on there just make sure everything's staying lined up as we go all right all right so we'll just give this a press and now let's see what we add to it next looks like we have a little sashing strip that's going to go across here this is this uh inch and a half by 13 inch strip so i'll sew this on and then we can add our candy corn right to the other side of that sashing strip so i'm going to sew both of those one after the other keep everything lined up there we go and i'll just kind of finger press this for now so we can add those candy corns and then we'll press it at the end [Applause] there we go all right let's press all of this back make sure it's laying nice and flat all right and so now this section here is going to sandwich right in between our pumpkins and our boo but there is one little detail we have one little applique bat that we want to add in between our two pumpkins here so i'm going to go ahead and do that before i forget and this is one of those times where you can wait to do the finish applique until you have this whole section together but the reason that they have you wait to add it is it's supposed to kind of float between these seams here and so you couldn't really add it before you set the pumpkins together you totally could just squeeze it down lower and have it done if you wanted to that's kind of the fun of this the bats can go wherever you really want you don't have to follow along with where i've put them so we'll press that down you would go ahead and do all of that blanket stitching so you have less bulk under your machine but i'm just going to go ahead and sew it to this center section so it's just going to fold over like this we'll take it to the machine sew it down okay we got that side done now we can flip this around we'll add boo to the other side ta-da look at that that is section a i'm just going to give this a press and then this section is done and i can show you how the other sections come together they are so fun and i think it's it's a nice little challenge to have this kind of building block style where they all fit together all right so there is our section a isn't that fun let me lay that out over here so you can get a nice overhead of that so there is section a so cute you can see how quickly it came together and let me just go through all of the different sections remember there's six so i'm just going to move this to my lap for now so you can get a good look at each one here is section b with that cute haunted house okay this is section c just our haunted house and our pumpkin with a little sashings in between then here is d lots of cute pumpkins in this one section e is a large one it says trick or treat lots of pumpkins our kitty and our candy corn and then last but not least we have section f just like that so now let me show you how each of these fits into the quilt i'll take you over to the design wall all right so now that i've shown you all of our finished sections let's go ahead and pin these into the quilt so you can see how they fit in here so this is our section a and it just fits right up here at the top let me get a pin there and one over here and then section b is next and it just goes right next to it your a and b are going to sew together just like that so next we're gonna add section c which is this one right here let me grab a pen and you can see that section a sews to section b section c sews to section d and then you essentially have three big rows so here's our next one it's gonna come in right here here we go whoops wanting to fall down here's our largest section section e that's right down here at the bottom get this pinned there we go and last one is section f whoops tried to put it in upside down so there is our section f and then you're just going to sew each of those together just like i said in rows a and b c and d e and f and once you have all of that done then you're going to add your first inner border those are those two and a half inch strips that you cut out of your background fabric and it's six of those that you need to go all the way around and then you have a five inch outer border to finish it off and i just love this quilt i think it came together so great and now we're really ready for halloween so bring on the costumes and the candy corn and i hope you had so much fun sewing along with me thank you so much and i'll see you next time hey everyone it's misty thanks for watching at home if you aren't already a part of our missouri star family be sure to subscribe and hit the bell if you want a notification every time we release a new video i'll see you next monday on the newest episode of at home [Music]

More Layer Cake tutorials

See all