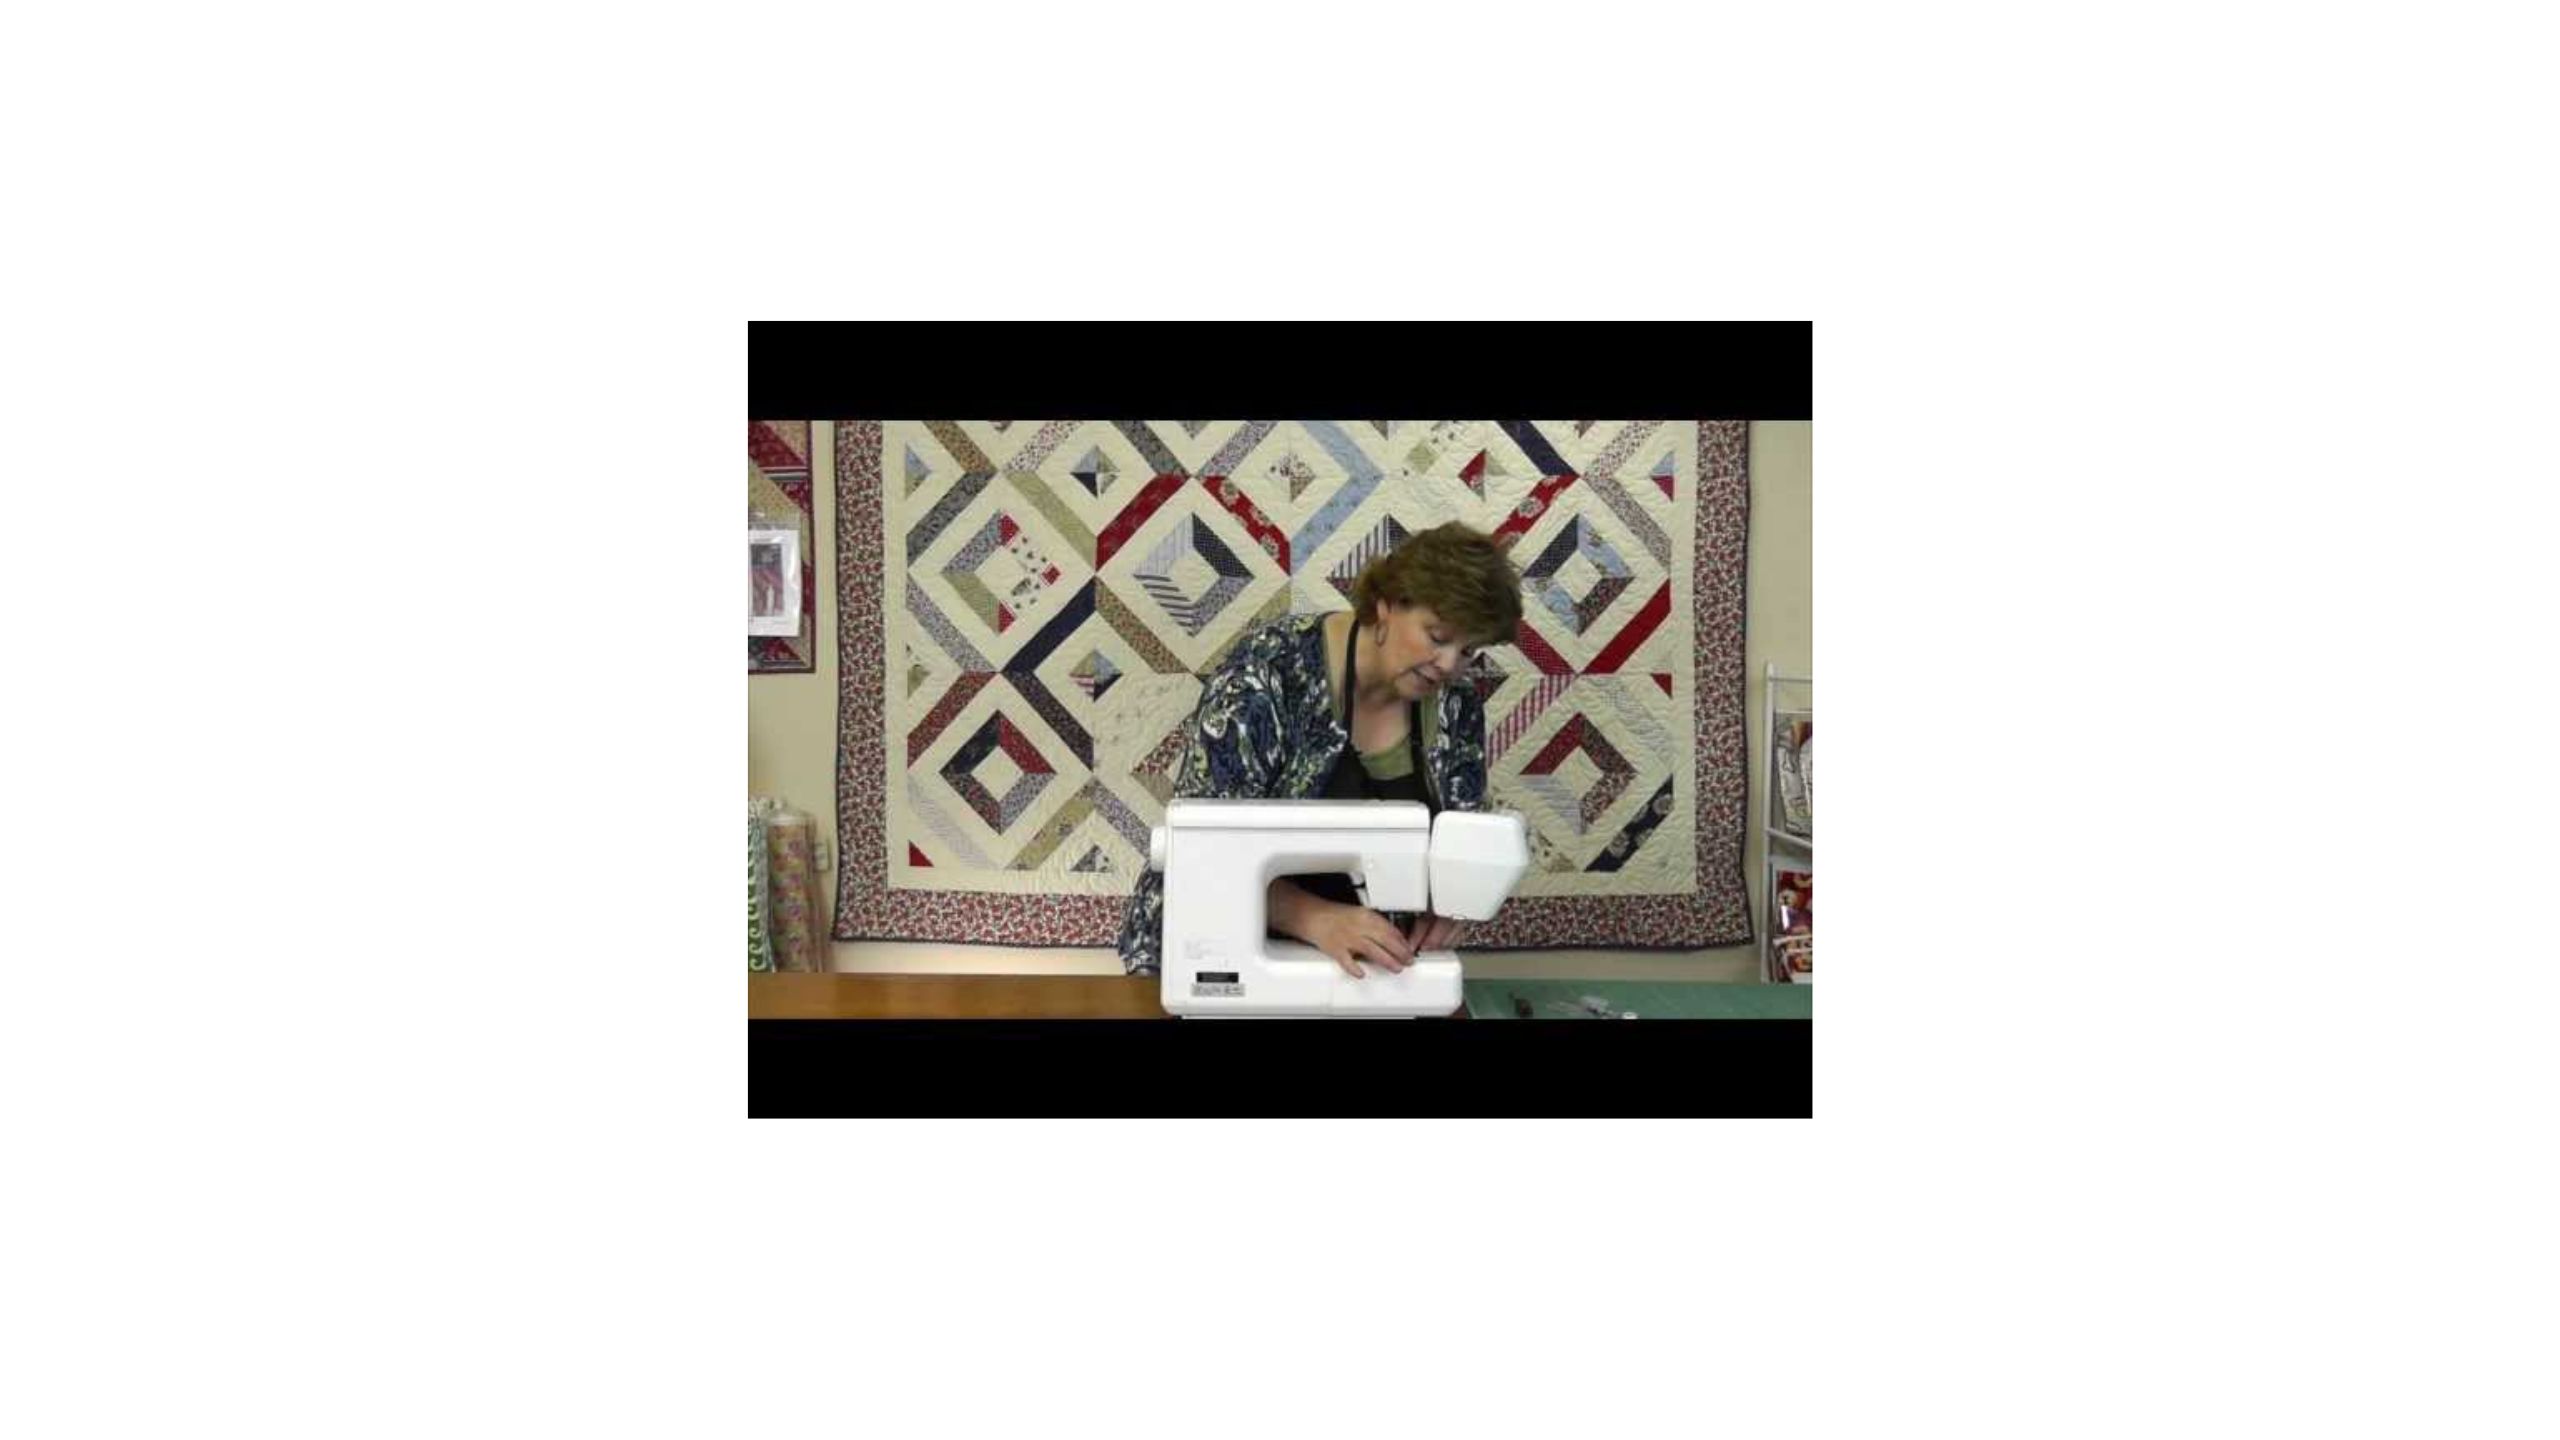
Sewing Machine Cleaning for Quilters
When you're done your spring cleaning in the garage, make sure you take a few minutes to clean your sewing machine. You wouldn't believe the lint that can build up in that baby! Jenny Doan shows a few easy steps to clean your precious machine. Machine Aids - Lint Brushes, mini screwdrivers, lubricants, etc!

Instructor
Jenny Doan
Jenny Doan is an American quilter, author, and YouTube personality. Jenny started Missouri Star Quilt Company in 2008 and today it is the largest quilting supply vendor in the United States.
Shop this tutorial

Common Questions
What is covered in Sewing Machine Cleaning for Quilters?
When you're done your spring cleaning in the garage, make sure you take a few minutes to clean your sewing machine. You wouldn't believe the lint that can build up in that baby! Jenny Doan shows a few easy steps to clean your precious machine. Machine Aids - Lint Brushes, mini...
How long is the tutorial video?
The tutorial video is 00:05:33.
Is a transcript available?
Yes. A written transcript is available on the tutorial page.
Video Transcript
Hi I'm Jenny from the Missouri Star Quilt Company. Today we're going to talk about Spring cleaning your sewing machine.
I am not a professional. Let me just state that right up front, but I have learned a few things over the years that helped get me by, and helped me clean out my sewing machine, and keep it running.
I'll notice on my machine that periodically the feed dogs will stop picking up fabric as it's pulling through, and I know then that it's time.
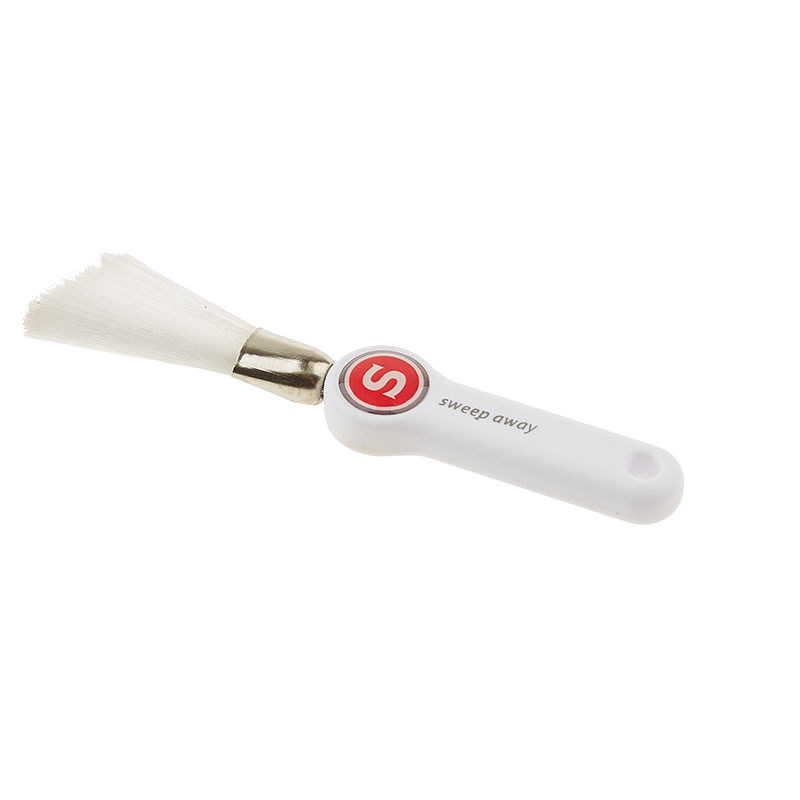
So what you're going to need for this is you're going to need some kind of little brush. I've even used a toothbrush. You know I'm one of those make do kind of girls. So, I've got a little brush here and I've got a screwdriver, you're going to need a screwdriver.
So the first thing you're going to do is unplug your sewing machine to make sure that there's no electricity. We don't want that needle coming up and down and any little accidents happening. Then I always take out my needle.
A lot of people change there needles with every project. Again, I'm one of those girls who, I just use it till it dies. I seriously just keep going and going. So, that's just me but, I always take my needle out when I spring clean and change it then. That's a good time to do that.
Then I take my foot off right here. Mine has a little button right here at the back where you can just push and release this foot, because you want to be able to get to all the areas of your machine. I open this sleeve up right here, and some of you won't have a sleeve but you'll see right here inside my machine, right here look at this, I've already got a thread here that I need to take out. Then I'm going to use my brush and I'm going to clean up some of the dust and stuff off of here. I will not be talking about any kind of oiling and the reason is that every machine is different on that and you should really refer to your owners manual because a lot of the newer machines you don't even need to oil them. So, that totally depends on your machine. Alright, now what I'm going to do is I'm going to take my bobbin out. Lift it right out here, and I can already see there's some treasures in there and so then I'm going to come right here. There's a screw right here on this faceplate and I'm going to unscrew that and you've got to have the little side door open to unscrew it. So, there's just one screw on these and that makes them really easy to get to, and let me see if I can get that there with my fingers. There, sometimes getting a screwdriver with a short enough handle can be a challenge.
OK, now what I'm going to do is I'm going to take my screwdriver and I'm going to pop it in under this plate and I'm just gonna lift this up. Oh my goodness, can you see what's in here? Look, I have all this dust on the side and in between my little feed dogs right there. There's all kinds of stuff in there. Holy smokes. Alright we're going to have a little treasure pile here for sure. So what I'm going to do is I'm going to use my screwdriver first to get, just pick out some of these things. I'm going to use the flat blade part of it to slide in between these teeth because that's what keeps my fabric from going through my machine nicely. I sew so much I'm probably, maybe eight to ten hours a day on a sewing machine. So the lint collects in my sewing machine really quickly.
Now is where this little brush comes in handy. I just poke it down in here to gather out the, it has these tough bristles so it will collect the dust on it. I'm just going to keep brushing away here until it gets all clean in there.
There are different theories on using the canned air. Some people say don't do it. So you just have to be careful with that. Apparently, it has some moisture in it that can cause problems for your machines. So, I just generally use a brush. It's just easiest that way.
Alright I'm going to have to get my screw driver to move this little blob over here, I've got a blob in here. *Woohoo* look at that! That is a good one!
Alright so you're just going to want to keep at this until your machine gets nice and clean. This will save you some money because it's the main thing they do when they take it in is they'll get all these little dust bunnies out of your machine.
Then you're just going to clean it off. I tend to use a nice soft cloth and wipe my whole machine down. Make sure it's all cleaned off and then I'm just going to assemble it back together. Which means that I'm going to put this plate, make sure the bottom of it is also cleaned off. Look there's some things can go in there and we'll just set that back on there. There's really only one way to put it on, and then you have your one screw that goes on, like that.
You'll reinsert a new needle and you've done your spring cleaning on your sewing machine We hope you enjoyed this quick tip from the Missouri Star Quilt Company.