Skip to content

Free quilting video tutorials from Missouri Star

Quilting Tutorials
Springtime Starburst Quilt

Springtime Starburst Quilt

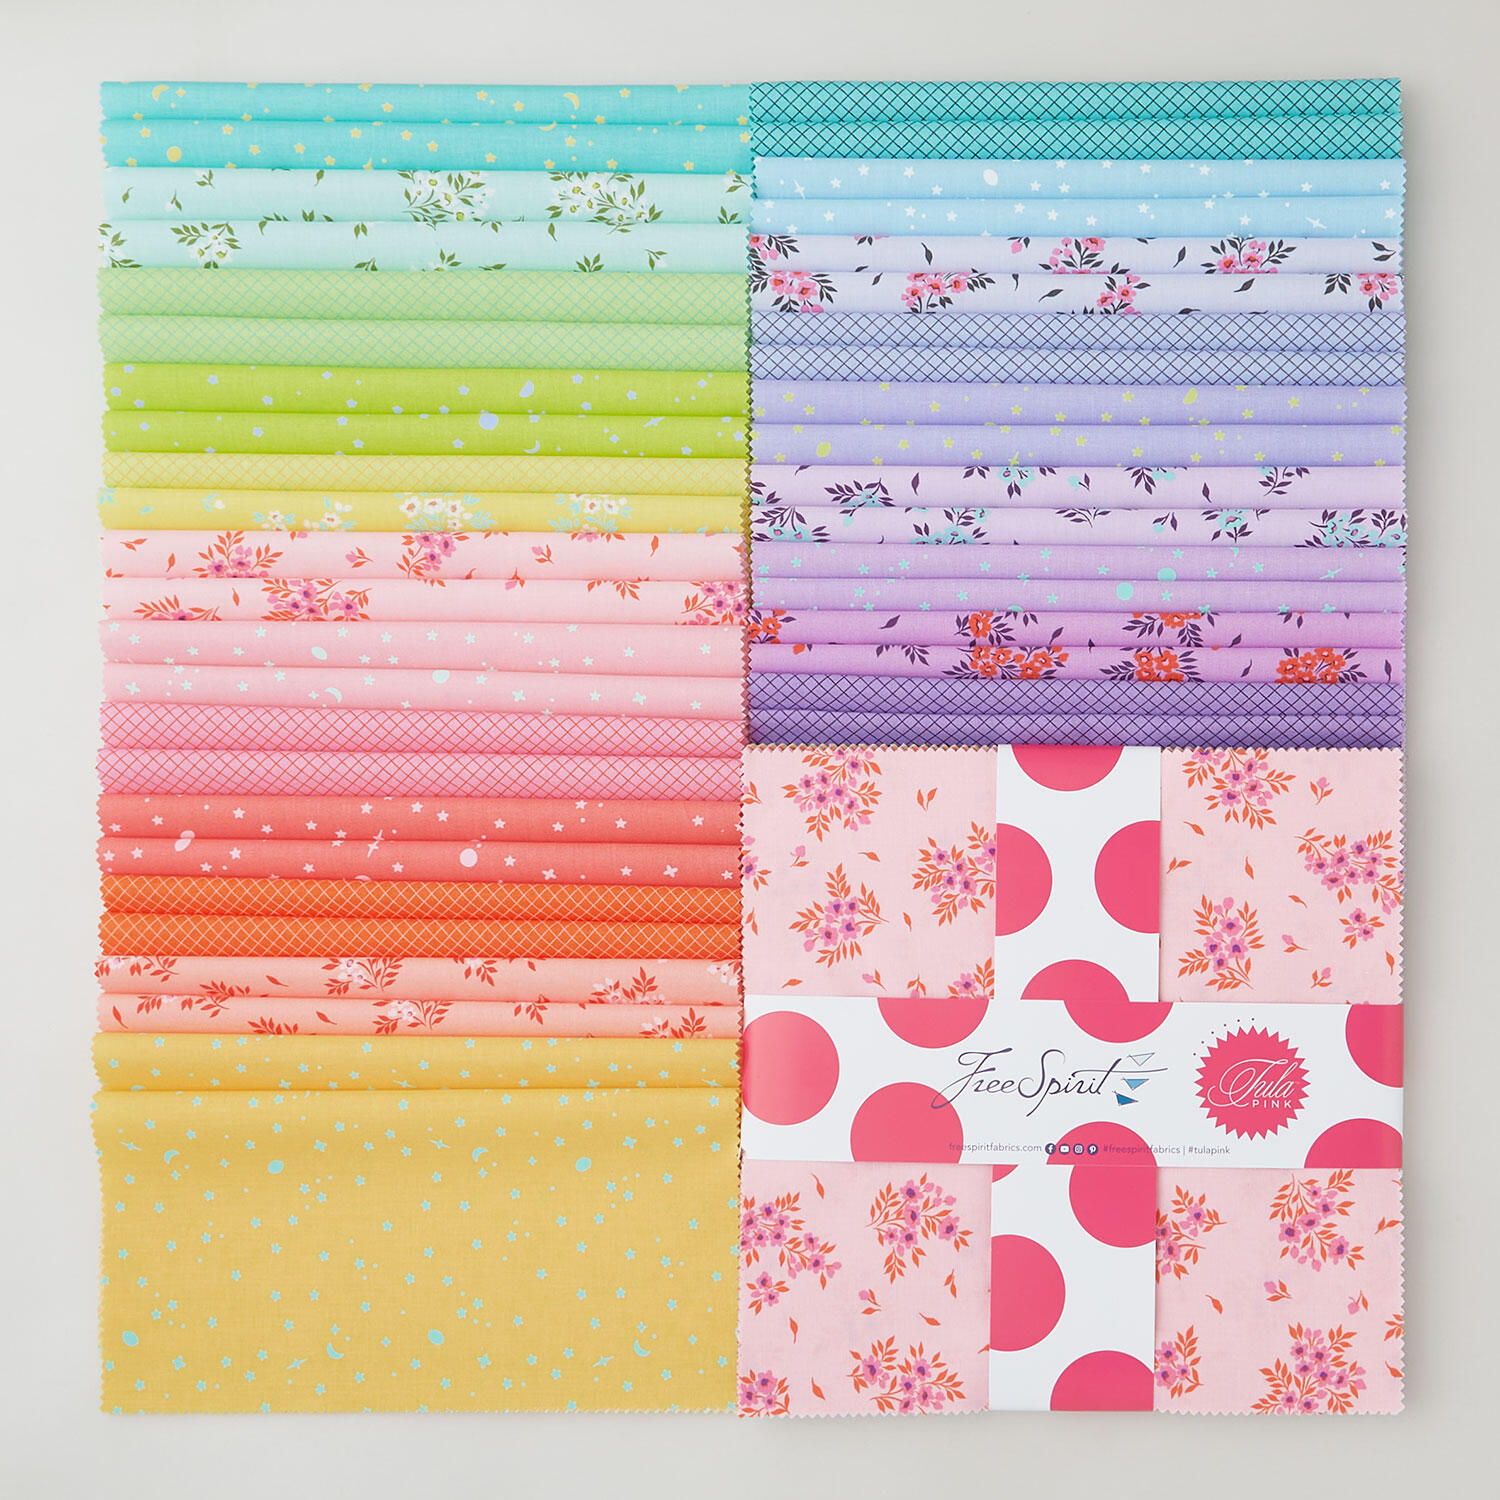
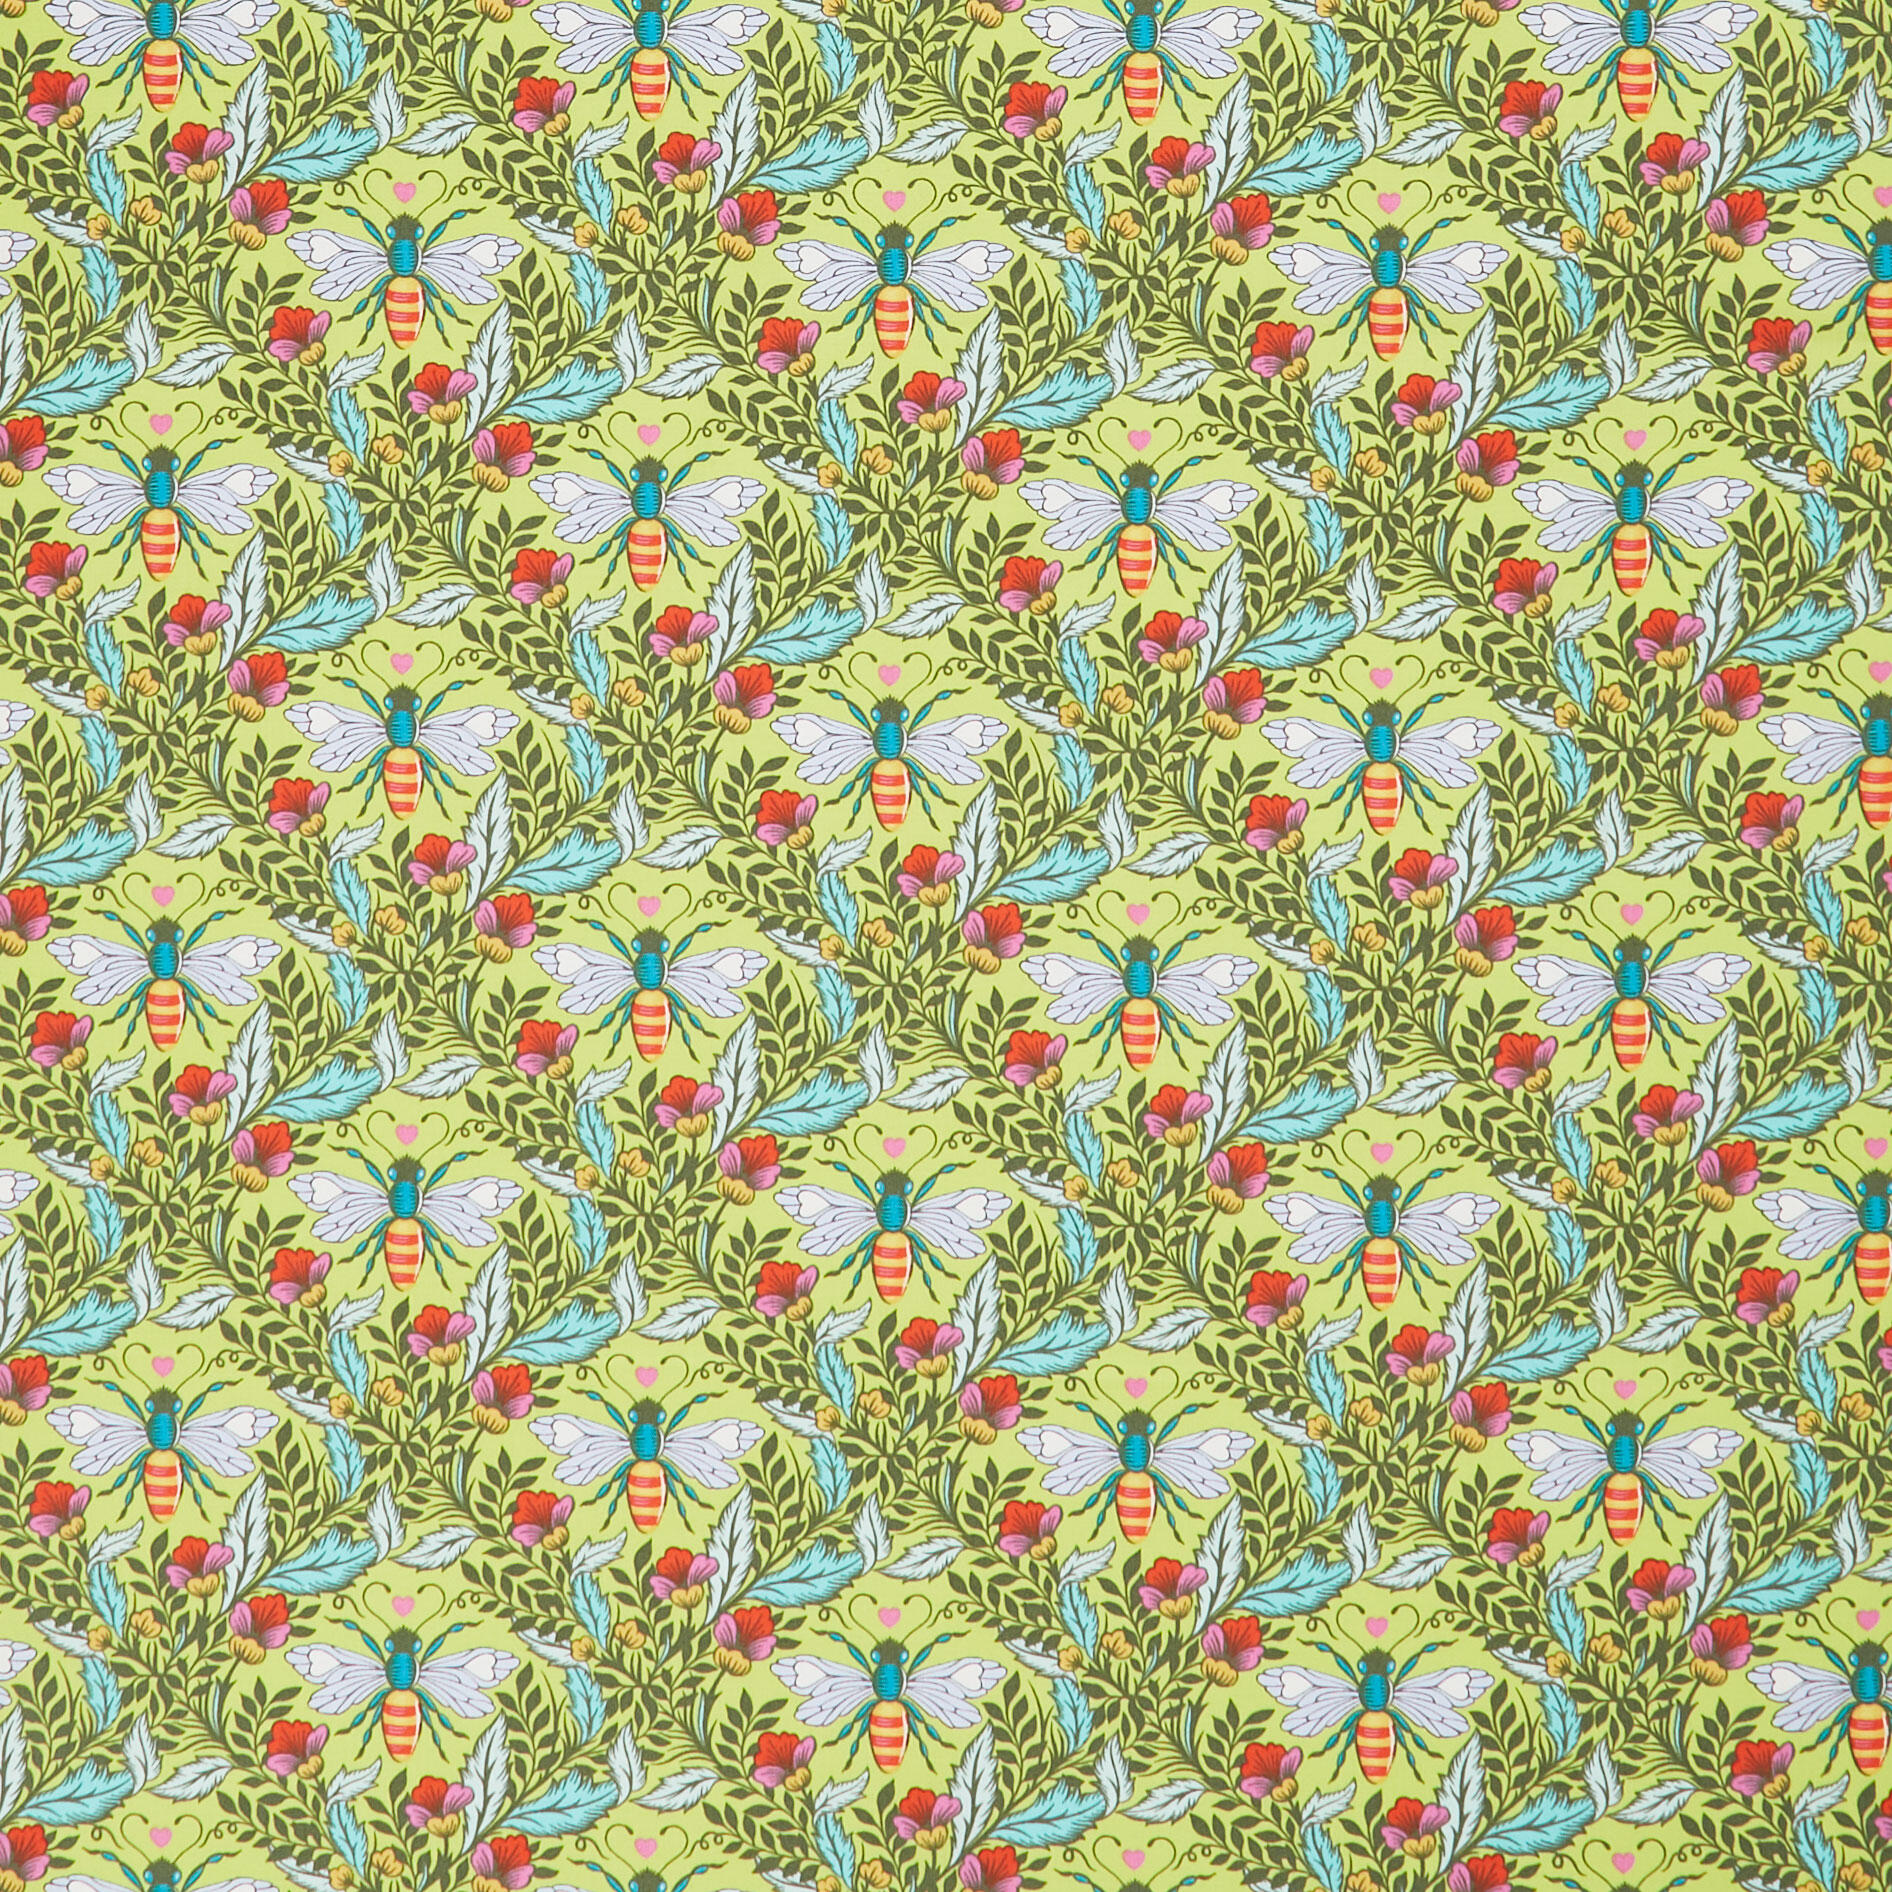
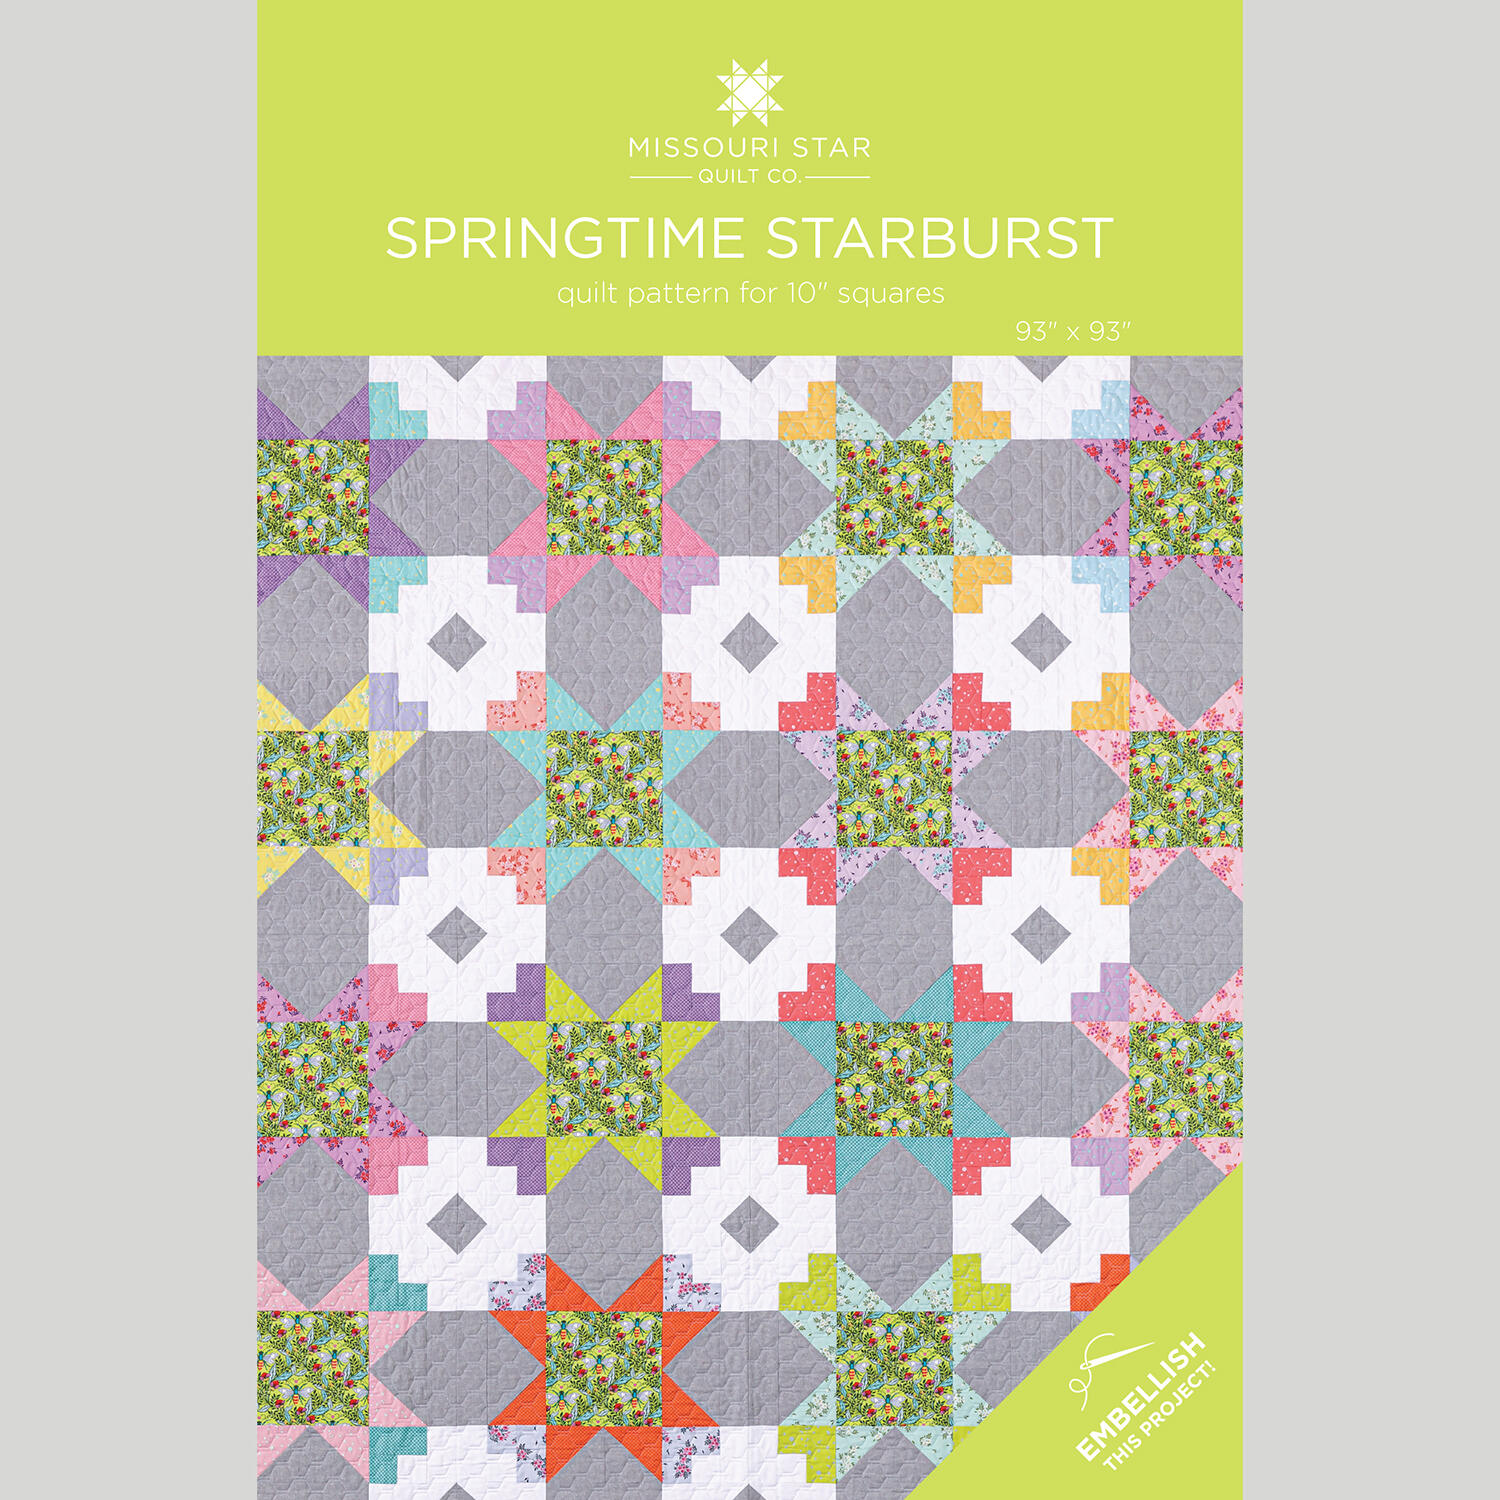
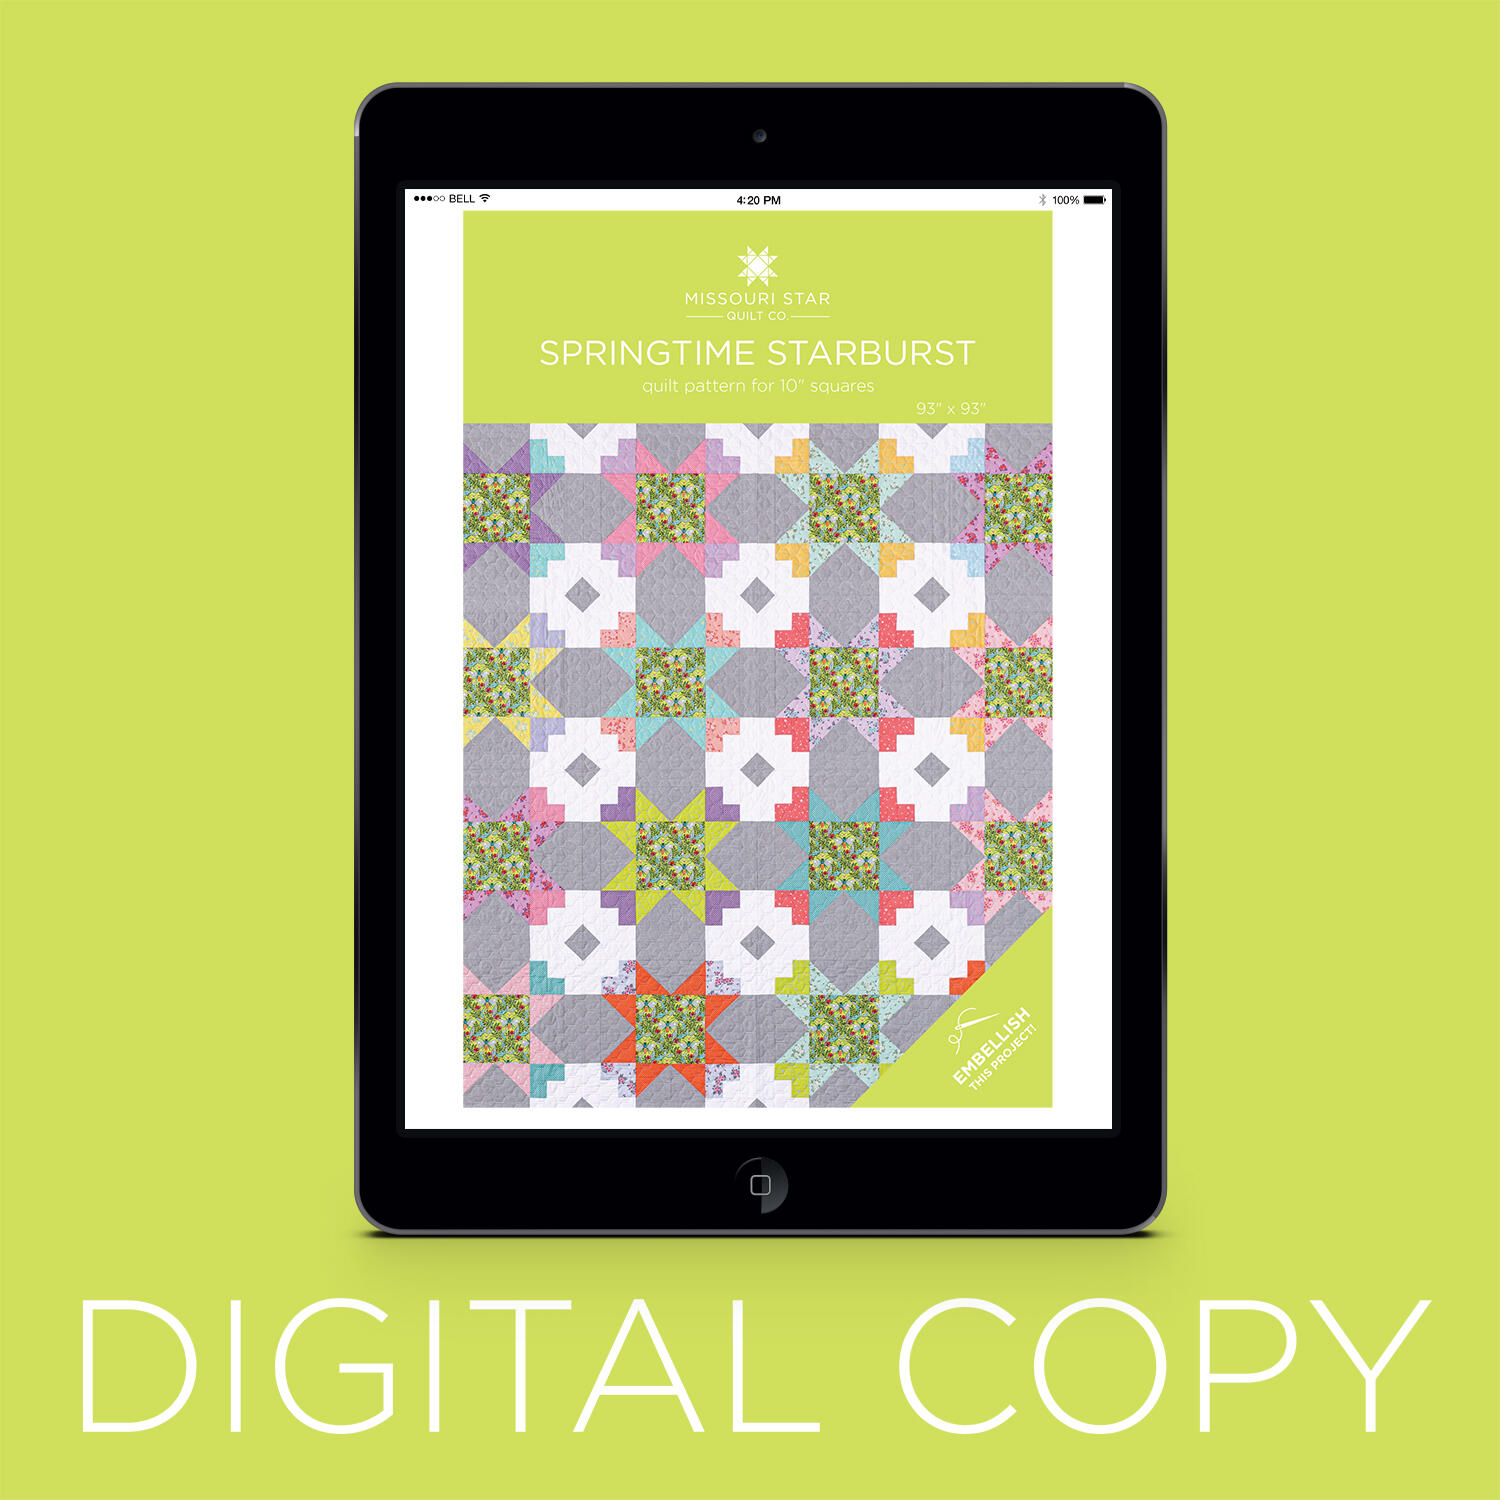
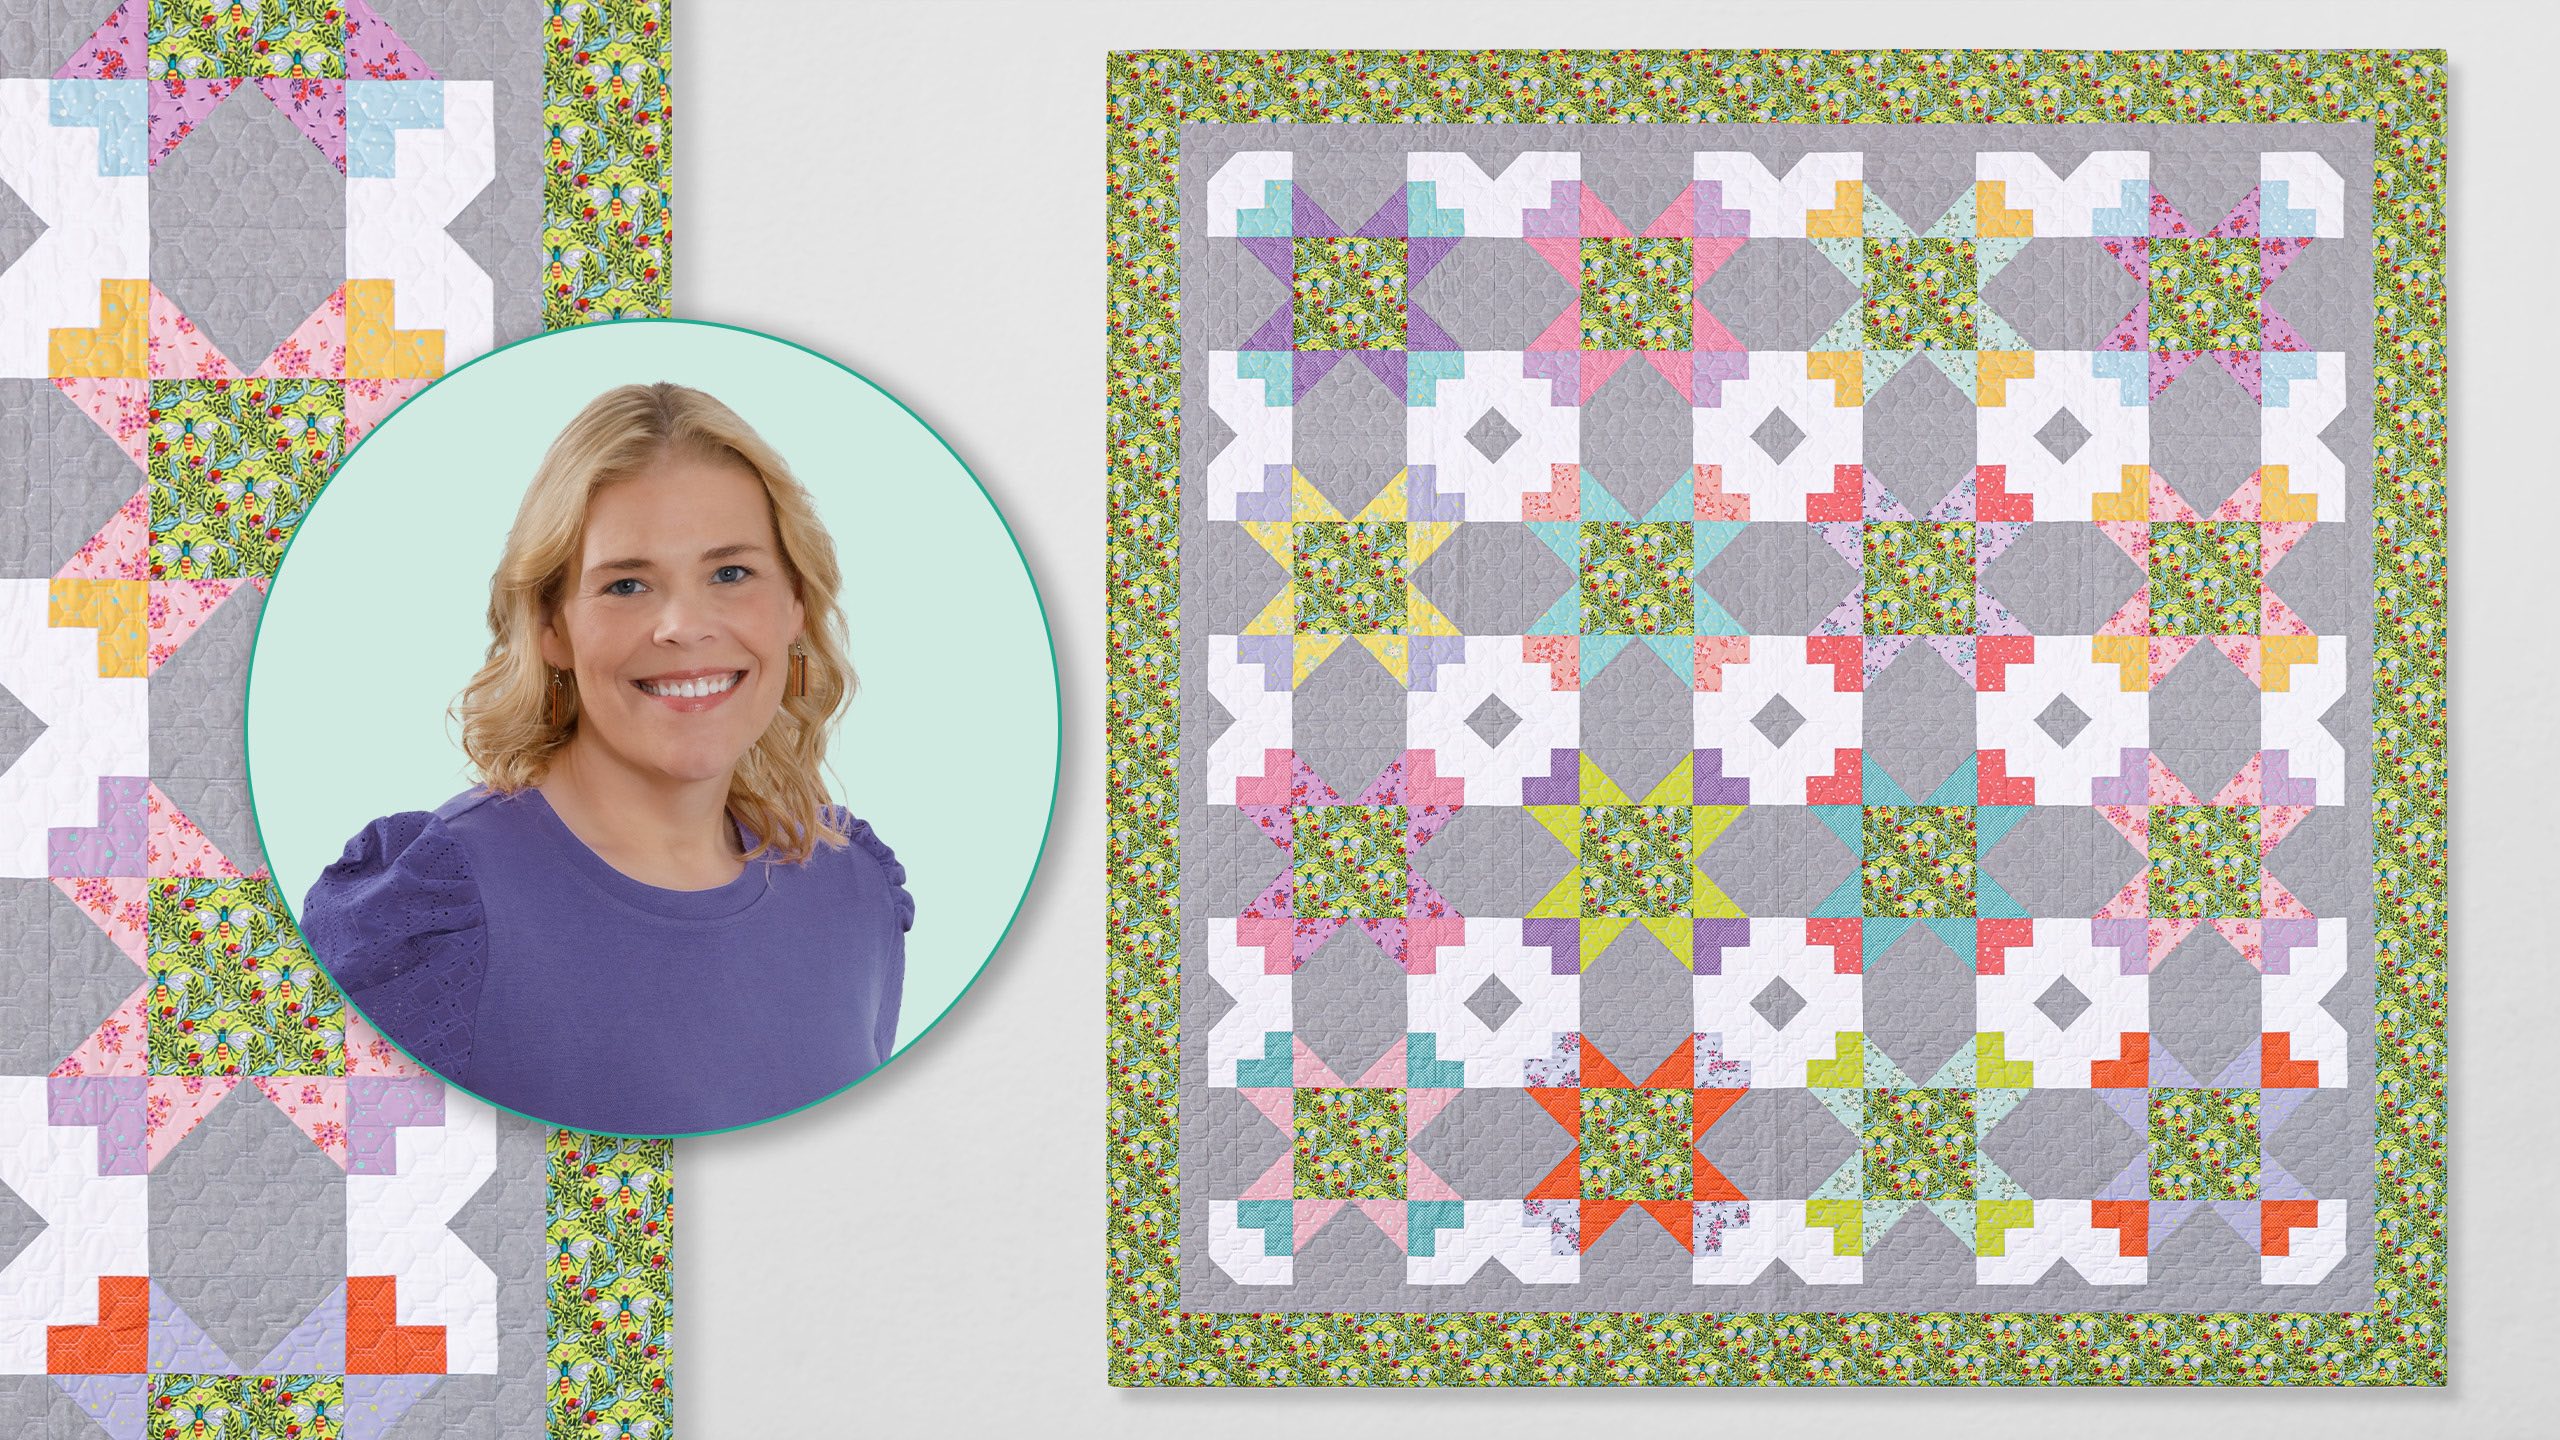
Your prettiest print is the star of the show in Natalie’s new Springtime Starburst quilt. The block is built around a large center square—perfect for highlighting favorite fabrics. It’s made with Tula Pink’s Full Moon Forest II layer cake, and the focus print is a fanciful flowers + bees motif with a fabulous name: Shake Your Honey Maker. This pattern is a delight to make with easy half-square triangles and a fun, oversized backing print!

Instructor

Natalie Doan

Natalie is the host of Quilting 101, Embroidery 101 and the Creative Strategist and Editor of Block Magazine at Missouri Star Quilt Company. She was taught how to sew by her mom, of course, and began quilting when she grew up.

Common Questions

What is covered in Springtime Starburst Quilt?

Your prettiest print is the star of the show in Natalie’s new Springtime Starburst quilt. The block is built around a large center square—perfect for highlighting favorite fabrics. It’s made with Tula Pink’s Full Moon Forest II layer cake, and the focus print is a fanciful flo...

How long is the tutorial video?

The tutorial video is 00:26:10.

Are supplies listed for this tutorial?

Yes. The tutorial page includes the supplies and materials connected to this project.

Video Transcript

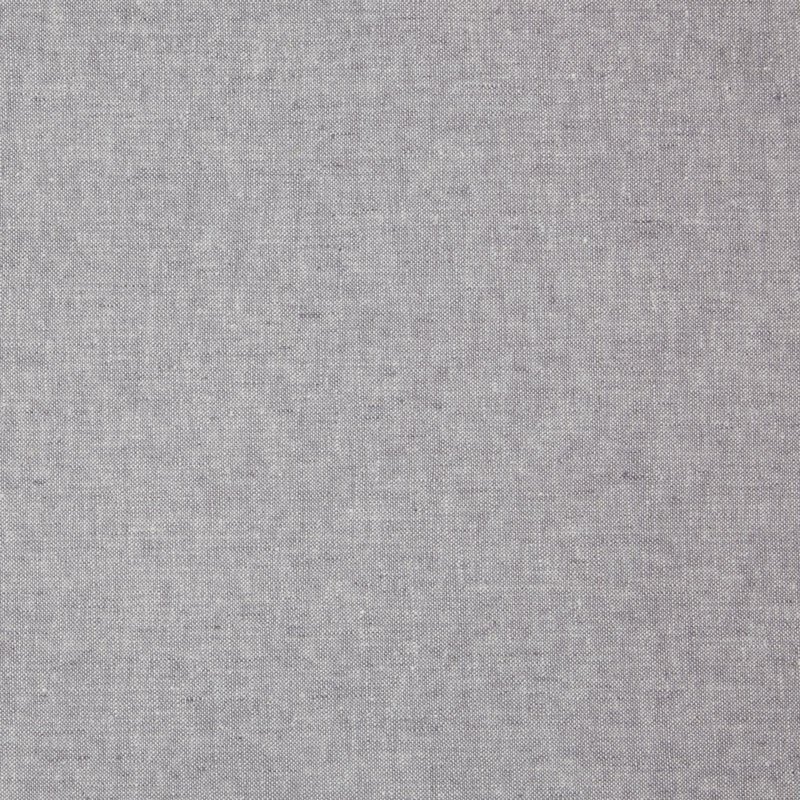
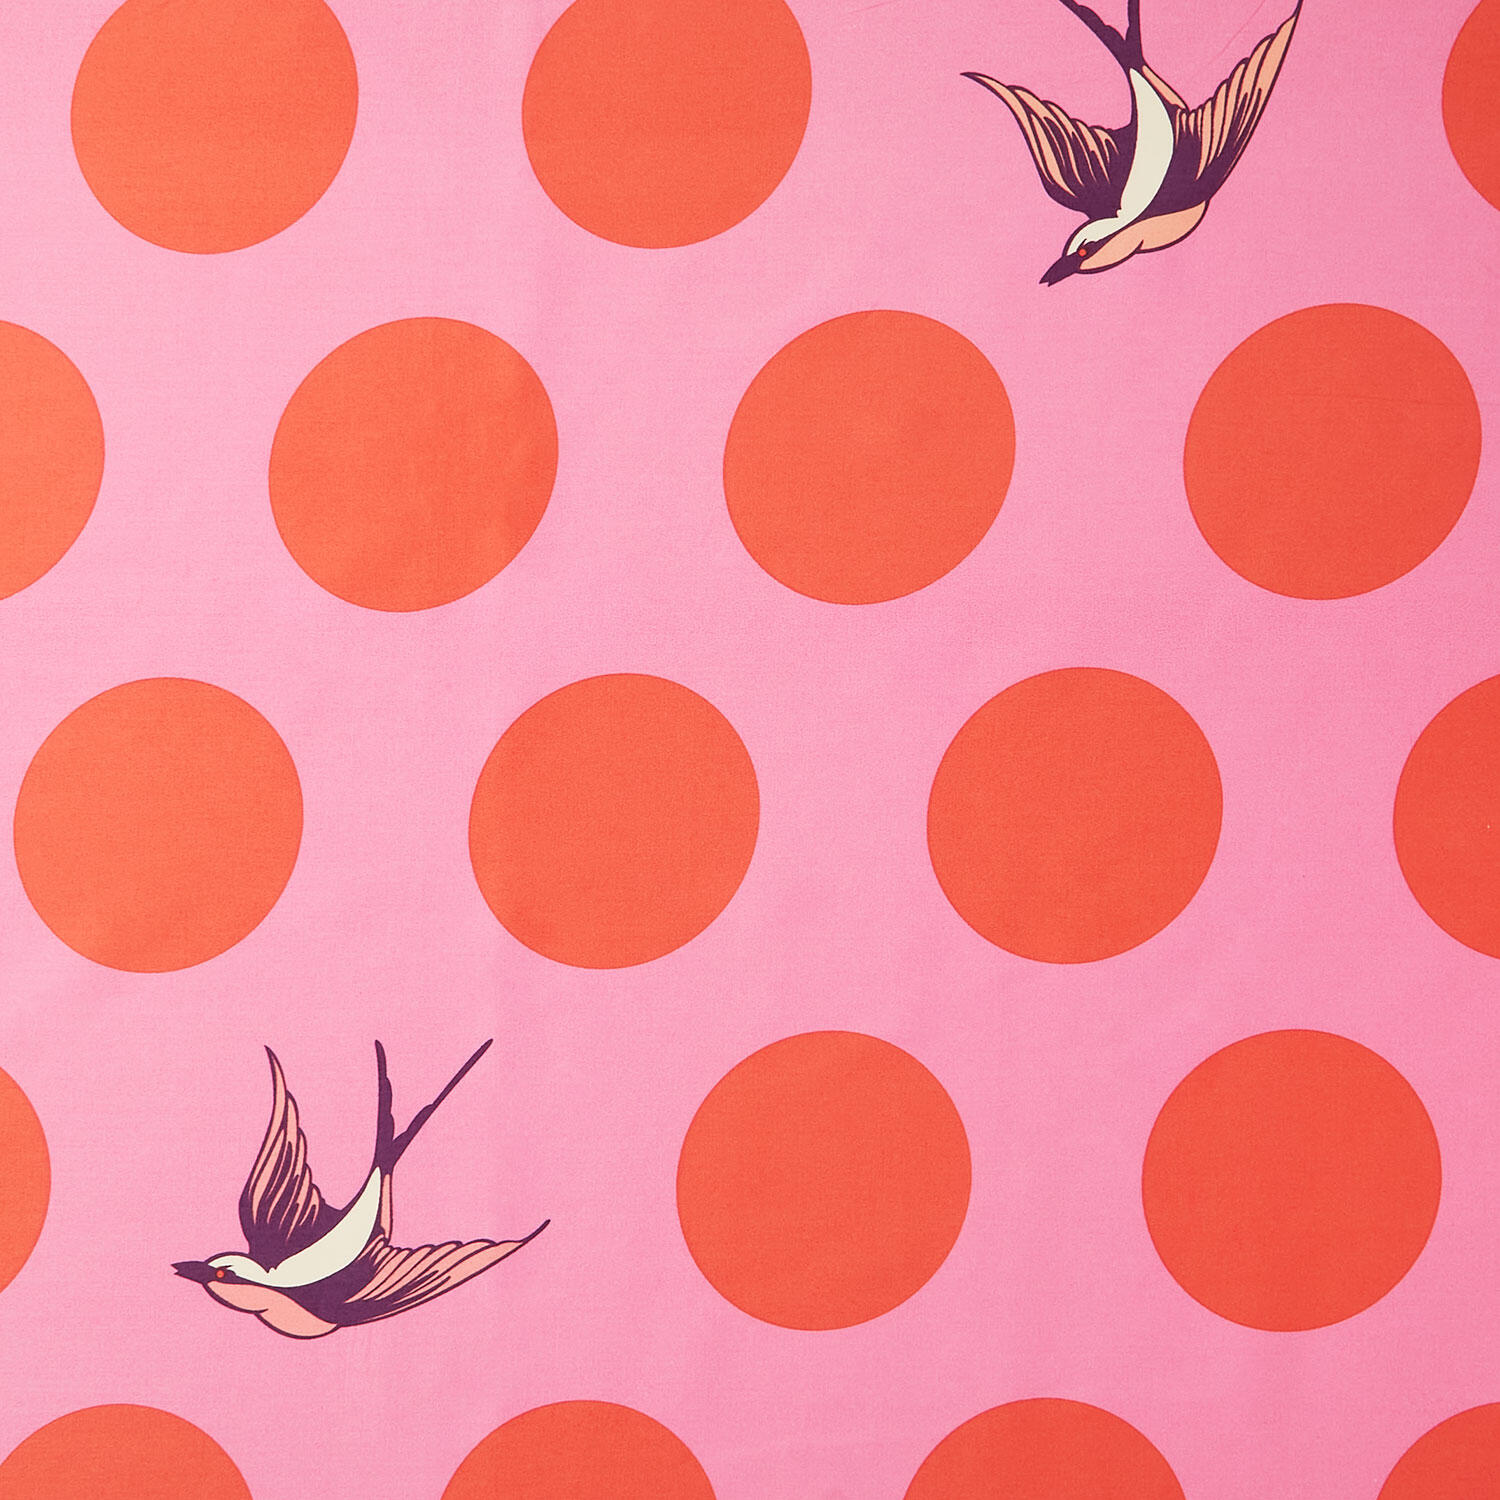
hi everybody I'm Natalie with Missouri Star Quilt Company and today I have a great quilt to show you I'm calling it Springtime Starburst and I think it's really fun You can take a look at it back here It's just beautiful and goes together really quick and easy and I think you're going to love it So let's get started So to make this quilt you're going to need one package of 10in squares And I've used um Full Moon Forest 2 in True Colors by Tula Pink for Free Spirit Fabrics You'll also need some a print that is kind of an accent print or a focal print whatever you prefer And I've used this beautiful honeybee It's called Shake Your Honey Maker Super fun I love Tula Pink's prints and her names for things are so great Um but to get back on track you need a yard and a quarter of that All right So you'll need um an accent fabric and a background fabric The background I used is this white Um you'll need a yard and 3/4s of that And then the Essex linen steel It's a yarn dyed linen Really beautiful and adds a lot of texture You're going to need 3 and 1 eigh yards of that And that includes your inner border our 2 and 1/2 in inner border here You're going to need some outer border fabric And I use the same fabrics on my outer border and binding as I did for the focal print in the middle of all my little star blocks So you'll see shake your honey maker a lot throughout this quilt but um for your outer border you'll need a yard and a half And then your backing if you're using a 108 you'll need three yards Okay so let me show you the backing fabric It's absolutely gorgeous Tula Pink makes really great fabrics for backing She blows up her prints and prints them large It's got this really satiny soft feel to it and I just love it I think they're beautiful Also I should mention this quilting because we can see it really great back here It's called Dave's Honeycomb It's one of our newer patterns and I think it turned out beautifully I love it All right let's get [Music] started Okay so let's make this block It's really really easy I promise I used a fun focal print on this one So just a little sneak peek of inspiration for you So what we're going to do is we're going to get started by separating our entire layer cake into sets of two prints They can be coordinating but I prefer them to be a little bit contrasty That that's how I like the fabrics to pop from each other So we're going to grab those two and set them aside We're going to need to cut our steel fabric into 10in squares And then we're going to need to cut our um our focal fabric or whatever the accent pieces that you picked for the middle of your squares These are going to be m made into 8 and 1/2 in squares and set aside So you'll need 16 of these We'll cut we've got them cut and set aside And then you're also going to cut your um your background fabric into 2 and 1/2 in strips And we will need some two and a half inch squares of our steel which I have right over here somewhere All right So from our white strips we're going to need to cut some subcuts We need some 10in square or 10 in x 2 and 1/2 in strips We need some 2 and 1/2x 4 and 1/2 in strips And I've got a pile of these And we're going to need some 2 and 1/2x 6 and 1/2 in strips So those all get subcut from our our background 2 and 1/2 in strips We're also going to need some 2 and 1/2 in strips of our steel fabric These need to be 2 and 1/2 by 8 and 1/2 And then we're going to need some squares for snowballing our corners And you can mark a line or you can use your diagonal seam tape to make your half square triangles as well to snowball from corner to corner But we'll get into all of this one step at a time Just wanted you to have all the measurements laid out And also of course you can consult your pattern for those numbers later So we're going to take one of our prints and we've got to decide which one gets to be the star legs and which one is going to be our little corners So these are the star legs here and these are our little corner pieces and they are going to be matching cuz we're using our whole layer cake to make one block All right So let's cut the pieces that we need from this um print square This is going to make up those little corners And so what we're going to do is cut a 2 and 1/2 by 8 or 10 in strip sorry And then we're going to cut a 4 and 1/2 in strip and subcut that into 2 and 1/2 by 4 and 1/2 in um substrips Okay And then we will have all of our cuts done Finally I do kind of love that these squares are just enough just big enough that you can mostly cut your peaks the peaked edges off So this is an a a waist piece that's you're just going to set this aside for another project I prefer personally to start with my half square triangles So I'm going to do that So we're going to combine this print square with a Essex steel square I'm going to lie them face to face and draw a line corner to corner It doesn't really matter but since my steel piece is just a tiny bit smaller and really that's just because um Free Spirit measures their peaks from the inside not the outside So they tend to be just a little bit larger than most other um fabrics Okay we've done this many times but I'm just going to keep on doing it Drawing the line corner to corner and sewing on both sides of both lines All righty [Applause] So now we're going to go ahead and do our cuts And I like to cut horizontally and vertically first and then cut on my lines It just gives me a little bit more confidence knowing that if something pulled apart I would be able to continue cutting cutting on the lines Um because they're still there and these half and halves are measured but not visible not drawn on you know no real guideline there Anyways anyhow Okay so we're going to square these to 4 and 1/2 And I'm going to use my Clearly Perfect slotted trimmer I'm going to line up the stitch line on the dashed line on the ruler Hold that in place And just trim those outer edges right off I'm going to trim my little dog ears off Someday I'm going to research how they got that name because it's just weird But that's for another day Crazy Natalie gets out uh on the loose in the library Okay Now I've got a bunch of these already squared So I'm going to just take these two and I'm going to press them I'm going to move these out of my way till I need them You'll get your turn You have to be a little bit gentle with the Essex linen because it has a bit more stretch than your quilters's cotton But I love working with them I think they're beautiful We're going to put the grays together and we're going to make four pieces that look just like this And they will go all the way around our focal fabric So I'm go ahead and sew these And I think what I'm going to do is just stack them all up like this so that I can get them done efficiently All right And one other thing because my sewing machine doesn't like to start on these two corners that are um they're in the corner they're bulky Your seams kind of all match up I'm just going to flip them over And I'm going to start from this edge that is seam free because I'll be able to sew off it and then I won't have to worry You know if you don't have one of those plates that has a hole in it you will sometimes get that fabric sucked underneath the presser feet So if I flip these all over and stitch from the seamless side it'll sew right off the edge and I won't have to worry about it So just a little helpful hint But do make sure that you're still sewing on the seam in place that the place that you need it I've had to do some picking before So that's just coming from experience All right Next we're going to press them And then we're going to add our 2 and 1/2 by 8 and 1/2 in gray strip And these parts of the block these units will be done It's such a great block I think I want to make it in so many different fabrics already Okay This is a place where if you wanted to press your seams open you absolutely could It would reduce a little bit of bulk in the seam up here at the point but that's entirely up to you All right So each one of these is get a 2 and 1/2 by 8 and 1/2 in strip right here on this side So it ends up going looking like that So let me grab a few more of these strips and we'll stack them up and sew them Three of these and three of these and one more That rounds it all out [Music] All right Now we'll press these Sewing and pressing I do find pressing your seam especially on the Essex linen makes a big difference Or setting the seam before you press I guess I should have said it that way Do you know what I mean All righty So we're going to set these aside with our middle We're getting most of our components now So the next thing we're going to do is we're going to take this 10-in strip and our print tenin 10-in strip and we're going to stitch them together And this will be the beginning of our corner blocks And this is one where I like to go ahead and set the seam and press it open just to make sure everything's nice and straight And then I'm going to go ahead and cut off 2 and 1/2 inch segments So I think I'm going to just trim this the tiniest bit so it's nice and straight on that edge and then go uh two and a half And if I keep my ruler line on that seam line I can make sure that these are nice and straight And that seams nice and straight Looks good We'll need all four of these for our block All right that measures out just great So now what we're going to do is we're going to take these and we're going to stitch our 2 and 1/2 in by 4 and 1/2 in um piece to the sides of each of these squares Okay It's kind of a little bit log cabinish Not really but similar construction And I try to keep these going all the same way but it doesn't really matter As long as um as long as your white pieces go on the right way you're going to have the it it will just be a placement of seams and it doesn't make too much difference where they end up as long as you get the right shapes Okay going to go ahead and press these this All right So now we're going to add our white strips And we're going to put our 2 and 1/2 by 4 and 1/2 on this side where it crosses the long seam the long strip seam And then we'll put our 6 and 1/2 across the top So just up here And then if you want to you can press it I'm going to finger press this seam because it's easy enough And then I'm going to add the 2 and 1/2 by 6 and 1/2 in strip to this side to finish out this corner All right So we're going to repeat that process three more times to make the rest of our blocks But this is essentially the unit that we're working on The one last thing that we've got to do here is now add a snowalled corner that comes straight out from the print corner So on this this side right here we're going to grab one of our little 2 and 1/2 in squares We'll draw the line or use our diagonal seam tape We're going to stitch from corner to corner right on the line There we go I promise you that part gets a lot easier with time So let me move these out of the way I'm going to trim off um the excess block that I don't need here and then press these back and our corner blocks will be done So let me get the rest of these lovely magical helpers made for me Okay Okay So now we've got all the pieces and components that we need for our block So we'll put our little focal print in the middle These little babies are going to make up our legs So they go all the way around And they're so cute And then these guys make up our corners and they face out this way Then we just sew this nine patch right up There we go It's going to be so great Okay I'm going to go ahead and stitch Well I'll do this side first So I will leave these ones up here and then stitch these just like that There really aren't too many things that you have to worry about um meeting up or losing points or anything on this quilt or this quilt block It's just you know there's a few seam seams to match up but you're not really at risk of losing points It's going to be pretty easy [Music] W And now we're adding our top and middle and bottom So we'll go this way I always I like to do this piecing of the block sometimes without pressing my seams because that way I can negotiate the seams a little easier and um flip them from side to side as needed and then I'll press the whole thing after Um but that's that's just a preference thing So uh if you want to press between every seam go for it I salute you And I I give you permission to do whatever you want because it's your quilt Just checking to make sure my seams are going to nest and that they're going the way I need them to go All righty Here it comes I'm going to give it a press and then we'll see how we did Let's set these seams so that they're kind of going the way they need to go And there we have it our finished block Yay So this block measures about 20 and 1/2 in It's great big And these blocks are just side by side in this quilt There's no sashing here So you can see I've got one two three and four across And then I've got one two three four down So this quilt measures 93 by 93 It's nice and big All right So we've got a 2 and 1/2 in inner border and a 5 in outer border And again it's uh 93 by 93 I quilted it in Dave's honeycomb and it's super fun to make I enjoyed it a lot I think you could do a lot of fun things with this 8 and 1/2 square in the middle I mean if we're talking about I've got what if on the brain we could put a four patch in here We could put a pin wheel in the middle You could do t-shirts Any kind of fun fabrics that you wanted to focus on Maybe you have some old wonky blocks that just need a little border and you make them eight and a half They go right in the middle So many ideas Goodness it's going to be fun Can't wait to see what you guys make and I hope you enjoyed this tutorial on springtime starburst from the Missouri Star Quilt Company Bye Hi everybody I hope you enjoyed today's video We're trying super hard to get to a million subscribers So if you enjoyed it and you want to see more just hit subscribe and share with your friends and encourage them to do the same And I will see you next Friday with a brand new tutorial

More Layer Cake tutorials

See all