
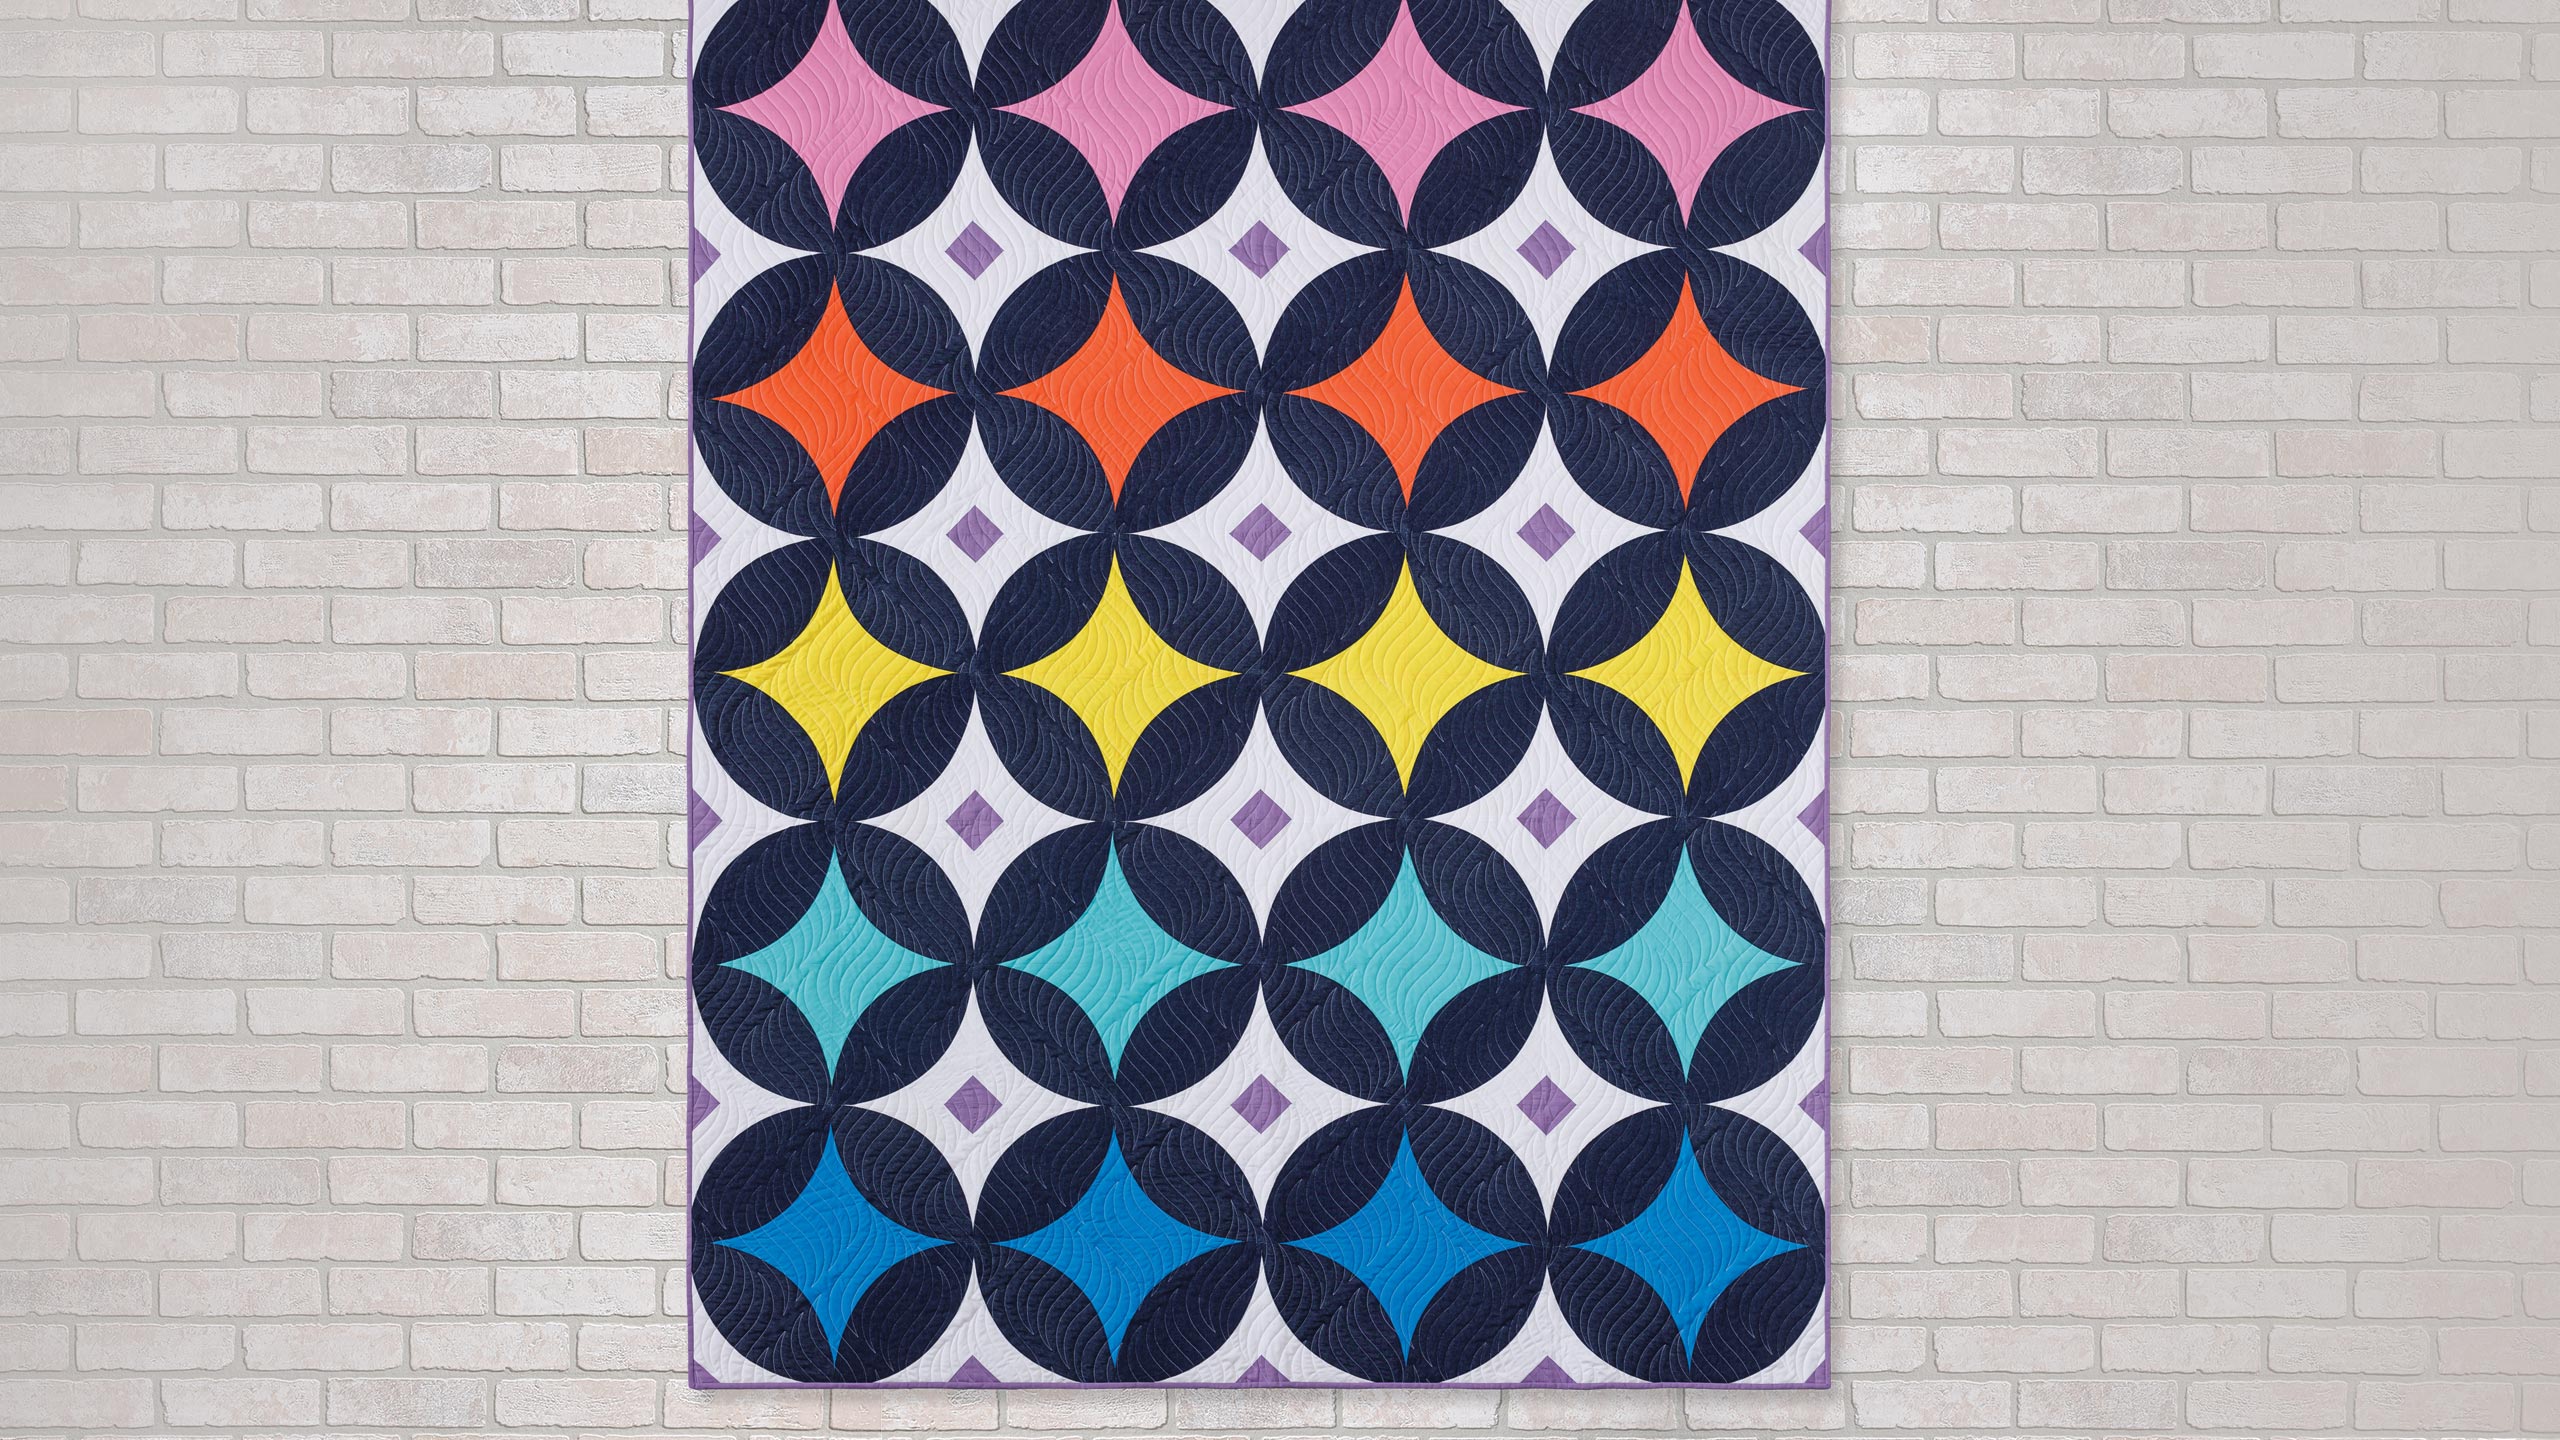
Squeeze the Day
 Misty Doan
- Modern
- Quilts
- Intermediate
- Quilt size 76" × 95"
Beg your pardon, but Misty is going to get fresh with you! Join her as she makes the Squeeze of the Day quilt using an orange peel template. Kona Cotton solids pop against a white background, creating a fresh, modern quilt that has real a-peel!
Instructor
Misty Doan
Misty Doan grew up surrounded by sewing and quilting. She loves spending time sharing tutorials each week each week, and when she’s not stitching up one of her fun sewing projects for home decor, most likely you’ll find her hanging out with her husband and three awesome kids or working on a house project.
Shop this tutorial
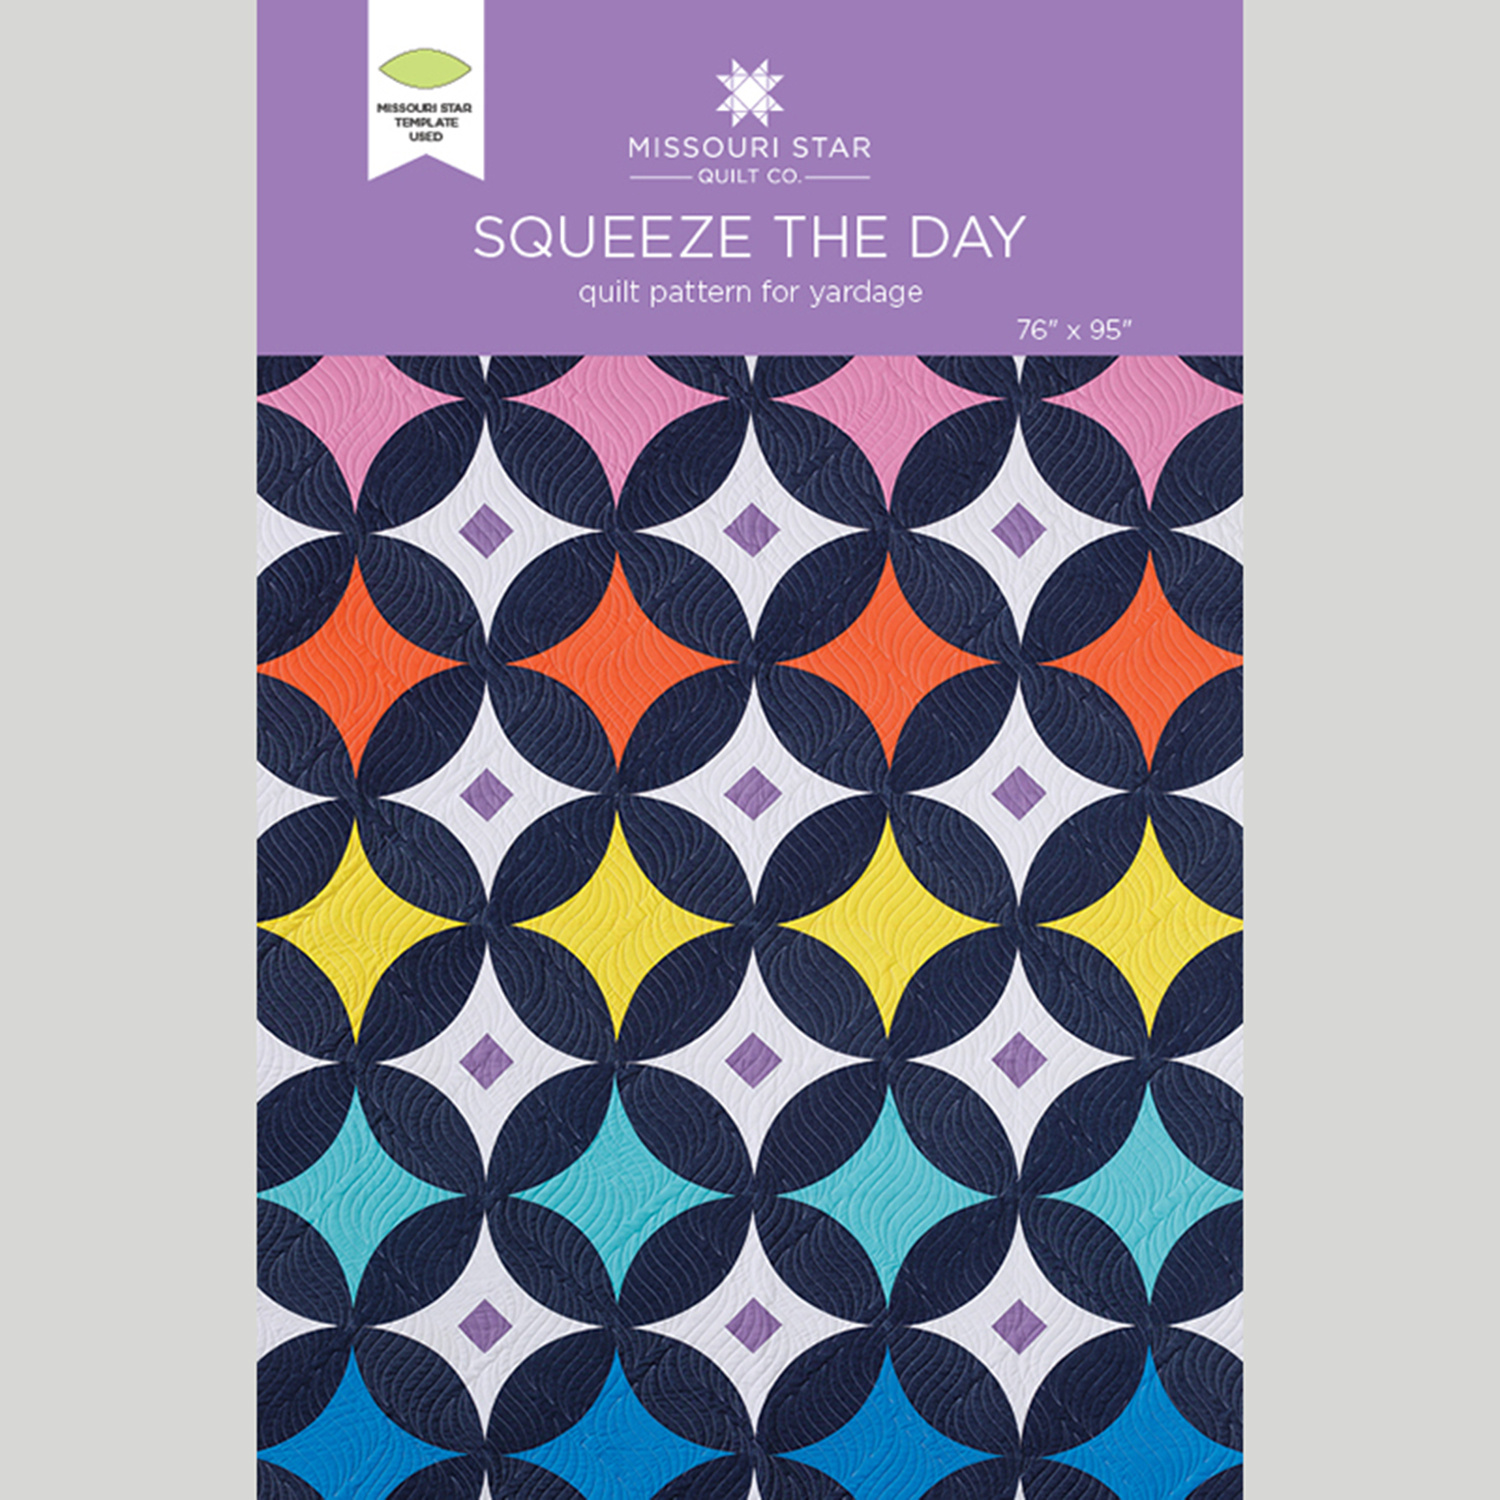 Squeeze the Day Quilt Pattern by Missouri Star$8.50Shop →
 Digital Download - Squeeze the Day Quilt Pattern by Missouri Star$6.95Shop →
 Indigo Denim - 56" Wide 6.5 oz Indigo Washed Yardage$12.44Shop →
 Kona Cotton - Candy Pink Yardage$7.48Shop →
 Kona Cotton - Orangeade Yardage$7.48Shop →
 Kona Cotton - Pool Yardage$7.48Shop →
 Kona Cotton - Citrus Yardage$7.48Shop →
 Kona Cotton - Malibu Yardage$7.48Shop →
 Kona Cotton - Wisteria Yardage$7.48Shop →
 Kona Cotton - White Yardage$7.48Shop →
 Missouri Star Sew Light Fusible Adhesive - 17" x 2 yards$4.95Shop →
 108" Quilt Back - Dropcloth White Multi 108" Wide Backing$14.96Shop →
 Missouri Star Quilter's Favorite Dispenser - Pink$18.95Shop →
- Kona Cotton - Wisteria Yardage$7.48Shop →
 Missouri Star Quilter’s Best Blend Full Batting$32.95Shop →
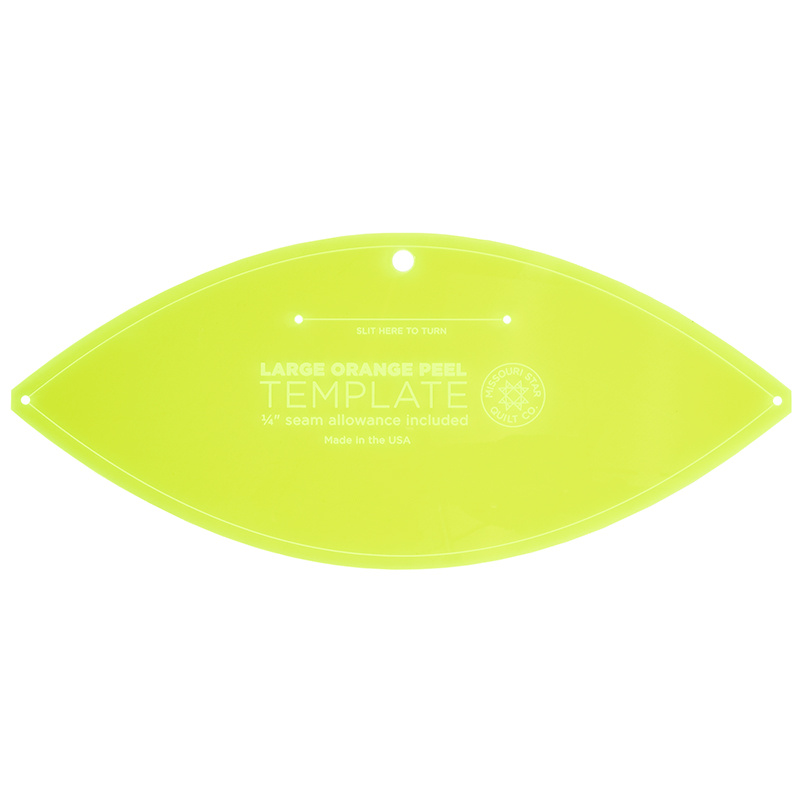 Missouri Star Large Orange Peel Template for 10" Squares$19.95Shop →
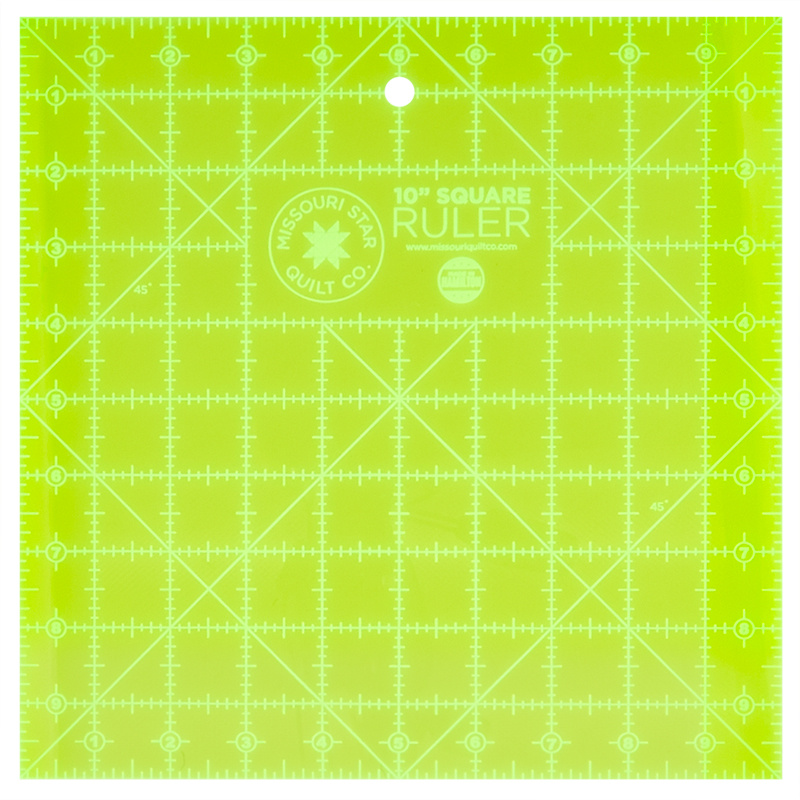 Missouri Star 10" x 10" Square Ruler$19.95Shop →
 Missouri Star 5" X 24" Ruler$29.95Shop →
 Missouri Star 45mm Rotary Cutter$19.95Shop →
 Missouri Star 50 WT Cotton Thread Black$7.95Shop →
 Exclusive Missouri Star Jenny TG1600 ProPlus Oliso Smart Iron$199.99Shop →
 Missouri Star Wooly Betty Board - 17.25" x 25.5" Orange Border$99.95Shop →
 Bernette 77 Sewing and Quilting Machine$1499.00Shop →
Common Questions
What is covered in Squeeze the Day?
Beg your pardon, but Misty is going to get fresh with you! Join her as she makes the Squeeze of the Day quilt using an orange peel template. Kona Cotton solids pop against a white background, creating a fresh, modern quilt that has real a-peel!
How long is the tutorial video?
The tutorial video is 00:12:15.
Are supplies listed for this tutorial?
Yes. The tutorial page includes the supplies and materials connected to this project.
Is a transcript available?
Yes. A written transcript is available on the tutorial page.
Video Transcript
So look at this beautiful quilt! I think it is so fun and using that large template makes these big blocks come together super fast. It measures 76” by 95” and I cannot wait to show you how to make it!
So to make this quilt you are going to need 4 ¼ yards of this denim. I used Indigo. Remember this is 56” wide, so if you don't have that width you might need a little bit more of standard quilting cotton. Then you're also going to need a yard and an eighth of the five different colors you choose
for the centers that are going to run down the middle. You'll need a half yard of accent fabric - that's these little diamonds that come together here. And you'll need 4 ⅝ yards of your background. In addition to that you're also going to need some Sew Lite fusible and of course the large orange peel template. So let's dive right into this!
So we're going to start off by making some large half square triangles. That's kind of the magic of this quilt. And so from your background and one of those five colors that you chose you're going to cut 15 ¾” squares and so I have those here. I've stacked together of course my background and this beautiful pool color. Then we are going to use the four-at-a-time method, which means we're going to sew a ¼” seam on all four sides and then we can cut this corner to corner. So let's go ahead and take this to the machine and we will make four of these half square triangles using this method.
All right we have made it around all four sides. So now we can take our
ruler and lay that corner to corner. You want to make sure you're intersecting those seams just like so. We'll cut this direction, then lift our ruler up, make sure those stay together, and this direction as well. All right, so now we can take these over to the ironing board, we can press these to the dark side. So I like to do that by having my dark fabric on top and just rolling it back on that center seam. We'll just press all four of these and one more. All right, those are all pressed. So that is what our half square triangle looks like. If you have a 10” ruler it is super handy, because we are going to use that to square these down. So one thing you want to watch for is this 45 degree line should line up right with your seam that's pressed open.
So let's go ahead and trim these down. As you can see you have plenty to square these up, so it's quite forgiving. But you do want to make sure that that seam goes right into the corner. So if you have a rotating mat that might be handy, but you can also just spin it. I like to cut two sides at a
time, there we go. All right, so once we have that all squared up to 10”, you're going to repeat that with all four of your half square triangles and then we can just set these aside for a minute, and we can move on to prepping our orange peels.
So in order to do that I used the roll of the Sew Lite fusible and it's 12” wide. So I cut my denim into 12” strips, just like so, and then I fused the adhesive to the back. And so I have this ready to go. So then all you're going to do is you're going to take your large template, and it just lays on here kind of at an angle. I like to just cut my shape just like. So we can get rid of that excess and then you can just kind of flip this back and forth to make it easier for you. I did go ahead and cut off the a little straight side, there we go. And there's our Orange Peel shape! So you'll just continue that all the way down your strips until you have enough of these for your whole quilt.
So let's move this out of the way and then we'll bring our half square triangle back in. What this is going to do is it is actually going to lay over that center seam. So we can remove the paper, and I like to fold it to give a
little crease that makes it peel off really easily. Then I'm just going to line
this up here in the center and I just kind of eyeball it, make sure it's laying nice and smooth and then now we can take this over to the hot, dry iron and press this into place.
When you're working with fusible like this, you really don't want to iron by dragging your iron across. You just want to lift and press, which is a good rule of thumb in quilting in general. We just want to make sure it is nice and adhered all the way around. Once we have that good and secure, now we can go back and do our top stitching.
So I have switched out the thread in my machine to black, but you could use navy, whatever you think is going to match your orange peel color. So I've changed the top thread and my bobbin thread and I have chosen a blanket stitch that I'm going to finish off this edge. You could use a zigzag, but let's go ahead and do that, just pivoting across the bottom here and then we can go up the other side. All right, we have finished all of that top stitching. Let's take a look at that - I just did a blanket stitch all the way
around and I think it looks really really nice.
So there is one more step to finish up this part of our block. Excuse me, we are going to use that accent fabric, and for me I chose purple. I cut that into 2 ½” squares, and you can see I've just drawn a line corner to corner and on all of the white outside corners we are going to just add this purple snowball. So we're going to sew right on that drawn line corner to corner. So let's go ahead and take this to the machine.
I need to switch back to my straight stitch, there we go. All right, perfect. So you can see I just stitched right on that line and so now we just want to trim off the excess here and just leave our quarter inch seam allowance and then we can press this corner back. So I'm just going to roll that back, just like so, and this is one quadrant of our block. I have the other four done - here let me grab those, there we go. Now we're going to put those together with our colors pointing towards the center, and we can sew this together just like a big four patch. You can see it is four of these blocks across, and I kept all my like colors together in a row, by five down. It gives you this absolutely beautiful quilt. I love how it turned out! I quilted it with Time Warp and I used this fun 108” wide fabric on the back. I think it turned out absolutely awesome!
I hope you enjoyed this tutorial and I'll see you next time on At Home!


