
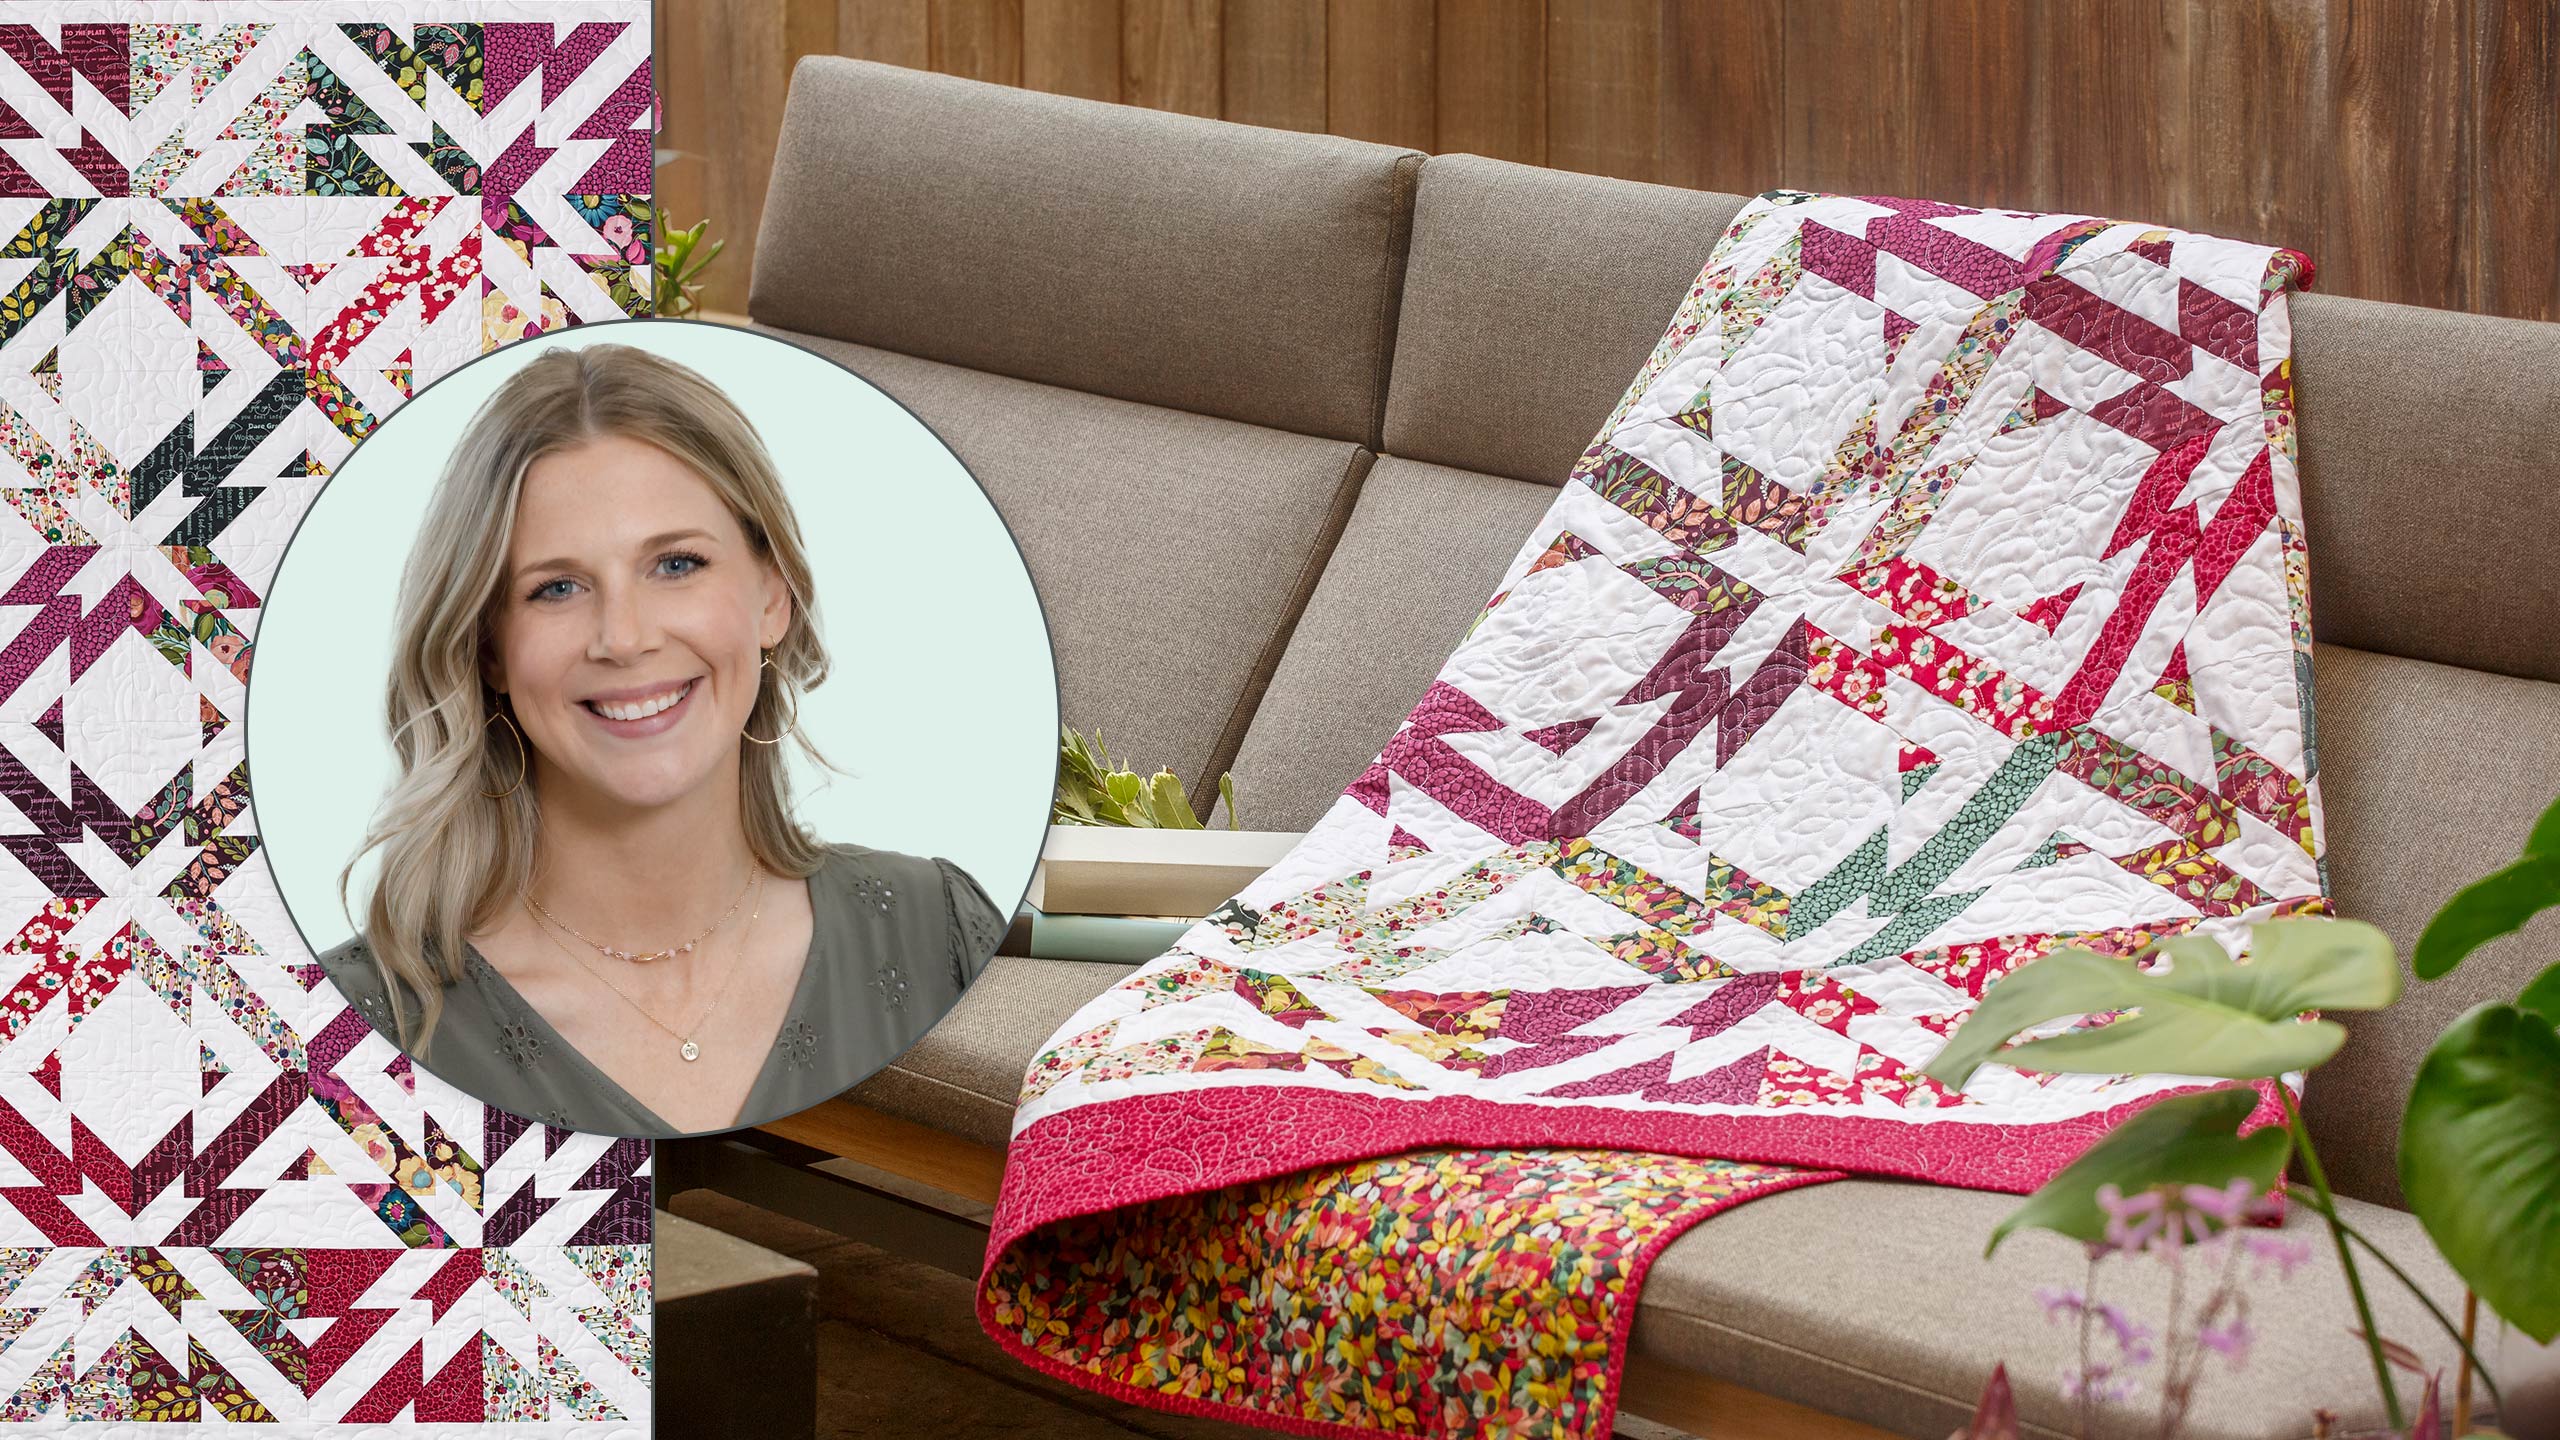
Stellar Magic
 Misty Doan
- Layer Cake
- Traditional
- Quilts
- Intermediate
- Quilt size 50" × 64"
This quilt comes together like magic! Misty shows you how simple blocks with strips that look like the letter L are cut apart and reassembled to create dramatic eight-pointed stars. The result is stellar!
Instructor
Misty Doan
Misty Doan grew up surrounded by sewing and quilting. She loves spending time sharing tutorials each week each week, and when she’s not stitching up one of her fun sewing projects for home decor, most likely you’ll find her hanging out with her husband and three awesome kids or working on a house project.
Shop this tutorial
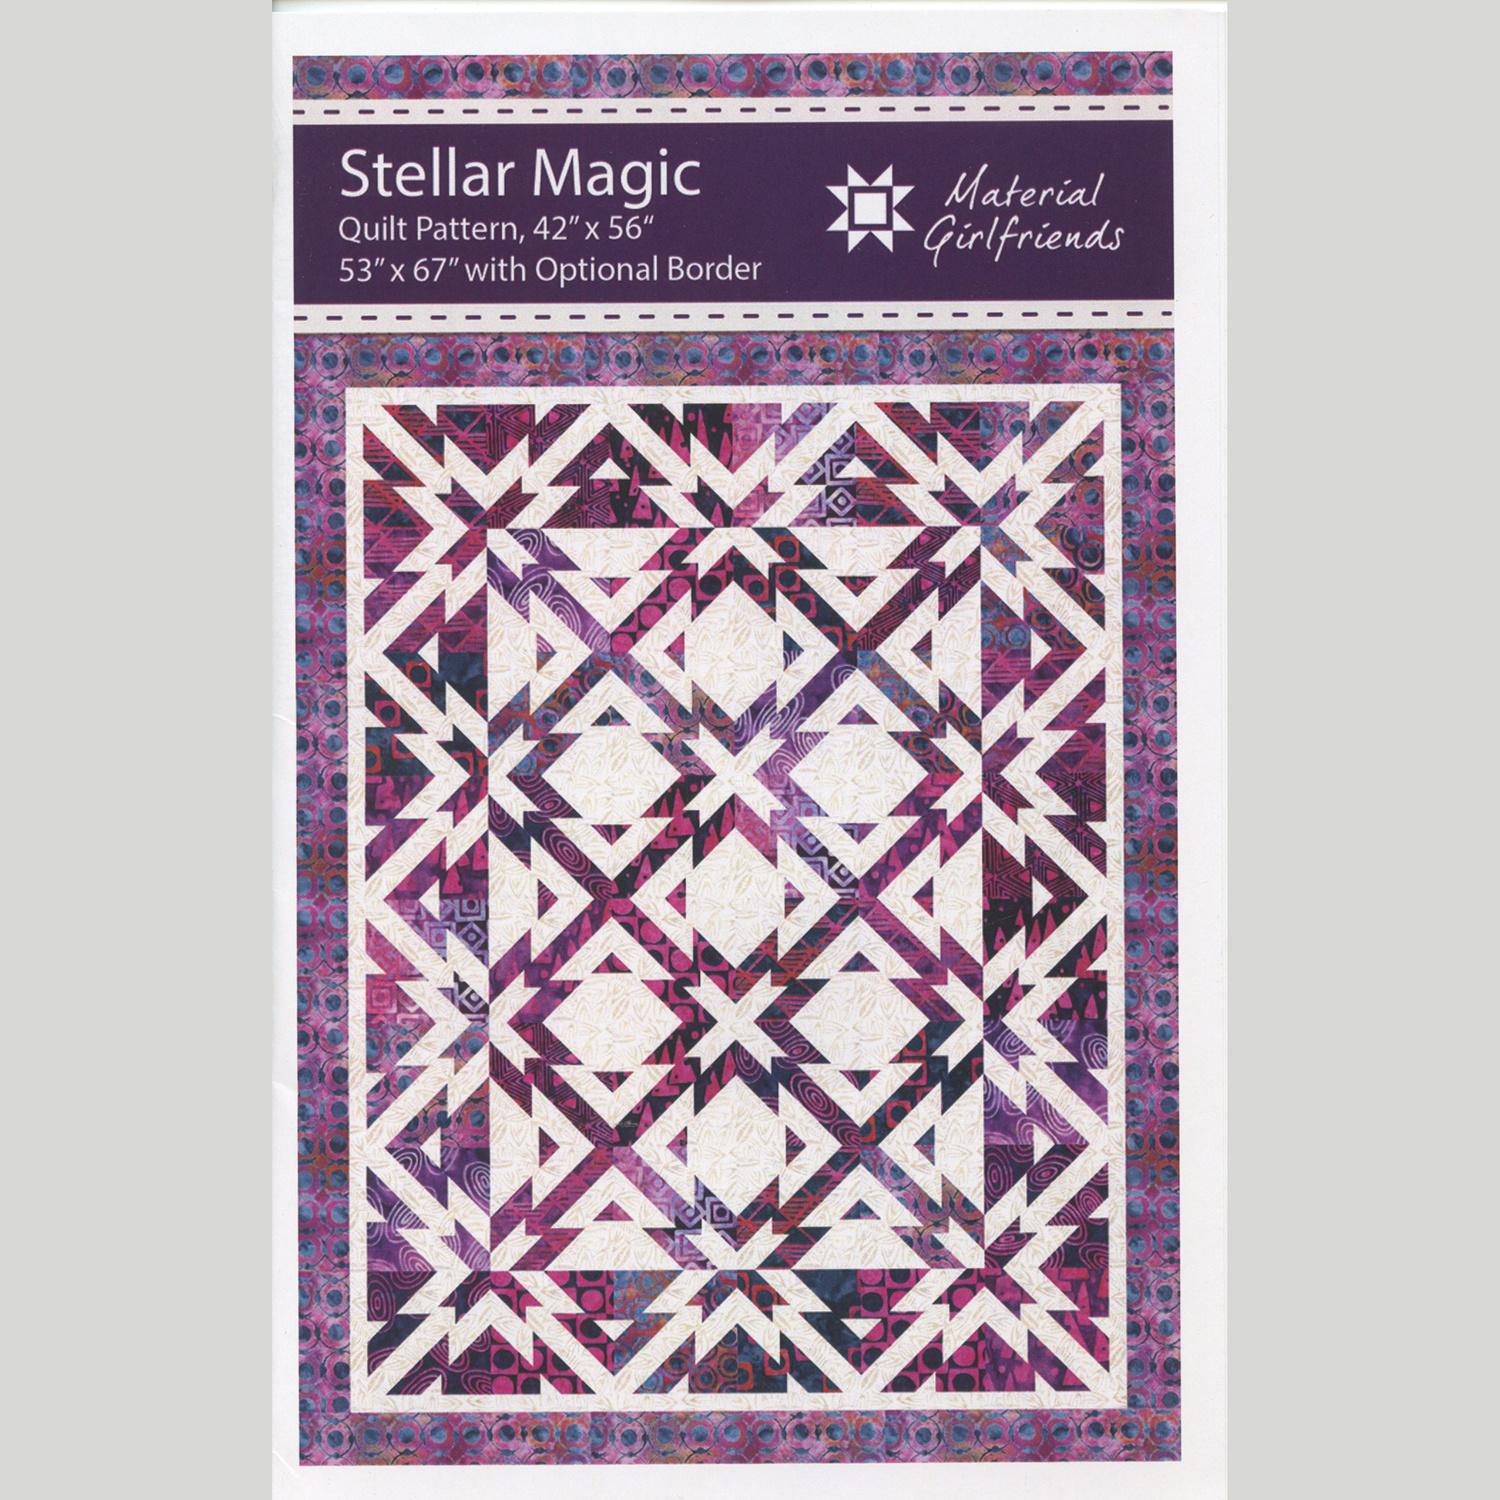 Stellar Magic Quilt Pattern$11.75Shop →
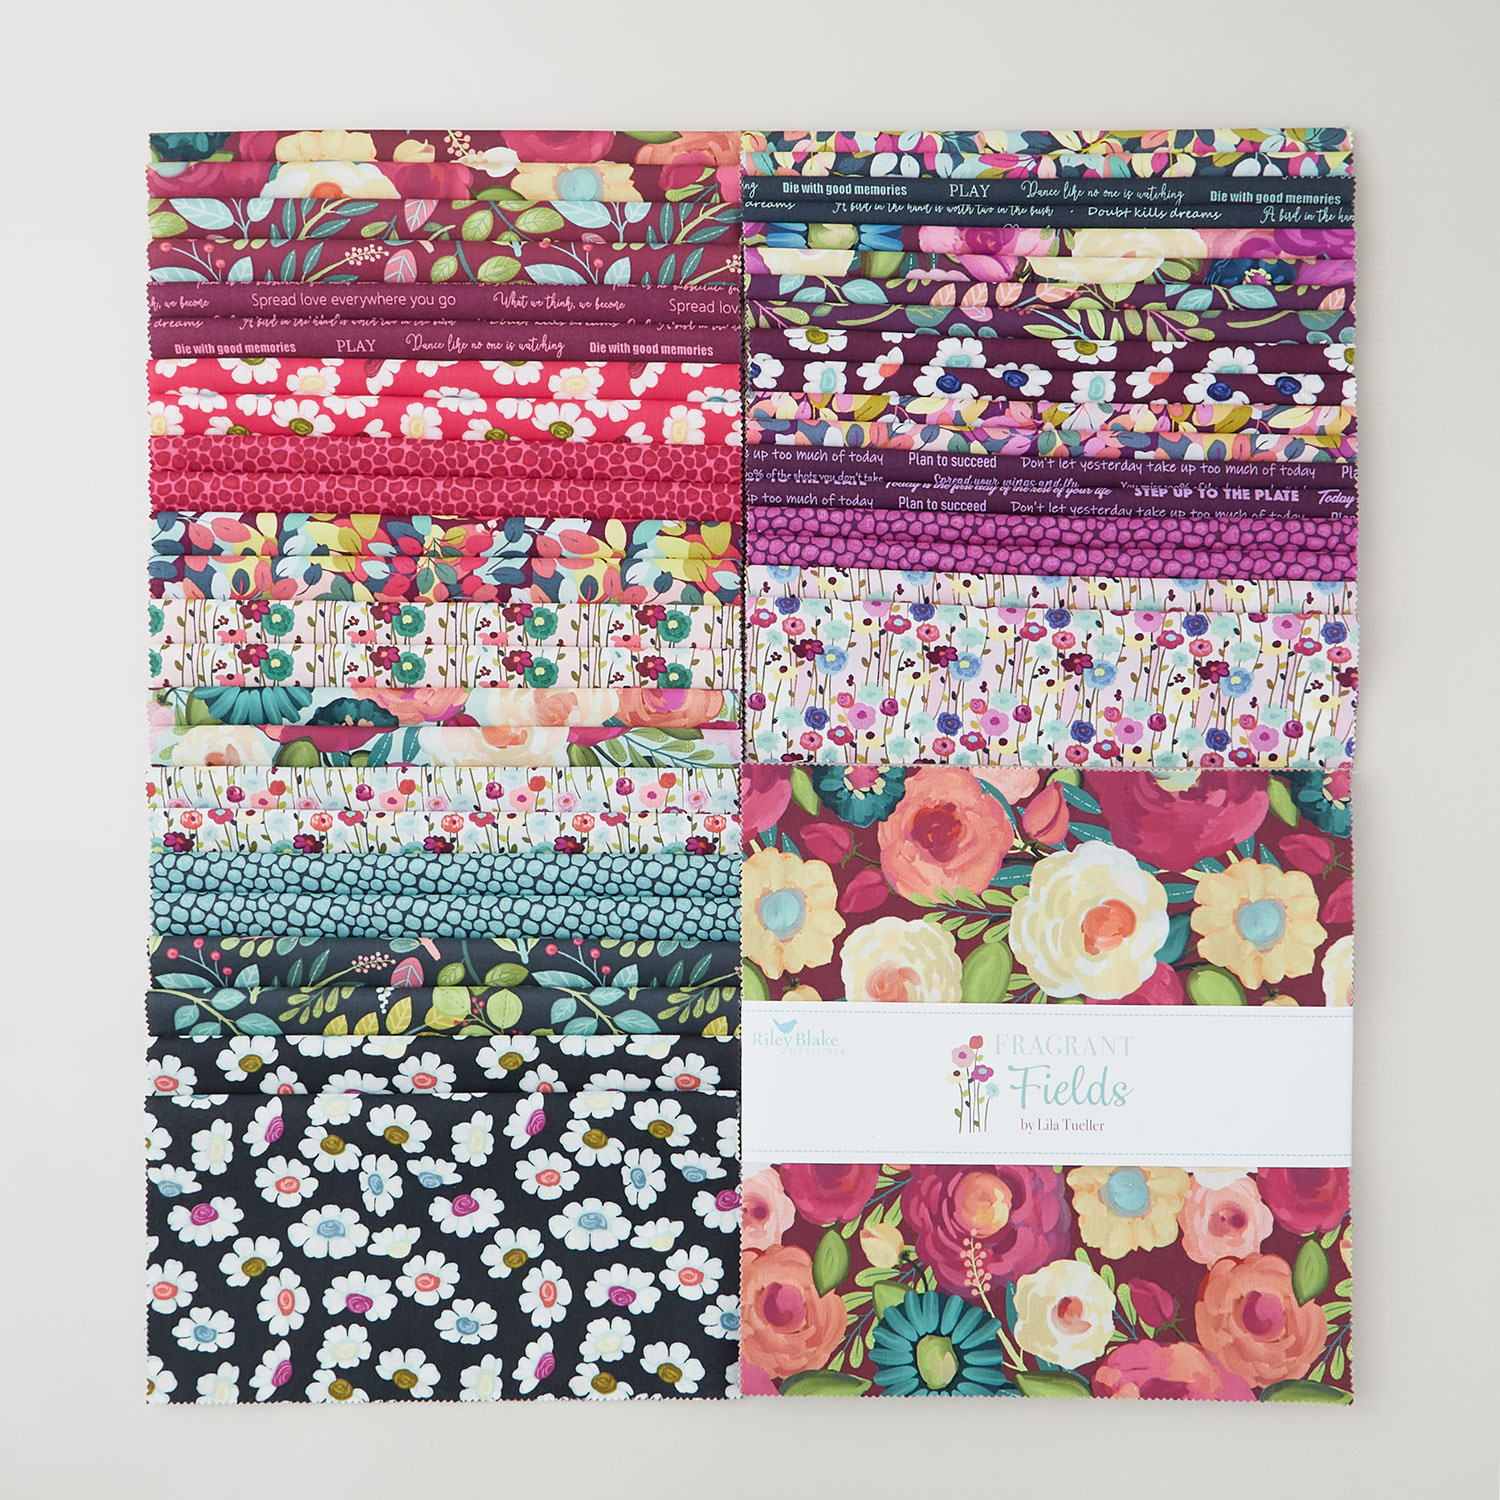 Fragrant Fields 10" Stackers$39.95Shop →
 Kona Cotton - White Ten Squares$30.95Shop →
 Kona Cotton - White Yardage$7.48Shop →
 Fragrant Fields - Stony Path Hot Pink Yardage$11.96Shop →
 Fragrant Fields - Leaves Maroon Yardage$11.96Shop →
 Missouri Star Quilter's Best Blend Throw Batting$21.95Shop →
 Missouri Star 2.5" X 15" Ruler$14.95Shop →
 Missouri Star 5" x 15" Ruler$19.95Shop →
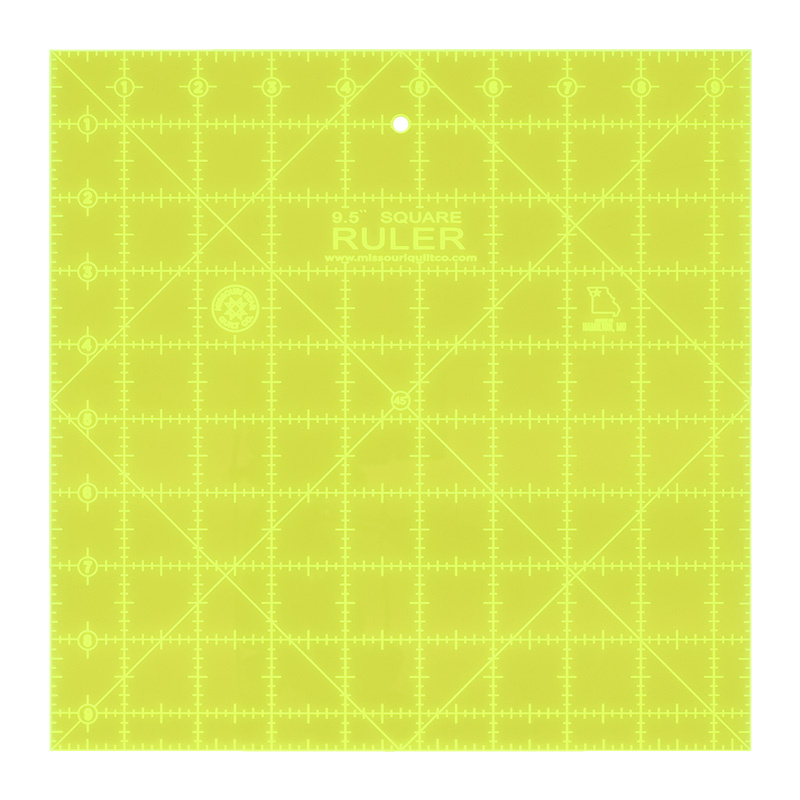 Missouri Star 9.5" x 9.5" Square Ruler$19.95Shop →
 Missouri Star 45mm Rotary Cutter$19.95Shop →
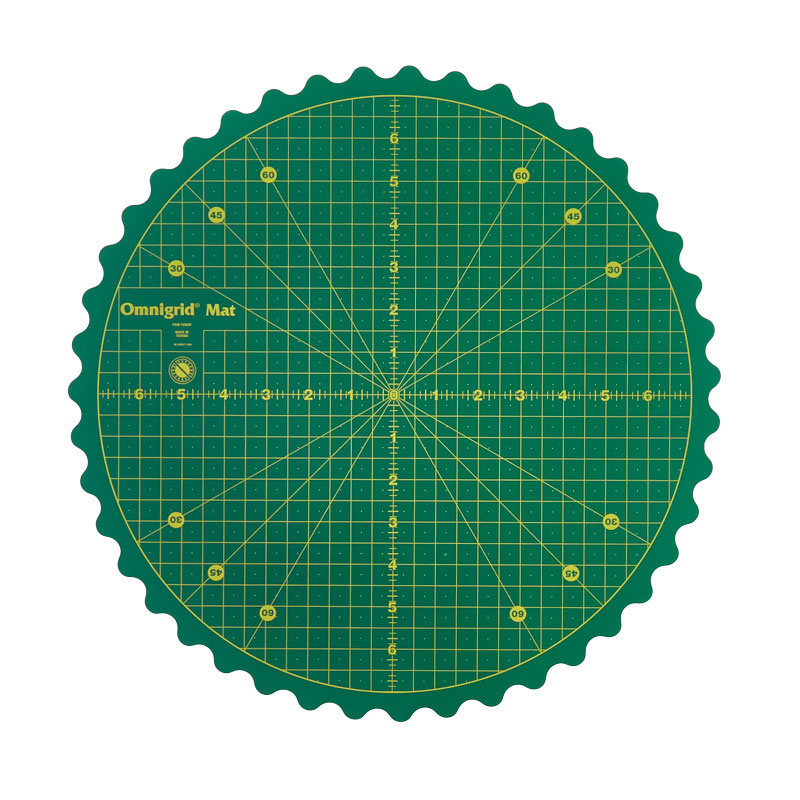 Omnigrid® 360 Rotating Cutting Mat - 14" Diameter$57.25Shop →
 Missouri Star 50 WT Cotton Thread White$7.95Shop →
 Exclusive Missouri Star Jenny TG1600 ProPlus Oliso Smart Iron$199.99Shop →
 Missouri Star Wooly Betty Board - 17.25" x 25.5" Orange Border$99.95Shop →
 Bernette 77 Sewing and Quilting Machine$1499.00Shop →
Common Questions
What is covered in Stellar Magic?
This quilt comes together like magic! Misty shows you how simple blocks with strips that look like the letter L are cut apart and reassembled to create dramatic eight-pointed stars. The result is stellar!
How long is the tutorial video?
The tutorial video is 00:13:23.
Are supplies listed for this tutorial?
Yes. The tutorial page includes the supplies and materials connected to this project.
Is a transcript available?
Yes. A written transcript is available on the tutorial page.
Video Transcript
Material Girlfriends and it's called Stellar Magic. Let me show you how to make it.
Like I said, today's quilt is called Stellar Magic and it is designed by the
Material Girlfriends. I absolutely love this pattern. It's incredibly well written and very easy to make. I can't wait to show you how to do it!
So to make this quilt, you are going to need one package of 10 inch squares of print and I use this beautiful line called Fragrant Fields by Lila Tueller. All those gorgeous florals! You're also going to need a package of 10 inch background squares, whatever color background you want. You're going to need a half yard that will be just this little inner border, if you so choose, and then you're also going to need 1 ¼ yards of your outer border. For the backing you're going to need 3 ½ yards and I use this beautiful floral. I also use this for the binding, and you'll need ¾ of a yard for that. It's also really helpful if you have a rotating mat. I’m using our narrow 2 ½ by 15 inch ruler, and of course your rotary cutter. So let's get started!
So for this pattern you're going to pick out 24 of your favorite prints from your pack and you can set the others aside for another project. You're going to do the same with your background squares. So I have selected 24 of each and we're going to make them into sets - one print and one background. So let's start with our cutting.
I have my rotating mat here ready to go and I'm going to get this centered up on my mat. Then to start with, we want to make sure these are nice and straight. And we're going to begin by cutting a 3 ½ inch strip off of one side. Remember these are stacked together, so I have that and then I can set that aside for now. I'm going to go ahead and rotate this and I'm going to cut 3 ½ inches off again from this side. Now what that's going to do is it's going to leave me two 6 ½ inch squares one of print and one of background. These are going to measure 3 ½ by 6 ½ inches, and I'm going to keep those. And then of this little rectangle that we have here that's 3 ½ by 10 inches, I want to trim this to 3 ½ by 9 ½ inches. So I'm just going to look on my ruler here and cut this down. There we go. So now I can set this aside for just a minute.
And we are going to swap these so that our background square goes with these rectangles and our print goes with the white. And so those are going to go together just like so. So you'll sew your 6 ½ inch rectangle to your square, and then your 9 ½ inch rectangle to the side. And I've gone ahead and done that so I have one of each ready here. You can see all sewn just like so.
So now the real magic in this quilt is how we cut it from here. All right, so now we are ready to start cutting to really show the magic of this block. I am using our 2 ½ x 15 inch ruler. And what we're going to do is we're going to take that 1 inch mark of the ruler and we're going to line that up point to point on the diagonal. So I've done that here. And I'm going to start by making this first cut and then carefully removing my ruler. Then the same thing in the other direction. So lining up on the one inch mark, and this is going to give me a 2 inch wide diagonal cut from the center. And just for ease, so you guys can see, I'm going to go ahead and pull this out for now and then we can use our ruler here. Line it up with our cut mark and we're going to measure in 2 inches again on both of these triangles. So there's one there, rotate our mat just like so, make one more cut. All right and you are going to cut your other your opposite color square in the exact same way. I've already cut it here, so let's go ahead and put these back together so it makes sense for you. So here's one that we just cut and then let's line this guy up as well, just so it makes sense. We'll turn it, there we go, whoa I lost one of my little triangles, where did that hide? Here we go, there you go. So you can see we cut both of our squares the exact same way.
So now we're going to take these two middle strips and we're going to swap them from our sets. So those ones are going to come over here and these are going to come over here, just like so. And now we're going to sew these back together. I like to start by sewing my middle strip. So I'm just going to fold this over and sew down. Keep in mind you do have a little bit of bias but let's go ahead and take this over to the machine.
I'm just going to stack it up here for me, so I can keep everything situated. And we'll sew this one and then we'll come back and sew the other as well. So we're just using our standard quarter inch seams, just going to keep that all lined up along the edge, and then we will press in between just to make sure everything lays super nice. So I'll just roll that back. And you might notice that you get this kind of offset because of our seams that we're taking. That's okay - we're going to square it all up at the end. So we'll go ahead and add this one and then continue until our block is all sewn back together. All right, we'll give that a press and then we can bring our corners in.
The one thing you want to keep in mind is your print is going to be opposite your background. So I want those to match up with the backgrounds there and we can just fold these in and sew both of these down. So let's go ahead and do that. Just lining up point to point along those cut edges, and then we'll take this final seam on this one, just again making sure everything is lined up. Okay, all right, let's give this a good press and then we'll be ready to square this up. Beautiful!
All right, I'm going to bring my rotating mat back. Keep in mind you're going to sew this opposite block the exact same way that I just did this one, and you're also going to square it up the exact same way. I'm going to show you on this one. So let's go ahead and walk through that size. I know this looks a little wonky - it's all going to work out. We're looking for a 7 ½ inch square. So any squaring ruler that you have that's larger than that will work. I have a 9 ½ inch square here, so that's what I'm going to use.
So to begin with I'm going to take the zero point of my ruler and I am going to put it down in this bottom corner. So then we're lining up this 45 line so it's running right down the middle of that center strip that we cut. You can kind of check here at your point and again here, where those fabrics intersect. In the pattern it says that you should measure in 3 ¼ inches from this bottom edge. I have a really hard time getting that consistently. I don't know why, I don't know if it's my seam or what, but I can either get 3 in or 3 ⅛ inch and right now this is 3 ⅛ which is just that first little notch past the three. So I am just going to trim it up on that measurement. So I'll start by cutting this side and go ahead and shave off any that's hanging past my ruler. Then I'm going to rotate and do the same thing here, there we go. Then, now that I know these two sides are square, I can flip my ruler over, make sure I'm upright there we go look at that 7 ½ inch line which is right here, again making sure our 45 is running down the middle of our block, and we can make these last two cuts. There we go and now we have a nice square block.
Let's go ahead and clear some of this out of the way. I have both versions squared down for you. So here are two blocks like that and two blocks like
this all squared up to 7 ½ inches. Remember if you can't get the 3 ¼ or 3 ⅛, whatever it is for you. Just be consistent across all of your blocks when you're squaring these to 7 ½ inches. And that's what you're looking for!
So now let's talk about the layout because this quilt is really incredible and that there are so many layout options included. I've printed a few of them, just so you can see all of the incredible ideas that they give you. This pattern is so well done. And so really you can choose whatever layout you want based on the diagrams in the pattern. But let's talk about the one
that is behind me. So you can see here in the first row we're matching these little guys here all the way across. This is kind of what I consider the star leg part of this block. You just have to find a part that you're recognizing and the darker star legs that we get from this version frame out the whole outside of the quilt. And then these lighter star legs go in the middle and so they are matching up in the center. So you can see, let's go ahead and actually put the block behind me. This one is just spinning all the way around this outer frame of the quilt. And then this opposite block makes up the entire middle and just rotates back and forth and that's it!
So that's the layout I chose - it's so fun. It's actually one, two, 3, four, five, six blocks across by eight blocks down. Then we did this little inch and a half inner border and a 5 inch outer border. Then I quilted it with Bloom and Plume. I think it's super beautiful and the quilt finishes up at 50 by 64 inches.
This is such a fun project, I hope you enjoyed it. I'll see you next time on At Home!



