

Summer Notes 2.0 Quilt with Cherry Hill
 Cherry Hill
- Layer Cake
- Lap / Throw
- Quilt size 57" × 57"
Feel like mixing things up a little? Join Cherry Hill as she remakes the MSQC Summer Notes quilt using fun Tula Pink fabrics, and layer cakes instead of charm packs. Quilters don't fear change–they just call it a new design opportunity!
Instructor
Cherry Hill
Shop this tutorial
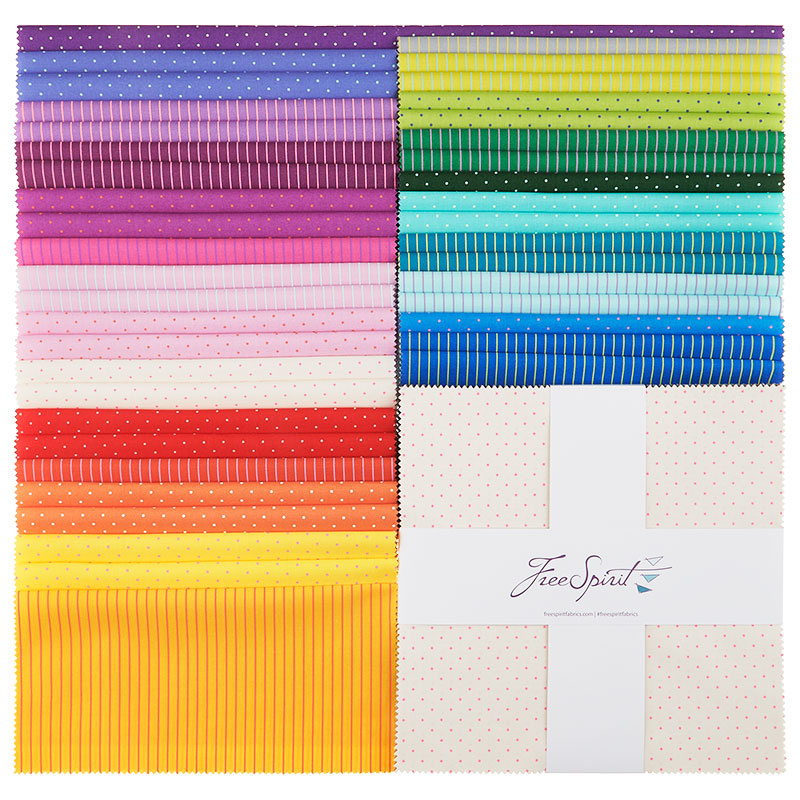 Tiny Coordinates - Tula Pink 10" Squares$47.50Shop →
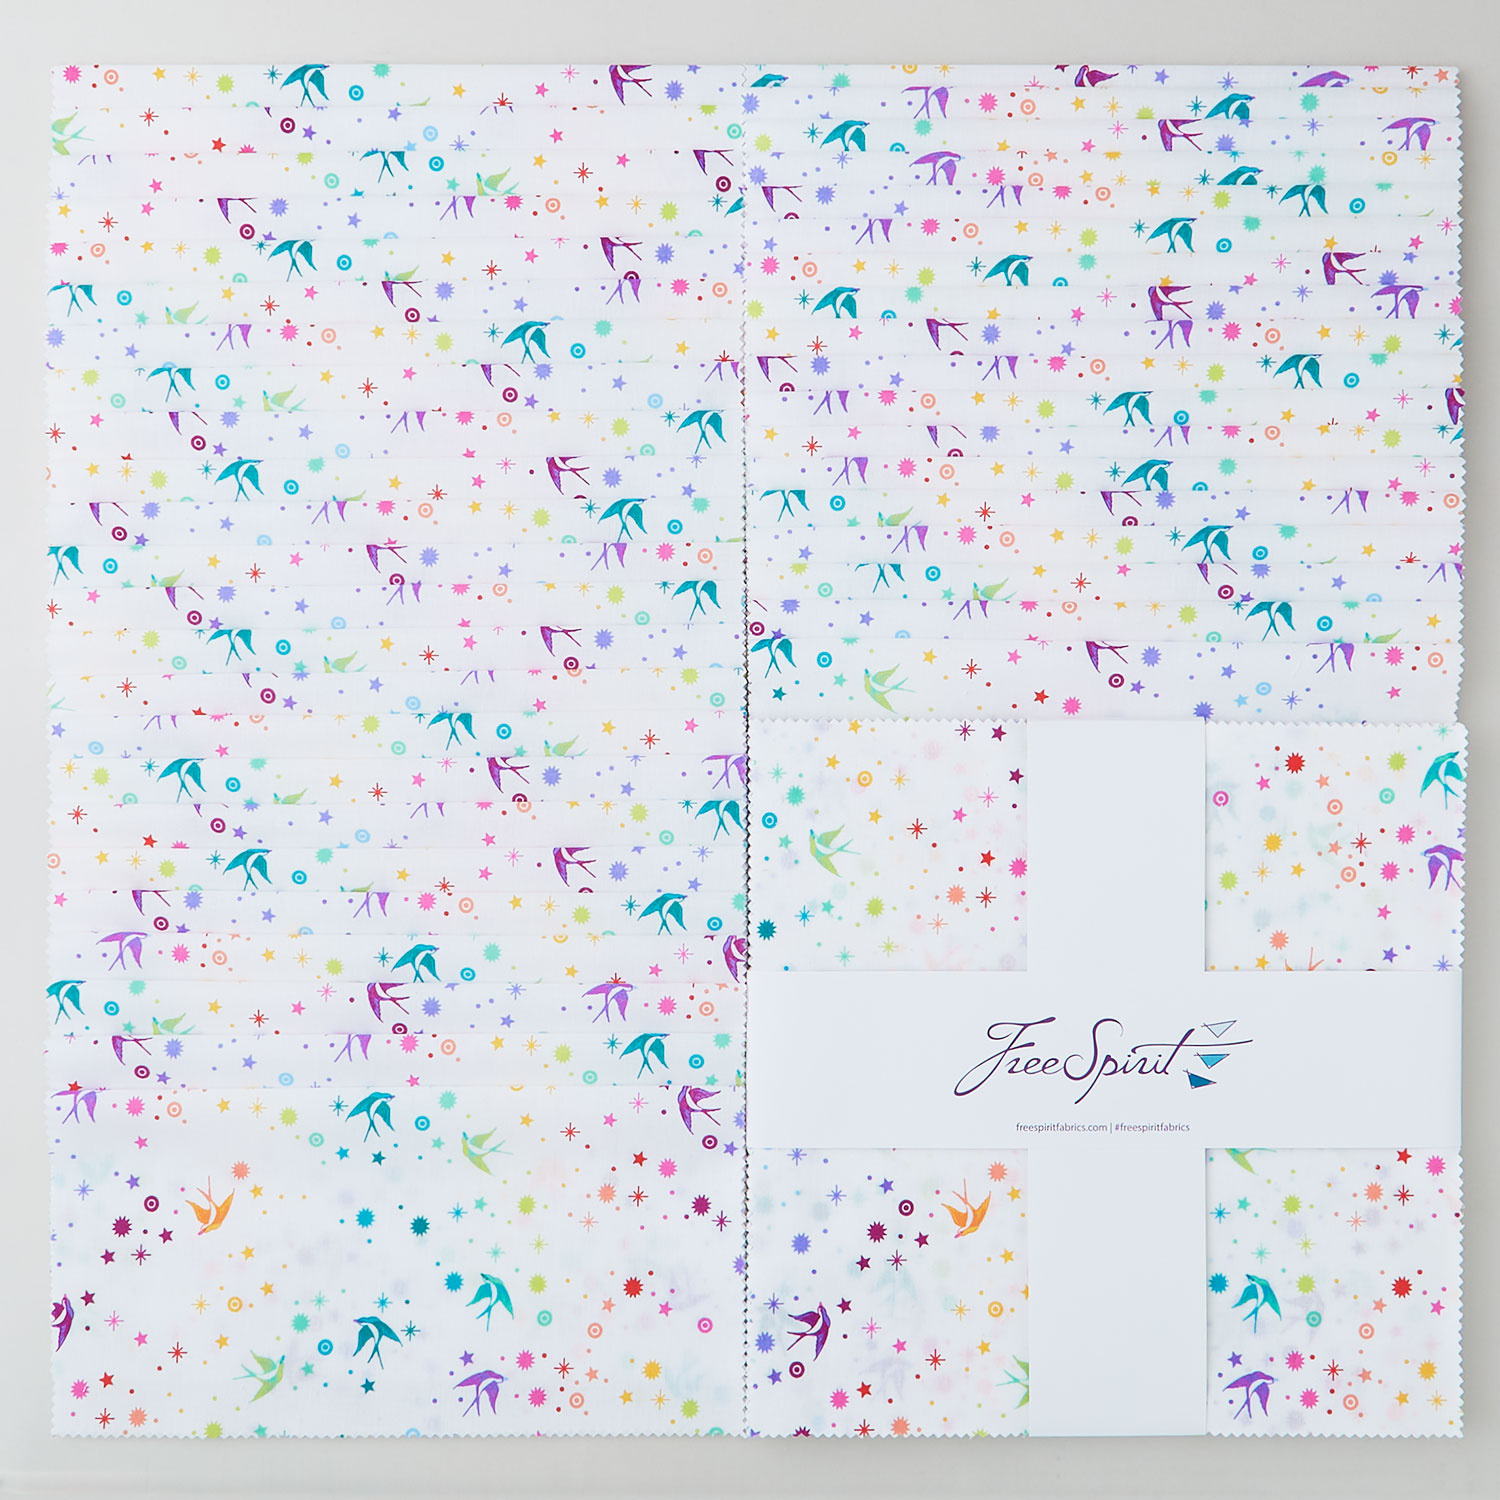 Tula Pink's True Colors - Fairy Dust White 10" Squares$46.95Shop →
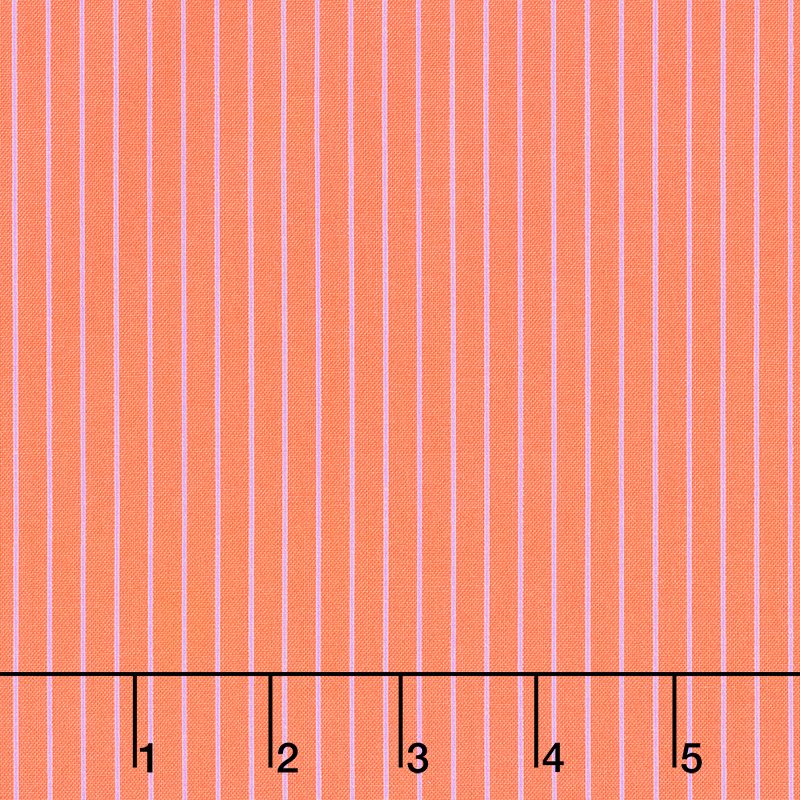 Tula Pink's True Colors - Tiny Stripes Wildfire Yardage$13.00Shop →
 Missouri Star Quilter's Best Blend Throw Batting$21.95Shop →
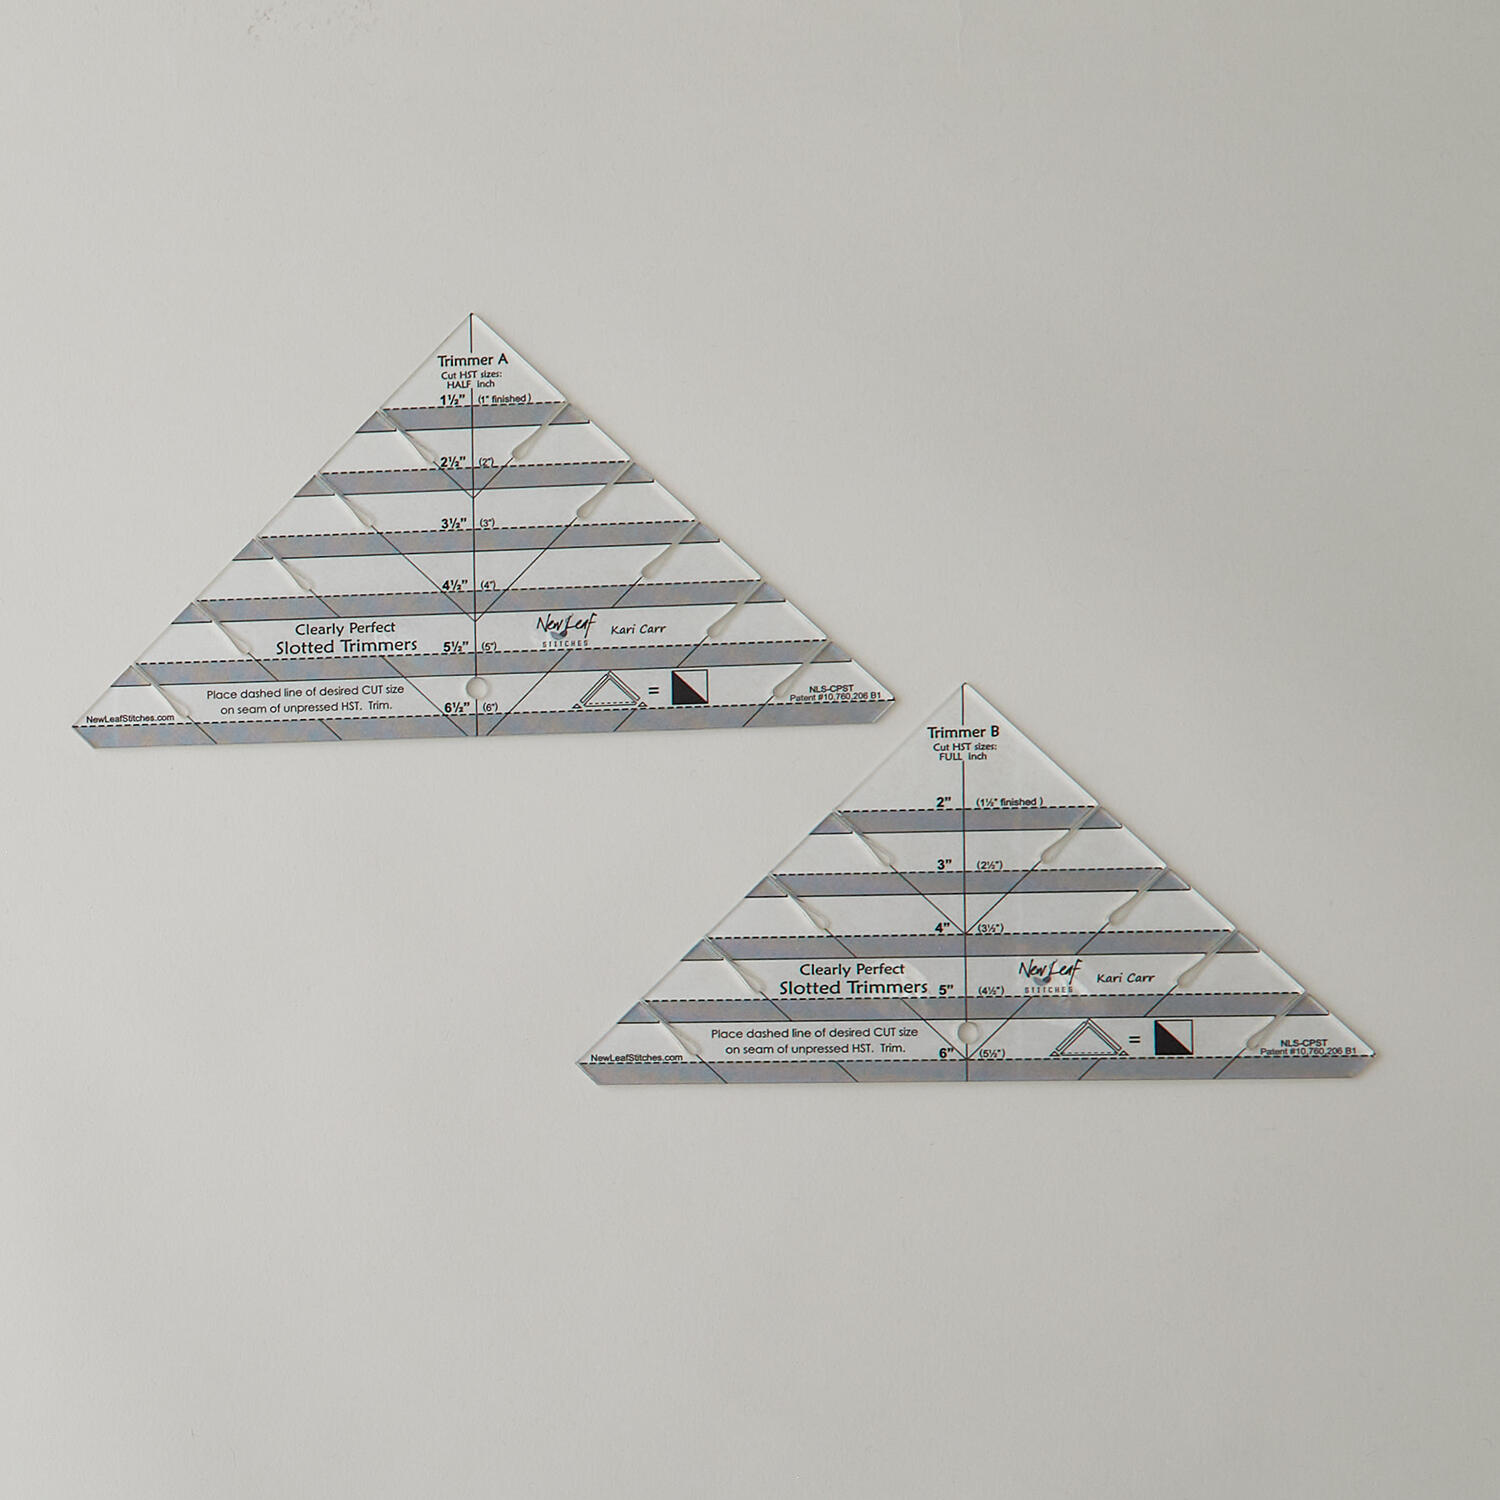 Clearly Perfect Slotted Trimmers$33.95Shop →
 Missouri Star 5" x 15" Ruler$19.95Shop →
 Bernette 77 Sewing and Quilting Machine$1699.00Shop →
 Missouri Star 50 WT Cotton Thread White$7.95Shop →
 Missouri Star 45mm Rotary Cutter - Olga$19.95Shop →
 Missouri Star + Oliso TG1600 ProPlus Iron$209.95Shop →
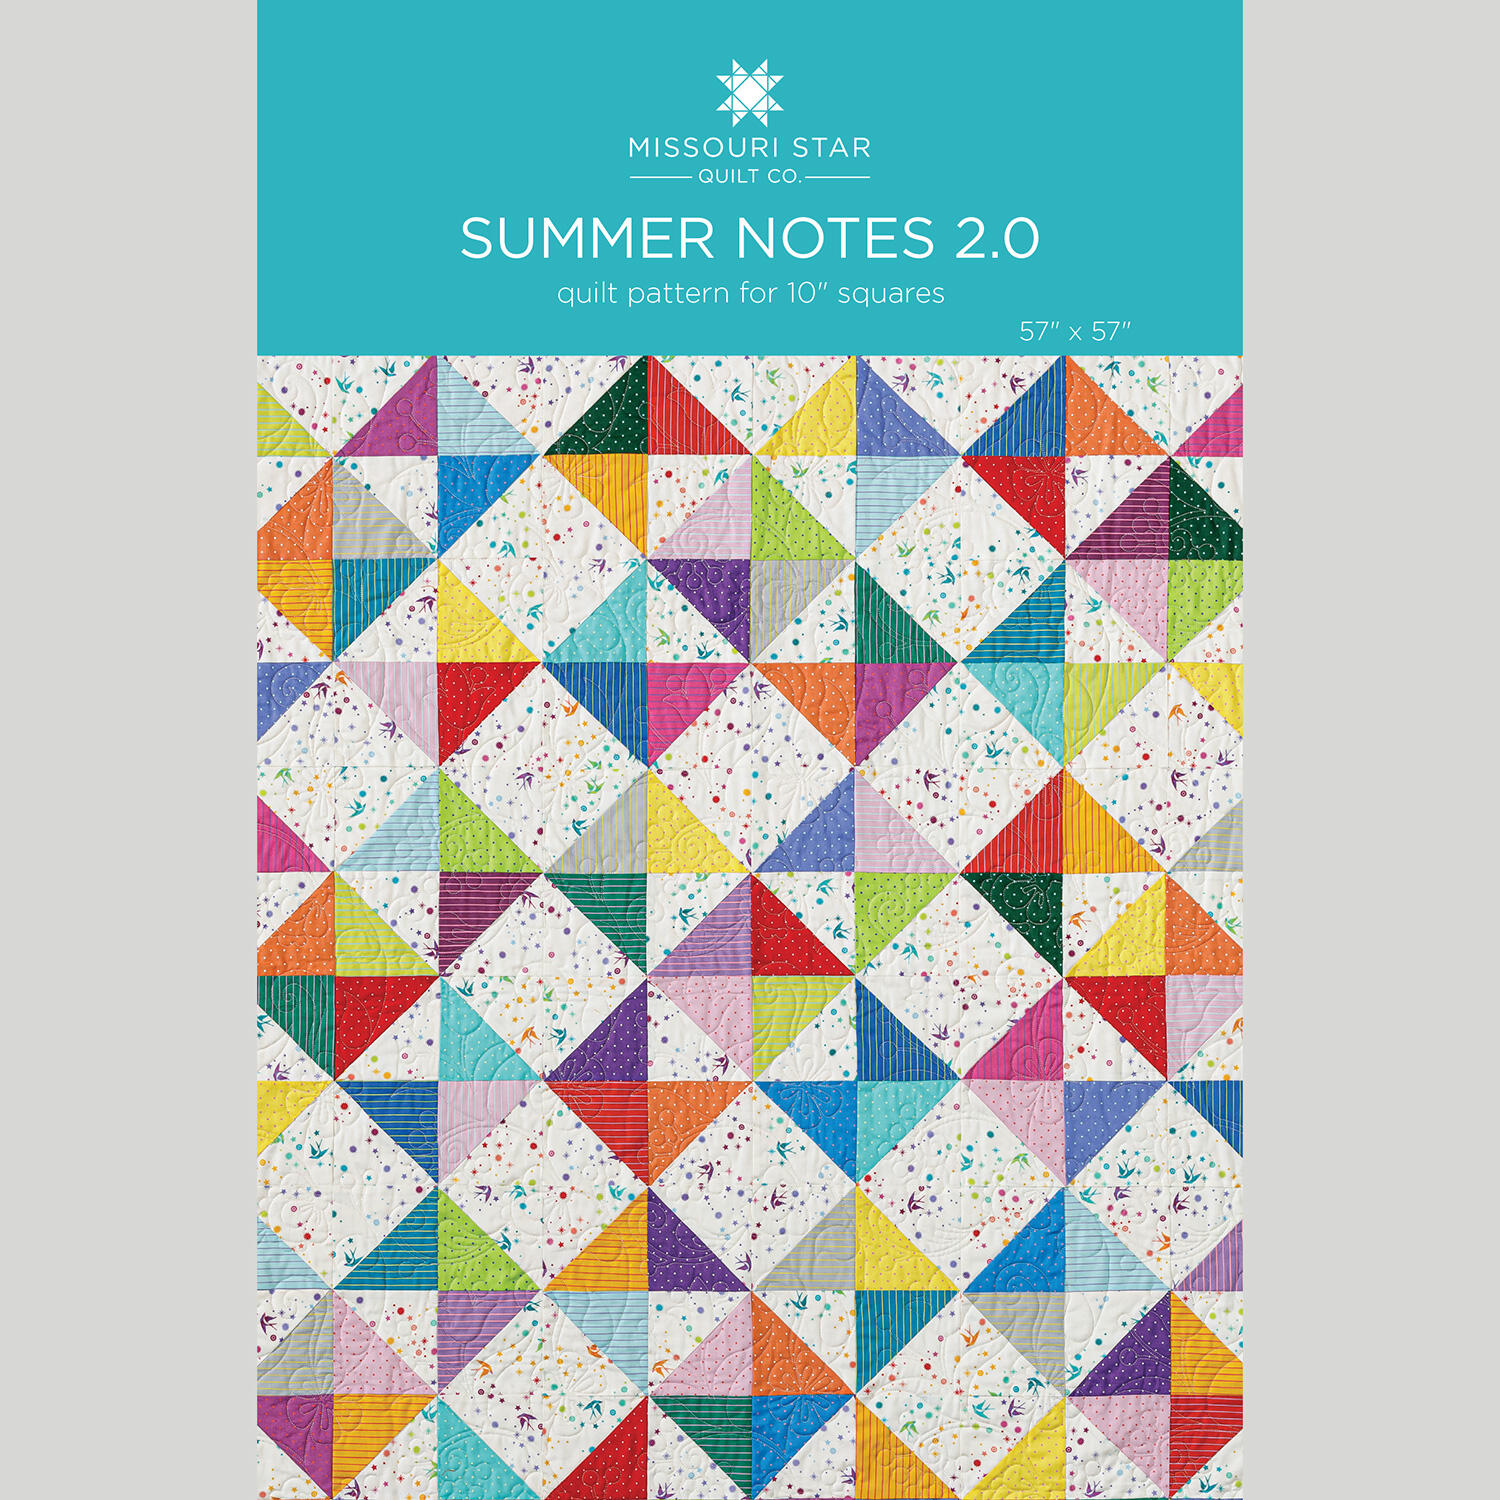 Summer Notes 2.0 Quilt Pattern by Missouri Star$8.50Shop →
 Digital Download - Summer Notes 2.0 Quilt Pattern by Missouri Star$6.95Shop →
Common Questions
What is covered in Summer Notes 2.0 Quilt with Cherry Hill?
Feel like mixing things up a little? Join Cherry Hill as she remakes the MSQC Summer Notes quilt using fun Tula Pink fabrics, and layer cakes instead of charm packs. Quilters don't fear change–they just call it a new design opportunity!
How long is the tutorial video?
The tutorial video is 00:10:08.
Are supplies listed for this tutorial?
Yes. The tutorial page includes the supplies and materials connected to this project.
Video Transcript
Hi everybody. I'm Natalie and I'm here today with Cherry. Hey guys. Cherry is one of my very best friends and sometimes she hangs out with my mom. Just maybe a little bit. A little bit. They're pretty tight. Yeah. Yeah, we are. We truly are. So, you found one of our patterns that you love and you put your own spin on it. I did. I did. Take a look at this. This is called Summer Notes 2.0. I love it. I think it's very bright and colorful. Yeah. And I can't wait to see how it's made. Okay. Well, let's get started. All right. [Music] So, let me show you what you're going to need for this quilt. You're going to need one package of 10in squares. And we've used Tiny Coordinates by Tula Pink for Free Spirit Fabrics. We've also used a package of 10in squares for the background. Now, if you want to cut your own background, you would need about a yard and a half of that fabric. This is the border, and you need one and an eighth yards for this. And the backing, I used a 108, and so I needed 1 and 7/8 yards. So, basically two yards of a 108. Or you could use a 45 with three and 5/8 yards. And I wanted my binding to pop. So I used this cute tula fabric with stripes. There's nothing better than a striped binding. And you would need five and an eigh. So you'll also need the squaring tool of your choice. And I've chosen the clearly perfect slotted trimmer. A. So let me show you how to make this quilt. So this is the block that we're going for. It's a nice big 16 and 1/2 inch unfinished. And I'm going to show you how to use a layer cake making those half square triangles. So I'm going to take one colored print and a background print. And on the background I'm going to draw a diagonal line going both directions just like this. And then we're going to go to the machine and we're going to sew on each side of these lines with a quarter inch. So we're going to put this right on top of our colored print square. And let's sew on each side of the diagonal lines using a quarter inch. [Music] Okay. Now, I'm going to show you where the magic really happens. So, we've sewn on both sides of our diagonal lines, and now we're going to make four separate cuts. I'm going to start by cutting a horizontal and vertical so that I'm cutting the 10in square in half like that. And and then I'm going to cut on the diagonal lines. And look what happens. Tada! We have eight half square triangles. And next, we're going to be squaring these half square triangles to 4 and 1/2 inch. And like I said earlier, I love this Clearly Perfect slotted trimmer. You're going to use the A and you're going to line up your stitch line with the stitch line on the template. And just trim the excess. There's not a whole lot left over to trim. And you can also do the little notches on the side. Whoops. Didn't get that. I'll just There we go. And then I'm going to set my seam and I'm going to press to the darker color. All right, we've got this perfect little half square triangle. And you're going to want to do that with all of your half square triangles. Now, I have some that are already prepared. So, now I'm going to show you how to build out the strip sets. So, this is the strip set. It comp it's composed of two different strips of four half square triangles. And we're going to make this twice. And that will be our block. We'll put all of that together. Okay. I've already made this strip set, but let's make the second one. And an easy way for me to do that is to set the blocks on top of the the first strip set that I've made. And that makes sense to my brain. Just like this. Okay. Let's see. Let's put that green one there and try this one here. All right. When you have them arranged the way you want them, you can sew them together. And I'm kind of a block byb block person. So I am going to sew all these together using a quarter of an inch seam. [Music] [Music] All right, we've got both strips done. So, let's give them an iron and then we'll sew them together. Oh, my points look pretty good. Okay. All right. Now, we'll put these together and sew them and we'll have our second strip done. [Music] All right, let's give this a press. I'm going to set that seam. All right. Not too bad, actually. All right. So, we've got our second set. Now, to make our block, we are going to turn this second set around and we're going to sew them together. And that makes your block. So, let's sew these. [Music] Okay, let's give this a press and see how it turned out. You can kind of make your seams go the the way you want them to from the front, which is what I'm doing. And there we have it. We have a second block. And let me show you where this fits in. Right there. and you're going to go three across and you're going to go three down for a total of nine blocks. Now, you can actually make two quilts out of this fabric or one large one, whatever you would like. So, I've used a nice 5 in border on my quilt. And I love this backing. It's actually a 108. Isn't that beautiful? I just love it. And look at this cute striped binding. I have used the Bodangle quilting pattern and it makes a nice 57x 57 quilt. So, I hope you've enjoyed this tutorial from me and the Missouri Star Quilt Company. See you next time.



