They say sisters are different flowers from the same garden. Similar, yes. But also wonderfully unique.
The Summer Sisters quilt is made with two blocks that are as similar—and as different—as sisters. And here’s the secret: They're just half-square triangles with one extra cut and one extra seam.
We’re using the Tranquility layer cake by Nicole Ruiz for FIGO Fabrics, a soft pink background, and a machine quilting pattern called Simply Roses. In short, this quilt is as sweet as sisters!
Natalie is the host of Quilting 101, Embroidery 101 and the Creative Strategist and Editor of Block Magazine at Missouri Star Quilt Company. She was taught how to sew by her mom, of course, and began quilting when she grew up.
They say sisters are different flowers from the same garden. Similar, yes. But also wonderfully unique. The Summer Sisters quilt is made with two blocks that are as similar—and as different—as sisters. And here’s the secret: They're just half-square triangles with one extra cu...
How long is the tutorial video?
The tutorial video is 00:07:46.
Are supplies listed for this tutorial?
Yes. The tutorial page includes the supplies and materials connected to this project.
Video Transcript
Hi everybody. I'm Natalie with Missouri Star Quilt Company and today I'm excited to teach you Summer Sisters. It's a fun quilt and I think you're going to love it. So, let's get started. Okay, so to make my quilt, you're going to need a package of 10-in print squares, and I've used Tranquility by Figo Fabrics. You'll need a little bit of background fabrics, 2 and 2/3 yards, and that includes our inner border. For your outer border, you'll need 1 and 3/8 yards. And for your backing, you'll need 4 and a3 yards. Or if you use a 108, it's 2 and 1/4. Some other helpful tools would be a squaring tool, a rotary cutter, and a ruler. All right. So, the first thing you're going to do is cut your background fabric into 10in squares. Then you're going to take a background square and a print square. You're going to lay them right sides together. And we're going to sew all the way around the outside edge using a quarterinch seam. One more side and then we're done. All right. So, now we're going to cut our half square triangles out of this set. I'm going to use my Clearly Perfect slotted trimmer. And I'm going to line up this dashed line with my seam line. And I'm going to just cut these straight out so that they are squared and cut all at the same time. If you don't have a clearly perfect, you'll want to cut this diagonally both directions and then square your triangles to 6 and 1/2 in. But I've got this great tool which saves me a step. Just a couple more here. That side's nice and straight. So, I'm going to put that right there. And just trim one side for this last one. All right. Now, we're going to press them open. So, I'm always going to set my seam. And then I'm going to roll it back. Pressing to the dark side. And you'll do that with all four of your squares. So then what we're going to do is we're going to make sure that this fabric is lined up with the print in the top left corner. And we're going to cut these directly in half. So that's a 3 and 1/4 rectangle by 6 and 1/2. So I've got one, two, one, two, 3 and 1/4. And we're going to do that to all four blocks. Making sure that our diagonal line is top right to bottom left and our print is in the top left corner. You're going to cut them all the same. All right. Once we get these all cut, we're going to take these blocks and we are just going to swap them and turn that one. So then they all come out just like that. It's pretty cool. I'm going to go ahead and stitch this together and then I'll show you the different blocks because this is all you need to know. It's super easy. There's really a lot of different ways to lay this quilt out, too. All right. So, these these blocks, they come out a little bit longer than they all are tall. So, what you want to do now is square them to 6 in. So, typically they will already be 6 in widthwise, but length lengthwise, you'll want to cut about a/2 inch or maybe a/4 of an inch off of this top end. Leave the triangle side as it is. So, we're just going to do a little 6 inch cut. And that is just a tiny bit here off this edge. So, we want them all to be 6 in square. And let me just make sure these all line up. Yep, those are already cut. And I have one more. And it is also already ready to go. Okay, now we have two blocks. So, this whole quilt is made up of these alternating blocks, and I'll show you how to do that. So, this one is our first block, and what we're doing is we're making this little diamond in the middle with our background fabrics. So, we're going to make sure that all of these little uh triangles point to the center, just like so. Awesome. Then we'll sew that little for patch together to get this block. And then if you want to make the second block, which kind of looks like a windmill or a pin wheel, you're just going to flip those around so that your middles come together with the larger part in the sec center. So they just turn about 180°. I don't know if that's accurate or not. Just like that. And then you've got these blocks. So there's a lot of fun things you can do. So I just took these two and I alternated them in the quilt. Starting with this this one, block A and then block B. And I've got five across by five down. It's a nice square quilt. It ends up being 70 by 70. The backing is really lovely. It's this floral print. I think it's so pretty. So, I machine quilted it with Simply Roses. It's just a really feminine floral pattern that I love. Added a 2 and 1/2 in inner border and a 6-in outer border. This quilt ends up being 70 in square, so it's a great size for a picnic quilt. And I hope you enjoyed this tutorial on Summer Sisters from the Missouri Star Quilt Company. Hi everybody. I hope you enjoyed today's video. We're trying super hard to get to a million subscribers. So, if you enjoyed it and you want to see more, just hit subscribe and share with your friends and encourage them to do the same. And I will see you next Friday with a brand new tutorial.

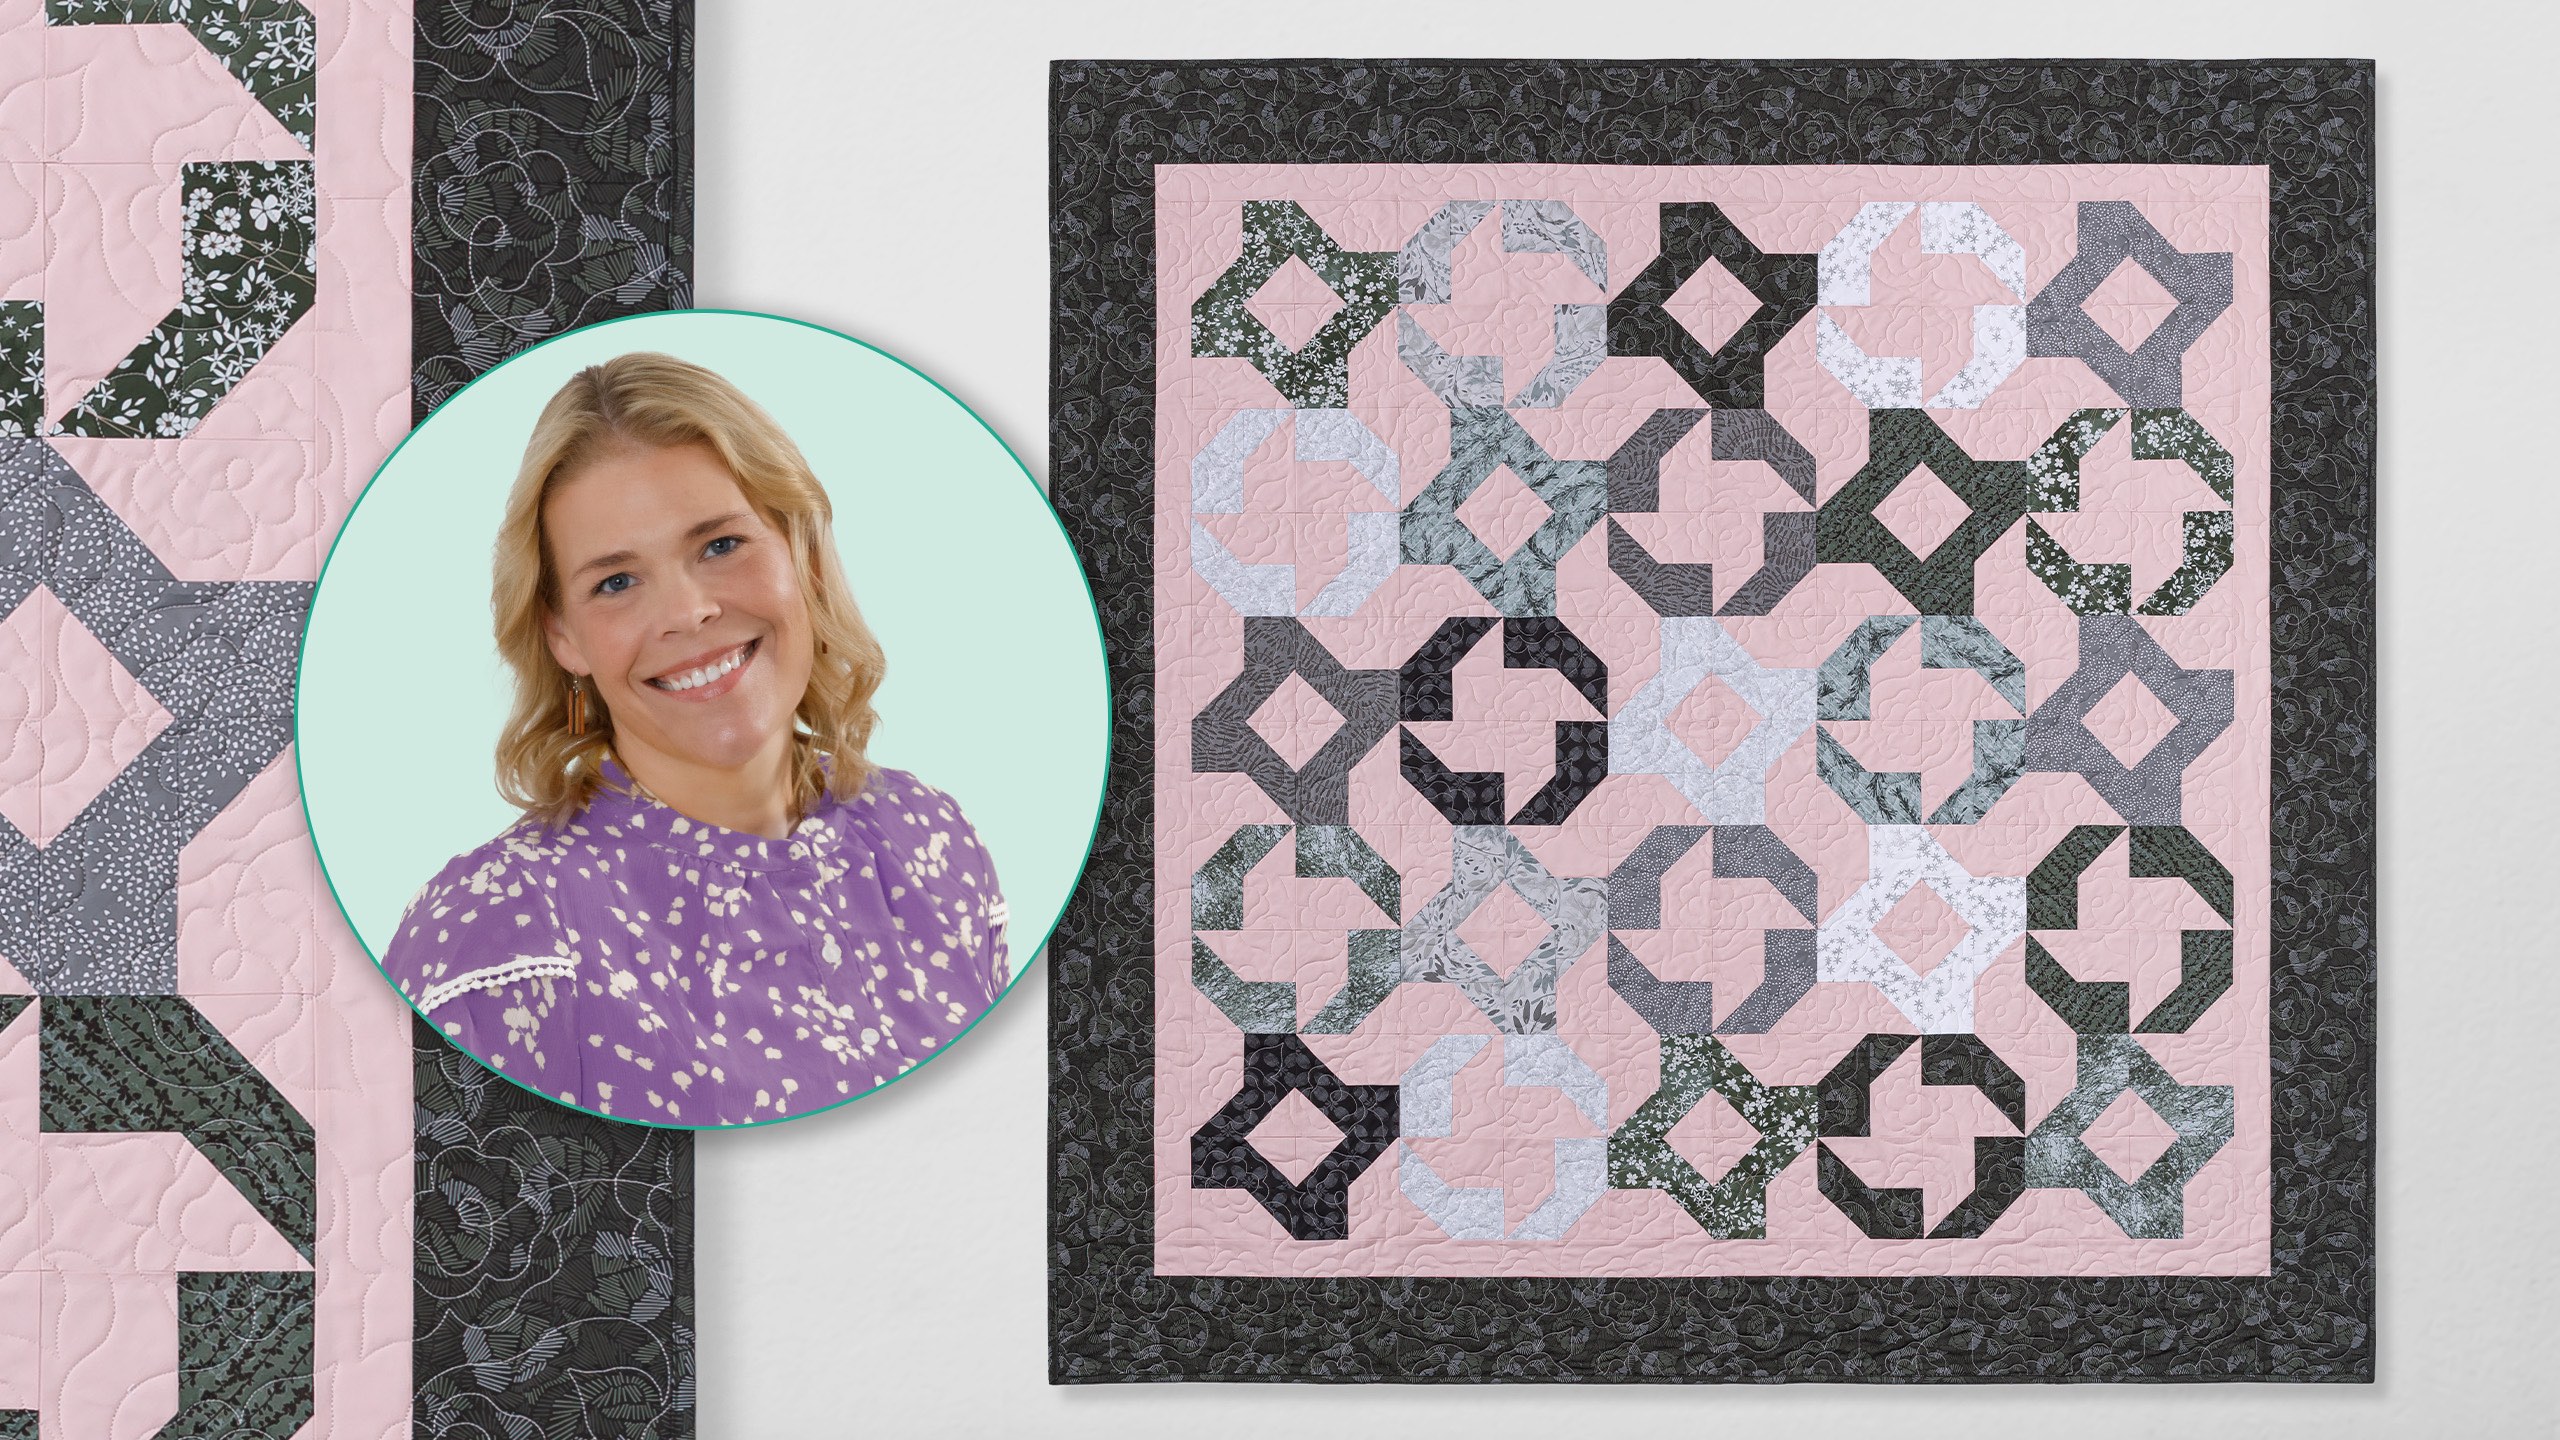
 Natalie Doan
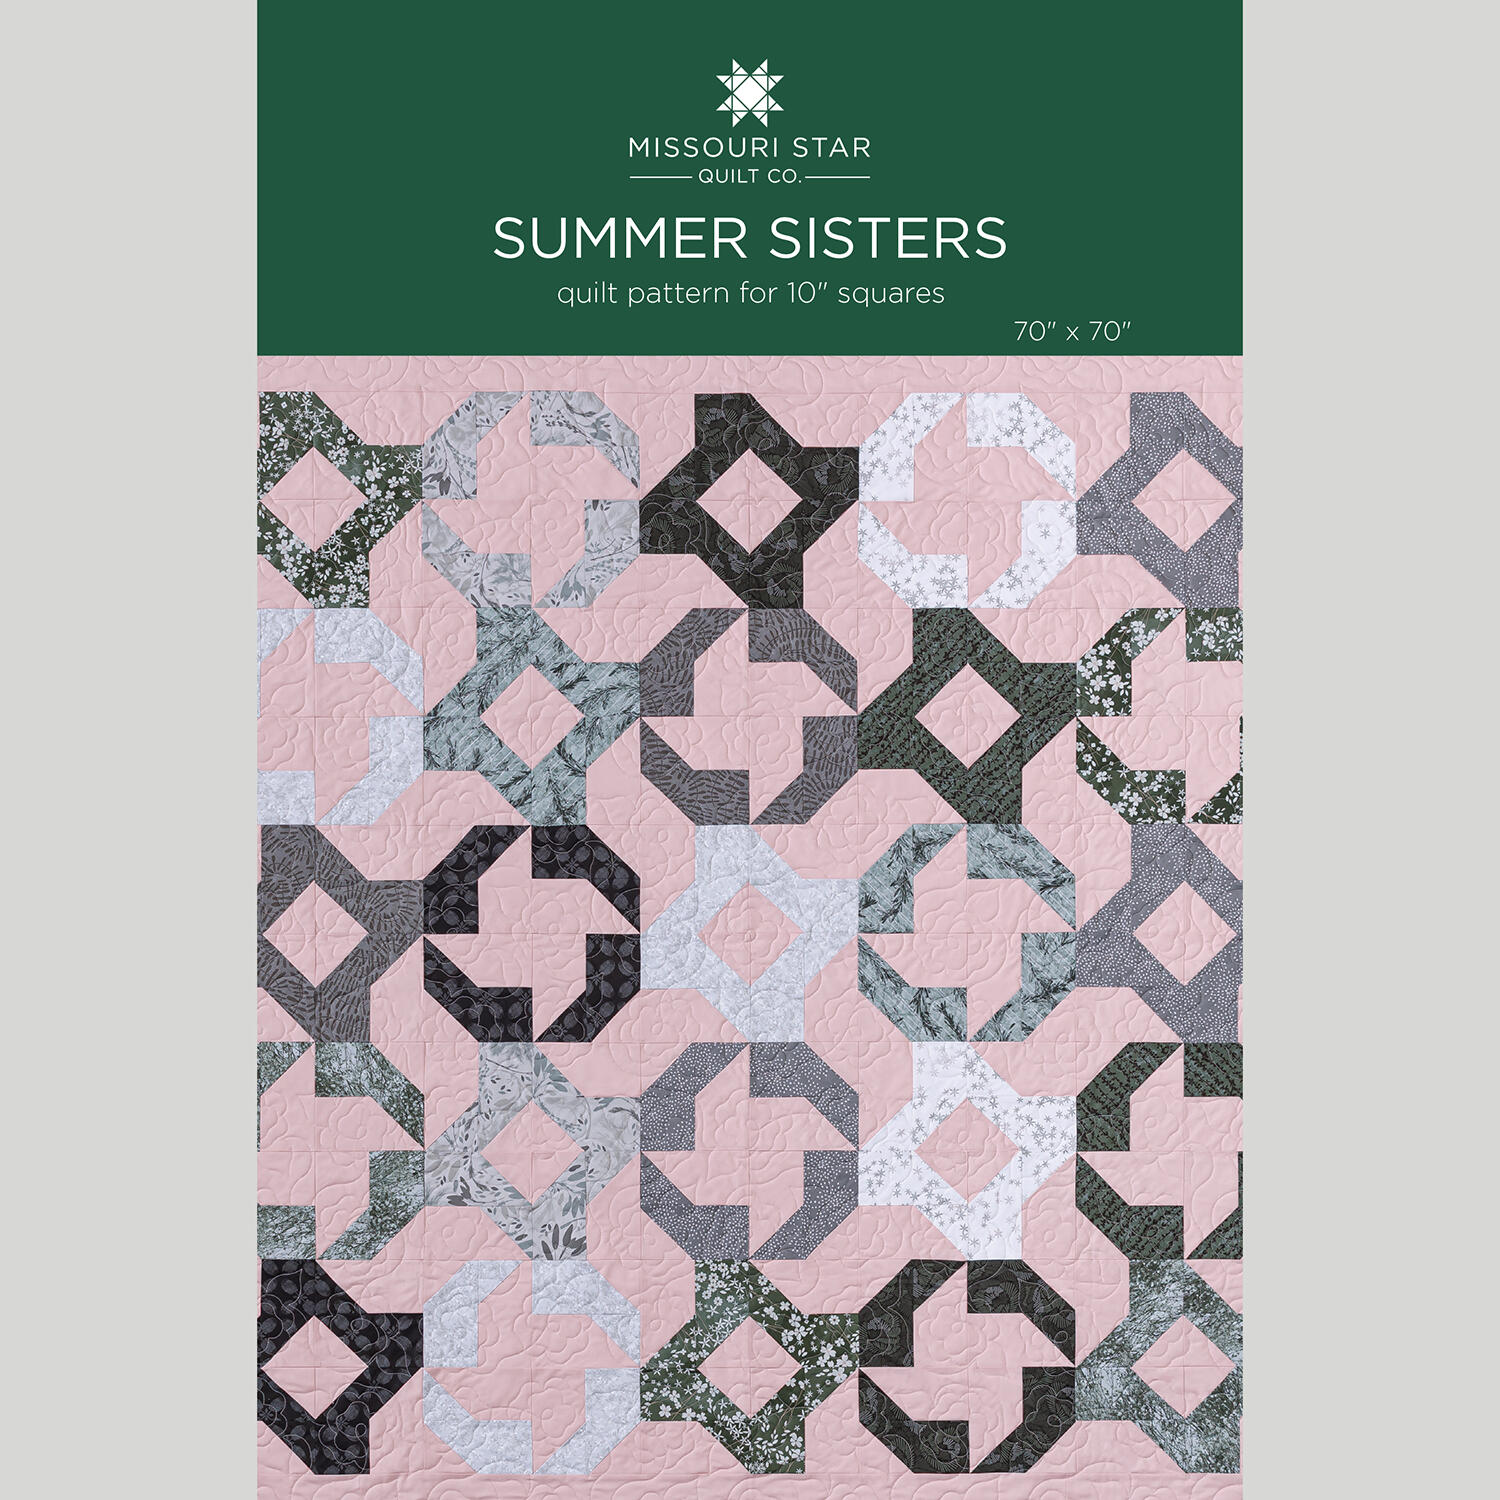 Summer Sisters Quilt Pattern by Missouri Star$8.50Shop →
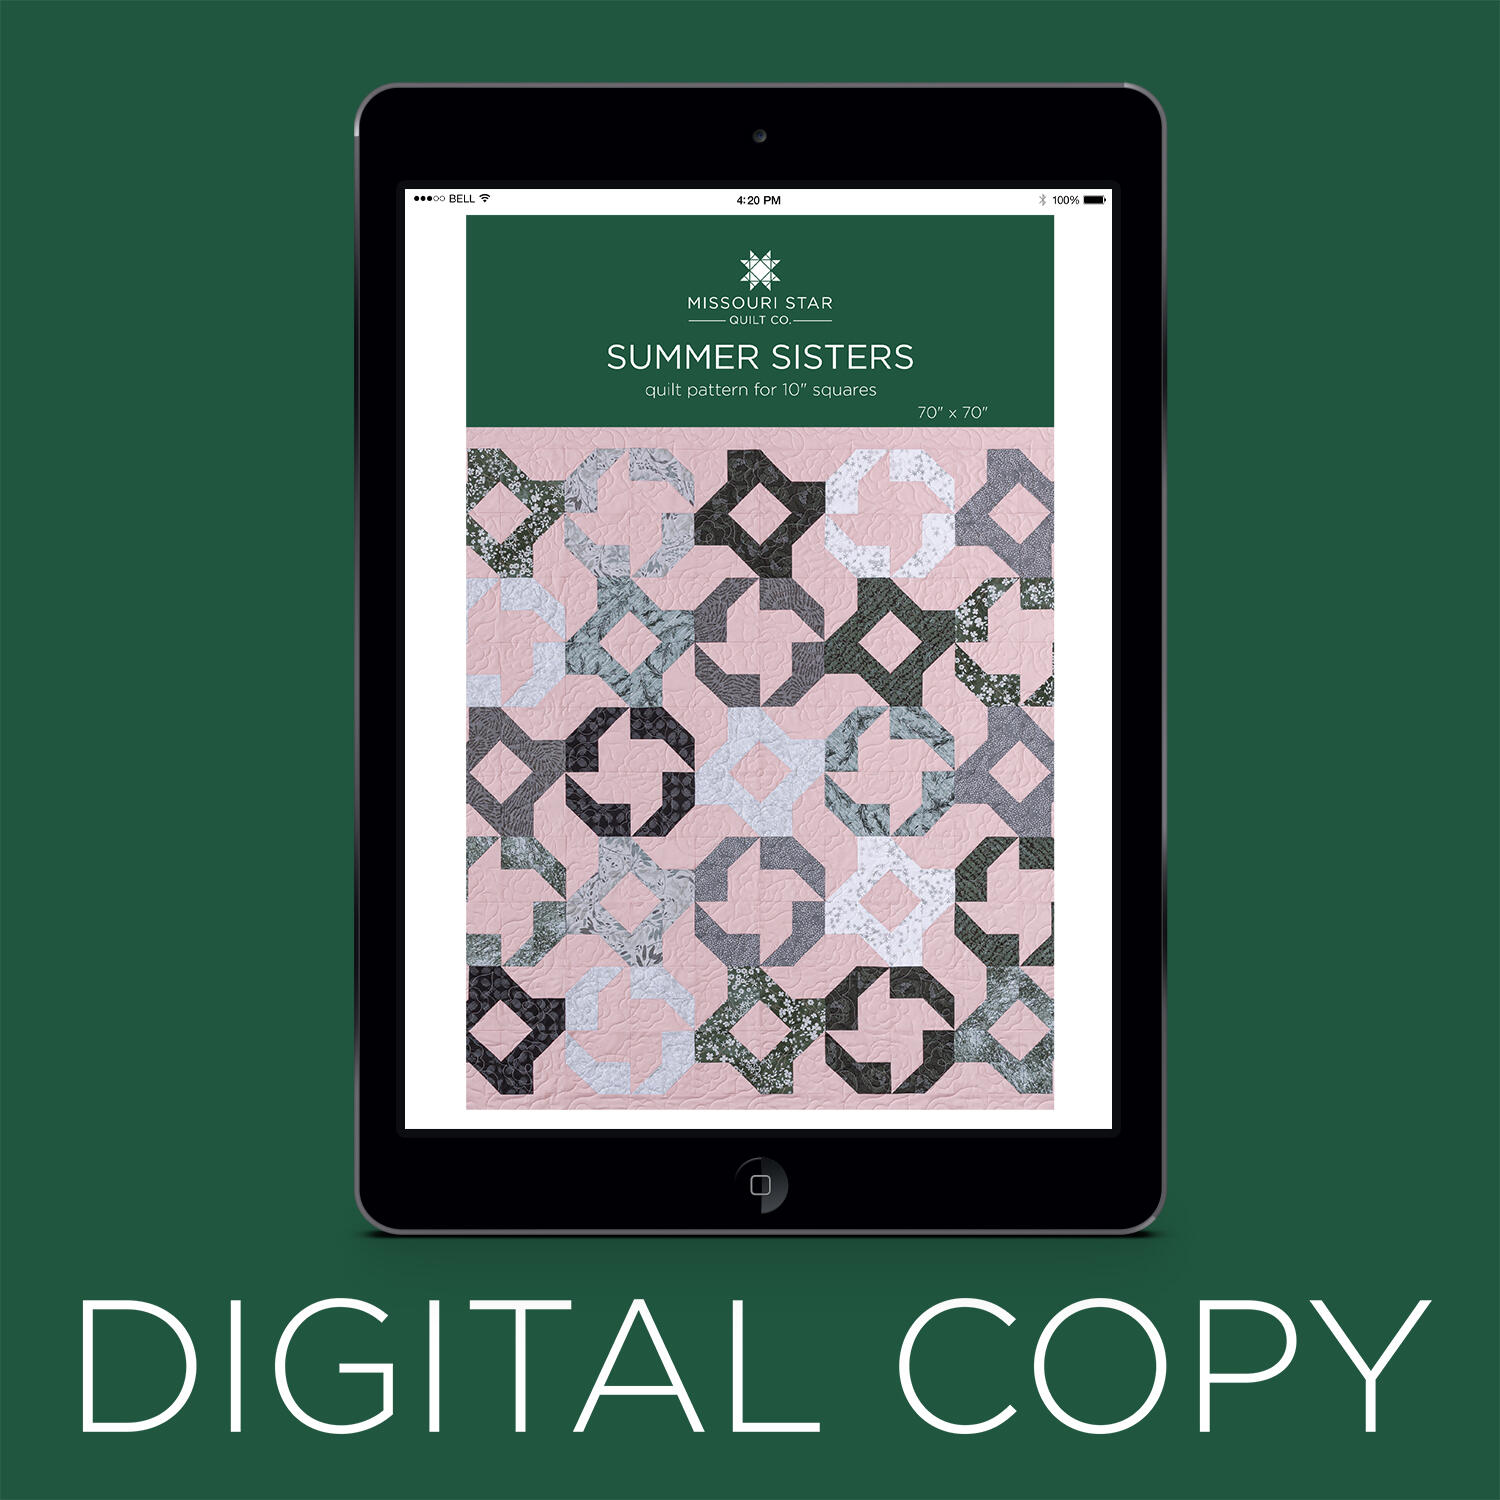 Digital Download - Summer Sisters Quilt Pattern by Missouri Star$6.95Shop →
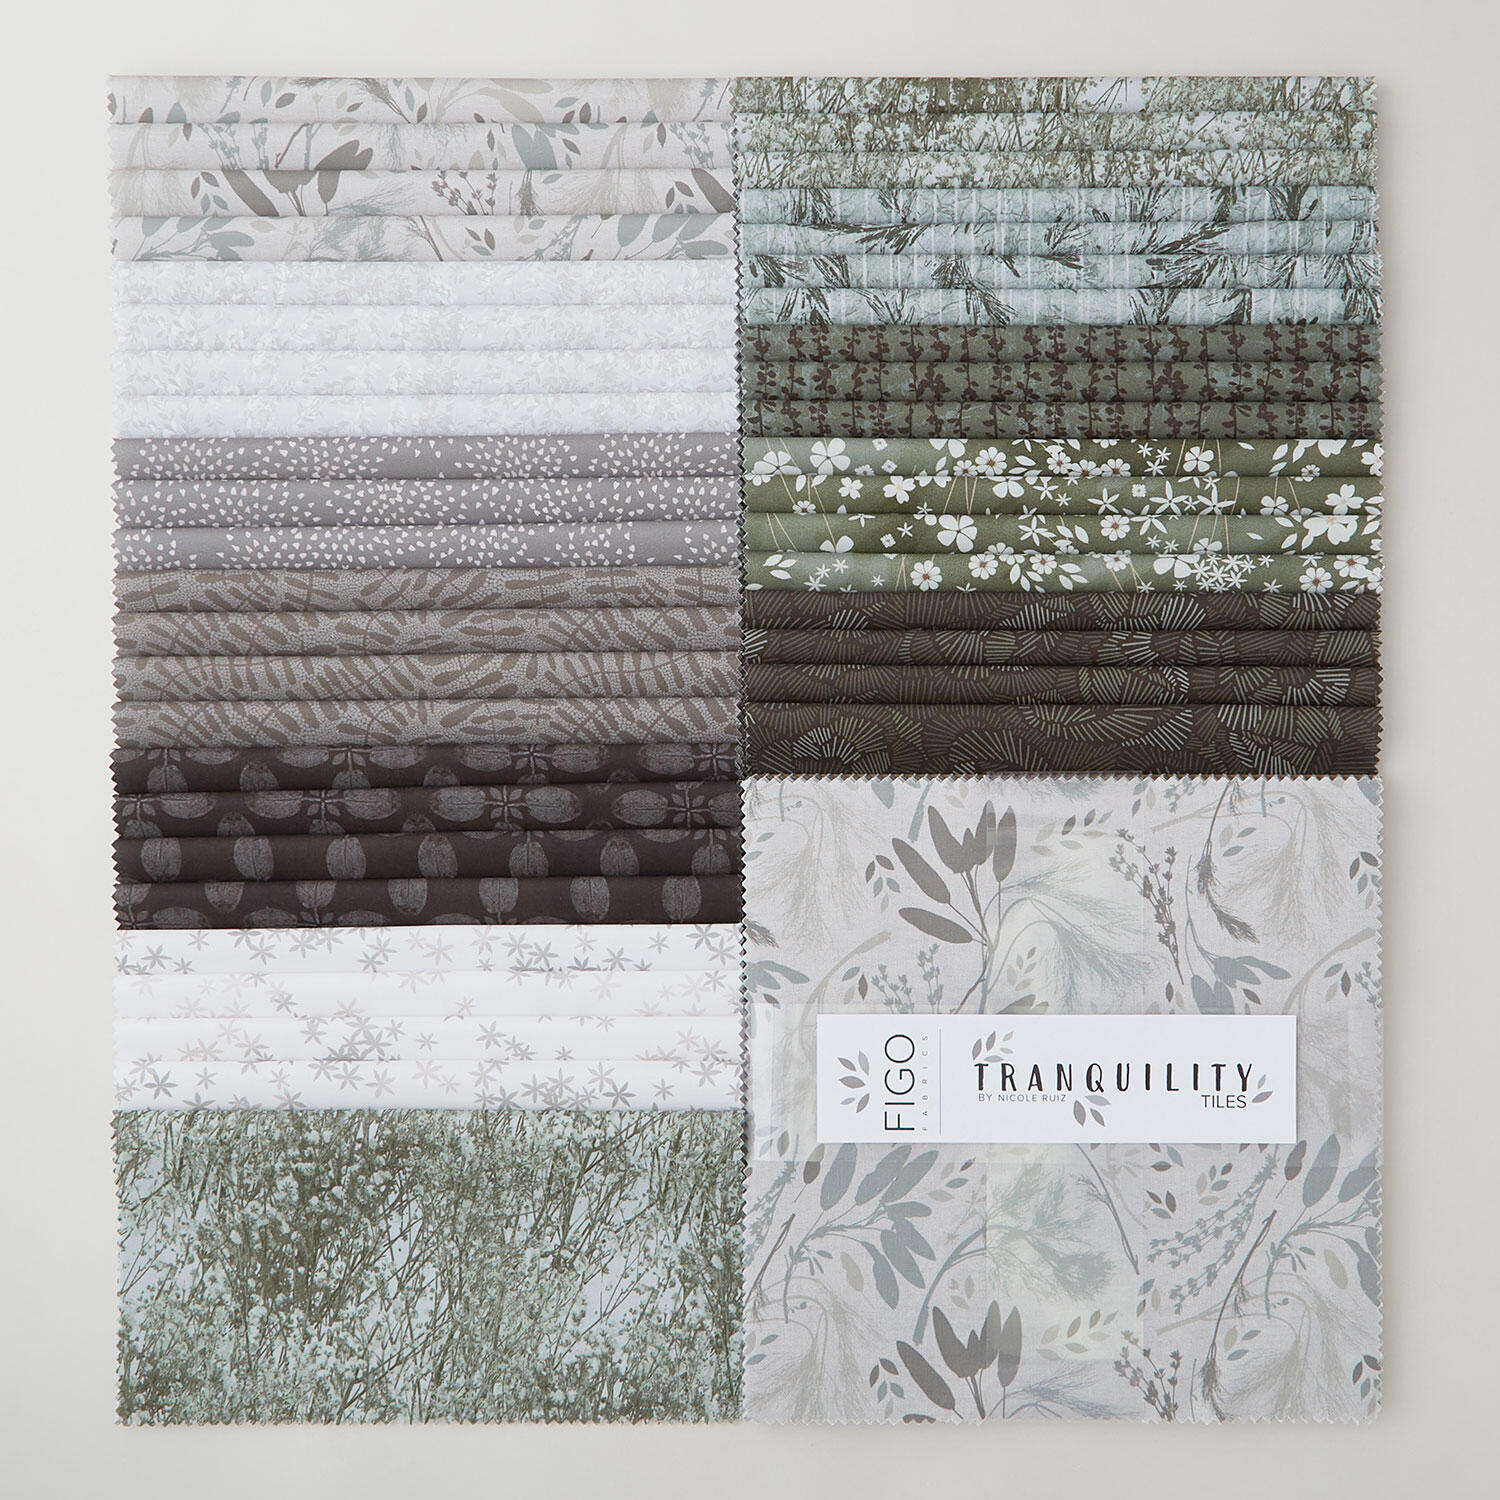 Tranquility Tiles$44.45Shop →
 Colorworks Premium Solids - Romance Yardage$8.12Shop →
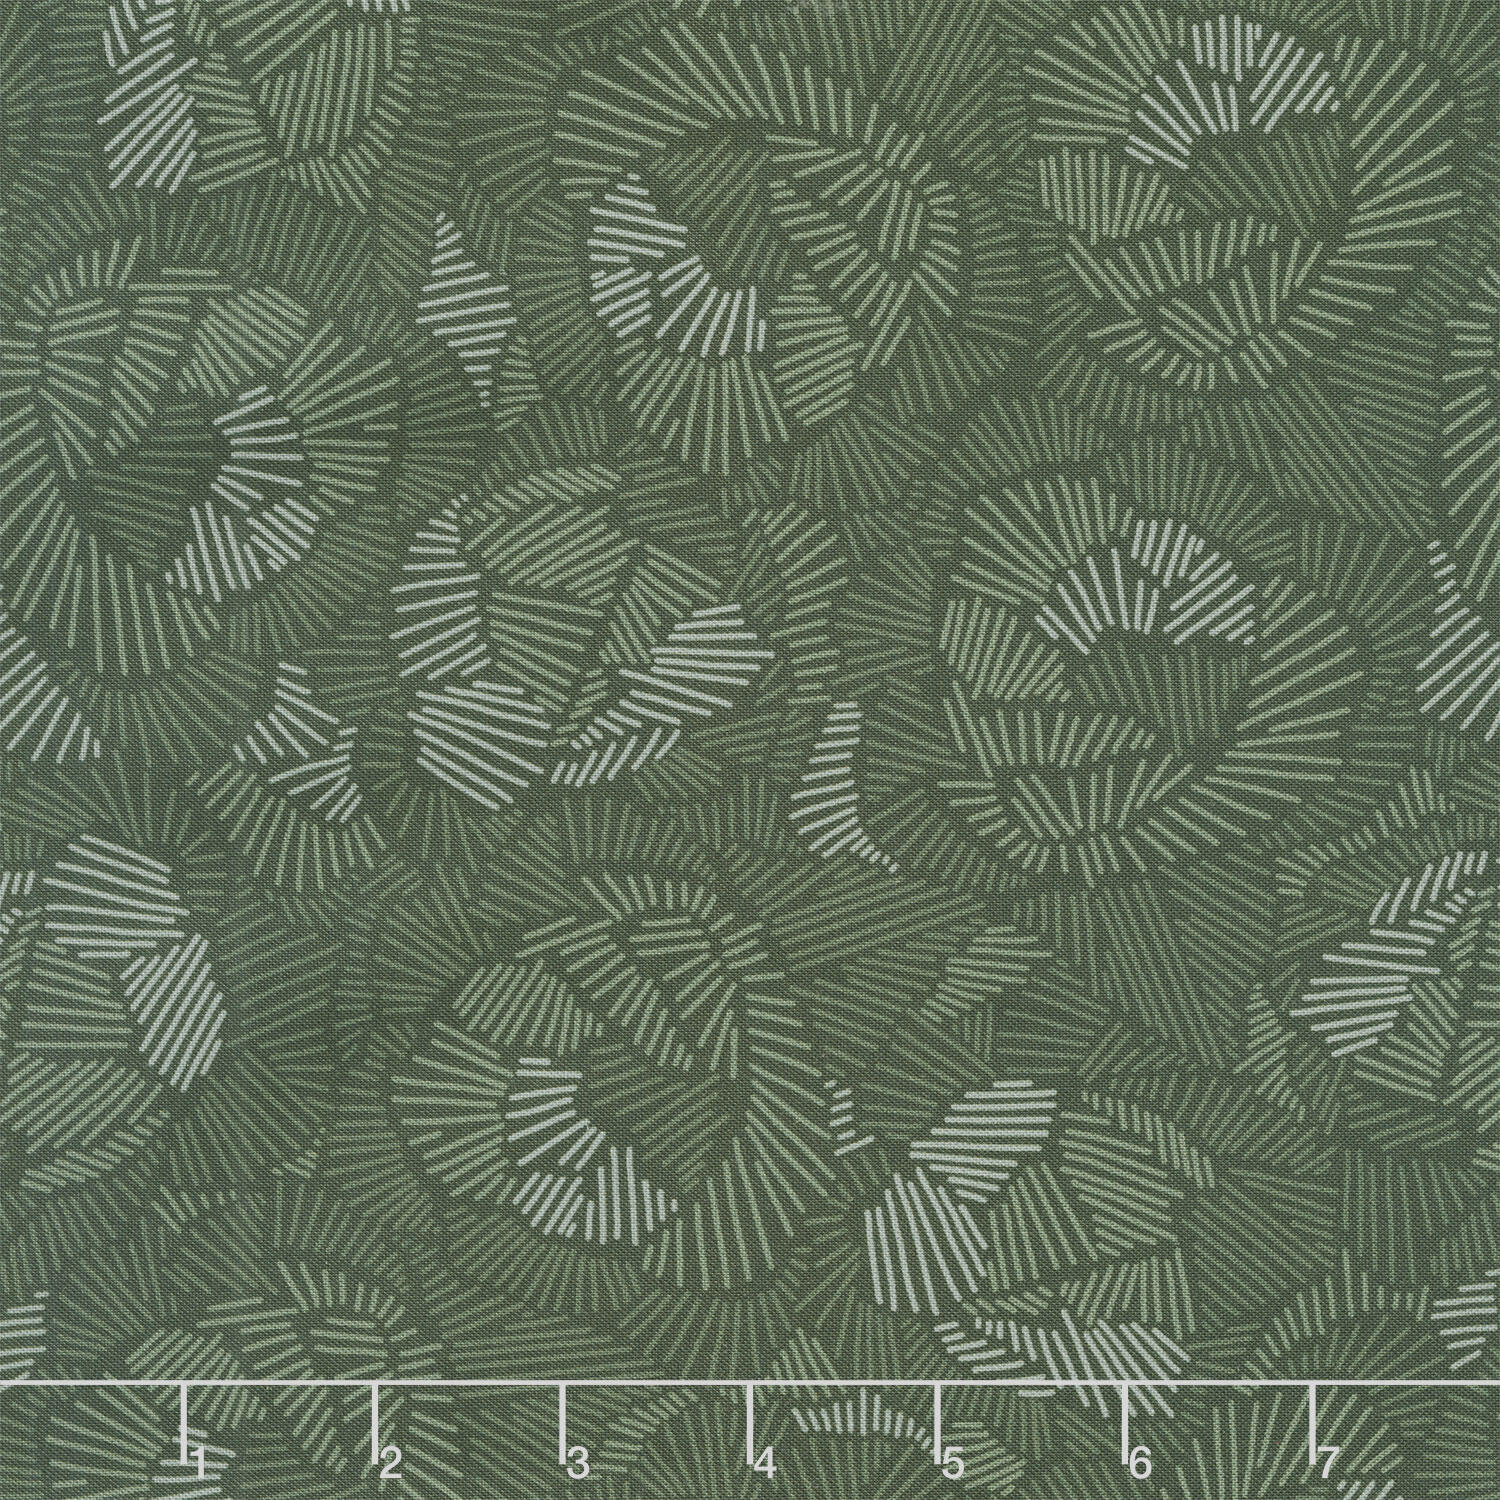 Tranquility - Line Floral Green Yardage$12.76Shop →
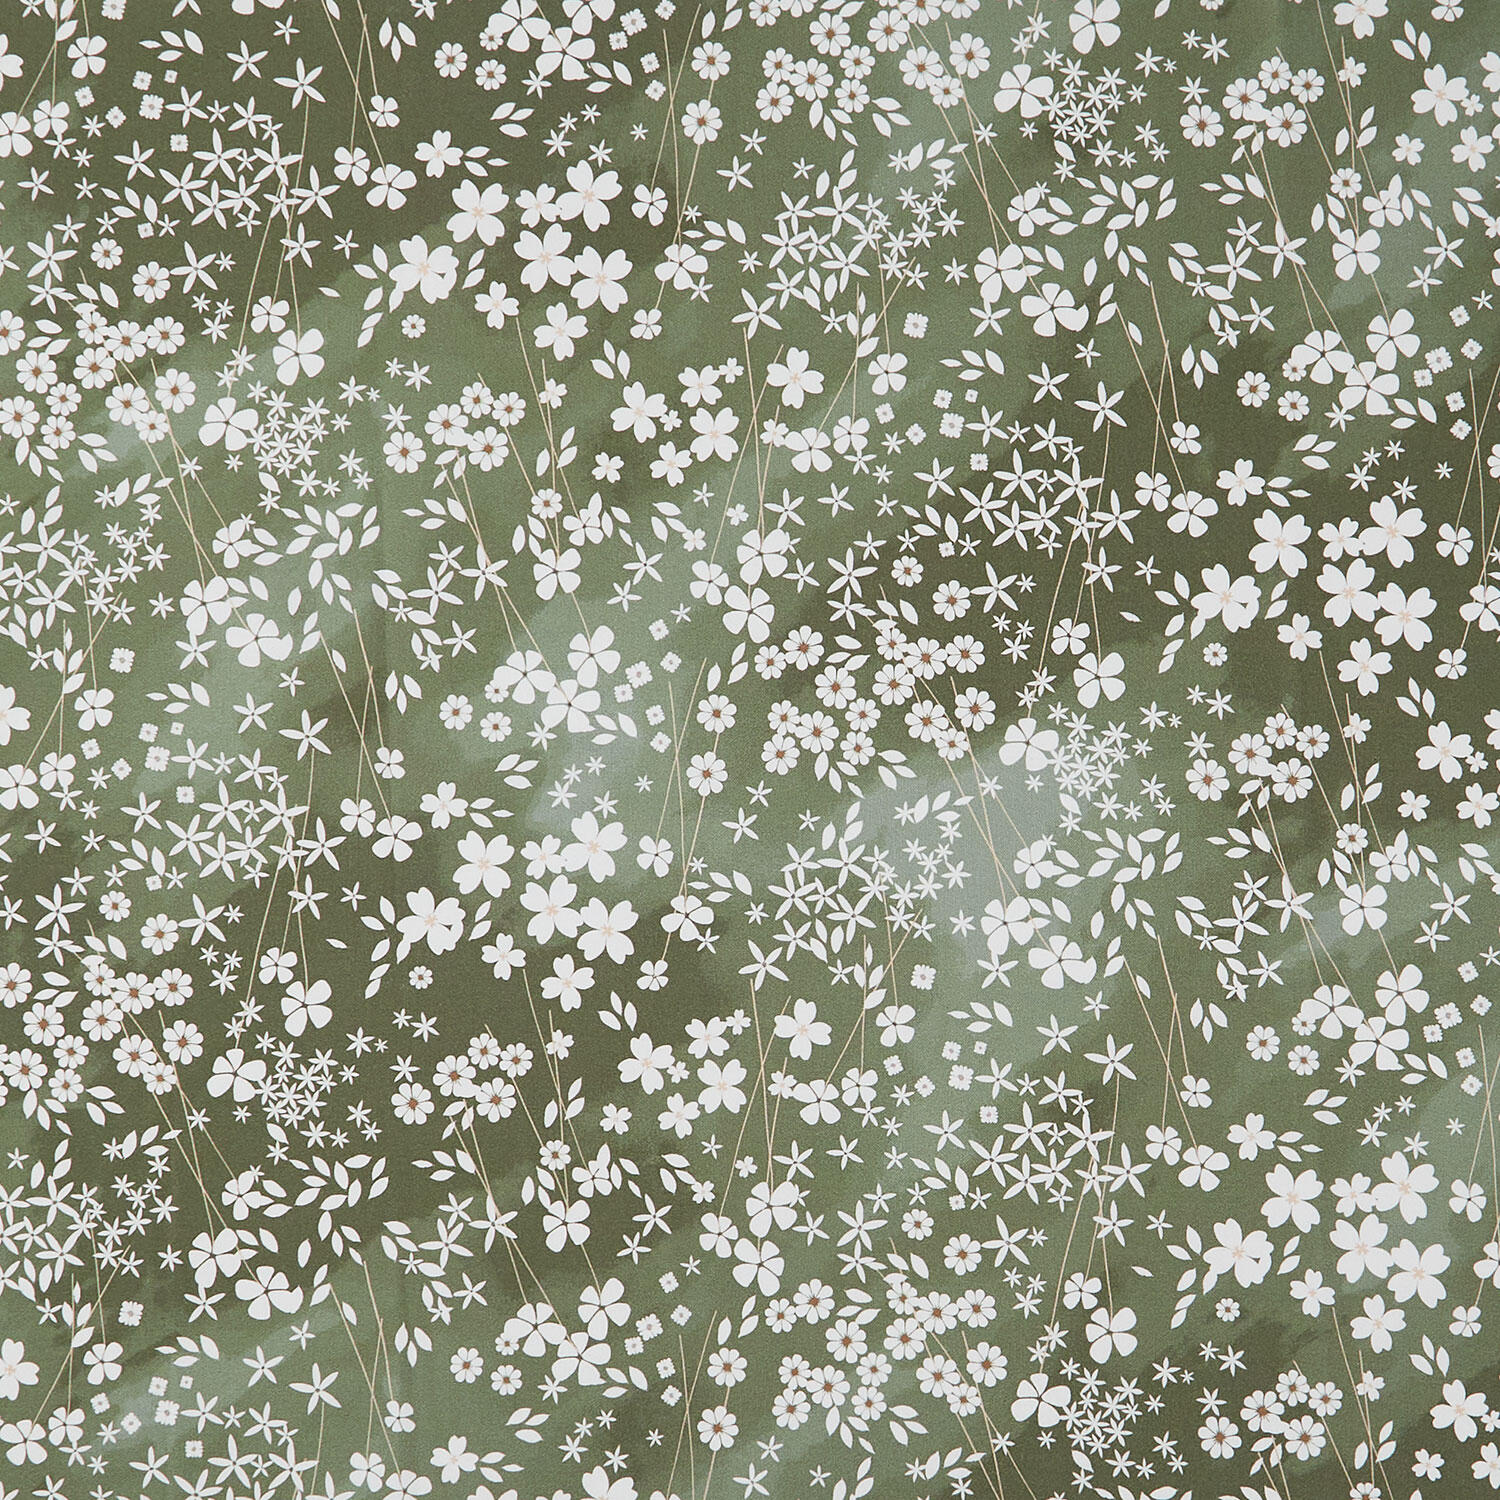 Tranquility - Garden Green Yardage$12.76Shop →
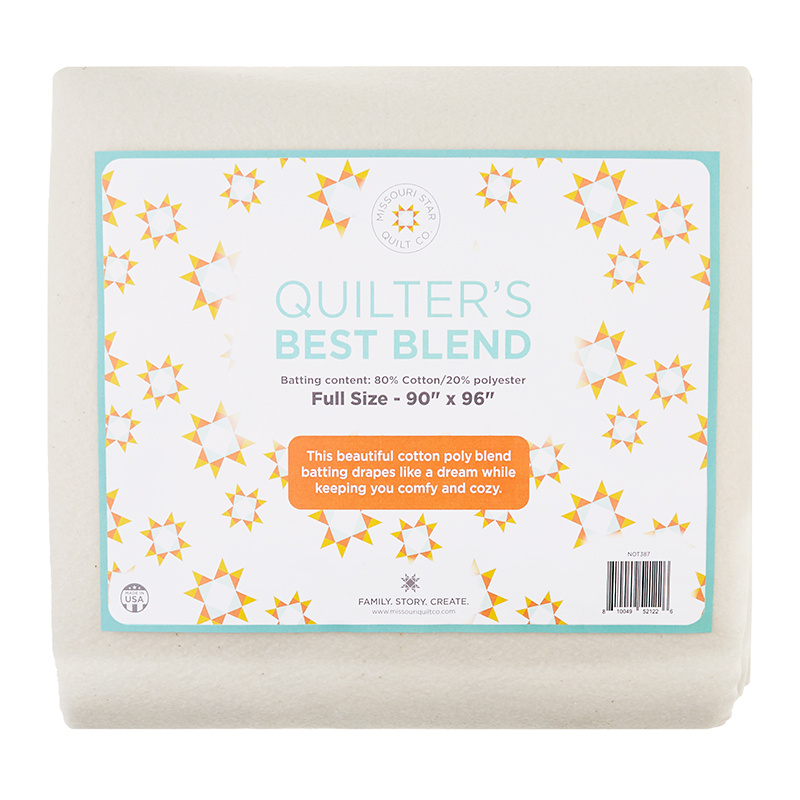 Missouri Star Quilter’s Best Blend Full Batting$32.95Shop →
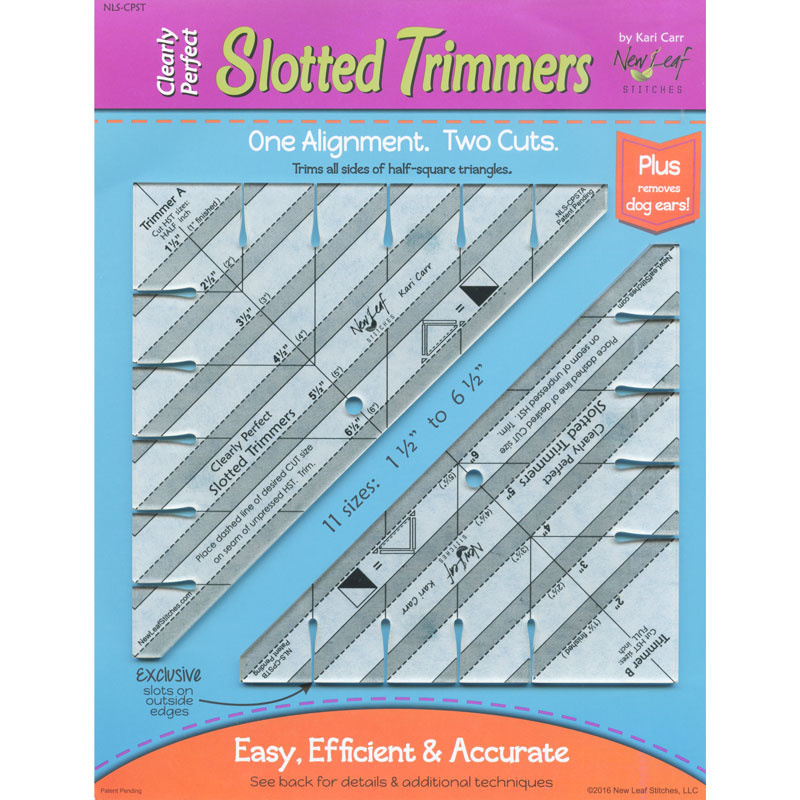 Clearly Perfect Slotted Trimmers$33.95Shop →
 Missouri Star 5" x 15" Ruler$19.95Shop →
 Baby Lock Accomplish - 1500 SPM Straight Stitch Machine$1199.00Shop →
 Missouri Star + Oliso TG1600 ProPlus Iron$209.95Shop →
 Missouri Star Wooly Betty Board - 17.25" x 25.5" Orange Border$99.95Shop →



