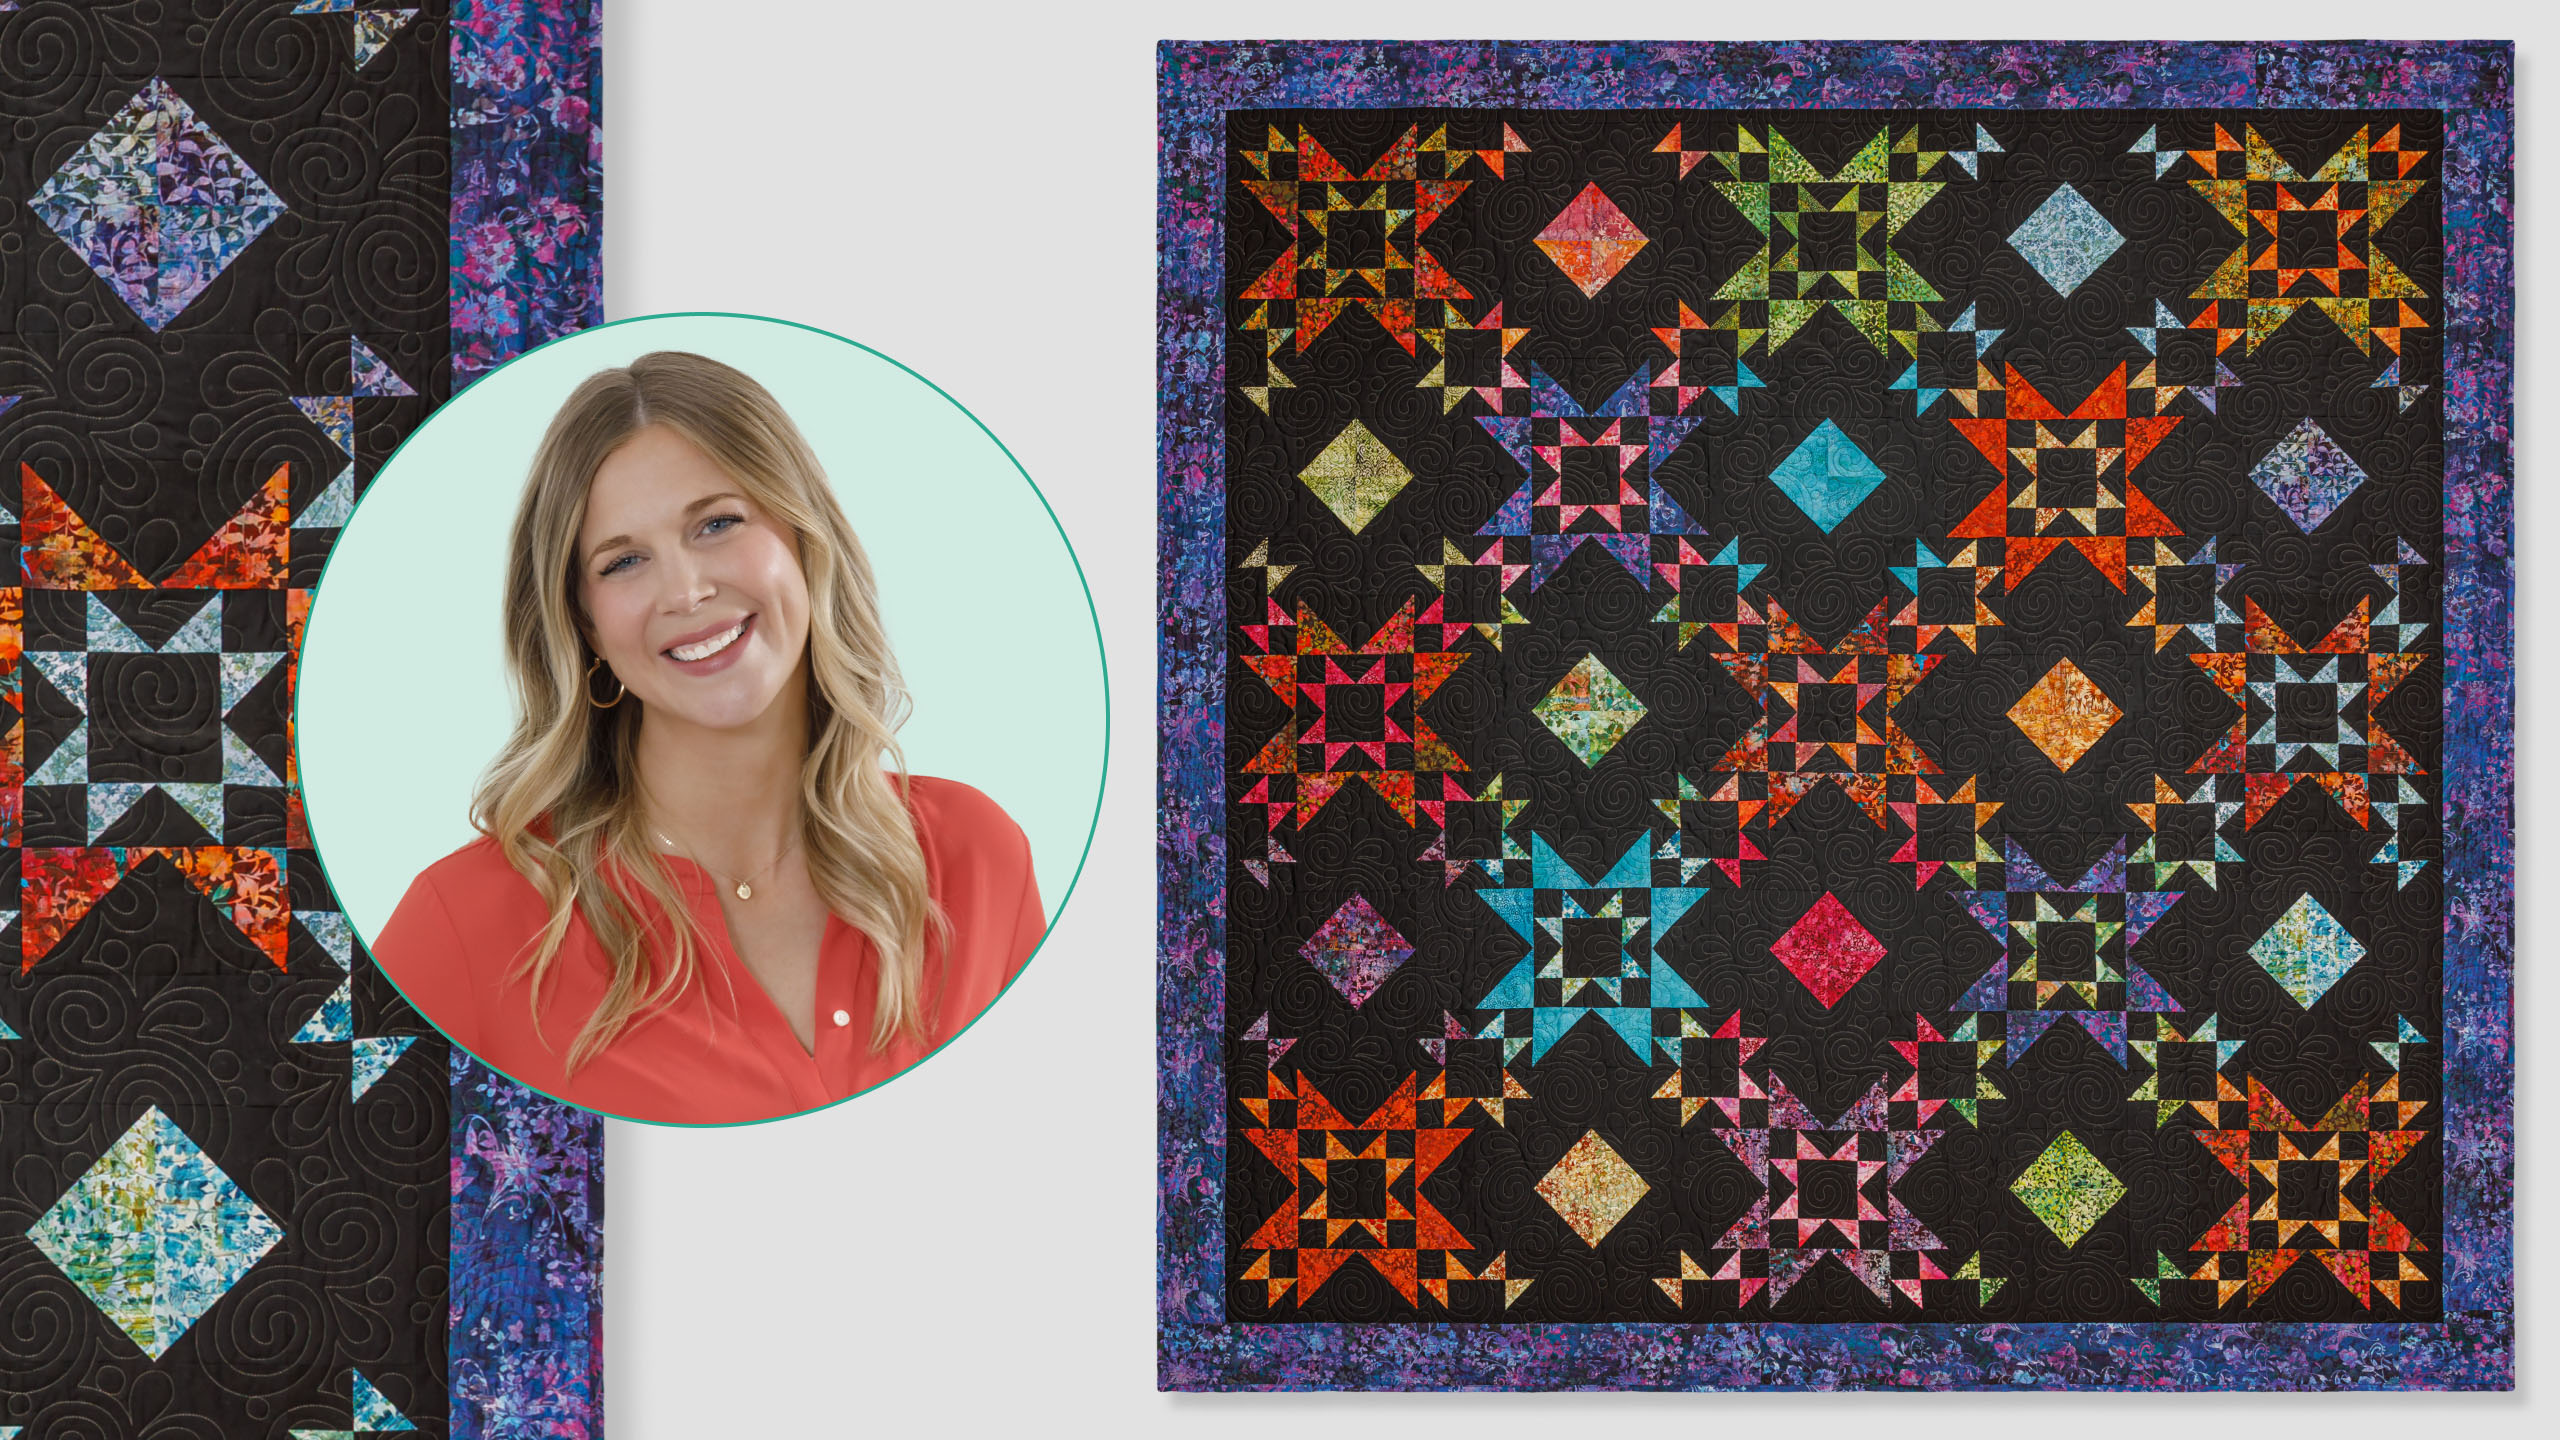
Vibrant stars pop against a dramatic black background in the striking Surprise Stars quilt! Batik-inspired florals and textures from the Evanescence line by Jason Yenter of In the Beginning Fabrics create a gorgeous palette of rich colors. Blocks of stars and minimalistic squares are separated by diagonal chains of smaller stars. The result is dramatic, but the construction is surprisingly easy!
Misty Doan grew up surrounded by sewing and quilting. She loves spending time sharing tutorials each week each week, and when she’s not stitching up one of her fun sewing projects for home decor, most likely you’ll find her hanging out with her husband and three awesome kids or working on a house project.
Vibrant stars pop against a dramatic black background in the striking Surprise Stars quilt! Batik-inspired florals and textures from the Evanescence line by Jason Yenter of In the Beginning Fabrics create a gorgeous palette of rich colors. Blocks of stars and minimalistic squa...
How long is the tutorial video?
The tutorial video is 00:18:27.
Are supplies listed for this tutorial?
Yes. The tutorial page includes the supplies and materials connected to this project.
Video Transcript
Hey friends, today's quilt is such a fun one. It uses two simple blocks that gives a dramatic impact. I think you're really going to like it. So, let me show you how to make it. [music] Every once in a while, a design and a fabric collection just work together perfectly, and I really feel like that is the case with this one. I'm calling it surprise stars and I just really love how it turned out. I think it would be beautiful in any fabric. But to make this quilt, I used this line called Evanence by In the Beginning Fabrics. It's all these beautiful kind of jewel tones and tonal flower prints. I absolutely love it. For the background, I used black and you're going to need six yards of that. That includes a little inch and a half inner border that I put around to just frame it up. Then for your outer border, you need 1 and 1/2 yards. And for your backing, you need 8 and 1/4 yards with vertical seams or 2 and 3/4 of a 108. It's also handy to have a squaring tool. I'm going to use a block lock, but a clearly perfect would work as well. So, let me show you how to make it. [music] [music] Okay, so there are two blocks that make up the quilt. This is block number one and this is block number two. The components of both are very similar. So, we're going to start with the a little bit more complicated one to walk you through that. So, the first thing you're going to want to do is pick one print square and one 10-in background square. And this one is going to be for your large star legs. So you'll see in the quilt whatever prints you prefer that you want to really pop for those large star legs. We're going to begin there. And so I'm going to place these right sides together. Flip this over here. And I'm using just a chalk pencil since I have a dark background. And we are going to draw a line corner to corner in both directions. Just make an X on the back of our 10in square. And one this way as well. There we go. And so now I'm going to sew a quarter inch away on both sides of both of those lines. So let's go ahead and take this to the sewing machine. And I am just going to use my presser foot as my guide. If you want to keep this a little scant, that's always a good idea. We're going to square them up in the end. So, sometimes I like to just have a little bit of extra room. And then I like to just sew off the end. And I can flip this around and go back down the other side. And then I'm just going to go ahead and repeat that same thing. Stitch on both sides of that other line. Okay, all of our sewing is complete for this. So, now we're going to cut these apart. And so, I like to make sure this is really nice and straight on my mat. And because this is a 10in square, I'm using my 5 by15 ruler. And I'm going to start by cutting horizontally and vertically in half. And so, that should intersect that stitch line and your drawn line in the middle. So, we'll make a cut here. And then just gently lift. Keep everything in place. And we'll cut across this way next. And now that you have these cut apart, you can go ahead and cut on that drawn line. It's easier to cut this part after you've done those straight cuts. Sometimes in class, people will accidentally cut on those drawn lines first and then they'll have those triangle shapes and be like, "What did I do wrong?" You didn't do anything wrong. But it's easier if you cut this way. All right. Few more here. [snorts] There we go. So now I'm going to go ahead and press a few of these. I'm going to press them all towards my background since that is my dark in this case. So I just set my seam and roll those back. There we go. It's fighting with me a little bit. And I'm just going to do a couple of these because I have most of them already squared. This little seam does not want to roll over. There we go. Perfect. And so now we're going to go ahead and square these to four and a half. So I have my four and a half inch block lock. And since I've pressed it to the dark side, let me get this on here. There we go. So, the words on the ruler are going to be on my print in this instance. Since I have that dark background, it's always on the lighter fabric if you press to the dark side. And then, because I need this to be four and a half, that's the size of my ruler. So, I can just spin this around, trim off just this little bit. and square it up. And so I love the block lock block because it gives you really nice precise half square triangles. So we'll do the same thing here. Here we go. And if you're not familiar with the block lock, it has like a little notch cut out so it locks into that center seam. Make sure that your fabrics run point to point, which is what we're looking for when we're making half square triangles. All right. And so you're going to need all eight of the half square triangles that you made for your block. So go ahead and square them all up to four and a half. And then we're going to sew them together into four sets of two just like this. So let's go ahead and stitch this one together. Make some little star leg units. There we go. So now we can press this one and you'll have four that look just like this. So go ahead and set these aside for now. We're going to come back to those. And now we're going to work on our smaller half square triangles. So we're going to begin in the exact same way with a print and a background 10-in square. We'll place those right sides together. But this time we are doing what is called the easy 16 method. And so we're going to draw a line up and down horizontally and vertically. Where did I put my pencil? There it is. And one this way. And so now this time what we're going to do is we're going to sew a quarter inch seam all the way around on the four outer sides and then a quarter inch away from both of the drawn lines. So let's go ahead and do that. I think I'm going to stitch these drawn lines first and then we can zoom all the way around the outside. Okay, all of the stitching is done for this one. I'm going to flip it over so you can see kind of how that's going to look. Uh you can see my stitch lines there. And just like before, we're going to square these up in the end so you have a little bit of wiggle room. But we are actually gonna cut on the drawn line first this time. So opposite of our first method. So we'll cut in between those stitch lines in both directions here. There we go. And so you're going to use every single piece from these to make your block, but just like before, I'm just going to demo on one. And so we're now going to cut this corner to corner. So I'm just making sure I'm intersecting those stitches. And I'm going to cut it diagonally this way. And then lift it. And do the same thing in the other direction. There we go. And so now from each of those squares we get four smaller half square triangles. If I can get them apart here. What on earth? There we go. And we're going to square these up to two and a half. So you actually have quite a bit of wiggle room on these. And I will just press to the dark side just like we did before. Square these up with the block lock at two and a half. There's one. And one more. All right. And you'll notice when I press these, because they're on the bias, they look pretty wonky. But that's why I love this block lock, when I trim it after the fact and don't have to press it again, it just keeps everything so neat and tidy. And so since I only need these to be 2 and 1/2, I have a lot of extra room to play with here. So I'm going to measure over one, two, and a half. Make sure I have at least that much on the bottom side to square up. And we'll go ahead and trim this side first. And then I like to just spin and slide this down. That's my little mantra to myself. And now I'm going to use that final 2 and 1/2 inch line. Make sure it's lined up on both sides and trim off the rest. [snorts] And so you're going to square up all 16 of those for your block. They're going to end up just like this. I have a whole bunch ready to go. And so half of them, eight, we're going to sew together just like we did with our larger ones in those sets of two. So we'll have two just like so to make a little star leg. So I have those stitched. They look just like that. And then the rest of them, we're going to make our corner units. And so you're going to still need two for each corner. So the other eight of your squares, you're going to put your print in. And in the opposite corners, you're just going to put a solid 2 and 1/2 in background square. So it looks just like that. So now we'll stitch this just like a four patch. Let's go ahead and take this over to the machine. We'll sew this together. And I'm just going to chain piece this. Slide the very next one in underneath. Then we can open those up. Give it a little finger press. Double check. Make sure that they're going the right way. And now we'll place those right sides together and finish up our little corner unit for our block. Okay. So, let me press that now. set our seams and roll that back. All right. So, now I'm going to clean this up a little bit and I'm going to show you the layout for both blocks. All right. So, now that we've done all of our sewing and trimming, we're ready to start putting together our blocks. We're going to start with this beautiful star block, block A. And so the first thing we're going to do is we're going to take a 4 and 1/2 in background square and that's going to be our center. So we're going to build out from there. Next, we'll bring those little star leg units that we made. And we will have four of those that are going to wrap around to make our middle star. And then we'll finish this off with 2 and 1/2 in squares in each of the corners. So you'll sew this middle unit together first until you have this small star all stitched together. And then once you've done that, we're going to bring in our large star leg units. And they're going to fit in just like so. Once you take these seams, they line up just perfect. And one more here. And then now the corners of your block are these little units that we made, those corner units. And so they're going to set in. Our background squares are going to be touching every time just like so. And so then once you stitch that block all together, it looks just like this. And you'll see we've just alternated. So we start and end our top, middle, and bottom row. So three of these large stars. And then the other two rows have just two of them. Gives us this nice, beautiful grid shape. So now, let me show you how to do the layout on the other block. me just clean this all up really quick because really the only thing that changes is the center. Our corner units are going to stay exactly the same. So our middle is going to come from those large half square triangles and we're going to put those prints in just like so to make this nice square and a square or diamond block. And then that is going to finish up at eight and a half inches square once you stitch that together. And so then all of these empty spaces will be filled, if I can get a hold of one. My fingers aren't working today. 4 and 1/2 by 8 and 1/2 in rectangles from your background. So just like so. And you can see how quickly that second block comes together. And so if you're making those sets like we did at the beginning where you do your easy eight and your 16, you're actually going to get two of these B blocks. You'll have all the pieces for two. Um whereas you only get one of your A block. And these just set in between. And the thing that I love about it is when you set these blocks together, you get this secondary star. The surprise stars kind of chains through the whole quilt. So much movement and fun. It finishes at 91 inches square. So a really nice size. Add a couple more borders and it's going to be king size. So once I finished all my blocks, I did add a 1 and 1/2 in inner border all the way around to just sort of frame it up and give some space before that outer 5 in border. I think it turned out really nice. I quilted it with a panto called marmalade. And I used kind of a medium gray because I didn't want it to stand out too much on my prints, but I also still wanted it to blend in to the background. And I think it turned out really nice for the backing on this. It's this beautiful pink. And I just absolutely love how this quilt came together. It's so much fun to make. I hope you'll give it a try. And I'll see you next time on At Home.

 Misty Doan
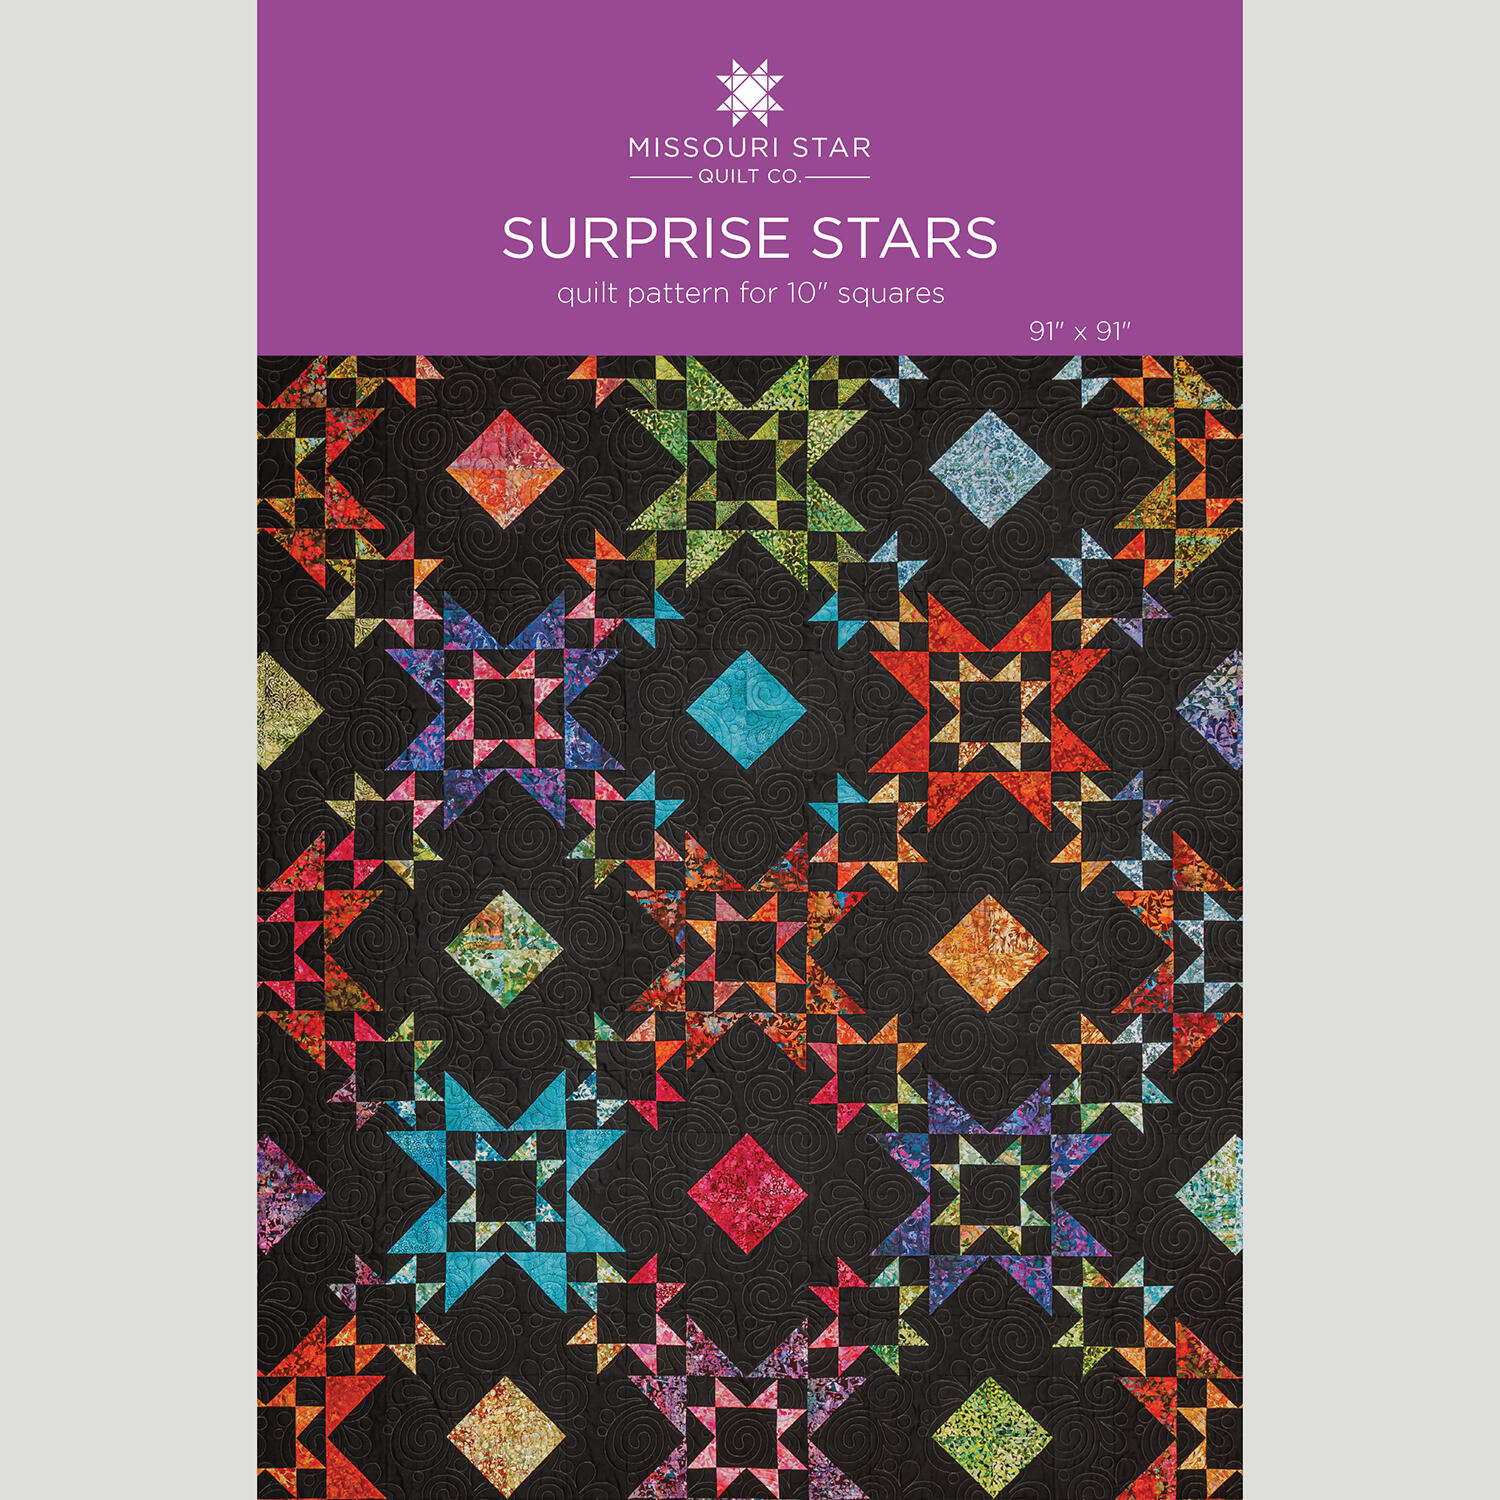 Surprise Stars Quilt Pattern by Missouri Star$8.50Shop →
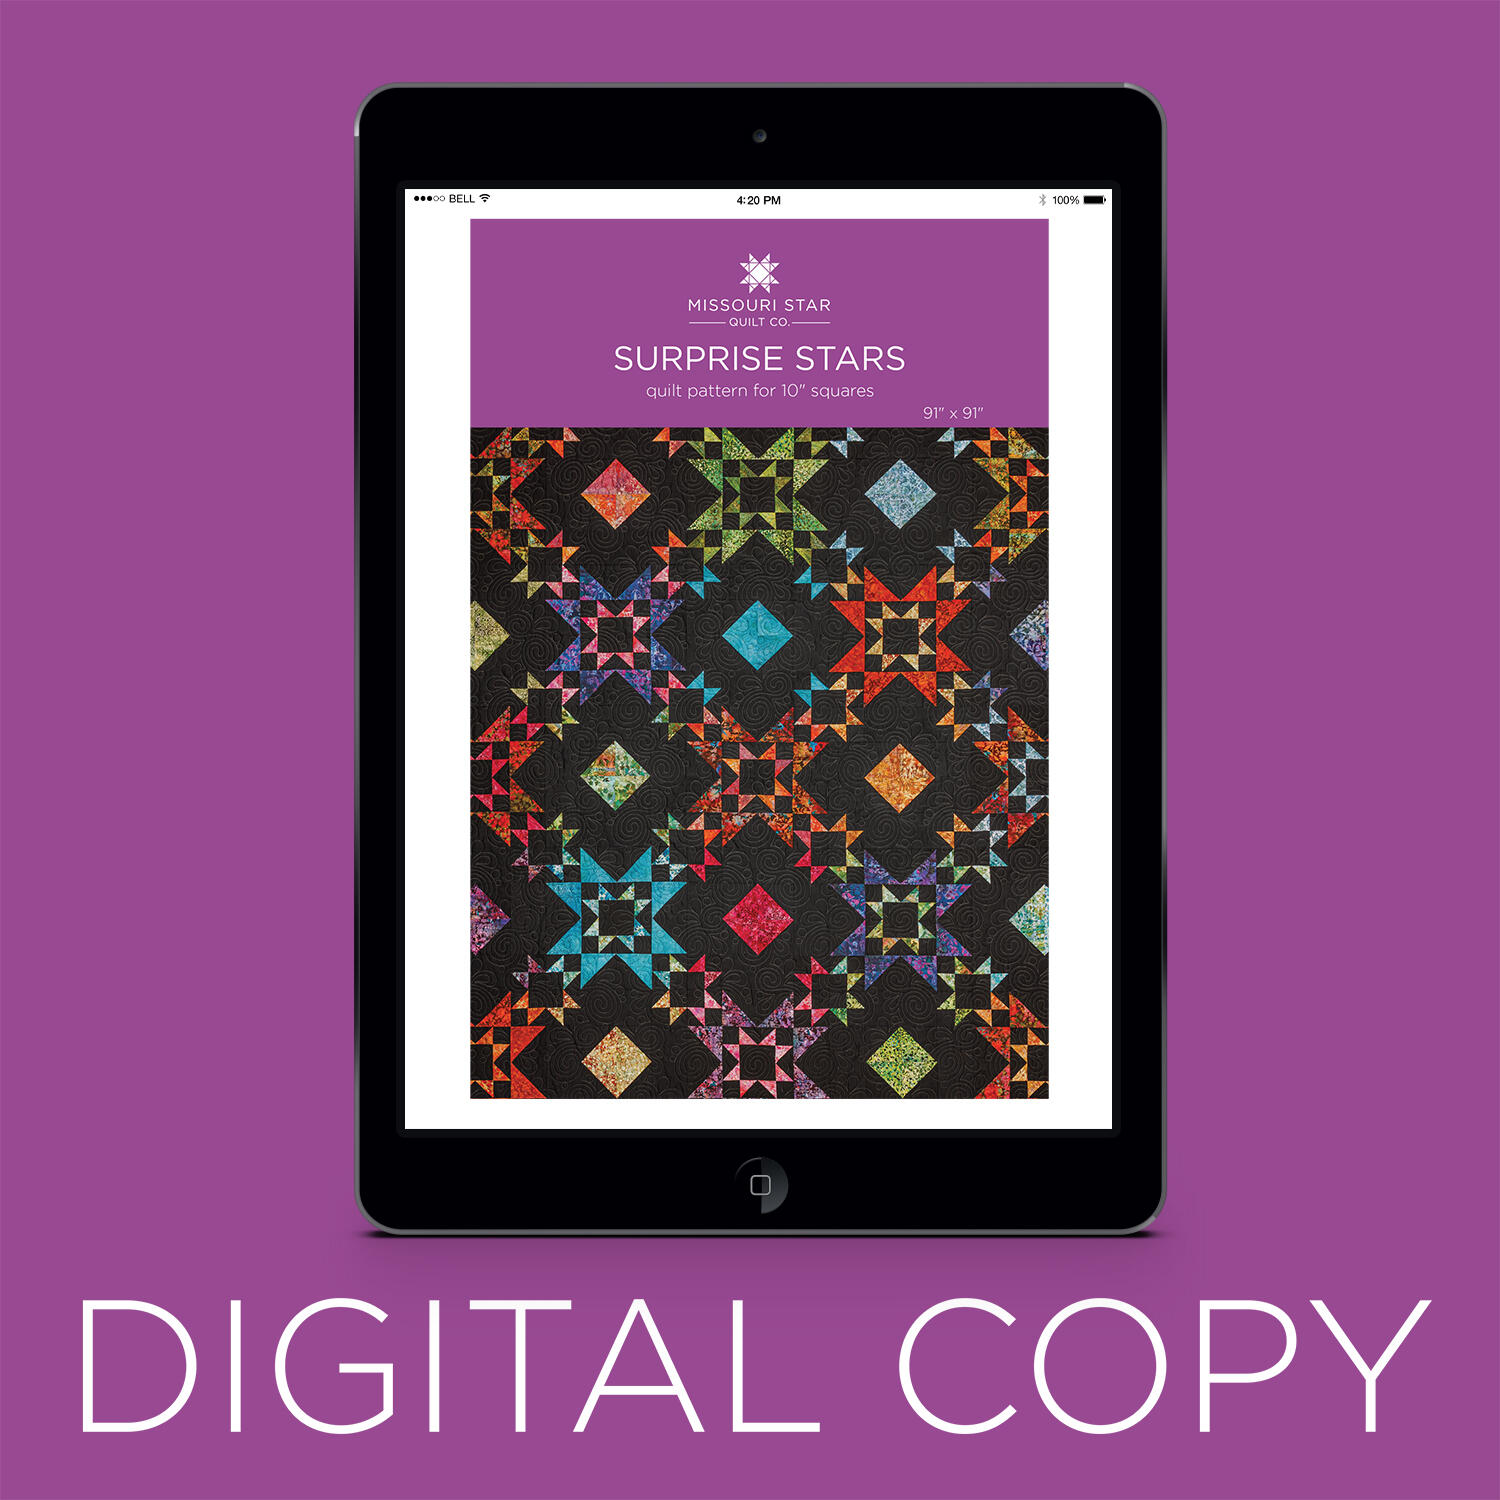 Digital Download - Surprise Stars Quilt Pattern by Missouri Star$6.95Shop →
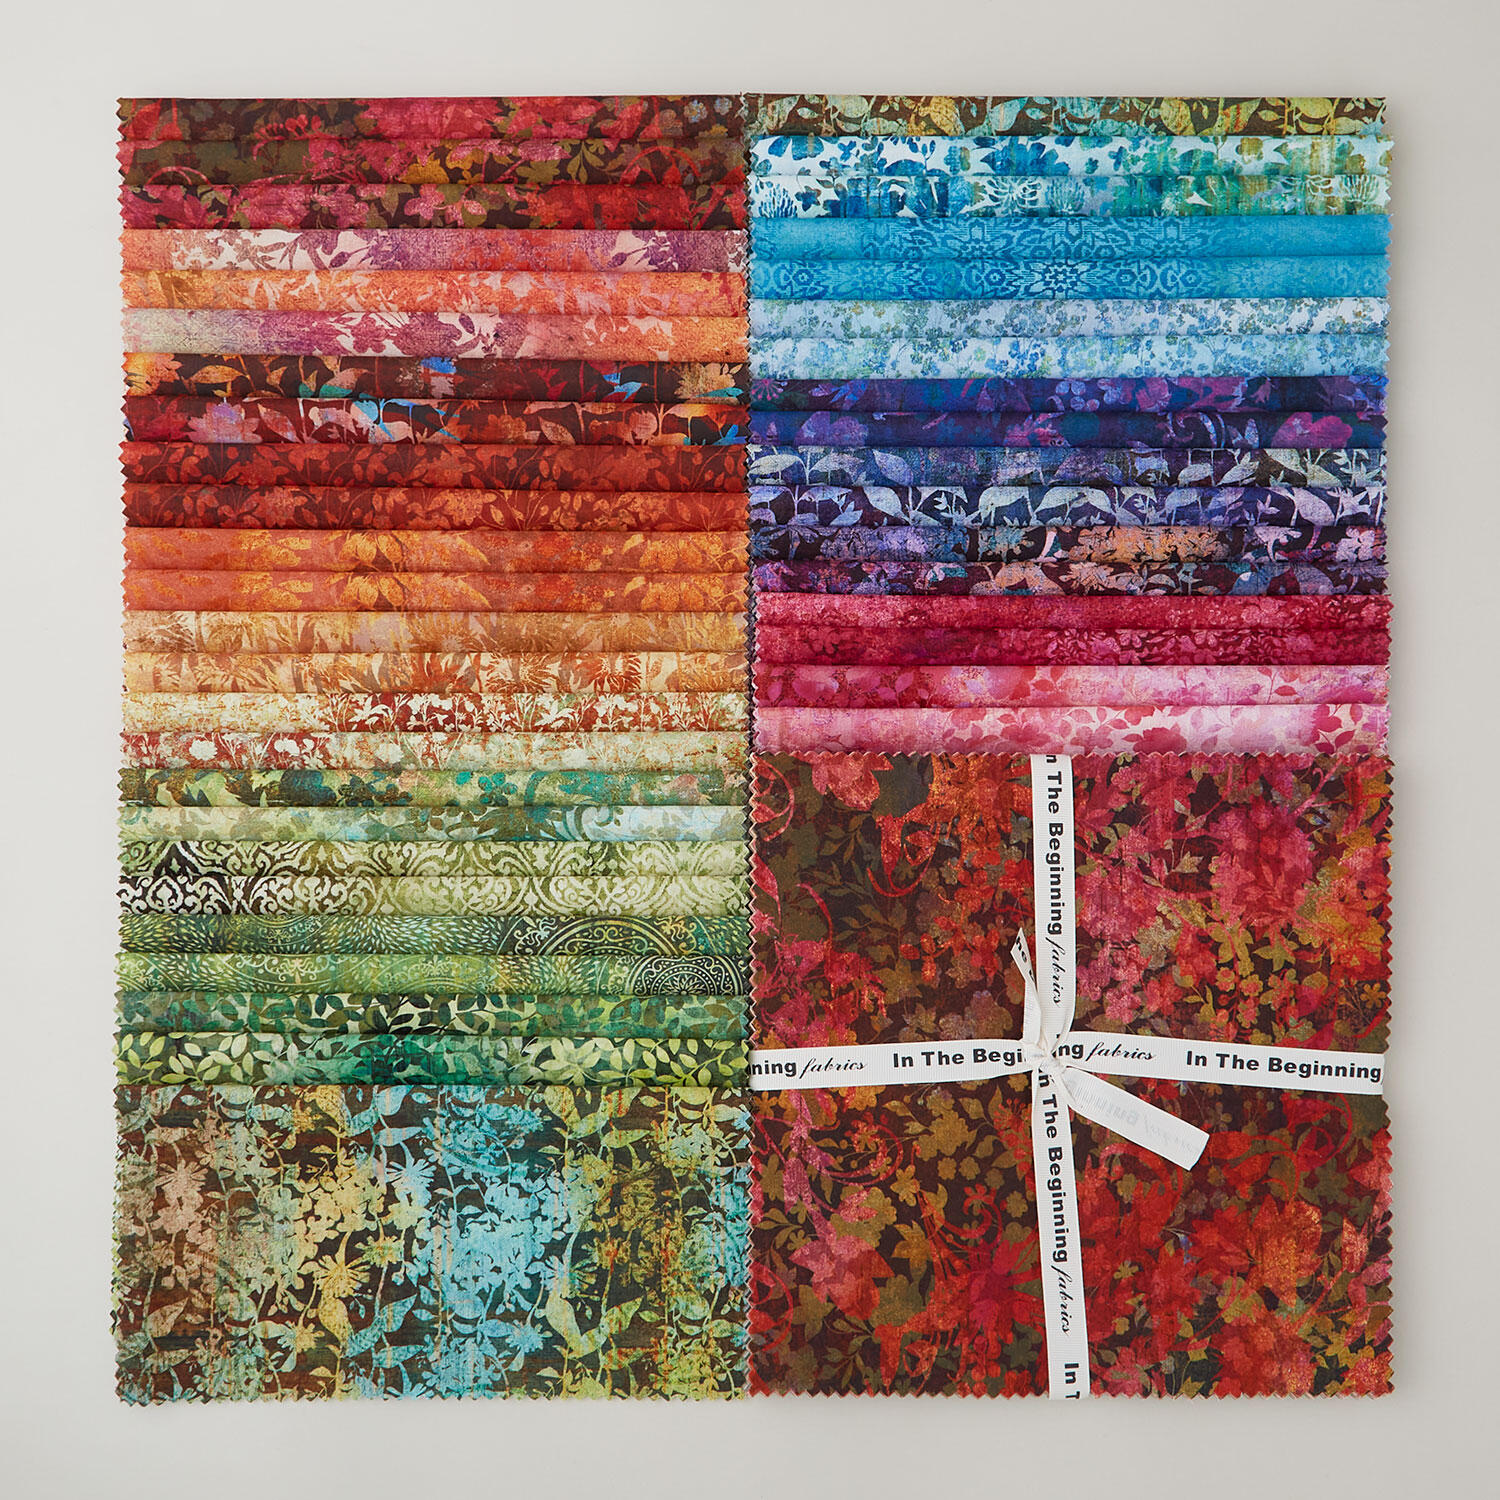 Evanescence 10" Squares$49.95Shop →
 Colorworks Premium Solids - Black Yardage$8.96Shop →
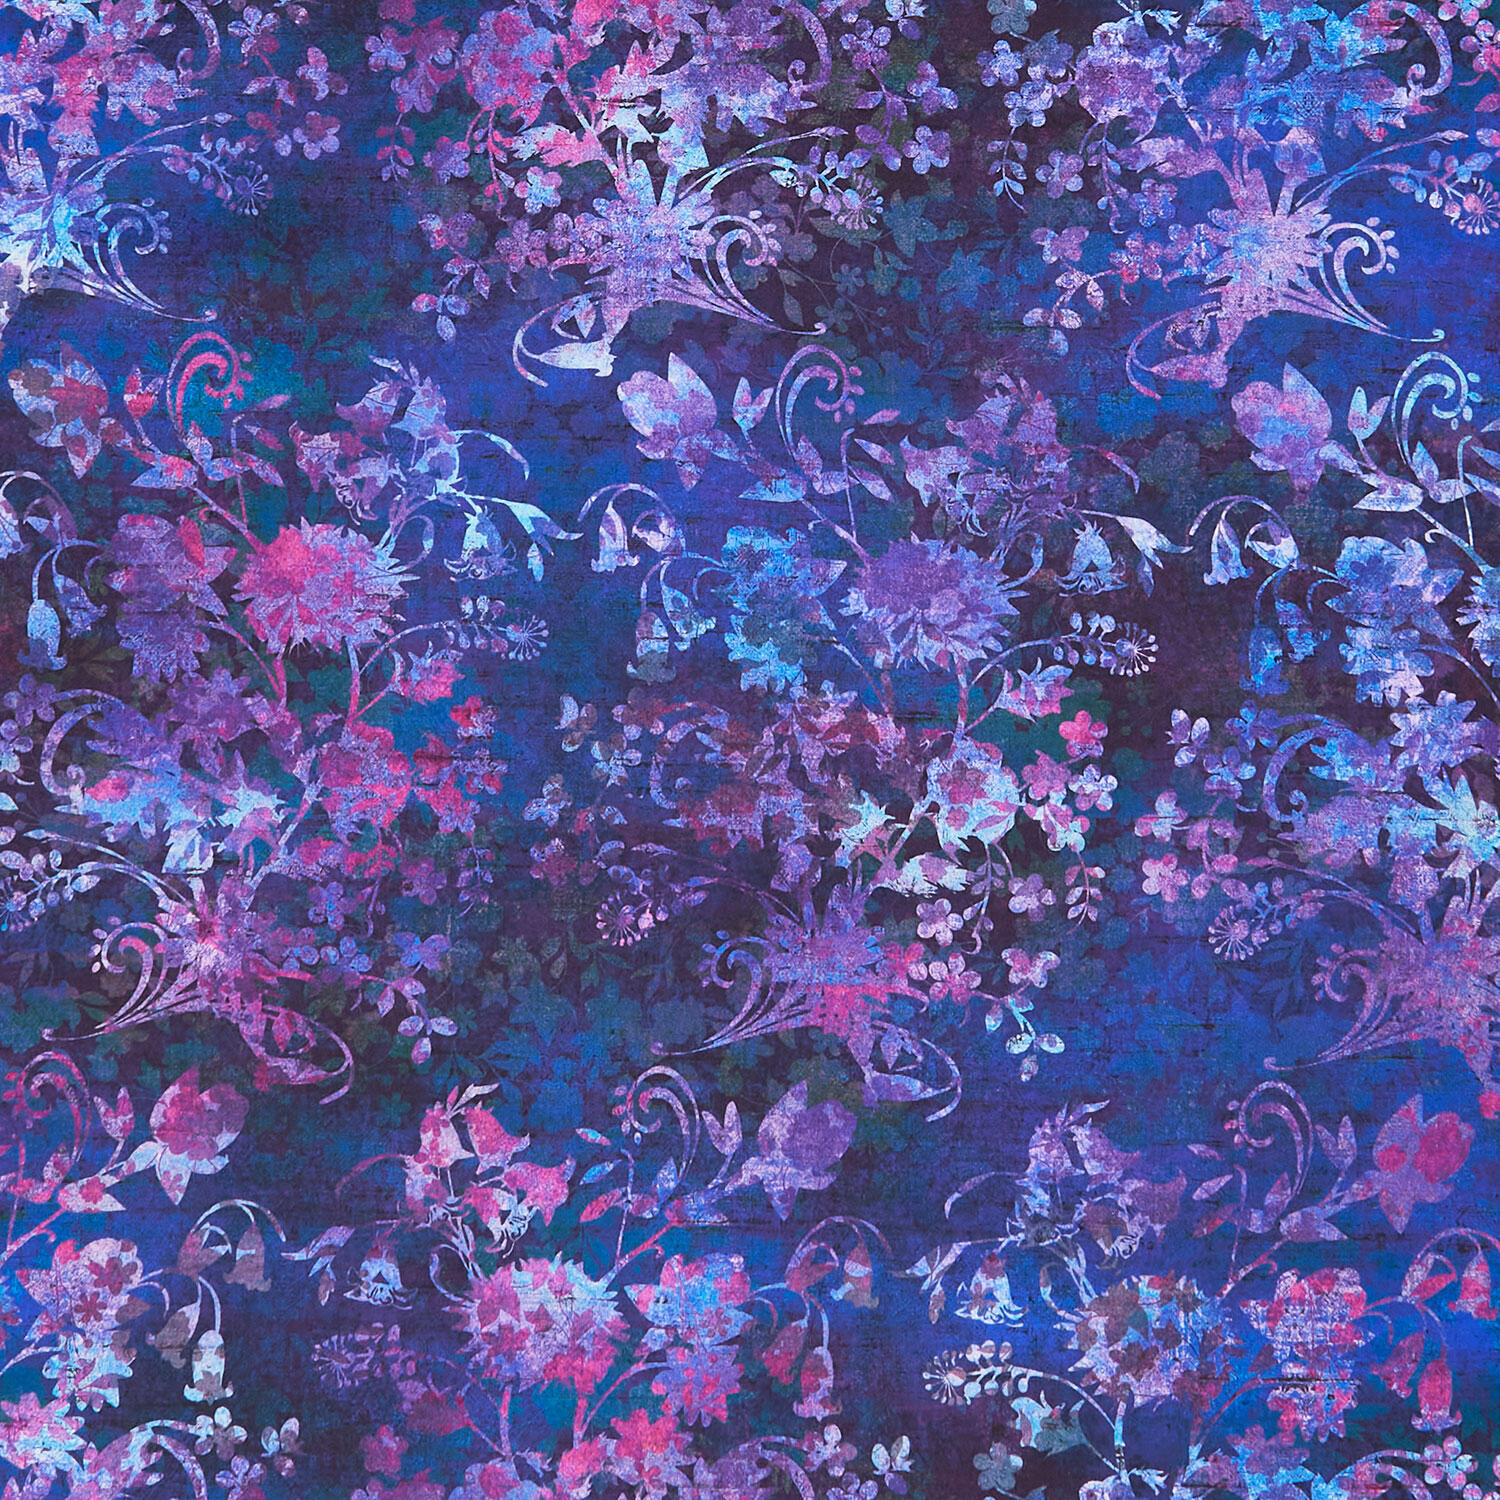 Evanescence - Bouquet Purple Yardage$12.40Shop →
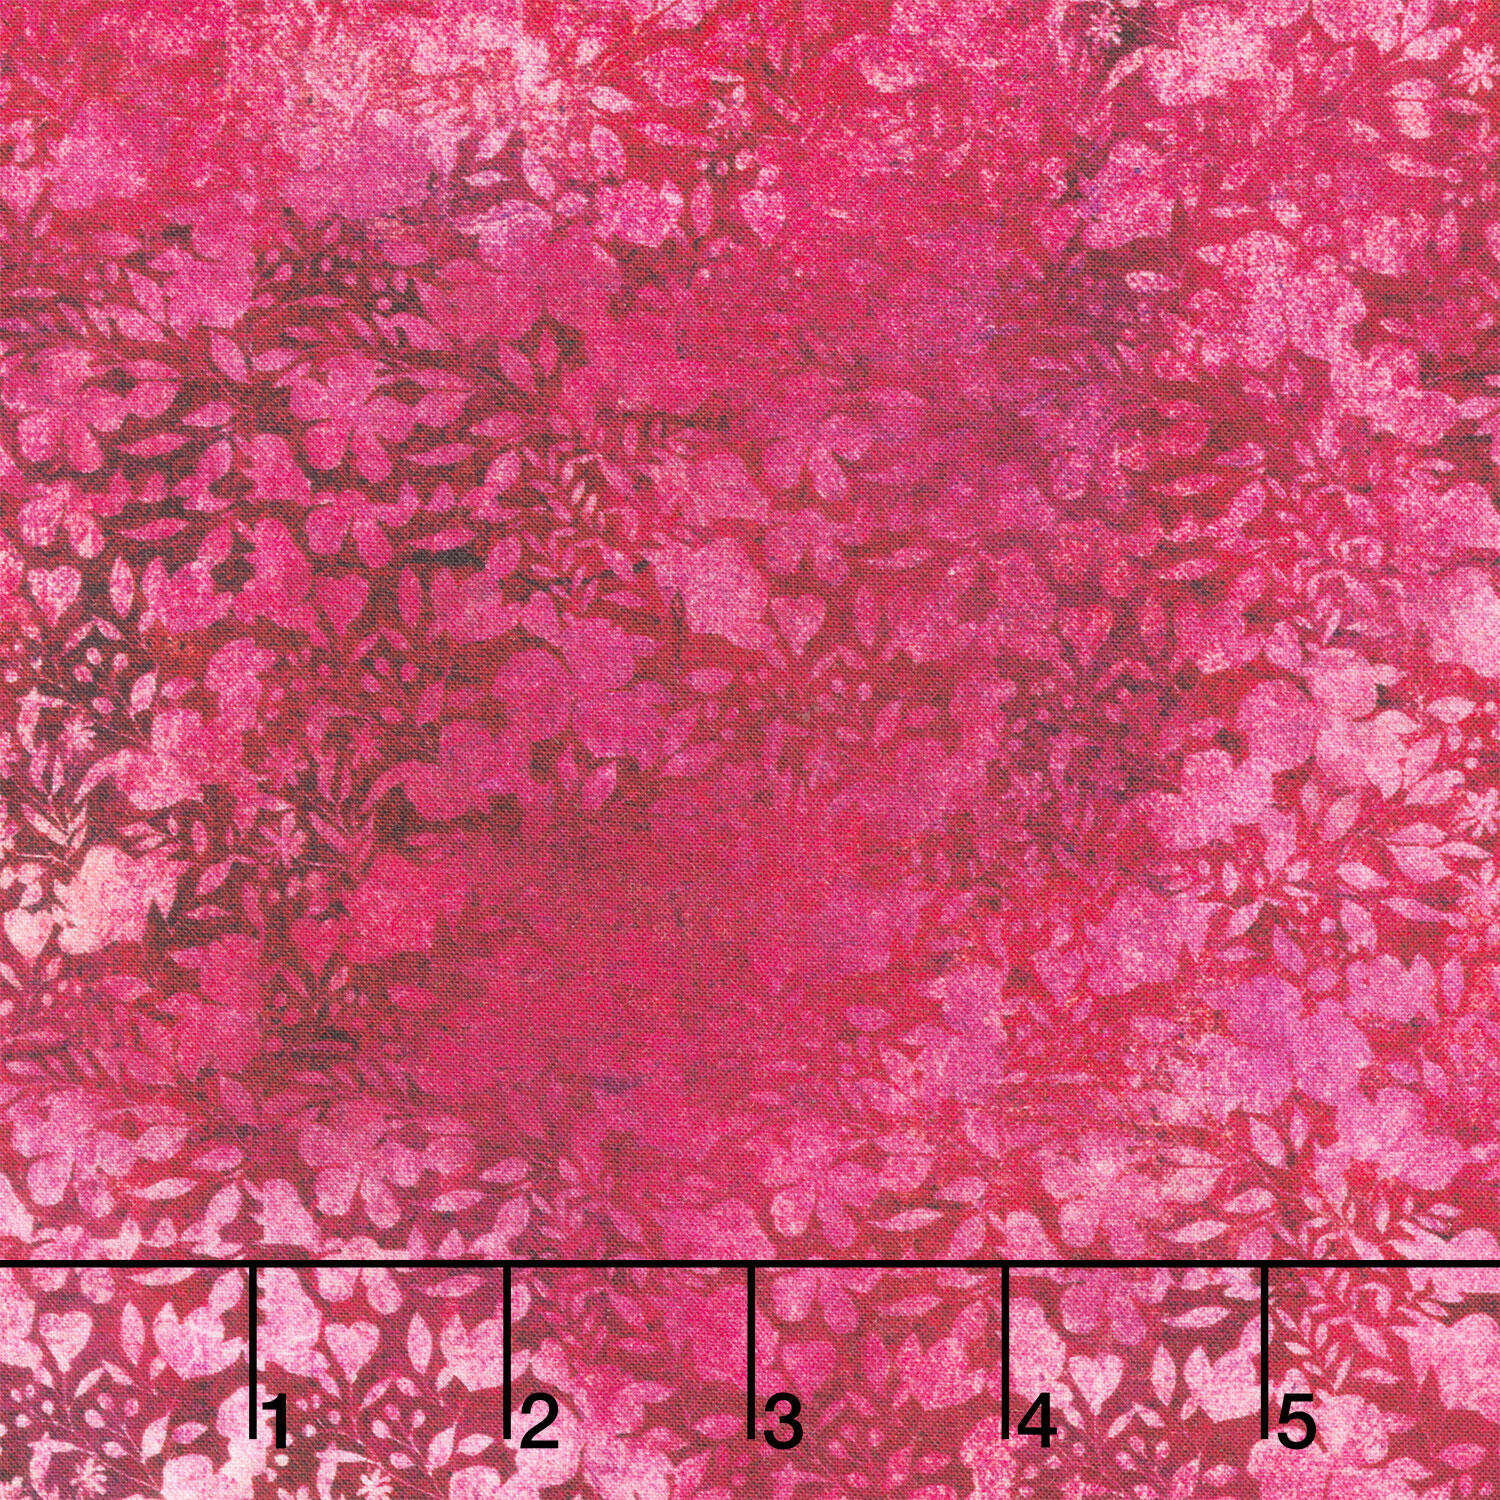 Evanescence - Floral Tonal Magenta Yardage$12.40Shop →
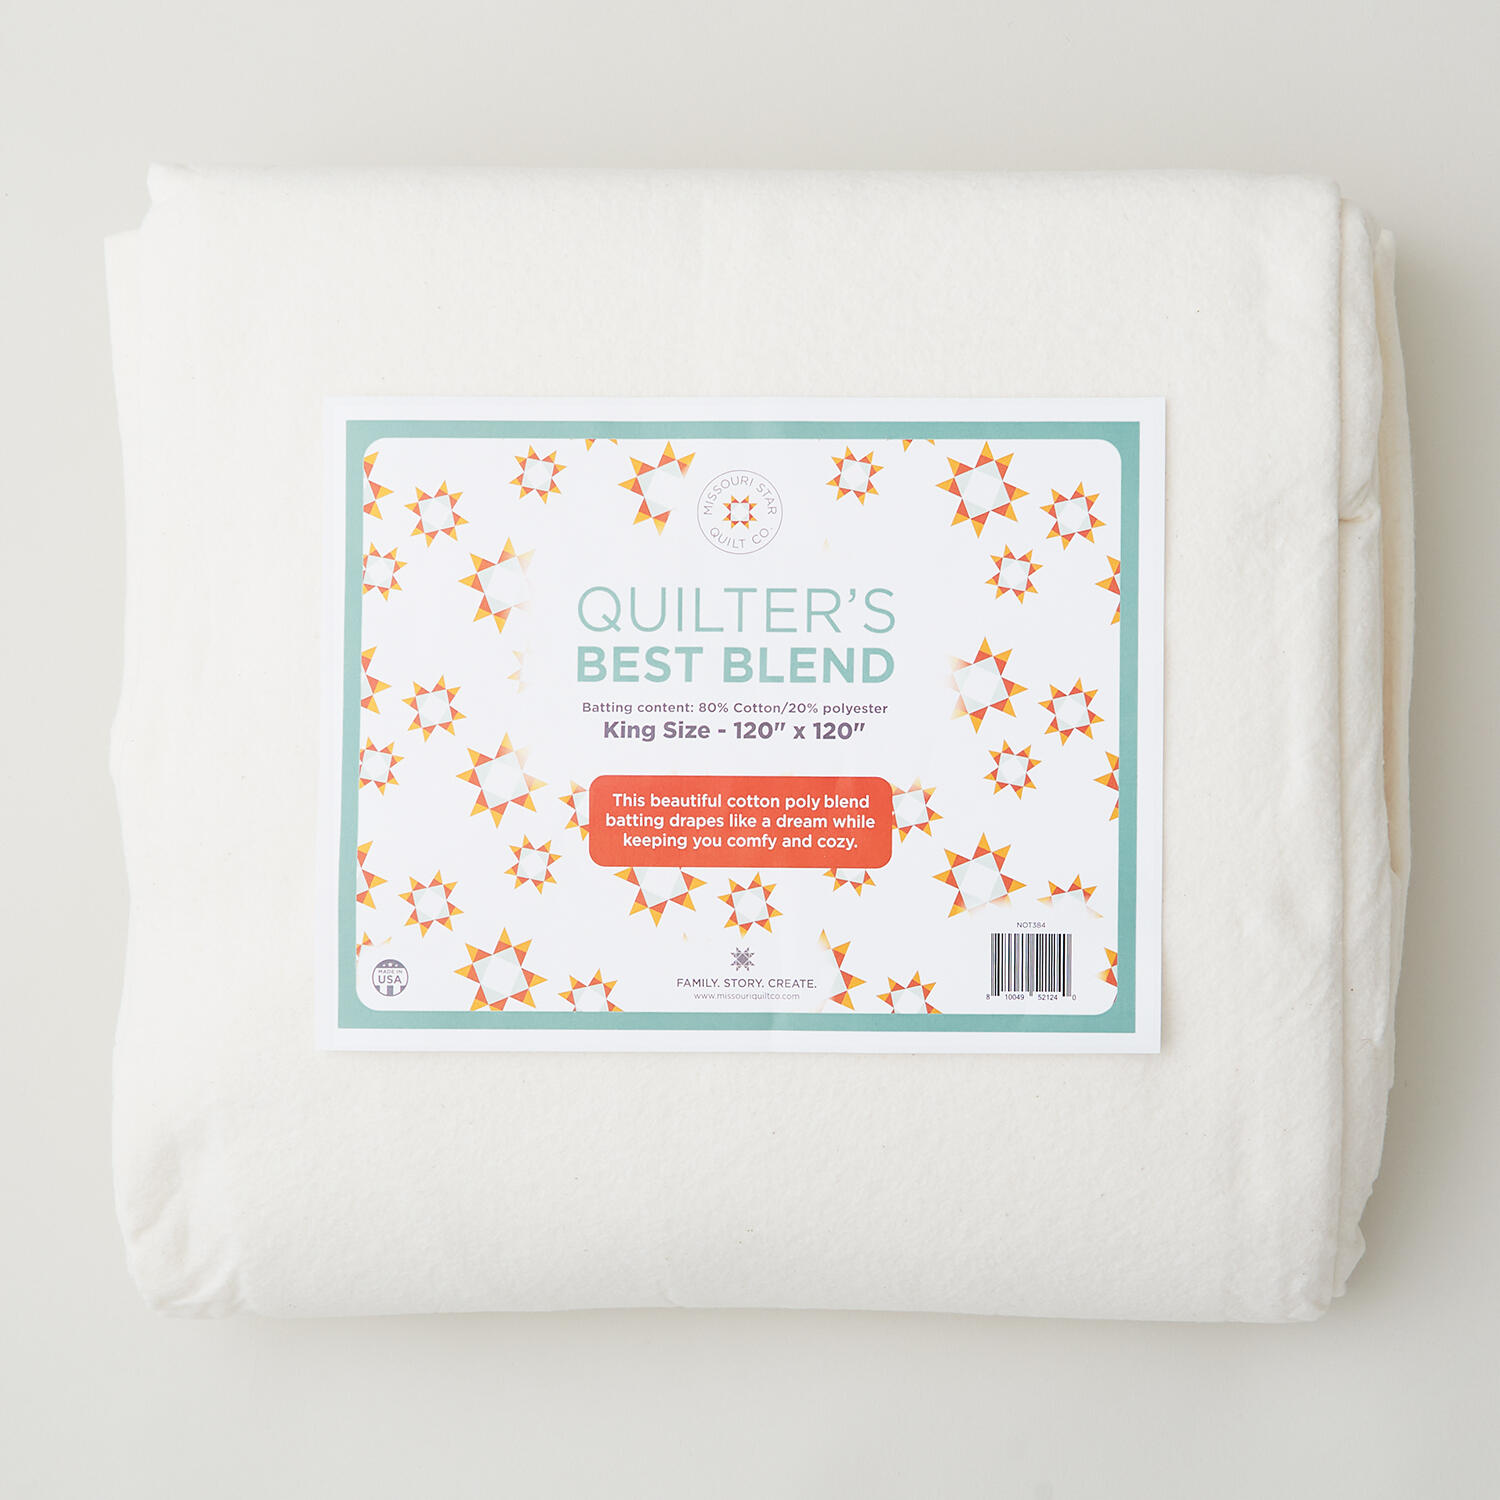 Missouri Star Quilter’s Best Blend King Batting$44.95Shop →
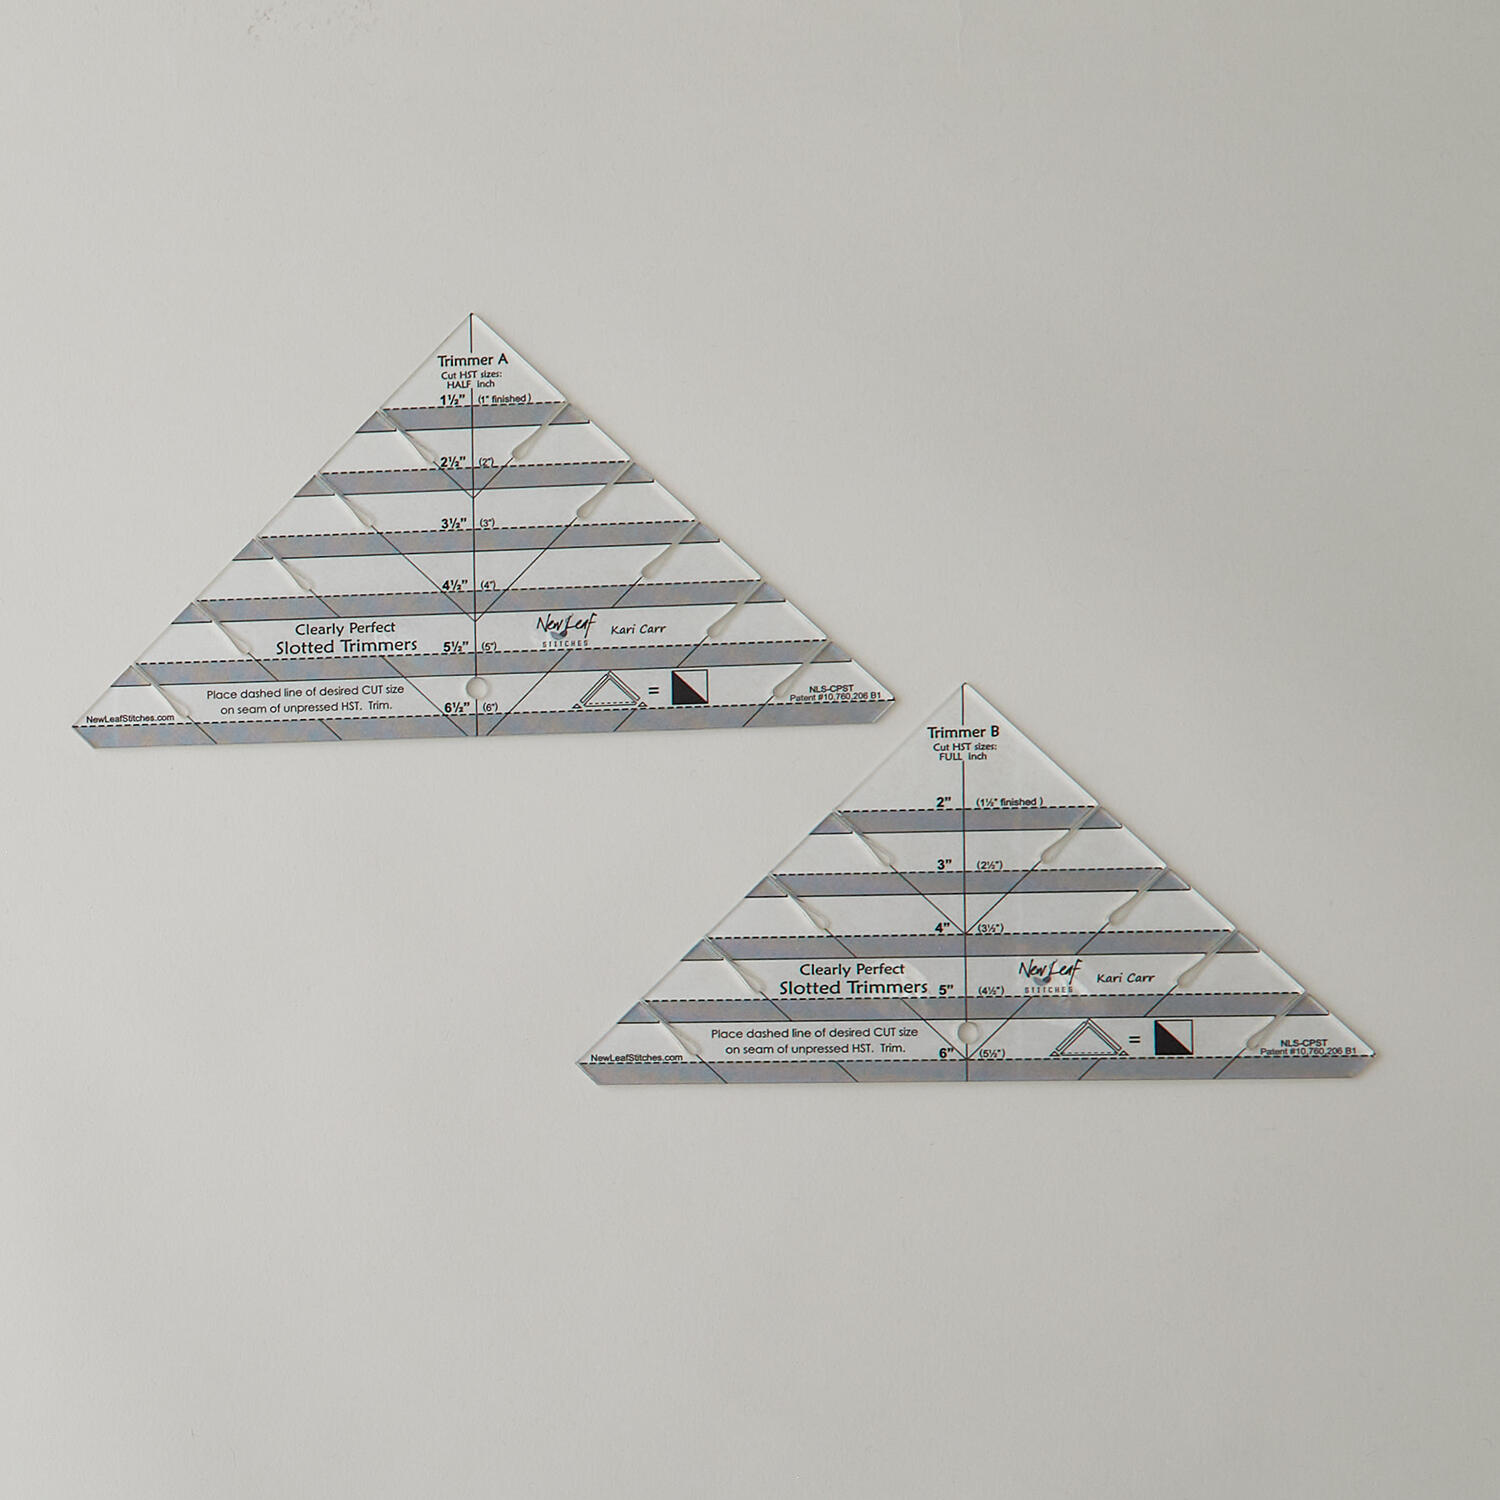 Clearly Perfect Slotted Trimmers$33.95Shop →
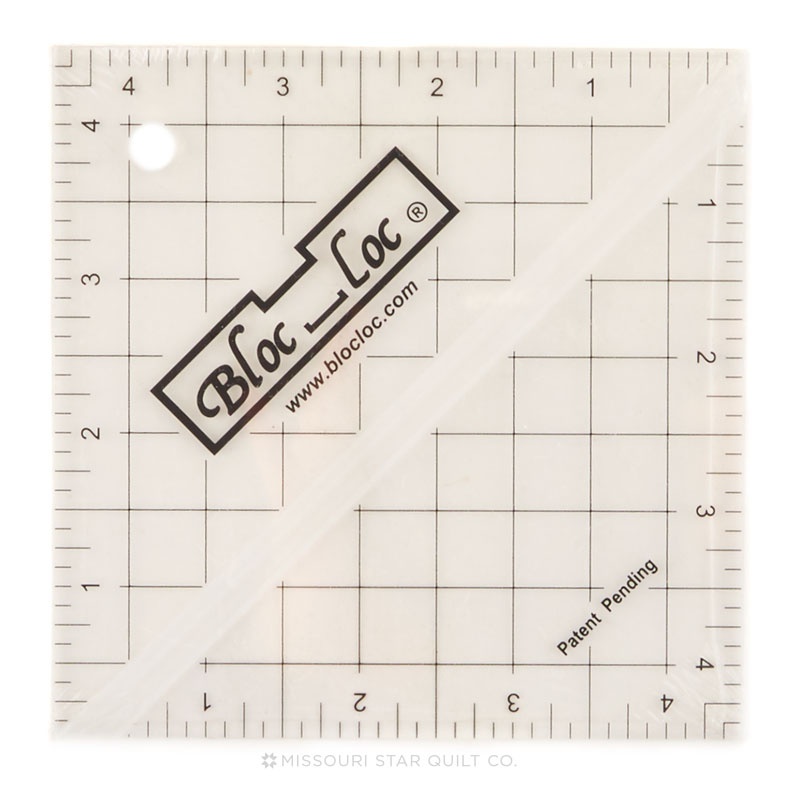 Bloc Loc 4 1/2" Square Up Ruler$32.50Shop →
 Missouri Star 45mm Rotary Cutter - Olga$19.95Shop →
 Missouri Star Seam Ripper - Frida$9.95Shop →
 Missouri Star 8" Everyday Scissors - Amelia$19.95Shop →
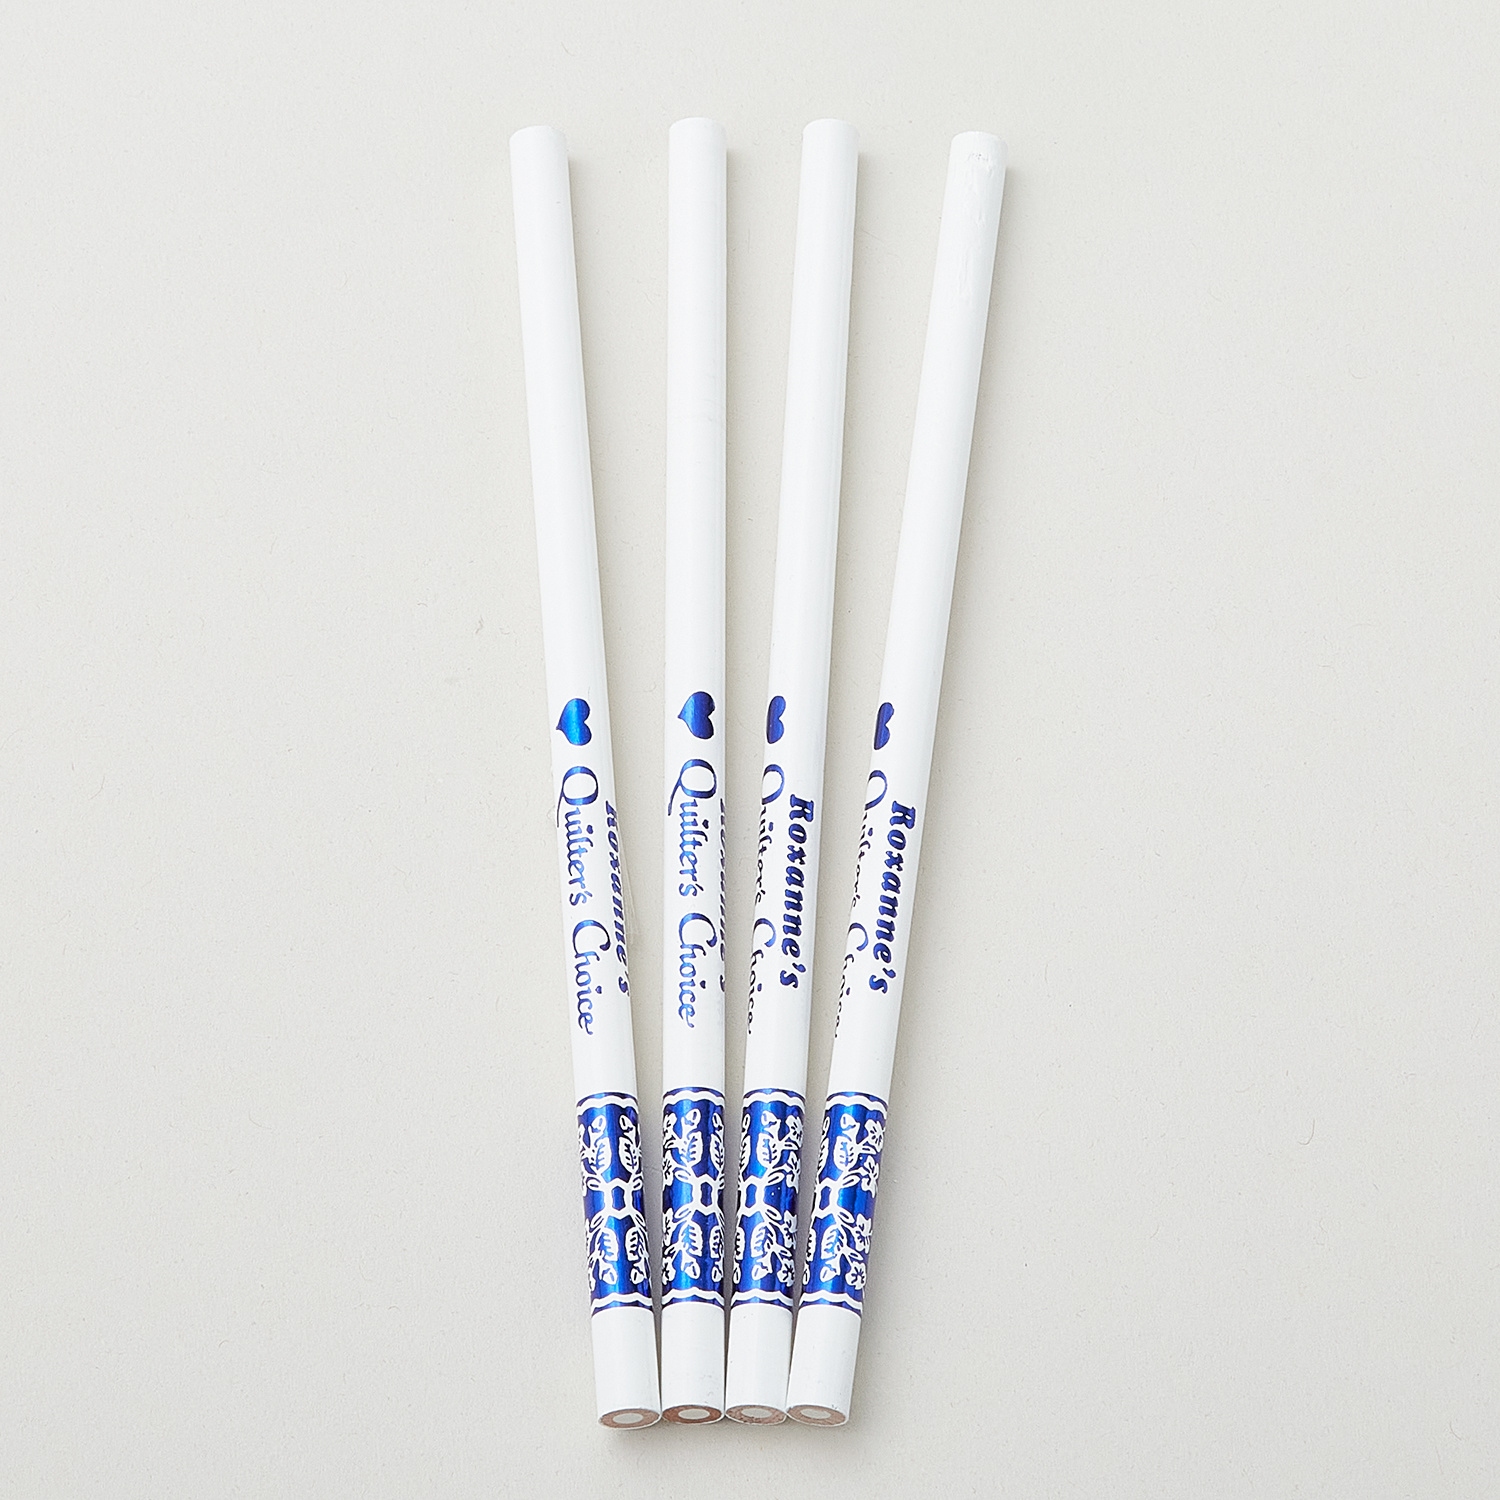 Roxanne Chalk Pencils White 4 Pack$9.45Shop →
 Missouri Star 50 WT Cotton Thread White$7.95Shop →
 Missouri Star + Oliso TG1600 ProPlus Iron$209.95Shop →
 Bernette 77 Sewing and Quilting Machine$1699.00Shop →



