This geometric quilt hits the sweet spot for fans of modern quilts! Bold and beautiful, the large circles and triangles create a stunning quilt with dramatic flair. The shapes take center stage, as the color palette includes only white and shades of red from the I've Got Hue collection by Henry Glass Fabrics.
Misty Doan grew up surrounded by sewing and quilting. She loves spending time sharing tutorials each week each week, and when she’s not stitching up one of her fun sewing projects for home decor, most likely you’ll find her hanging out with her husband and three awesome kids or working on a house project.
This geometric quilt hits the sweet spot for fans of modern quilts! Bold and beautiful, the large circles and triangles create a stunning quilt with dramatic flair. The shapes take center stage, as the color palette includes only white and shades of red from the I've Got Hue c...
How long is the tutorial video?
The tutorial video is 00:14:36.
Are supplies listed for this tutorial?
Yes. The tutorial page includes the supplies and materials connected to this project.
Video Transcript
Hey everyone, it is Misty and welcome to at home. Today I'm going to show you how to make this adorable sweet spot quilt. So, let's get started. This quilt is such a fun one to make. It's just two simple blocks. And don't worry if you don't enjoy piecing curves. This is actually fusible applique and so it comes together really quickly. One of my favorite things that I love about this quilt is this kind of secondary star pattern that forms with this layout. And I just love when we get those little surprise moments in quilting. So to make this quilt, you are going to need one package of 10in squares of your print and one of your background. And for both of mine, I've actually used these collections called I've Got Hue Babe from Henry Glass. And this first one is called Little Red Corvette. And it's all tonal red prints kind of in a gradient from light to dark. And then this one is called white knight. And it's just all white-on-white prints. And I love that texture that you get from using tonal fabrics. In addition to that, you're also going to need 3 and a/3 yards of this Pelon shape flex uh interfacing. For your backing fabric, you need 3 and 3/4 yards with a vertical seam or 1 and 78 yard of a 108. You need just 5/8 of a yard. for your binding. It's also really helpful to have a ruler to trim your circles. I'm using this circle savvy ruler from Creative Grids. Then you'll need to square up your hourglass blocks. So, we're going to use trimmer B2 from Clearly Perfect Slotted Trimmers to do that. It's helpful to have a turning tool. And I love to use invisible thread for top stitching mine. So, that's what you need. And let's get started. So to begin, we're going to start by making these hourglass blocks that you see in the quilt behind me. And there's actually 24 of those blocks total, but you get two from every set of your 10in squares. So you want to pick 12 of your print squares and your background squares, but make sure you have the variety in the shade so that you can get achieve this look. And so you'll have the same number of both your print and your background. And we're going to place those right sides together. Sometimes on these white tone on tones it can be hard to tell. So you just want to double check. And then we are going to use our ruler here and we are going to draw a line corner to corner. And now we're going to take this to the machine and we're going to sew a quarter inch seam on both sides of that drawn line. So, we will just line up our presser foot. Zoom down this first side. And I just sew off the edge and spin this around. And then we can come back down the other side. Okay. Now, once we have that done, we can come back with our ruler and we can cut right on that line that we drew. And then this is going to give us two big half square triangles. We're going to take this over to the iron and we're going to press these to the dark side. Let's go ahead and press them open. Set that seam and gently roll this back. You do want to make sure you don't have any little tucks or pleats along that seam line. So, there's one. And we'll do the other one as well. Here we go. Okay. So, now that we have both of our half square triangles pressed open, we're going to place these right sides together. And I want to make sure that my print is touching my background on both of these. And you also can kind of feel and make sure that those seams are nesting. So I just want to make sure that they're next to each other, not stacked on top of each other. And then I'm going to come back now with my ruler again and I'm going to draw another line. This one's going to intersect that first seam that we took. And just like before, we're going to sew a quarter inch seam on both sides. Okay. Now, we're just going to cut this in the exact same way. Okay. So, I'm going to line my ruler up on that drawn line and we can cut that in half. And so, then from every pair, we are going to get two of these blocks. And so, we just need to square these up. Now, that's where that clearly perfect slotted trimmer comes in. And I absolutely love this tool when you're working with hourglass blocks because it has both the horizontal and the vertical line to make sure everything is lined up. And so the size we're looking for is 9 in. So I always begin by lining up my stitch line along the bottom here. And then I want this uh vertical line to be on the stitch line this way. So just make sure we have that all lined up. And then now we can square this up. Here we go. And cut these little notches as well. and we get this great squared up hourglass. So, let's go ahead and do this one again. Begin by lining up my stitch line with the dashed line of the 9 in and then sliding over to make sure the vertical line is lined up as well and trim. Okay. So now we can just press these open and we will have our completed hourglass blocks. So once you have all of these pressed and complete, you can just set them aside and we can move on to making our circles. So let me show you how to do that. Let's also look at the quilt one more time because I want you to notice that we have some circles that have red background and some that have a white background. So just pay attention to the pattern. Make sure you have the right number of each. You need 16 that have the red background and nine that have the white. So, let's go ahead and get started. Here is one of our circles on the white background and one on the red. And so, remember, you'll be making both of these. Regardless, you just need one square of red and one square of white for both of those. But remember, we also had that Pelon shape flex uh which is just a fusible interfacing. And so you're going to want to cut that into 9 in squares. And if you haven't used that before, it's a woven fabric, but it does have one adhesive side that you can feel those bumpy glue dots on. And so I think for this one, I'm going to use my red for my background. So let's go ahead and trim this square to 9 in first because we need all of these to match up with our hourglass. So I'm just going to trim an inch off of one side here. And then again off the top. Perfect. And then while I'm thinking of it, I'm actually going to press this in half and in quarters so I have some guidelines to add my circle later. There we go. And that'll just give me some reference points to line things up later. So we'll just set that aside for now. And so now I have my white 10in square. I'm just going to keep it whole and then we'll fold this in half again. I'm just going to press that. We can go ahead and take it to the machine. So this one's nice and crisp. And then I'm going to use this circle ruler here. And I am looking for eight and a half, which makes me realize I actually need to spin this around to the other side. So again, that fold line needs to be in this outside corner. And then now I have my 8 and 1/2 in measurement. And I can just put my rotary cutter in here and cut out right on that line. And so now I have this beautiful circle. And so we're going to do the same thing with our fusible interfacing. Now with this, you cannot press it with an iron because of the fusible, right? So if you heat set it, it's just going to stick to itself and it's going to be a sad day. So we are just going to finger press this gently line up our layers and again place this on our corner and trim out the eight and 1/2 inch size. Beautiful. All right. So, let me move some of this out of the way. And so, one more thing. We are going to put the right side of this fabric towards the bumpy side of our circle. But I'm actually going to cut a slit in the back of this to make it easier to turn it right sides out later. So again, make sure you've got the right side of your fabric, the bumpy side of this circle, and we're going to sew our quarter inch seam all the way around. So let's go ahead and take it to the machine and just gently take your time all the way around this circle. Put your needle down if you need to readjust. Make sure everything's staying lined up. And I'll meet you back here when it's all done. Okay, we made our way all the way around. And now you can see if you forgot to put that little slit in there, you could just pinch these apart and use your scissors to add that slit. But this is where the little turning tool is going to come in handy. I'm just going to flip this right sides out now. There we go. And we are just going to run this bamboo turning tool around that edge to really clean it up. Give us a nice even turn of our circle. That's looking really nice. And so now we can bring our circle and our square that we trimmed to 9 in over here to the mat. I have my little grid lines from pressing the circle in quarters and the lines I pressed onto the background. I'm just going to make sure that this is even. You can measure if you want, but I'm just going to eyeball. And once you like where it is, then you can come in with the iron and press it down. You just want to take your time with a nice hot dry iron to make sure that fusible can set and secure your circle in place. Beautiful. Once you have that pressed down, then that's where the invisible thread comes in. You want to come back and do a blanket stitch or a zigzag to secure that in place. And that is it. That's how you make these blocks. So, now let's talk a little bit about the layout. So, let me pull my squares in here. So, you're going to begin with a red background circle and then your hourglass blocks. Since we want the gradient, let's get some that are the right shade. You want to make sure the white is touching the back or the the white is touching the print always. And so this will come in like so. And then the next row is where your white background comes in because again, these should be alternating, right? That's what you're looking for. And you will just continue your layout, making sure that you're happy with the gradient. There are seven blocks across by seven down. The quilt finishes at about 59 and 1/2 in square. I quilted it with this great pattern that I really love. It's called a backus. And then let's look at this beautiful floral on the back. I just love that. Such a great backing. And I just think this quilt turns out so fun. So, I hope you guys enjoyed this tutorial on Sweet Spot and I'll see you next time on At Home. Hey everyone, thank you so much for watching at home. We're so excited to be almost a million quilters strong here at Missouri Star. And so, if you haven't already joined our family, be sure to subscribe and hit that notification bell so you can be notified of all of our future tutorials. And we'll see you soon.

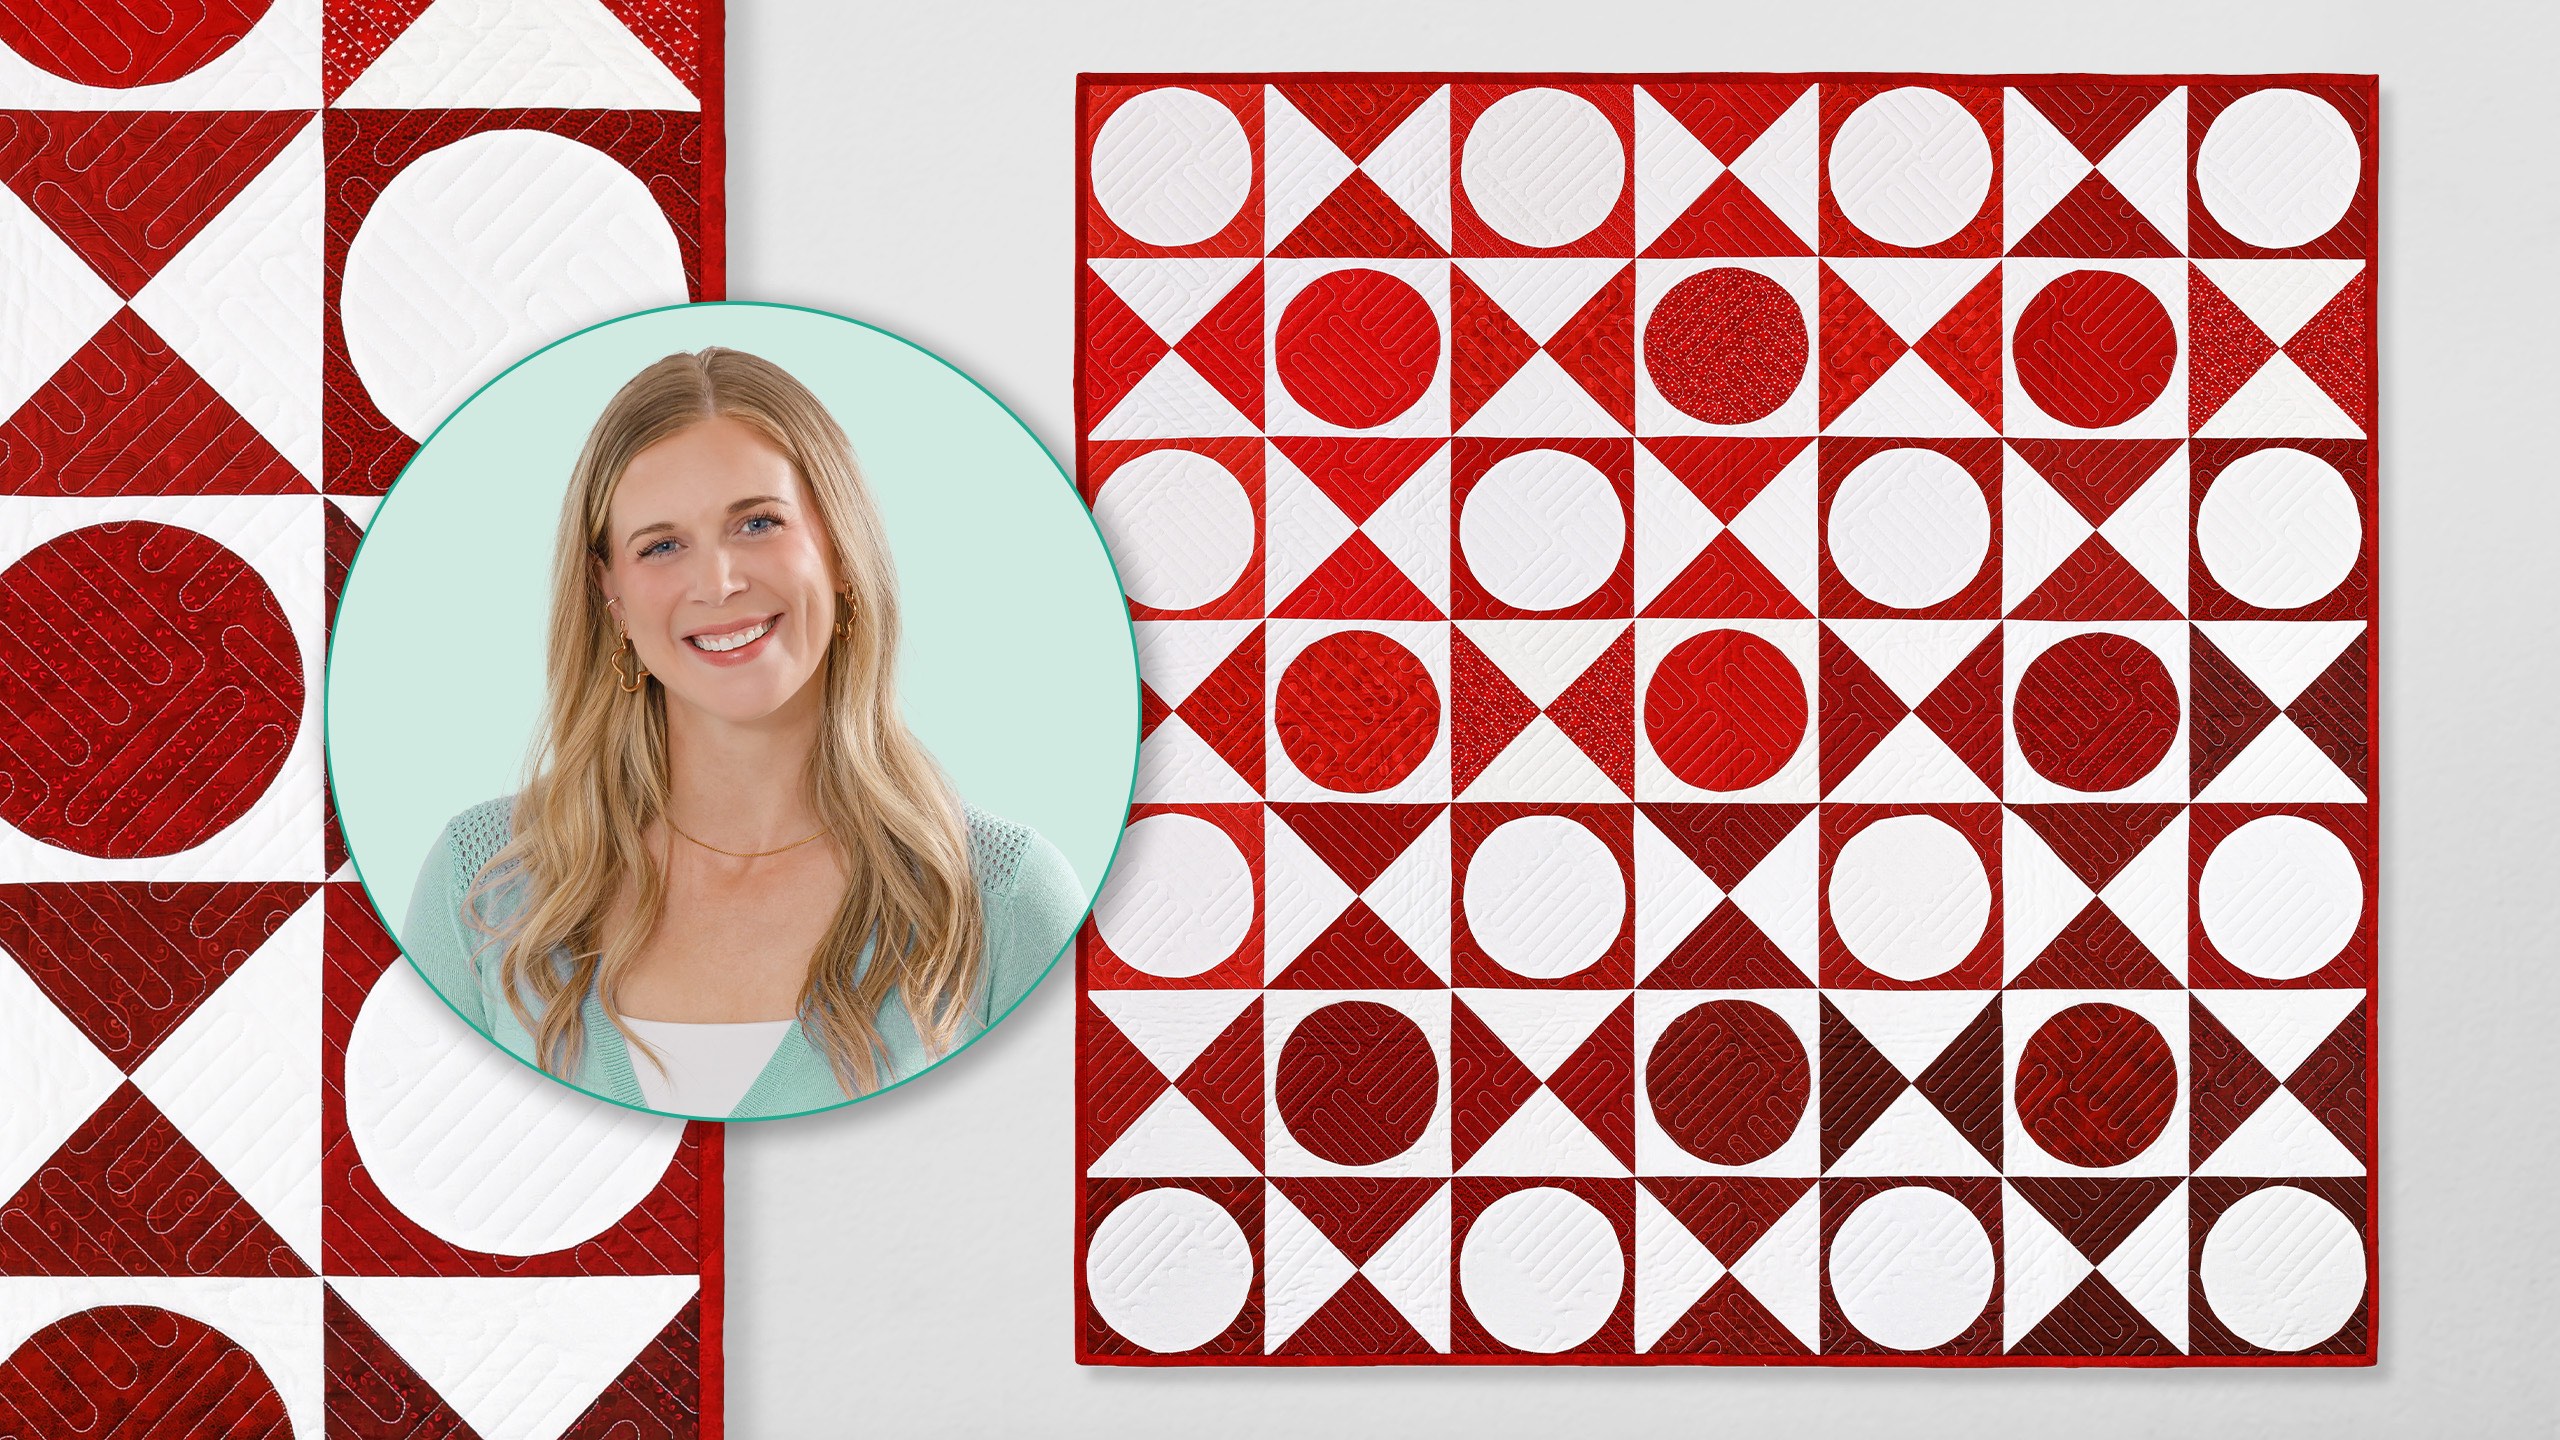
 Misty Doan
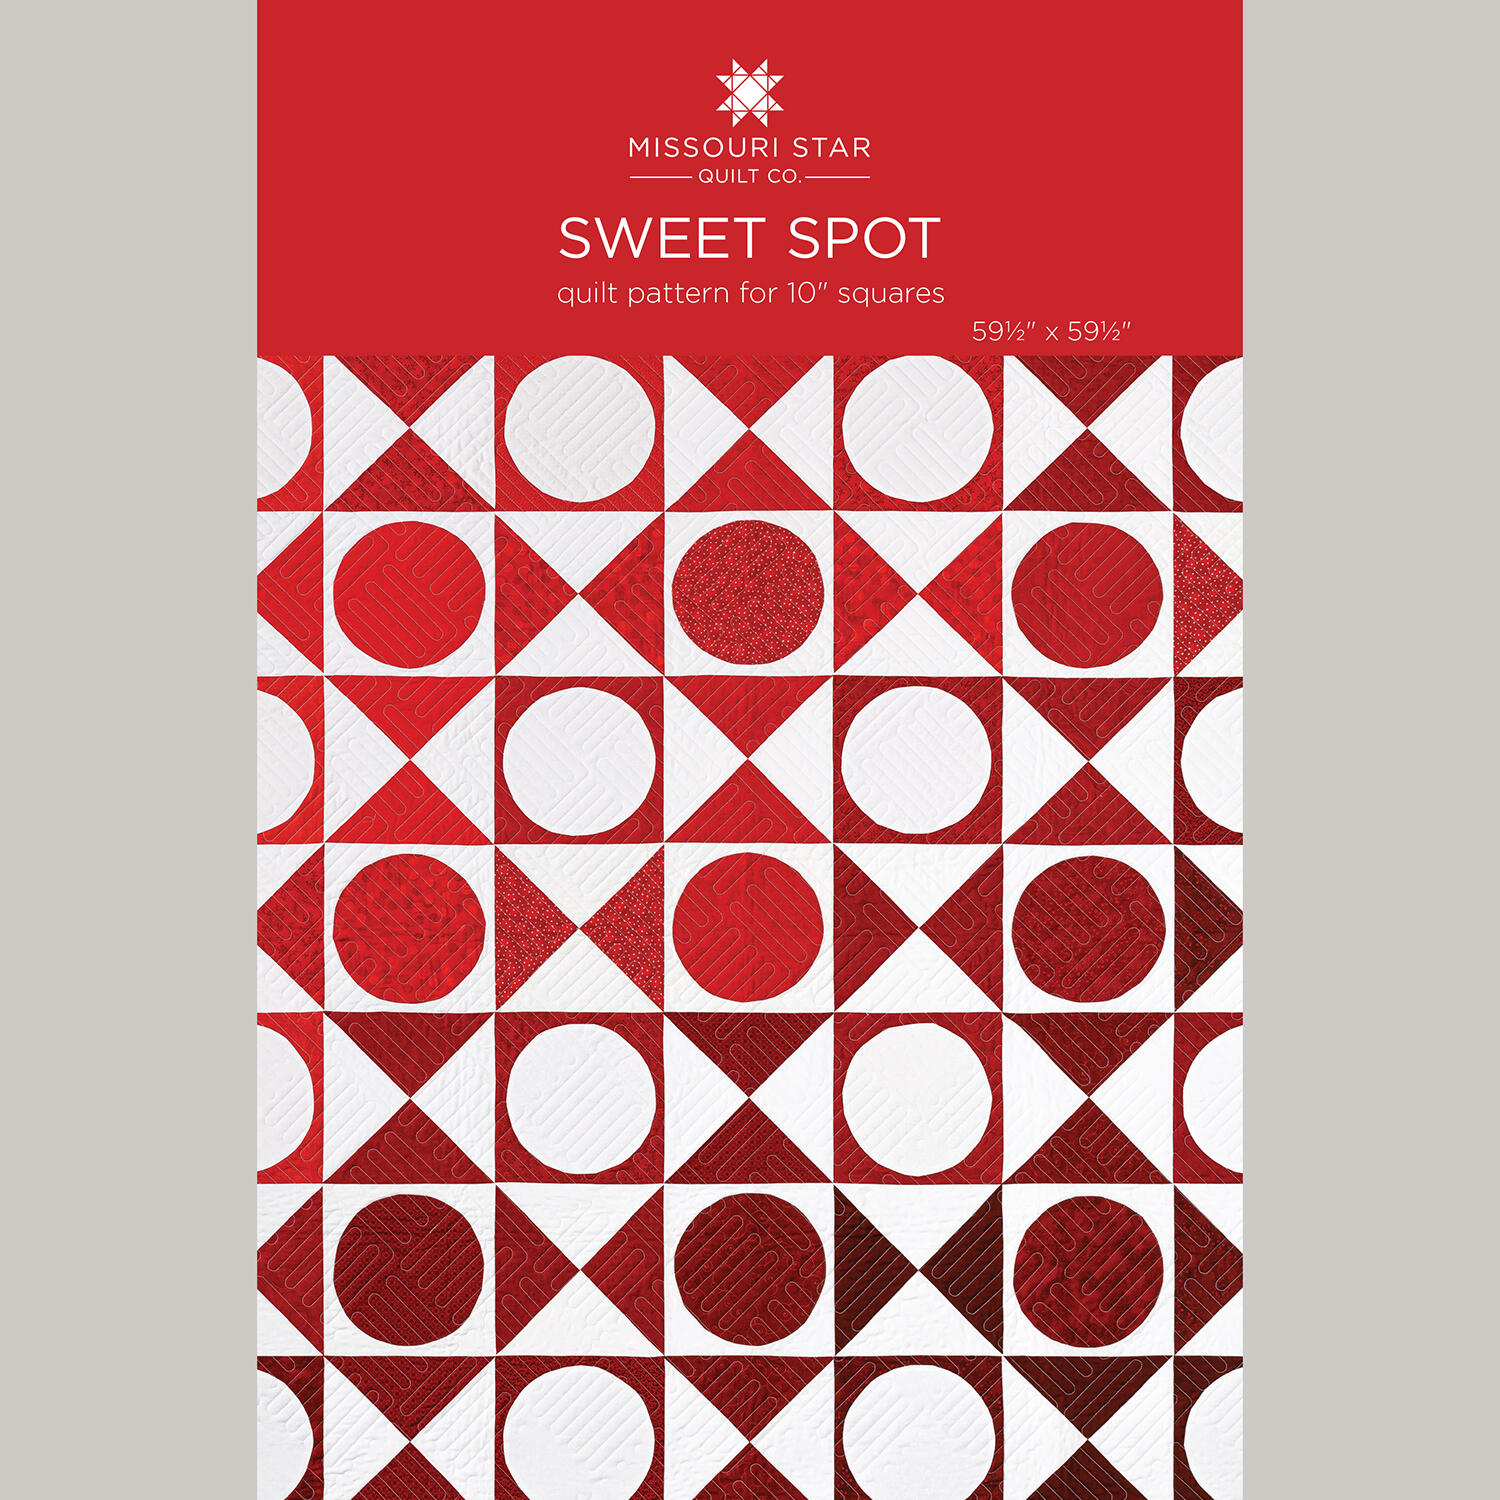 Sweet Spot Quilt Pattern by Missouri Star$8.50Shop →
 Digital Download - Sweet Spot Quilt Pattern by Missouri Star$6.95Shop →
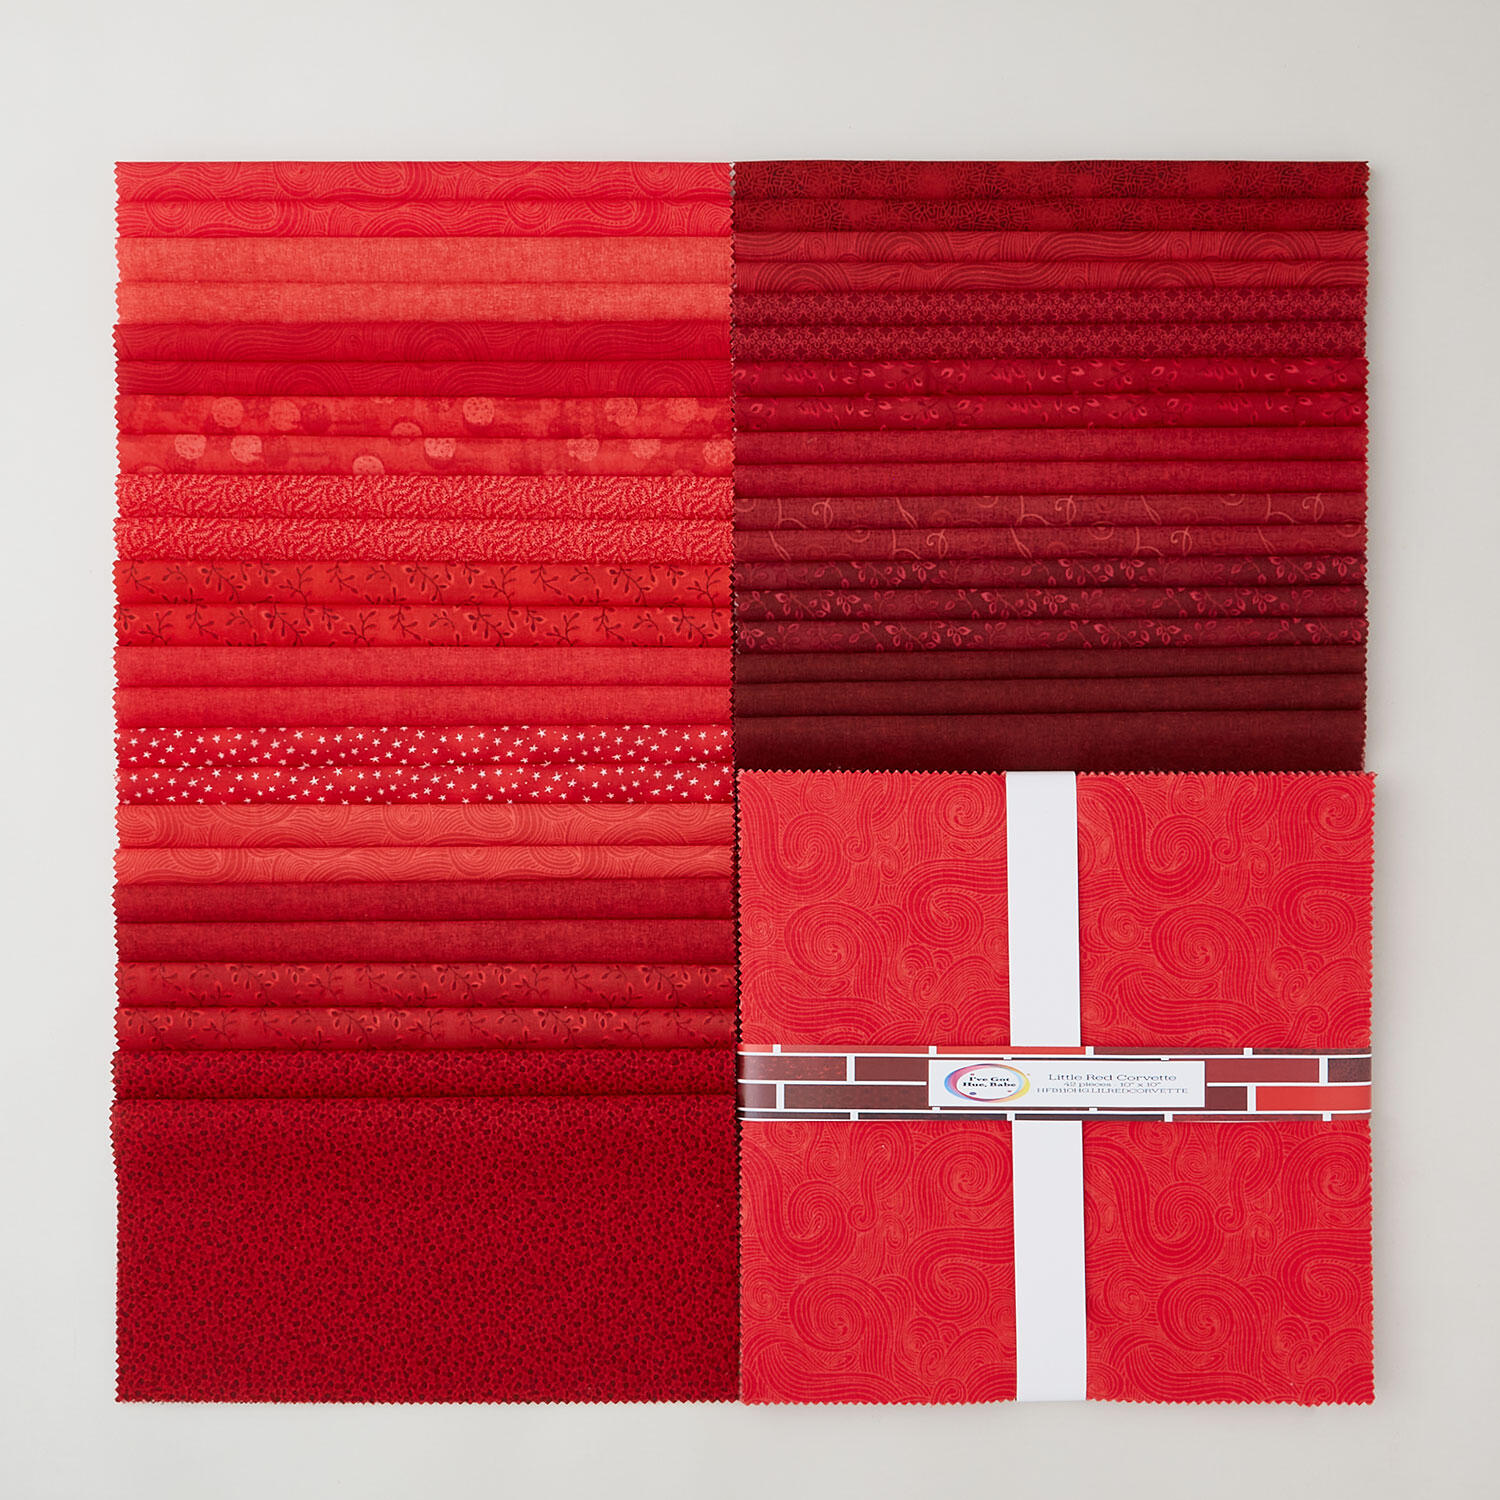 I've Got Hue, Babe Little Red Corvette 10" Squares$43.65Shop →
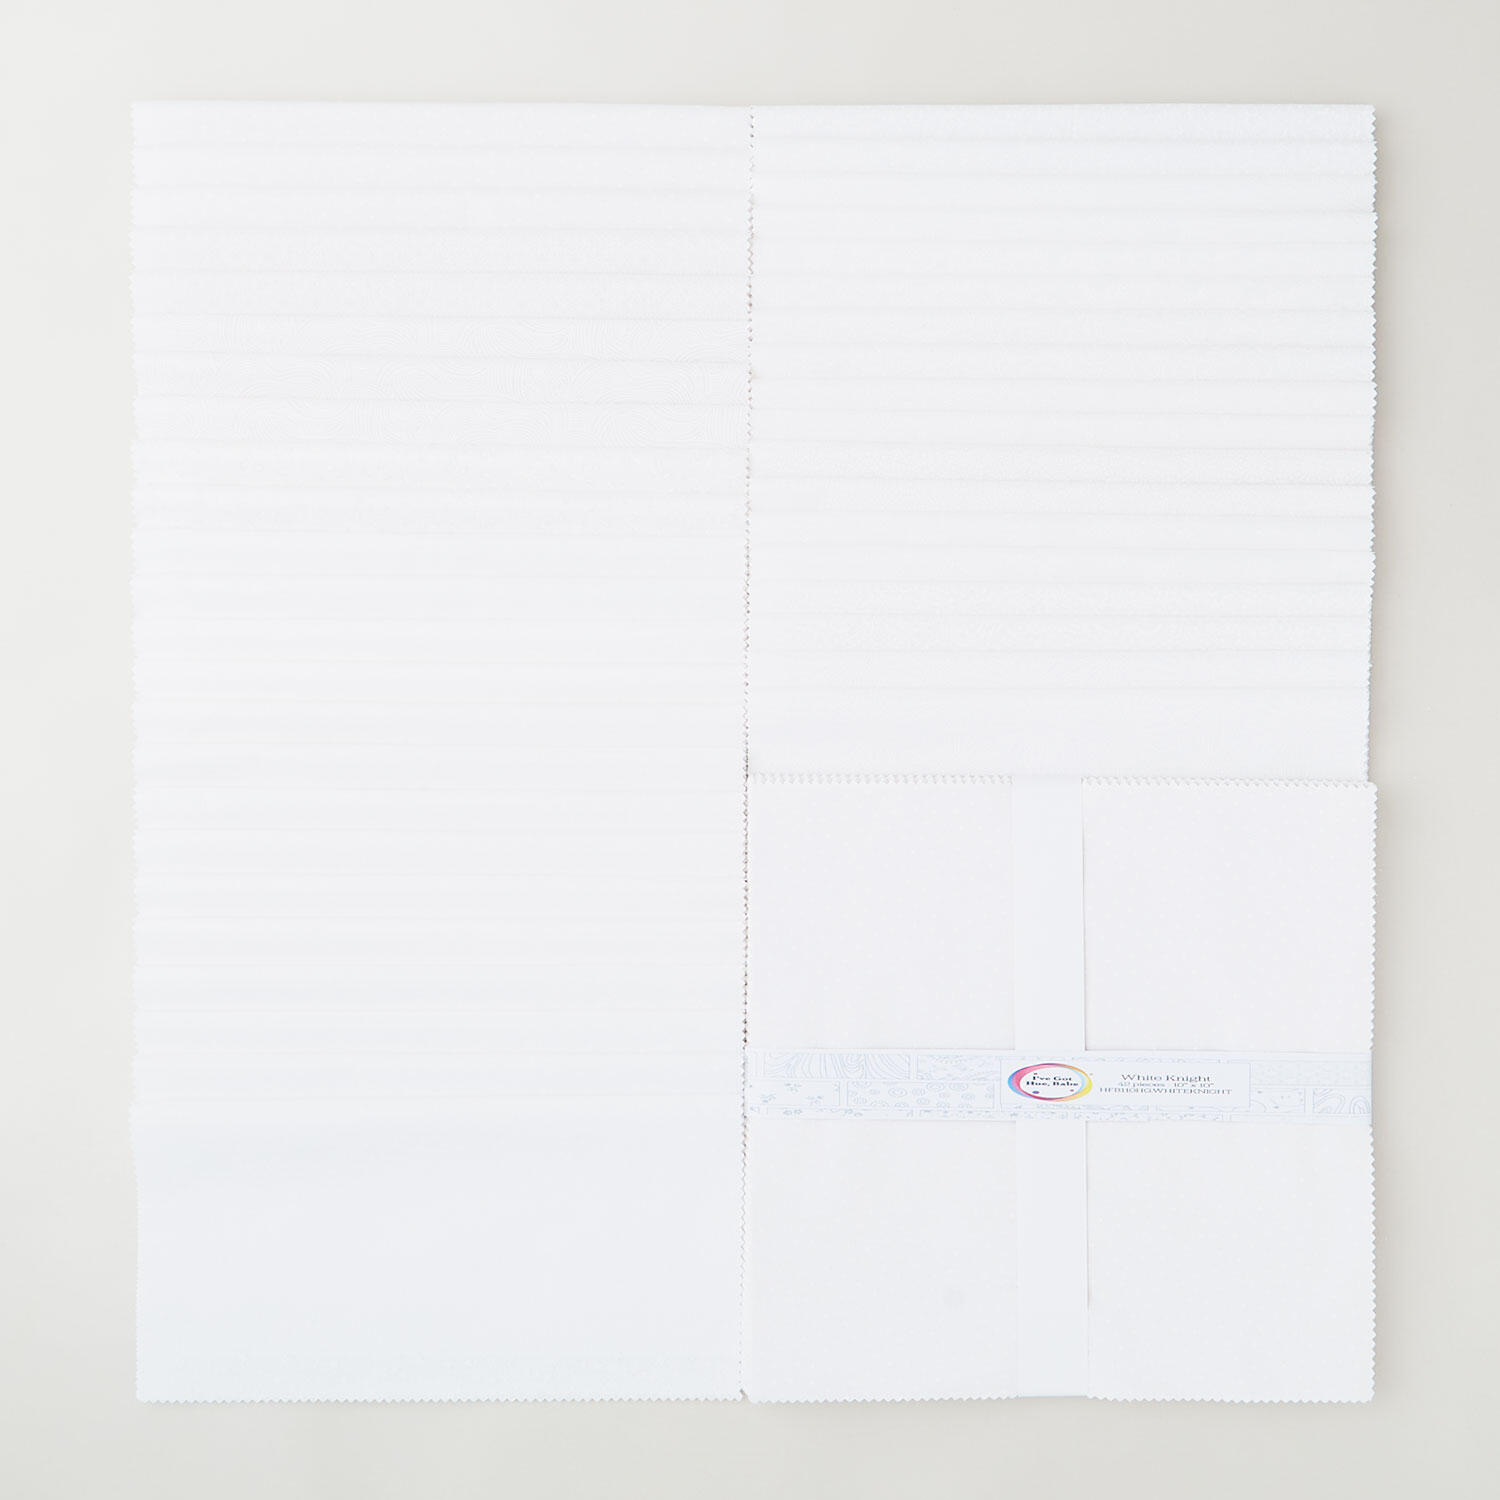 I've Got Hue, Babe White Knight 10" Squares$43.65Shop →
 Pellon Shape-Flex Fusible Interfacing White Yardage$6.55Shop →
 Shadow Play - Classic Red Yardage$11.28Shop →
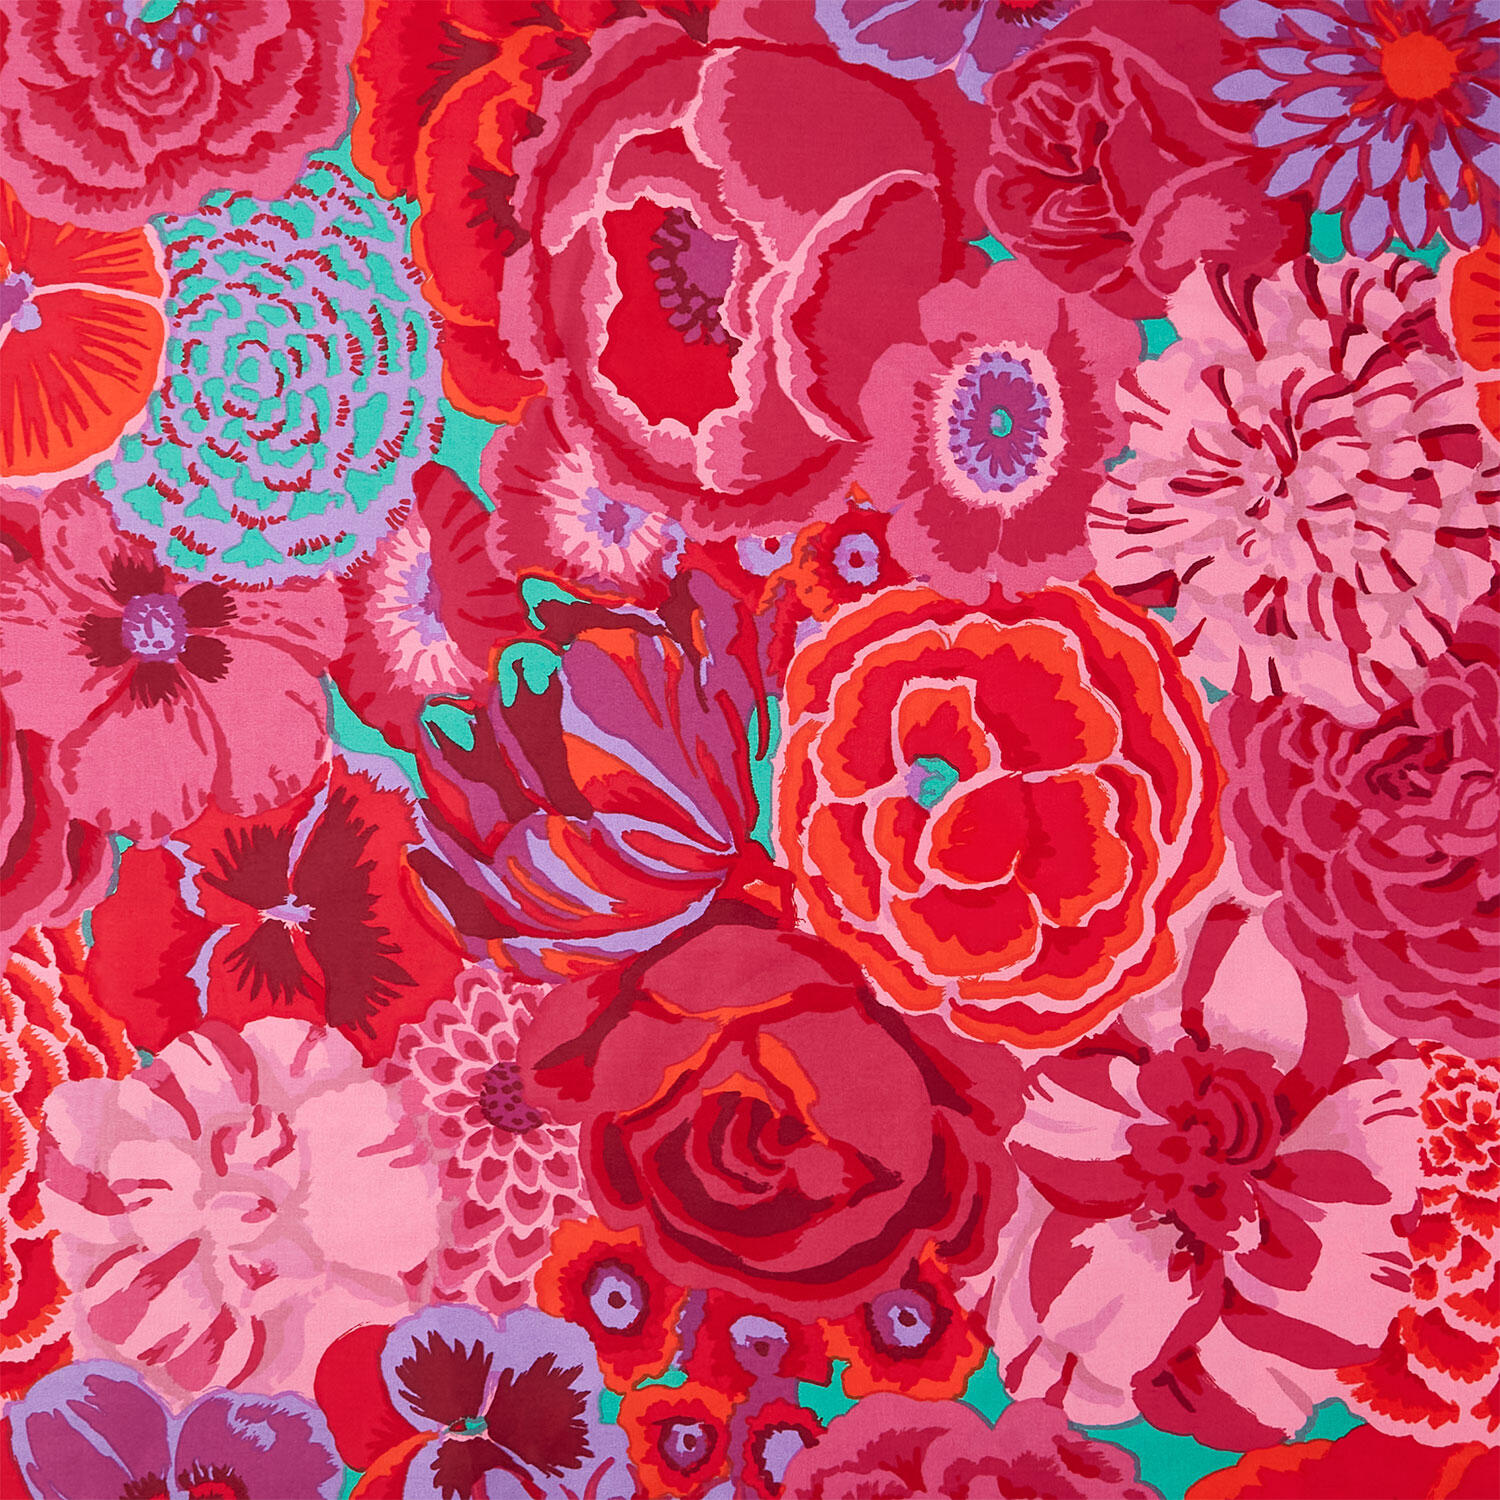 Kaffe Fassett Collective - Bekah Magenta 108" Wide Backing$27.76Shop →
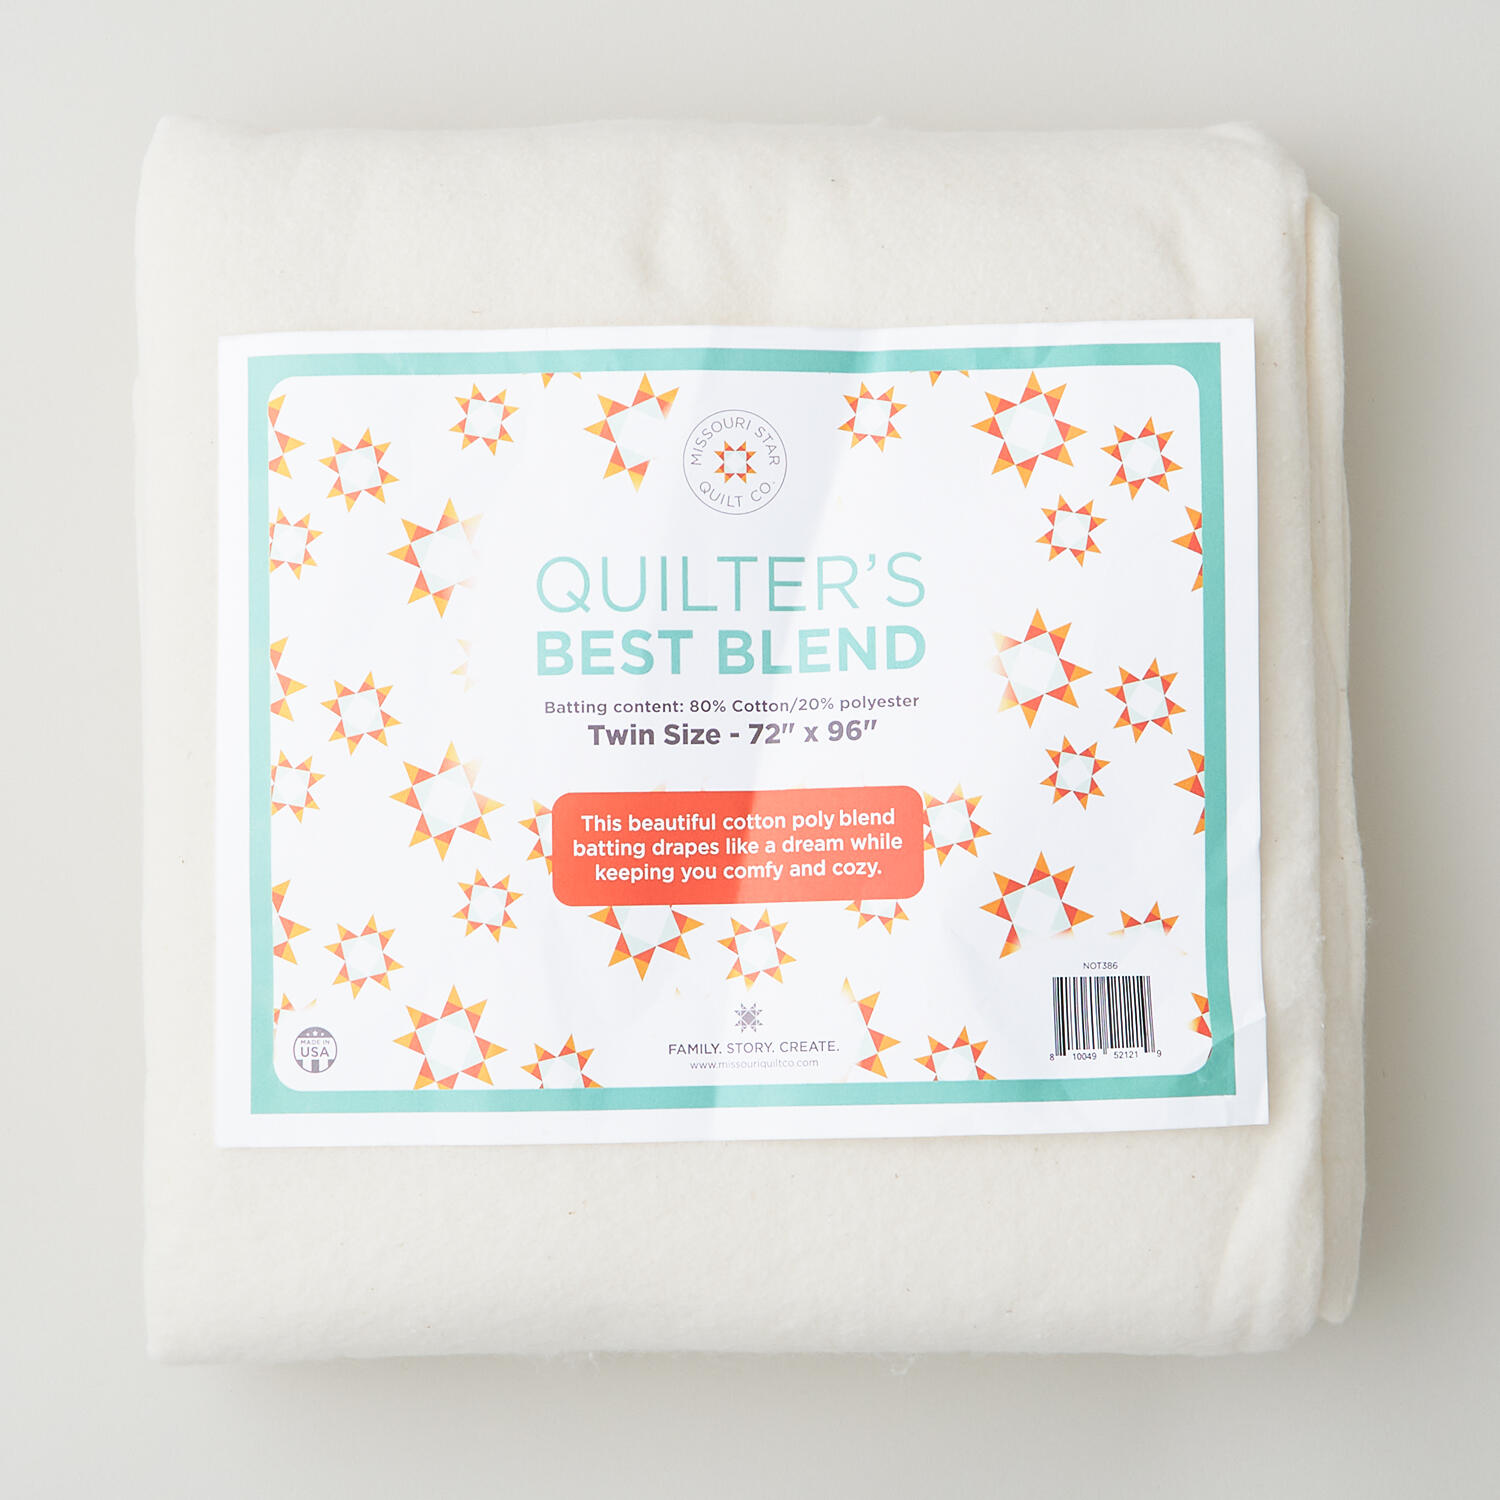 Missouri Star Quilter’s Best Blend Twin Batting$26.95Shop →
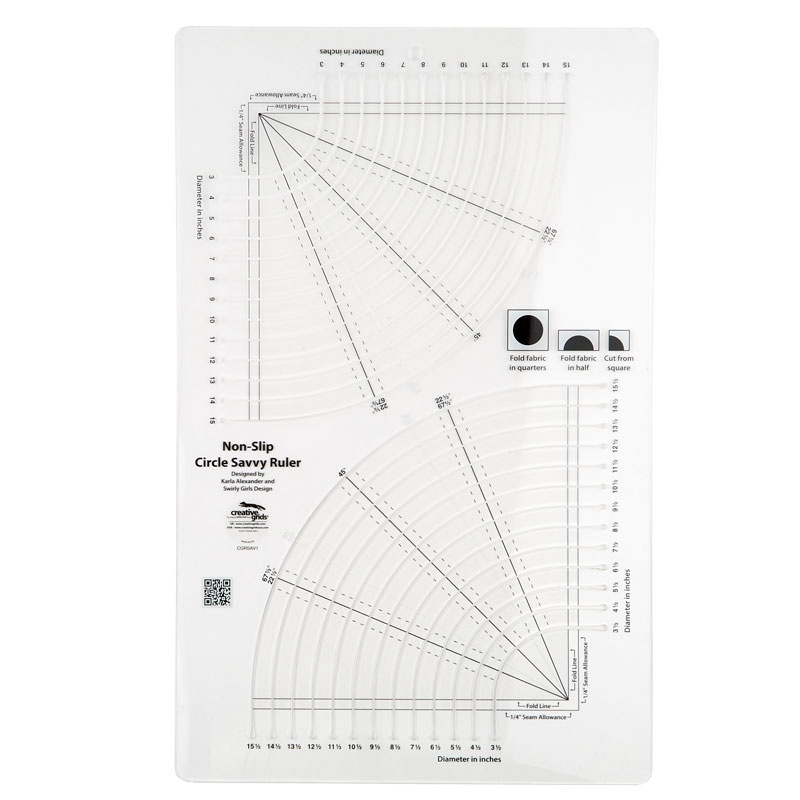 Creative Grids Circle Savvy Ruler - 11 3/4" x 18 1/2"$50.99Shop →
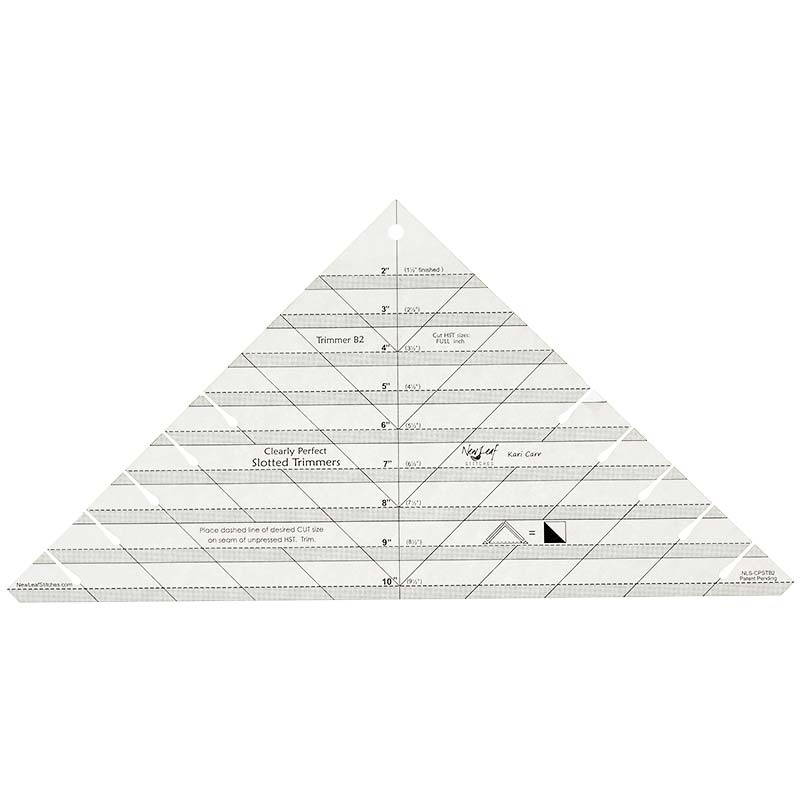 Clearly Perfect Slotted Trimmer B2$27.95Shop →
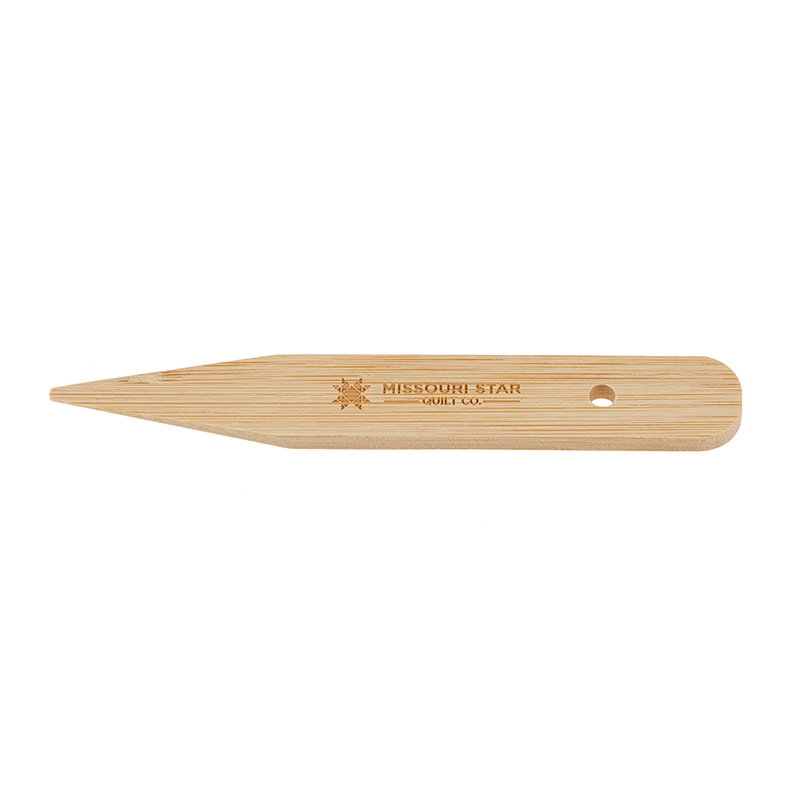 Missouri Star Bamboo Creaser Tool$2.75Shop →
 Missouri Star 45mm Rotary Cutter - Olga$19.95Shop →
 Missouri Star 8" Everyday Scissors - Amelia$19.95Shop →
 MonoPoly™ Invisible Thread - Clear$8.75Shop →
 Missouri Star + Oliso TG1600 ProPlus Iron$209.95Shop →
 Missouri Star Wooly Betty Board - 17.25" x 25.5" Orange Border$99.95Shop →
 Bernette 77 Sewing and Quilting Machine$1699.00Shop →



