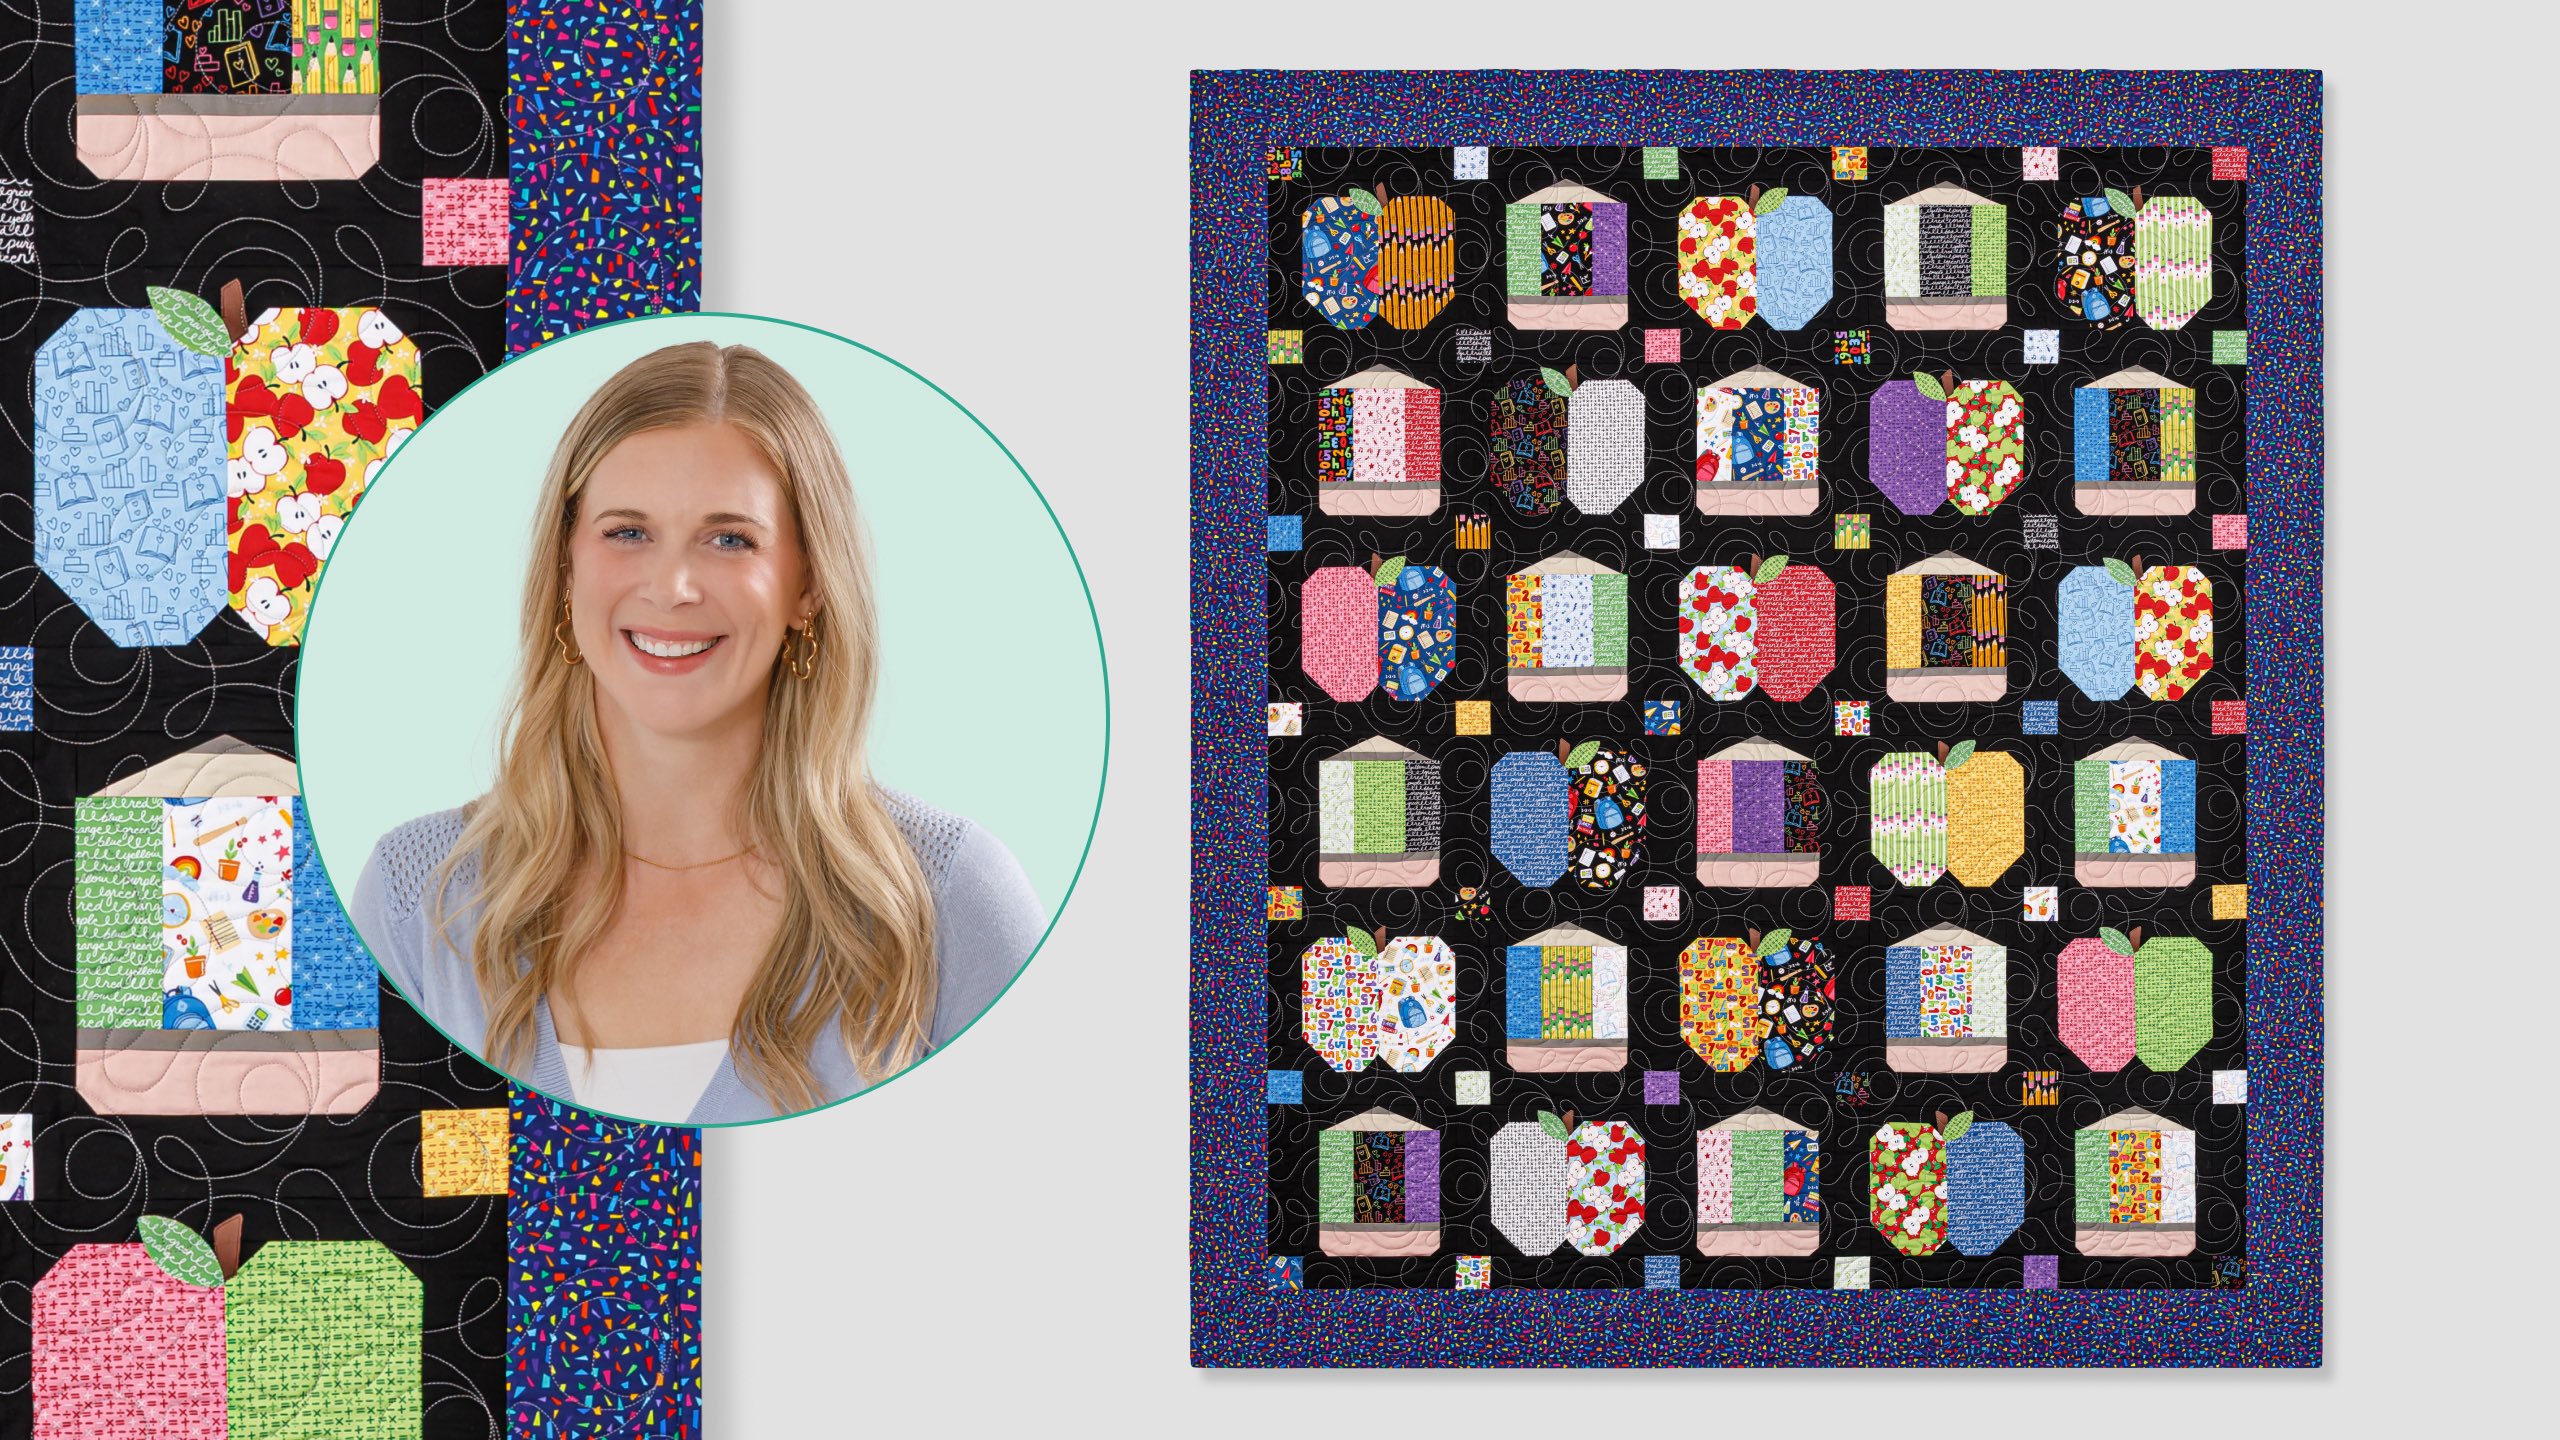
The Teacher's Pet quilt gets an A+ and passes with flying colors! In this episode of At Home With Misty, learn how to make a quilt that is sure to be any teacher's favorite. Colorful pieced apples and pencils, made from Andover Fabrics' Back to School prints, stand out cheerfully against a black background framed with school supplies. This darling quilt would look fantastic hanging in a classroom!
Misty Doan grew up surrounded by sewing and quilting. She loves spending time sharing tutorials each week each week, and when she’s not stitching up one of her fun sewing projects for home decor, most likely you’ll find her hanging out with her husband and three awesome kids or working on a house project.
The Teacher's Pet quilt gets an A+ and passes with flying colors! In this episode of At Home With Misty, learn how to make a quilt that is sure to be any teacher's favorite. Colorful pieced apples and pencils, made from Andover Fabrics' Back to School prints, stand out cheerfu...
How long is the tutorial video?
The tutorial video is 00:19:54.
Are supplies listed for this tutorial?
Yes. The tutorial page includes the supplies and materials connected to this project.
Video Transcript
Every once in a while, the perfect fabric comes along that inspires the quilt. And I am so excited about this one. It is called Teachers Pet. And I can't wait to show you how to make it. This quilt is such a fun one to make and hopefully if you are a teacher or you have a beloved teacher in your life, this will be right up your alley. I just love how it turned out with these adorable pencil and apple blocks. And they're really, really fun to make. So, let me show you what you're going to need to do that. Up first, you're going to need one package of 10-in squares. And I use this adorable collection called Back to School by Seek to Spring from Andover. It's just darling. You're also going to need a/4 yard of pink, tan, and gray accent fabrics and about an eighth of a yard, but really even like a 10in square of brown. That's just going to be the stems of your apples. And then for your background fabric, you need 2 and 38 yard. That includes your sashing and that first little inner border. For your outer border, that is a 5 in border, and you're going to need 1 and 1/4 yards. And then for your backing, you need four and three/4 yards. You're also going to need a little bit of Soite fusible. And that's it. So, let's get started. We're going to begin by making this cute little apple block first. And so to do that, you are going to actually kind of divvy up your pack of 10in squares. and you're going to pull out a green one that you're going to use for all of your leaves if you want to add those to the apples. And then you're going to pick 15 that will mix up and use to make the apples. And the other 15 will be for your pencil. So just keep that in mind. If there's certain prints that you know want you want to be certain things, just divvy those up first before we start cutting. And so I've got a couple that I've picked for my apples. And I'm going to turn this so that these words are upright. And I'm going to begin by trimming off just an inch and a half. So that this measures 10 across by 8 and 1/2. There we go. And this little bit will be waste. So we can just put that in our scrap bin for later. And then I'm going to turn this now. And since this is 10 inches wide, I want to cut it in half. So, I'm just going to lay my ruler along the edge and trim these just like so. And so, then we'll use two of these squares as the base for our little apple. So, I'll set these aside for now. And then from our background strips, we're going to need some 1 and 1/2 in background squares, some 2 and 1/2 in background squares, and a 1 and 1/2 by 9 and 1/2 in background strip. So, I have all of those prepped and ready. So, the first thing we're going to do is snowball these two rectangles. And so, I'll lay these on here so you can see how those are going to go. So, each half is going to use three of the 1 and 1/2 in squares and they're going to go in opposite directions. So, my one and 1 halfs are going to go just like this. And then the two and a halfs will go in the remaining corners. And that's going to give us that really nice apple shape. And so if you're not familiar with snowballing, let me just draw a line here for you. We are going to kind of round out. And so point to point on those squares. So, I'll just mark each of these from point to point or you can eyeball it or some machines have a laser, whatever you want to do. You can press them in half. And so, now I'm going to take these to the machine and I'm going to sew point to point on each one of these. And I will meet you back here when it's all done. All right. So, I went ahead and sewed all of these and then trimmed them off and pressed them back. And so, now you can see my two halves of my apple are ready to go. And so, the next step is to just lay these right sides together. And we're going to go sew right down this middle seam with a quarter inch seam allowance. There we go. Then we can press this open so it lays nice and flat. And then the last step for our piecing is to bring in that 1 and 1/2 by 9 and 1/2 in strip and we're going to add it to the top. And that's going to give us the room to add our stem and leaf to this block. There we go. Now we can roll that back. It's coming together now. So, the last thing we have to do is add our little applique details. And so, I just uh traced onto the paper side of my So,ite fusible the leaf shape and the stem shape. And so, then we can just rough cut these out. And I have a little piece of my brown fabric that we will fuse this to. There's that one. Then we'll do the exact same thing with our leaf. And of course, because you're going to need multiples, you could trace all of these on a larger piece of that fusible and, you know, trace them all at once so that you can cut out of the same piece of fabric. But I'm just showing you one. And so then you're just going to follow right on that line and cut it out. I already have a couple ready to go here. So here is our stem. We're just going to peel off that paper backing. If you can't get it to release, you can always score it with a pen. And so then this is just going to set in there like so. And then we'll add our leaf on top. And so then we'll just take this to the pressing mat, fuse it in place with a nice hot dry iron. And then you just need to do just some basic top stitching to secure that cuz we want to make sure it doesn't lift away when we wash it. And so you could do a straight stitch, blanket stitch, whatever you'd like. This one I just did a little straight stitch around it and I think it turned out super cute. So now our apple block is all done and we can move on to making the pencils. So here is the little pencil block. This is our B block for the quilt. And it is also really fun to make. And so remember you've picked 15 of your uh print squares to use for the pencils. And we're going to cut all of those exactly like I'm about to show you. And so the first thing we're going to do, this one is a little bit directional. And so I'm going to try and keep it so that I can use that directional fabric. And so I'm going to measure down 6 in and make a cut. And of course you could stack multiples up if you wanted to. Then we'll turn this this way. And I'm going to measure two at 2 and 1/2. One and two. And the last one will be three and a half. Just make sure I'm nice and straight here. There we go. This little bit can go in your scrap bin. And then we will cut a 2 and 1/2 in strip off this remaining piece that we will set aside for later to use for our cornerstones. So just save that. And this can also go in your scrap bin. And so then of course once you have all your pieces cut, you're going to put them all in piles. Mix them all up. And we are going to start by placing our 3 and 1/2 in rectangle in the center and the two 2 and 1 halfs on either side. So let's go ahead and take this to the machine and sew it together. There we go. Now we can just spin this one around and add our other 2 and 1/2 in strip on the opposite side. Perfect. All right. So, let's go ahead and press this now. Just roll that towards the center. You're not going to have to nest any seams here. So, you don't have to do anything special with your pressing. You just want it to lay nice and flat. There we go. And so, that is the center of our pencil. And now, we're going to use those accent fabrics to make a couple of strip sets. So, the first one is for our eraser. And we're going to cut a 2-in by the width of fabric strip of the pink and a 1 in strip of the gray. And so I've just sewed that all together. You'll press it open. And then you're going to subcut those into 7 and 1/2 in segments like this. So there is our eraser unit. And then we're also going to make a strip set for the top of the pencil. And so this one, the tan is a 1 and 1/2 and the gray is a one. And so I've done that. And then it's getting cut to that same 7 and 1/2 inch measurement. So I have both of those ready to go. Now let's talk about our background cuts on this one. So we're going to need some 1in squares. I know it's small. You just don't need very many. It's just to round out the eraser a little bit. And I think it was just the right size. In addition to that, you're going to need some 2 in by 4 and 1/4 in uh rectangles. That's going to be to make the point of our pencil. I guess it actually goes here. And then the last measurement we're going to need are these 1 and 1/2 by 9 and 1/2 in background strips that will just make our block square at the end. So let's begin by doing the pencil point actually. And so remember this is 7 and 1/2 in wide. And so I'm just going to take this over to the ironing board and I'm just going to put a little mark in the center so I have that for a reference. If you want to actually mark it with a marking pen, you would of course just measure over 3 and a/ quart. You want to find the exact middle there. And so then now we are going to snowball this. But since we have a rectangle, we have to do this a little bit differently. So we're going to take the point of this corner and line it up down here. And we're going to overlap that center seam up here. And we're going to sew from point to point. And this is what's going to leave us a quarter inch later so that we don't lose the point of the pencil when we stitch all of this together. So now I'm going to just lay this here. Let's go ahead and mark it so you guys can see exactly what I mean. So I'm going to lay my ruler on the diagonal and we're going to stitch right on that drawn line. So let's go ahead and take this to the machine. There we go. And so now before you trim this off, you're just going to fold this back. And you see how that's gonna cover our corner there and it's going to give us exactly what we need to create this pencil point. So once I check it, then I can go ahead and trim this off, leaving just that quarter inch seam. There we go. And then we'll go ahead and press this back. And then we'll do the same thing to the other side. So just roll that back. And we'll do one more. I'm going to go ahead and trim off that little dog ear that's hanging over there just to eliminate some bulk. And so then now this is the exact same concept. We just do it on the opposite side. So we're going to bring that point up. And if it's helpful to mark, we'll draw that line corner to corner. There we go. and stitch right on the line. Again, just make sure I'm staying lined up with my background there. Okay. And so just like before, yep, that turned out great, we can trim it off. Leaving just our seam allowance, I can go ahead and just trim off that little bulk at the top. And now we'll press this back. I want that to lay nice and flat. There we go. And there is the little tip of our pencil. Isn't that so cute? And so now we can go ahead and sew that to the top of our block. So we'll take this to the sewing machine. If it gets a little wonky on you, remember you can trim it right back down to that 7 and 1/2 inch length. That's what you are looking for. Okay. So, now we'll press this part back. There you go. Now, one thing I do want to point out here is you'll notice that this angle does not go all the way to the outside of the pencil. I did that on purpose. It doesn't bother me at all because when you take your seams, you'll notice there's just this little slightly less than a half an inch where you have that overhang. And I think it just looks like a sharpened pencil. It doesn't really bother me. So, just know if you've got that, you didn't do anything wrong. It was intentional. And so then lastly, we're just going to add those little 1-in snowballs to our eraser segment here. So, I'll place one on each of these pink corners. And we're just going to sew corner to corner down there. This is a small enough stretch I think I can eyeball it. So, we'll just do that and then turn and add one more to the opposite side. There we go. And of course on things like this as you're making the whole quilt, sitting and chain piecing makes all of these little steps go a lot faster. So don't be afraid to do that. So now we'll just trim off that little bit of bulk there, leaving our seam allowance. Then we'll roll these little corners back. There's one. One more here. [snorts] All right, there we go. That gives us the kind of classic rounded eraser shape. And so we'll add this to the bottom of our pencil unit. Beautiful. Let's go ahead and give this a press. Roll that back. Isn't that so cute? So then the last thing we have to do is add a 1 and 1/2 by 9 and 1/2 in background strip on either side. That's just going to square up our block, make it match up exactly with our apples. And it looks just like this when you're all done. And so let me clear this out of the way. I'll grab that apple block and we'll talk about the layout. So, here are our two finished blocks. You'll notice now that they're the exact same size. The unfinished measurement is 9 and 1/2 in. And so, now it's just time to set them in the quilt. So, the first row begins with an apple and just alternates between an apple and a pencil. And each row goes just like that. In between each block, there is a 2 and 1/2 by 9 and 1/2 in sashing strip. And that's included in this first little inner border. And remember, we saved those 2 and 1/2 in strips from some of those squares. That's where all these little cornerstones come from. So, very little waste in your pack of 10in squares. And then you add a 5-in outer border. I quilted it with a fun little panto that's called ginger snap. And here is it on the back. You can really see it against that black. So, I hope you guys enjoyed this teacher's pet quilt. It is so much fun to make. It ends up at 66x7, which is a great throw size. Give it a try and I'll see you next time on at home.

 Misty Doan
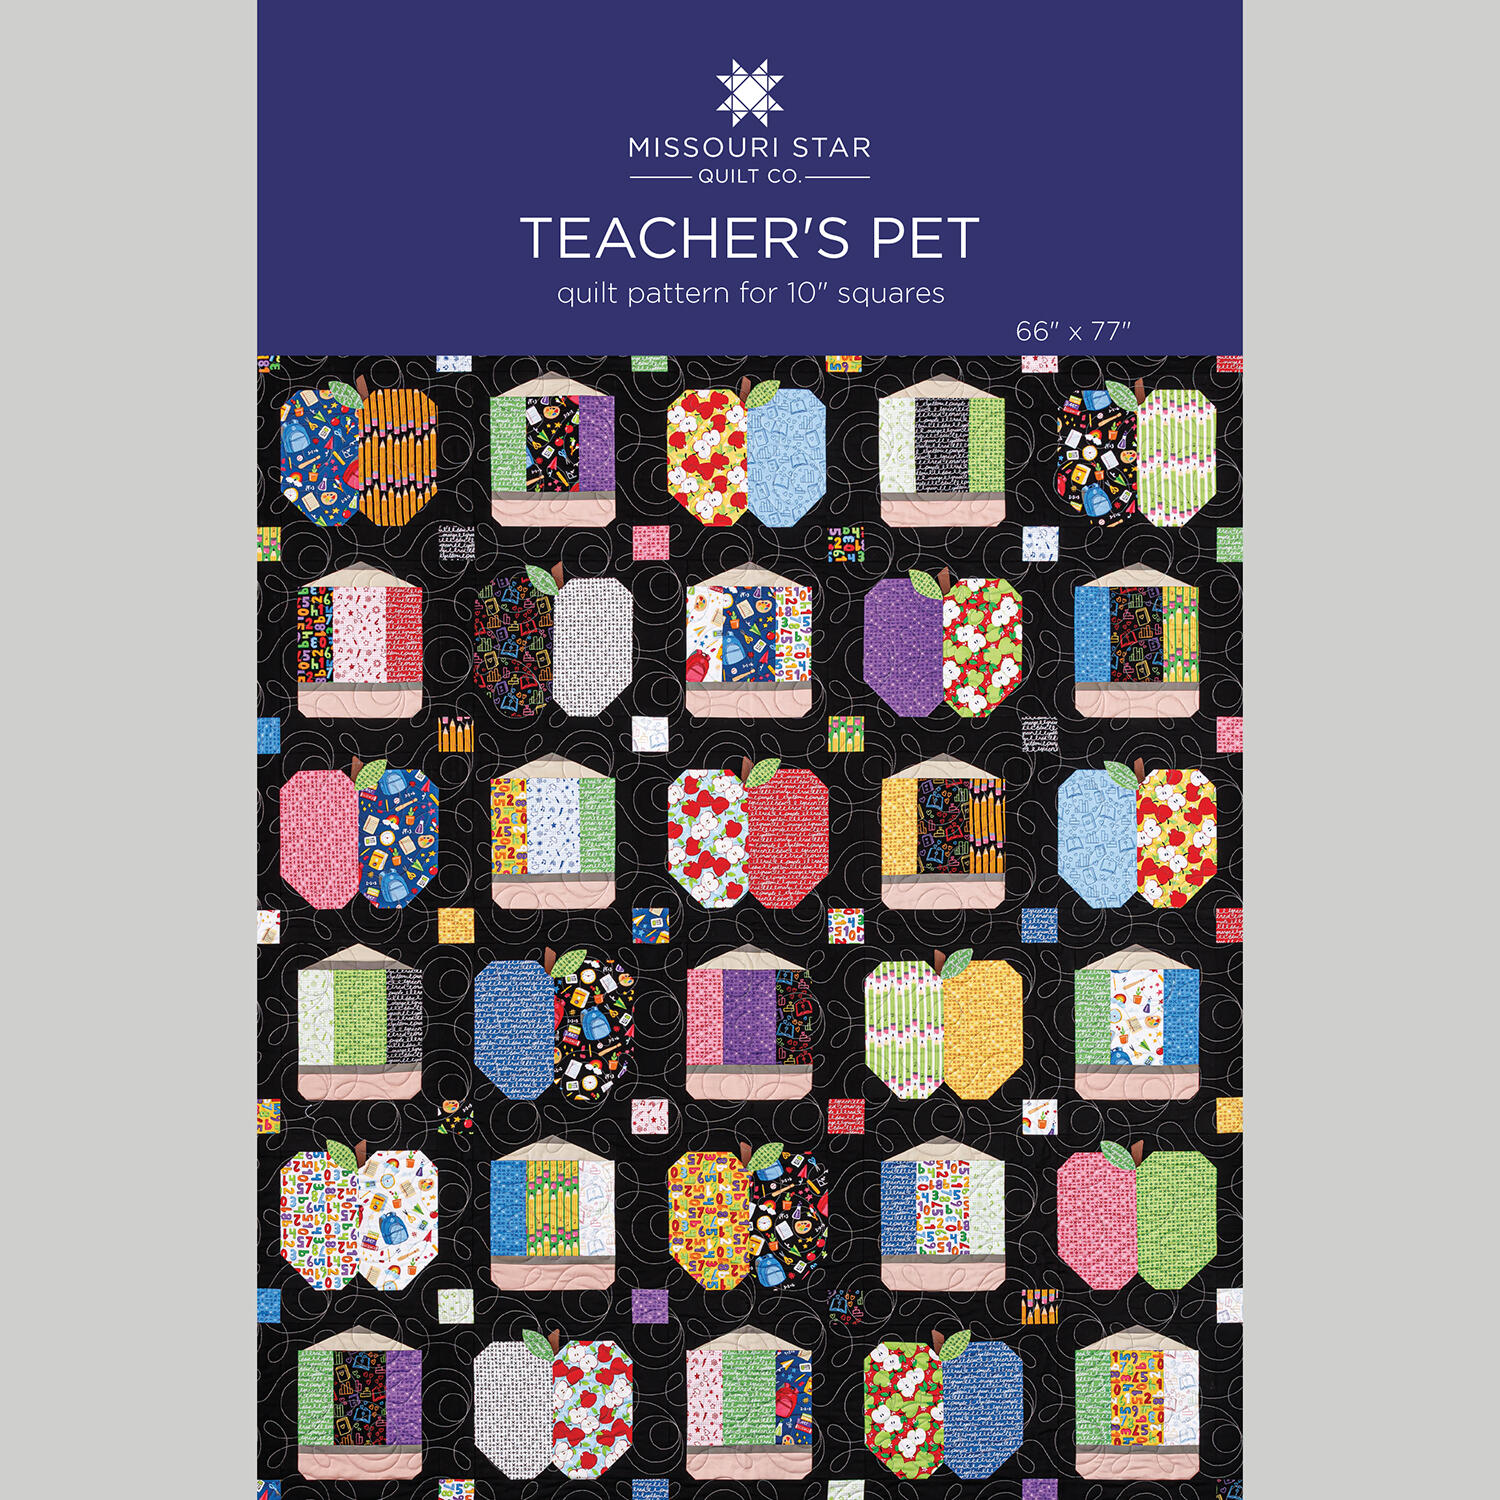 Teacher's Pet Quilt Pattern by Missouri Star$8.50Shop →
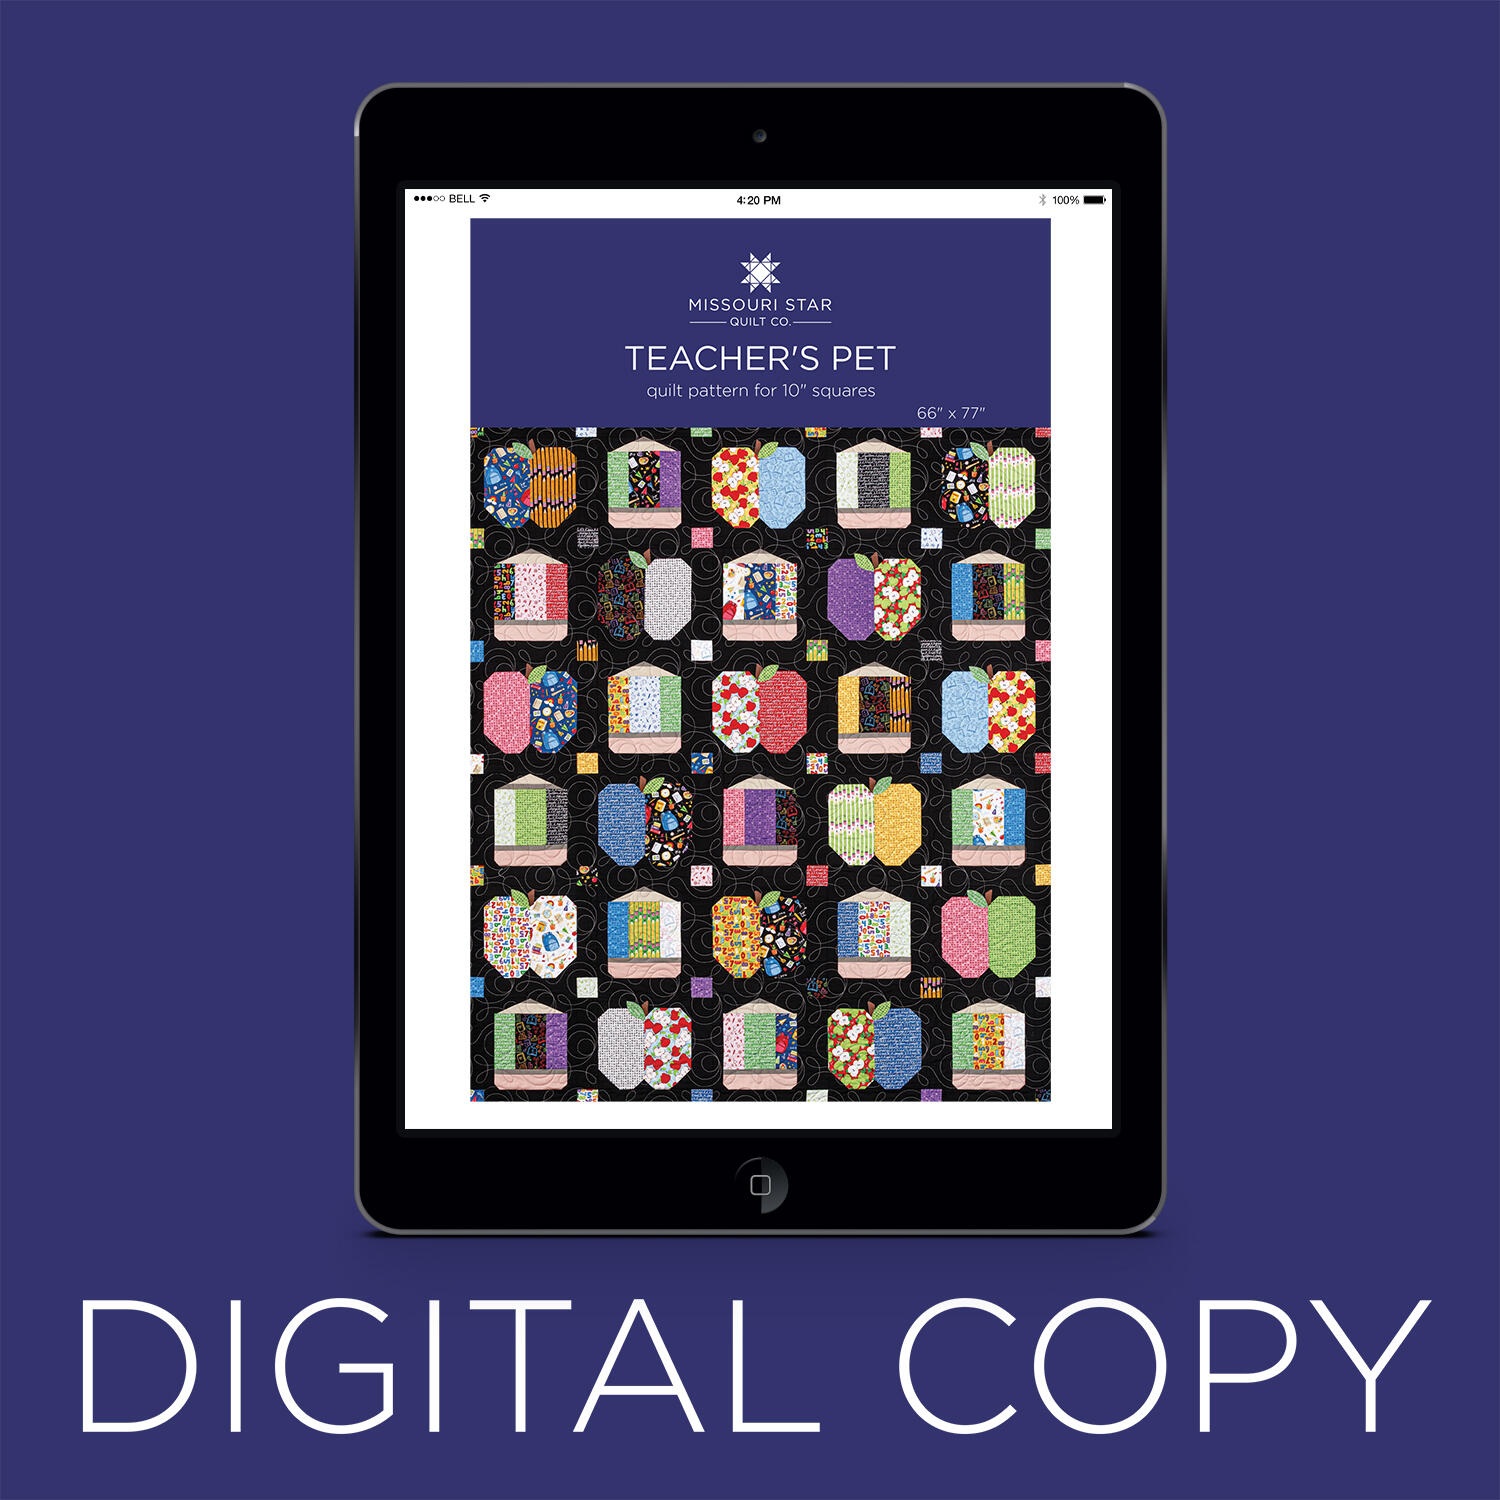 Digital Download - Teacher's Pet Quilt Pattern by Missouri Star$6.95Shop →
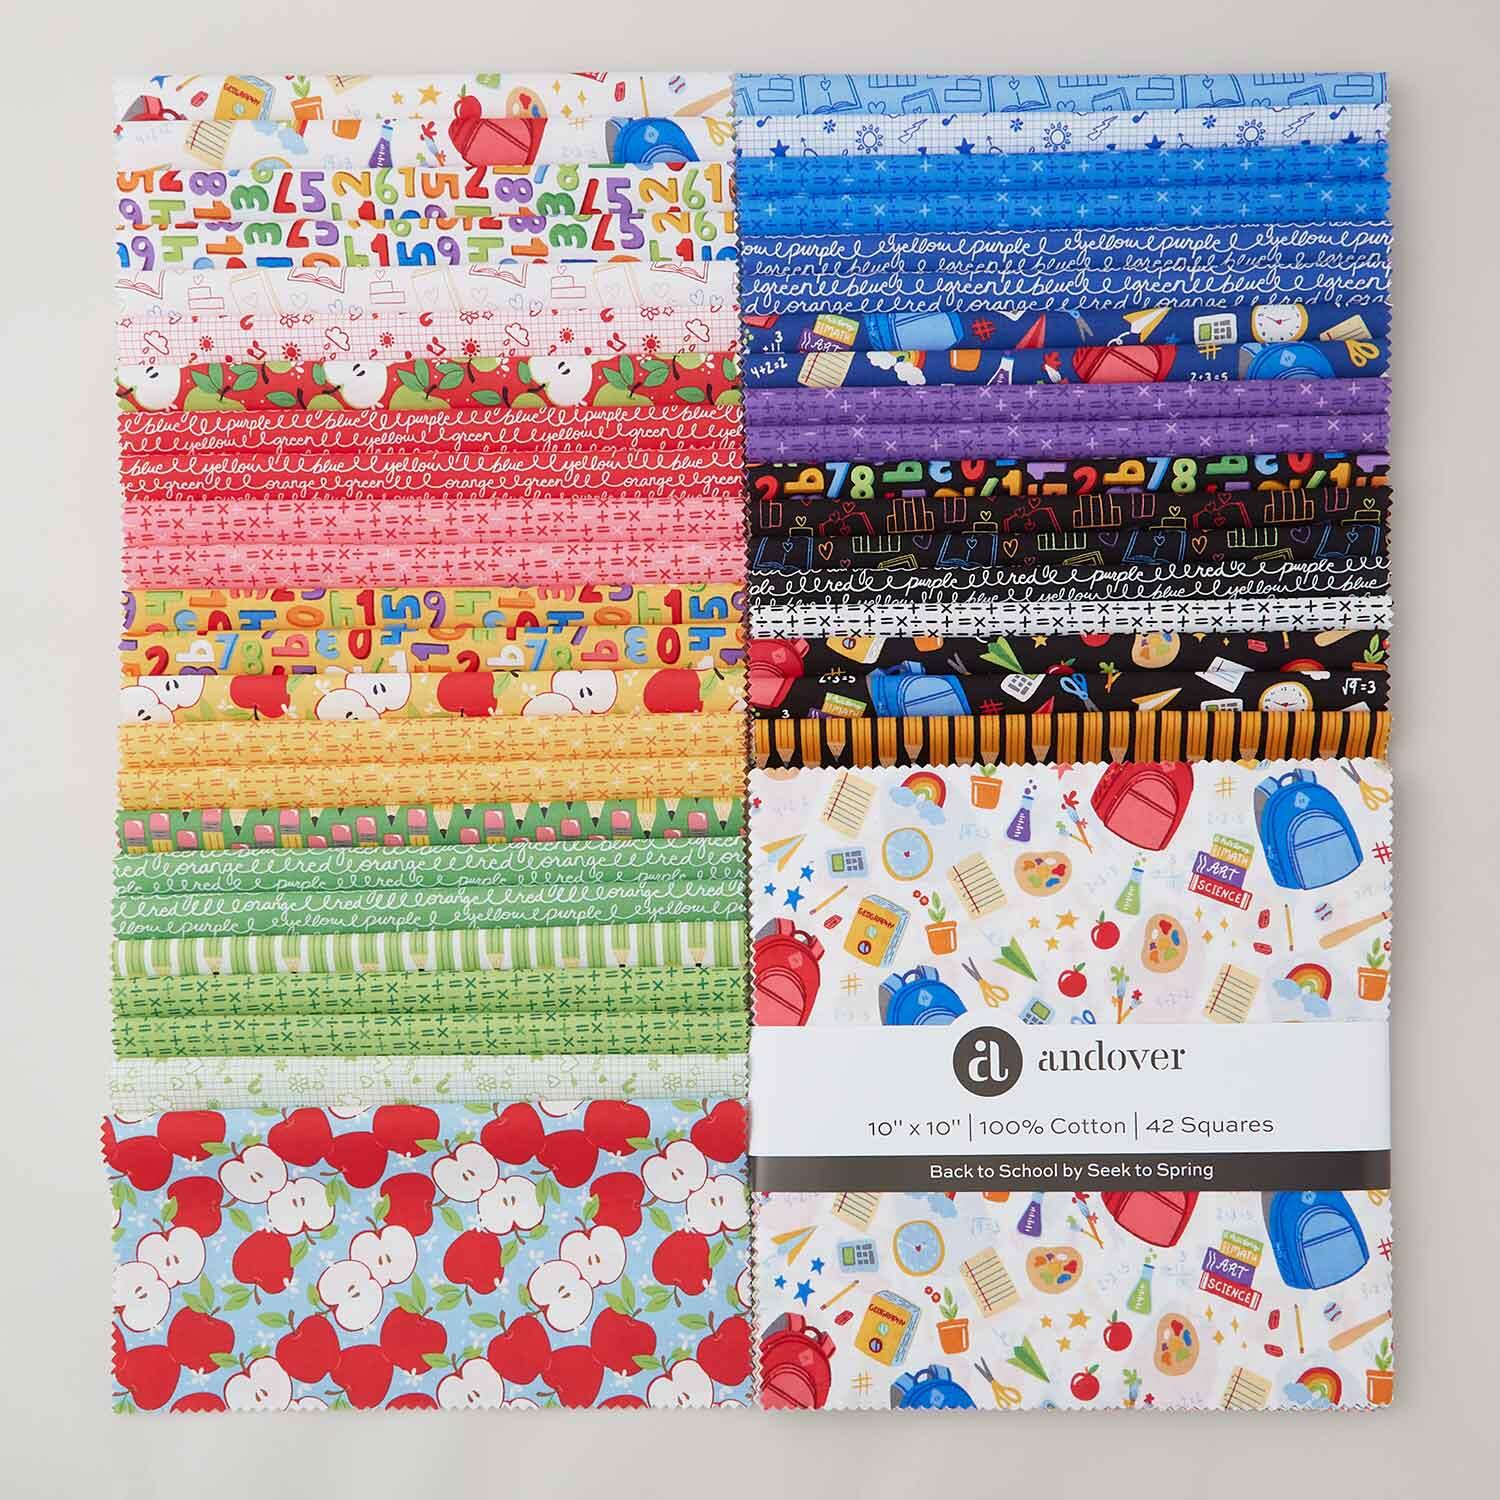 Back to School Sundaes$47.95Shop →
 Colorworks Premium Solids - Tender Heart Yardage$8.96Shop →
 Colorworks Premium Solids - Stone Yardage$8.96Shop →
 Colorworks Premium Solids - Sandstone Yardage$8.96Shop →
 Colorworks Premium Solids - Russet Yardage$8.96Shop →
 Colorworks Premium Solids - Black Yardage$8.96Shop →
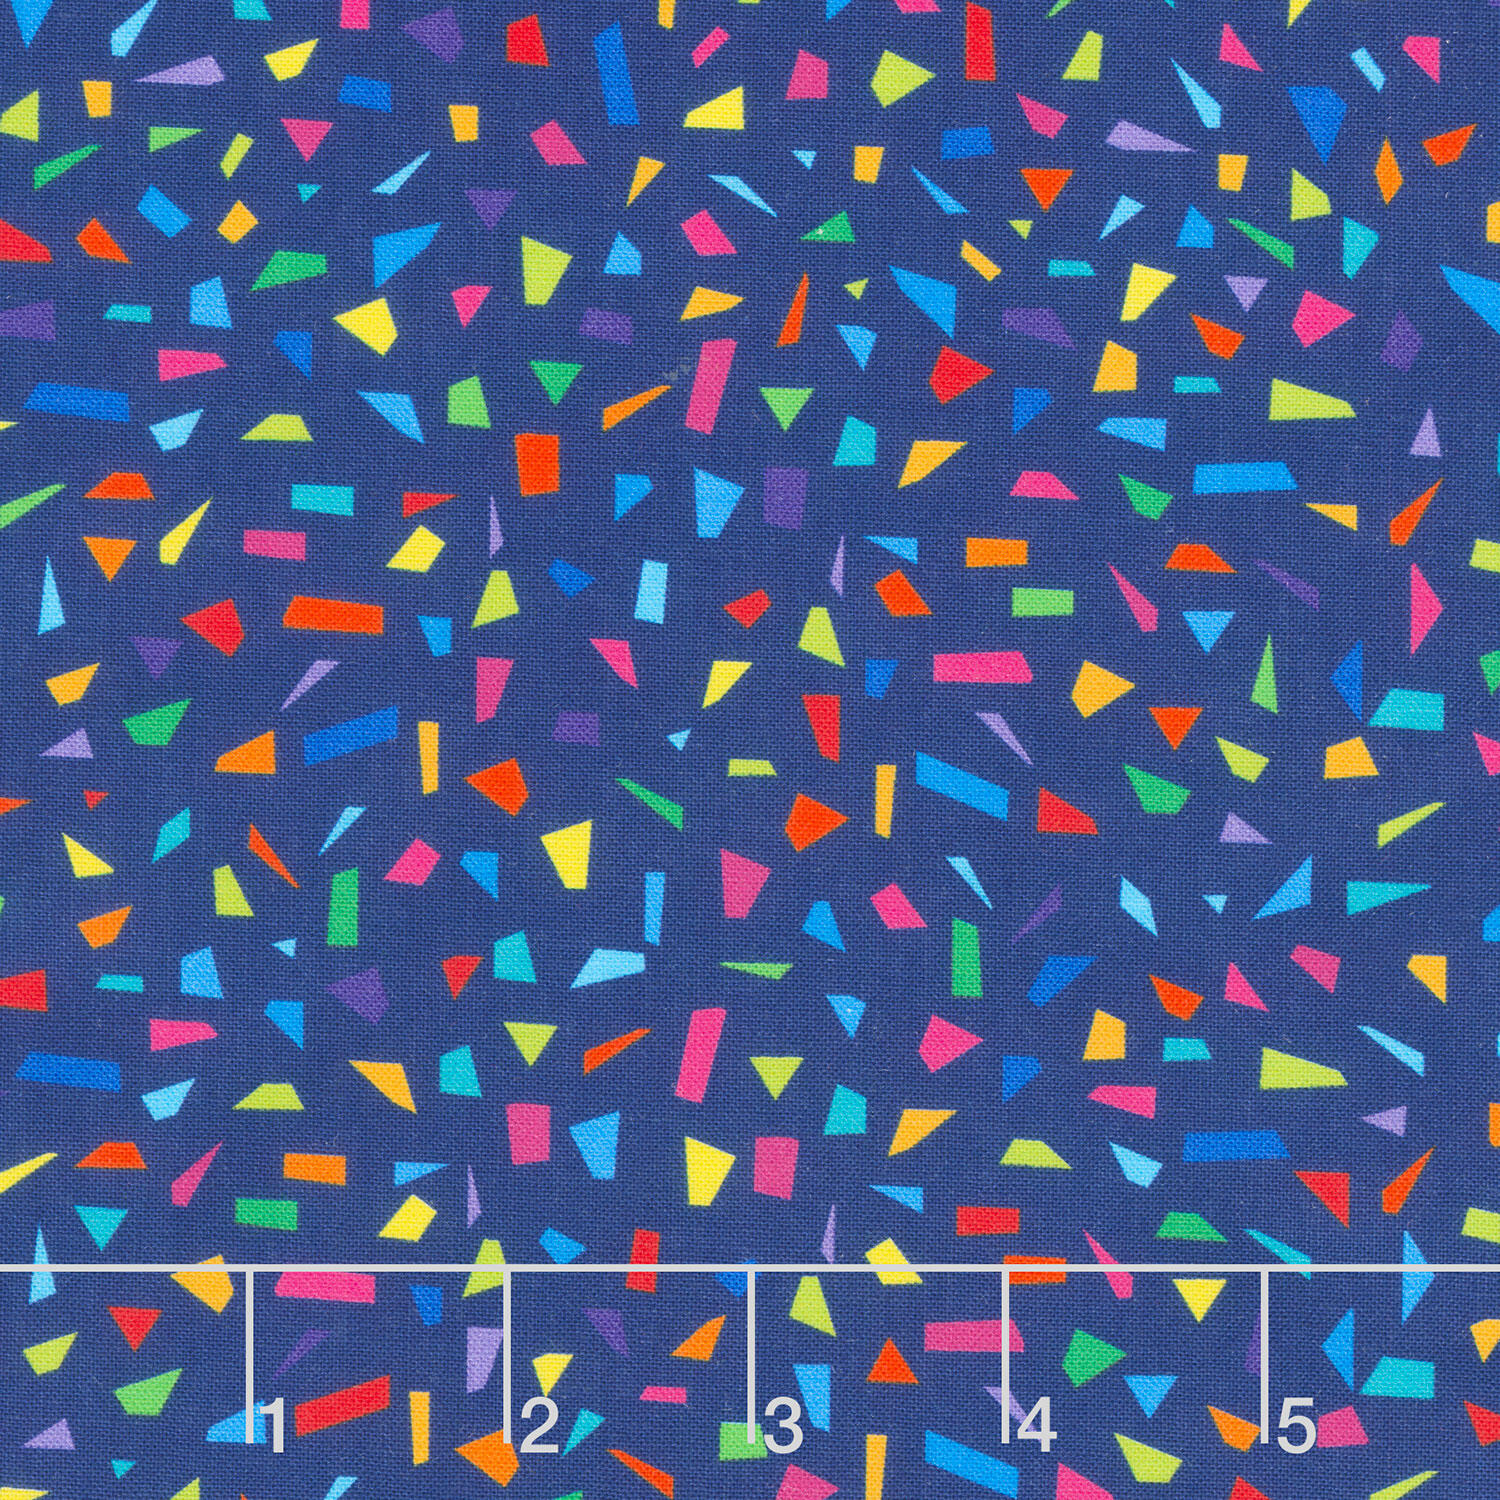 Snips Of Color - Midnight Yardage$12.20Shop →
 Sun Print 2022 - 10th Anniversary Collection Stitched Blackbird Yardage$11.96Shop →
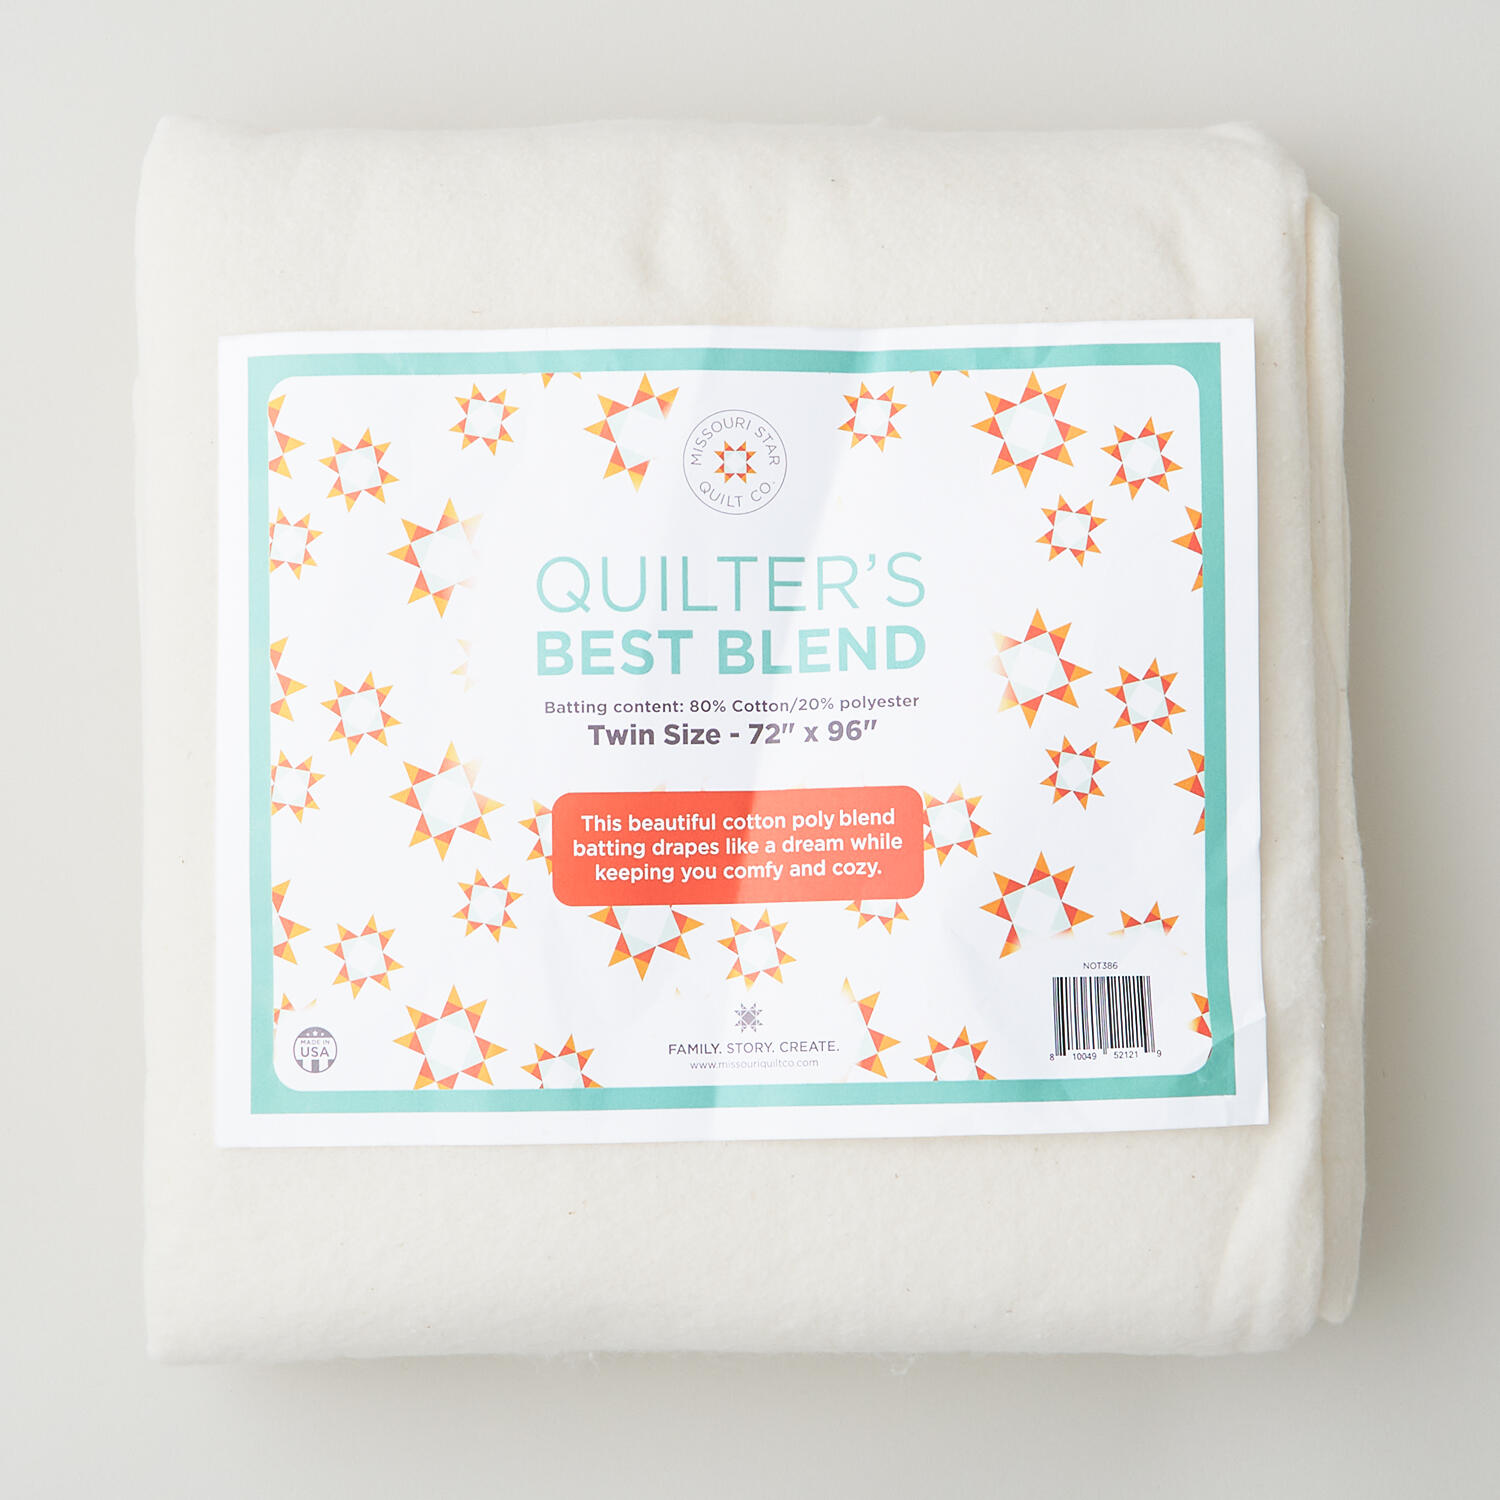 Missouri Star Quilter’s Best Blend Twin Batting$26.95Shop →
 Missouri Star Sew Light Fusible Adhesive - 17" x 2 yards$4.95Shop →
 Missouri Star 45mm Rotary Cutter - Olga$19.95Shop →
 Missouri Star 8" Everyday Scissors - Amelia$19.95Shop →
 Missouri Star + Oliso TG1600 ProPlus Iron$209.95Shop →
 Bernette 77 Sewing and Quilting Machine$1699.00Shop →



