The classic look of terrazzo makes its way to quilting! The Terrazzo quilt features bold on-point frames over simple squares, bringing to mind beautiful tiles. To tie everything together, Misty shows how the Villa Sol collection from Windham Fabrics draws in the many colors of terrazzo tiles. The beautiful simplicity of this quilt will floor you!
Misty Doan grew up surrounded by sewing and quilting. She loves spending time sharing tutorials each week each week, and when she’s not stitching up one of her fun sewing projects for home decor, most likely you’ll find her hanging out with her husband and three awesome kids or working on a house project.
The classic look of terrazzo makes its way to quilting! The Terrazzo quilt features bold on-point frames over simple squares, bringing to mind beautiful tiles. To tie everything together, Misty shows how the Villa Sol collection from Windham Fabrics draws in the many colors of...
How long is the tutorial video?
The tutorial video is 00:08:55.
Are supplies listed for this tutorial?
Yes. The tutorial page includes the supplies and materials connected to this project.
Video Transcript
Hey friends, I have another great tutorial to share with you this week. I'm calling this one Terzo. And it's great if you have a collection that has some beautiful bold prints that you don't want to cut too small. So, let me show you how to make it. So, this quilt is so fast and fun to make, and I absolutely love that it can highlight some of these beautiful prints in a collection. And so the only thing you'll want to pay attention to as we get going is if you have directional prints, you'll want to make sure that you can keep those uprights, but we'll talk about that as we go along. So to make this quilt, you are going to need one package of 10in squares. And I use this beautiful line called Villa Soul by Jennifer Moore of Mona Luna for Windom Fabrics. You're also going to need 1 and 1/8 yard of your background fabric. That includes your first little inner border for your outer border. That's a five inch border. And you need one and a quarter yards. For your backing, you need four and three/4er yards with a vertical seam or two and an eighth of 108. And I just love this umbrella print. I think it's so cute. And then, of course, I had to put a stripe on the binding. And for that, you need 2/3 of a yard. Uh the other thing that would be helpful is a 10-in square ruler. So, grab one of those if you have it. And let me show you how easy this is to put together. Okay. So, first things first, we are going to take our 10in squares and we are going to rotate those so they're kind of on point. And I'm going to take my ruler here and I'm going to lay my ruler so that I'm measuring 4 in from the point. And so I've got this here. 1 2 3 4. And I'm going to make a cut. And we're going to keep this. We don't want to toss it. So I'll just add it over there. And then I'm going to spin this around. And I'm going to measure the same distance on the other side. So just lining up my ruler right to that point, measuring over 4 in, and saving this little piece that I cut off. And so then now we're going to cut a 7 and 1/2 in background strip and subcut that into little 1 and 1/2 in segments. And so I'm going to take one of these and add it to each side. That gives me just enough to hang past. And I'll just go ahead and take this to the machine and we'll sew one to each side of this piece that we've cut. So, let's do that. And if you want to, you can kind of finger press these in half just to make sure that you're centered and that you'll have plenty of overhang on each side. So, I'm just going to do that really quick while I'm sitting here. There we go. And then you don't have to worry. And so we'll just stitch with a quarter inch. Making sure my fabric is all straight. And now I can spin this around. Do the exact same thing on the other side. So let me go ahead and finger press this little background strip again. And we'll add this here. lining those up. And sometimes it might be easier for you if you want to flip it over and then you can see that overhang and make sure that those edges are lining up. Whichever way you want, you'll get the same result in the end. All right. Perfect. So, once we've sewn both of those, we can go ahead and take this over to the ironing board. We'll press those seams and roll them back. Do the same on the other side here. And then since I'm already at the iron, I'm going to go ahead and fold this point to point again to find my centers. Just give that a press. And then I'll bring my little pieces that I cut off and we're going to do the exact same thing. Just fold those to find the middle. You just need that straight side a little crease there. All right. So now let's bring this back over because what we want to make sure is that the same part of the print is going where it needs to go so that we have that continuous directional print. And so now I can fold this over, line up our little seams, and we're just going to stitch just like we did before with our quarter inch seam. There's side one. Now I'll flip this around again. Making sure we're lined up here. Okay, perfect. So, now we'll go ahead and press these back as well. Setting that seam and rolling it back. Or if you want to tuck that in towards my accent fabric, because it is darker, you can totally do that as well. You just want to make sure that that seam is going to roll back underneath. And since this fabric is a little lighter, it might be the the right move. So, we'll do that. We can do the same thing on the other side here. Just set that on top and roll it back towards that background fabric. You just want to make sure you don't have any pleats there. Everything is laying nice and smooth. All right. So now your block is going to look just like this. You see you have a little bit of funky overhang. You don't need to worry about that. That's where our 10in square ruler is going to come in. And since we started with a 10in square, we have those two original points to use as our guide. And so I'm just going to turn this on point again just to make it easier for me to cut this first side. So we'll just make sure we're lined up there. And we'll cut and cut. And then I can spin and do that same thing on this other side. Just double- checking, making sure my ruler is nice and square here. And trim and trim. And there we go. That is our whole block for this quilt. It comes together so quick. So, I have a few others that I went ahead and made here. So, let's lay these out because, of course, all we're going to do is make sure that we get this secondary diamond shape. Whoops, got one backwards. There we go. This one's not directional, so it can spin. And so there you can see we get this diamond that forms when we put our blocks together. So, let's go ahead and take a look at the quilt behind me. So for this layout, we did six across by seven down using that entire package of 10in squares. Then we have a 1 and 1/2 in inner border, a 5 in outer border. I quilted the whole thing just in cream with a a panto called Athena, which I think is really nice. And then this beautiful backing. I just love these beach umbrellas. They're so vibrant and fun. And so this quilt finishes at 68 by 77. So a great throw or picnic size. And so just to reiterate, if you're working with directional fabrics, you might want to go ahead and lay it out so that you know that you're still going to be upright. So for example, these cute little sardine cans I had to snowball this direction. And then the lemons I had to snowball this direction so that the fabric would still be facing upright in the quilt. And I did do that for this entire quilt top. So you can notice here these little olives are upright and it had to go this way and then these cute little lemon trees are the opposite. So just keep that in mind depending on what fabric you're working with. But I absolutely love how quick this comes together and I think it's a really beautiful result. So I hope you'll give it a try and I'll see you next time on at home.


 Misty Doan
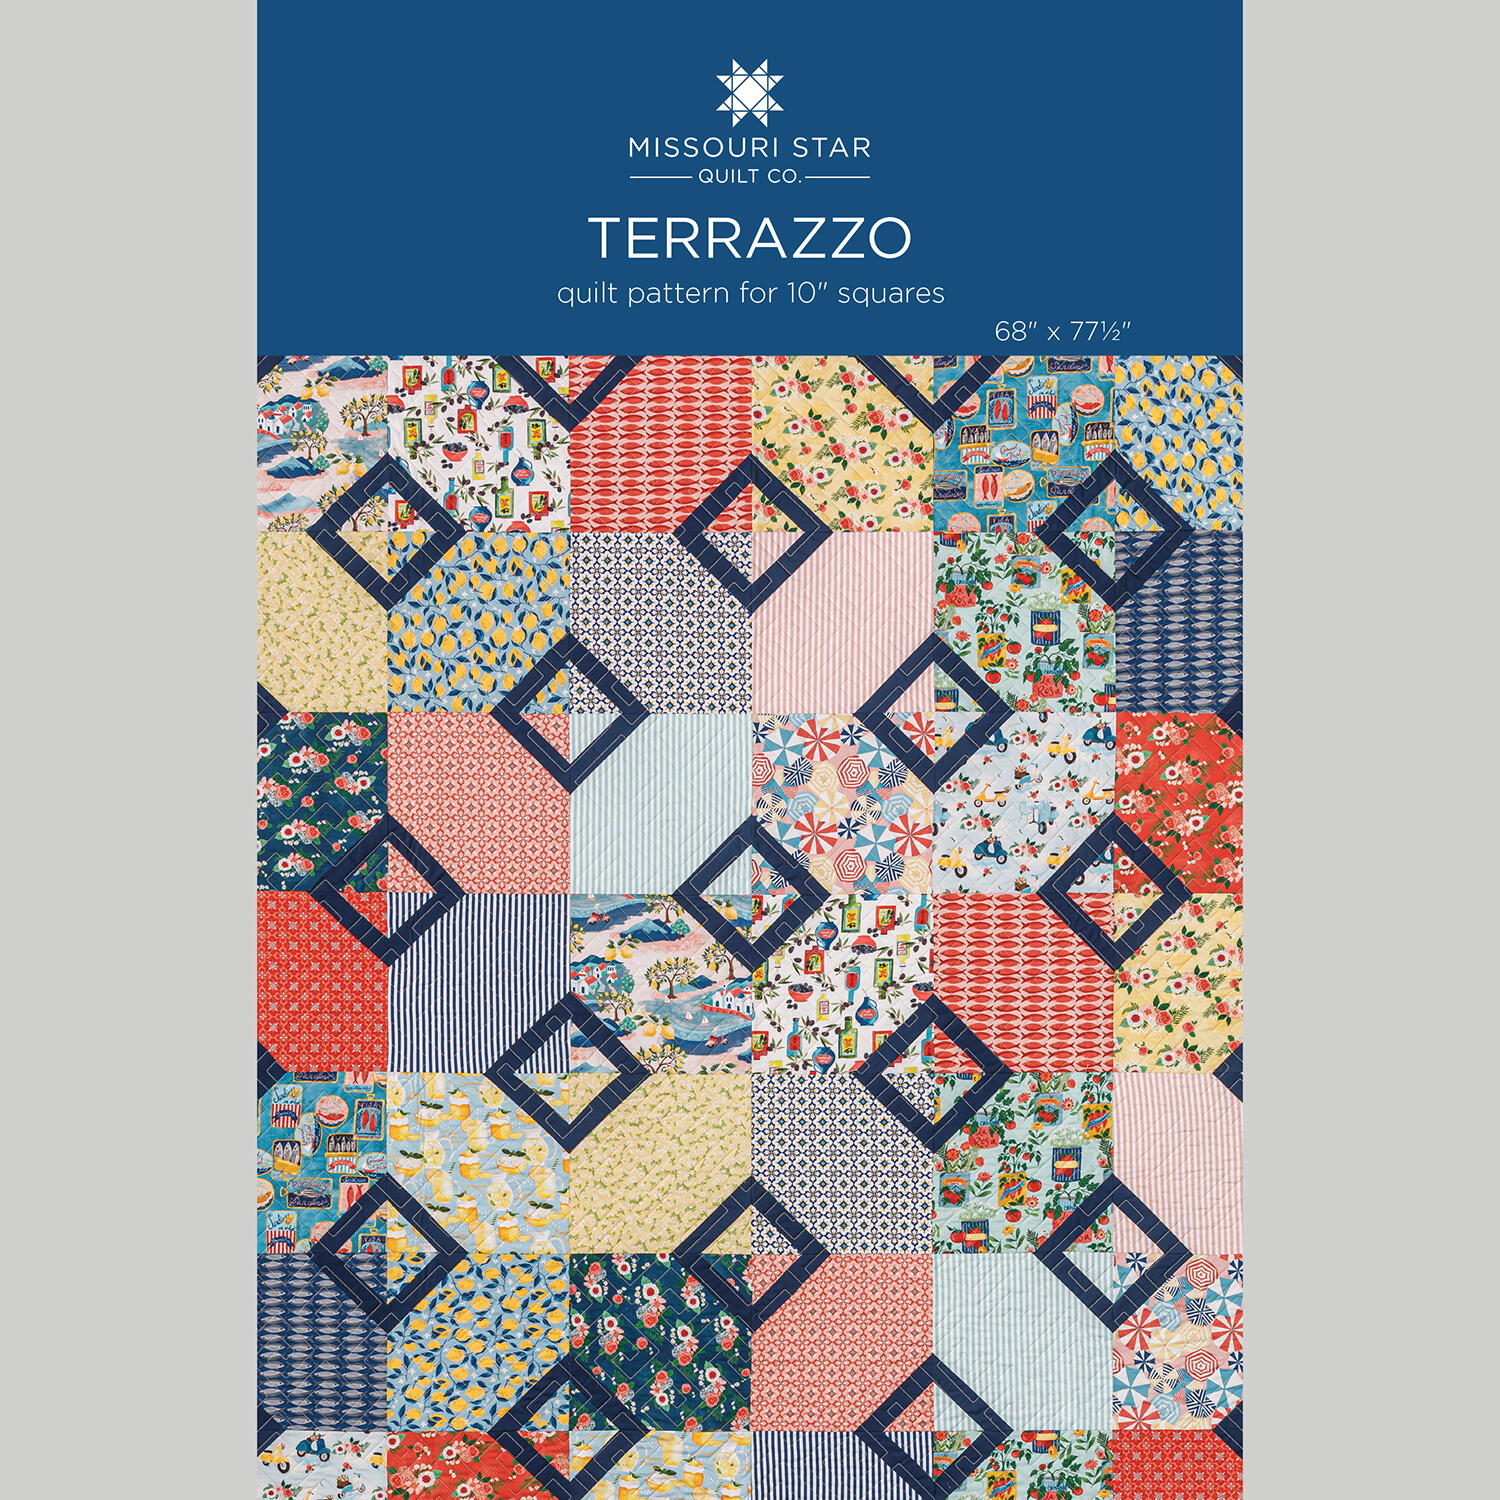 Terrazzo Quilt Pattern by Missouri Star$8.50Shop →
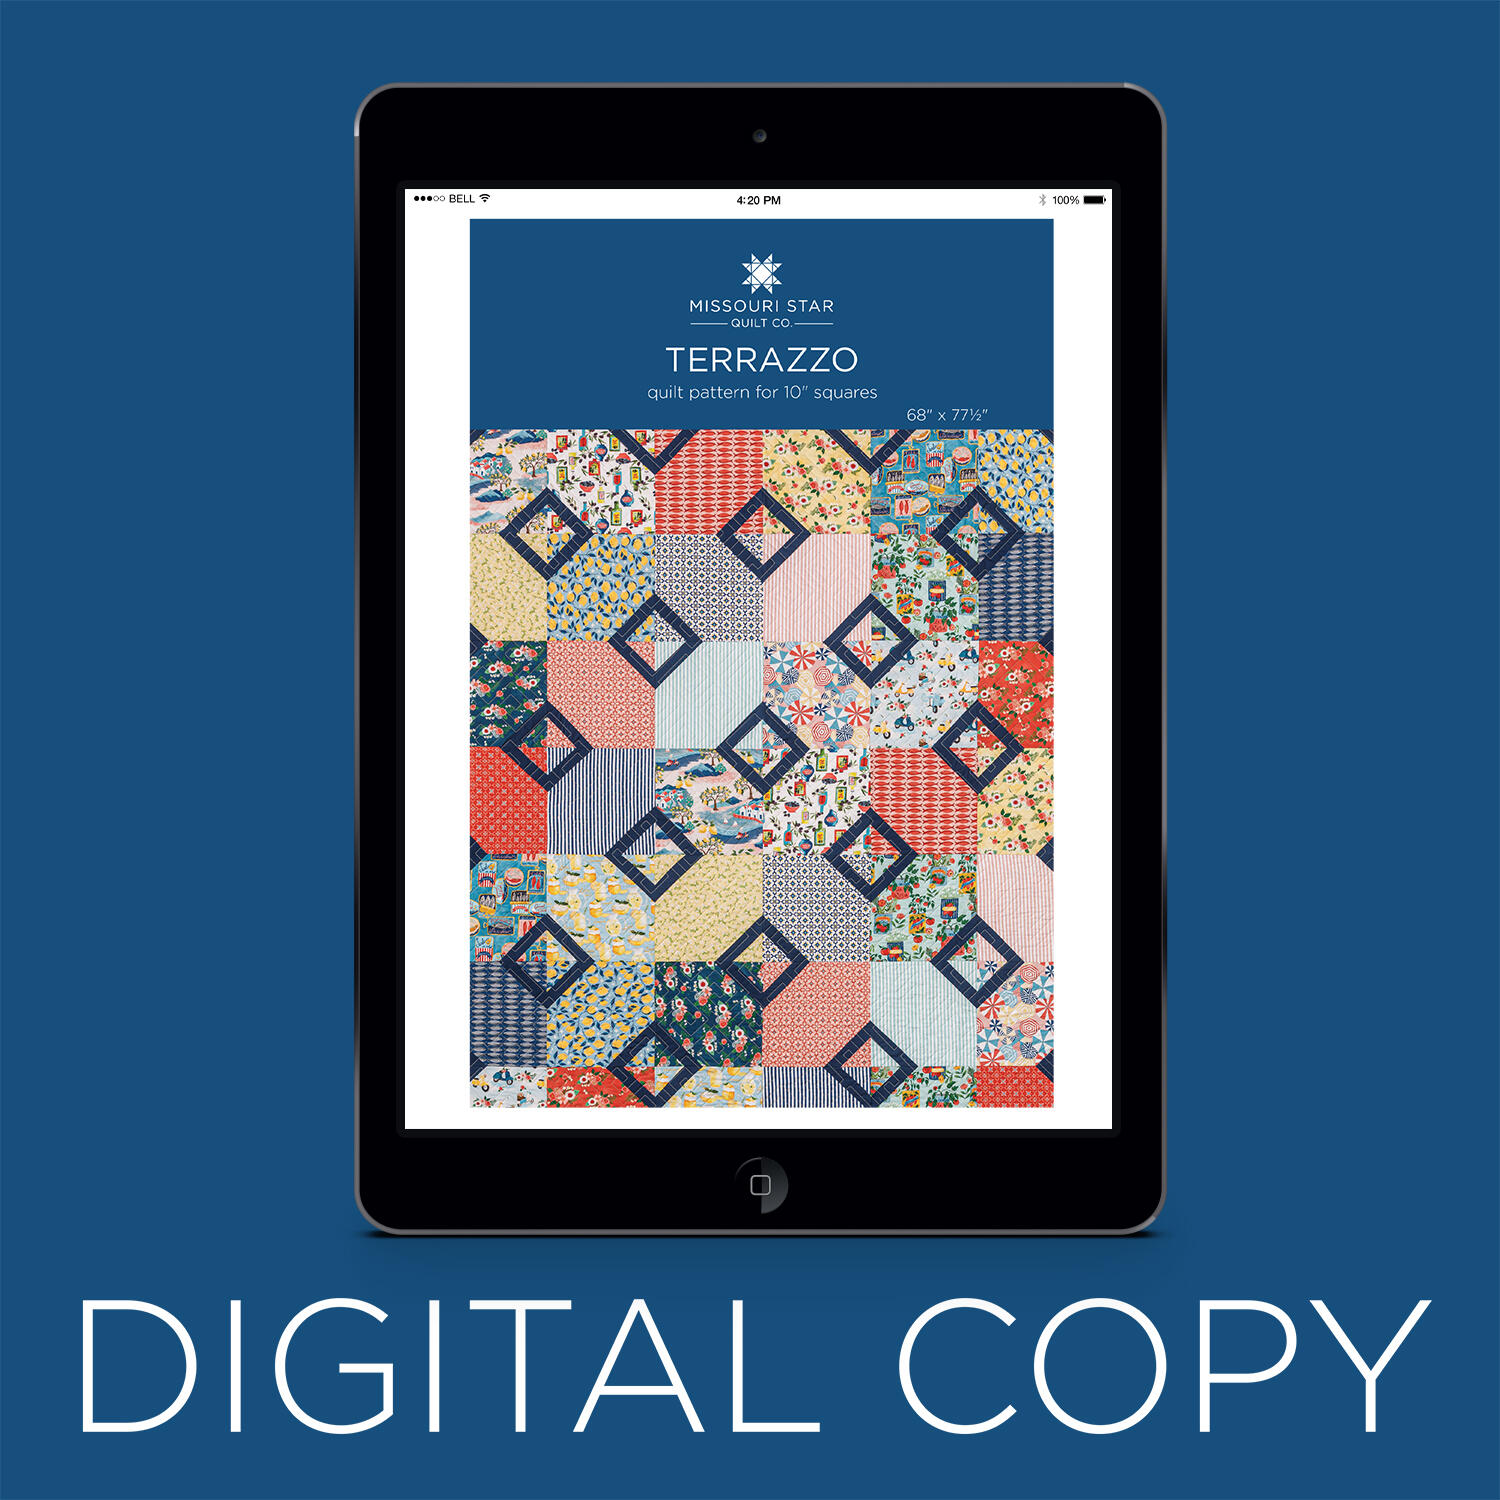 Digital Download - Terrazzo Quilt Pattern by Missouri Star$6.95Shop →
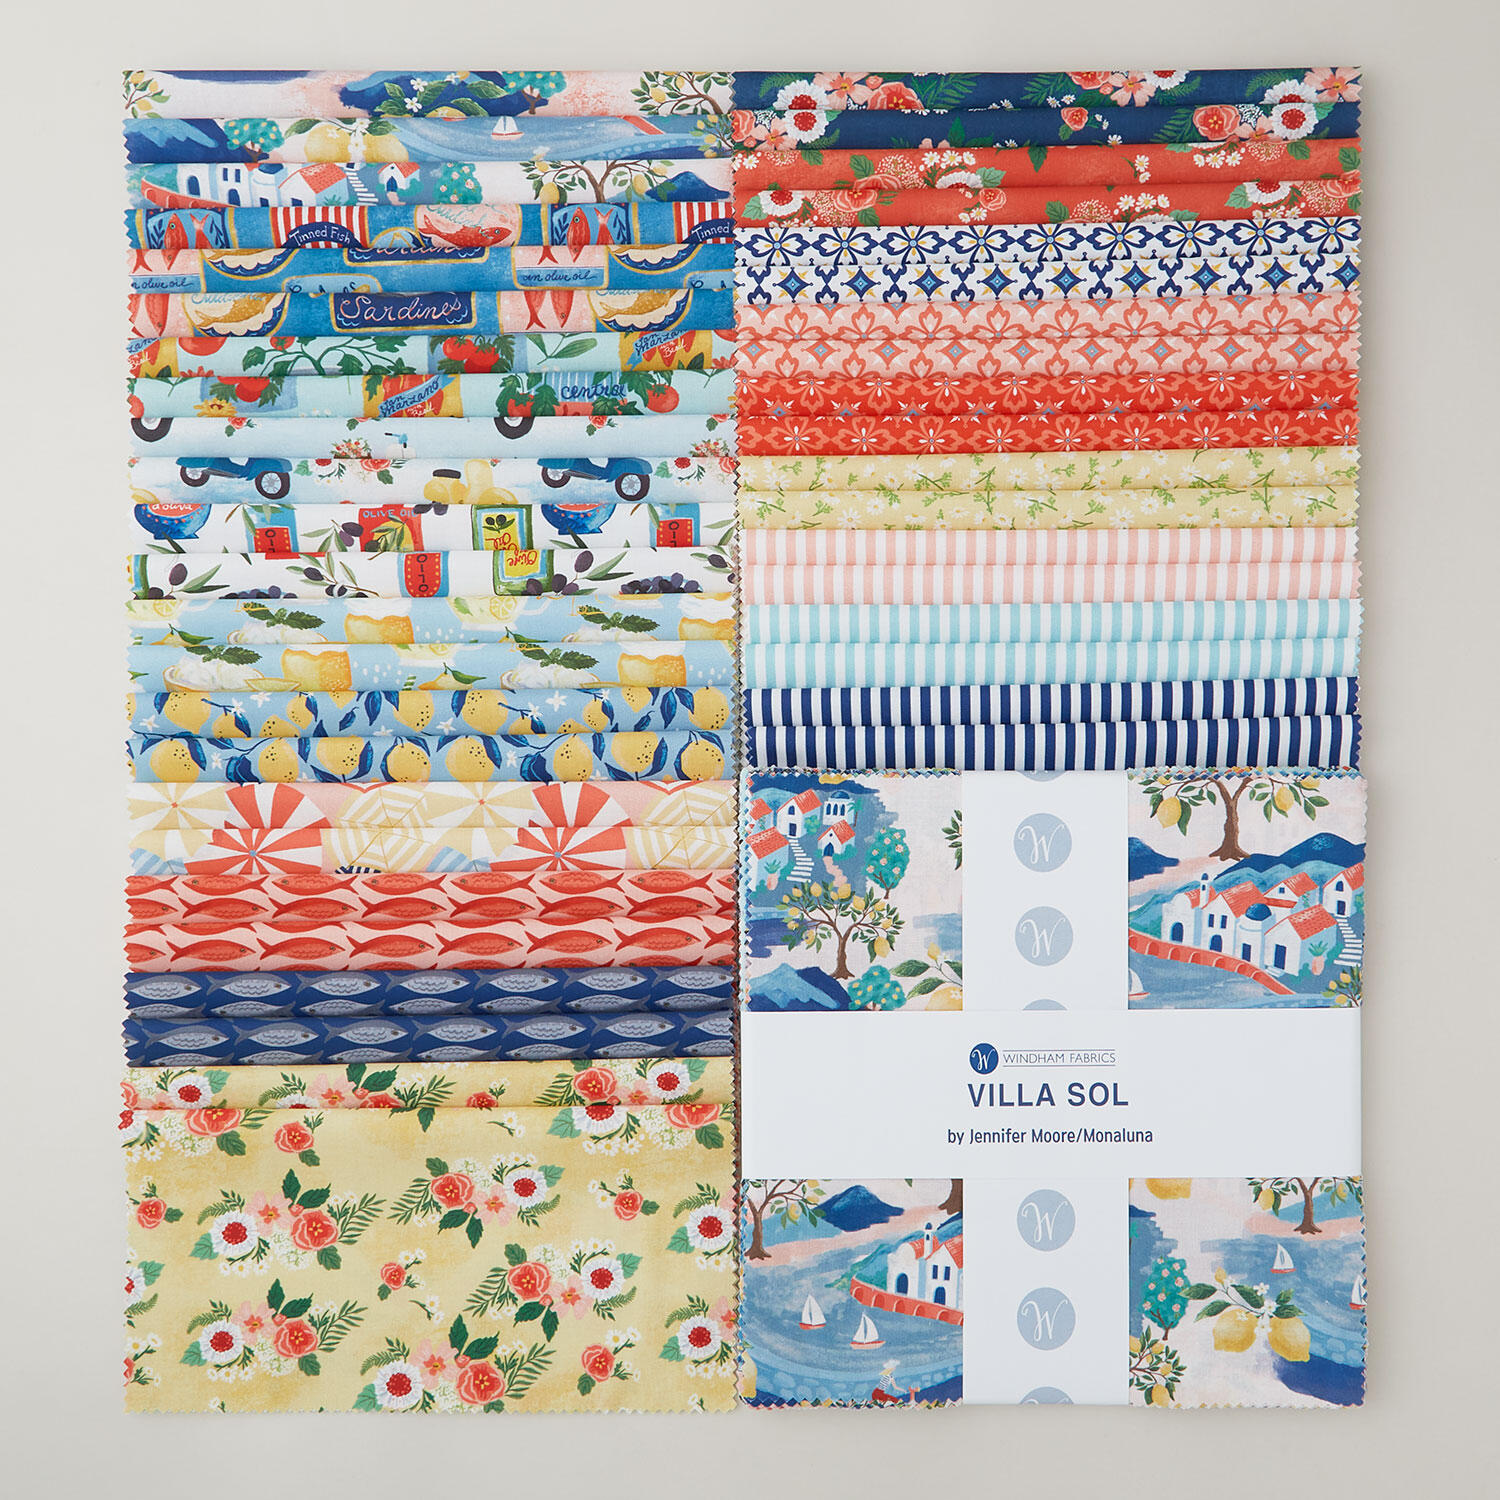 Villa Sol 10" Squares$44.95Shop →
 Colorworks Premium Solids - Liberty Blue Yardage$8.96Shop →
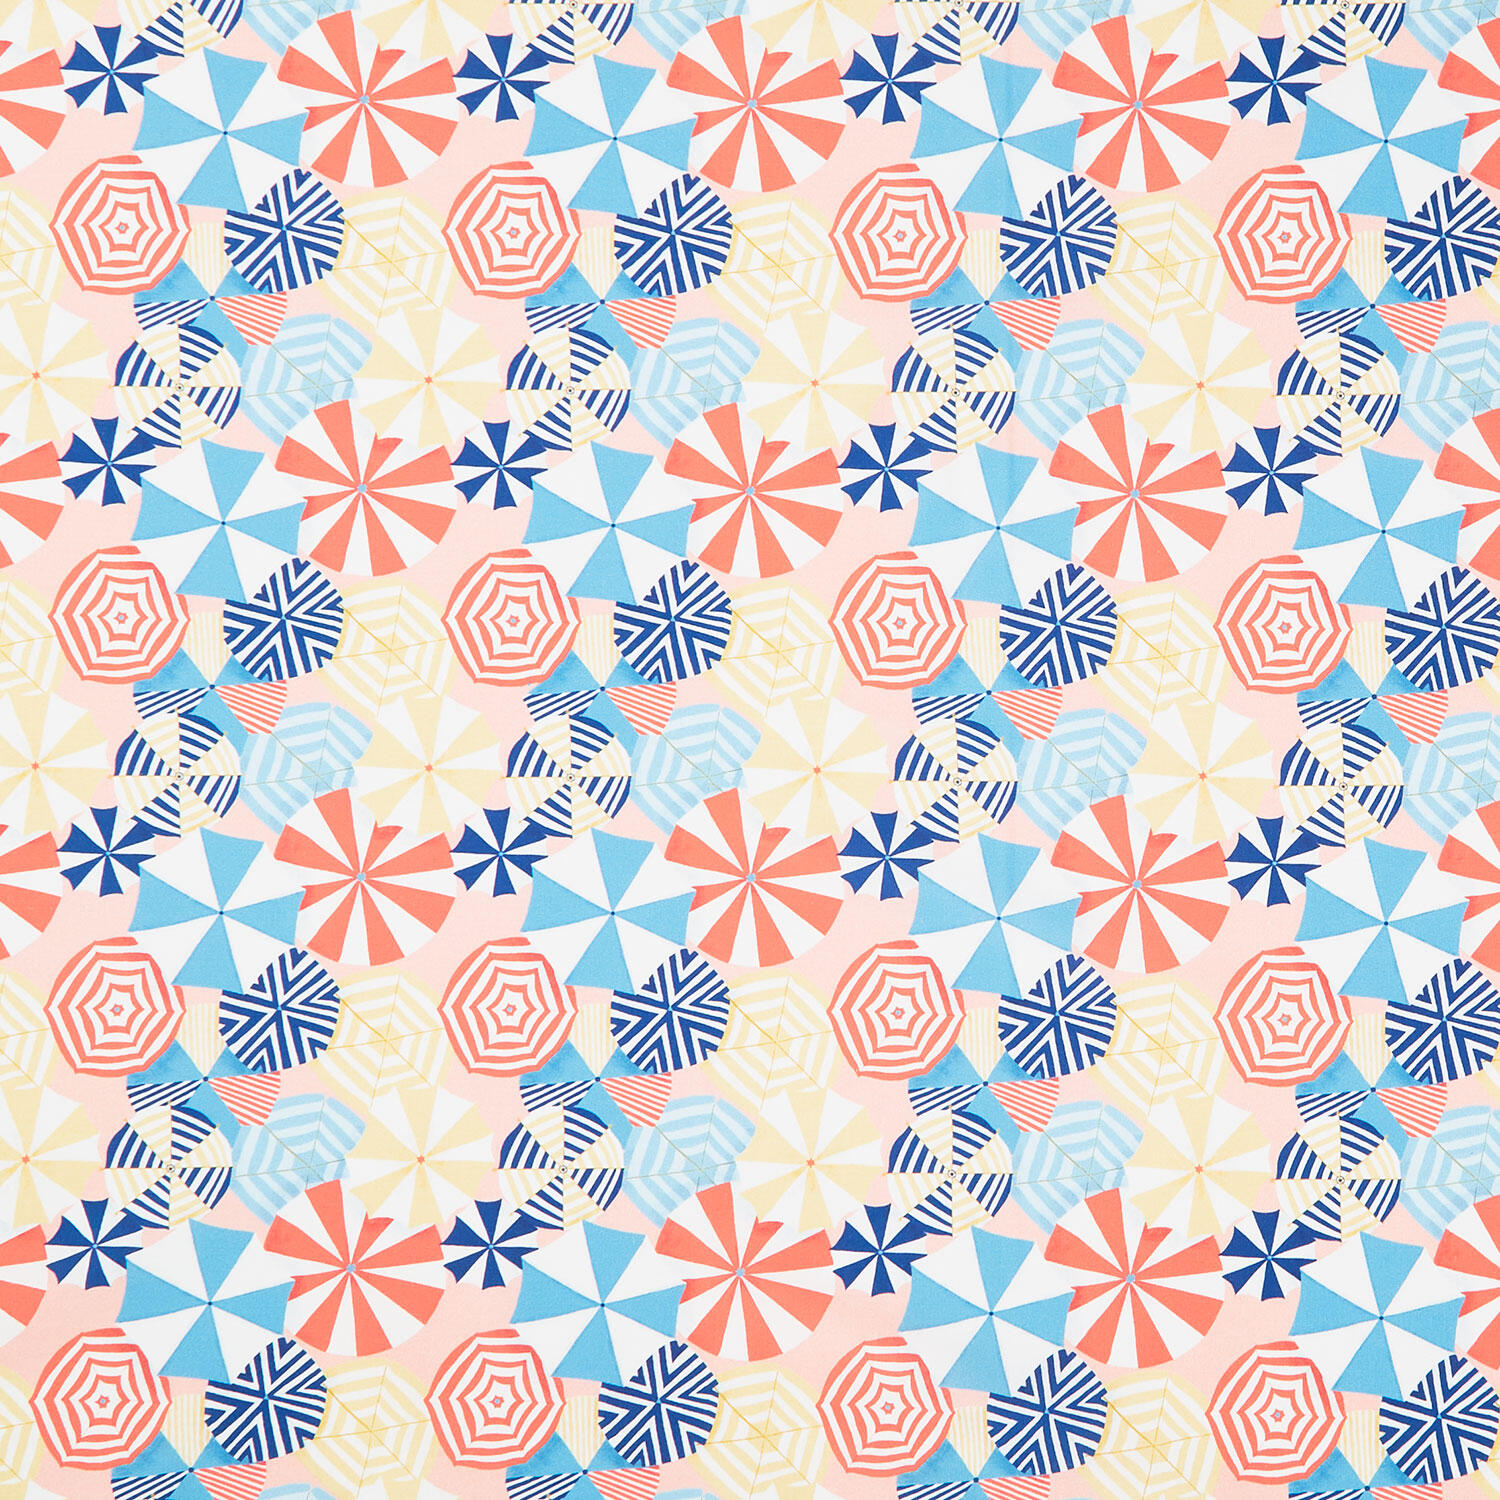 Villa Sol - Parasol Salmon Yardage$12.64Shop →
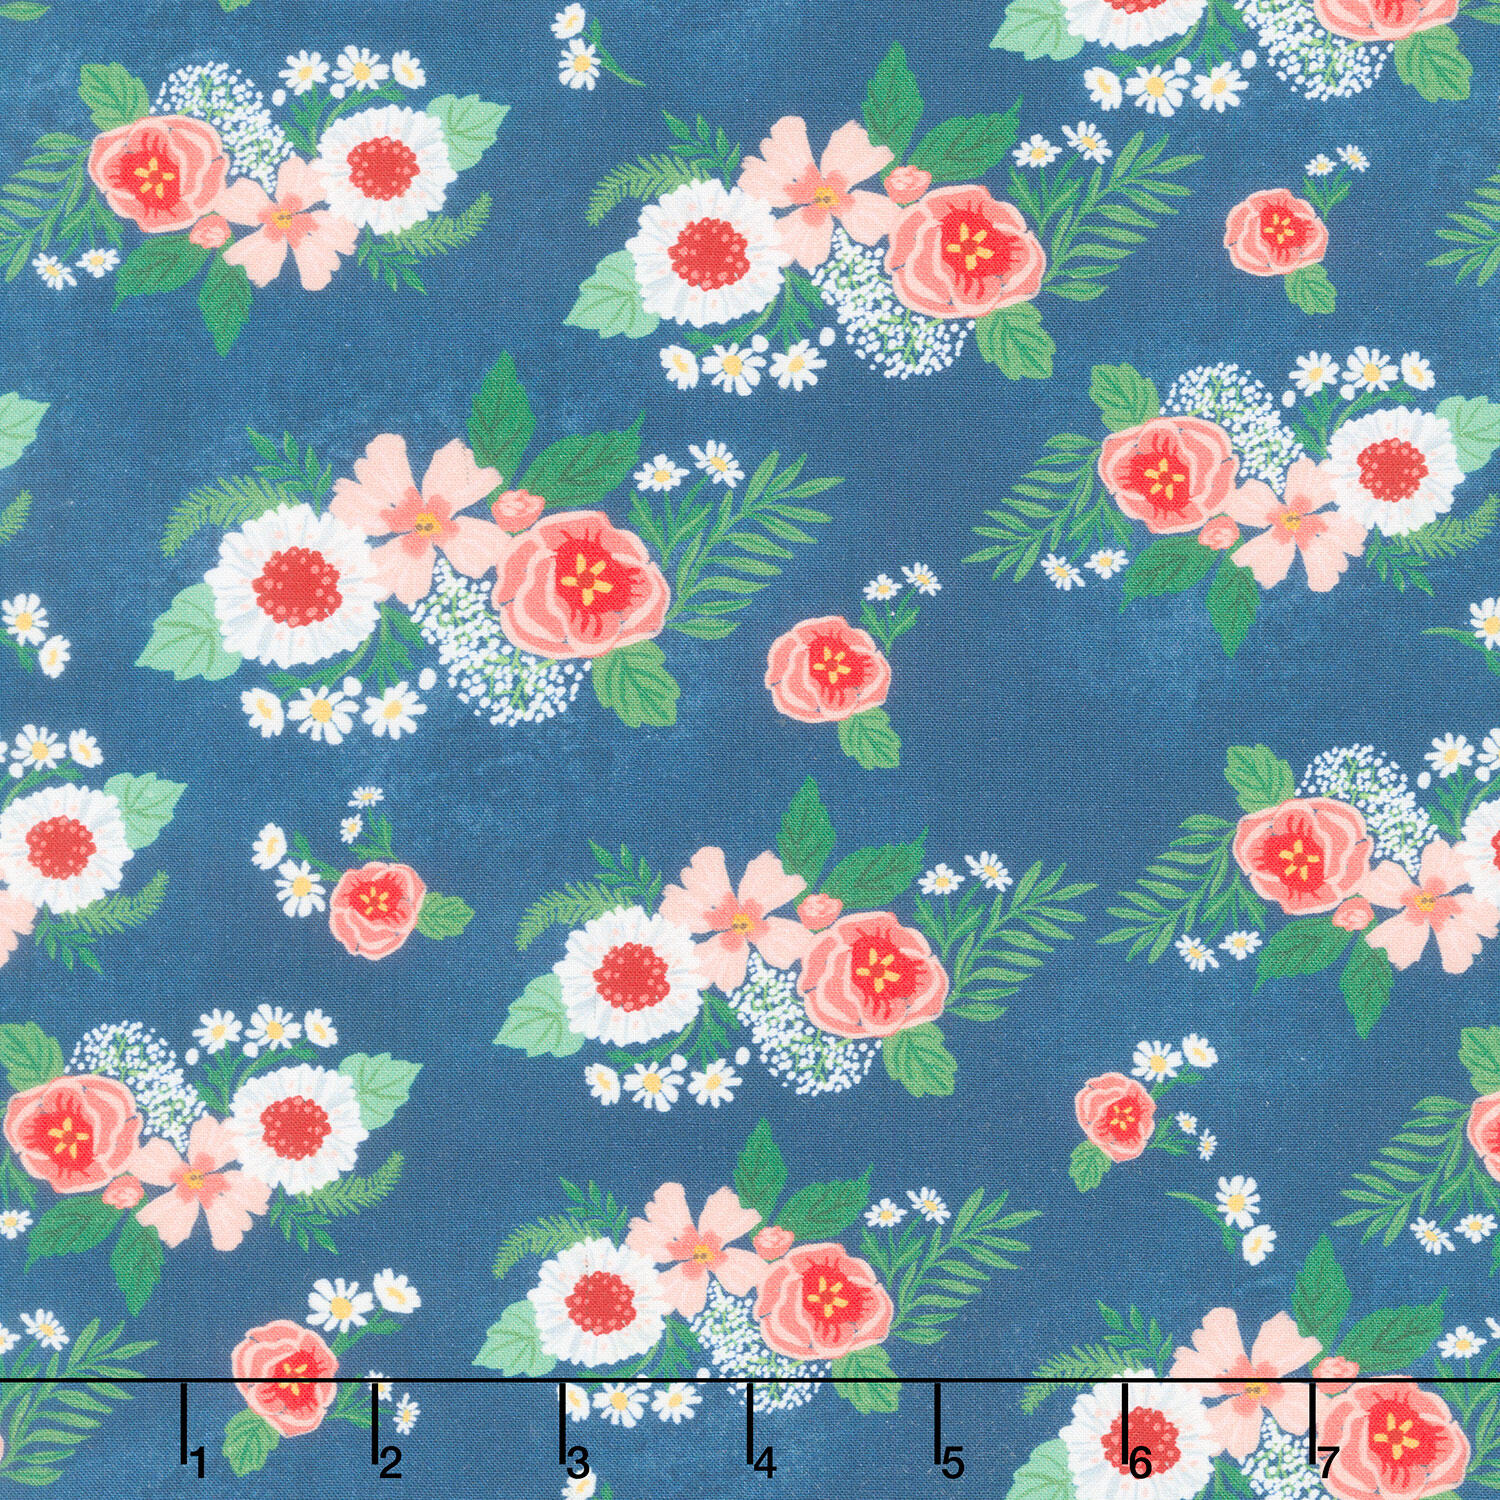 Villa Sol - Floral Bunches Navy Yardage$12.64Shop →
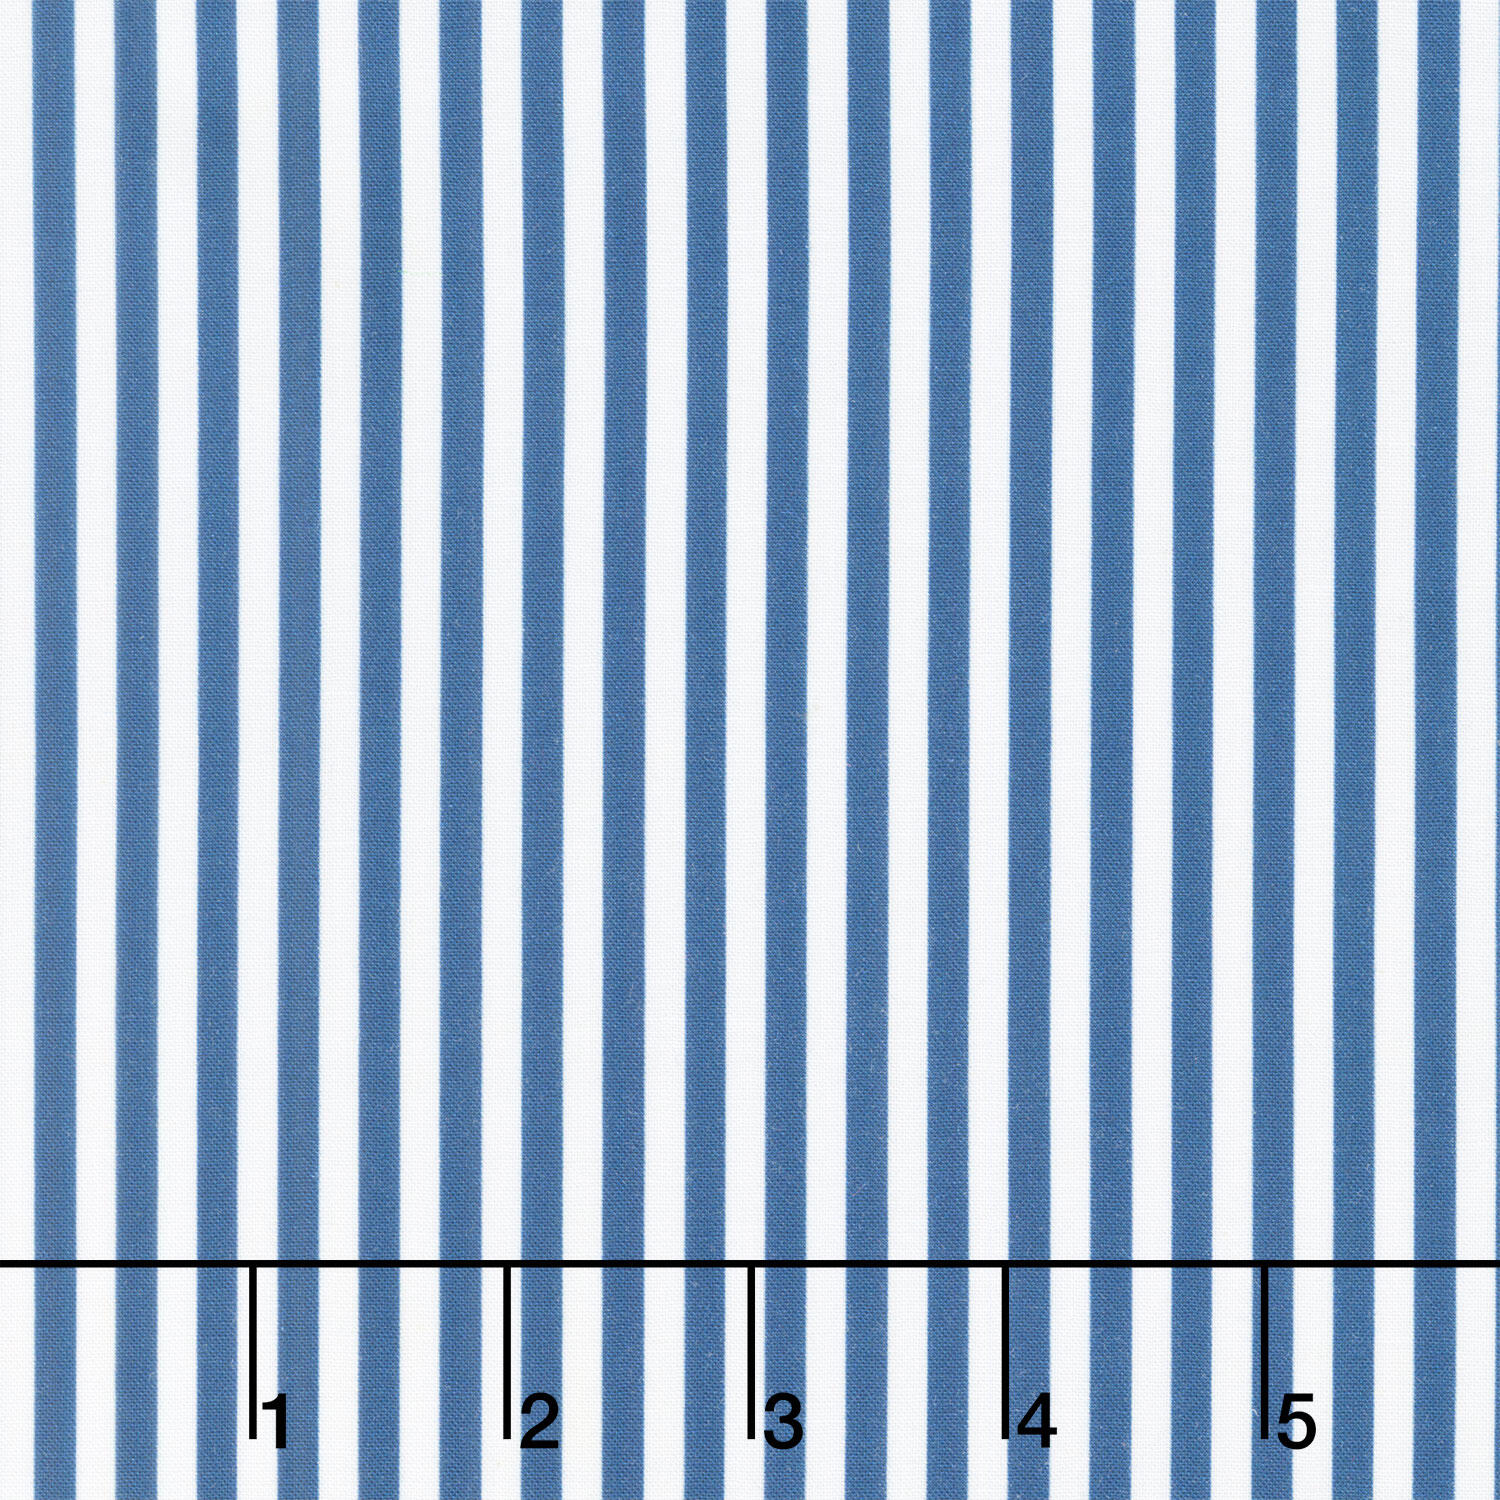 Villa Sol - Narrow Stripe Navy Yardage$12.64Shop →
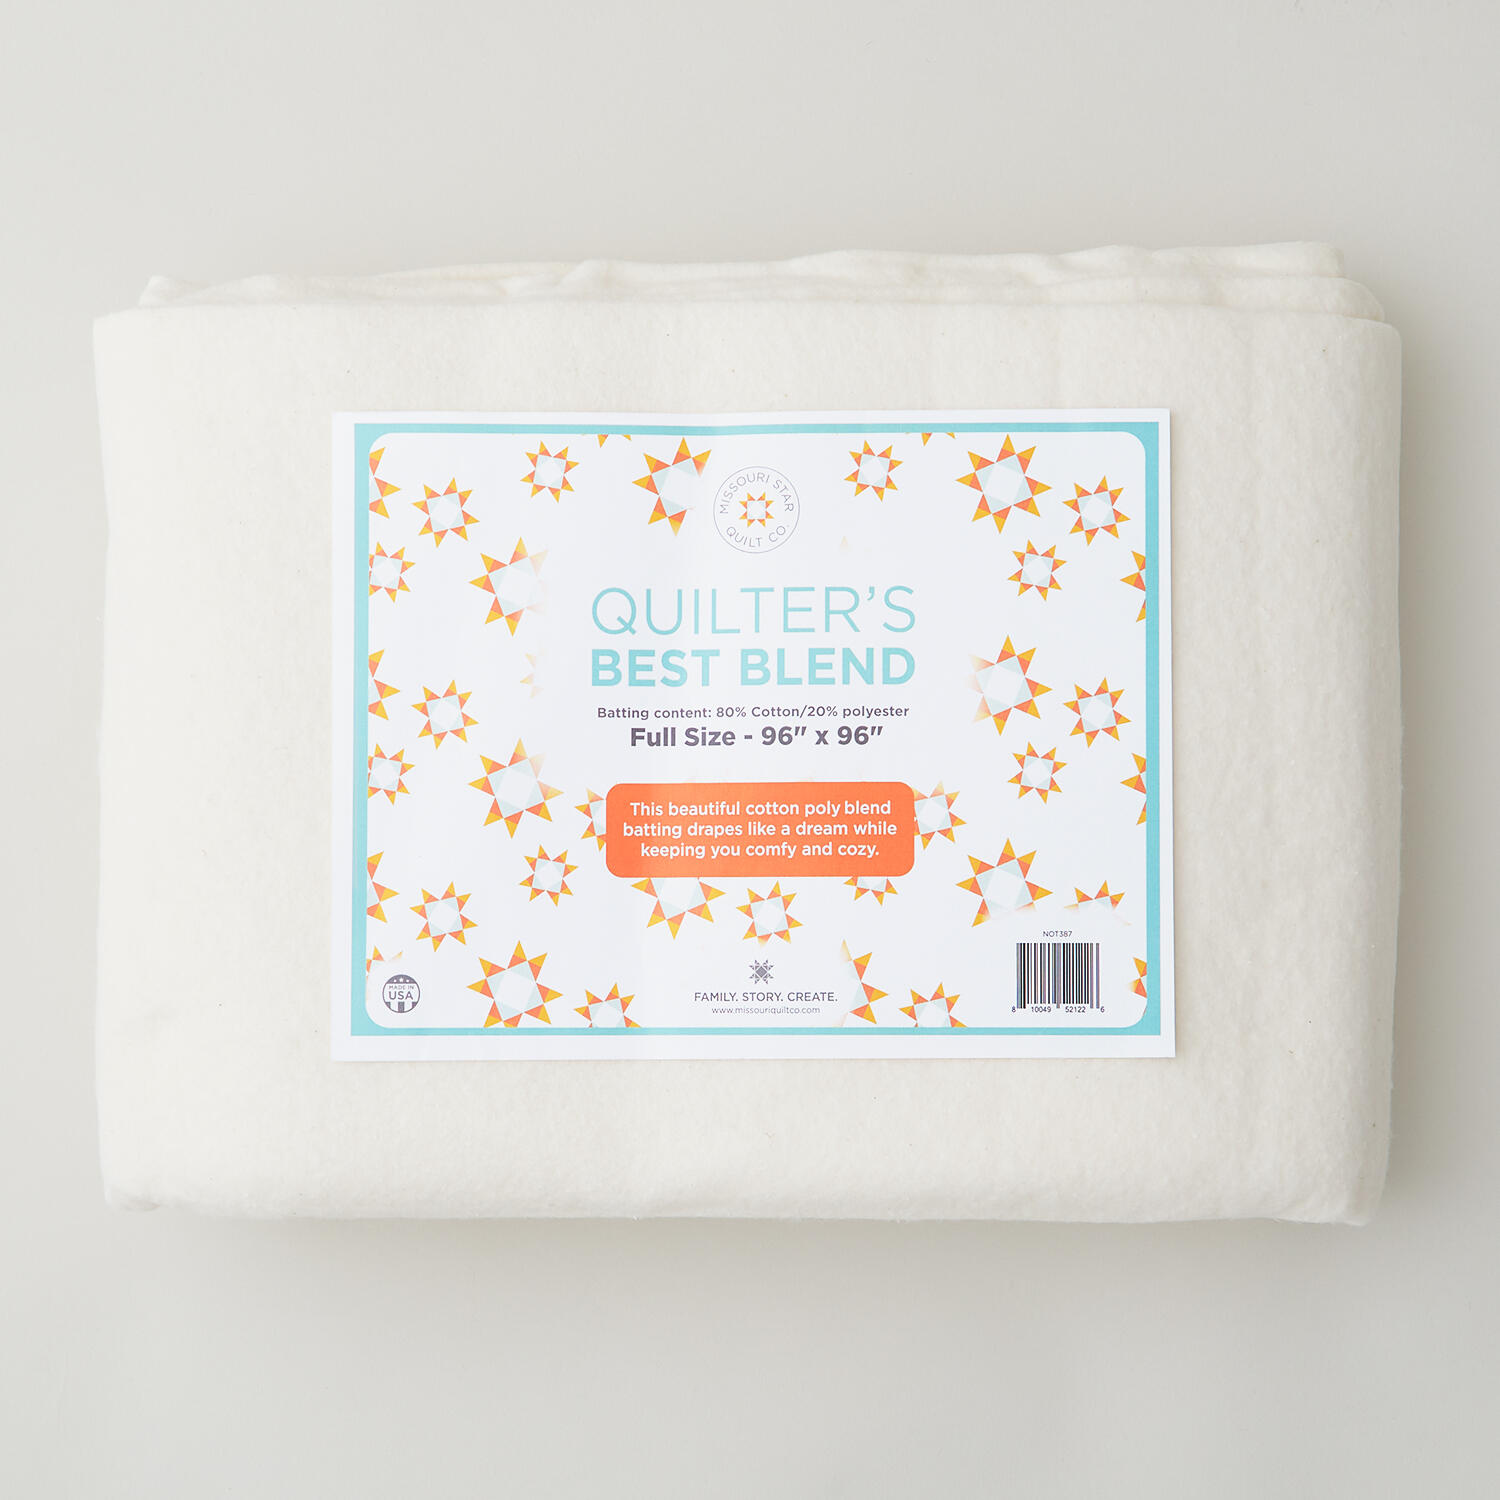 Missouri Star Quilter’s Best Blend Full Batting$32.95Shop →
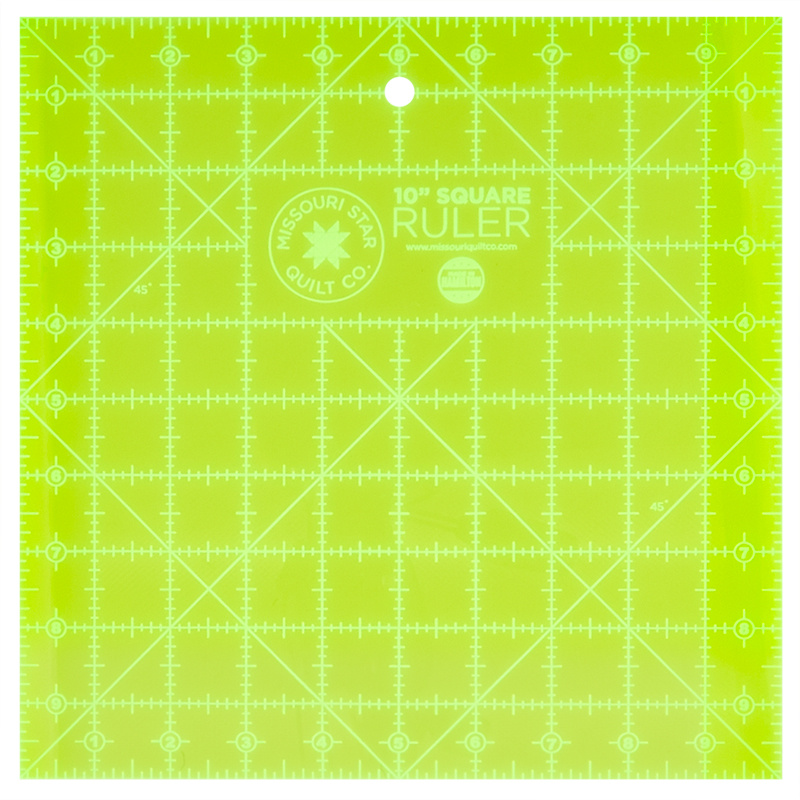 Missouri Star 10" x 10" Square Ruler$19.95Shop →
 Missouri Star 2.5" x 8" Ruler$11.95Shop →
 Missouri Star 45mm Rotary Cutter - Olga$19.95Shop →
 Missouri Star 8" Everyday Scissors - Amelia$19.95Shop →
 Missouri Star Labels of Love: Sweet Labels, Slight Attitude$9.95Shop →
 Missouri Star Labels of Love: From Seam to Shining Seam$9.95Shop →
 Missouri Star Seam Ripper - Frida$9.95Shop →
 Missouri Star 6" Everyday Scissors - Lulla$12.95Shop →
 Missouri Star 50 WT Cotton Thread White$7.95Shop →
 Missouri Star + Oliso TG1600 ProPlus Iron$209.95Shop →
 Bernette 77 Sewing and Quilting Machine$1699.00Shop →



