The Big Star Quilt
Jenny Doan shows how to make the Big Star Quilt - a project much easier than it looks. Layer Cakes - Best Selection of 10" Squares on the web!. Solid Layer Cakes.
Instructor
Jenny Doan
Jenny Doan is an American quilter, author, and YouTube personality. Jenny started Missouri Star Quilt Company in 2008 and today it is the largest quilting supply vendor in the United States.
Shop this tutorial


Common Questions
What is covered in The Big Star Quilt?
Jenny Doan shows how to make the Big Star Quilt - a project much easier than it looks. Layer Cakes - Best Selection of 10" Squares on the web!. Solid Layer Cakes.
How long is the tutorial video?
The tutorial video is 00:11:09.
Are supplies listed for this tutorial?
Yes. The tutorial page includes the supplies and materials connected to this project.
Video Transcript
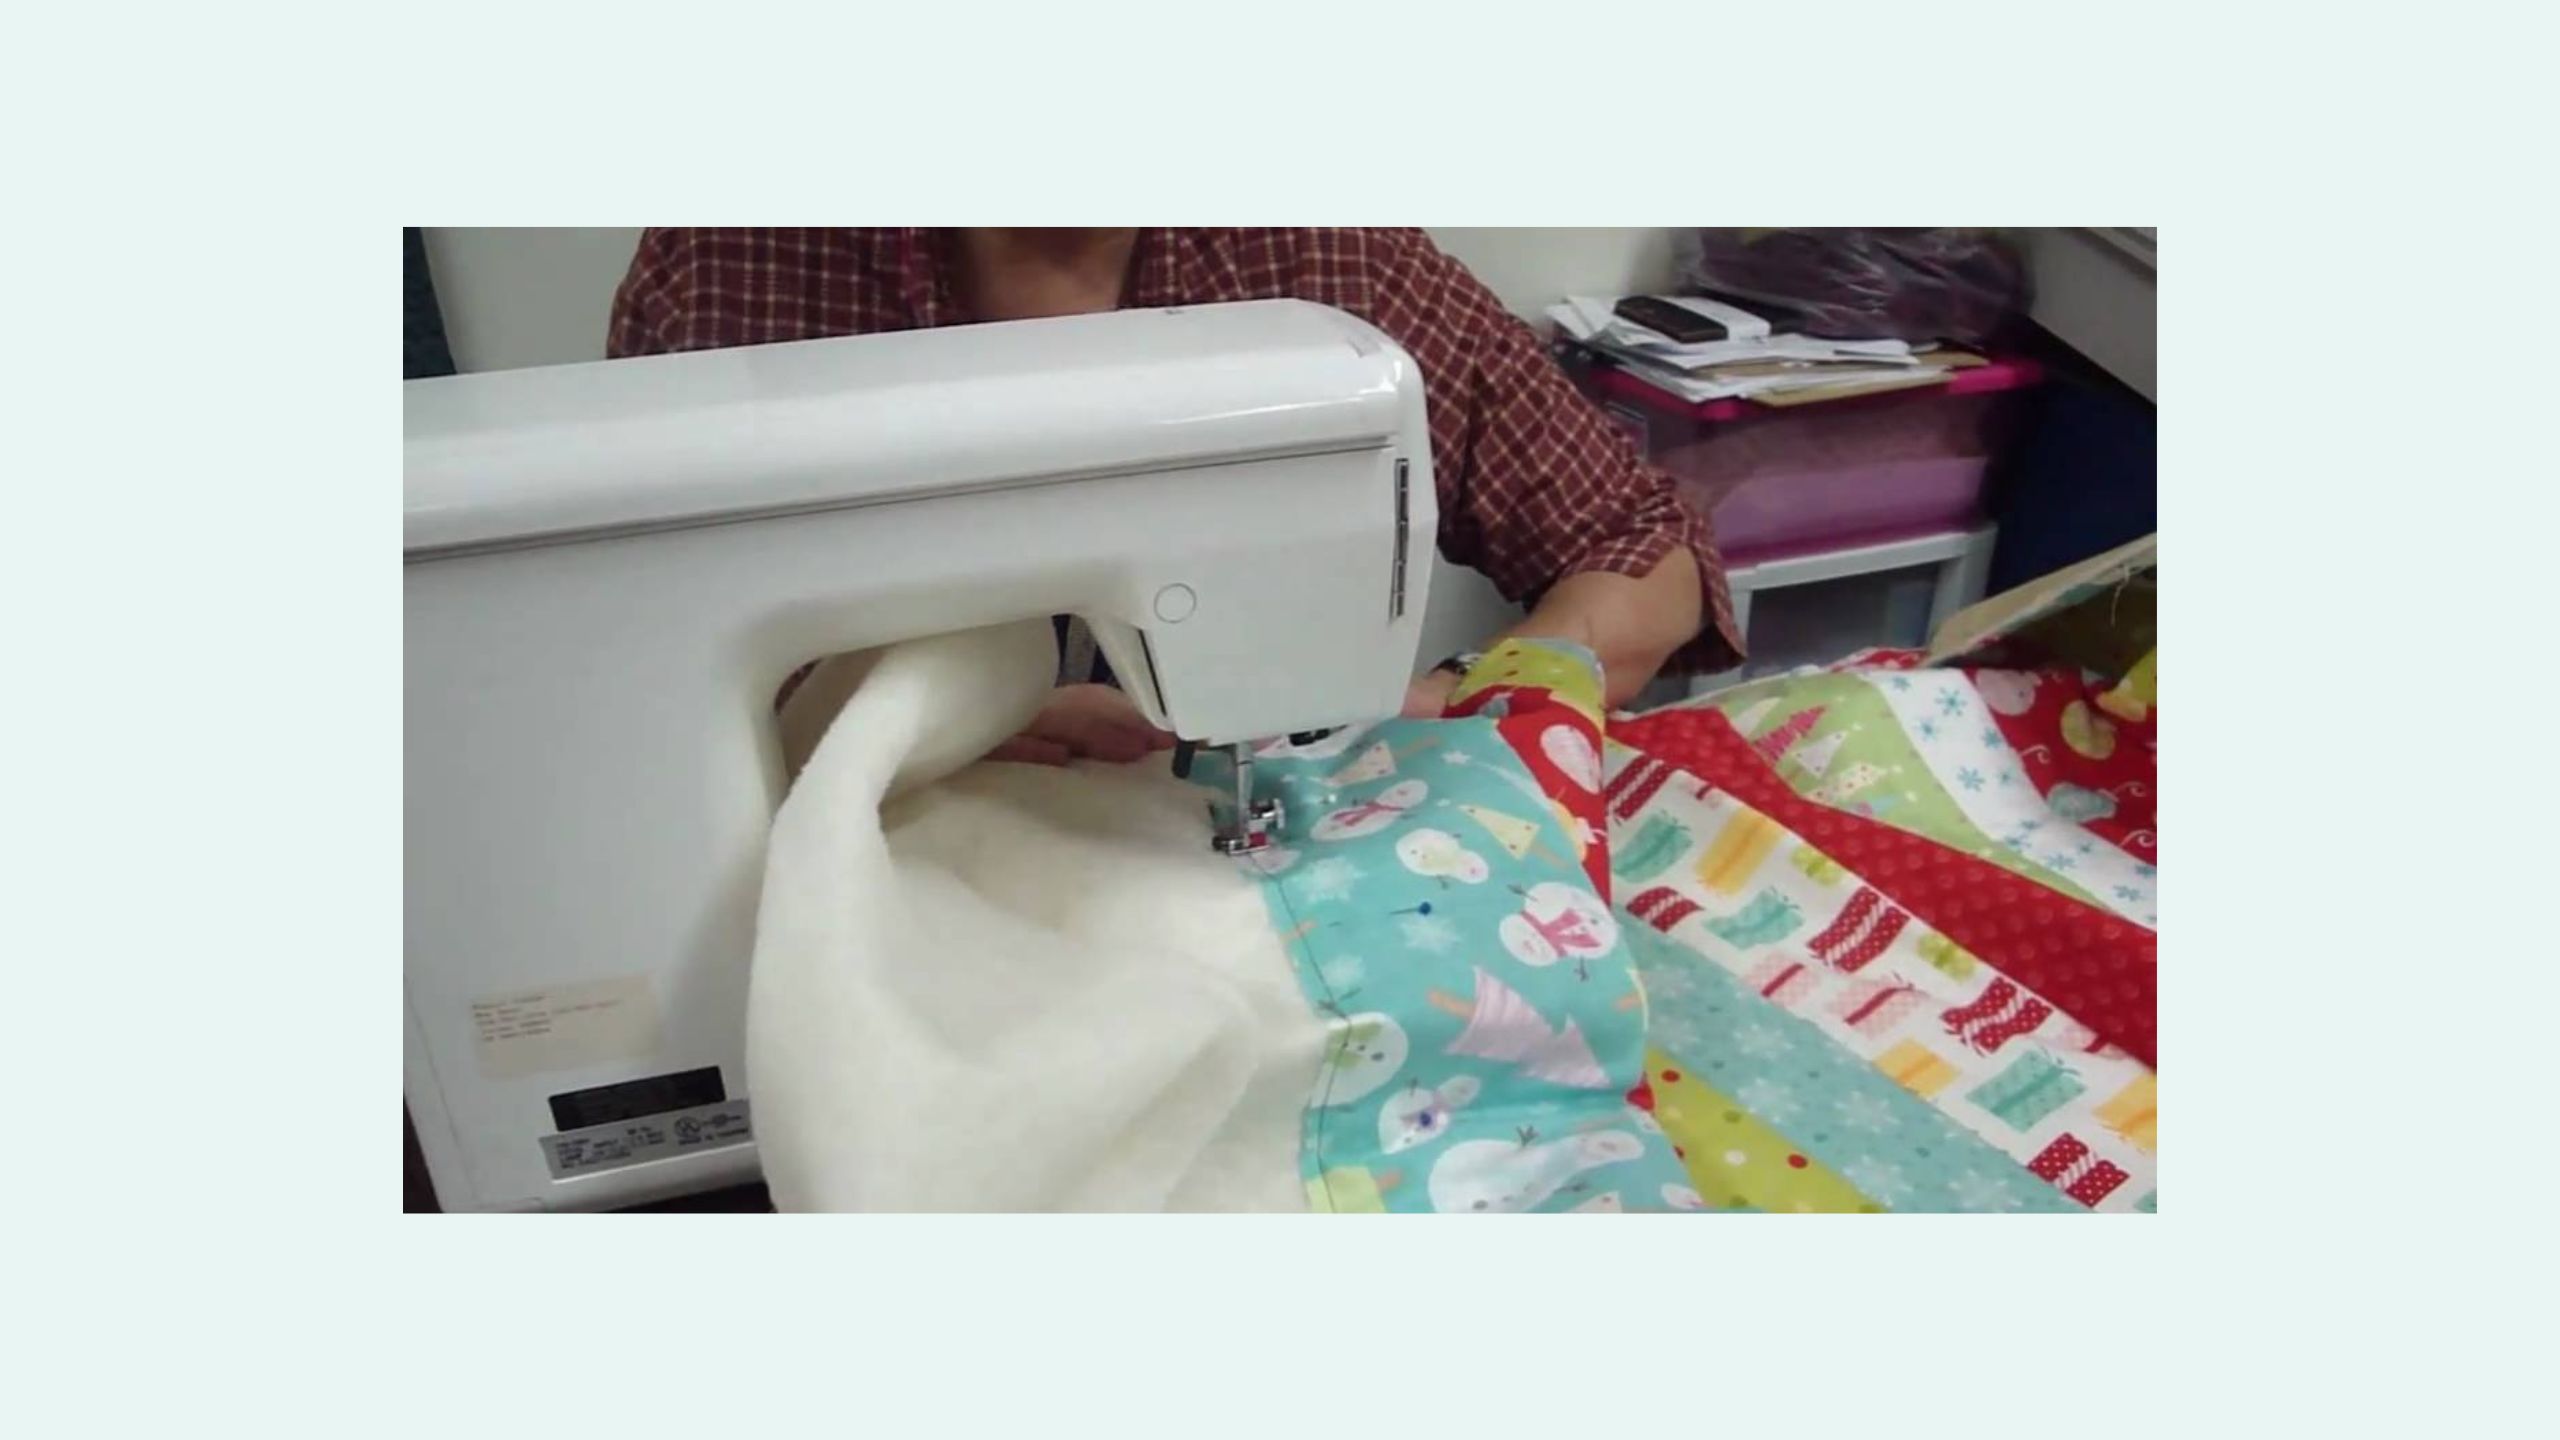
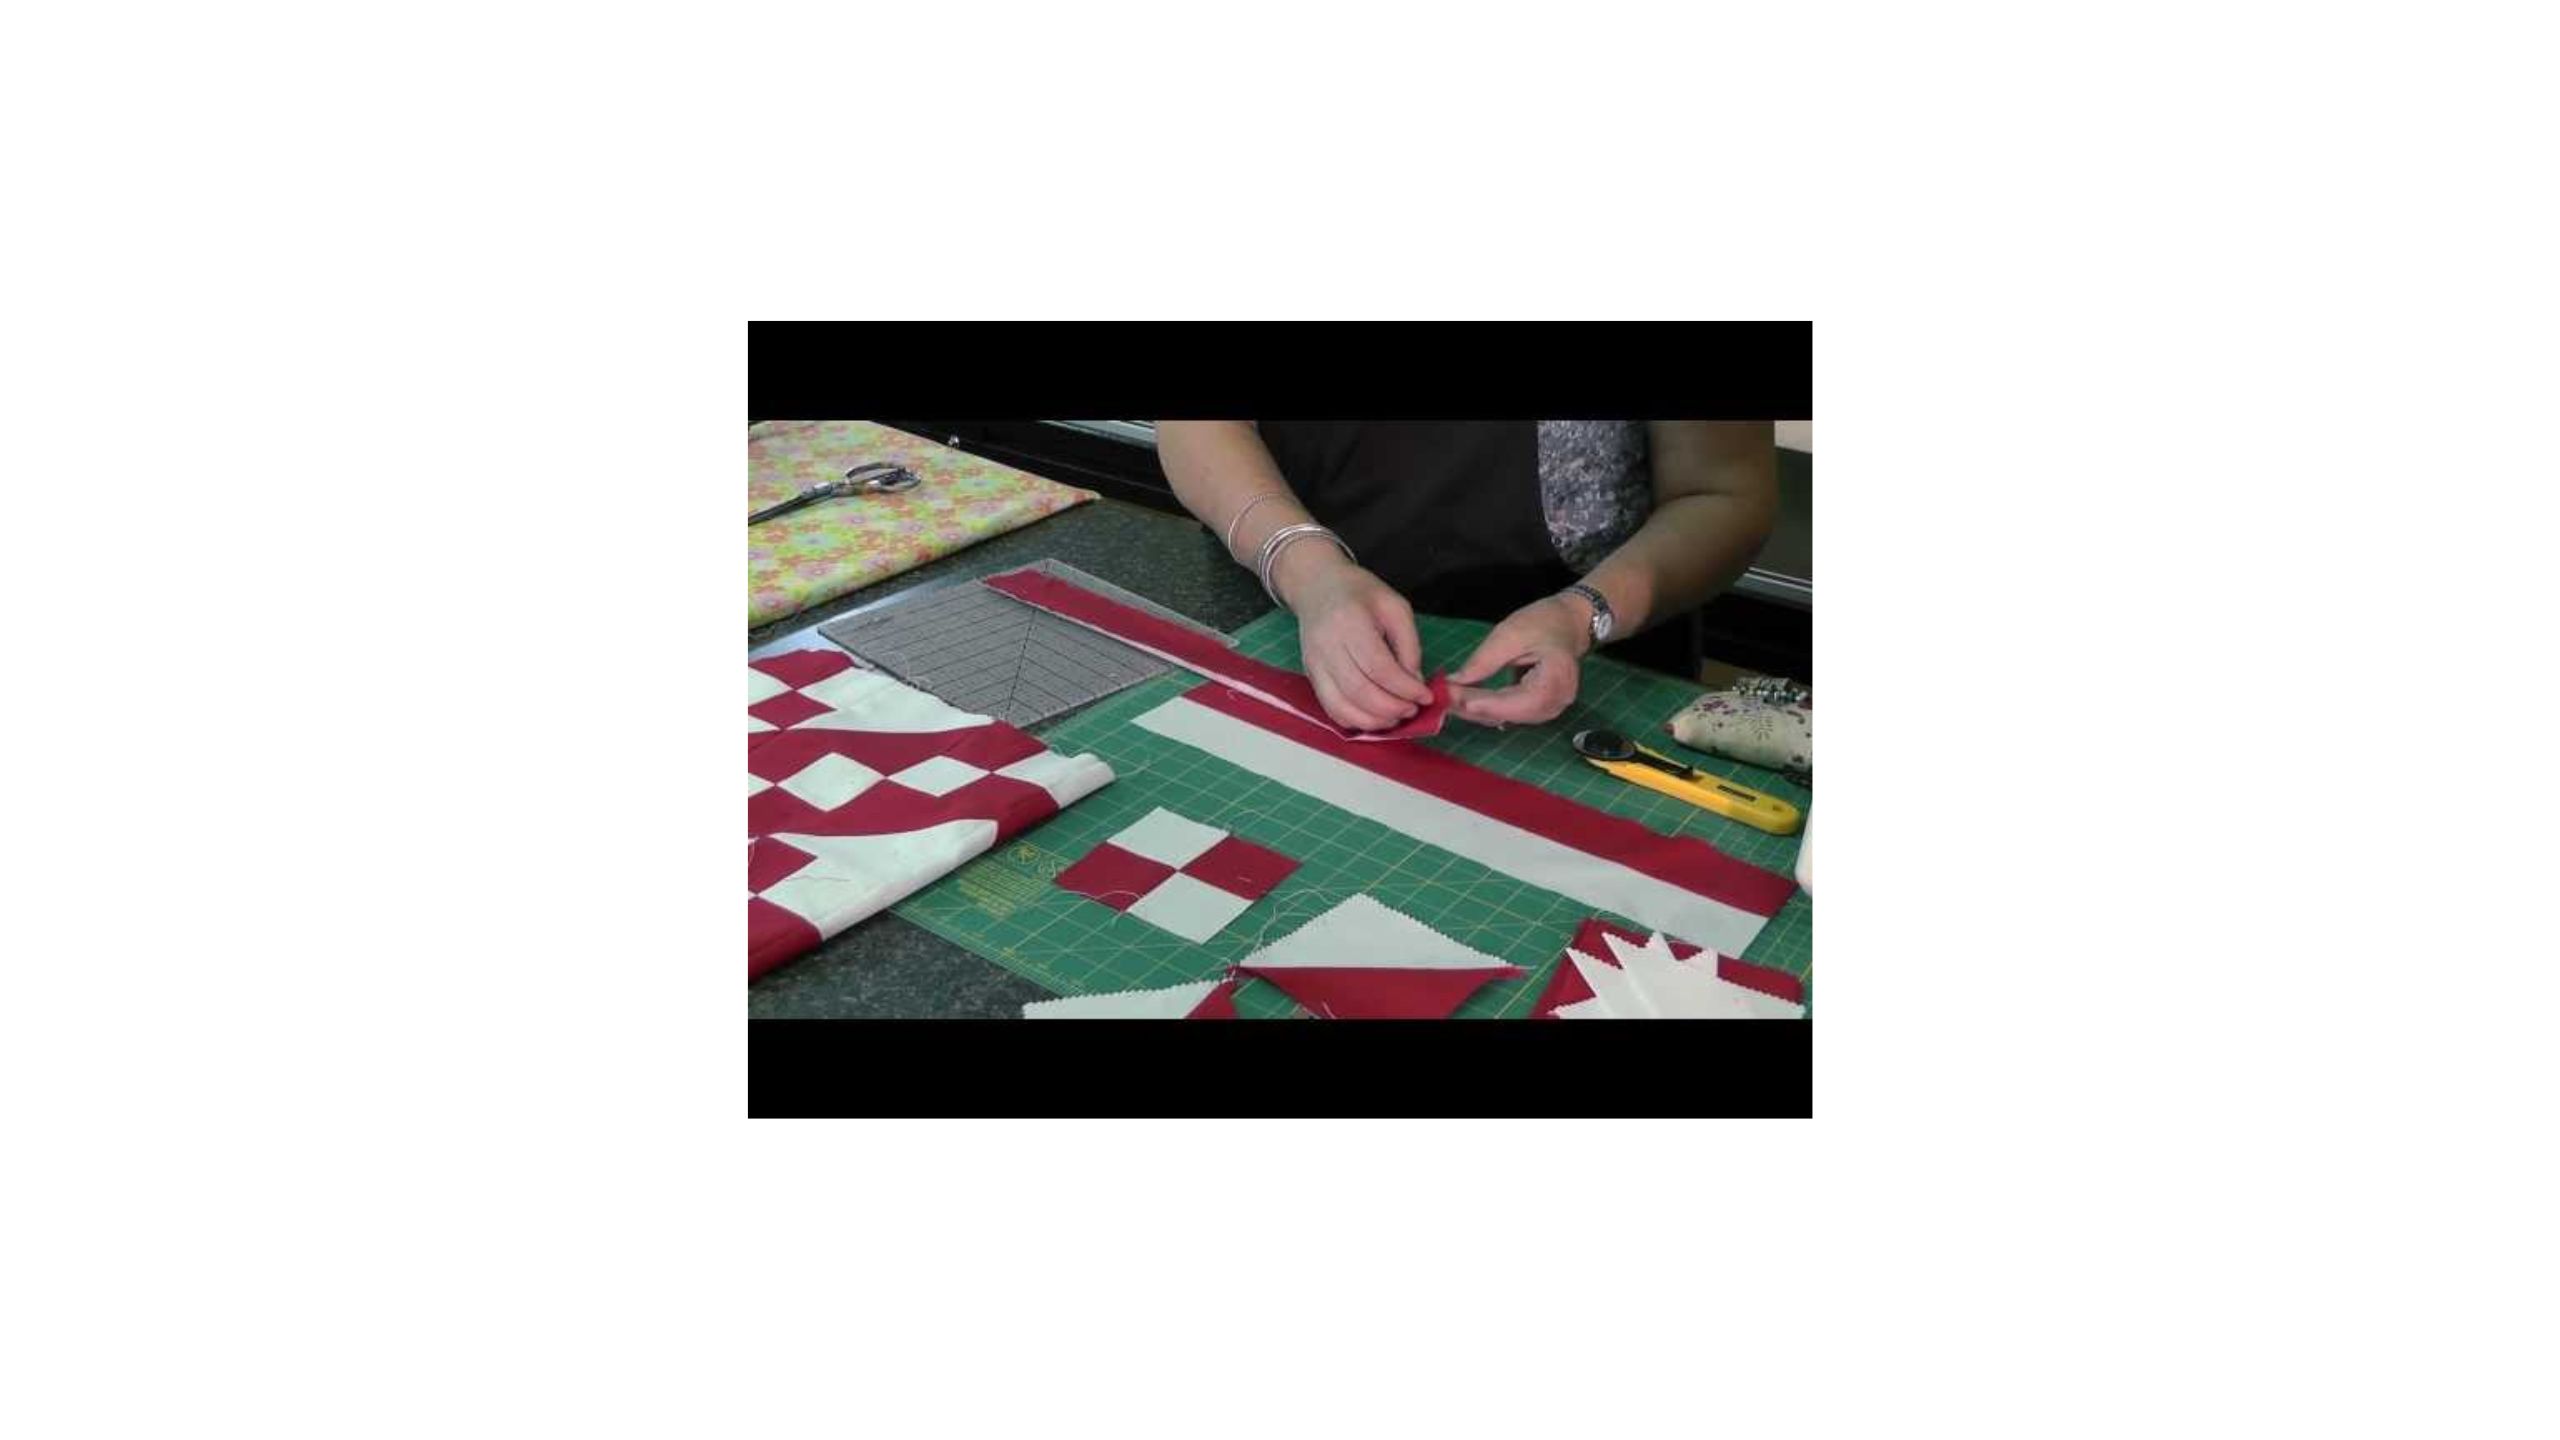
[Music] hi I'm Jenny from the Missouri Star Quilt Company take a look at this great quilt behind me I love these gorgeous big stars I'm a fan of stars anyway I love them but these big stars are so beautiful and it is so easy and quick to make them and this is Natalie's brainchild my kids always make me look so smart they they come up with these Amazing Ideas then I get to do the tutorial so this is what we're going to need to make this project you're going to need two 10in layer cake squares that are dark two 10-in layer cake squares that are light and two squares of background fabric so your background fabric is going to remain the same all the way throughout and then you're just going to need lights and darks so what we're going to do now is we're going to make half Square triangles the way I make them which is by sewing all the way around the outside and then cutting both both ways diagonally so to make this star you're going to take one dark square and you're going to sew it to a background Square we're going to just set these over here so I can show you how this goes we're going to take one light square and sew it to one background square like this and then we're going to take one dark square and one light square and we're going to sew those together so we have the three sets we have the dark sewn to a background the light sewn to a background and the light and dark sewn together so let's go ahead and sew these and I'll show you how to make half Square triangles like I like to do it so again we're going to sew a/4 of an inch all the way around the square on the outside so here we go and you can stop and pivot at the corner or you can sew right off the edge it it uh either way is [Music] okay just flip it got to move mine over a little bit I sewed a little too far you want to keep it right at a/4 of an inch this is a great way to make half Square triangles it's very quick it's very easy and it's very precise and you're going to get four instead of two so you can see here now that I have sewn a/4 of an inch all the way around the outside edge and now we're going to cut it diagonally corner to corner I'm going to lay Lay My Ruler on here just slice it that way then I'll turn my mat and slice it the other way like this and I use half Square triangles for so many things I love them they're great so now what we've got when we move this apart is four half Square triangles you'll see that when I open this up TAA it's awesome so then we'll press those but I have a whole set of these already done so I can show you so here's my dark fabric that's been cut into half Square triangles with my L with my background and here's my light with my background and then here's the light and dark together so the first thing we're going to do is we're going to put our light and darks together and form a pin wheel in the middle so let me go ahead and line these up just like like a pin wheel and that's where every other color comes together oh turn that one to a point in the middle and with these half Square triangles because they came from the same block they go back into the same block perfectly so now you have your pin wheel block and that forms the center here's the center of your block right here now we're going to add the legs so we're going to take the the red ones and we're going to just lay them out here like this and extend all of our leg points can can you see how this star is coming together this makes an awesome block because it's enormous for one and it is um so easy just take these six squares and you get this great big block this block is going to finish about 25 in which is a great great size for a block I'm telling if you want to make a big quilt fast this is the way to go so let me get these laid down here now all we're missing on this are our Corner squares and our Corner squares are going to be the same size as our half Square triangles so you're going to measure those they should be right around 6 and 1/2 and then we're going to add those Corner squares to the corners oh here they are they slipped right down there and then you can see when we put this together this is going to make a great awesome Star block now I would just go ahead and lay my block out like this and then I'd just sew it together in rows that's what I would do I think it would make it most easy you know as far as construction you could actually sew your pin wheel together and come out from the sides and do that either way will work just what works for you so I want to show you I have a finished one here this is all sewn together look how cool this is isn't this a great looking block so now you see here I have this block well when I went to put this quilt together it I had the big star blocks and and this quilt these inside squares this is like because they're 25 in a piece and we're taking off a little bit for the seams this is 74 in across here and I've got four down and that's almost 100 without the borders that's just the inner sides the inner sze of it so these Big Blocks were beautiful but they lacked a little Pizzazz so I thought what can I do and I came up with this little sashing method and you can see what I've done here is I've snowballed the entire Square so I took one square let's use uh this one right here I have some uh blocks left over there I'm going to scoot this over here and pick up this other star really quick cuz I want to cut these and show you how we do this there we go so now I'm going to take this uh this layer cake square right here actually let me press it nice and flat first okay so now I'm going to take the layer cake square and I'm going to cut it in half both directions so it's 10 in I'll get four 5 in squares and there we go I'm just going to turn that and here we [Music] go so I now have four 5in squares you can see that right there and we're going to snowball this block so what that means is we're going to take these 5in squares we're going to put them right sides together we're going to lay them on the corner right here want you to be able to see that and we're going to sew diagonal from corner to corner now this is kind of a long area to cover so what we want to do is we want to either draw a line or we want to press it and I'm going to go ahead and press this in half that's how I like to do it it's quicker to me than drawing it but that's totally personal preference so again we're going to Nestle this into the corner and we're going to sew on this line when you do this to all four squares of a of a block it's called snowballing the block because it takes it from a ra a square edged block to a more rounded look oops I think I'm going to here we go I just grabbed my thread there and it scared me a little so now I have this corner done and you'll just trim it off about a quart of an inch from your seamline like that and you can go ahead and sew those together and save them for another project but I'm going to go ahead and iron this back just like that so you're going to snowball all four of your Corners so that your bottom corner you can see has that that little snowball block on it and you're going to do all four of them so when you get done you'll see this has all four corners snowballed and then each block I've done that too but where they come together like this it makes a whole new pattern so this little sashing strip is 2 and 1 half by the size of your block and mine was 25 because my sashing strip is 2 and 1/2 my little Cobblestone is also going to be 2 and 1/2 and you can see on this quilt I used this the same color as I did in this first outer border kind of to just bring it all together so every place that these snowball blocks meet it makes this really cool thing so this is a great border idea as well as adding Pizzazz to my star quilt okay so this is a great quilt and I want you to remember that you can use any size Square to do this and any kind of fabric take a look at this little star this is a great little star with bright colors make a darling little table topper make a great little baby blanket whatever you want to do this star is versatile and wonderful and we hope you enjoyed this tutorial from the Missouri Star Quilt Company oh wait there's more I did the same thing in charm packs look how cute this is this is adorable this is two little charm packs and I use the little pieces for the uh everything of course is smaller about half the size but it makes a darling little quilt too it works with any size Square so again we hope you enjoyed this tutorial from the Missouri Star Quilt Company