
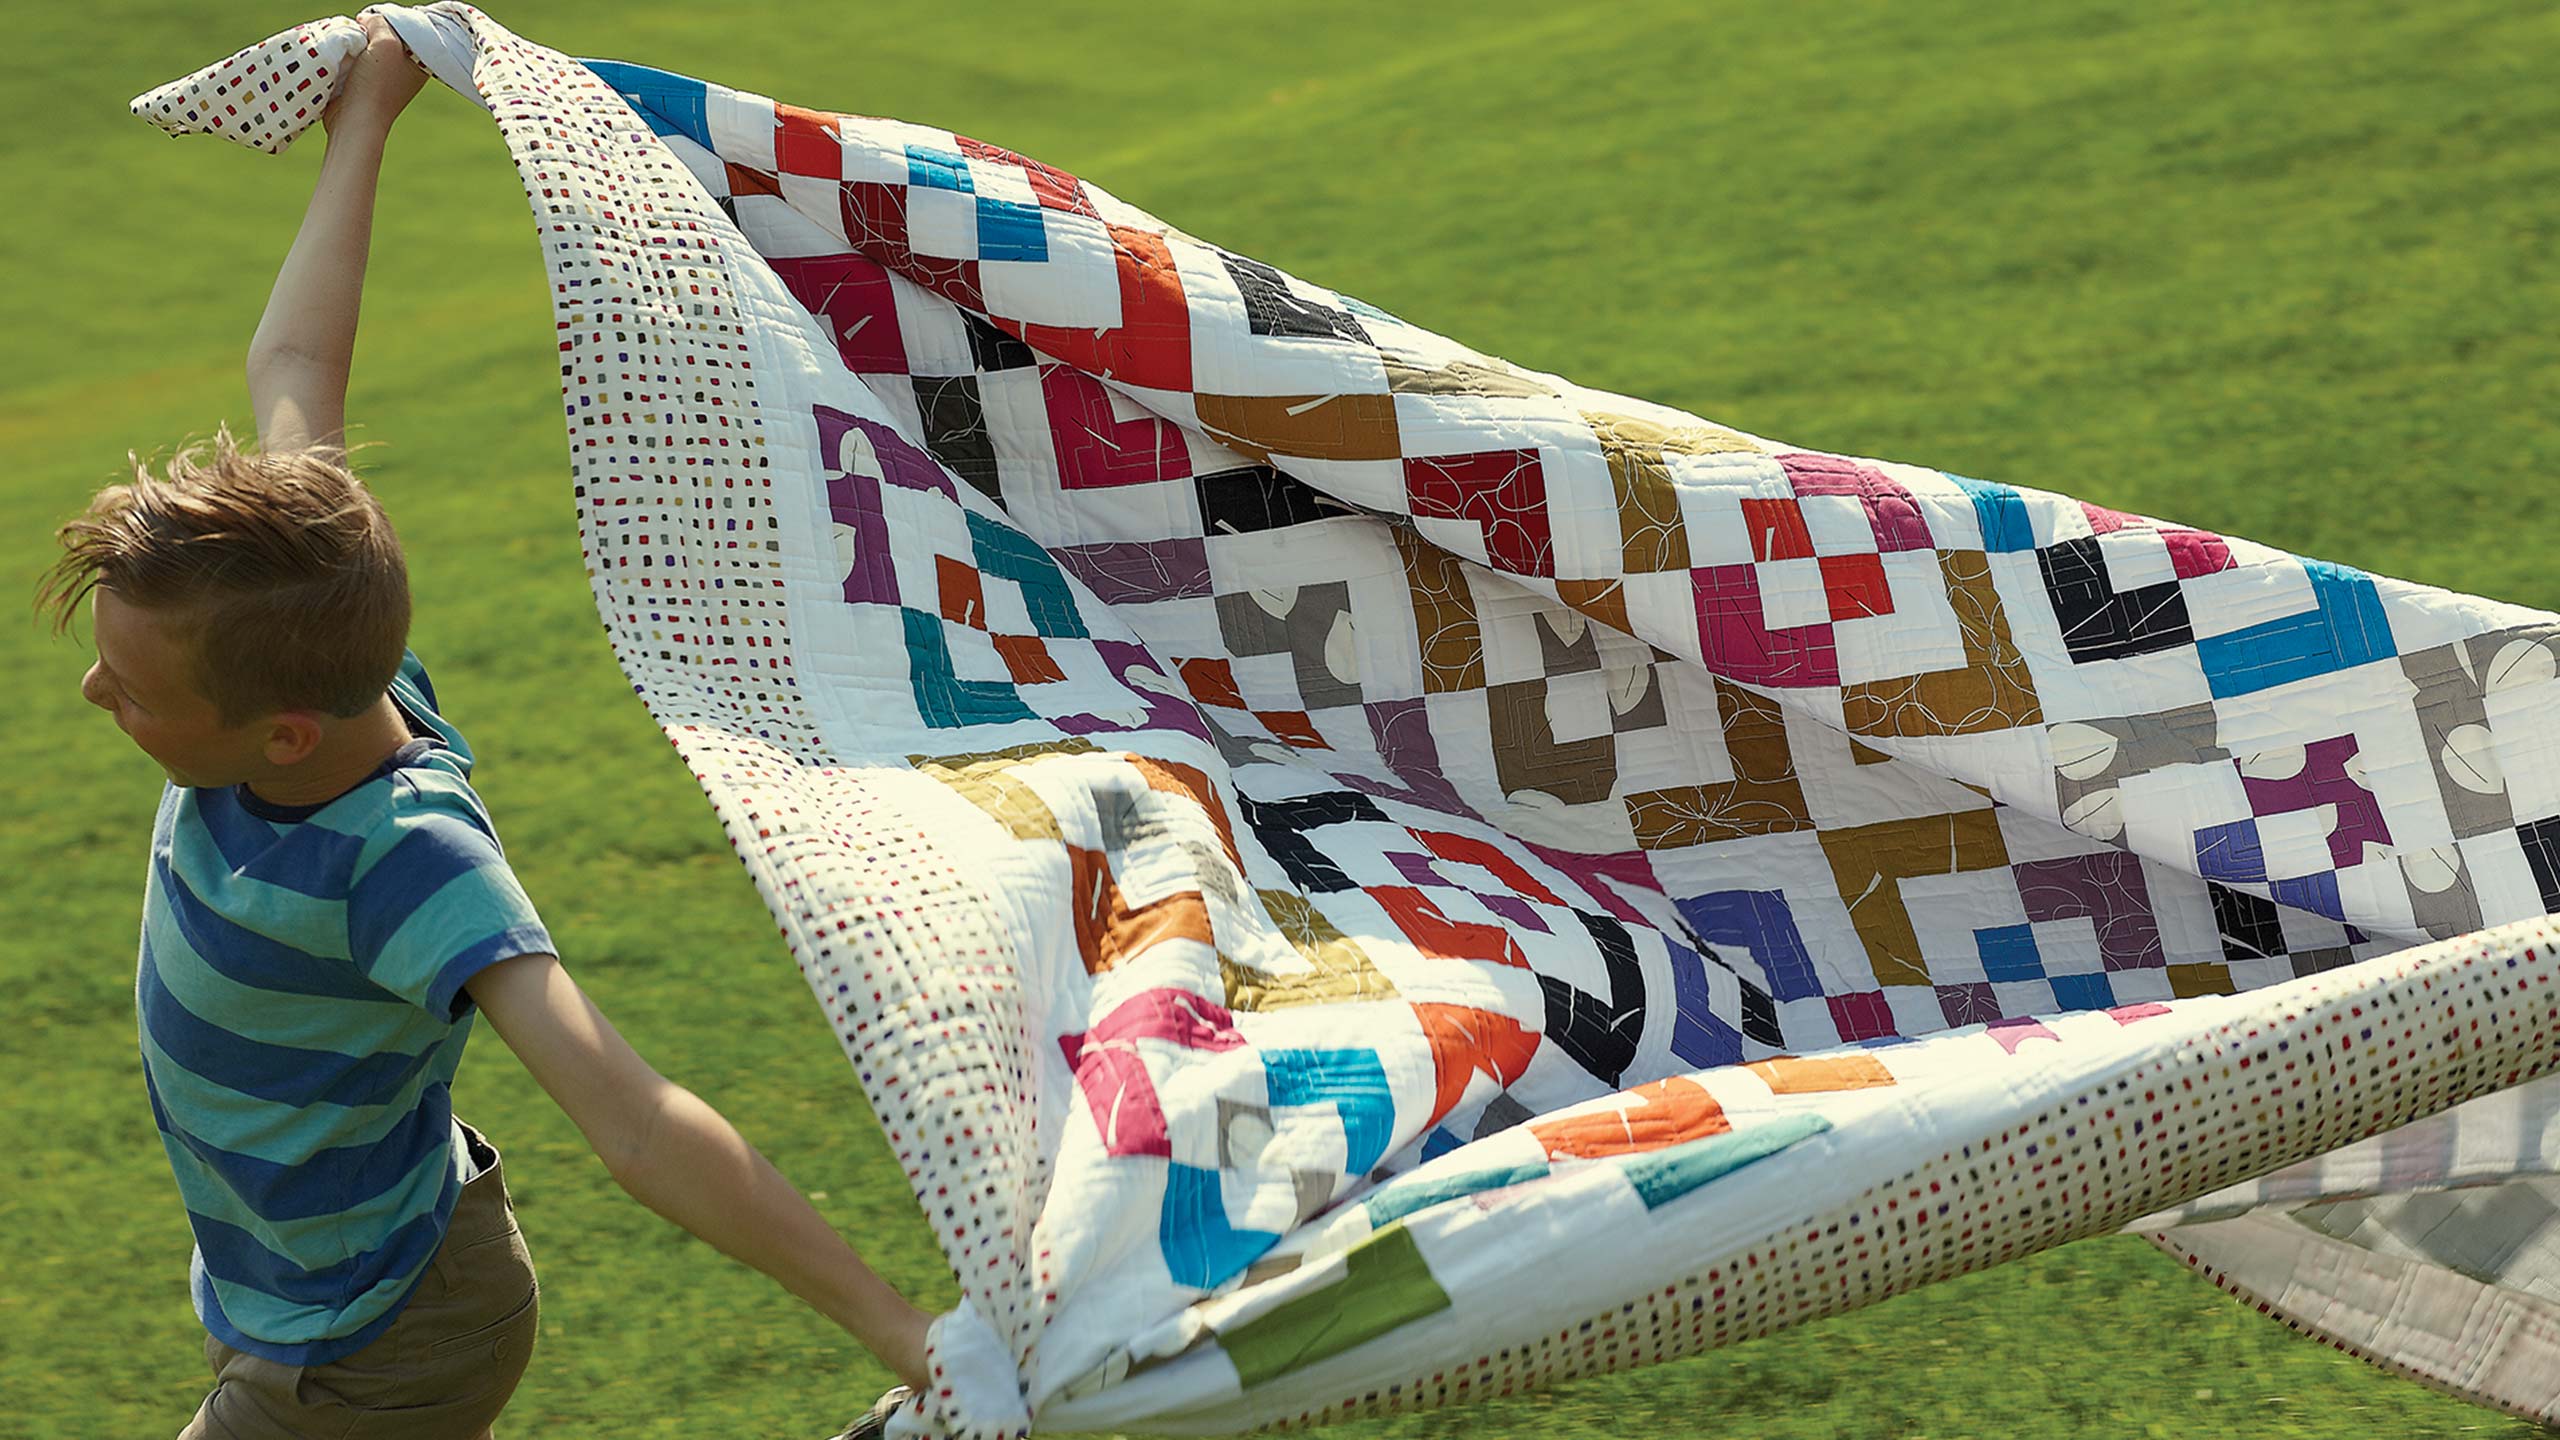
The Chopped Block Quilt
 Jenny Doan
- Layer Cake
- Traditional
- Twin
- Beginner
- Quilt size 82" × 93"
Jenny Doan demonstrates how to make a neat Chopped Block Quilt with Charm Packs (precut 5 inch fabric squares) and Jelly Rolls (precut 2 1/2 inch wide fabric strips).
Instructor
Jenny Doan
Jenny Doan is an American quilter, author, and YouTube personality. Jenny started Missouri Star Quilt Company in 2008 and today it is the largest quilting supply vendor in the United States.
Shop this tutorial
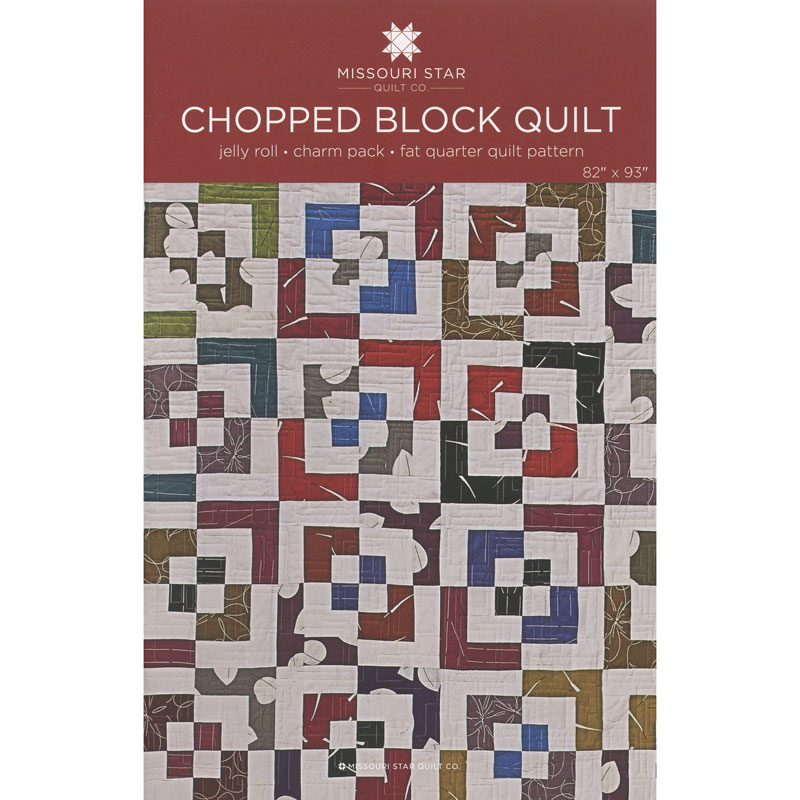 Chopped Block Quilt Pattern by Missouri Star$6.95Shop →
 Digital Download - Chopped Block Quilt Pattern by Missouri Star$4.95Shop →
 Olfa Splash Aqua 45mm Rotary Cutter$18.75Shop →
 Olfa Splash 24" x 36" Cutting Mat Navy$68.95Shop →
 Missouri Star 5" x 15" Ruler$15.95Shop →
 Exclusive Missouri Star Jenny TG1600 ProPlus Oliso Smart Iron$199.99Shop →
Common Questions
What is covered in The Chopped Block Quilt?
Jenny Doan demonstrates how to make a neat Chopped Block Quilt with Charm Packs (precut 5 inch fabric squares) and Jelly Rolls (precut 2 1/2 inch wide fabric strips).
How long is the tutorial video?
The tutorial video is 00:10:55.
Are supplies listed for this tutorial?
Yes. The tutorial page includes the supplies and materials connected to this project.
Video Transcript
[Music] hi I'm Jenny From the missoury Star Quilt Company take a look at this really fun quilt behind me isn't this just so bright and happy and fun and it is so easy to do to make this quilt you're going to need a charm pack and a jelly roll of color and we have used the daily Zen by Michelle deore from Banner Tex for our color and for our solid we have a Kona white charm pack and a Kona jelly roll now when you put two jelly rolls together it's going to make about a queen siiz quilt so our quilt here is about 80 by 90 but it is we didn't use all the pieces so there it it will be bigger than that if you use all your pieces so that's just a heads up for you now to to make this quilt it's going to take two blocks one is going to be a block where the center has color and then and then a um border of white and a border of color the next block is going to be where the center is white and a border of color and back to White so let me show you how to make these blocks to make the center part we're actually going to take our charm pack and we're going to cut it down to 4 and 1/2 in this will ensure that your jelly roll will go all the way around it both times and you won't have to fill in with any little extra pieces so just trim a/ an inch off of two sides of this and you will be good to go and you're going to do that with your color and with your white one so we have a colored one here that we've started and we're just going to take our White Strip and because we know this is 4 and 1/2 we're going to sew it a piece to either side so let's go ahead and do that over here make sure we're all lined up here there we go and then we're just going to go to the iron and we're going to iron this back let me clip these off there we go all right so I like to just press that straight back like that and then we're going to add our side pieces so because the seam allowance is differ you're going to want to measure your side pieces and you're going to add them onto the sides now this one you can see I have my colored Center and I've added my two side pieces and the other two pieces as well and now it's time to put a colored strip all the way around that to finish the block so what I like to do is I just like to take my strip and I'm going to lay my block on it and I'm going to sew down just like this and I want to put the sides on first so that all my sides go out and all my tops go out that part doesn't actually matter unless you're like um crazy linear like I am where you see the lines of things and then then you want to be careful about that so here's what we're going to do now I have this piece on the side and I'm going to trim this off just like this and then over here just like this and then I'm going to add the piece to the other side so you can see here we're going out from the side and then I'll put the top and bottom on so let's go ahead and add our other side piece there we go and we'll trim that off then we'll want to go ahead and press these flat so that when we go to open our side or put our uh top and bottom on then we're dealing with a nice flat block so now what I'm going to do is I'm going to take my Square over here and you'll notice that I'm always putting my strip on the top that actually helps keep your strip from um from getting wavy I have a nice uh even seam and I keep a nice taut hold to that strip so that it it you know it's not going to wave or take in too much fabric if it was on the bottom it could take in too much fabric so now we're going to trim this off one more time just like that and we're going to add our last piece to the other side all right okay now we have this is our whole block finished we're going to trim off this last piece here just like this and then we are going to iron this open so we have a nice flat block and then that's our finished block right here and then we're going to make a whole another set where we start with the white in the middle so you're going to have two opposite block sets and that's important to remember because that's how we get this look so let's look at these two opposite block sets and I'm going to use this green one CU it'll show more contrast and this purple so we have white color white and then we have color white color and now what we're going to do is we're going to go ahead and we're going to cut these in half so I'm going to line up my ruler here so that it's right in half basically we're going to chop this block in half then what you're going to get is four pieces whoops four pieces that look just like this so then we're going to go over here and we're going to go ahead and cut this one in half as well make sure that's right in half and then I'm going to go ahead and turn this it's easier for me to do it up and down actually that sideways cutting sometimes gets the best of me there we go so now we have four of these so so now what we're going to do is we're going to put these together so that they are going to make two blocks and we're going to put we're going to leave these two here and we're going to bring in these two over here just like that so what we're doing is we're making a block that that has opposites the whole thing is opposites we're calling it a chopped block because we've made a block that's bordered and bordered and cut it into four so you can see on here see how this this block right here and this block right here are the same and then these two are the same as well and we cut them apart and put them together so this is going to sew together just like a four patch and because you have all those nice little seams you'll be able to line it up so I like to start and anchor get a couple of anchor stitches then I check to make sure that my seams are nested and then once again I check to make sure that my seams are nested and we're going to go ahead and sew that and I'm going to bring this one over here and sew it as well so once you get your two side pieces sewn together then we're going to put it together just uh again that we're going to match up the sides and it's going to go together just like a four patch so I'm going to line these up and start along here there we go make sure my seams line up and I just keep lining them up as I go along when you have lots of little seams it's very helpful to keep things straight because you use each one as a measure of of where you're going and then what what you get let's iron this open and then what you get is a cool block like this so we have some extra blocks here and let me show you how I lined this out let me show you how these go together so what I what we tried to do was we tried to match um opposites so if I have a white here I'm going to put a color here so it comes together this way just like this and then we'll put our color up there and again down here we'll do the same thing we're going to mat we're going to put opposites together and it's going to make this great looking block just like that so you can you can see as we put these together we have six across the top here by seven down and so it just makes a great looking quilt so just to recap you're going to make two block sets one's going to have a white center with a colored strip and a white strip the other block is going to have a colored center with a white strip and a colored strip you're then going to cut them into fours mix them up and you're going to have blocks like this but we all know that if you just use a different jelly roll you can get a whole new quilt just like this so take a look at this just by changing the pre-cut we have changed the whole look of the quilt this time we use Snowbird by laundry basket quilts from Moda so we hope you enjoyed this tutorial on the chop block quilt from the Missouri Star Quilt Company



