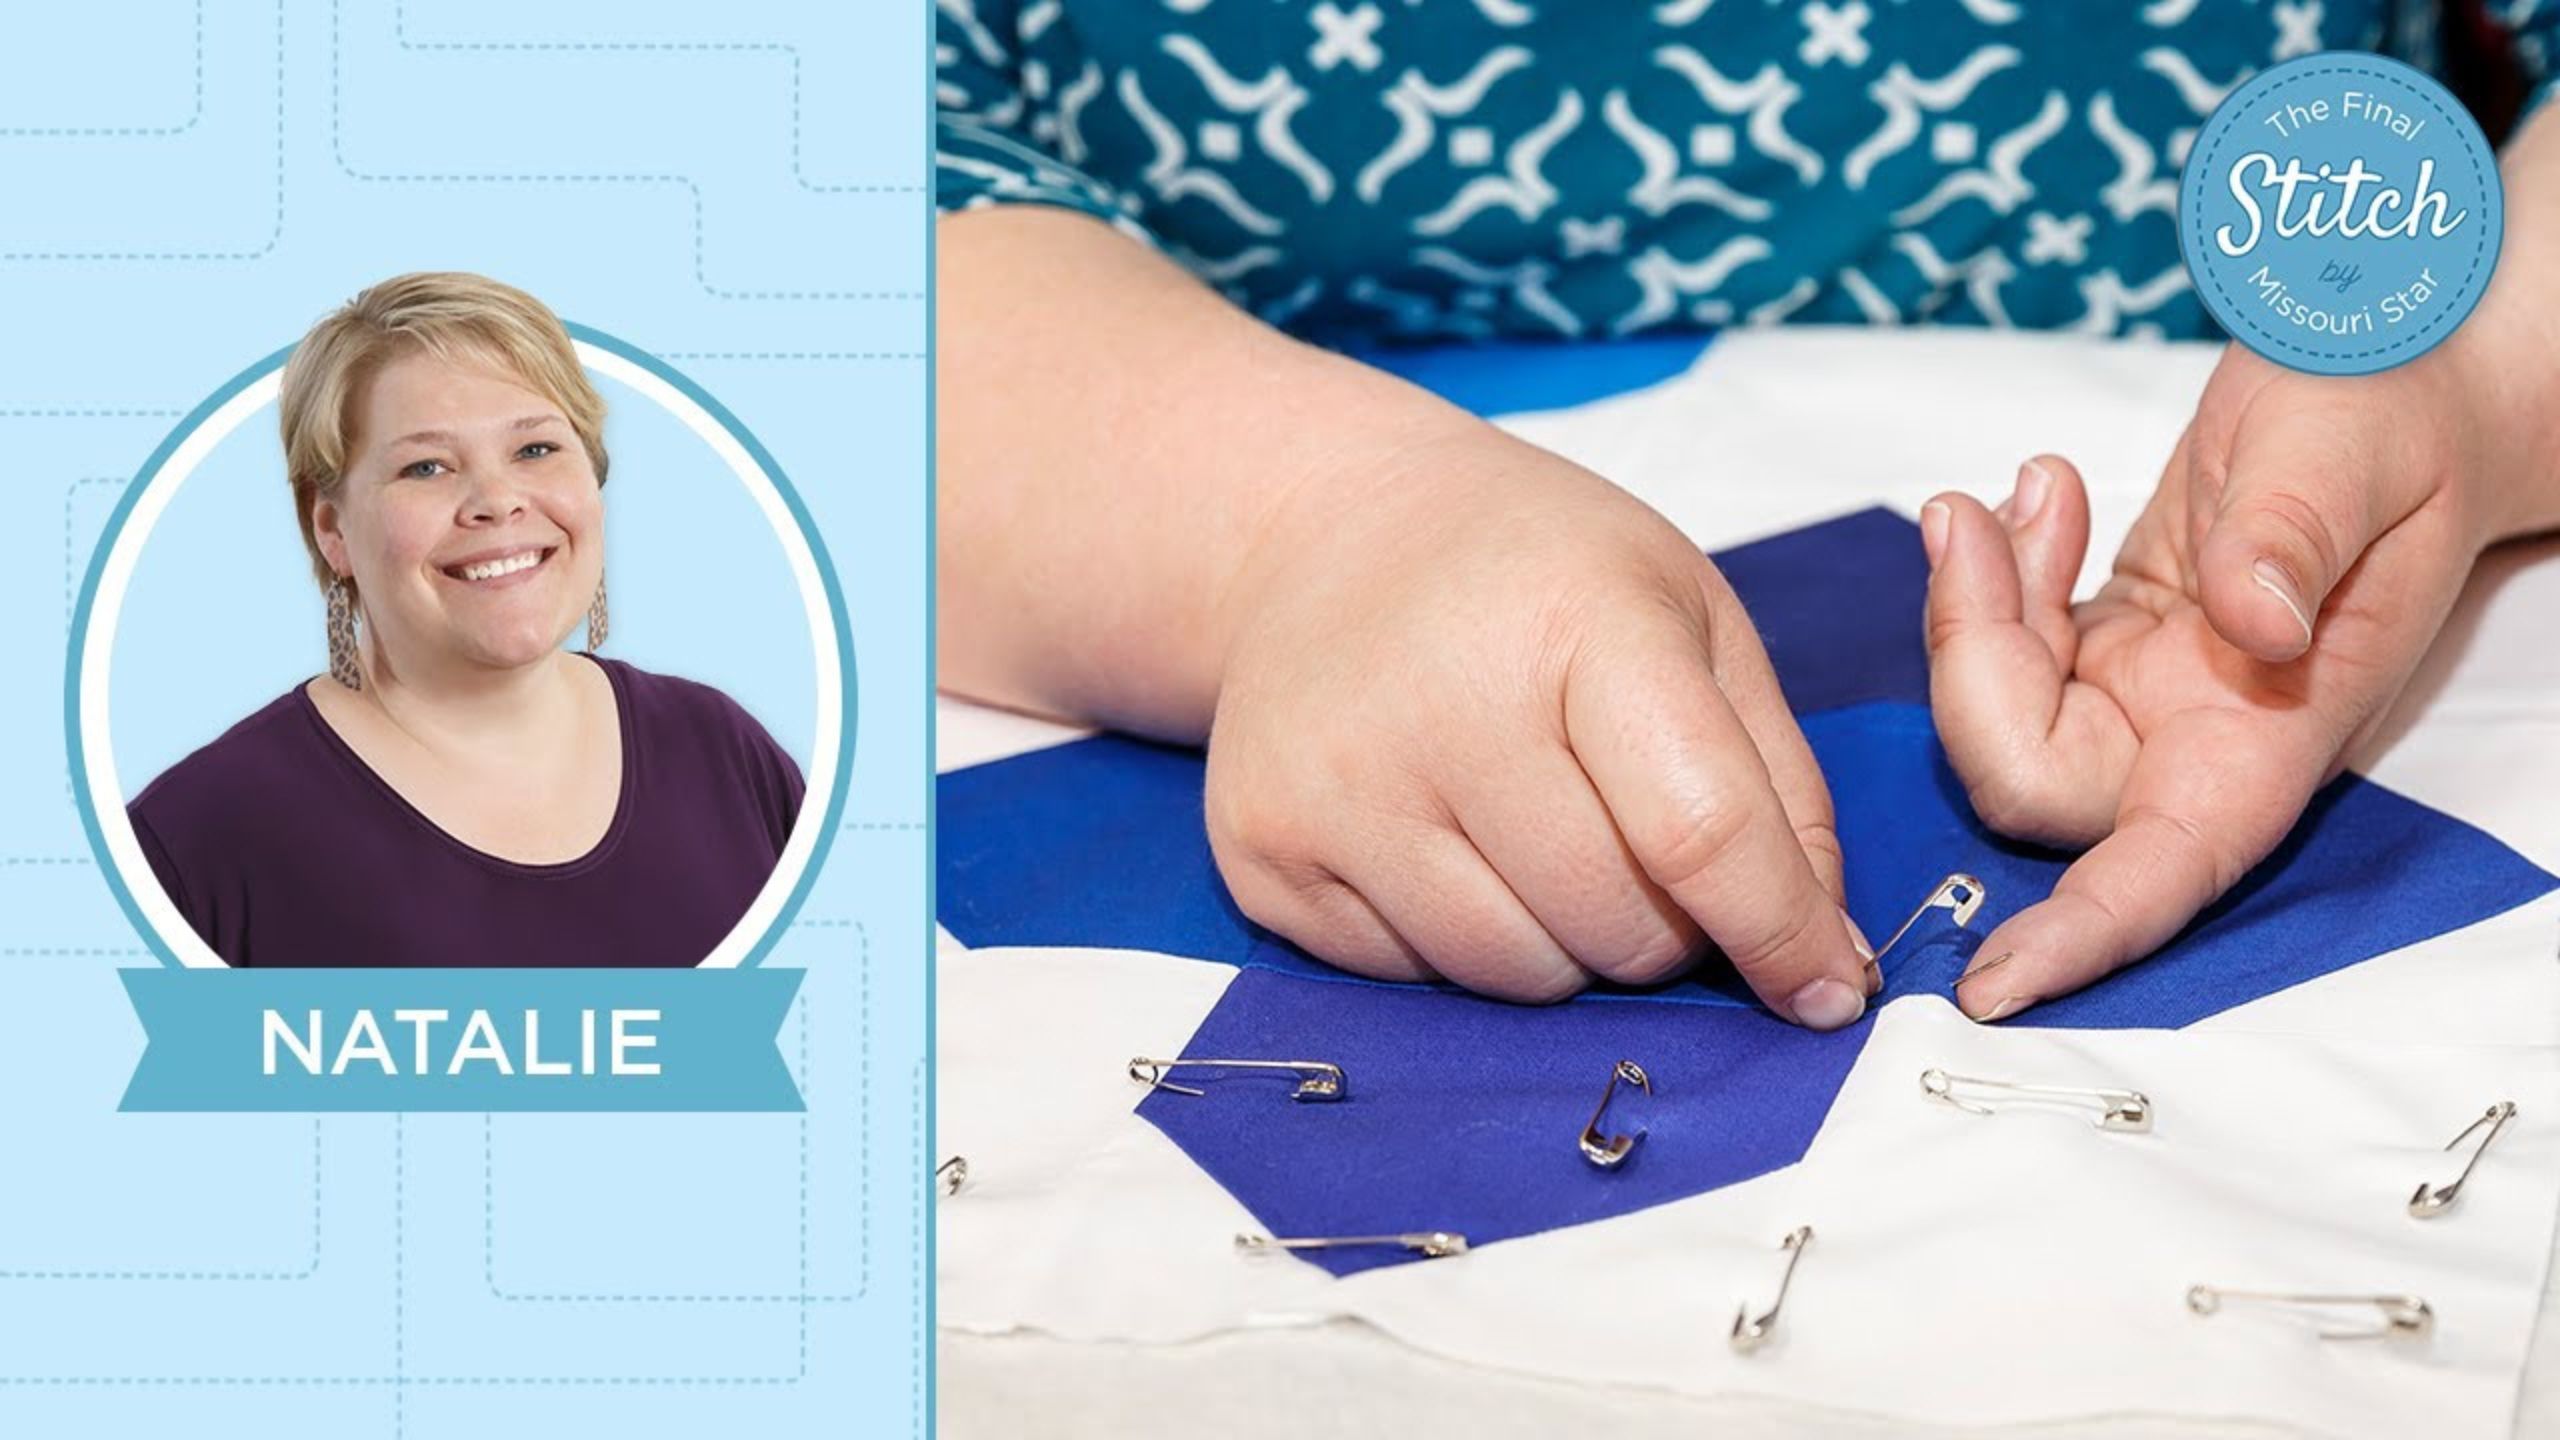
The Final Stitch: Basting Basics - Video Tutorial with Natalie Earnheart
How exactly do you baste your quilt when getting it ready to machine quilt on your home machine? Natalie shows us three ways to baste your quilt. Learn how pins, stitches, and fusibles can get you ready to get quilting that Final Stitch!

Instructor
Natalie Doan
Natalie is the host of Quilting 101, Embroidery 101 and the Creative Strategist and Editor of Block Magazine at Missouri Star Quilt Company. She was taught how to sew by her mom, of course, and began quilting when she grew up.
Shop this tutorial


Common Questions
What is covered in The Final Stitch: Basting Basics - Video Tutorial with Natalie Earnheart?
How exactly do you baste your quilt when getting it ready to machine quilt on your home machine? Natalie shows us three ways to baste your quilt. Learn how pins, stitches, and fusibles can get you ready to get quilting that Final Stitch!
How long is the tutorial video?
The tutorial video is 00:16:33.
Is a transcript available?
Yes. A written transcript is available on the tutorial page.
Video Transcript
Liz: That's right. So lots of you have asked questions about basting. Linda Baldwin asks, “Any ingenious ways and/or tips to layer a large quilt that will be machine quilted on a home machine not a long arm. Any tips on or pros and cons for basting, fusible powder, safety pins or fusible batting.”
Natalie: So that's such a great comprehensive question. Yeah there's a lot packed into that question. On fusible batting my my recommendation
is, if you have fusible batting it's great for one side but it's typically not adhesive on both sides. When you baste a quilt with a fusible, you want to make sure that you baste the top as well as the back. So it's a great option but something to remember is you will still have to baste one side or the other.
Liz: Okay good tip. So then we have also fusible basting, powder safety pins, and other techniques for basting. So we'll start with the basting powder right.
Natalie: So yes Basting Powder is my favorite and um and I love it because it's so semi-permanent like it really keeps everything in place. You have a much less chance of puckers and wrinkles and it's less work, like fine hand work. You know pins and seams and stitches are a little trickier.
So I'm using a little wool mat and that's just because that's what I'm using in this space. If you have an ironing board that's fine too. You can use whatever pressing surface you have at home. Obviously if you're doing a large quilt, larger is better but you know. Do use what you have right and it will work just fine.
Liz: You can just do a section at a time.
Natalie: Yes, that's what we're gonna do today, a section at a time. You get that part done, then you scoot it over.
Okay so I'm going to lay this out this way. Backing first, and then your layer of batting. Remember batting has two sides: the soft side faces up, and the dimpled side faces down. Check for threads or little bits and pieces of whatever might have been in your stash, and just try and get them all lined up nice and straight. You can do this lining up part on the floor if you want to, or if you don't have a large table you can lay it out. A lot of people will use painters tape to stick that backing down nice and flat and then you can get all those layers pretty well put together. And then just kind of like roll it or fold it so you can go to your pressing station and go from there. My quilt isn't super big, just for the purposes of demonstrating and I have a lot of batting.
Liz: Yes this is bigger than our usual kind of test piece but still small enough to see right here.
Natalie: Yep so just try to keep all those layers flat and straight. If your quilt is large enough, you'll want to center your backing and your top by…I fold my quilt in half and I would do the same with my batting and backing and put a little pin in the middle. Then you're going to line your pins up just to make sure that you get a good amount of fabric on both sides and you you don't end up basting your quilt too far from one edge or the or the other and running out of backing and having to do it again.
So lining up and centering is good. I do it when I use the gamma but I would do it also if I was nervous about centering things or if I wanted to line something up.
Liz: We can also see as you're basting, even though you're going to do this on your home machine you need to have a little extra to hold on to. So your backing is your biggest piece, your batting is bigger than your top, and then your top is on top.
Natalie: Absolutely yeah, because you don't want to get to the edge of your quilt and not have batting in it or have the backing pulled in too far.
Liz: Give yourself plenty of room and as you quilt to the edge you're going to want to have something for your hands to hold on to too.
Natalie: Absolutely yes, got to have a good grip all right.
So you're going to want to do the top first and then flip it over and do the back. So we just pull this back, and I love this Free Fuse powder because it's easy to use and it works very well. It's very effective.
Natalie: So you just sprinkle it
Liz: like a little salt shake.
Natalie: Yeah totally. Then you press this back and the nice thing about this is because you're doing only one layer at a time you don't have to worry too much about the back being flat because you're only pressing the top. Then as you press that, it will not only make your quilt top nice and flat, it adheres it to the batting so not too much worry about wrinkles. You can see that it's not stuck up here but it's stuck in the middle and if I wanted to I could easily add a little more up in this corner to get it all the way down. Then I’ll have a really good tight fuse right there.
So then if I was going to do my back right now, which obviously I would get through the whole quilt top first before flipping it over, but then what you want to do is flip it this way when you're ready for the back. I know
I know I'm skipping steps, but I want you to be able to see how to do the whole thing without the tediousness of watching me do the whole
thing because it's time-consuming.
Liz: Yeah that's fair. So you would do the whole front and now you've flipped it over the whole front…
Natalie: And then when the whole front is done you're gonna pull your backing out and you are going to continue adding this basting
powder.
Liz: And this is something you can get refills for?
Natalie: Oh yes. It's really cool, this thing lasts a long time and then when it's empty you just buy another bag. Love that!
So press that down nice and flat, smooth out any rumples or wrinkles and don't rush, just take your time.
Liz: Yeah, basting isn’t a speedy part of this process.
Natalie: Yeah. That’s true. Then you can see the whole thing is really nicely adhered together and it makes a much easier and more enjoyable experience when you're machine quilting if all those pieces are well stuck.
Liz: Yes.
Natalie: Okay which leads me right into some other options. There's pin basting which is great if you don't have the fusible or you want to lay the whole thing down and fuse it on the floor, you don't want to mess with your iron.
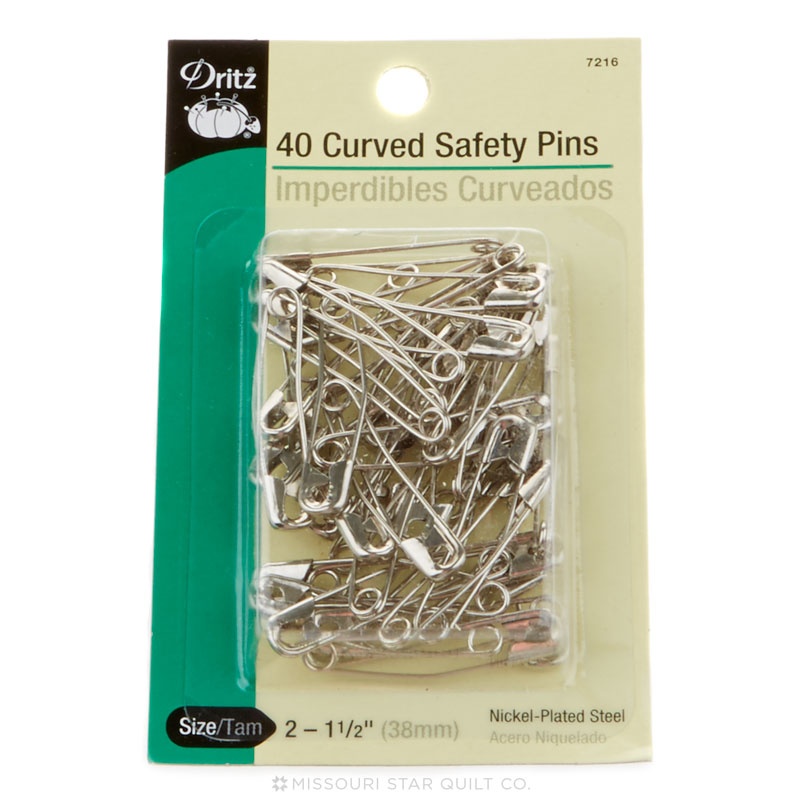
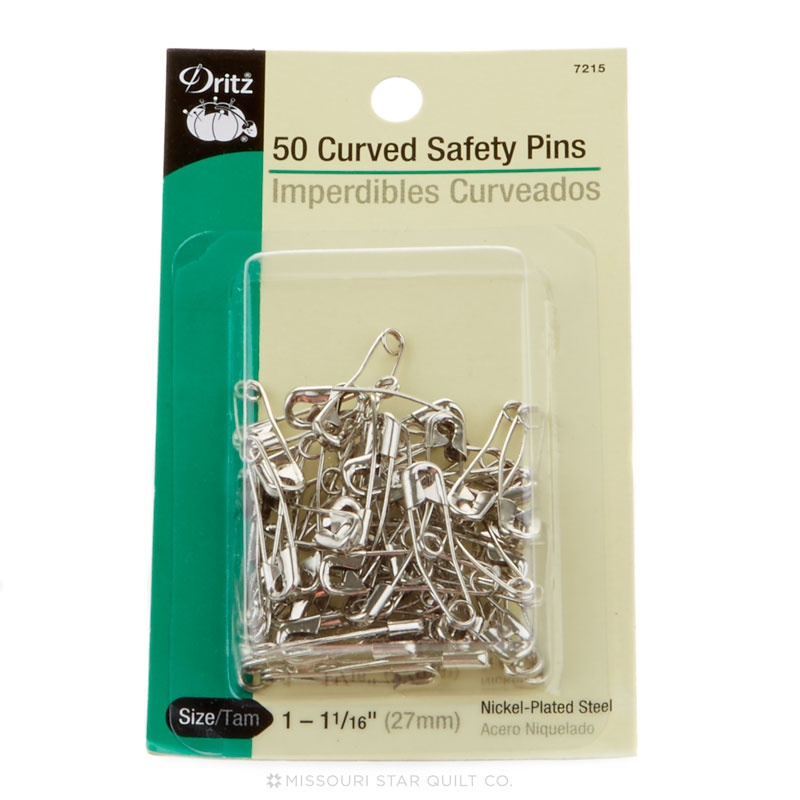
All right so for pin basting you want to use a curved safety pin and I've got a basket of them. You'll need a lot when you do a large quilt. They're small they have a curved bottom and a less curved almost straight top
and they work great for pinning because they go right into the fabric
and through all the layers without too much effort. So this is the corner that I fused. I'm going to slide that over a little bit and we're going to start about an inch from the top up here in this corner and what we're going to do is slide that in and close it. Then every other pin is going to go in the opposite direction and we're going to place them about three finger widths apart. So I'll go this way, and then put this one vertically. And then three fingers to my next pin. I keep wanting to do two which I think is also fine if that's more natural for you. You can put more pins in no big deal!
Liz: Yeah more pins is always good!
Natalie: Yep, you just want to make sure that you get all the way through all layers. I think once you get into a routine, you can kind of just eyeball it.
Liz: A lot of advice says that you can do a hands width apart, but three fingers seems to hold it better for puckering and things on the back.
Natalie: I do think, like with all things, it’s what works for you.
Liz: Yes.
Natalie: So when you get ready to start your next row, you're going to start going the opposite direction of the one in the previous row. I would put that one about here-ish, and what I'm going to do is my next three fingers, I'm going to try and line it up a little bit in the middle of these other pins because that way I have a good coverage of the whole quilt. And you keep going in your opposite directions, about every three fingers, and just pin until your quilt is full of pins. Then you just take them out as you stitch. I know there's lots of other quilt pins on the market. Like there's pins with stoppers and things like that, fork pins that are great, people love them. I just wanted to give you an example and show you one way to do it.
Liz: And this method works really well for other safety pins. These curved safety pins, as you're making that motion to kind of scoop from the back, the curve seems to help you get that back up through the fabric without rumpling.
Natalie: It's just a natural way the pin wants to move, so it's helping you out.
Liz: Yep.
Natalie: And you will just continue down. You can do your rows straight across or you can do sections, whichever way is most comfortable for
you.
Liz: So Linda…so far we've talked about the fusible batting, the fusible powder and safety pins, but there's also another method.
Natalie: That’s good old-fashioned hand stitching!
Liz: All right, what does that look like?
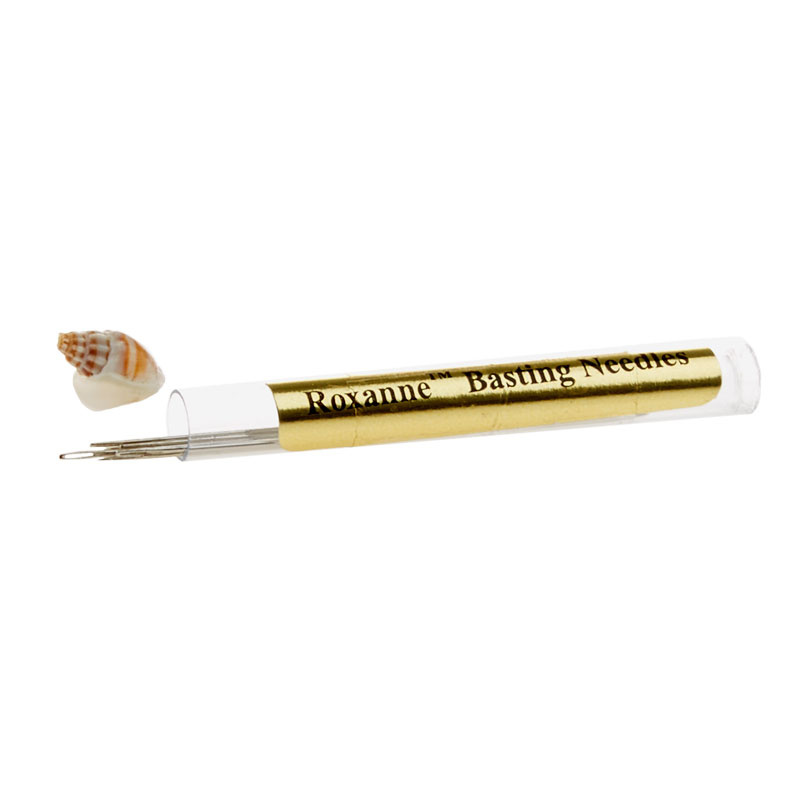
Natalie: So you're going to want to use thread that's different from the thread color that you're machine quilting your top with because you want to be able to tell which stitch is which obviously, to be able to pull it out later. So what you're going to do is take good large stitches - it's basically just a running stitch. And you just want to go back and forth across the quilt and I'm just going to start here and I think you'll just come up as often as you can. Then your next one going down can be just about a hand's width apart, but then you just keep going along.
Liz: And it kind of acts as a pin.
Natalie: Yeah. And then I would probably go this way, and make a turn at that junction, come back down here, and then continue back in the other direction. Now I'm not left-handed, so I might actually go around to the other side of the quilt and go from the other direction, but also again whatever is most comfortable for you.
And if that seems like it's a little bit too far apart then just go a little closer together on the next one. I'm about to run out of thread here so
what I'm going to do is just leave that and I'll get another thread and continue. You don't have to tie them in knots, you don't have to keep them attached, because you're going to pull that out eventually anyways.
But I recommend leaving a good sized tail because otherwise they might slide out while you're quilting which would be painful.
Liz: Right.
Natalie: Annoying at best. So I hope that helps.
Liz: Okay, so we have talked about from Linda's question, fusible batting, fusible powder, safety pins, and also this running stitch. So what would you say is your favorite and in a pro con way what's your best advice for us to do?
Natalie: So my favorite really is the fusible because you press it and it's just stuck. You don't have to worry about opening and closing safety pins or spacing or anything like that. You don't have to worry about re-threading your needle or any of it. It's the least stressful for me, so I prefer to fuse. But the benefit of the pins and the thread is that you don't have fusible in your whole quilt. Which I mean honestly is not a big deal to me because it washes right out, but you also don't have to use heat. You can put this whole thing together on your kitchen floor and tape the back down nice and flat. There's benefits both ways depending on your preferences.
Liz: Okay. So then I think the other thing that we didn't talk about is basting spray.
Natalie: Oh yes. So spray basting is just very similar to the Free Fuse. The difference is that it's fumey - you want to open a window and you might accidentally spray your floor which creates a sticky film. But if you
have basting spray at home and you want to go ahead and use it up, that's awesome. It works just like Free Fuse.
Liz: Okay.
Natalie: But no iron.
Liz: Right?
Natalie: It’s so cool. You don't have to iron, you don't have to worry about ironing on the floor. So you could use a spray base on the floor without an iron. So that's the benefit there.
Liz: Okay, so that's all the techniques that we have for getting you started with basting on your home quilted home machine quilted quilts. But I know there's lots of more questions so guys ask more questions in the comments about basting, about other things. We will be sure to collect those and share those with Natalie on a future episode!