The Final Stitch Episode 2: Batting Basics with Natalie Earnheart
Welcome to our second episode of The Final Stitch! Join Natalie to answer some real questions from real quilters - like you - about batting and how to join scraps. Have you wondered what kind of batting to use for your project, beyond getting the right size? Natalie walks us through materials, feel, drape, and why to choose the right batting for your projects. Plus she's got tips for how to join scrap batting two ways! Join us for Batting Basics on The Final Stitch.

Instructor
Natalie Doan
Natalie is the host of Quilting 101, Embroidery 101 and the Creative Strategist and Editor of Block Magazine at Missouri Star Quilt Company. She was taught how to sew by her mom, of course, and began quilting when she grew up.
Shop this tutorial
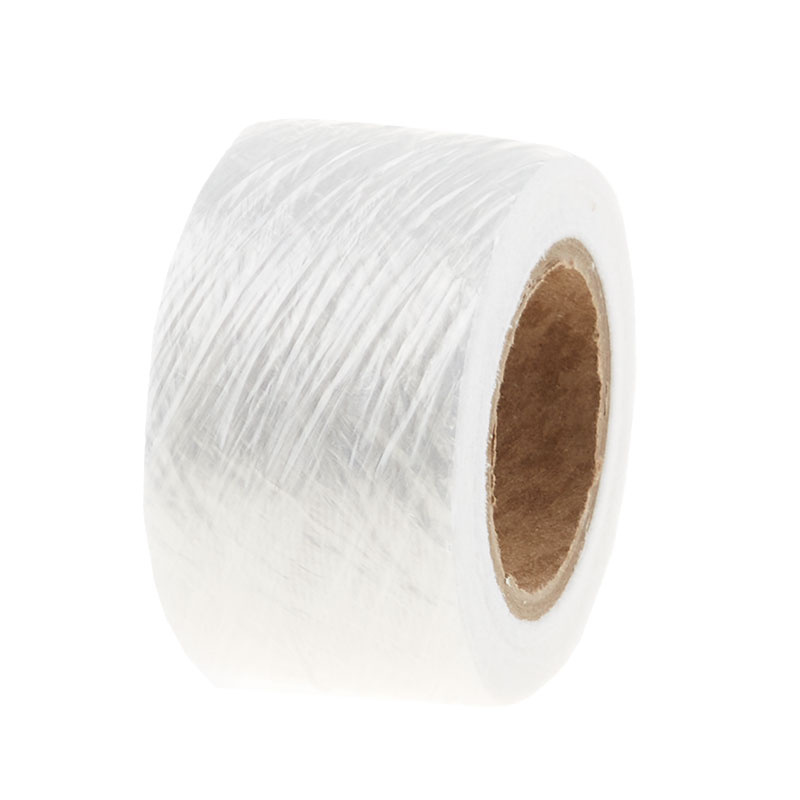 Bosal Batting Seam Tape$9.75Shop →
 Missouri Star Quilter's Best Blend Throw Batting$20.95Shop →
 Missouri Star Quilter’s Best Blend Crib Batting$14.45Shop →
 Missouri Star Quilter’s Best Blend Twin Batting$26.45Shop →
 Missouri Star Quilter’s Best Blend Full Batting$32.45Shop →
 Missouri Star Quilter’s Best Blend Queen Batting$37.45Shop →
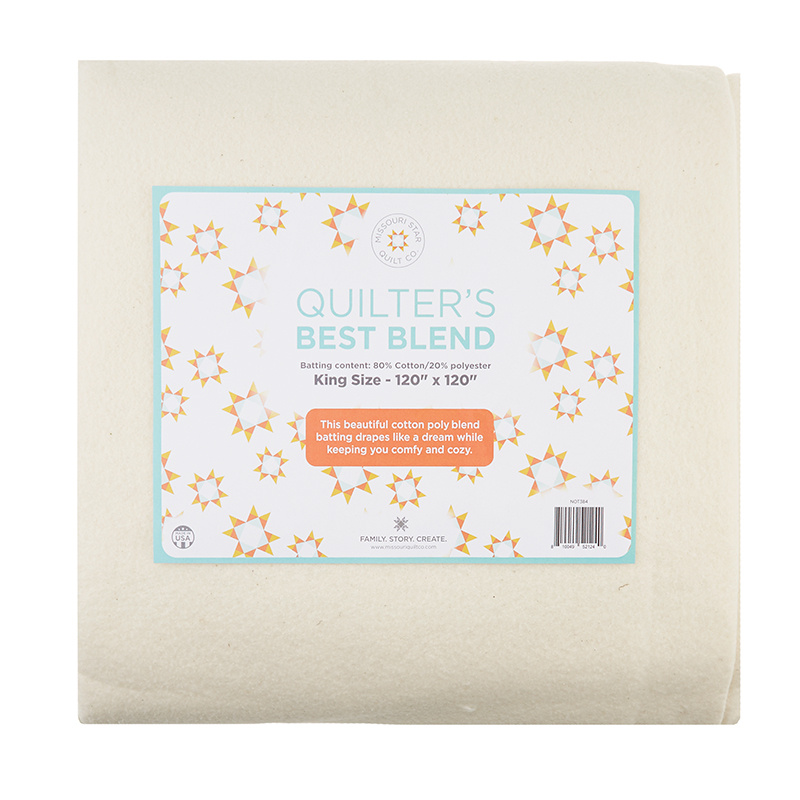 Missouri Star Quilter’s Best Blend King Batting$43.95Shop →
 Elan 8" Dressmaker Scissors$20.95Shop →
 Olfa Splash 24" x 36" Cutting Mat Navy$68.95Shop →
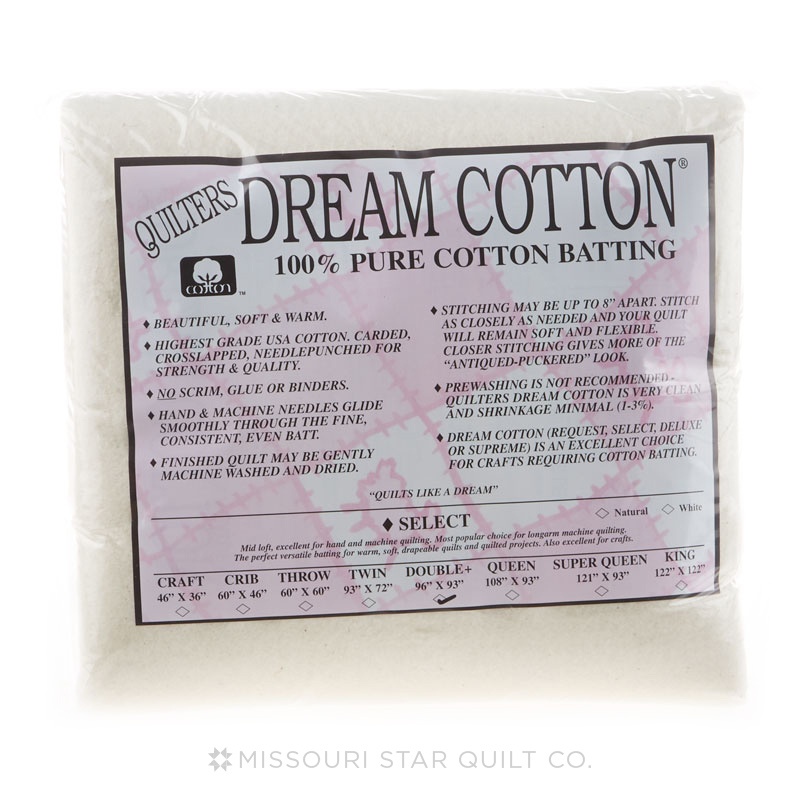 Quilter's Dream Select Natural Cotton Double Batting$35.25Shop →
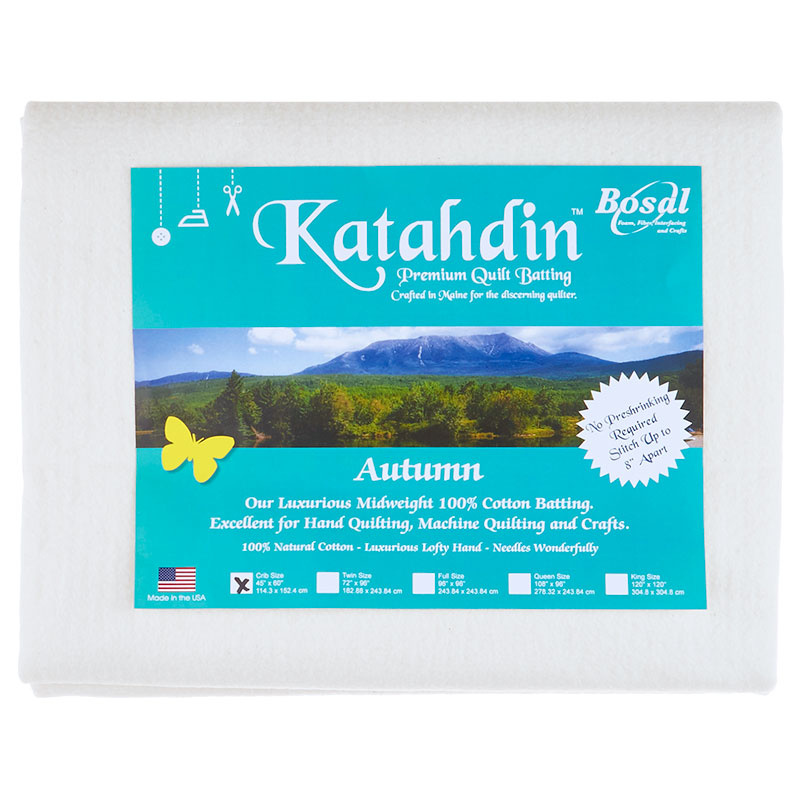 Bosal Katahdin Premium Autumn 100% Cotton Batting Crib$17.95Shop →
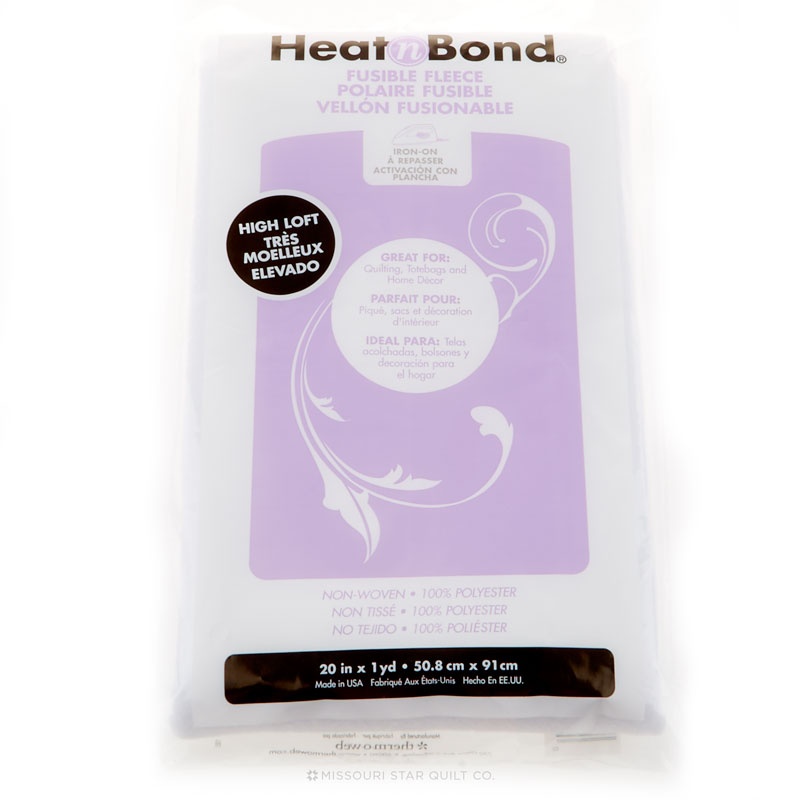 Heat N Bond Fusible Fleece 20" x 1yd$6.25Shop →
Common Questions
What is covered in The Final Stitch Episode 2: Batting Basics with Natalie Earnheart?
Welcome to our second episode of The Final Stitch! Join Natalie to answer some real questions from real quilters - like you - about batting and how to join scraps. Have you wondered what kind of batting to use for your project, beyond getting the right size? Natalie walks us t...
How long is the tutorial video?
The tutorial video is 00:14:50.
Is a transcript available?
Yes. A written transcript is available on the tutorial page.
Video Transcript
Natalie: So I know when I started quilting I did not know what kind of batting to use in projects. I didn’t know what all the terms meant. I didn’t know what the differences were. And I’m thinking that might be the same. I have Liz here with me and she’s got some questions from each of you. So hopefully today we’ll be able to sort through some of those and at least give us a good head start.
Liz: Awesome. Our first question actually comes from Lisa in Kansas. Lisa says, “If I’m making a bed quilt, a baby quilt, a table runner or a wall quilt, do I need different batting? How do I choose the right batting for my projects?” So that’s totally the question you’re asking.
Natalie: That is the question I had as well. There are a lot of different types of batting and one of the things that I think is important to know is what the purpose of the quilt is. If you’re wanting something that’s fluffy and cozy and comfy you’re going to want something with a higher loft. Loft is the thickness of the batting. It’s whether the, I think of it like a lofty goal, a lofty goal would be high. So a high loft is the fluffiest of all the battings. And a low loft is going to be the skinniest and flattest batting. It’s lightweight. It’s very flexible. And we typically use a medium to a low loft
batting in most quilting. But if you were making something for a baby you might want something a little bit more fluffy and cozy. They could maybe make a floor mat out of it or something like that. There’s other things you can use for, if you’re making a pot holder, you might want to use something like InsulBright that has an insulated lining in it. And then wall hangings, I would just say low loft because you kind of want it to just
set against the wall like a piece of art. So you have to consider the purpose and then go from there. That’s your starting point really is what am I going to use my quilt for.
Liz: Right. So then another question comes from Jessica in Kansas City. And it’s related. “So what is all that information on the batting even mean? I don’t actually know what 80/20 means. I think I’ve figured out queen size. But I feel like there’s a lot I don’t know about batting.”
Natalie: Ok, that is true. There are a lot of different kinds of batting on the market. We carry Bosal and Quilter’s Dream here at Missouri Star. And so the 80/20 is talking about the makeup of the batting. It’s usually 80% cotton, 20% polyester. And that’s a good combination because you get a lot of the natural fibers that make it feel really soft and dreamy. And then you get the polyester fibers that make it last a really long time. You can go with a full cotton or a full poly but typically a blend is best just for day
to day use. That’s something that we just use it very commonly. It lasts a long time and it feels and looks really great. We also have wool so if you’re looking at the 80/20 versus the wool, those would be the two things to compare. Wool batting is great. They make it now where it’s washable. It doesn’t smell bad. You know, it feels good and lasts a long time. It’s light and soft and warm. So wool is great. There’s bamboo out there on the market. We don’t currently carry that but we’re working on it. But ya there
are a lot of different types. So the 80/20 refers to what the makeup of the batting is. And then obviously you said you figured out the queen. But usually on a package of batting there will be a bunch of little numbers here. Let me see if I can show you that, that have all the different sizes and they’ll just be checked so you know which one you’re getting. And these are just kind of standard sizes. So you want to make sure that the quilt
top that you make is smaller than the batting that you purchase. Otherwise you won’t have enough.
Liz: Because you need it to stick out around the frame.
Natalie: Ya you need a little bit of overhang all the way around, whether you’re quilting it on a home machine or on a longarm, you still need a little bit of extra batting. It’s got to be bigger than your quilt top.
Liz: What do those different colors mean in front of you?
Natalie: So they do have different colors and typically the whiter it is the more it’s been processed or bleached. And so it will just be a white color. And then this is natural and they’re very similar and so when you see, on our website I think you can even have the option of white or natural. It really doesn’t make much difference because it’s inside the quilt and you’re not going to see it. The one that I would say makes a difference
is if you have a quilt that’s really dark and possibly even if you’re putting like a cuddle on the back, you might want to think about that because once in a while the cuddle fibers will pull through the front but black batting is fantastic for a darker quilt. Because then you’re never going to see, you’re never going to see bearding or pop through. If the tension is bad, it’s not going to show as much. There’s a lot of things that
typically aren’t as big problems now as they used to be. You used to have a lot of problem with bearding. We used to have a lot of problem with batting kind of falling apart or tearing if it got stretched. That is not the case. Batting is made so much better now than it used to be. So you don’t really have those problems but the reason that we don’t have those problems is because of all these improvements. Because we have, you
know, really like beautiful, soft, well put together battings and the colors can make a difference. I would not recommend putting a black batting in a white quilt, for example. So that’s where the color comes into play. It’s just like light or dark and you know, whether your fabric will show through or not.
Liz: And bearding, what does that mean?
Natalie: So bearding is when your needle goes through as its quilting and if it beards that means that the needle is pulling the batting through the top of the quilt. And so it just kind of makes like these little tufts of batting fluff on the top. And it looks pretty messy. If you’re having a problem with that you might want to change your needle. That would be the very first thing I would do is change my needle. And then maybe check your tension. But we don’t typically have that problem anymore because the quality of the batting is so much better than it used to be.
Liz: Right and so usually if you’re avoiding bearding on a darker quilt it’s because you don’t want little white tufts to show through or little dark tufts to sneak through.
Natalie: Right
Liz: Because if it snuck through at least you wouldn’t be as noticeable.
Natalie: Absolutely.
Liz: Got it.
Natalie: The dark batting is not going to show up as much as if you used white batting in between dark fabrics.
Liz: Alright so another question that has come up from quite a few folks is, Can I use my batting scraps and somehow Frankenstein them together to have new batting?
Natalie: Absolutely, in fact it’s one of my favorite things to do because I don’t like to waste stuff. So if you have scrap batting, we have a couple of really great ways to put that together. You can use a seam tape that’s totally fusible. It’s just like this little strip of tape that you can press and combine those two pieces and that works great. We’ve actually even used it in an emergency when you run out of batting before you run out of quilt on the longarm. You can just press it together and keep on going. And then the other way is with your sewing machine. You can join them together. And it is called Frankenstein stitching. That’s what I call it. And you just zig zag back and forth and join those two pieces. And I can show you both of those right now.
Liz: Oh awesome.
Natalie: So I have a couple of scrap pieces of batting and I have my trusty batting tape which is great. It’s see through so you can see the seam in between. It has a sticky side and a smooth side. The sticky side will feel just a little bit rough and maybe a little bumpy. So that’s how you know that’s the side that’s definitely going to stick. Alright so it’s super simple. We’re just going to line up our quilt edges. And I’m going to look for one that’s a little bit straighter. You can, if you’re worried about straight lines you can overlap them and cut. So then the line is completely straight.
Liz: Ok.
Natalie: And then they’ll line right up. And then the other thing to consider is you can see on this batting that there’s a different texture on one side than there is on the other. So the side that’s super smooth is the top. That’s the part that should face up when you’re quilting. And then the bumpy side is technically the bottom and should face the backing of your quilt. So it’s something that you can do to reduce the risk of possible
bearding. But if you can’t tell the difference it really probably isn’t really ever going to matter.
Liz: Ok.
Natalie: It’s just another little tidbit to keep in your pocket of quilting knowledge.
Liz: So when you’re putting them together you want to try to match the sides.
Natalie: Ya right. I’m going to put this one this way because I think that’s a little bit straighter edge. And these are both the top sides. Just kind of line it up the best you can. And it doesn’t have to be super perfect. It’s ok if there’s a little overlap. You don’t want a lot because you’ll create like a little bump in your quilt. But putting them side by side is going to make a nice flat seam. And then you’ll add this little batting tape. Make sure your bumpy side is down facing the batting.
Liz: Because that’s your glue.
Natalie: That’s your glue that holds the two pieces together, that’s right. And then it’s just as simple as ironing like a Heat N Bond or anything that’s fusible.
Liz: It’s a super easy way to get bigger batting out of smaller batting.
Natalie: Yes. Now I would say I haven’t pieced together a bunch of small pieces to make a big piece. I kind of like to go with maybe like a three seams or less rule of thumb.
Liz: Ok
Natalie: So I don’t, I don’t mind having like a vertical and horizontal seam but I probably wouldn’t do many more than that because your quilt is going to take a lot of use. If it’s not you’re probably fine.
Liz: Ok.
Natalie: I mean if it’s a wall hanging or a table runner. But if it’s going on somebody's bed or a kid is going to drag it around, I would probably want my batting not to have very many seams just because I’d worry that over time they might split apart.
Liz: Sure because they get lots of love.
Natalie: Ya. That’s just kind of a little rule of thumb I have is like no more than three seams.
Liz: Ok.
Natalie: So this is fusible. And if you’ll hang on just a second I’ll pull up my sewing machine and show you how to Frankenstein stitch them together.
Liz: Awesome.
Natalie: Ok so I’ve got my sewing machine set up. I used red thread just so that you guys can see the stitches. I’m going to find kind of a wide, not super wide, but I’m going to widen my zig zag a little bit. So I’m going to like a seven on this. I’m using the Baby Lock Jubilant so the number I’m using is a seven for the zig zag. And then I’m going to go up to 2 ½ and five and see how that looks. Same rules apply. I’m going to take my batting. I’m going to keep it right side up and line up these two edges. And what I’m going to do is put them, now this is going to be a little bit of a pain because you’ll have extra batting. And you can just kind of like roll it or fold it so that it fits inside of the throat of your machine.
Liz: Ok
Natalie: But then you have these two pieces that line up. And you want to center them right underneath the needle. So you may want to bring your needle down and see where center is. But then you just go right along. And you’re just joining them like right up against each other. No space. And typically this is more of a time where you would maybe want to trim your batting edges just to make sure they’re really straight because it can get off and that’s just kind of annoying. It’s not a bad thing. You can straighten your batting up after you’re done stitching the pieces together but it might be easier to do it before.
Liz: Ok.
Natalie: To each his own. So then you just feed it through.
Liz: And again we’re using red so you can see it.
Natalie: Just so you can see it. I would use white
Liz: White or cream thread
Natalie: Something that would blend and hide inside the quilt. You don’t want to have, especially if you have a really light colored quilt you’re not going to see that zig zag inside of it.
Liz: Right but we want you to see it.
Natalie: Ya. We wanted you to see where the zig zag lands and how that looks. And I’m going to go ahead and finish this out. Ok so basically what you’re looking for is a seam that is pretty flat. And because you put your edges close together and you made your zig zag wide enough to catch both sides, you’ve got a really tight and flat seam that can go right in your quilt without coming apart. I mean it’s probably going to hold together better than some other parts of the batting. Who knows?
Liz: That’s awesome.
Natalie: Which just in case you have random batting at home that you don’t know where it came from, you know, you can do like a stretch test. It should stretch a little bit one way but then not too much the other way. It should be like, you shouldn’t be able to pull it and have it rip right apart.
Liz: Right.
Natalie: That’s batting I probably wouldn’t use.
Liz: Right.
Natalie: It would be not really trustworthy batting in my opinion. Nefarious batting.
Liz: That’s true.
Natalie: Anyway, ya so that’s how you seam your batting together and it works great. I’ve used it a bunch of times and not had any problems.
Liz: Awesome. Thanks. So I think if you guys have more questions about batting we have lots of ideas to share but ask us your questions so that we can ask Natalie.
Natalie: Ok and I’m excited to hear your questions. And I know there are a few other types of batting that we didn’t talk about. We didn’t talk about fusible batting too much. That just means it has an adhesive on one side. But if you have specific questions about that, we’d be happy to look into it. And anything you can think of, I want to learn as much as you do.