The Final Stitch Episode 4: How to Add Tabs & Sleeves to Hang Your Quilt with Natalie Earnheart
Welcome to our fourth episode of The Final Stitch! Join Natalie to answer some real questions from real quilters - like you - about how to hang your quilts. How exactly do you add tabs and sleeves before binding? How do you hang a quilt after binding? Learn easy tips and tricks to hang any size quilt and show off your beautiful work on any wall! Join us for Hanging Quilts on The Final Stitch.

Instructor
Natalie Doan
Natalie is the host of Quilting 101, Embroidery 101 and the Creative Strategist and Editor of Block Magazine at Missouri Star Quilt Company. She was taught how to sew by her mom, of course, and began quilting when she grew up.
Shop this tutorial
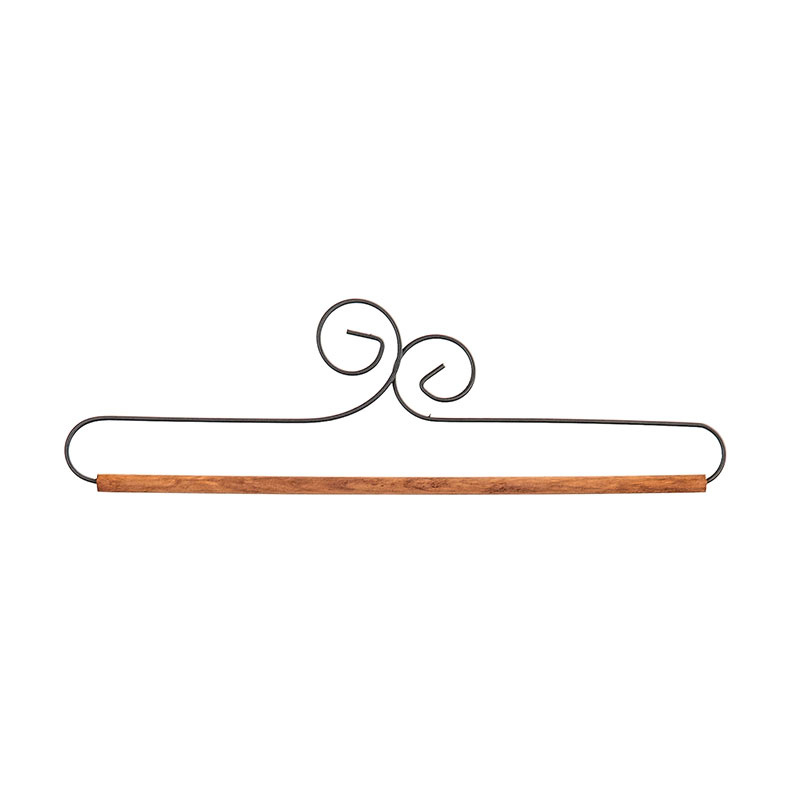 Double Scroll Dowel Quilt Hanger - 12"$8.25Shop →
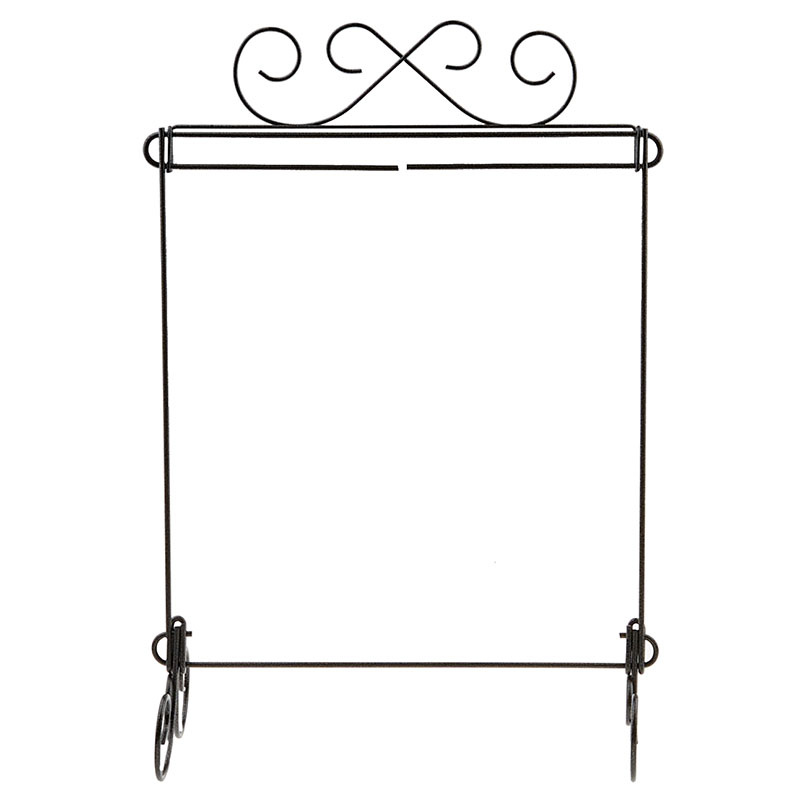 Scroll Table Stand Quilt Hanger - 12" x 14"$30.45Shop →
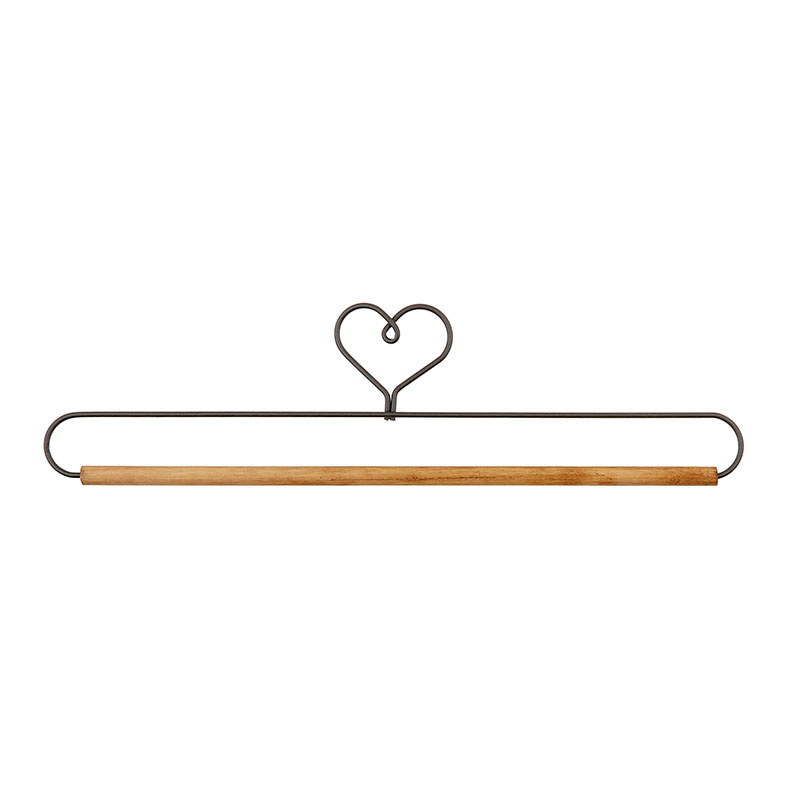 Heart Dowel Quilt Hanger - 12"$5.45Shop →
 Olfa Splash Aqua 45mm Rotary Cutter$18.75Shop →
 Olfa Splash 24" x 36" Cutting Mat Navy$68.95Shop →
 Missouri Star 5" x 15" Ruler$15.95Shop →
 Oliso® TG1600Pro+ Smart Iron® - Pink$199.99Shop →
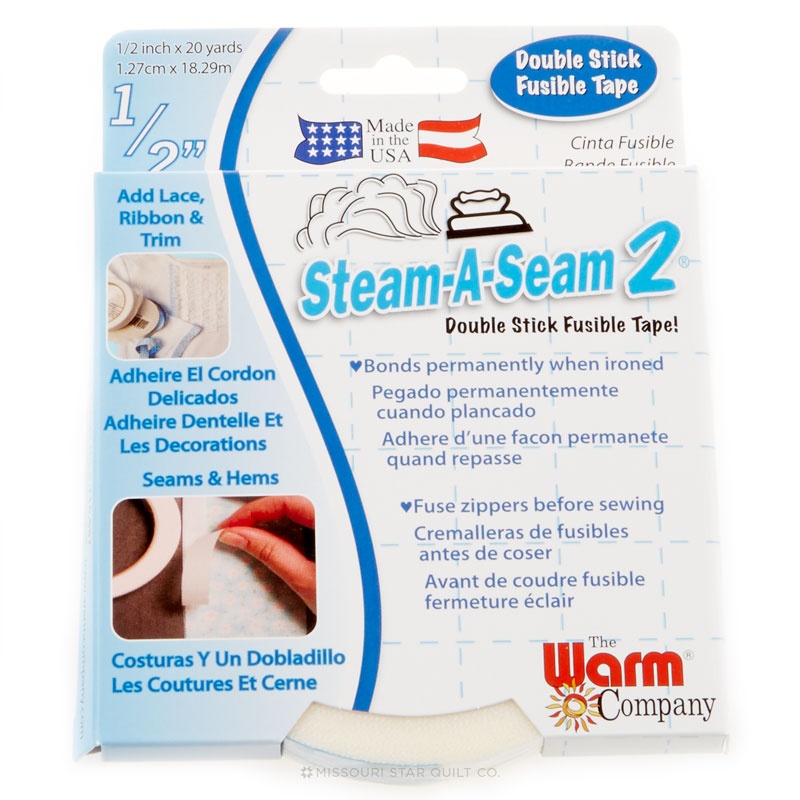 Steam-A-Seam 2 - 1/2 x 20 yds$5.45Shop →
Common Questions
What is covered in The Final Stitch Episode 4: How to Add Tabs & Sleeves to Hang Your Quilt with Natalie Earnheart?
Welcome to our fourth episode of The Final Stitch! Join Natalie to answer some real questions from real quilters - like you - about how to hang your quilts. How exactly do you add tabs and sleeves before binding? How do you hang a quilt after binding? Learn easy tips and trick...
How long is the tutorial video?
The tutorial video is 00:26:25.
Is a transcript available?
Yes. A written transcript is available on the tutorial page.
Video Transcript
Liz: Hi our first question is from Alexa in Virginia. She is ready to bind her quilt but wants to hang it when she’s finished. She says, “What should I do to make sure my quilt is ready to hang?”
Natalie: Alright. So that really depends on where you want to hang it and how big your quilt is. So I’m going to start with some small things. We have some really cute hanging options. They make these little wire hangers. Or you could hang it with any kind of little shelf rod. You could pin it to the wall. There’s a lot of different things. But if you wanted to hang it on a hanger like this one of my favorite things to do is to just add some little tabs to the back of your quilt. So we have this little one right here. It’s
just a single block quilt that would be super cute in a sewing room or kitchen or anywhere. And you want to add your tabs before you put your binding all the way down. So you can see I’ve got the binding sewn on. And I did go ahead and stitch this down just so that you could see it more finished as opposed to unfinished. But you could wait and finish all the hand stitching at once.
Liz: Ok.
Natalie: So typically I would just make a tab by sewing a tube of fabric and flipping it right side out. But you could also use ribbons or twill tape or any other kind of thing that you wanted to create your tab with. There’s a lot of options.
Liz: Does it matter how wide your tab is?
Natalie: That is personal preference. It doesn’t matter. I would say if your tab is wide you can use fewer of them. And if it’s narrow you might, like for this I think two tabs kind of in this section would be great but you might want to add a third one if you have narrower tabs.
Liz: Ok.
Natalie: I think, honestly, it is quilter’s choice, personal preference.
Liz: Cool, ok.
Natalie: So and there’s a couple different ways. So I have this finished tube sewn together here. And I did go ahead and leave this end sewn shut so that I could flip it. It’s a lot easier to flip the tube when it’s sewn shut on one end.
Liz: Ya definitely.
Natalie: But the nice part of that is that I can say, you know, I want to put a little loop and I’m going to put the raw edges inside the binding. So I’m just going to measure. I’m thinking maybe a four inch, because that will give me about two inches of loop. So let me cut that real quick. I’m just going to use these tools. I’ll go with a little four inch. Alright so I actually want to make sure that my tabs are even on both sides so I’m going to measure and put these about an inch in from the end. And I’m going to line it right up. So I’m using the mat to show me that I’ve got about an inch of space here. And I’m going to line that up right here and put a pin in it. And then I will do the same thing for the other side. Really quickly I’m going to cut another four inch strip off of this tube. Fold that in half. I’m just going to keep the raw edges sticking out. And then right here I’m still going to do. I’m going to line up my one inch on the corner and put that tab in there.
Liz: So about how wide is that tube that you start with?
Natalie: This was about a four inch wide piece of fabric folded in half and sewn into a tube.
Liz: And these don’t have to be perfect measurements?
Natalie: You just want your tabs to be the same. But they could be wider, narrower, whatever you want. So then I’m just going to stitch these into the seam where the binding is.
Liz: Ok.
Natalie: And I’ll go just a tiny bit to the top side of that so that it doesn’t
come through on the quilt and make the binding look funky. And if you wanted to you could actually put this on before your binding is stitched on. Mine is already stitched on but you could do it all at once if you wanted to. Just pin them in and go for it. So I’m just going to stitch this really quick so you can see. Let me turn this. And I’m just being careful to sew just to the right of the seam that I’ve already got in there. Or on top of it.
Liz: So that way it will be next to the seam.
Natalie: Yep it’s close to the seam and it’s anchored in with the binding. And I’m going to do a little backstitch just to keep it secured, although it will be also sewn in when you flip your binding.
Liz: Just one more layer of security.
Natalie: Just one more layer, yep. Because, I mean when you hang a quilt you get a little bit of stress on the hanger. I’m thinking this probably won’t be super stressful because it’s so tiny. But when you have a larger quilt it will have a little bit more stress on it. Alright so we’re going to stitch this one down. Putting a little backstitch in there. And another little one right here. Alright so once we’ve got that all tacked in then you’re just going to go ahead and clip your little threads. And you can hand stitch the rest of your binding down to cover that seam. So you have this nice neat little
tab in there. And then when that is stitched down you’ll flip it back and just put in a couple of tack stitches here to keep it standing up the way you want it.
Liz: And does it matter how many layers you have, you don’t really need to worry about that?
Natalie: No I don’t typically have to use a walking foot on something like this. But ya it should be, your layers should be fine it’s still only a few layers of fabric.
Liz: And you’re not doing any extra batting on that.
Natalie: Ya unless you have a super thick batting and you might have a little trouble there but I wouldn’t think so especially not on a wall hanging.
Liz: Ok.
Natalie: Alright, so then these will flip up, you’ll put it that little tack and you just have this cute little tabbed wall hanging.
Liz: And it’s cute and the tabs coordinating with your quilt and it’s adorable.
Natalie: Yes. And like I said, ribbons, twill tape, any kind of little thing that you could do little loops like elastic ties, whatever cute little thing you want to make your tabs out of. The other thing that’s kind of fun is to take this tab and only put one side in and then flip it forward and put a little button on the front. So let me show you how that looks.
I’ve got a, I’m just going to use the end that’s got a fold in it. So if you wanted to have a finished edge, then you would either sew it shut or leave the fold. And that’s the part that I would then put in. So you’re just having your one, let me cut that a little bit shorter. Do I want this?
Liz: So you’re going to show us basically how to something.
Natalie: It’s basically the same
Liz: Rolls to the front and hidden in the seam.
Natalie: Ya it’s basically the same. And I will just do that right in the center just because, not that I would typically do it this way but just to show a third method.
Liz: Ok
Natalie: So I would probably pick one or the other for my quilt.
Liz: Right, you’re not going to do both on the same project.
Natalie: Not necessarily. It depends. I mean if that’s what you’re wanting it to look like, that’s totally fine because quilting is art and art is unique to the artist.
Liz: That is true.
Natalie: So for this particular method, I’m just going to sew the raw edge into the seam, just the same way we did before but I’m going to leave that folded edge out. Ok so then you’re going to hand stitch this down just like the other type of tab, you know hand stitch it down so that all the seams get enclosed. And then you’ll still flip that forward. But then what you’ll do is go ahead and pull this to the front and you can decide, you know, how far down you want it to go. But it’s really fun and easy to do a cute little tab tie that comes around to the front. And you could put a little button.
I have these cute buttons. Any color you want really but like this one is super cute. So it has like a little flower in it. It’s so fun.
Liz: That’s great.
Natalie: So you could then put little buttons on the front and have that be however you want.
Liz: Adds just a little extra embellishment.
Natalie: Ya totally.
Liz: Ok, so that’s two methods for attaching tabs. What are any other ways that are easy, quick smallish ways to do this? Like, I’ve heard of a sleeve.
Natalie: Yes.
Liz: What would a sleeve look like and how is that different from a tab.
Natalie: So a sleeve runs lengthwise across the top of your quilt and it’s another tube. And it would hold whatever bar or rod you’re putting your quilt on. And they’re great for larger quilts especially because you want to not put so much stress on the binding and have the entire quilt supported in a way that keeps it straight and from getting pulled.
Liz: So will you show us how to do that?
Natalie: Yes, absolutely, I would love to. Ok so the concept is the same for a larger quilt. You’re just going to want to measure the width of the part that you’re hanging. This one measures about 38 and so I went ahead and cut a strip of fabric. So because we’re going to fold it in half you want to know how big your rod is. And typically they’re not, like you think about a closet rod or they’re not usually wider than that. So I would say six inches would be the biggest you’d ever want to go because that folds in half to a three inch tube and you’re only putting a half an inch of it in the seam. And then you’ll have that whole area to put a rod in. And it doesn’t need to be super big because it’s going to sit right at the top of that.
Liz: Ok.
Natalie: It’s kind of like, I don’t know if you’ve ever made curtains. You’re just making a little fold for the rod to go through.
Liz: Ok. So we’re going to make this fold and we’re going to add that to the back of the quilt so that we can slide whatever, another larger wire hanger or a curtain rod or some sort of hanging stick.
Natalie: Yes. Anything. A lot of people have used like yardsticks or I don’t know, I mean, anything that will support your quilt. It’s hidden so it doesn’t have to be pretty. It could be something or whatever.
Liz; Right and Jenny, your mom, actually did a video on how to hang a porch quilt and it’s also the same kind of concept. So we’ll get to that in a second. So you can show us how to add a sleeve to slide onto that instead of using those pictures.
Natalie: Right so what you want to do is make sure that your tube is, it’s a strip of fabric that is cut twice the width that you want it to finish. So if you want it to finish at three, you cut it at six inches wide. And then the length is the length of the width of your quilt.
Liz: Ok
Natalie: I don’t know if that sounded a little complicated because I said length of width but really it’s just, it just has to be a little bit shorter than your quilt. And you only need, I mean maybe like an inch on either end. So if this is 38, I would cut it maybe 36, 35 ish.
Liz: Ok.
Natalie: And then what you’re going to want to do, and then if you don’t have that length you can absolutely seam it because that’s completely hidden. Or you can cut length of the fabric. Or you can use leftover backing. It’s not, it doesn’t have to be fancy fabric. It can literally be like anything. It doesn’t show and it just needs to support the quilt and the rod.
Liz: Ok.
Natalie: And most of that weight is actually going to be on the seam not the fabric.
Liz: Ok so a lot of it can be scraps that you have at home.
Natalie: Yes, totally. For ease I probably wouldn’t piece too much. I would just use a long strip of something that you have and make sure that it is twice the width you want for the rod and then just a little bit shorter than the width of your quilt. So then what I do is before I go ahead, so this one, I don’t need a lot of rod space. This is about four inches and once I fold it in half I’ll have about this much to put a little dowel rod or a little metal bar, anything to hold this quilt up. But what I’m going to do first is press the end in a quarter of an inch and then just do a little rolled edge so that that edge is finished. You don’t have to finish it. Well you can but you don’t
I mean, I don’t have to press it in twice but you can. Right. So this edge is already stitched down. And I just do a little bit, a quarter of an inch or less and then you fold it in one more time so that all your raw edges are inside and then topstitch this right along the edge.
Liz: So you just have to make sure it doesn’t fray on you over time or something like that.
Natalie: Ya, it’s just a quick easy thing to do to make it look a little bit more finished and then your fabric won’t fray and get caught on the rod that you’re using. And just one thing, a quick reminder, you want these both facing the inside of your fold so they go the same direction. It probably doesn’t matter too much if they’re opposites but just for, you know, technicality. You want your fold on the inside so that your finished edge is on the outside. Alright then you’re going to fold those wrong sides together and do a quick press because it makes it a lot easier to attach if it’s pressed flat.
Liz: Ok. And you’re using a gray thread so we can see it here.
Natalie: Just so you can see. If I was doing this at home I would use cream or you know, whatever is going to blend in with your fabric, unless you really like to have that decorative stitch show. But again it’s on the back. Nobody is going to see it so it really doesn’t matter what color you use. It’s just completely up to you. Alright so technically this is my tube and I’m going to attach it into this seam edge with the binding. So it goes
into the binding seam and gets hidden completely.
Liz: So the other thing I’m going to comment on here is that this tube you didn’t have to make and turn the tube. It becomes a tube as you attach it.
Natalie: Nope. Exactly. There’s not turning because your raw edges are going to go in that seam and be covered by your binding.
Liz: Perfect.
Natalie: And so this, I mean, I pretty much eyeball it. You can get technical and measure the middles, put them together. But you just want a little bit, basically the same on each side. It looks about right. You can check it. Let’s see. What do we got? I have an inch from the seam and an ⅛. And over here I’ve got a little under. So I’m going to pull that that way. There we go. Now I have an inch there and an inch here. Perfect.
Liz: Nice.
Natalie: Very nice. Ok. I’m going to put a little pin in the end to keep it where it needs to be just for the sake of holding it in place. And keeping it nice and straight. And right up along that seam.
Liz: And again you’ve already got the binding on but you could do it before.
Natalie: You could 100% do it with the binding, pin this onto one side and then have your binding on the other side. It’s a little bit blind that way so if you’re nervous just put two seams in. It’s no big deal. But if you’re feeling brave you can do them both at the same time. Easy peasy. Alright so we’re going to stitch this one down, same thing as before, keeping it right on or next to your seam for your binding.
Liz: Are you going to backstitch again?
Natalie: I’m going to backstitch this edge just to make sure that it stays secure because I don’t want to have to worry about it falling apart. It will be enclosed in the binding seam though so it’s probably going to be fine. Alright and this is just one nice long seam. I’m going to take out my pins as I go. I’m not pulling, just guiding, gently.
Liz: Because there’s a, there’s some bulk there so you’re guiding it.
Natalie: Yep, just trying to keep it lined up straight and going where it needs to go. Ya it wants to pull out this way so I’m kind of trying to keep it lined up, even though it’s pretty small relatively speaking. For a quilt, it’s still wanting to push. Anyways. Alright. I got to the end, did a quick little backstitch to secure that. I’m going to take out this last pin. Ok so then what you have is this little flap. And what I would do is take a little cream needle and thread, cream thread and just whip stitch it down making sure not to get your stitches on the front. So just like binding. Yep, just another
quick little stitch. And then you pull your binding around on this side. So this is where your stick, whatever your hanger is is going to go. But then your bound edge gets bound and this gets whip stitched down. Alright.
Natalie: So I’ve got the binding all stitched down. I tacked these loops up in place and they sit, you can see the back. And the front, they just sit nice and straight. And I stitched down the back of this. I don’t know if you can see the little stitches. It’s just like binding. The binding is stitched down so this is ready to hang. I did want to mention if you have a quilt that needs a hanger and you’ve already bound it, you can make that tube the same way. Just flip the seam to the inside and hand stitch both sides, right next to your seam. So you can add it to quilts that already have their binding done if you want to.
Liz: Ok, so it’s an after the fact that it gets done.
Natalie: Ya totally you just make a tube. You can still flip it right side out but put your seam on the inside and then just flip both finished edges.
Liz: And just kind of put it close to that binding? Ok.
Natalie: Ya and one thing also I want to mention, like if you’re worried about keeping it in place, there’s this great seam tape stuff that you can use that you can just put a little on the edges and press it on and then whip stitch like right next to it. It’s super easy. Ya it’s this stuff right here. This Easy Seam, Easy Steam. Easy Steam. So it’s just a tape. I have one open right here. And you would just put this on the inside and run it along the edge and do a little iron and then peel it back. It’s just like Heat N Bond, like a teeny, tiny little strip of Heat N Bond.
Liz: Lots of products work great to hold in place.
Natalie: Ya applique glue would work great. Even leftover little pieces of Heat N Bond to just put them on periodically. That would keep it in place as opposed to a ton of pins. Pins will work too though. You can use a lot of different methods for making it easier to hand stitch something that long.
Liz: Great. Ok that’s a great tip, thank you.
Natalie: Alright let me show you how this goes onto the little hanger. I’ve got this cute little one right here. And they’re super easy. You just hang them up on the wall with a little nail or whatever. It even comes with little screws that I think, it looks like you would just use those to, ya they go through these little holes. And you just screw it straight to the wall.
Liz: Cute
Natalie: And it has little elastics that hold it in place. So I’m just going to slide this rod through these. And I think this is the same concept. So this is like a mini version of what you would use if you had like a curtain rod or a dowel under a shelf, anything like that. So you just slide it through and then stick it back through that little elastic which probably you don’t even have to use the elastic. I bet you could just set it right on the metal. See how cute that is. Super cute.
Liz: Super cute. And nice and easy.
Natalie: I feel like it’s so easy. Like there, it’s just, it’s super cute. Hang
that on your wall. But you know if you don’t want to go to all the trouble you can always just pin it or tape it or staple gun it. There’s a ton of easy things to do.
Liz: Tell us how you’d use a staple gun.
Natalie: So if you’re going to use a staple gun, you’re probably going to want one that’s thin and lightweight because it’s not, you don’t want a super thick like construction type staple. You would want more of a craft type staple because they’re not going to be any thicker than your straight pins and you could just tack it up there in a few places and it should be just fine. We do it all the time.
Liz: And you wouldn’t want to do too heavy of a quilt because that way it won’t pull and tear. So something nice and small.
Natalie: Right and that’s the thing with stapling or even using the curtain rod pinchers, they can put a lot of stress on your binding so you would want to just rotate that, check it for wear. And if you have more places that you can hold it up, that will reduce the pull on the individual tack places.
Liz: Gotcha. So also check the description here below, we’re going to link it to what we called the Porch quilt video. So it’s how to use those little pinchers we’re talking about on little loops to hold a quilt up in a rod. So that’s a great resource too.
Natalie: Ya pretty much anything that you would use to hang a curtain, you could use to hang a quilt, like same ideas.
Liz: Perfect. That totally makes sense. So now that we’ve got this sleeve on here we can hang this one on the wall.
Natalie: Yes. So this will go up on this hanger we’ve got attached over here. And it has this little plastic piece, I don’t know if you can see that very well but that slides over and keeps these two bars together.
Liz: But it also opens it up.
Natalie: Ya it opens up. I’m going to stick this right through that sleeve just like I’m threading a curtain. Pull it all the way through and then attach these with that little plastic. It’s not as difficult as I’m making it look, I promise. And that sits just like that and you’ve got a beautiful wall hanging for your house. I love it. It looks so cute. That’s so great. Yep, there we go. That’s perfect.
Liz: Perfect. Alright so these have been really great tips on how to hang your quilt. So we’ve got, just to recap, a couple methods. We showed you two different methods for attaching tabs and then also how to attach a sleeve. And you can use these hangers. You can use staples.
Natalie: Yes, you can use dowel rods or curtain rods or piping
Liz: Little pinchers
Natalie: Yep, curtain hangers. Thumb tacks work. Just anything, I mean, if you are stitching with needles and pins, you can put any kind of slim tack.
Liz: Right a needle is going in this a million times. It’s ok to have something small to hold that up as well.
Natalie: Yep. The thing you’d want to worry about with stuff like that is how you remove it. Putting it in and holding it by a tack or a staple is not a big deal. You would want to remove that carefully and you’d want to rotate your quilt. Speaking of rotating quilts, I do know that if you have a quilt that is going to hang a long time and that might be, maybe a little bit more important to you, maybe a little more, something antique, something that was made for a special occasion or that is really important. If it is not
directional, you can put hanging rods on both ends or even on all four sides if it’s square. And then continuously rotate it so that it doesn’t add so much stress to the quilt. If it’s really large it can pull on the binding or it can even like stretch the quilt one way or the other. So if you put your hanging rods on several sides then you can rotate it and it’s just something that you would do to, it’s like rotating your tires. I mean you just want to spread the wear out evenly so that it doesn’t get damaged.
Liz: That’s a great tip. So if you have a nice big quilt that you want to hang on a wall in your home or studio, you can rotate it by adding the sleeves or tabs to multiple sides.
Natalie: Ya multiple sides. And it’s totally fine. It’s hidden on the back. You don’t see it. But it looks great.
Liz: It looks great.
Natalie: So hopefully I’ve answered your questions about hanging quilts. If you have any tips for us, I’d love to hear them in the comments, as well as questions on anything