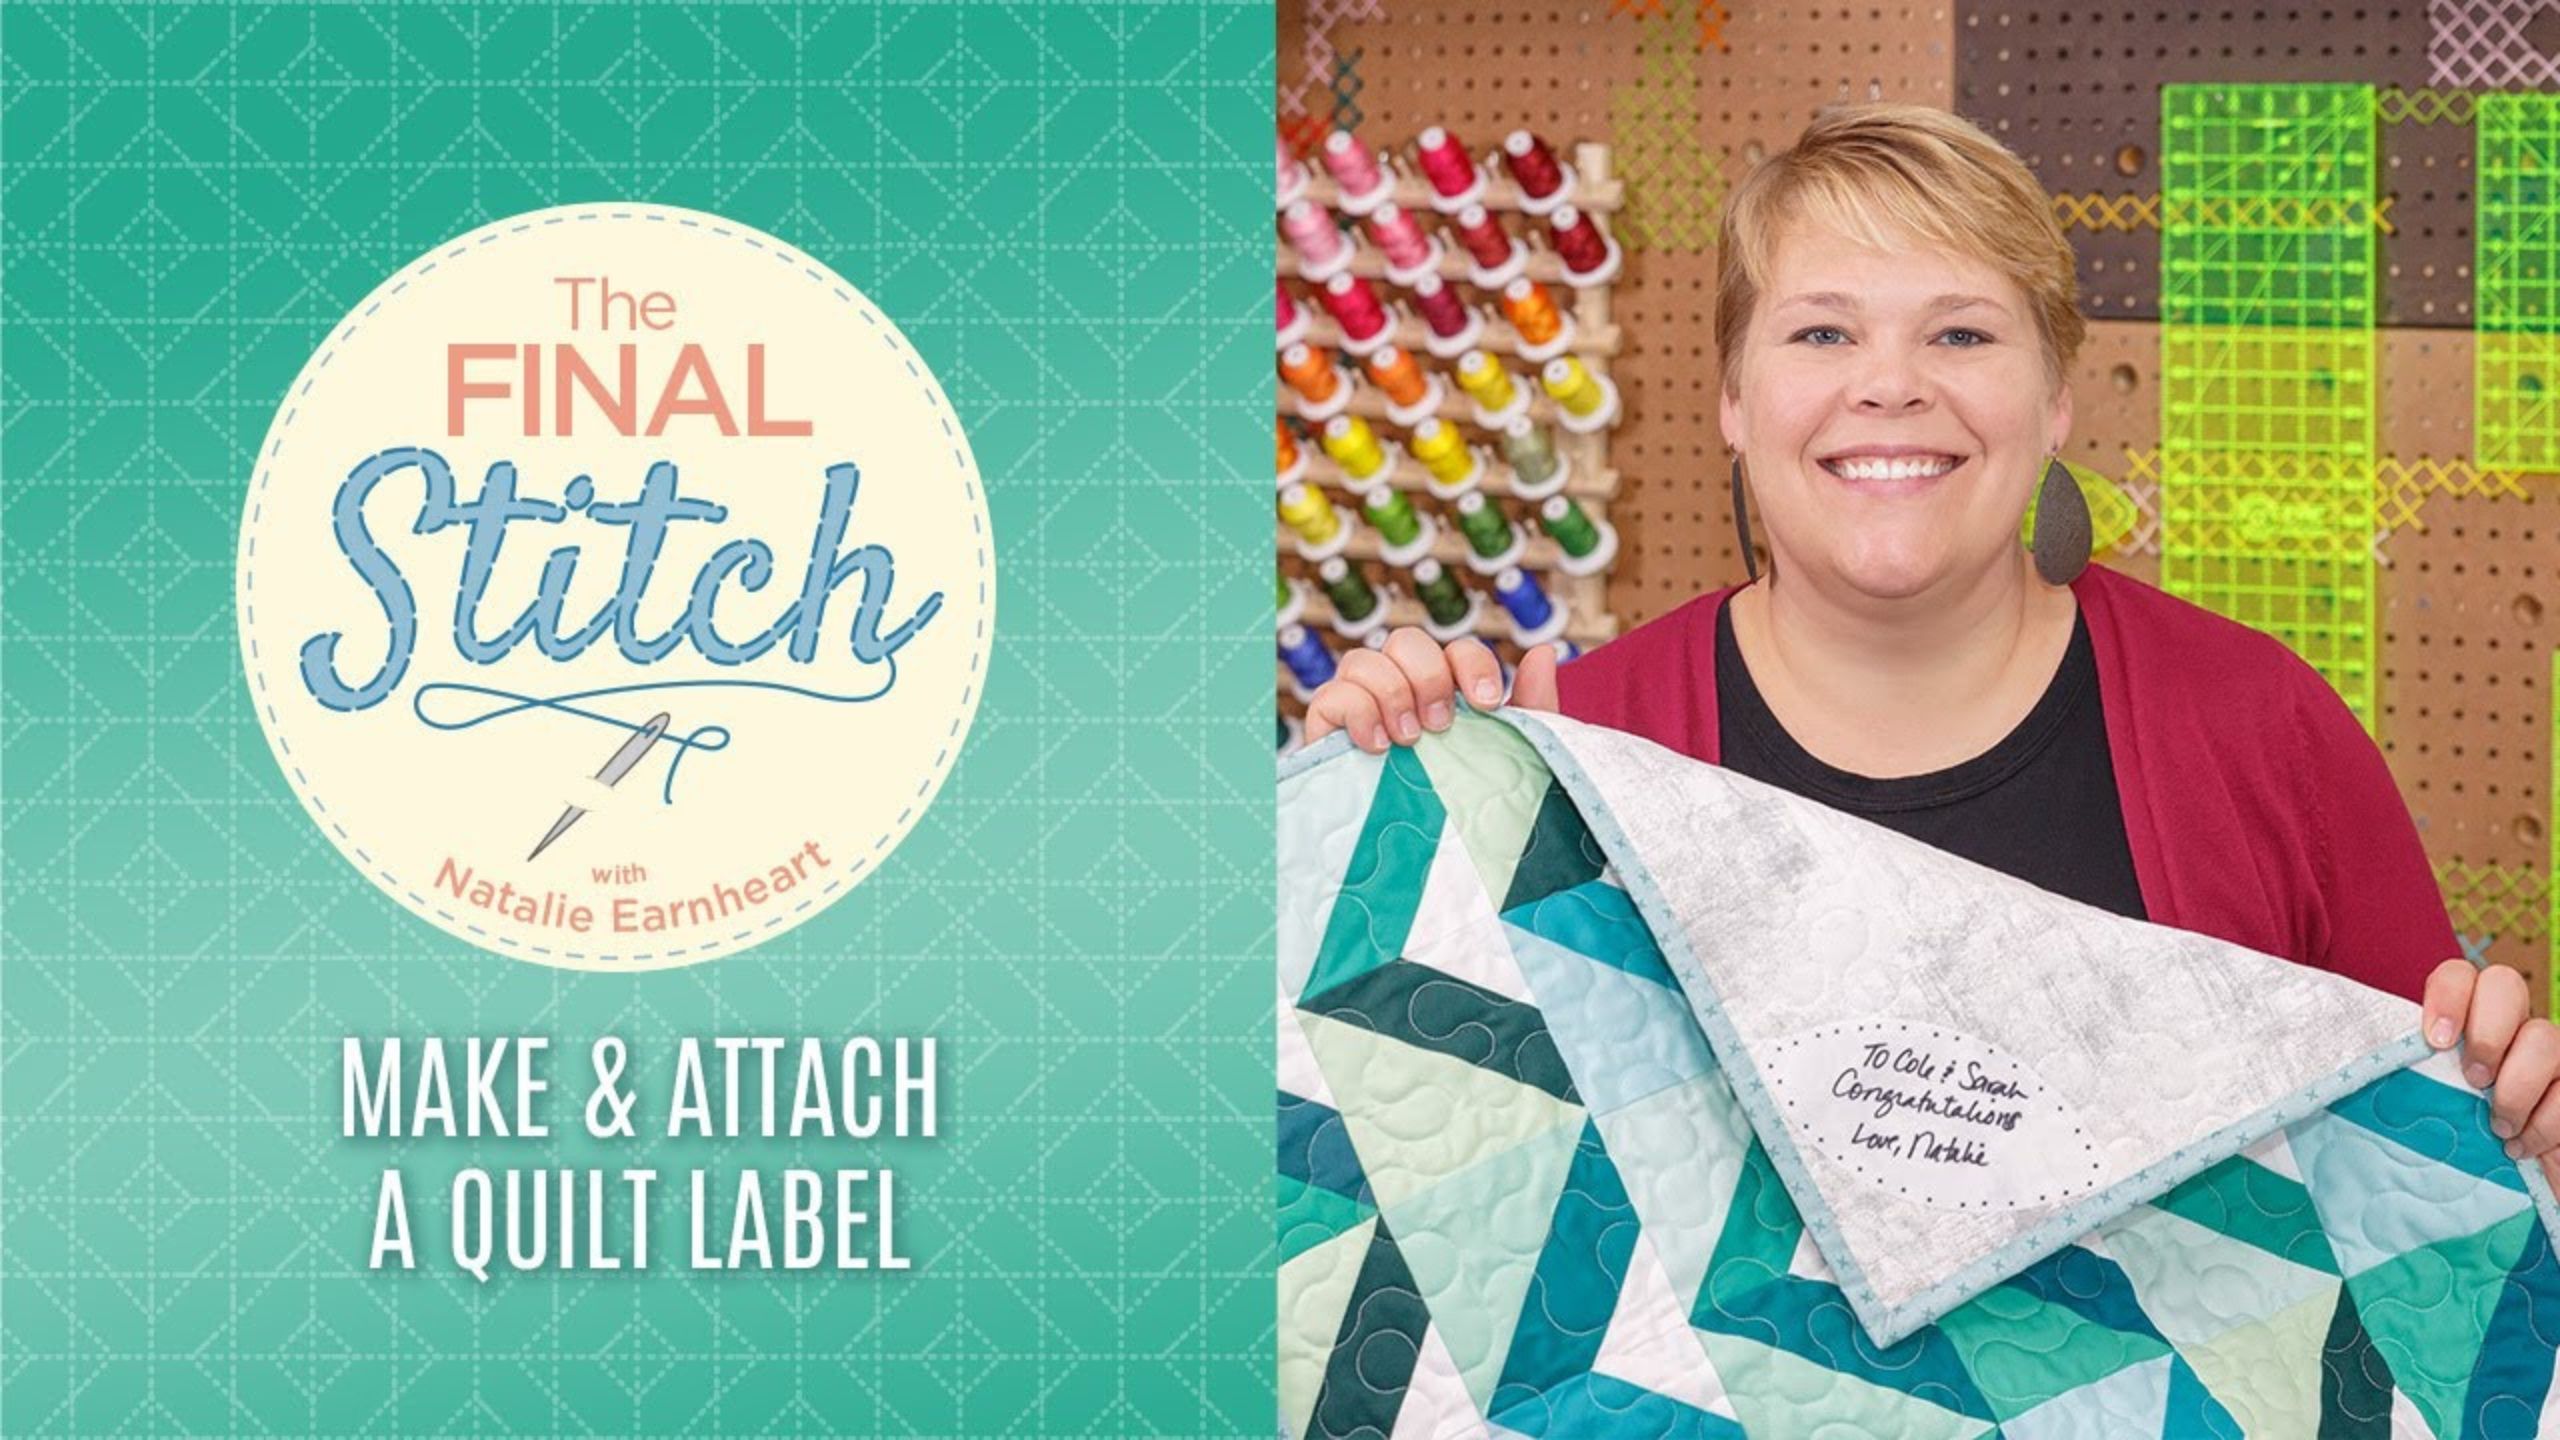
The Final Stitch Episode 6: Labeling Your Quilt with Natalie Earnheart
Welcome to our sixth episode of The Final Stitch! You've asked for an episode all about labeling... how do you label a quilt? How do you attach a label? What do you write on a label? Natalie shows us three ways to label quilts as you're finishing them, and she even shows how to label quilts that have been finished for years!

Instructor
Natalie Doan
Natalie is the host of Quilting 101, Embroidery 101 and the Creative Strategist and Editor of Block Magazine at Missouri Star Quilt Company. She was taught how to sew by her mom, of course, and began quilting when she grew up.
Shop this tutorial
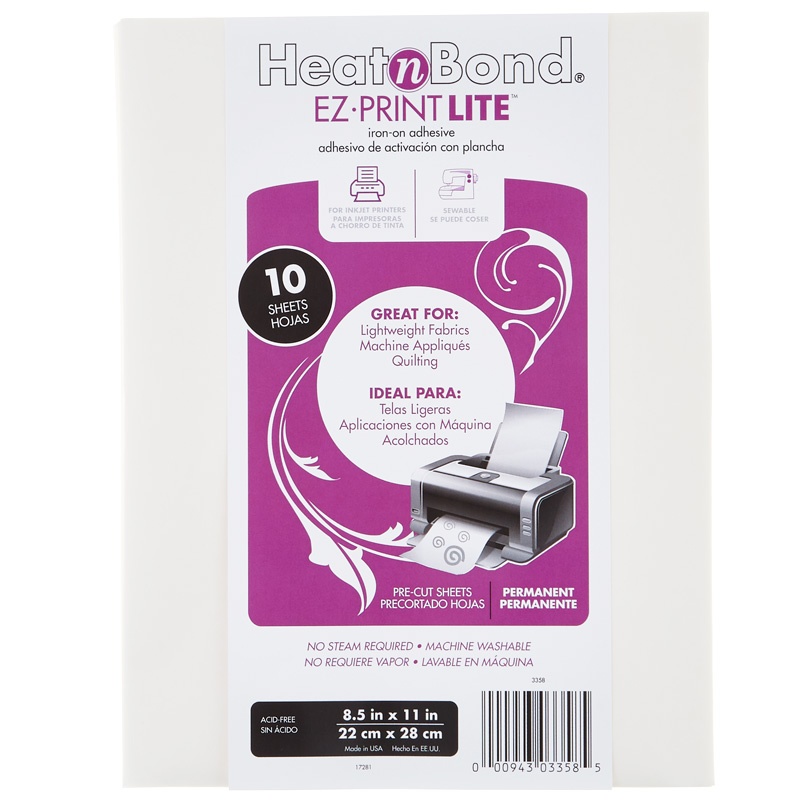 Heat N Bond EZ Print Lite Iron-On Adhesive$7.75Shop →
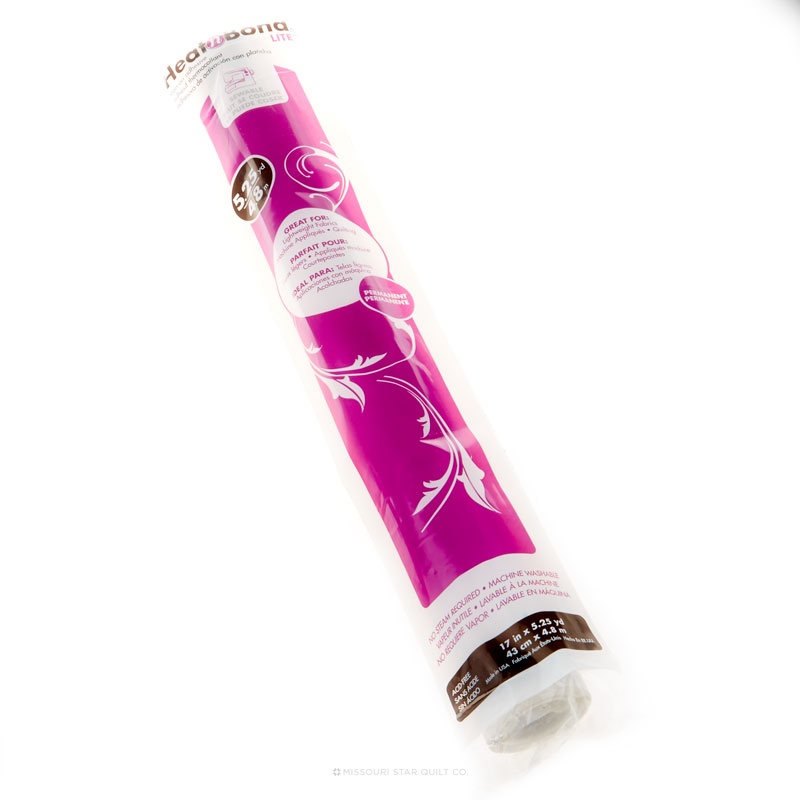 Heat N Bond Lite Econo Pack$11.75Shop →
 Heat N Bond Feather Lite Fusible Web 17" Wide$4.25Shop →
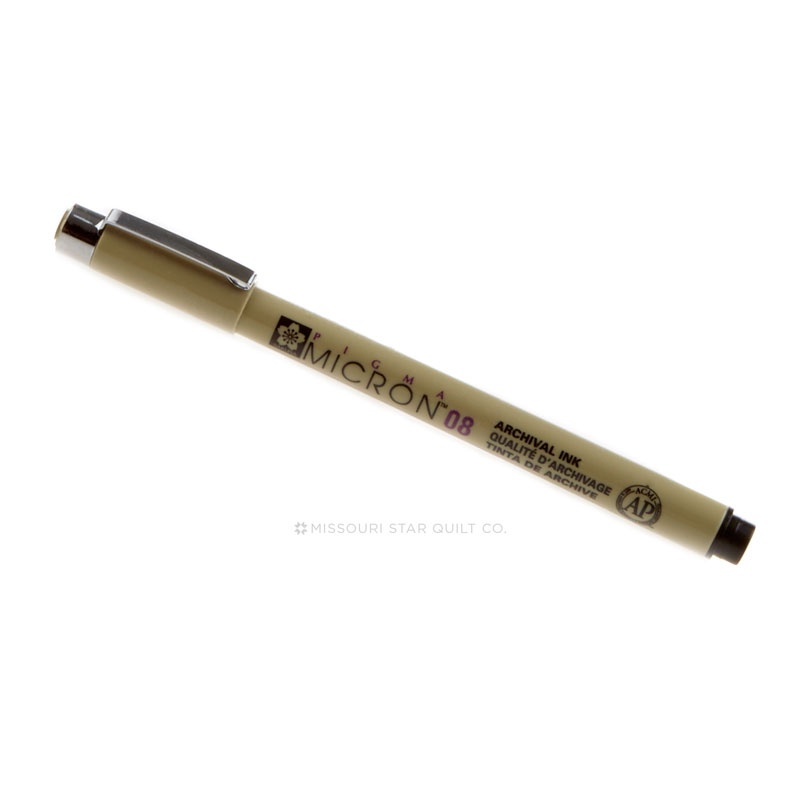 Pigma Micron 08 Pen .50mm - Black$3.25Shop →
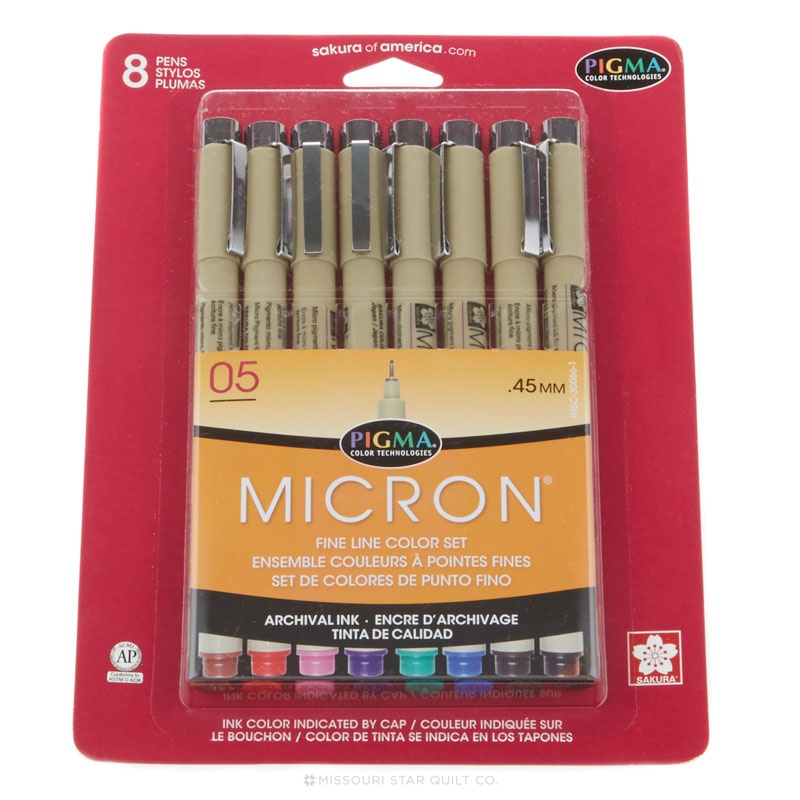 Pigma Micron 05 Pen .45mm 8 Color Set$26.45Shop →
 Kona Cotton - White Charm Pack$9.95Shop →
 Bella Solids White Layer Cake$40.95Shop →
 Simply White Batiks Solid White Stacks$35.95Shop →
 Embroidery / Crewel Needles - Assorted Sizes 3/9 (16 ct)$2.95Shop →
 Missouri Star 50 WT Cotton Thread White$6.95Shop →
 Oliso® TG1600Pro+ Smart Iron® - Pink$199.99Shop →
Common Questions
What is covered in The Final Stitch Episode 6: Labeling Your Quilt with Natalie Earnheart?
Welcome to our sixth episode of The Final Stitch! You've asked for an episode all about labeling... how do you label a quilt? How do you attach a label? What do you write on a label? Natalie shows us three ways to label quilts as you're finishing them, and she even shows how t...
How long is the tutorial video?
The tutorial video is 00:24:16.
Are supplies listed for this tutorial?
Yes. The tutorial page includes the supplies and materials connected to this project.
Is a transcript available?
Yes. A written transcript is available on the tutorial page.
Video Transcript
So let’s get right to those questions. Liz?
Liz: So Penny George asked, “Is there any chance you would show us how to attach a label to a quilt and also to a quilt that has been done for years?”
Natalie: Alright, well you can add labels to quilts whether they’re finished or not. That’s super easy. One of the things I like to do when adding a label is to put it in the binding so if your quilt has already been finished, you can just pick out the part and then restitch it down. That’s totally easy.
But you could also attach it outside of the binding. So let me just start by showing you a couple of fun, easy labels.
One that I like to do, first of all I like to put my labels in the corners. It makes more sense to me and it doesn’t matter really which corner you choose. I tend to go with like a bottom right or left.
Liz: Ok.
Natalie: But on quilts that don’t have a top or bottom, it doesn’t matter.
And really if you wanted to you could put it anywhere. In back, in the middle. You could put it on the front. The labeling really depends on who you’re giving it to and why. And really it’s just a way to record, you know, the information about the quilt. So it doesn’t have to be, it doesn’t have to be the same way every time. And it’s another thing like, in all quilting, that’s completely individual and you can do whatever you want and put whatever you want on it. You can use plain fabric or colored fabric or printed fabric. It’s really just
Liz: Quilter’s preference.
Natalie: Total quilter’s preference. It’s one of those things where you’ve got a million choices and it’s all up to you. But I’m going to show you a couple of things that I like to do. So the first one that I think is really fun is just to take a square of fabric, and I’m going to use a charm square just because it’s super convenient but you can use any size square you want.
I mean when this quilt is pretty small so it’s going to make sense to put it right down here in the corner and use a small piece of fabric. But if you have a larger quilt and you want to put a lot of information on it which is
totally fine also, you can use a bigger piece of fabric.
Liz: Ok.
Natalie: So for this one though, one thing I like to do is fold it in half and I’m going to do that. I’m going to show you that right over here. So basically all I’m going to do is fold it in half and press it. So I’ll take this over and put some heat on it. Super easy.
Now if I was going to, I would write what I wanted to write probably ahead of time because it’s easier to write on your label before you attach it to your quilt. So some of the pens that I use to write on labels, I like these Micron pens and I like a sharpie. Oop, they’re slippery little suckers.
They are colorfast and permanent and pretty easy to write with. You can use a fine tip or a fatter tip. It’s whatever you’re comfortable with. And the Micron pens do come in a huge, and sharpies as well, they come in a huge variety of colors which are fun to use. So I am going to write a little bit on here.
Probably going to write who it’s to. To Cindy. Made in October 28, 2020.
I think I’ll write something. This is a get well soon quilt. And then my name and that’s it.
Alright so I’ve written a little message on it and now I’m going to stitch it into the binding. So what I’m going to do, because this is the binding, the binding is attached on this quilt already on one side, I’m going to stitch it right into this corner going along that edge on these two sides. And then I have the option, so you can either hand stitch this down if you want to.
Or you can leave it open. It’s not really going to be, it’s a very small space to have a little flap so it’s not really going to be in the way in any way. So let me go ahead and stitch that down. You can pin it if you want to.
It’s not super fiddly though and I’m going to go a little bit, I’m going to try to be on the inside of the edge but because the binding is still there, if you go a little bit one side of the other of the original seam, it’s really not going to make a difference. It won’t hurt anything. Alright so the corner of the binding is here and I just wanted to mention as I go around the other side I’m going to kind of skip that corner just a little bit. I’ve got to make sure and flip this out and then I need to go at least a quarter of an inch in so that I don’t mess up my mitered corner here. And that is ok because you’re still going to stitch down, you’re going to hand stitch on top of this.
So it’s alright to skip that a little bit and flip that piece back so that you don’t end up stitching over it. So I’m really just kind of tacking this down so that when I flip the binding over it stays in place.
Liz: Gotcha.
Natalie: And stick with that quarter of an inch seam so you don’t end up going in too far in your binding. Alright.
Liz: And since you’re just tacking that down does your stitch length matter?
Natalie: No
Liz: Ok.
Natalie: I don’t tend to change my stitch length very often. The only time I do is when I want a different size stitch. But I don’t typically do things that need a lot of stitch length change. I need my little, there they are. I’m just going to trim some of these strings, threads. Alright so once this is stitched in, then I’m going to go back and hand stitch my Corner Label binding down just as normal. And see because I pulled that out I have plenty of room with my
Liz: And it just encloses that neatly in the seam.
Natalie: Ya so then you have this really cute little corner label.
And it really is, I mean it’s no trouble at all to just whip stitch, or you know, continue that binding stitch right through here to keep it totally secure.
And I think it looks so cute in the corner. Just a cute little triangle
Liz: Just a little note.
Natalie: A little bit of love, ya. I love it. So if the triangle is not for you though, you can totally do a square or rectangle. And so then what I would do, I’m just going to do it on this corner for you. I would still put it into the binding in the corner. But I would go ahead and just press this down a quarter of an inch and then you can do your stitches and still have a nice, straight edge.
Liz: Ok
Natalie: So to do that you just, I mean, seriously just press down a little bit.
I usually do just a quarter of an inch. And you only have to do this on two sides because the other two sides are caught in the binding.
Liz: Just like the triangle was?
Natalie: Just like the triangle, yep.
Liz: Ok
Natalie: So these two sides are going to be pressed down.
Liz: So would you press before you write on it too so
Natalie: I probably would because that way you would know for sure how much space you have.
Liz: Yep.
Natalie: You don’t want your writing to get cut off once, you know. And also the nice thing about this is you can do your writing on a square and if you mess it up you can do it another one. And another one, and another one.
Liz: That’s true. As many as you need.
Natalie: It’s totally fine. Yep. And you can draw little pictures or vines or leaves or flowers or whatever you want. I mean that’s another place to show your creativity. And also just to keep a little record.
Liz: And some people don’t like their handwriting but one of the things that we’ve talked about before is that your handwriting is loved by the people you love. So even if you don’t love your handwriting, they’re going to know that you wrote that label.
Natalie: Ya you know and that’s kind of the thing about all of us, maybe I don’t like the sound of my voice but other people do.Maybe, you know and it doesn’t matter. We’ve got to love ourselves more. We’ve got to work on that. So use your handwriting and give your love and don’t worry about it. If it’s shaky or cursive or crooked or whatever. They love you.
Liz: They do.
Natalie: Ok so I would write. I don’t know. Let’s see. This one is going to my favorite nephew Jason. Happy Birthday!
Liz: Yay!
Natalie: Love, Aunt Natalie. And that’s going to be whatever the date is, when he turned five or it’s, really you date it when you made it. Let’s see.
And you could, I don’t know, whatever you want. Seriously. Alright so this is going to go right down here in the corner, same deal. I’m just going to stitch this corner down. And I’m also going to be aware of that binding that’s already on. I think it would be a lot easier to do this after the binding is on because then you’re doing your binding corners you want to make sure that you’re looking at that corner and flipping that fabric up. So you can’t do them at the same time.
Liz: You don’t want your label in the way. It’s trickier.
Natalie: Well you could because this could be on the bottom.
Liz: That’s true.
Natalie: And you would just have to hold that piece in place but I think it probably is easier to do them separately.
Liz: Ok.
Natalie: I’m not saying it’s not possible though because anything is possible. That’s true. Alright so I’m just going to stitch this down, same idea. I’ve still got my little edges folded. And I can walk through a quick little stitch too just so that you have the idea of what to stitch. Alright so just checking to make sure this is flipped back so it’s not in the way.
Liz: So this is the time when you’re not going to pivot, you’re going to sew off.
Natalie: I’m not going to pivot. I’m going to lift it up and kind of and almost skip that corner in a way because I don’t want to mess up. And I could have gone in a little bit farther but it’s not going to matter so. I’m just going to skip that and then start back making sure that, really what you’re
trying to avoid, if you can see this, is this corner right here. So I could have gone a little farther in but I want to make sure that my stitch doesn’t
go on top of this piece. So then I’m going to restart just on the other side of this little corner where the binding is. Because you don’t want to get that caught in a thread and have it mess up when you try to flip it.
Liz: Gotcha. And it’s ok it doesn’t go all the way to the corner, it will still get caught in the binding?
Natalie: Right because you’re going to turn over and stitch on top of that by hand so it will be completely enclosed and secure. Alright, I’m going to stitch that down. Alrighty. Oops a little extra threads got caught. I’m just going to trim them off. There we go. Alright. So now that you have both sides stitched down we’re going to go ahead and hand stitch the other two edges or sides, super easy. So I would just use a single needle or a single thread. I just have a simple knot at the end. And I’m going to put that in down here close to my binding so it’s going to be hidden. And let’s see for me personally, it’s actually going to be easier if I flip this around because I stitch from this side with the fold away from me.
Liz: Gotcha, ok.
Natalie: And I have seen people do things differently, like you can hold the binding or the raw edge that you’re stitching down either facing you or away from you and it also depends if you’re a lefty or a righty which side you start on and which direction you go.
Liz: Ok so it’s more about finding the way that’s comfortable for you to do a quick stitch.
Natalie: Yes, totally whatever is comfortable for you. For me this works so I am going to put my knot in right over here by this seam and come out in the fold, ok? And then you’re going to put your needle back in right underneath where your thread came out, you’re going to put it in the back of the quilt and slide it just about a little bit less than a quarter of an inch.
And this all is, I’m trying to hold it flat so you can see it but it’s easier if you
hold it up in your hand. Your stitch length is, it can be wider or narrower and it doesn’t really matter. So what you want to make sure though is that you don’t go all the way through to the front of the quilt. So when your needle is in the layers, you can kind of feel whether it’s, like how many layers it has picked up. So just be careful not to go through the front but if you do it’s no big deal also. So can back it up a little if you need to. But then when you continue, so just like I did last time, you stick the needle back in right underneath where it came out of the fabric.
Liz: Ok and then you just scoot it over another little bit.
Natalie: Yep, yep. So you’re sliding over and bringing it back up through the fold of the fabric that you’re stitching down. And then it’s completely hidden because you’re going to continue going down and through.
Does that make sense?
Liz: I think so.
Natalie: Underneath and then back up in the old. See you’re trying to keep it in the edge and you want to use a thread color that matches the patch that you put down, not the backing of the quilt. So this one is pretty easy because it’s kind of a white on a grunge white so it’s going to hide no matter what. But if I had a piece of red fabric, I would want to use red thread because the thread is going to show up most in the fabric that is the top fold. And that’s the same with the binding. So when I bind this I’m going to use a teal thread or whatever that matches into this fabric.
Liz: So to match the binding? Ok.
Natalie: And that is how you, you know, an easy way to hide your thread color
Liz: Excellent. So that’s how you choose your thread color, ok.
Natalie: Yep, and so then you would just continue this all the way around and then continue the other edge by stitching down your binding and you’ll be all done. Super simple.
Liz: So that’s two ways to put a label on in the binding. And Peggy is also wondering what happens if you have a quilt that has already been made.
So I see you have another corner of this.
Natalie: Yep, I have one corner over here that’s already bound and so let me show you a couple of things. One thing that’s super easy to do is just a Heat N Bond addition. And so Heat N Bond comes in several different packages. It just depends how much you want to buy at a time. You can get a small amount or a large amount. You can also get it off the roll.
You can just buy yards of it. So I think I’ll just open this little one. What I’m going to do is put some Heat N Bond on the back of one of squares and again it can be any kind of fabric that you want. It could be, you know, literally anything.
Liz: It would even be a little orphan block.
Natalie: It could, ya an orphan block would be great. So cute. You could cut out a shape. You could do a little orange peel in the corner, like anything you wanted to do.
Liz: Ok.
Natalie: And that’s where the creativity and the fun comes in. There’s so many fun ideas. Alright. I’m just going to pull this out and I find it’s easiest to sort of pre cut my Heat N Bond. So I’m just going to cut off a piece that’s a tiny bit smaller. To do that what I’m doing is sliding it a little bit off the edge so I know that I’ve got at least a quarter of an inch here and I can use the edge of the fold, or sorry the edge of the fabric as a guide to get a nice decent size square.
Liz: That is a good tip.
Natalie: Not super complicated and not super exact. But then what I’m going to do is bring this over here. So you put your fabric down first and your Heat N Bond with the sticky side facing the fabric. I just center it up right in the middle of that square. And you can see I still have a little bit of edge but that’s no big deal. It’s not going to hurt anything. Press it nice and flat. Alright so I’ve got this all pressed. It’s nice and attached and I think I will make a little shape. I think that will be very cute. So I’m going to move this out of the way. And I’m going to grab, there is the little orange peel.
How cute will that be? So I push my quilt up a little bit so I don’t cut it by accident. That would be dreadful. And I’m going to cut out my shape first because I want to make sure that I have all the room. And just turn that so it’s easier to cut. Oh I missed that corner. I mean you could use a spinning mat if you wanted to. That’s true. And you can leave your points or cut them off, it’s really up to you. Alright so again I would do, I would write my message before I take the backing off because once you take the backing off then it has like a little bit of a rubbery kind of a feel and it might mess it up. I think it would be more convenient to write on it first.
Liz: Ok
Natalie: You definitely write on the fabric side though. And I think I’ll use a sharpie for this one and I will write. Let’s see, what should I write. To Cole and Sarah. Congratulations. Make that S better. And I’m just going to write, love Natalie. So that could be congratulations for anything, new house, wedding, baby, graduation, whatever.
Liz: Ok.
Natalie: And maybe I’m going to put some little dots around the edge just for fun. Kind of interesting. It takes just a second.
Liz: And makes it special. I love it.
Natalie: Boom. Alright. So one little trick I use, I mean you don’t have to do this if you don’t want to, I like to score the middle of the back when I’m taking off Heat N Bond because then I don’t have to fiddle with the edge.
Just something I’ve always done and it tears off super easy that way And keeps your edge nice and clean.
Liz: Ok.
Natalie: Alright. So then you simply just decide where you want to put it and you put this at an angle or you could put it straight on, whichever way you want. So I think I’ll do mine at a little angle like this. And I’m going to go ahead and press it down right onto the quilt. Now if you want to you can topstitch this. Otherwise you can just iron it on and let it be.
Liz: Ok.
Natalie: So and my guess is the heat is probably doing to set that ink even better. I don’t know. But there you go. See it is pretty darn secure. So that’s one good way. And there’s more.
Liz: So ask more questions. We can always explore more options. But one of the other questions that we had is from Lost in Narnia. She says, “What’s the proper etiquette for quilt tags on gifts, speaking of the congratulations.” She says, “I’m making a wedding quilt for a friend.
Should I say I made it or just who it’s for and the occasion? This is my first quilt I’m giving away so I want to make sure I do it right.”
Natalie: Well first of all, there’s no right or wrong.
Liz: That’s right.
Natalie: Absolutely, it’s whatever you want. But 100% I would write who it’s for, what the occasion is, the date and absolutely write your name.
With love from you. So I would write all of those things.
Liz: Ok. And then one other question that we had is should you put a label on a quilt if you’re not giving it away as a gift?
Natalie: Ya, I think it’s actually fun. A lot of people keep a quilt journal.
They take a photo of every quilt they make and write why they made it, what fabric they used, that kind of thing. But sometimes it’s just fun to write it right on the quilt and we have a cute example here from Liz.
And she wrote, “The world needs more purple people. Inspired by a children’s book by the same name. It’s a carpenter’s star built with words made in June of 2020 during hard times.” And I think that is so sweet.
So she made this. It’s by Liz for Liz which is awesome. You can certainly, 100% make quilts for yourself and write a little bit about why you made
it. And I think that is the sweetest thing and something that, I mean we don’t like to think about this but we’re all going to pass on someday and people are going to find your things. They will show up wherever they show up and how cool to have that little bit of history left behind, just a smidgen of who you are and what you did and what you loved. And I think that’s great. So labels are a pretty special way to leave that kind of information. It’s a little bit of a journal.