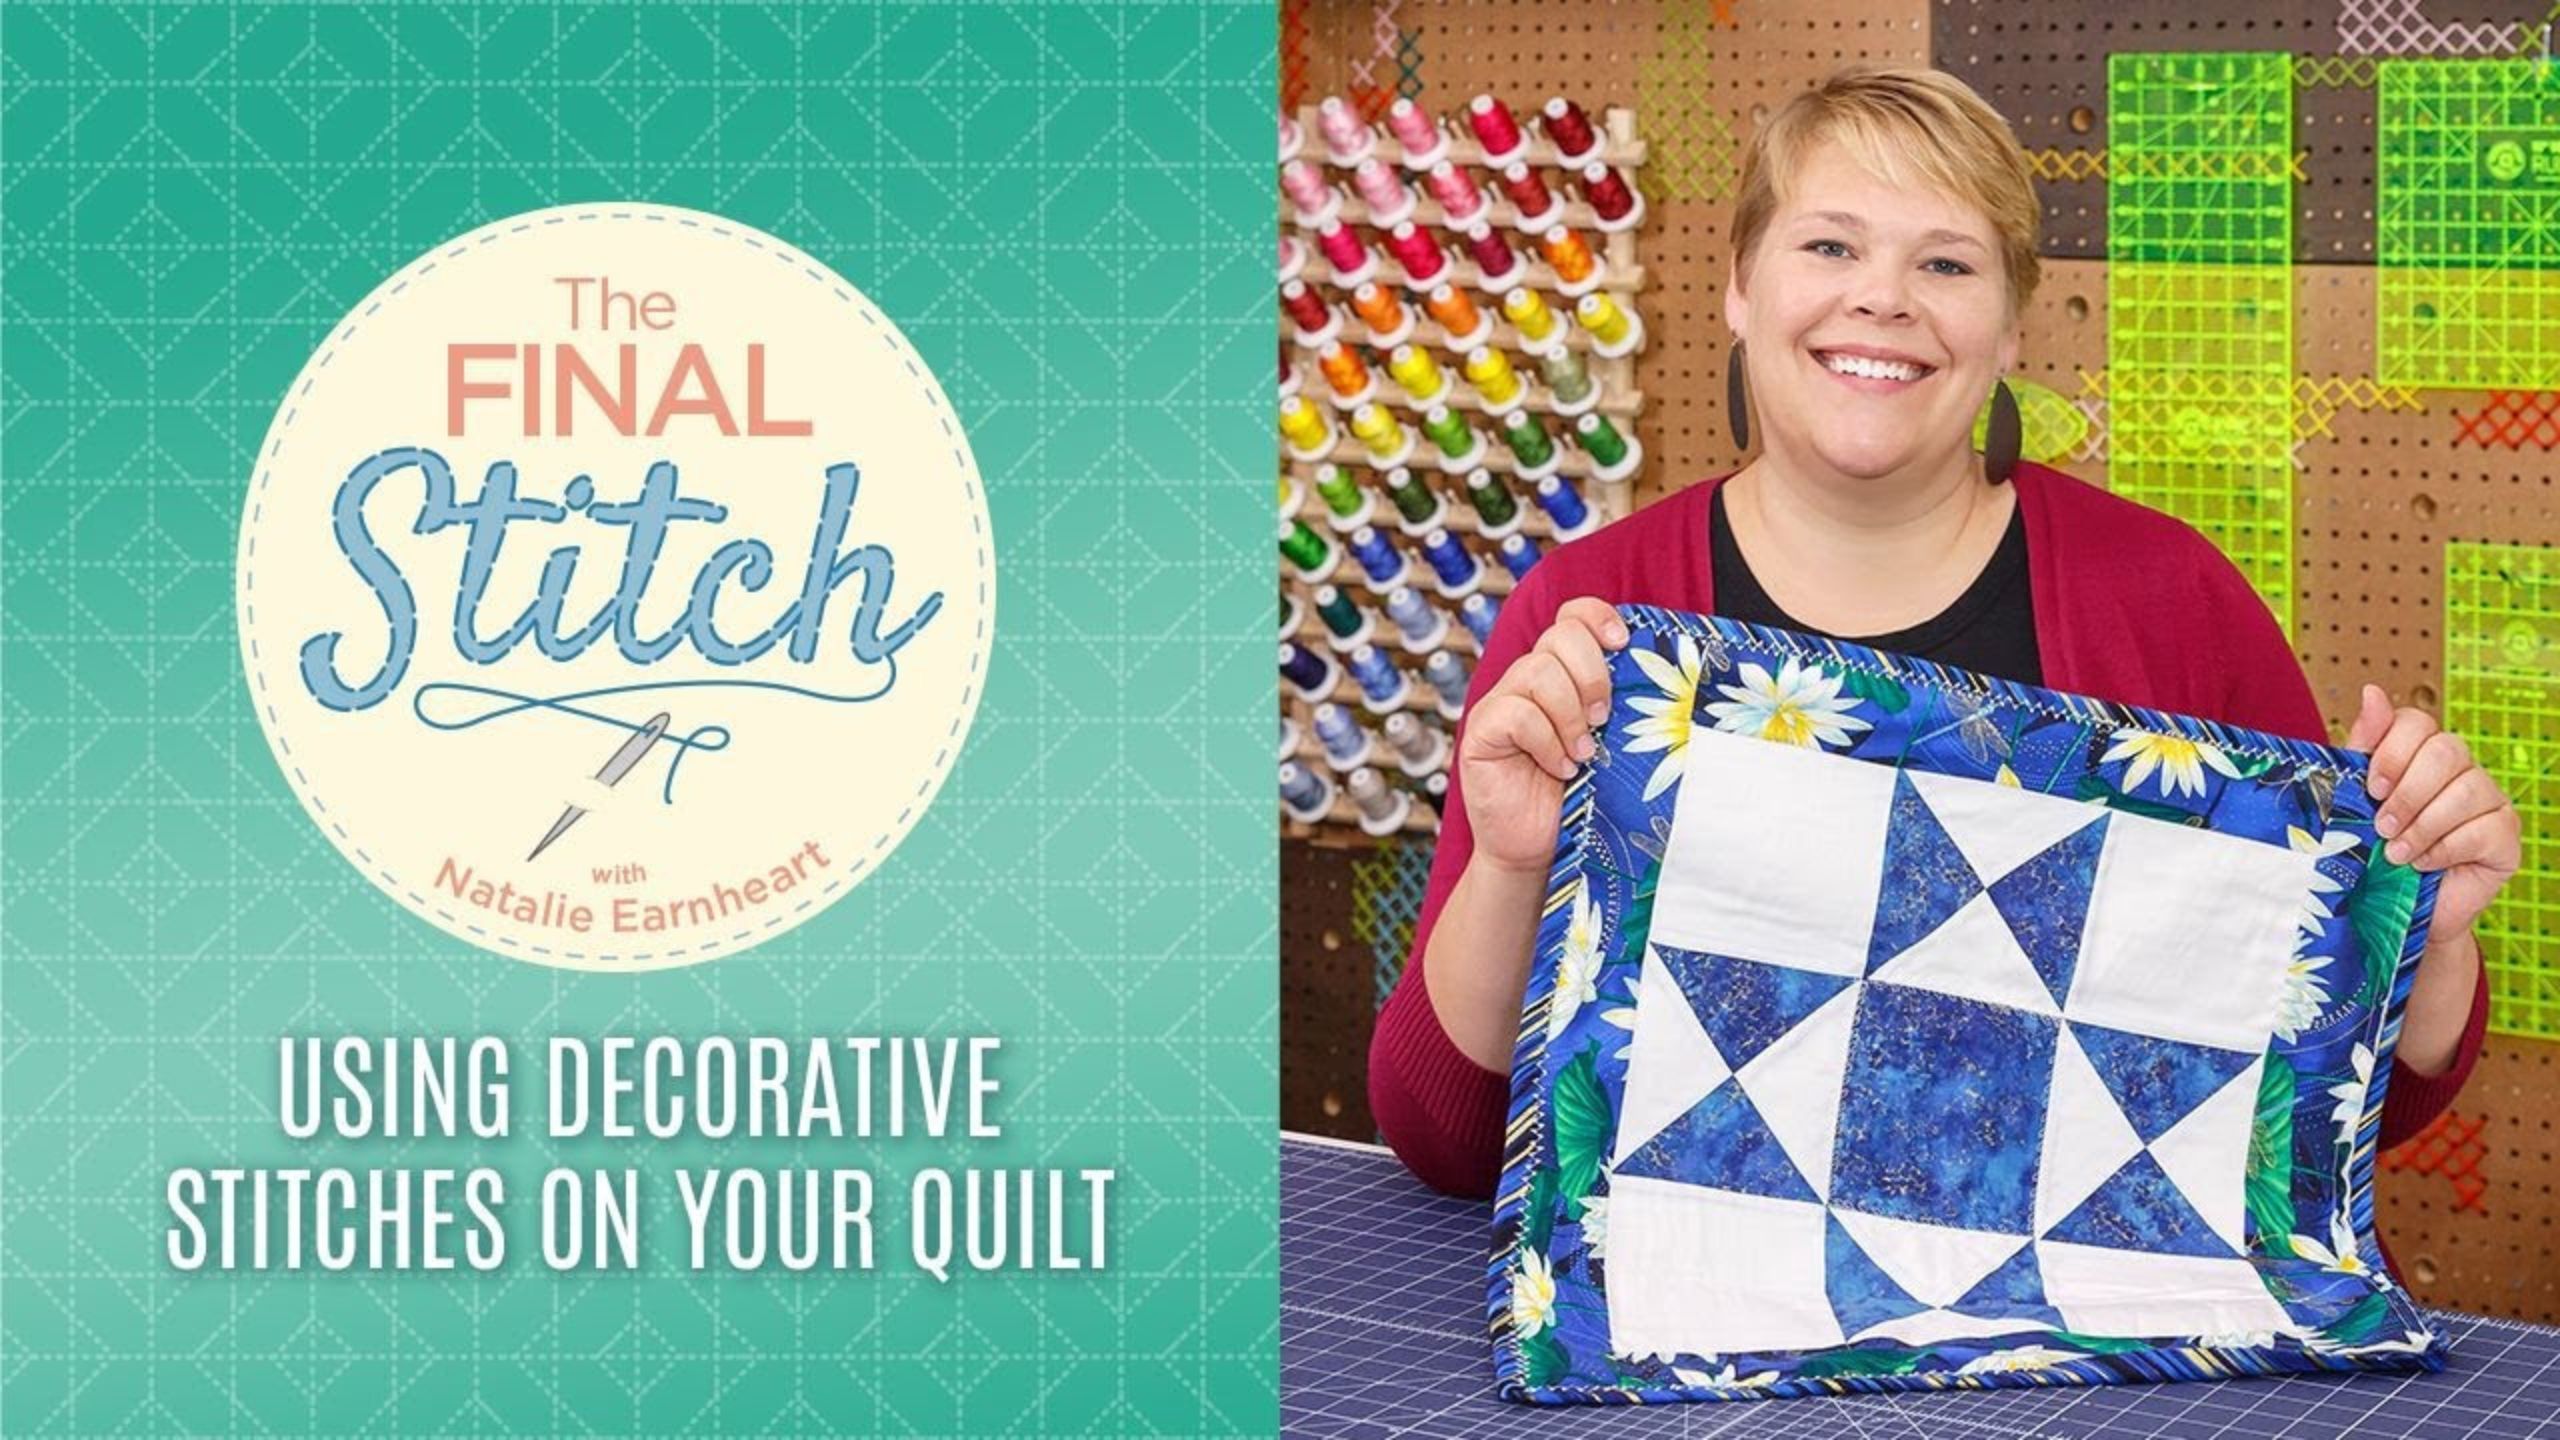
The Final Stitch Episode 7: Quilting with Decorative Stitches with Natalie Earnheart
Welcome to our very decorative seventh episode of The Final Stitch! As quilters, we're so used to using that straight stitch for everything that we often forget our machine has so many more options! Ever wonder how to use those other stitch settings when you're quilting? Natalie shares some delightful decorative stitches to use when quilting your quilt on your home machine - and hints for how to machine bind with a decorative stitch, too!

Instructor
Natalie Doan
Natalie is the host of Quilting 101, Embroidery 101 and the Creative Strategist and Editor of Block Magazine at Missouri Star Quilt Company. She was taught how to sew by her mom, of course, and began quilting when she grew up.
Shop this tutorial
 Missouri Star Small Orange Peel Template for 5" Charm Packs$7.95Shop →
 Missouri Star 5" x 15" Ruler$15.95Shop →
 Missouri Star 10" x 10" Square Ruler$19.95Shop →
 Olfa Splash Aqua 45mm Rotary Cutter$18.75Shop →
 Elan 8" Dressmaker Scissors$20.95Shop →
 Exclusive Missouri Star Jenny TG1600 ProPlus Oliso Smart Iron$199.99Shop →
 Missouri Star Wooly Betty Board - 17.5" x 17.5" Aqua Border$88.95Shop →
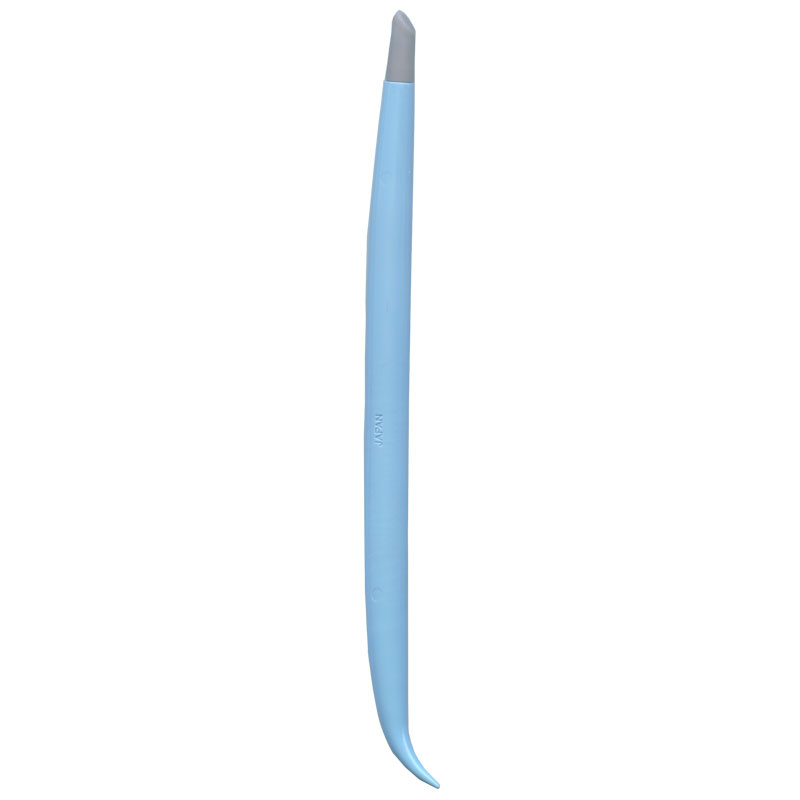 Hold It Precision Stiletto$15.75Shop →
Common Questions
What is covered in The Final Stitch Episode 7: Quilting with Decorative Stitches with Natalie Earnheart?
Welcome to our very decorative seventh episode of The Final Stitch! As quilters, we're so used to using that straight stitch for everything that we often forget our machine has so many more options! Ever wonder how to use those other stitch settings when you're quilting? Natal...
How long is the tutorial video?
The tutorial video is 00:26:48.
Is a transcript available?
Yes. A written transcript is available on the tutorial page.
Video Transcript
Liz: So we have a question about using stitches on the machine. So Mandy says, “I always use my straight line stitching but I have like 70 more stitches to use. How can I use decorative stitches in my quilting?”
Natalie: Well that is absolutely a great question. I have looked at those stitches many times and wondered if I would ever use any of them. But I have this great story about this quilt so several, several years ago, I would say maybe back in 2007 or 2008ish, blogging was big and the quilt industry was new in the blogging world. And I followed a lot of really fantastic quilt blogs. And one of the things that they loved to do was contests and give-a-ways. Those things happened all the time. And so I was just super into it and I entered contests and shared posts and likes posts and retagged and all those things. And magically, like I never win anything but I won a quilt. I won this quilt. I was so excited about it. And it came in a time in my life where I really needed it. And so, know you, over the last ten or 12 years this has been my comfort quilt. My quilt that’s like,
and I don’t know the woman who made it personally, her name is Penny
and she had a blog at the time. And actually she labeled the quilt which is so smart. She blogged at Sew Take a Hike Type Pad dot com. And this has just been so meaningful to me. She wrote a great story about it on her blog and I honestly don’t know if we can still find that story. But that being said, she used a different stitch in every seam. So the outside of each
is one stitch. And then this is a different stitch. This, every single one is different.
Liz: It looks so cool.
Natalie: And it was kind of about, she titled the quilt Surrender which was
cool because it was kind of like a way to sort of give in and enjoy the journey. And so that’s kind of what this quilt is meant to me and it has brought me a ton of comfort and a ton of peace in my life, which, you know, so Penny I thank you wherever you are. It’s been super meaningful for me. But I want to share it mostly because of the cool way that she used decorative stitches to quilt her entire quilt. This quilt does not have any other quilting except for these stitches which you can see beautifully on the back. Every single one is different. And it’s so inspirational because it’s something you don’t often think of. So instead of stitching in the
ditch or echo quilting you literally can use your decorative stitches to machine quilt your quilt.
Liz: It’s so pretty.
Natalie: So if it’s ok with you I think I’ll go ahead and show you some stitches.
Liz: Ya I think it would be great to show like how would you choose stitches and how do you set them up to get stitching using this method.
Natalie: Right. So every quilt, sorry I mean every sewing machine is different and so you’ll want to do a little bit of experimenting. So let me put this away and pull my machine down.
Natalie: Alright so I’m going to turn my machine around and remember every machine is different so yours may not look exactly this way but I wanted you to kind of see what I’m talking about. So here we have all of the different stitches. And the number on top of the stitch correlates
with the stitch underneath it. So if I flip it to 19 then I’m going to get this stitch right here. I’m going to go all the way to 52 I think. So that’s going to be this stitch. It makes a little zig zaggy. And then these buttons here, the plus and minus, this tells you, this one is how long, how far apart your stitches are and the other one is how wide your stitches are. And that will also change the way this stitch looks. So you’re going to want to experiment a little bit with width and length and just see what looks good to you.
Liz: So grab some scrap fabric?
Natalie: So grab some scrap fabric. I’m going to demo it on these little ones. You can also use decorative stitches for applique by the way. But for that we’re just going to demo these real quick so you can kind of see who they look.
Liz: Awesome.
Natalie: Alright so grab your practice fabric and get ready to stitch. And what I’m going to do is stitch for, I don’t know, maybe about an inch and see if I like it. If I don’t, I’ll widen it or make it narrower by pushing the plus or minus buttons and once I get something that I like then I’m going to go ahead and do my actual project. So let’s see, and I think I’ll demo several different ones just so that you can see how they look.
Normally what you want to do with these stitches, some of ride on the edge and some of them you want to center over. So you also have to experiment with that a little bit.
Liz: So you can decide.
Natalie: Figure out where you want to put it in. You can bring your needle down and do a couple of really slow stitches to just kind of see where it goes. It really depends on, this is another thing where it is quilter’s choice, it’s preference, it’s where you want that stitch to land. And you may have to do a little bit of experimenting to see exactly how you want it to look.
Liz: OK.
Natalie: So scrap fabric is your friend today. Alright, they also go nice and slow. So one of the things to remember when you’re doing decorative stitches is that the machine really is the one you want to be doing all work. You’re not going to be pushing or moving your fabric around too much because what happens is the machine is going to push it forward and back based on how the stitch is going. So it’s kind of an embroidery type project but not really.
Liz: But you’re definitely not going to push or pull it through.
Natalie: Yes, ya you’re just kind of watching and guiding a little bit. I’m going to guide a little because I have a curve here that I’m trying to put it on which will happen frequently in applique and may happen if you’re topstitching a drunkard’s path or something with other pieced curves in it.
Liz: Gotcha, ok.
Natalie: So you just kind of have to go slow, take your time. This is not a race. You’re not looking to win anything. So. Alright let me pull this out and see how it looks. So that is pretty good actually. I kind of like it. But we could make it smaller or narrower or shorter if we wanted to.
Liz: Ok. And shorter is going to be the stitch length?
Natalie: Yes
Liz: And wider or narrower is going to be the stitch width?
Natalie: Yep. So I can drop it down, I’ll go down to 1.0 and then take this down to a 3 ½. And then we’ll see how that looks.
Liz: Ok
Natalie: Just to show the difference in the sizing. This is actually quite a bit smaller and closer together. The thing that I love about this is something you could do just for creative play time. Figure out what you like. Figure out what your machine can do. Alright, so see how different that looks
just by bringing that closer and it actually almost looks like a zig zag now.
Liz: It does.
Natalie: So it’s very cool, all the different things you can do. Shall we try a different one?
Liz: Ya.
Natalie: Alright, I’m going to go to stitch 50, oh stitch 60. It’s a leaf. So anytime you change your stitch it automatically sets the width and
length back to default. So remember if you’ve made something super big or super small, if you change your stitch, it resets that. So you’ll have to adjust every time you switch stitches. But that’s nice because then you’re not going to end up having, it will come out the way the default setting is the recommended manufacturer’s setting.
Liz: For that stitch?
Natalie: Yep, for that specific stitch.
Liz: Will you show us that on a different color?
Natalie: Sure. Absolutely. Alright.
Liz: Because it’s one thing we get asked too from you guys is
how do you choose the thread colors and what kind of thread are you choosing for these projects so maybe you can tell us a little about that when you stitch too.
Natalie: Well thread color is another quilter’s choice, absolute preference. If you’re wanting the quilting to show you would pick something with high contrast so you could use, I would use the color wheel if you’re wanting to use contrast so if you have a red you want to pick something that’s kind of a green or you know, just opposite sides.
Liz: And let it stand out.
Natalie: Yes, blue can have orange or whatever. But if you’re wanting it to
blend in then you want to go with a shade that is similar to what you’re stitching on.
Liz: Gotcha.
Natalie: I’m one of those people that like, I love most of my quilting to be white, almost always. I want it to kind of blend into the background and not overtake the pattern. And almost always if you go with the background color, even if you had, say I had a quilt with a navy border, if most of the background is white it’s still going to blend in better and I think it will enhance or make the quilt look better because you’re showing off the blocks instead of the quilting.
Liz: Ok.
Natalie: And the same applies to the opposite. If you want to show off the
quilting you need to use a thread color that will stand out against the colors.
Liz: So if you want the decorative stitching to stand out you’ll want something that contrasts. And if you want it to blend in and just be a cool texture, you want it to blend.
Natalie: Yep.
Liz: Ok.
Natalie: Absolutely. Alright so we’ve done a few of these leaves in their default size which is super pretty. I really like that. But I can change it. Shall we go bigger this time?
Liz: Yes.
Natalie: Alright, oop the biggest is four long and seven wide which is actually about what it is so I don’t know that that is going to make a huge difference. The default is pretty large on this one. Oh, this is actually pretty fast which I appreciate. Sometimes I get impatient when I’m quilting.
Liz: Well and the other thing is that the decorative stitches use more thread than a straight stitch.
Natalie: They do, yes. Absolutely they do use more thread. Alright so this is kind of large, I think maybe I will go smaller. So I’m going to take it down to half this size. I’m going to do a two and a 3 ½. And see how that looks. And I’ve noticed, I don’t know if you guys can tell but I’ve noticed that this wants to go right up the middle so the leaves are on either side.
So what I’m going to do is make sure that when I put my needle down in the middle that it’s against the line that I want to follow. And then the leaves will shoot out on either side. So these are littler and closer together.
Alright, so there’s those ones. See all these different sizes. It’s really interesting I think. And I enjoy this kind of playing around and seeing what works and what doesn’t. Ok so I think, I mean, do you want to see more stitches or shall we start quilting?
Liz: Let’s start quilting.
Natalie: Alright, let’s do that. Ok, so I have this cute little quilt top, we’re just doing a little single block for a demo. And I think I’m going to start here in the middle. Because typically when you’re quilting anything you kind of want to start in the middle and work out. It’s easier that way because then you don’t end up having all the bulk of the quilt in the throat of the machine at the same time. So I’m actually going to slide this under and then kind of roll it up. That’s not too bad. And I think I’m going to stick with that leaf but I am going to set it back to where it started
because I really like that. Is that good?
Liz: Then what’s great is because you have the white background you have the white thread. And do you use the same thread in the bobbin as in the top?
Natalie: I usually do because when you’re using a decorative stitch
sometimes the bobbin shows through. And so if you have different colors you might see pops of the opposite color either on the front or on the back, just because it, like the tension is slightly different. Let me just take a look here. Ya occasionally the tension will be looser or tighter than like your normal straight stitch and so you’ll want to make sure that those colors are the same, just so that it looks like a smoother stitch.
Liz: Ok.
Natalie: And if you have trouble with tension you’ll just have to
experiment with that a little bit. It doesn’t typically cause an issue.
Liz: Right so we can usually leave that be?
Natalie: Right, normally you don’t have to adjust it too much with a decorative stitch because your machine is built for that. So if your tension is good it shouldn’t affect it. But using the same color thread is going to give you a cleaner result.
Liz: Ok.
Natalie: Variegated thread is fun too by the way.
Liz: That is true.
Natalie: A whole different episode. Alright so I’m going to go ahead and start stitching this down right on top of the seam and I think it’s actually going to be a really fun quilting design. It’s always inspiring to see how other people’s minds work and what creative and fun ideas they come up with.
Liz: Ya we’d love to see what you guys make. If you share with us using the hashtag #msqcshowandtell on social media then we can see your projects. We want to see which stitches you choose and how you use them. And again, Natalie, you’re just holding that gently and letting the machine do the work?
Natalie: The machine is pulling it right along and I’m just trying to keep it straight. Alright so I’m at the corner so I am going to stop and turn but I’m going to. What I did there is I waited until the machine finished the last stitch and was back on the stem. So you want to find a good place to start and make your turn. And so then I’m going to leave my needle in
and just turn it. And I think this is a fun way for your quilting to feel really decorative and a little bit elevated from just stitching in the ditch. And I also, whenever I stitch in the ditch I kind of feel like I don’t do a very good job because my seam is never quite exactly even.
Liz: It wobbles just a little.
Natalie: Yes and it drives me crazy. So for me this is a great way to stitch in the ditch without having that straight seam end up looking a little bit crooked and me feeling like I did a terrible job even though it’s fine. It’s safe and fun and looks really pretty. So I’m excited about this. So I’ve turned my corner and just keep right on going. Alright, I’m just going to hit my little locking stitch just to lock that in place and then we are all done.
I think you’ll be able to see this even better on the back. Ya, see, I think that is just such a fun way to machine quilt your quilt. Alright one more idea that we have is that oftentimes you want to put your binding on your quilt by machine. And you can use a decorative stitch to attach your binding as well, which is also kind of fun.
Liz: Ok.
Natalie: So let me get this trimmed up and I’ll show you how to do that.
Liz: Ok
Natalie: Alright so I have got this little quilt top trimmed and I’ve added the binding and remember if you’re going to do a machine stitch most often we add the binding to the back and then flip it around to the front. That way that pretty decorative stitch shows and I can see it right on the front. And that way also you have that nice line to follow and you’re not stitching your front blindly. So that is what we’re going to do. It goes on in the same way, same corners, same closing, same everything. But I’m going to start, I’m going to start in the middle of one side that has to do with corners because I don’t want to start at my corner. It’s easier to start and end in the middle.
Liz: Ok.
Natalie: So that is what we’re going to do. And I’m going to just pick a stitch. I would highly recommend and we’ll just go ahead and do this. So what we’re going to do is we’re going to choose a stitch. I’m going to go with I think number 52. It’s kind of like a turkey stitch. I think it’s pretty cute, oop one more back. And then I’m going to test the default.
Typically the default is the best sizing but I want to look at it and make sure I don’t need to make any adjustments. I’m pretty sure this one is called turkey just because it looks like what a little turkey footprint might look like. But I’m not sure what the names are of all the other stitches. If anybody has a stitch name encyclopedia that would be kind of fun.
Liz: That would be fun.
Natalie: It would be interesting to know what they’re called.
Liz: So we all know the zig zag but there are some that look like little stars and look like little snowflakes and you may call it an asterisk or something else so
Natalie: Ya or you have the blanket stitch or the, what do they call that again?
Liz: There’s all different names for that one I remember.
Natalie: Ya the binding stitch or the perfect fold stitch or something. I don’t know. Anyways.
Liz: So you can choose just based on how they look to you and make them yours.
Natalie: So I think I’m actually going to make this a little bit wider. Oop I can’t make it wider. I’m going to make it a little farther apart I think, and just see how that looks real quick. Ya that spreads it out just a tiny bit more and I like that better. Ok so that is what I’m going to do. I’ve found the size that I want and the size length and everything. I’m going to use
a white thread because I want it to show up. If I’m going to do this fun stitch I want to see it. You can, so let me just tell you a little secret Mom likes to press her binding when she’s doing a decorative stitch and it actually does make it much easier. So real quick what I’m going to do is put it face down so you’re pressing the side where the seam
is and that makes it kind of lay super flat and it gives you just a little bit more pull.
Liz: Easier to pull over.
Natalie: Ya so I’m going to do that real quick. This is a small quilt so it won’t take long at all. And it just presses it, it just makes it have, it’s like
it’s already going the way you want it to go so when you try to pull it around it’s there. And it can be pretty quick. And she just does the seams, the corners are a separate deal. They’re not that difficult once you’ve got this part done. Ok so starting in the middle pulling it around. And that does, that makes a lot of difference actually. Now I want to make sure that my stitch is going to be in the middle of the seam because I want it to hit the quilt and the binding so it will go back and forth. The nice thing about this is again even though you’re doing almost a stitch in
the ditch it doesn’t have to be perfectly straight to look good. Such a comfort to me.
Liz: It’s forgiving, right?
Natalie: Yes. You still want to go slow. You still may want to use binding clips if you’re worried about keeping that binding all secure and not letting it get warped or I’m using a bias binding because I have this really cool diagonal stripe so I’m going to continue to stop and check and make sure it is flat and straight. But ya just take your time. Stop and start as needed. It’s definitely a thing to be patient with. Just going to take
a little more time than a straight stitch but a lot less time than a hand binding. And we can already see this coming together here. It’s pretty cute. Ok so I am, I mean I’m within a couple of inches of my corner. So what I’m going to do is go ahead and make that mitered corner. And I’m going to add a binding clip or two to hold all of it in place so that as I get closer I don’t have to worry too much about things coming apart. So I’m going to hold that down. It’s just the same way that you would do your mitered corner if you were hand stitching. And I’m going to stick that in. I’m going to put another one right down here to keep that going.
And that way all I have to worry about is this little bit right here.
And you can stop and start as you’re decorative stitching. So you
get back where you belong. Alright I’m going to slide this little guy out of the way and get all the way up into the corner, putting this right underneath the presser foot so that it grabs it like it’s supposed to. It’s still going super slow. This is also where you might, you might actually use one of those little, what are those things called?
Liz: Stiletto?
Natalie: Yes a stiletto. Alright I have hit the corner and I’m going to
keep my needle down and just pivot and put my presser foot back down and keep right on going. I’m going to stop and take out my binding clip so that I don’t hit that.
Liz: And just in case you don’t know what the stiletto is we’re not talking
about the high heel, we’re talking about a little pointy, kind of almost tweezer-like tool that lets you push a piece without getting your finger too close to the needle.
Natalie: Yes, it’s kind of a, kind of looks like a sharp, like a skewer.
Liz: Yes it does.
Natalie: They make them really cute though. And sometimes you can get
a seam ripper that has a stiletto on the other end. You have a double ended tool. We can talk about those another time. But typically you would use that if you need to hold a little piece of fabric down either when you’re doing a curve but I think also here at the corner to keep that flap or that miter just in exactly the right place.
Liz: So ya if there are other tools you’d like to know about ask us about those in the comments.
Natalie: I had a tool for years, I had no idea what it was for. I was like
why is this in the sewing kit, I don’t know what to do with it. But anyways.
Liz: So if you have some of those, share them with us.
Natalie: Ya So that is it. I mean essentially you just go all the way around the entire binding. And keep your corners tucked in. Decorative stitches are great for just so many purposes and I love them in quilting.
Natalie: Thanks so much for joining me and for asking about decorative stitches.