
The Final Stitch: Making Quilts Bigger with Borders with Natalie & Liz - Video Tutorial
We're talking about how to make your quilt bigger with borders. Liz comes out from behind the camera and brings a quilt with all kinds of borders as Natalie shares tips, good ideas to get you started, and reminders to help you grow your quilt with borders to the size you'd love it to be. Remember: There are no rules!

Instructor
Natalie Doan
Natalie is the host of Quilting 101, Embroidery 101 and the Creative Strategist and Editor of Block Magazine at Missouri Star Quilt Company. She was taught how to sew by her mom, of course, and began quilting when she grew up.
Shop this tutorial




Chapters
- 0:00Introduction
- 0:17How to Make My Quilt Bigger with Borders
- 1:47Tip: Border Size
- 2:31Tip: A Place to Rest
- 3:15Example: A Small Panel to a Giant Quilt
- 4:20Tip: Let the Fabric Show Where to Cut
- 4:56Mitered Borders
- 5:43Straight Line Borders & Directional Prints
- 6:52Different Fabrics in Your Borders
- 7:28Mixing It Up Gives Your Eyes a Rest
- 7:51How Big Can I Go?
- 8:24Main Rule: Doubling Your Border
- 8:53Conclusion
Common Questions
What is covered in The Final Stitch: Making Quilts Bigger with Borders with Natalie & Liz - Video Tutorial?
We're talking about how to make your quilt bigger with borders. Liz comes out from behind the camera and brings a quilt with all kinds of borders as Natalie shares tips, good ideas to get you started, and reminders to help you grow your quilt with borders to the size you'd lov...
How long is the tutorial video?
The tutorial video is 00:09:27.
Are supplies listed for this tutorial?
Yes. The tutorial page includes the supplies and materials connected to this project.
Is a transcript available?
Yes. A written transcript is available on the tutorial page.
Video Transcript
Liz: We’ve gotten lots of questions. A lot of people have asked how do I make my quilt bigger with borders? And I think sometimes that question is, you know, the pattern says to add this size border and I want to make it bigger, can I do that with more borders?
Natalie: Yes and you absolutely can. So just because we add a six inch border doesn’t mean that you couldn’t add an eight or a ten inch border. You just have to remember that whatever you put on one side typically you’re going to put on the other side and the top and bottom. So your quilt will expand, if you do ten inch borders it will expand by 40 inches all the way around, 20 on each side. I mean minus your half inch for your
seam.
Liz: Which threw me off when I first started doing quilting because I would say, oh I need to add ten inches to make this fit what I need to and I’d add a ten inch border but then on both sides and now it’s too big.
Natalie: So exactly, so then what you would want to do is divide that in half because you’re putting it on both sides.
Liz: Right.
Natalie: The other thing you could do is if, a lot of times I’ll have a quilt where it’s either square or it is shorter than I wanted it to be and wider. And so you can also add borders to top and bottom only. You can add borders just to the sides. Borders are one of those cool things that you can turn your quilt into whatever shape you want it to be and whatever size it needs to be without doing a whole lot of other things differently.
Liz: Right, like I have a nephew who is very much taller than I am and so when I make his quilts I add a little couple of border rows so that they’re nice and long and fit over his feet.
Natalie: That’s great. That’s awesome.
Liz: And so I do that
Natalie: There are a few little tips and tricks, you know, people say that it’s best if your border is about ¾ the size of your biggest block. And there’s some math that you can google. Maybe we’ll come up with a little sheet if you wanted. I don’t know that it’s necessary because I live by a freer quilting style.
Liz: Ya there’s no rules
Natalie: I feel like you don’t need to follow the rules but there might be
Liz: It’s a guideline to get you started and that can be really helpful but there’s definitely not a, somebody is not going to give your quilt back because your border is too big.
Natalie: Absolutely not. We’ve never had that happen. Ever, not once. It can be fun, though, to do alternating sizes. You know where you have a skinny and a wider and sometimes if you have, if you throw a solid in it will give the eye a place to rest.
Liz: Yep. And you’ll see a lot of times on Missouri Star quilts we’ll have an inner border that is made up of the same material as the backing or background and then a nice big, bold print on the outer border. You can do that to help to set off the inner piecing and patchwork that you’ve done.
Natalie: A lot of times we do that to draw a line between the business of the blocks and then the business of the fabric that we want to put on the outside. We want there to be a resting place.
Liz: Yep and then you get to really enjoy that print that you love.
Natalie: And it is, it’s like putting a mat on a picture in a frame
Liz: Exactly
Natalie: And so it really makes that picture in the middle stand out.
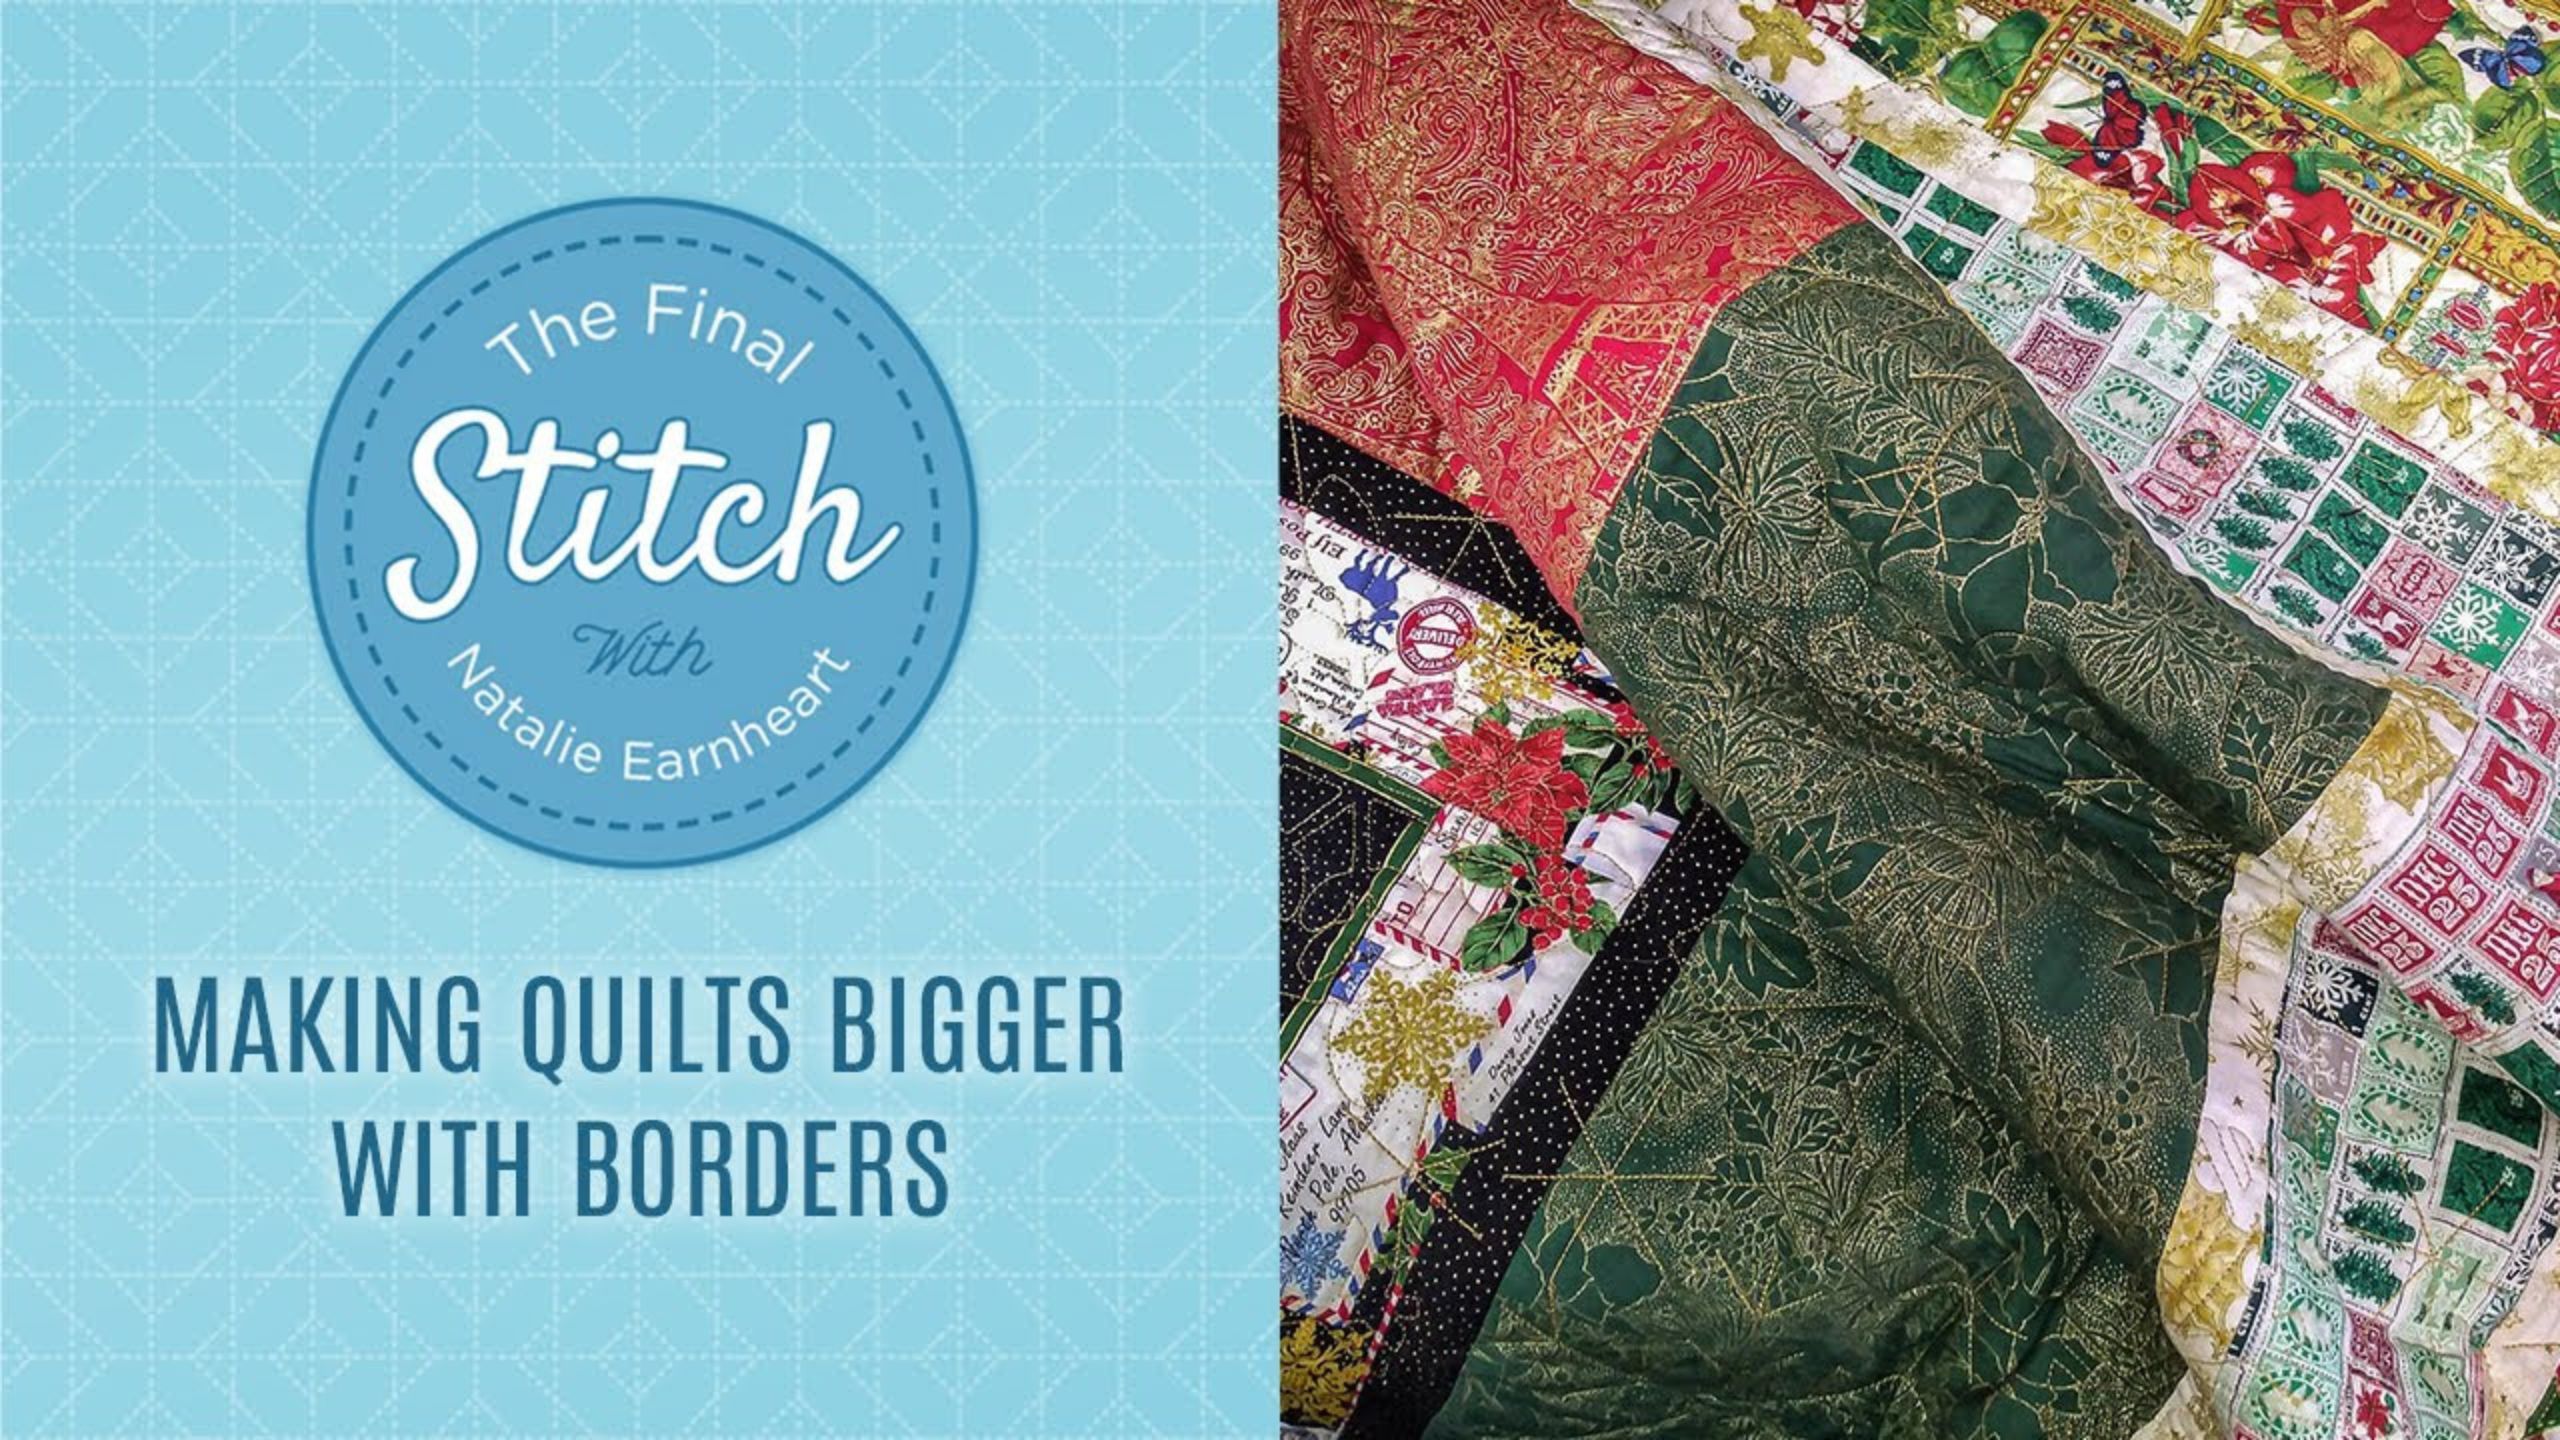
Liz: So speaking of that, one of the things that I tend to do is turn a small panel into a giant quilt. And one of the things is I kind of continue to add frames and frames and frames. So I’ve brought one of my quilts today that starts off as a 24 by 40 inch panel so it’s width of fabric. But you take off the selvedges and it’s about 24 inches wide and I’ve turned it into a king size quilt with just borders and borders and borders. So yes I’m insane but I like it that way.
Natalie: So it’s a beautiful quilt. I can’t wait for you guys to see this.
Liz: We’ll get this out and then we’ll share it with you.
Natalie: So this is the panel right here in the middle that she started with. It’s got the Eiffel Tower and beautiful poinsettias on it.
Liz: That’s right and it came with some coordinating fabric. So a lot of times there’s a border stripe. And so the first thing that I did was cut the panel, this black
Natalie: Is part of the panel
Liz: Is part of the panel. And then this is the border stripe that was part of that line. So the first thing I did was cut a big chunk of that border stripe to go all the way around.
Natalie: This is one of those times too I think, where you would use the pattern on the fabric maybe to decide where you’re cutting as opposed to just saying ten inches and let the lines fall where they may.
Liz: Absolutely. So even though it might be a hair wobbly in places that didn’t bother me as much as I wanted to make sure I kept that green line on the edge. So that’s absolutely right. And then to keep that green line I actually had to cut a little bit away from that because your quarter inch seam would otherwise kind of take over that quarter of an inch line so you want to let the fabric sometimes tell you how wide to be. And this here also is a mitered border so
Natalie: That’s something we may need to get into in another episode because mitered borders can create really beautiful continuous patterns but they’re a little bit more difficult than your straight borders.
Liz: Ya they stretch my brain and I have to do all four mitered borders in the same sitting because if I don’t then
Natalie: When you come back they’ll end up different
Liz: That’s right because my brain had time to rest and change its mine. And the other thing I want to show you is like here where it is mitered, it’s not perfect. I didn’t line up a perfect poinsettia but your eye sees that the red of the poinsettia continues
Natalie: The pattern continues even if it’s not an exact match
Liz: Yep. So you don’t have to stress over that. I know some people get really meticulous and that’s awesome and gorgeous but you don’t have to.
Natalie: I love it. I think it’s very cool. So then these next ones, it looks like you did straight piecing and straight line additions.
Liz: Yes and one of the things about this border is it is a directional print but I didn’t care if it stayed upright the whole time.
Natalie: Right.
Liz: So you can see on the sides that it’s actually, I had to fit it into the sides.
Natalie: It’s upright to the middle.
Liz: Right and then another one of those guidelines that’s not really a rule but sometimes can help your eye be happier with it, is at the bottom is also is right side up so if it’s hanging or you’re looking at the quilt both the top and the bottom face the same
Natalie: Instead of having them face opposite directions
Liz: Right. It doesn’t really matter but sometimes that, if it’s bothering your eye you can try that.
Natalie: Well ya it’s an idea for another way to love your quilts
Liz: Ya absolutely.
Natalie: If it bothers you one way do it the other way.
Liz: Ya. So then
Natalie: And I noticed that you wanted all these all facing upright
Liz: Yes
Natalie: And then you have a different color here in the middle and then a small stop, a medium, another small stop
Liz: Yep
Natalie: Then you’ve got the big outer border
Liz: So along the outside and in the red and green frame, they’re two different fabrics and that is totally allowed.
Natalie: That is also ok. Yes.
Liz: And again I let the fabric tell me how wide to make this because I wanted to show off the flowers and define a similar colorway but obviously red and green are very different.
Natalie: It’s a great way to combine and use prints that you love
Liz: Ya
Natalie: In a way that’s a little bit non-traditional
Liz: And this also came out of I love Christmas prints and so I wanted to throw all of them at it. And this was a good way to keep adding reds and greens and golds and shiny.
Natalie: Ya and I love how you have, so you have the things that are a little bit mixed up. And then you have really steady same fabrics and then you have a little bit more that’s mixed up. So it’s like a good pattern, you know, for the eye to rest and enjoy and then have a little party and then another rest. You know what I mean? It’s just interesting and fun.
Liz: And it breaks it up a little bit. So the reason I share this too is to show you you can use as many different borders as you want. I had to stop at a certain point because it hit king size and you can’t keep quilting once it gets bigger than that.
Natalie: It’s a little difficult.
Liz: And I didn’t want to try to put something even bigger than that under my machine at home. So I had to stop where the long armer said to stop. But you can do great big wide borders, little bitty skinny borders. The sky’s the limit and you can just throw your favorite fabrics at your quilt.
Natalie: The options are endless. It’s one of those things that you can do anything that you like. Just remember the main rule is whatever you add to one side if you add it to the other side you’re doubling your width and height.
Liz: Absolutely. And so that’s the other thing that happened to this really quickly. I kind of thought I was aiming for like an on the couch, TV size quilt
Natalie: And it got big fast
Liz: And because my borders were so big and real fast I got to big
Natalie: Before you knew it
Liz: So now it goes on the bed instead and that’s great.
Natalie: It’s beautiful.
Natalie: Well Liz, thank you so much for sharing your quilt with us today. I love it and I hope that other people are inspired as well. Be creative with your borders and have fun. And let us know if you guys have any questions.


