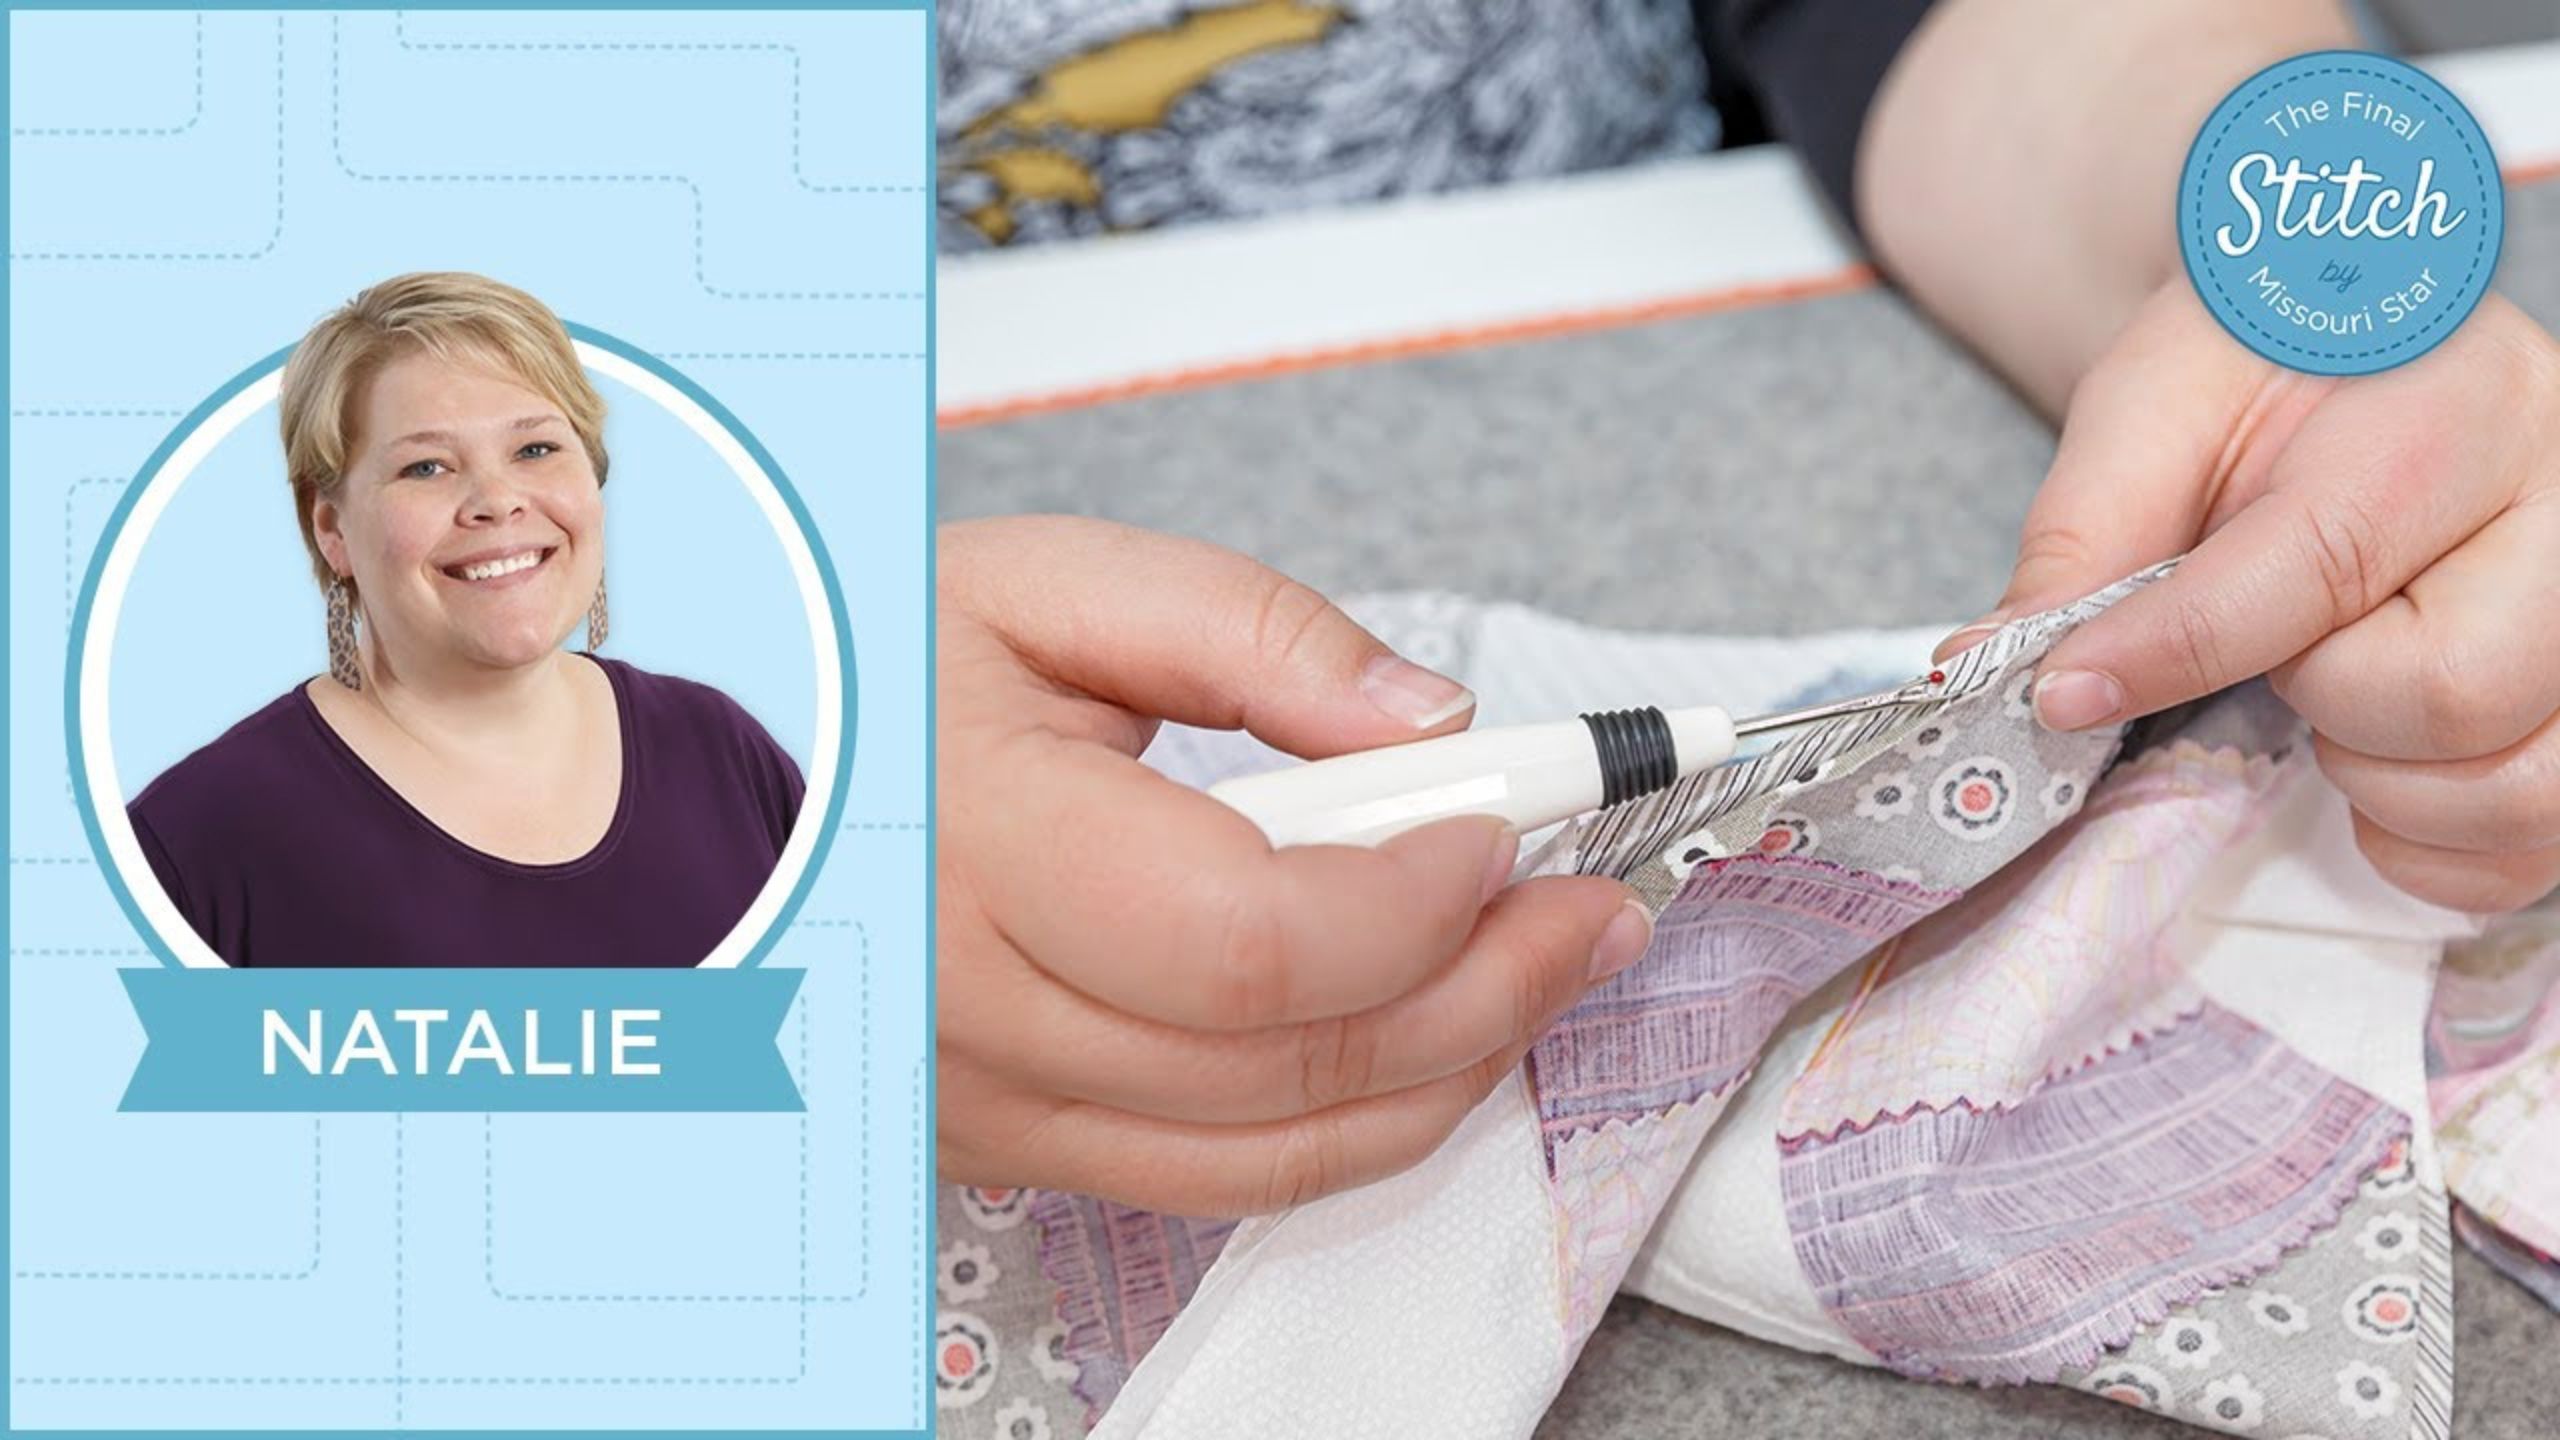
The Final Stitch: Seam Ripping 101 with Natalie Earnheart
Don't fear the ripper! Natalie walks through what a seam ripper looks like, how it works, and how to use it. Chances are, it's easier and faster than you think! Whether you're ripping a simple seam, digging in through a complicated cluster of seams, or picking out stitches you just don't love, the seam ripper is a great tool. Learn Seam Ripping 101 with Natalie and find answers to questions from real quilters like you!

Instructor
Natalie Doan
Natalie is the host of Quilting 101, Embroidery 101 and the Creative Strategist and Editor of Block Magazine at Missouri Star Quilt Company. She was taught how to sew by her mom, of course, and began quilting when she grew up.
Shop this tutorial
Chapters
- 0:00Introduction
- 0:31Question: "How do you actually seam-rip?"
- 0:47Different seam rippers
- 2:31How to rip a seam
- 4:58How seams work: The thread comes together
- 5:55Question: "What if I rip the fabric?"
- 6:49Using stabilizer to patch the fabric
- 8:04Using Bo-Nash to patch the fabric
- 10:05Ripping out the quilting pattern
- 13:42TIP: Bulky seams or fixing a point
- 15:35Conclusion
Common Questions
What is covered in The Final Stitch: Seam Ripping 101 with Natalie Earnheart?
Don't fear the ripper! Natalie walks through what a seam ripper looks like, how it works, and how to use it. Chances are, it's easier and faster than you think! Whether you're ripping a simple seam, digging in through a complicated cluster of seams, or picking out stitches you...
How long is the tutorial video?
The tutorial video is 00:16:50.
Is a transcript available?
Yes. A written transcript is available on the tutorial page.
Video Transcript
Natalie: We’ve received a ton of great questions and we love hearing from you guys. And today I have Liz here with me and she’s going to
read off some of those questions about seam ripping. Liz, what’s our first question?
Liz: Hi everybody, so today our first question is from Marsha L. She says,
“How do you actually seam rip? It takes me forever to rip out stitches.” And I want to pile on this, I did not know to seam rip until Natalie showed me so Natalie, how do you actually seam rip.
Natalie: Ok so first I want to talk about seam rippers in general. We have,
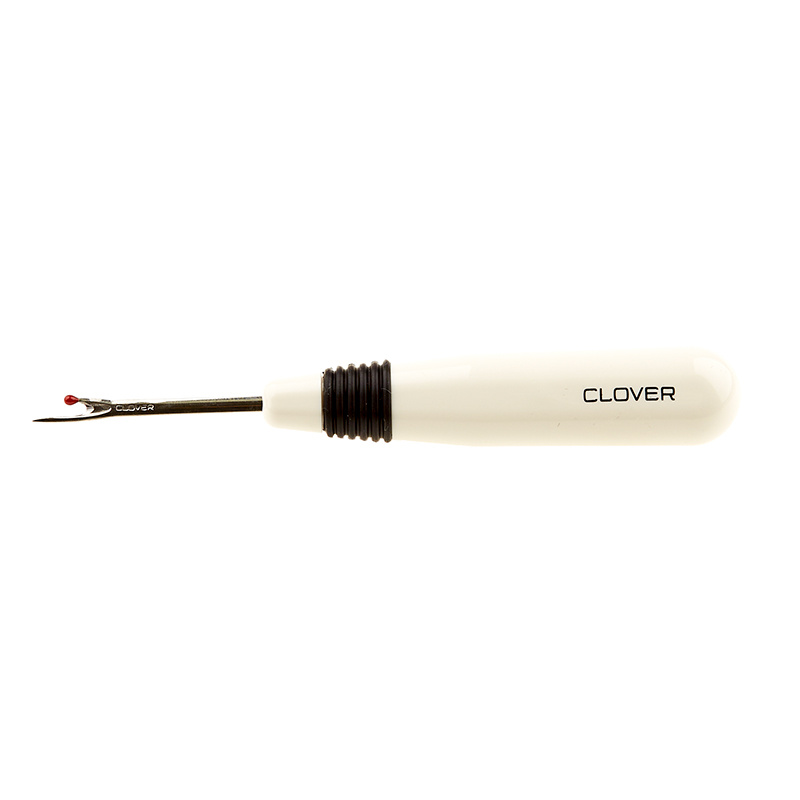
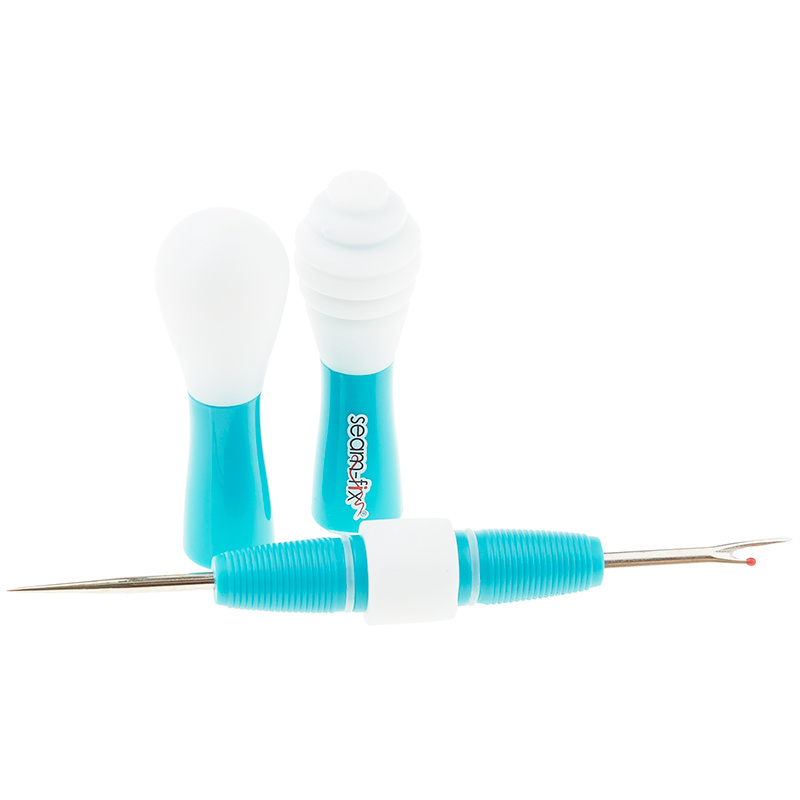
Different seam rippersthere’s so many out there on the market. And really you just want to make sure that you have a sharp one. That’s the main thing. But you want to make sure it’s comfortable. And I’ll show you, so my favorite is actually the Clover. It’s just a personal favorite. I actually
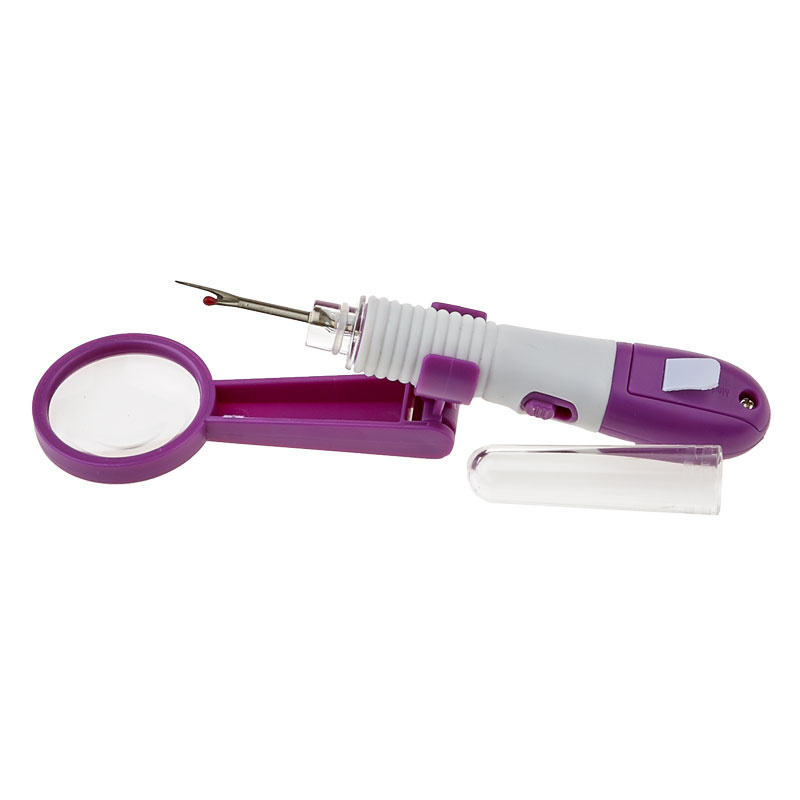
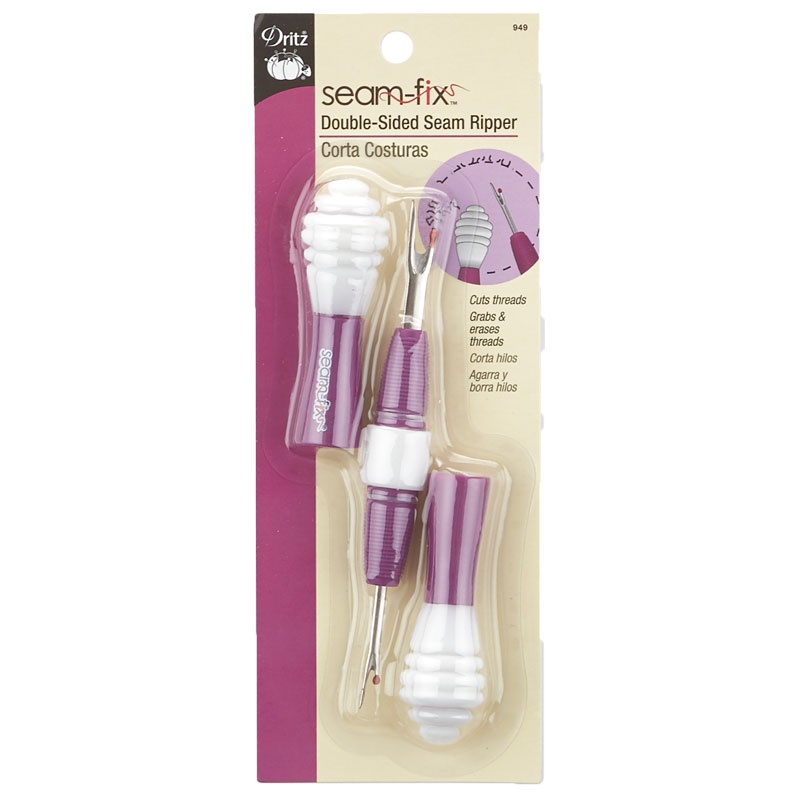
have like ten of them. I keep them wherever I need to seam rip ever. So this one is great. It stays sharpest the longest, I think. And then this one is great because it has a magnifying glass and a light. So I use the light a lot when I’m seam ripping in an area that I can’t see well like every once in a while you have to seam rip the bottom of a quilt that you’re machine quilting like on the Gammill. The light is priceless. Also if you’re seam ripping black thread off of black fabric, you need the light to see the thread. Ok so that’s a good one to keep in your stock, in your stash. And then these ones are great because they have this little rubber end and the rubber end is for picking the threads off of the quilt. So I love that.
And then they also have a stiletto on the other side. This one I think is a larger seam ripper. I like the smaller ones just because I think they stay sharper. But either way. Any seam ripper will work. The one that comes with your machine is great in a pinch. It’s just not my favorite. It’s a little bit small for my hands. So pick the one that you like the best. The ball point is supposed to go down in your fabric. But I think you can use
it whichever way is comfortable for you. And then this part in here is where the blade is.
Liz: Ok.
Natalie: Alright. Ok so for actually seam ripping I’m going to use my favorite friend. And we’re going to say Oh I just messed up this seam somewhere. I don’t like this border. So basically the easiest way to do that is to hold it in your hand, and you’ll have to practice a little bit to figure out what your most comfortable technique is but you use your fingers to keep the fabric straight. And then you’re going to slide the seam ripper in between the fabric and under the stitch line. And you just slide it straight across. So instead of picking out each stitch you’re just using your little razor blade to continue to slide across, just like this.
Liz: That is so much faster. I did use to pick out each stitch.
Natalie: So it does, you will get a little build up of thread like all the little pieces. I don’t know, it’s like a little tiny stitch pile. Just pull that out and then start again. Because it gets in the way of the blade.
Liz: And you’ve got the little ball point up?
Natalie: I prefer it up. I think technically it’s supposed to be down but I don’t know why but up is just more comfortable for me.
Liz: Ok
Natalie: Because I use the point to get in between the threads and in between the fabric. Ya, it’s a practiced thing because you’re holding it and you’re sliding the seam ripper in between the fabric in between your
thumb and forefinger. So it’s kind of hard to see but it goes really quick when you get that.
Liz: Can you show us too a little bit down on the mat so we can get that from the top?
Natalie: Sure. Here we go. Alright so we’re holding our fabric. There’s where the thread starts. And you can use, like you can do it like this and use your third finger, whichever way is comfortable. You’re just trying to hold that fabric and slide the ripper across.
Liz: Ok.
Natalie: See that? And you do kind of want to watch when you get by a seam that you don’t accidentally catch that seam. Because where there’s any type of ridge or you run the risk of hitting your fabric and so you just have to be a little more careful in those areas.
Liz: So just be gentle but you can use that razor blade side to go there.
Natalie: Yep and it just keeps right on going straight along.
Liz: And that works really well too because of the way seams work,
right? Because of the way that threads come together. Can you tell us a little bit about that?
Natalie: Right. So a seam, when you’re sewing on your sewing machine the needle pushes the top thread down and then it loops on a little looper with the bobbin, the bobbin thread. So you have your top seam going like this and then the bobbin thread comes up and makes a little loop. So if you, and honestly this works better when you’re pulling out machine quilting, to know that the top thread is a big straight thread. And that the bottom thread loops over it so then you can just cut the little loops and pull that top thread out.
Liz: Gotcha. So it makes it much faster. And so when you’re pulling that little bit of fluff away that’s really just all your bobbin stitches something up.
Natalie: No that’s all your thread. That’s all of it. Because when you’re cutting it this direction you’re cutting through the whole thing. So you’ll have pieces of thread on both sides.
Liz: Ok, so I heard you say when you get to a seam you have to be careful.
That actually takes us into Penny Anne has a question. She says, “My seam is a mess. How do I rip it without ripping the fabric? What if I do rip the fabric?”
Natalie: Ok so you would do it the same way. You put your seam ripper in between, keep it nice and straight but then, you know, say it comes through one piece or the other, right? If you have extra fabric you can replace that piece. If you don’t and you have a cut in your fabric you can use a stabilizer or a Bo-Nash, something like that to fuse it back together. And try to make a little repair.
Liz: So let’s say you’re pulling off this border and you’ve got a little hole in it. You don’t want to cut a whole new border because you don’t have that much fabric
Natalie: Right
Liz: You could repair it with a little bit of
Natalie: Yes, so I’ll just make a little cut here. Using stabilizer to patch the fabric
Liz: Oh scandalous!
Natalie: I can do it. Oop, look at that. I accidentally seam ripped my border, oh no! Not that big of a deal. It’s pretty close to the seam. Because, you know, usually, and I have done this before, just so you know, nobody is perfect. I’ve 100% seam ripped right through my fabric. I’m not perfect. So I would just take, this is a stabilizer. It’s basically what I use for T-shirt quilting. It’s a 911F Pellon product. So I’m just going to cut a little piece, like a little, I don’t know. I’ve got a teeny, tiny pair of scissors,
maybe a little rectangle. And that’s going to go over this rip right here. See this little tear. So I’m going to put it on the inside and press over it. And that will stabilize it enough that when I repair that seam, if I’m going to put it back on, it’s not going to show. And it’s not going to have like an open hole. So all you do is hit that with the iron and it is pretty much good as new. I mean it’s a little bit, it’s never going to be perfect because, you know, it had a cut in it but it’s not going to split apart in that way.
Liz: You can still use it. Using Bo-Nash to patch the fabric
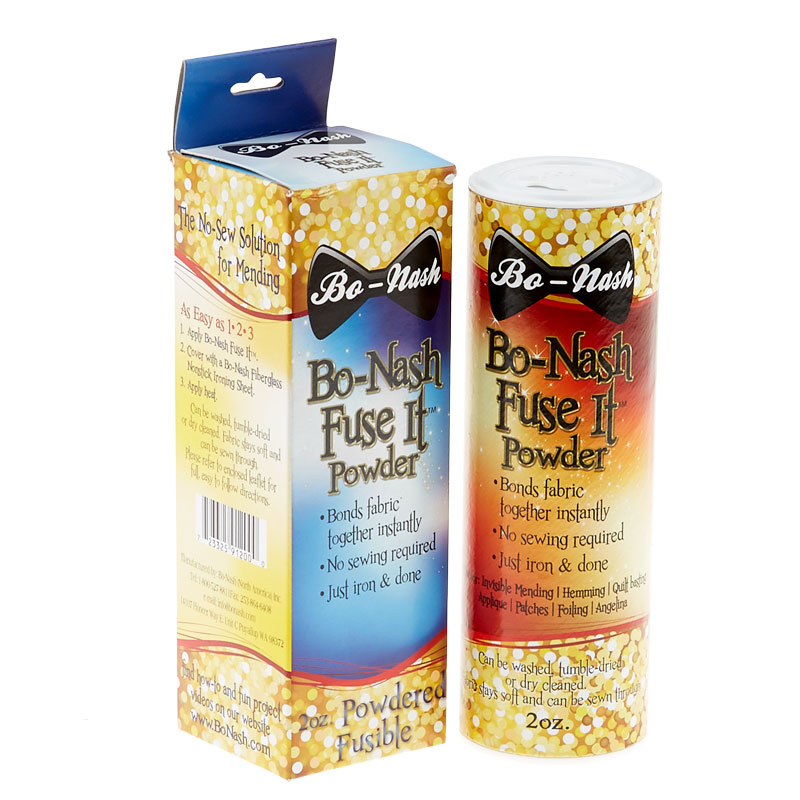
Natalie: So the Bo-Nash though, it’s actually a, it’s a little bit more permanent and you put it on the top of it. So you’re going to make a little
patch first that goes on the back or on the front, whichever part you’re trying to cover up. And it fuses the fibers together much more permanently. It’s this, we have a little starter kit and it has these silicone sheets for pressing. It’s actually really great and we’ve used it several times on the tops of quilts that get ripped.
Liz: Can you show us that too?
Natalie: Sure. It actually looks like a spice so don’t put it in your cupboard. It’s not good in soup.
Liz: It’s not good for popcorn.
Natalie: Ya, no! So but ya it’s a powder that is fusible. And it’s very permanent. It does a great job, though. It really does.
Liz: And it’s something that you want to have the silicone pad so that’s
why the starter kit is a good thing to start with or there are others?
Natalie: Yes, because you’ll use this over and over and over and then you can just buy refills of the powder. So that is another thing I would do. I usually use that if I have, so sometimes in very bad quilting mistakes sometimes you’ll start your Gammill without a bobbin and it will just put the whole needle head through the quilt and you’ll get a hole, a big hole.
So in that case then you would want to create a little patch that you can put underneath that top fabric and then put the Bo-Nash on top of it. And it makes the fibers look like they are just fused together. They meld together a lot better.
Liz: So it’s a good thing for holes and kind of bigger areas.
Natalie: Ya, yep. And if you don’t have access to the inside of something.
Liz: Gotcha.
Natalie: I mean it works great if you do too. It’s not a one trick. It’s great.
Liz: Awesome so speaking of
Natalie: I hope that helps.
Liz: Ya, I think so. So speaking of the quilting pattern, let’s say you were quilting on your Gammill or longarm or even machine quilting at home and you’ve got that pattern in. Lori says, “I don’t like the quilting pattern. Can I pick it out with the seam ripper?”
Natalie: You can. It’s a little bit time consuming but it sometimes is worth it. Sometimes you have really bad tension. Sometimes you’ve got the wrong pattern or the wrong color or the wrong size. Hopefully you catch it before you have to do the entire quilt but I have done that before too.
You are never alone. Everyone has made these mistakes. Alright so this is one of those things that can be made much easier and much faster with
knowing which direction to pull and pulling on the top thread.
Liz: Ok.
Natalie: And you can do this, so when I say top thread it’s whichever thread is on top of the quilt because you can actually do it from either side. It doesn’t really matter. Because the stitch is a loop, whichever side you pull from will pull straight and then you’re going to cut those little loops underneath that thread. So what I would do is find an edge. And I’m going to start right down here. I’m just going to pick that thread up. And if you go one or two threads from the end then you can find that and just pull it up. And often it will be loose enough that you can pull a couple of stitches. When it stops being easy to pull that’s when you’ll cut. And then you can pull again and use your seam ripper to cut again.
Liz: And you’re not cutting the one you’re holding?
Natalie: I’m not cutting the one I’m holding. I’m cutting the loop
that pulls underneath. So I don’t know how well you can see that. Can you see how it pulls up the loop? And then you’re either going to cut it or you’re going to pull it out because it will do either way. You don’t have to work super hard at it. It’s just very time consuming. But as long as you’re going the direction that you need to go, what will happen is sometimes quilt patterns go back on themselves or they cross over. So if you go back in the reverse direction you’ll always be on top of the thread. And you’ll get it in the right order.
Liz: Nice.
Natalie: So it makes your life a lot easier and you don’t have to work as hard because it just takes a while. But if it’s really important to you it’s well worth the effort.
Liz: You’ve got to do what makes sense for your brain, right?
Natalie: Yes, exactly.
Liz: So when you flip that to the back as you’ve been cutting you’ve got little
Natalie: Right, so you’re actually not going to have as much on the back
because you’re pulling everything through the back to the front.
And that’s where this little, this cool little rubberized end comes
through because you can use it to pull the rest of these tiny little threads out
Liz: Oh that is handy.
Natalie: And then your quilt top is cleared off. Now these little holes,
they’ll stay until you wash and dry it or press it with steam. And I would recommend for sure getting your quilt all the way quilted and bound before you wash it. But they will go away.
Liz: Ok
Natalie: But it’s not as big of a deal to have some holes in your quilt
Liz: If you see those needle holes, it will be ok.
Natalie: Ya. So I hope that makes sense. It’s so much easier than it seems to be.
Liz: I think it takes some of the fear out of it. Like we always dread the seam ripper but it’s A: not a big deal and it’s actually your friend to help you
Natalie: Everybody seam rips at some point
Liz: And now you know how to do it more easily. I know, I know how to do it more easily. Do you have any tips while we’re looking at that for bulky seams or coming to a point where we make sure we don’t
Natalie: Ya I have a few bulky seams in here. And so what I would do if I’m
picking out I look at the back of my quilt to see where the seams are and
where the action is, you know, what part are you trying to take out. And I start from the most, the last seam first. Does that make sense? So in this case the last seam I took in this intersection was the one that went across. So I’m going to take that out first. And then I will go into the other one. So if I’m trying to save a point, the first thing I’m going to do, and you can actually start in the middle and just pick out the part you need to pick out. Fix it and then put your seam back in. You don’t have to take out the whole thing if you don’t want to. It’s not a big deal. And that happens sometimes when I’m trying to match up a point or save a point, I’ll just take out that little section and then just kind of read just and then go back and do it. So you don’t have to undo the entire border that you just put in.
So what I would do is first I’m going to take this seam out. Then I’m going to go, ok so I don’t like how this one went. So then if I wanted to take this seam out next I’m going to pull this apart. And I’m going to hold this seam this direction and put my seam ripper into the seam in between the fabrics and slide it across. And then I can repair that point. Does
that make sense? Then if you want to get to this one that would be the next one that you would do. You just kind of have to take it apart and when you put it back together you’ll want to go in the reverse order in doing the first seam and then the second seam and then the straight across seam.
Liz: Perfect.
Natalie: That’s just a quick repair order thing.
Liz: Ok.I think that makes sense. So now we’ve got good advice about how to use a seam ripper, how to choose the seam ripper, what the extra doo-hickeys on the seam ripper are for and also how to pick out your seams and pick out quilting on your finished quilt. So thank you, Natalie for all those things.