Join Jenny Doan to learn the quick and easy way to do the classic Hour Glass block using precut fabric. Layer Cakes (10" squares) - the best selection on the internet!. Solid and Essentials Layer Cakes (10" precut squares).
Instructor
Jenny Doan
Jenny Doan is an American quilter, author, and YouTube personality. Jenny started Missouri Star Quilt Company in 2008 and today it is the largest quilting supply vendor in the United States.
Common Questions
What is covered in Hourglass Quilt Block?
Join Jenny Doan to learn the quick and easy way to do the classic Hour Glass block using precut fabric. Layer Cakes (10" squares) - the best selection on the internet!. Solid and Essentials Layer Cakes (10" precut squares).
How long is the tutorial video?
The tutorial video is 00:05:33.
Are supplies listed for this tutorial?
Yes. The tutorial page includes the supplies and materials connected to this project.
Video Transcript
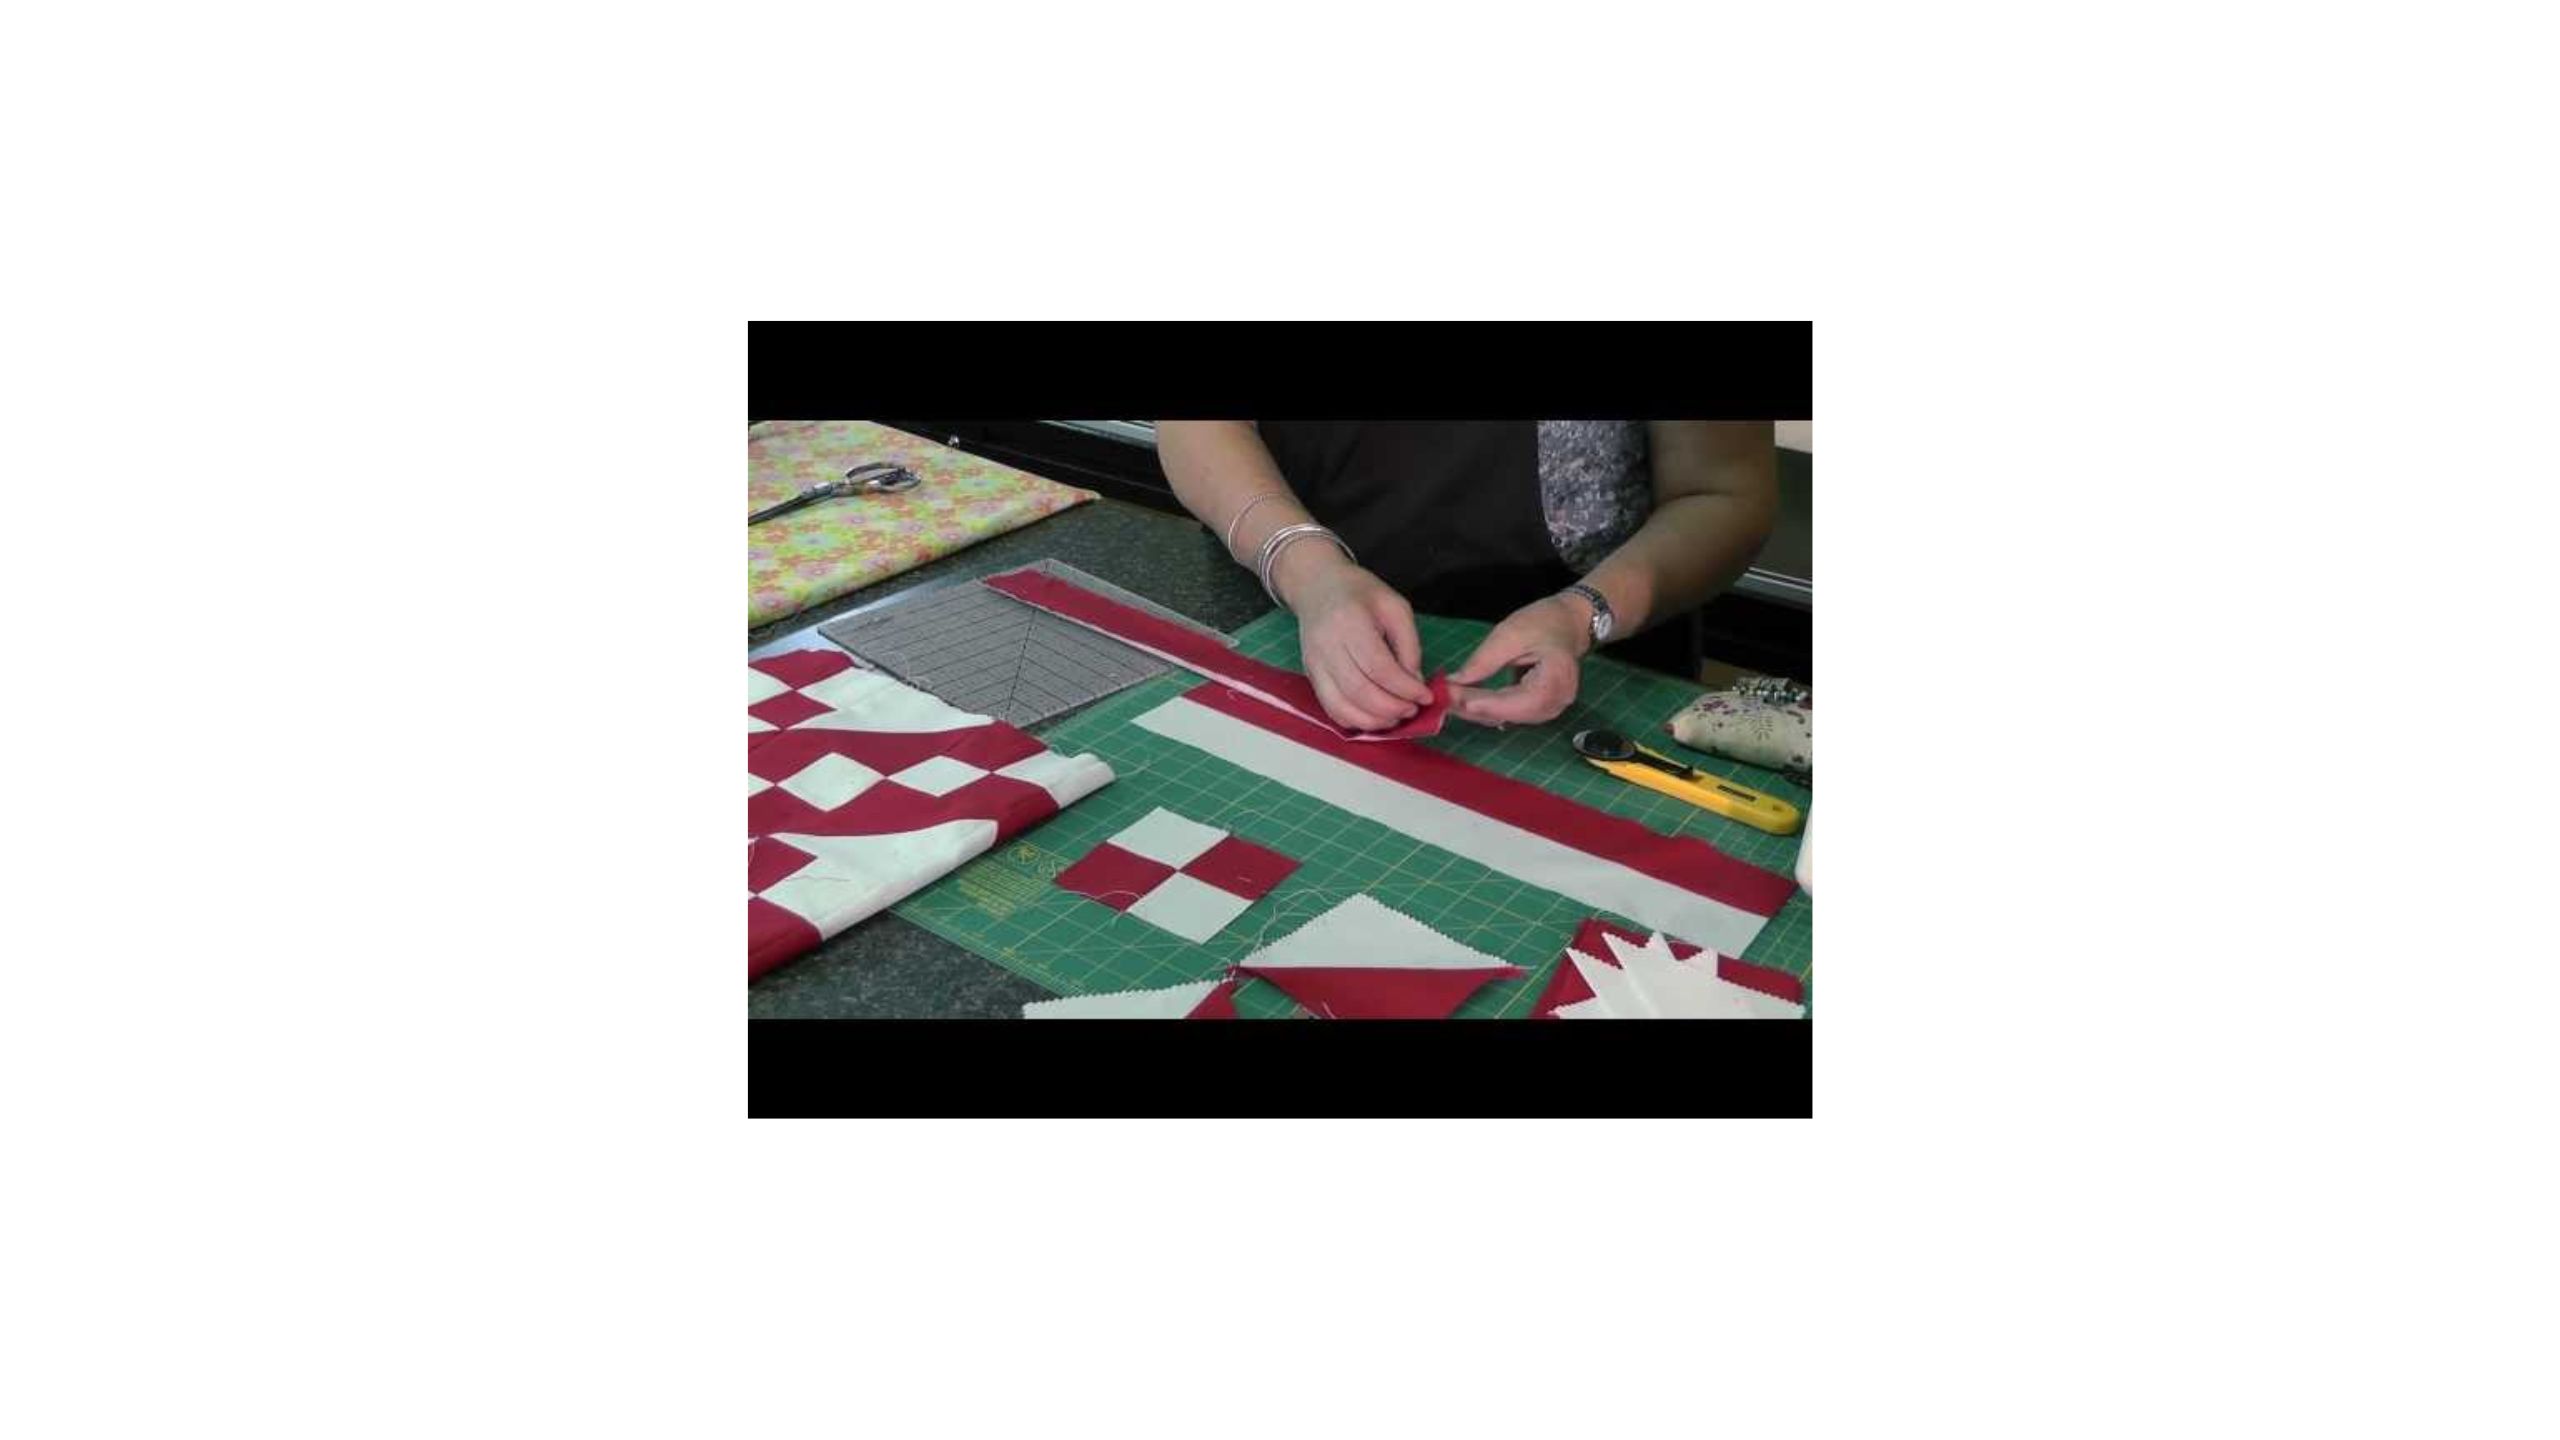
Hi, I’m Jenny from the MSQC. Take a look at this quilt behind me. This is made using an old block called the Hourglass block. Very quick, easy block to make and I will show you how. To make a quilt this size you’re going to need two layers cakes. One that’s a solid or a background color. And one that is a printed layer cake. It will make about a full size quilt. And it’s such a quick project. So let me show you how that’s done. The fabric I used for this quilt is by Westminster and it’s called Tangiers by Dena Design. And it’s just bright happy fabric. But I have seen this hourglass block made using even Civil War fabrics, beautiful, beautiful. So no matter what you want to do this is a great block to know how to do. So you’re going to need your two layer cakes. And you’re going to take your, your plain layer cake and we’re going to iron it in half so we get that crease diagonally. We’re going to iron it in half diagonally I should say like this. You can draw a line if you want or you can just iron it. I’m just going to iron mine so it gives me a line to put my presser foot on. So then I’m going to put my two squares together, right sides together. And I’m going to sew a quarter inch away from this line on both sides. Just like that. So I’ve done that here. I don’t know if you can see this quarter inch sewing line. You might be able to see it better on this side. And then I’m going to cut right down the center of these two. So when I sew these I just lay my presser foot you know right along this fold and go ahead and sew. So let me go ahead and cut this. You can cut them with the scissor or your rotary cutter. Either one will work. And so now we have two half square triangles. Just like that. So we’re going to iron them. So we’re going to put our dark side on the top and set your seam and just roll that seam back like that. And we’re going to do it to both of them. There we go. So now we have two half square triangles right here. And what we’re going to do with them is we’re going to lay them going opposite directions like this and we’re going to do the same thing that we just did. So we’re going to need to take this top one and we’re either going to draw a line or iron a line. And we’re going to fold it this way. So your colors are going to match up and your whites are going to match up when you iron it. And that’s going to be your new sewing line. So when you lay these together you’re going to make sure you have your, your, you know opposites so the white with the print and the, just the opposite on the other side. You’re going to feel for those two seams to nest together. You can feel them. They just snug right in there. You can put a little pin in there if you want to hold them. And then you’re going to go to the sewing machine and we’re going to do the same thing we did when we sewed earlier. We’re going to sew a quarter of an inch from this press line right here in the center. So what I’m going to do is I’m going to line my presser foot right up with the edge of the fold. So that gives me something to, a guide to sew with. And when I get down here to the end I’m just going to lift my presser foot, you know, spin my block around and sew down the other side. Ok so now we’re going to come over here and we’re going to cut them open again. Oops I’m going to run off my edge there. I’ve got to turn my mat not my block. There we go. Line it up corner to corner. And then cut it open. Again you can just use a scissor on that if you want. So then, the moment for the big reveal. You open them up. And out of two squares you’re going to get or out of, out of the two blocks you’re going to get two hourglass blocks like this. So let’s press that open. And they’re just because you’ve pressed them, you know you felt that seam and you know it lines up. They come out just with perfect points in the middle like this. I don’t know if you can see this perfect little point right here. Oops. And to lay out your quilt you’re just going to alternate them. So you’ll put one right side up. And I have ones over here that are different colors so you can see the difference. And then we’ll just turn this one. And then when you add your second row it is the same thing. You’re going to just alternate the directions that they’re placed in. Just like that. So quick and easy. And we hope you enjoyed this tutorial on the easy Hourglass block from the MSQC.