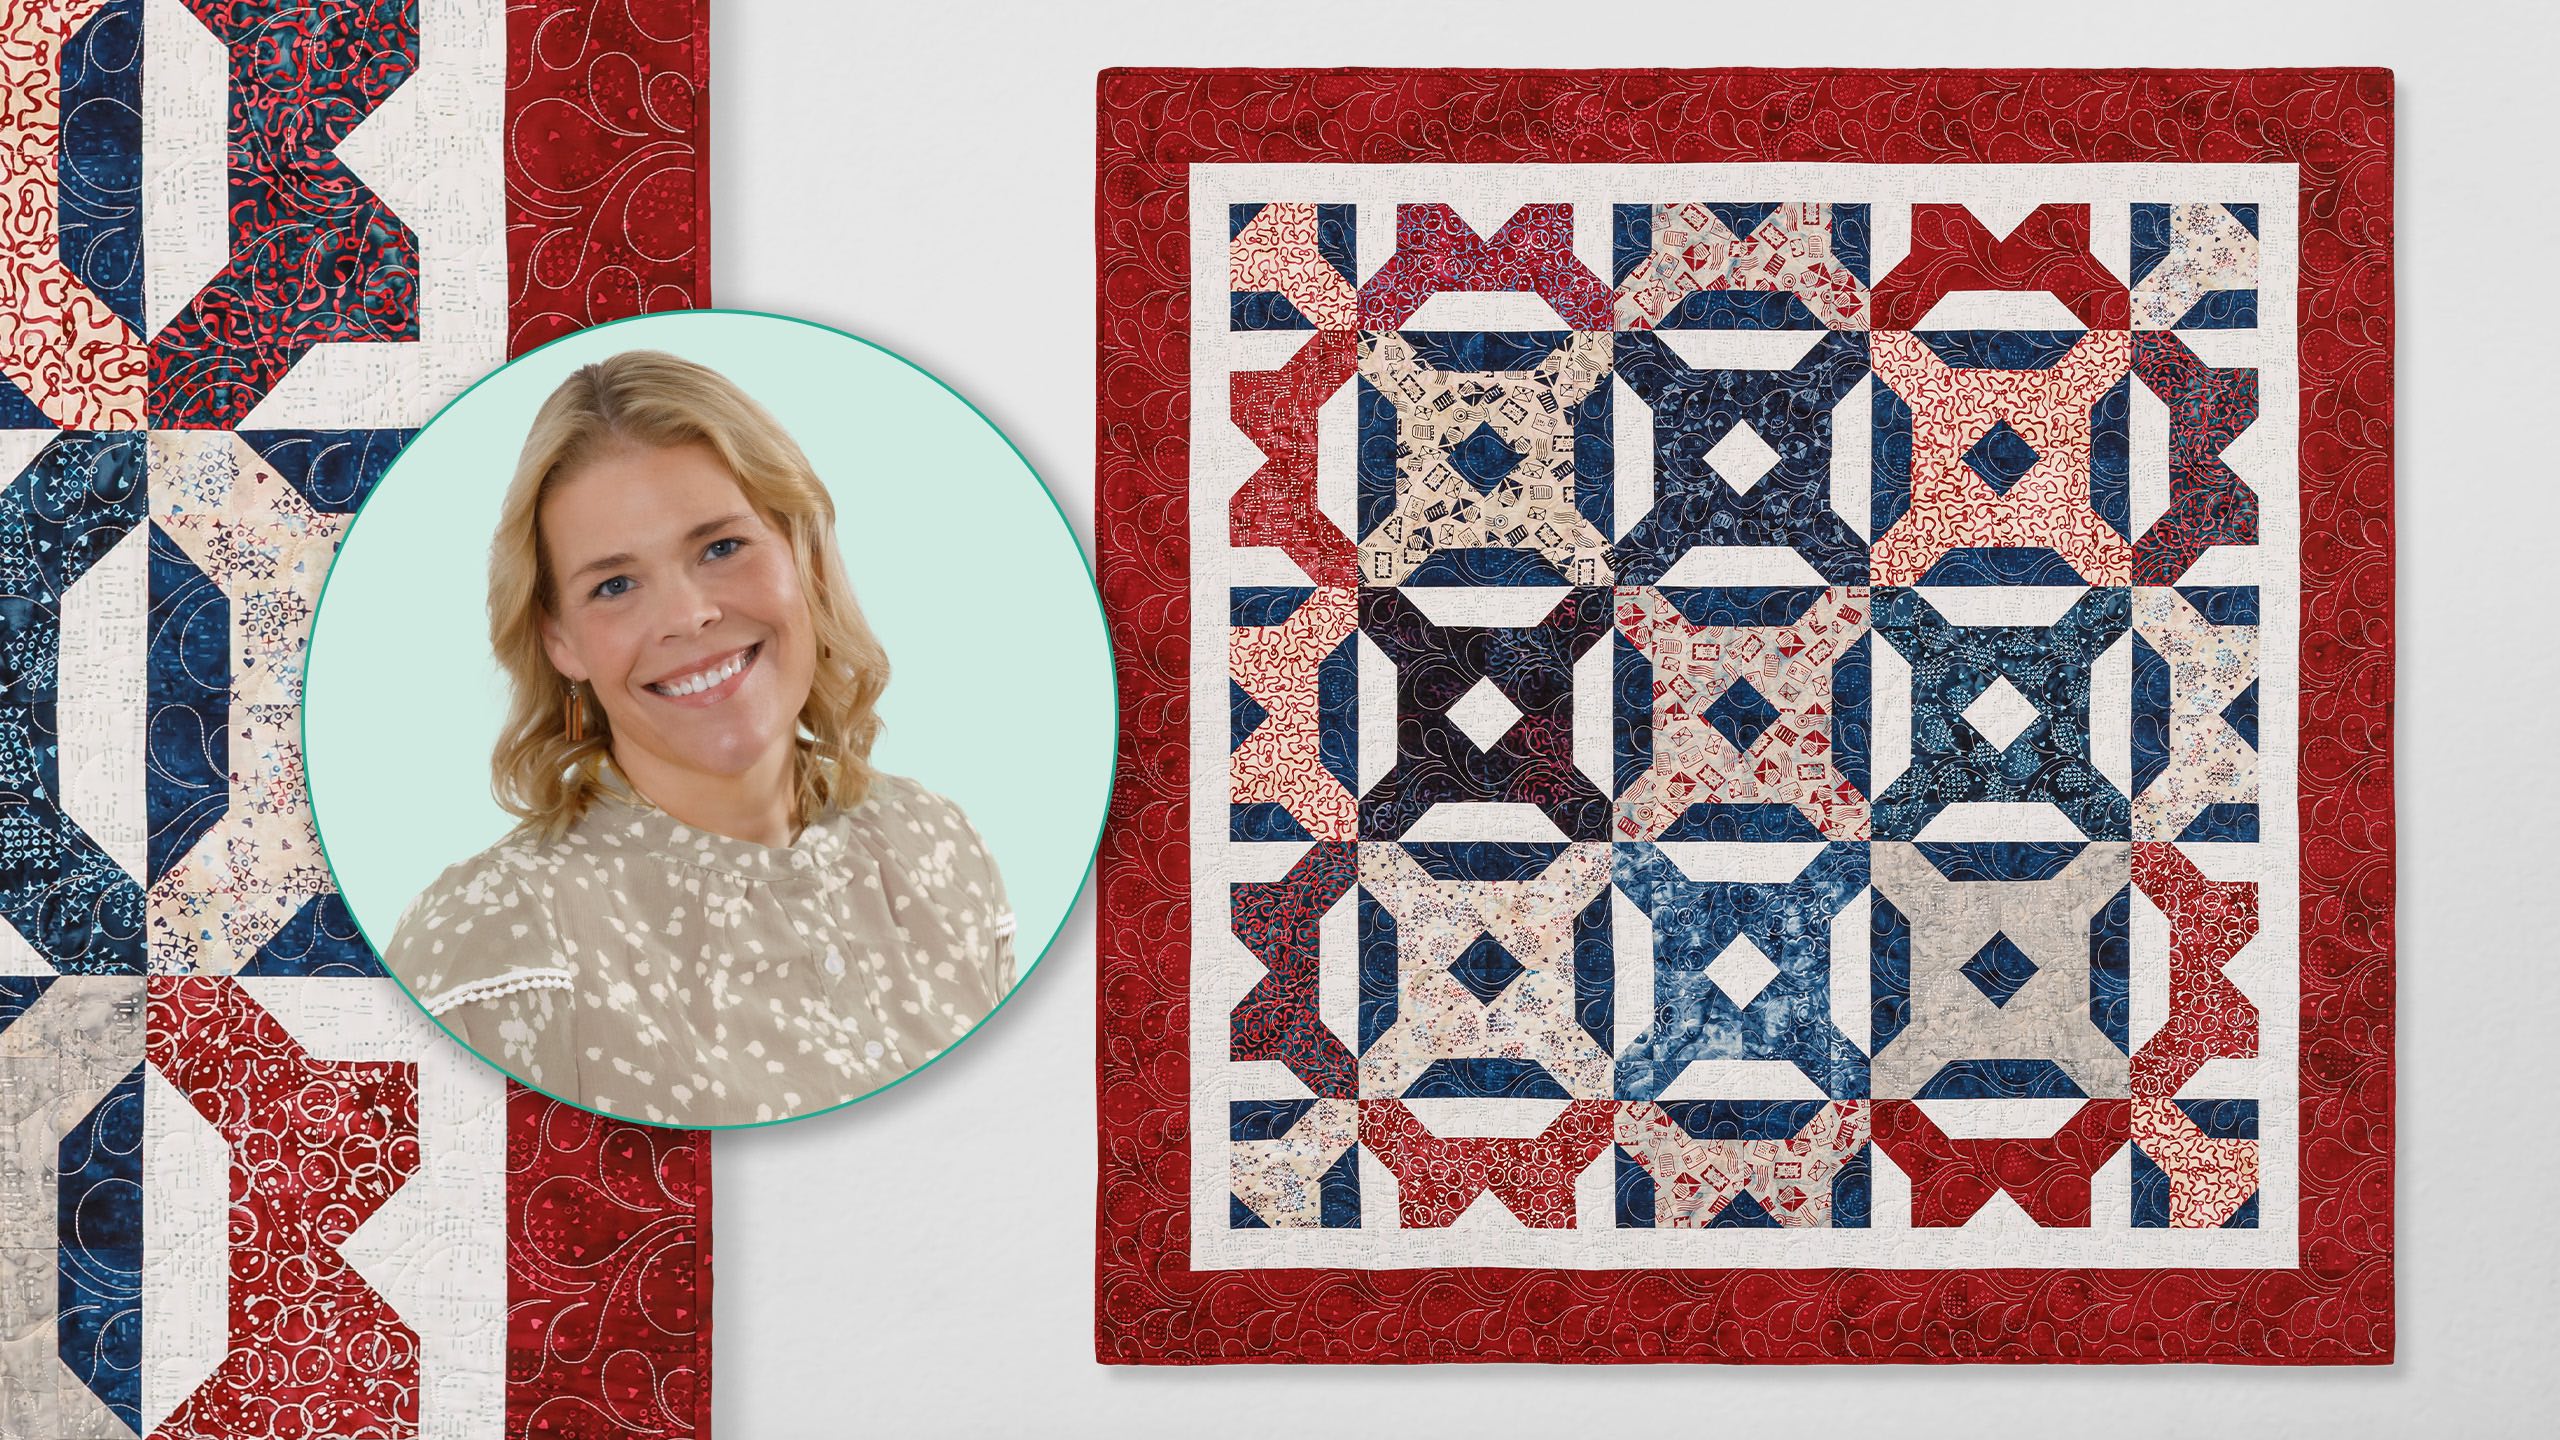
The Threads of Connection Quilt by Missouri Star Quilt Co. is a striking traditionally pieced design featuring the rich, dimensional colors of Missing You Batiks by Terri Vanden Bosch of Lizard Creek Quilting. Deep blues, warm reds, and soft neutrals come together in a stunning mix of batik textures, creating a quilt that feels both timeless and modern.
Natalie is the host of Quilting 101, Embroidery 101 and the Creative Strategist and Editor of Block Magazine at Missouri Star Quilt Company. She was taught how to sew by her mom, of course, and began quilting when she grew up.
The Threads of Connection Quilt by Missouri Star Quilt Co. is a striking traditionally pieced design featuring the rich, dimensional colors of Missing You Batiks by Terri Vanden Bosch of Lizard Creek Quilting. Deep blues, warm reds, and soft neutrals come together in a stunnin...
How long is the tutorial video?
The tutorial video is 00:12:35.
Are supplies listed for this tutorial?
Yes. The tutorial page includes the supplies and materials connected to this project.
Video Transcript
Hi everybody. I'm Natalie with Missouri Star Quilt Company and I have a fun project for you today. Take a look at this quilt. I'm calling it Threads of Connection and it comes together so easy. I think it has a lot of great impact and I think you're going to like it. [music] All right, so this quilt is made up using two blocks. You can see I've got two different background colors here. And what that does is it creates this really beautiful like chaining or like interlocking woven kind of effect. I think it's really fun. And so let me tell you what you're going to need. So to make this quilt, you're going to need a package of 10-in pre-cut squares. And I have used Missing You Boutiques by Terry Vanden for Island Boutique. You're going to need some background fabric. I've used this light colored from the line. It's absolutely beautiful. You'll need a yard and a third for that. and that includes your 2 and 1/2 inch inner border. You're going to need some background, um the dark fabric, this is 78 of a yard. Your border, you'll need one yard, and that's a nice 5 inch border. And then for the backing, you'll need 4 and 1 eigh yards with a vertical seam. And we use this print from the line, or if you're using a 108, you'll need 2 and 1 eigh yards. All right, let's get started. [music] All right. So, these are the two blocks that we're going to be talking about today. And you can see that they have different backgrounds. So, you will want to divide your fabric accordingly. You'd want to make sure that you have good contrast with the fabrics that you pair up with your backgrounds. Like, I wouldn't put this blue with a blue background and and vice versa. Your background fabrics, you are going to want to cut into 2 and 1/2 x 5 in strips and 2 and 1/2 in squares. And you'll do that for both fabrics. So, we've got these cut and we'll set them aside. Um, and then for your precut, you're going to cut those. You'll need nine matching sets to get your full blocks. Uh, and by matching sets, I mean where you have two identical 10in squares to do all of your cutting for the print part of your block. [snorts] So, and I will explain that a little bit more down the line. We'll talk about that later as we talk about our layout. So, the first thing we're going to do is cut. We I left my two blocks stacked up so I can get all my pieces cut at once. We're going to cut a 5 in rectangle. And then we're going to turn that and subcut it so that we have four 5 in squares. We'll set those aside. So from this leftover piece, we're going to cut eight 2 and 1/2 in squares. I'm going to go ahead and stack these up so I can subcut and get them all cut at once. And then we'll set those aside and use them when we get there. All right. So, I've got one, two, three, four cuts. There we go. Now, these are going to be snowballs. So, if you wanted to ahead of time, you could either press or draw lines on all of the little 2 and 1/2 in squares diagonally. It won't matter which direction cuz you can obviously turn that before you sew it to whichever way it needs to go. So, what we're going to be making to start with this is this is the block unit and we'll put four of these together to make the whole block. So, we are first going to take our 5 in square and we're going to snowball one corner with our um background. And so this block, because it's a light print, is going to have a dark background. And I think for this video, I'm going to go ahead and just press these little triangles because I don't we don't do that very often. And that way you can see what it looks like. So I'm going to press this triangle right in half diagonally. And that gives me a good straight line from corner to corner. And then I'm going to lay that down right here. And I'm going to do it with the fold facing down so that I'm sewing in the canyon of the if if you want to call it that. We're we're going to sew in the ditch, I guess. Keep try to keep that lined up. We'll stitch right on it from corner to corner. Bies are great because they have enough like starchiness to them that you really could even finger press these if you wanted to. All righty. Now, we're going to go ahead and trim that off the excess. We're going to set our seam and press it or fold it back. It's a stitch and flip is what they call this sometimes. So, now we have the middle part, the main part. Now, we're going to take our background squares of our dark. So, this is the 2 and 1/2 x 5 in rectangle. And these are going to go oop, they don't go on that side, they go on this side. So this uh little triangle, this is going to point to the middle. And then your little accent pieces are going to go over here on the outside edge. And your 2 and 1/2 in square from your block is going to go here in the middle. And then we're also going to put these on these corners. And they are going to snowball in just like that to create. So what you'll want to remember is that these two, they're going to go in opposite directions. So, you're always going to want to place them whichever way makes sense for you, but you'll do one set going one way and one going the other. So, let me go ahead and press these in half on my ironing mat here. And really, if you wanted to be efficient, you could prep almost all of this ahead and then just sit and chain piece your little heart out. It makes life so easy when you can get a lot done in a short amount of time. I'm going to switch this one out because it's got a weird uh fold in it and I'm not sure that it's going to end up being the the right size. Okay. So, this one I'm going to do top top left to bottom right going that direction. And then this one I'm going to do the opposite. So, it's top right to bottom left. And we are going to chain piece these just for efficiency sake. All righty. Again, just stitching right there in that in the fold. And if you feel like your snowball blocks sometimes come out a little short, then you would want to stitch on the um the right side of that fold line towards the part that you cut off. That'll give you just a little bit extra. It's it's a way to sort of sew a scant seam without having to think too much about it. Um so hopefully that helps as a little hack. It'll give you just enough of the extra fold that you can complete that corner without feeling like you've lost fabric. All right. So, I'm going to cut these two apart. Give them their trim. Press and flip. And we're just about there. Okay. Let's set these seams and then flip them back. And then we're going to put these together with our our print touching our print and our little extra square here in the corner. Just like so. And it's time to sew this unit together. So, what I'm going to do is flip that over and I'm going to stitch straight down this line. I'm going to flip this one over and continue stitching. Then I'll open them up and stitch the long side. All righty. So, I'm opening this up here and this one here. And I'm going to go ahead and do I'm going to finger press one of these seams one way and then the other seam the opposite direction so that they nest nicely. And I'm going to flip that down. And you can see a little bit how I'm going to kind of force that nested seam. This doesn't really show too much, so don't stress about it. Not a big deal. It's not one of those places where you'll lose your point if your seam isn't perfectly nested. That mainly helps to keep the seams in the quilt flat at that point. All right, I've got that seam set. And now I'm going to go ahead and roll this back. And that's it. So you've got a quarter of a block. So I'm going to take this block to the quilt so you can see kind of how it comes together real quick. So you'll notice that these corners just use one unit of the block. And then these ones use two. So you'll have two of these identical blocks here like like this. And so um in the pattern, one of the things you'll note is that it says you need nine matching 10in squares. Well, that's to make the entire four unit block. The rest of them, you really only need one 10in square to make these two. So, if your um fabric pack doesn't necessarily have more than if it doesn't have more than nine, you can easily still do your outside border and your four corners because you're just going to use one or two of your units. So, hopefully that helps a little bit. Um now, what we're going to do is put these four together because that finishes out the big block. And that is it. It's so cute. I think it just comes together really fast. So, we've got all four of those and it makes this block just like that. So, that's it. That's that is the whole quilt. Um, I went ahead and added an inner border. It's 2 and 1/2 in. And then our outer border is this beautiful fabric. It's a 5- in border. So, let me show you the backing on this quilt. We've used this fun print from the line. It's really cute. It's got all the little postcards and stamps and stuff on it. and I just thought it was so fun. The machine quilting on this quilt is called Bubbly Feathers. And this quilt ends up being 65 in square, which I think is great for a lap size, a perfect little picnic quilt. And I just I think it comes together really fun. I love the effect of the lights and darks and the weave and all of those things. It gives it a lot of dimension. It's a fun way to play with color. So, I hope you enjoyed this tutorial on the Threads of Connection quilt from the Missouri Star Quilt Company. Bye. Hey quilty friends, we are so excited. We have something really special to share today. That is right. Believe it or not, we have a million subscribers here on the Missouri Star YouTube channel. And we are so excited. Yes, it really is unbelievable. I know when we first started our YouTube videos years ago, we never imagined that we would have a community this size [music] and this wonderful. From the bottom of our hearts, we just want to thank all of [music] you for being a part of the Missouri Star family. That's right. Thank you so much for joining us on this wild ride. We are so excited to have reached a million subscribers [music] and we are going to have so many more quilts and so much more fun in the future. I can't wait to see what happens next. I can't either and we hope that you will join [music] us for the ride. We'll see you later. Bye.

 Natalie Doan
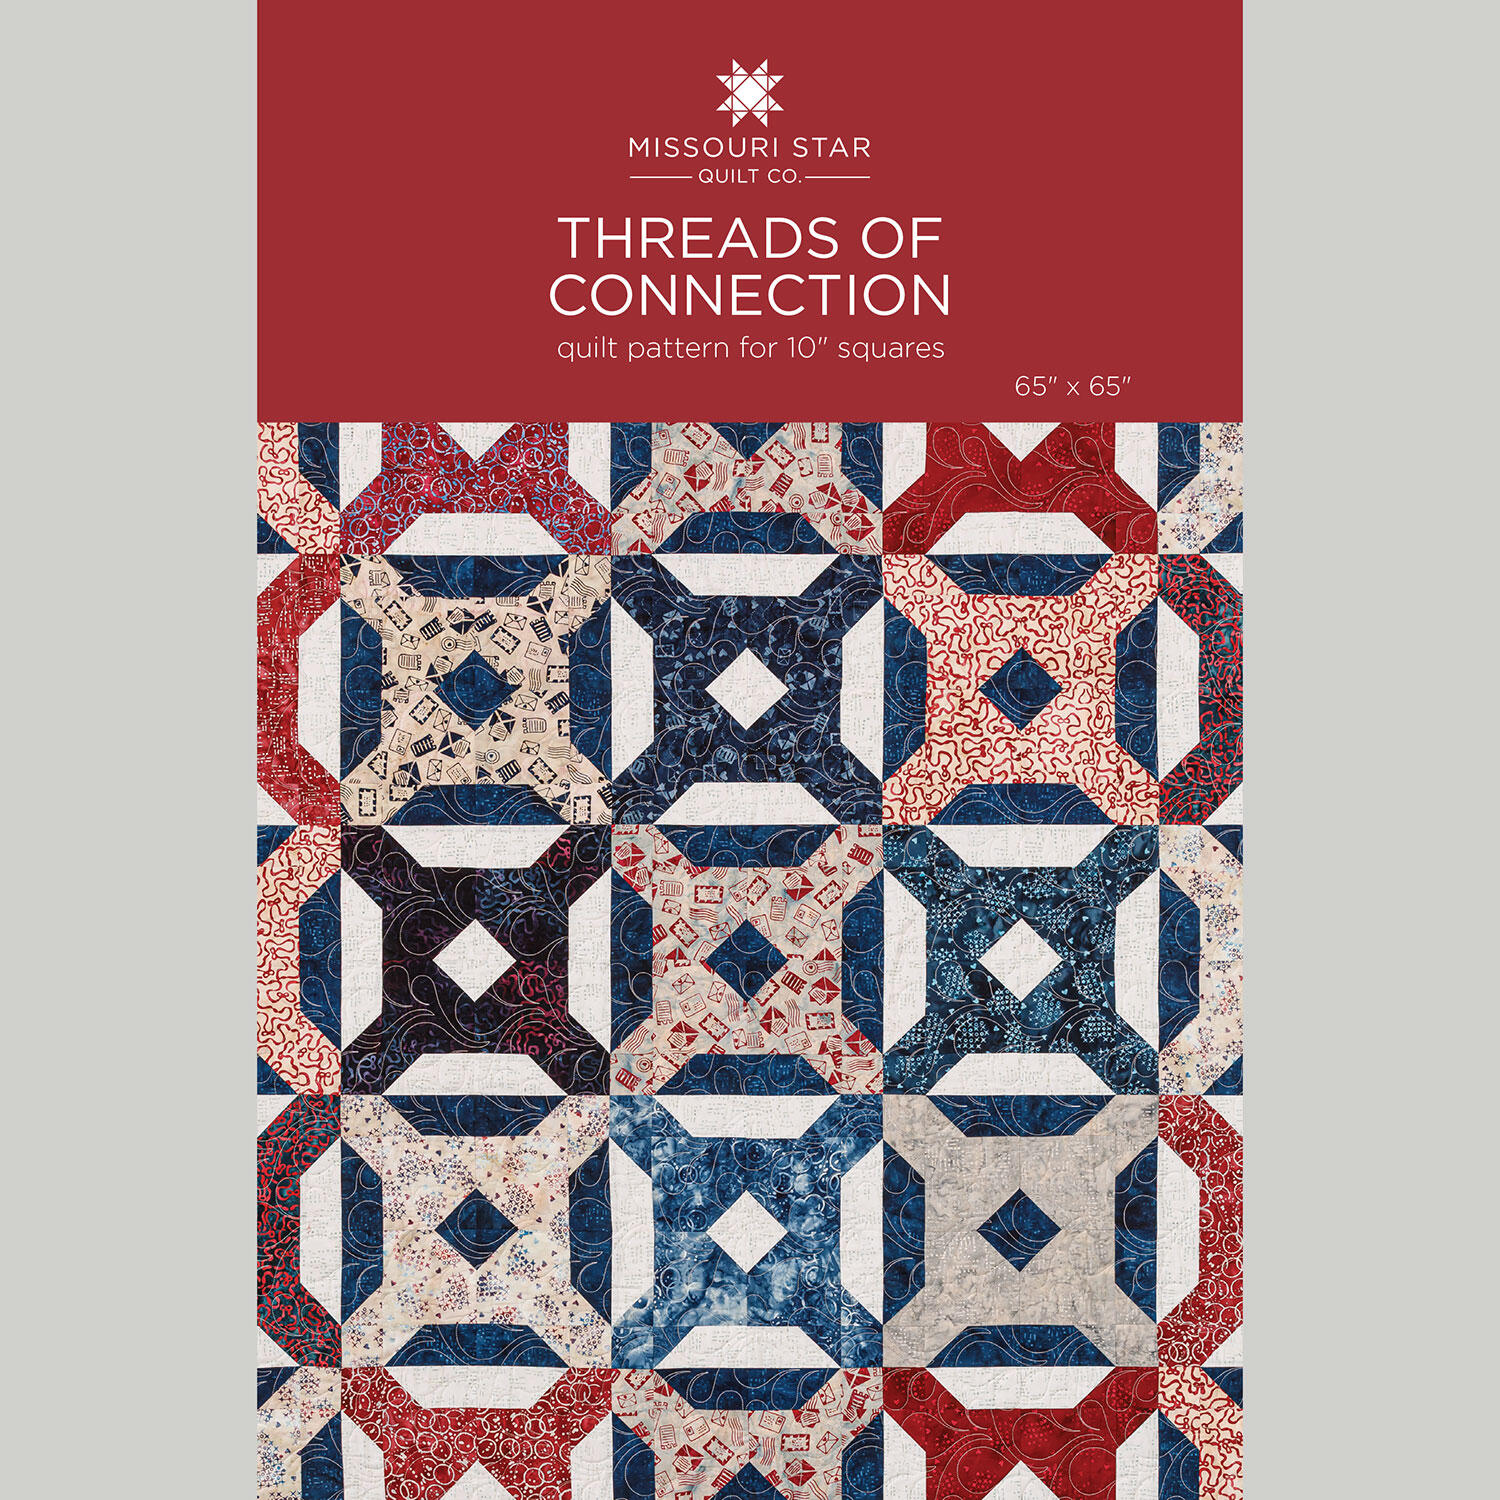 Threads of Connection Quilt Pattern by Missouri Star$8.50Shop →
 Digital Download - Threads of Connection Quilt Pattern by Missouri Star$6.95Shop →
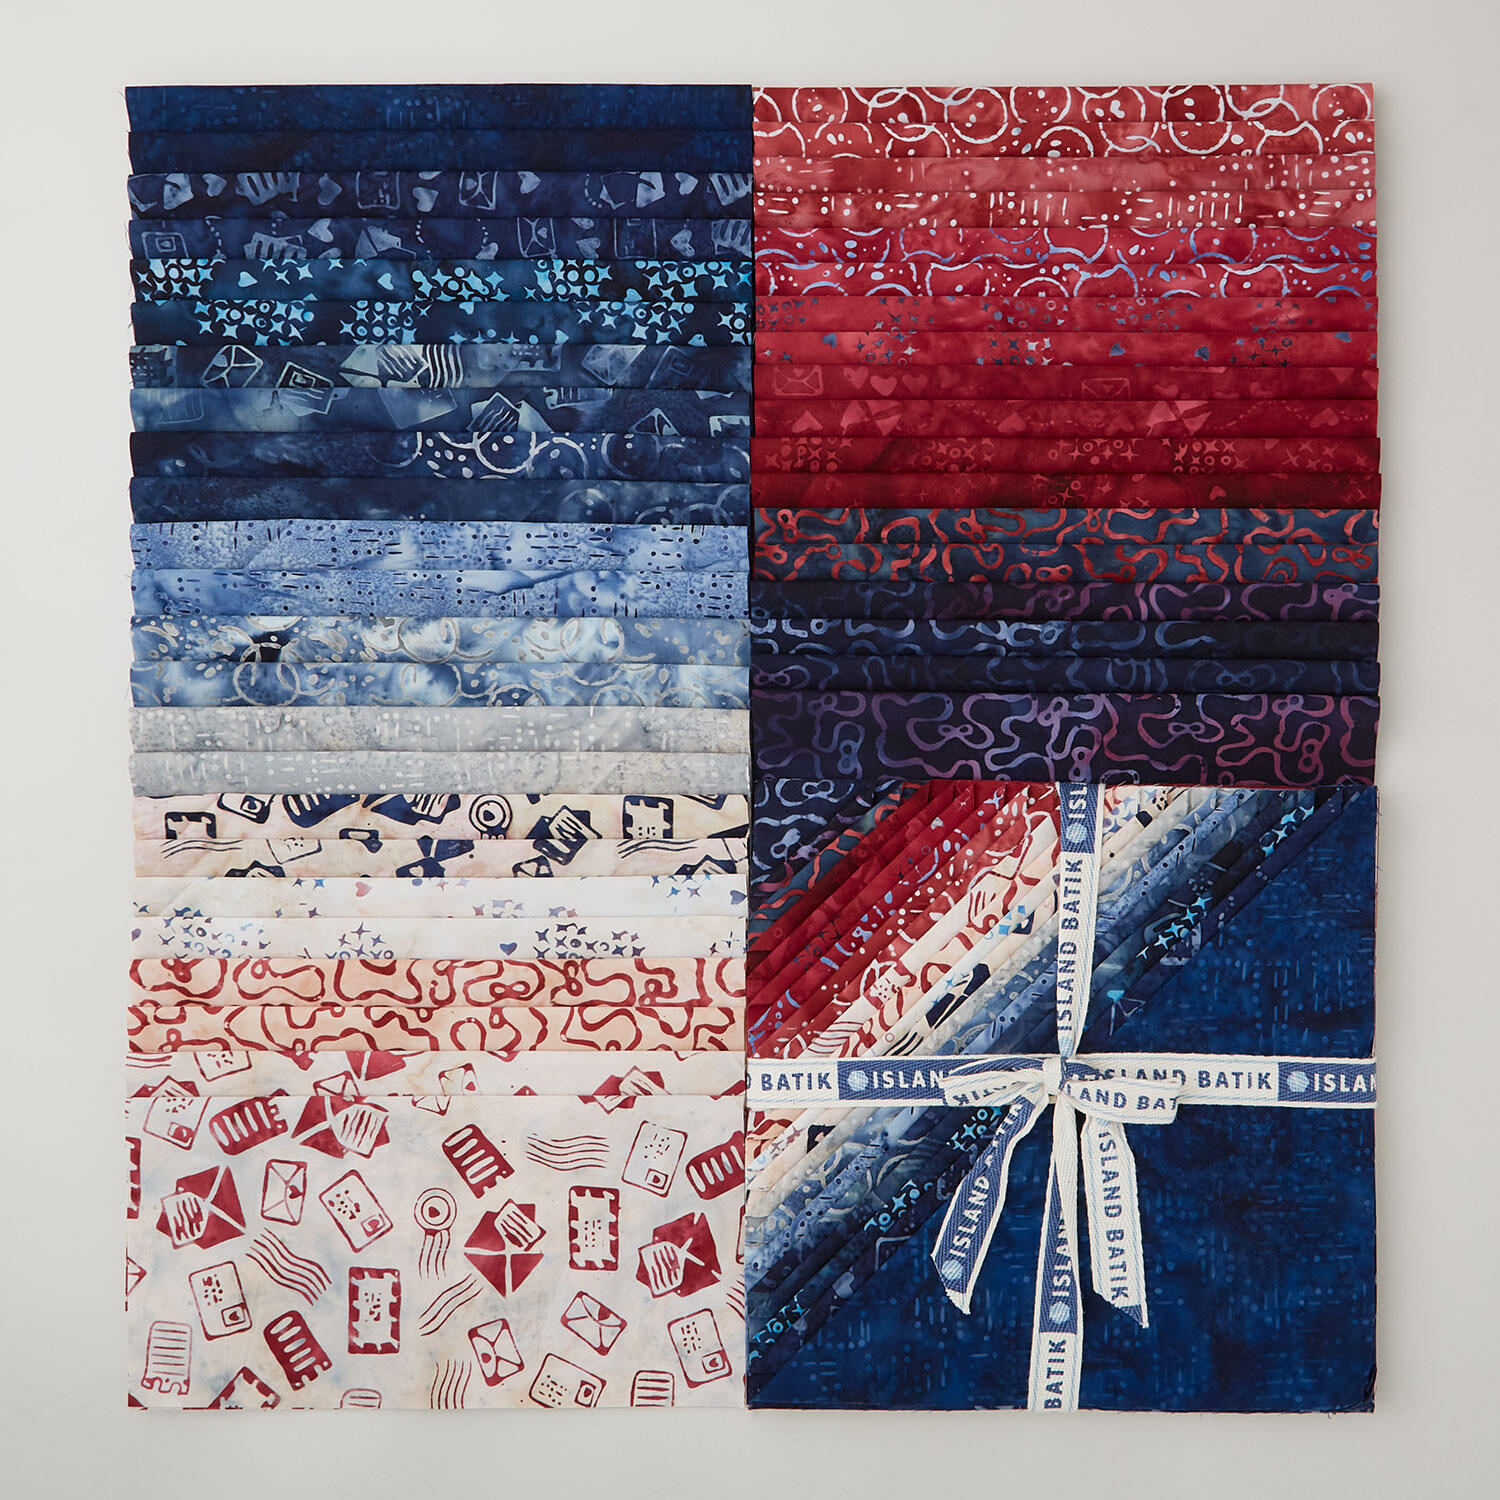 Missing You Batiks Stacks$42.25Shop →
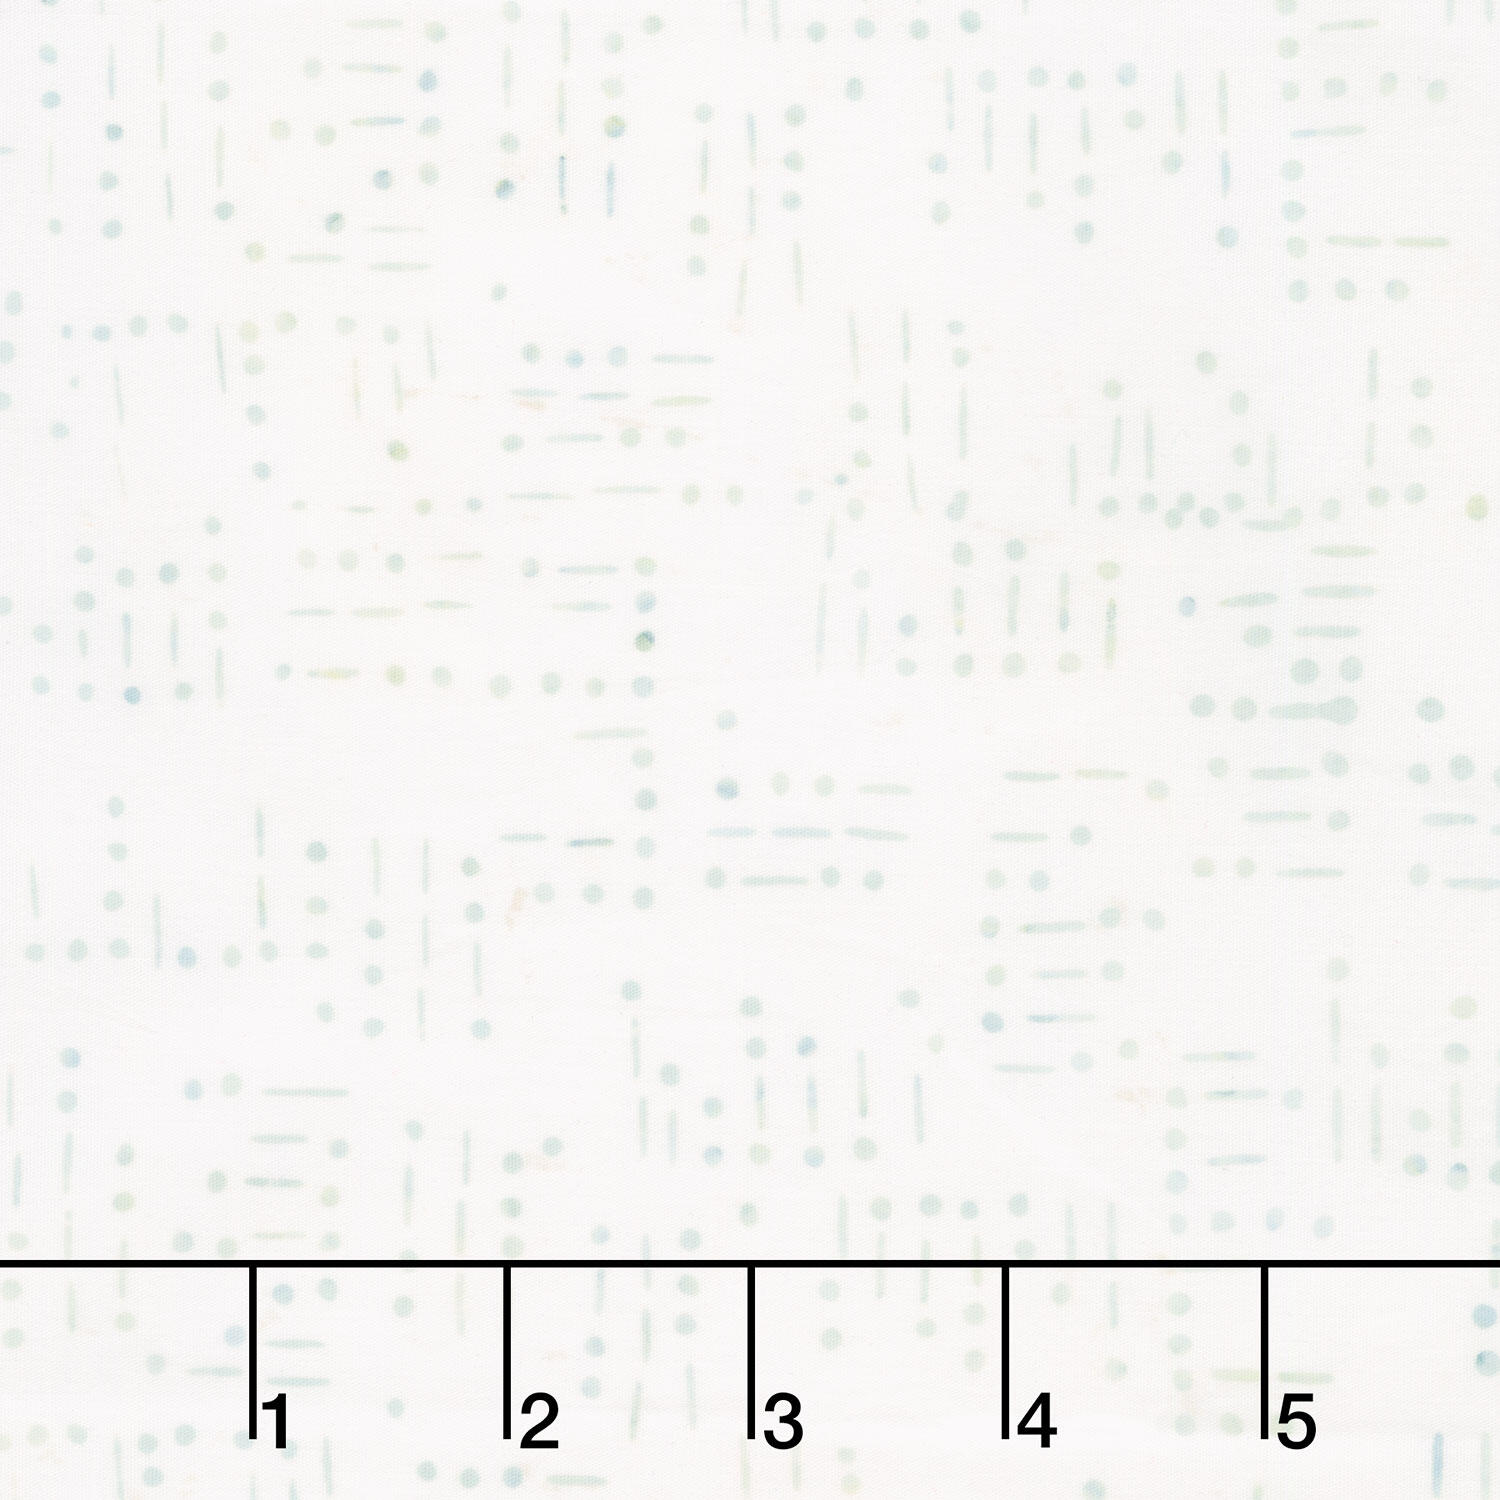 Missing You Batiks - Morse Code Words White Yardage$11.92Shop →
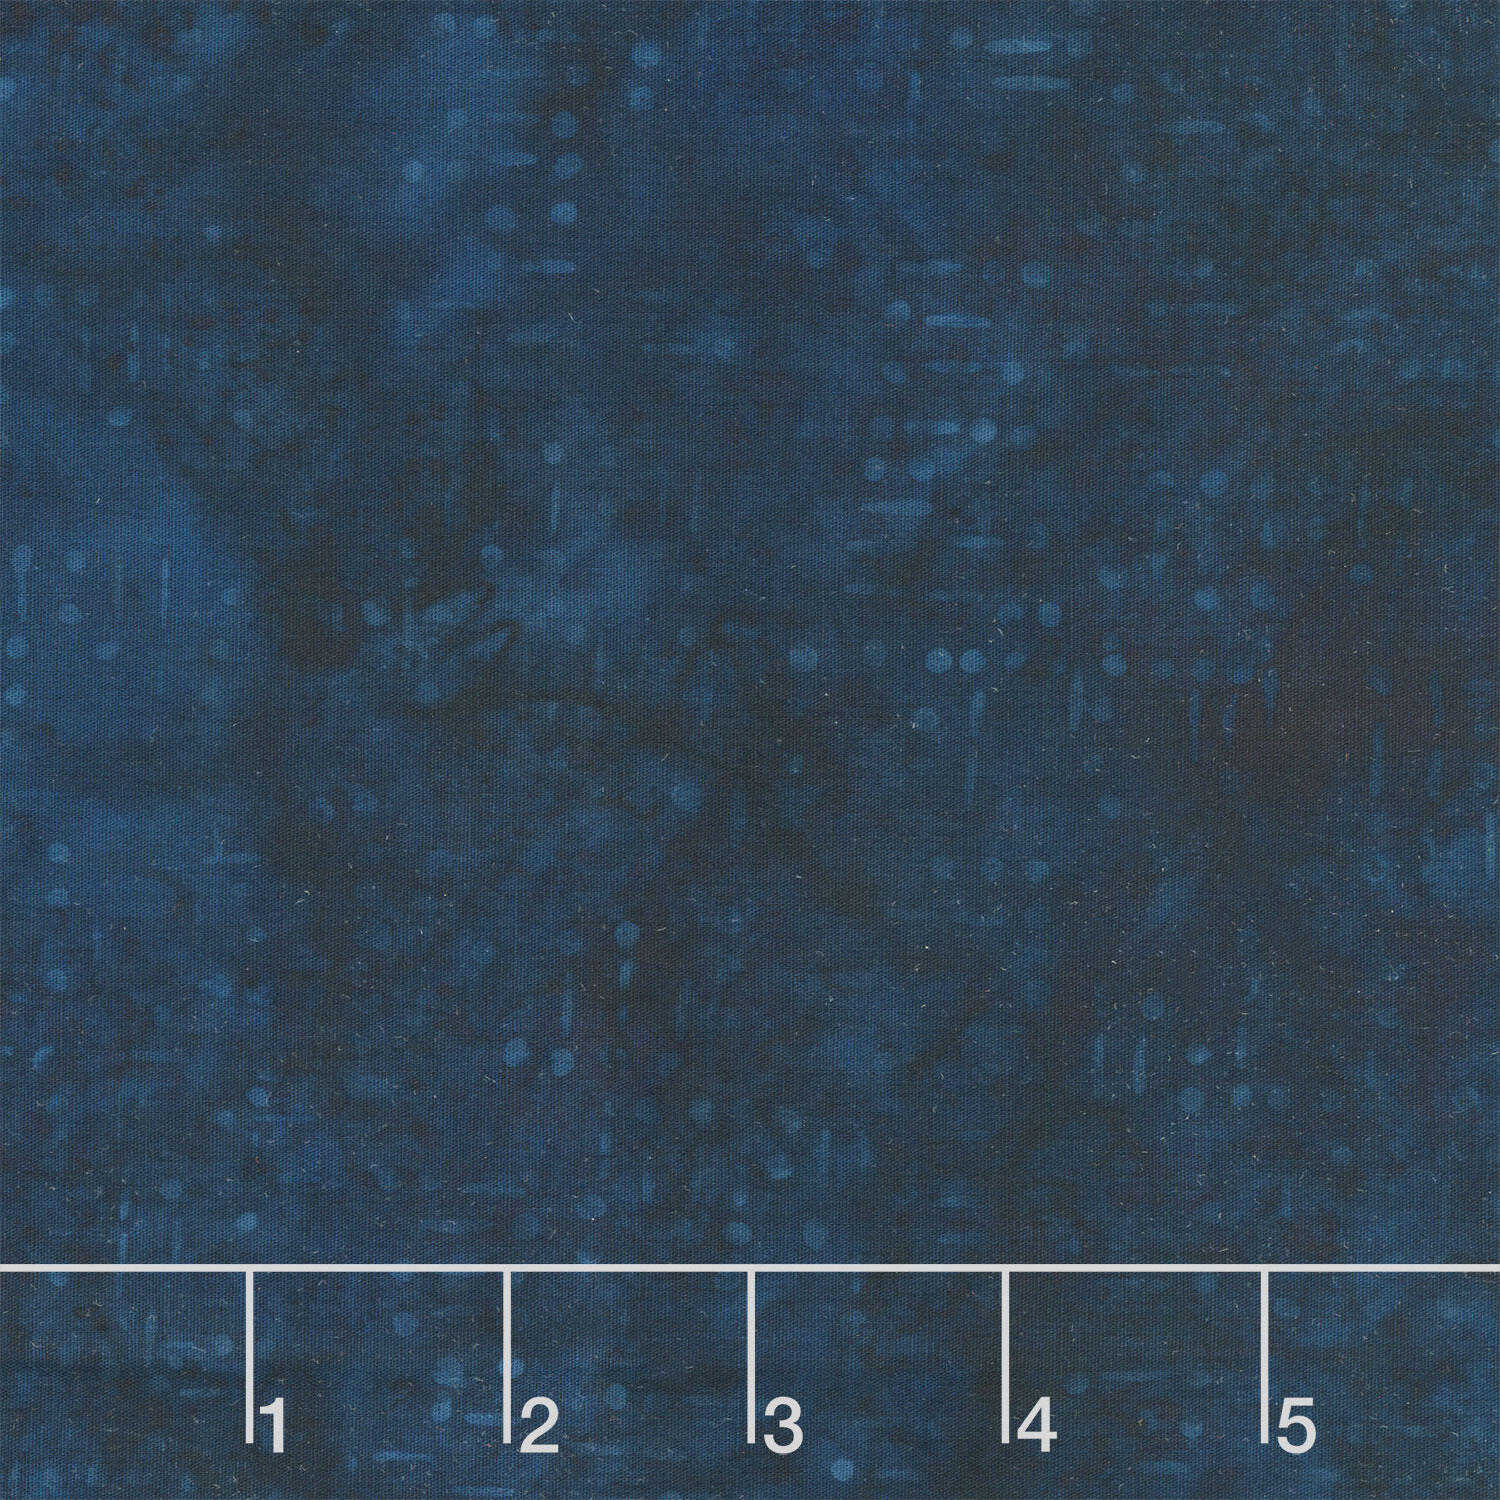 Missing You Batiks - Morse Code Words Blue Storm Yardage$11.92Shop →
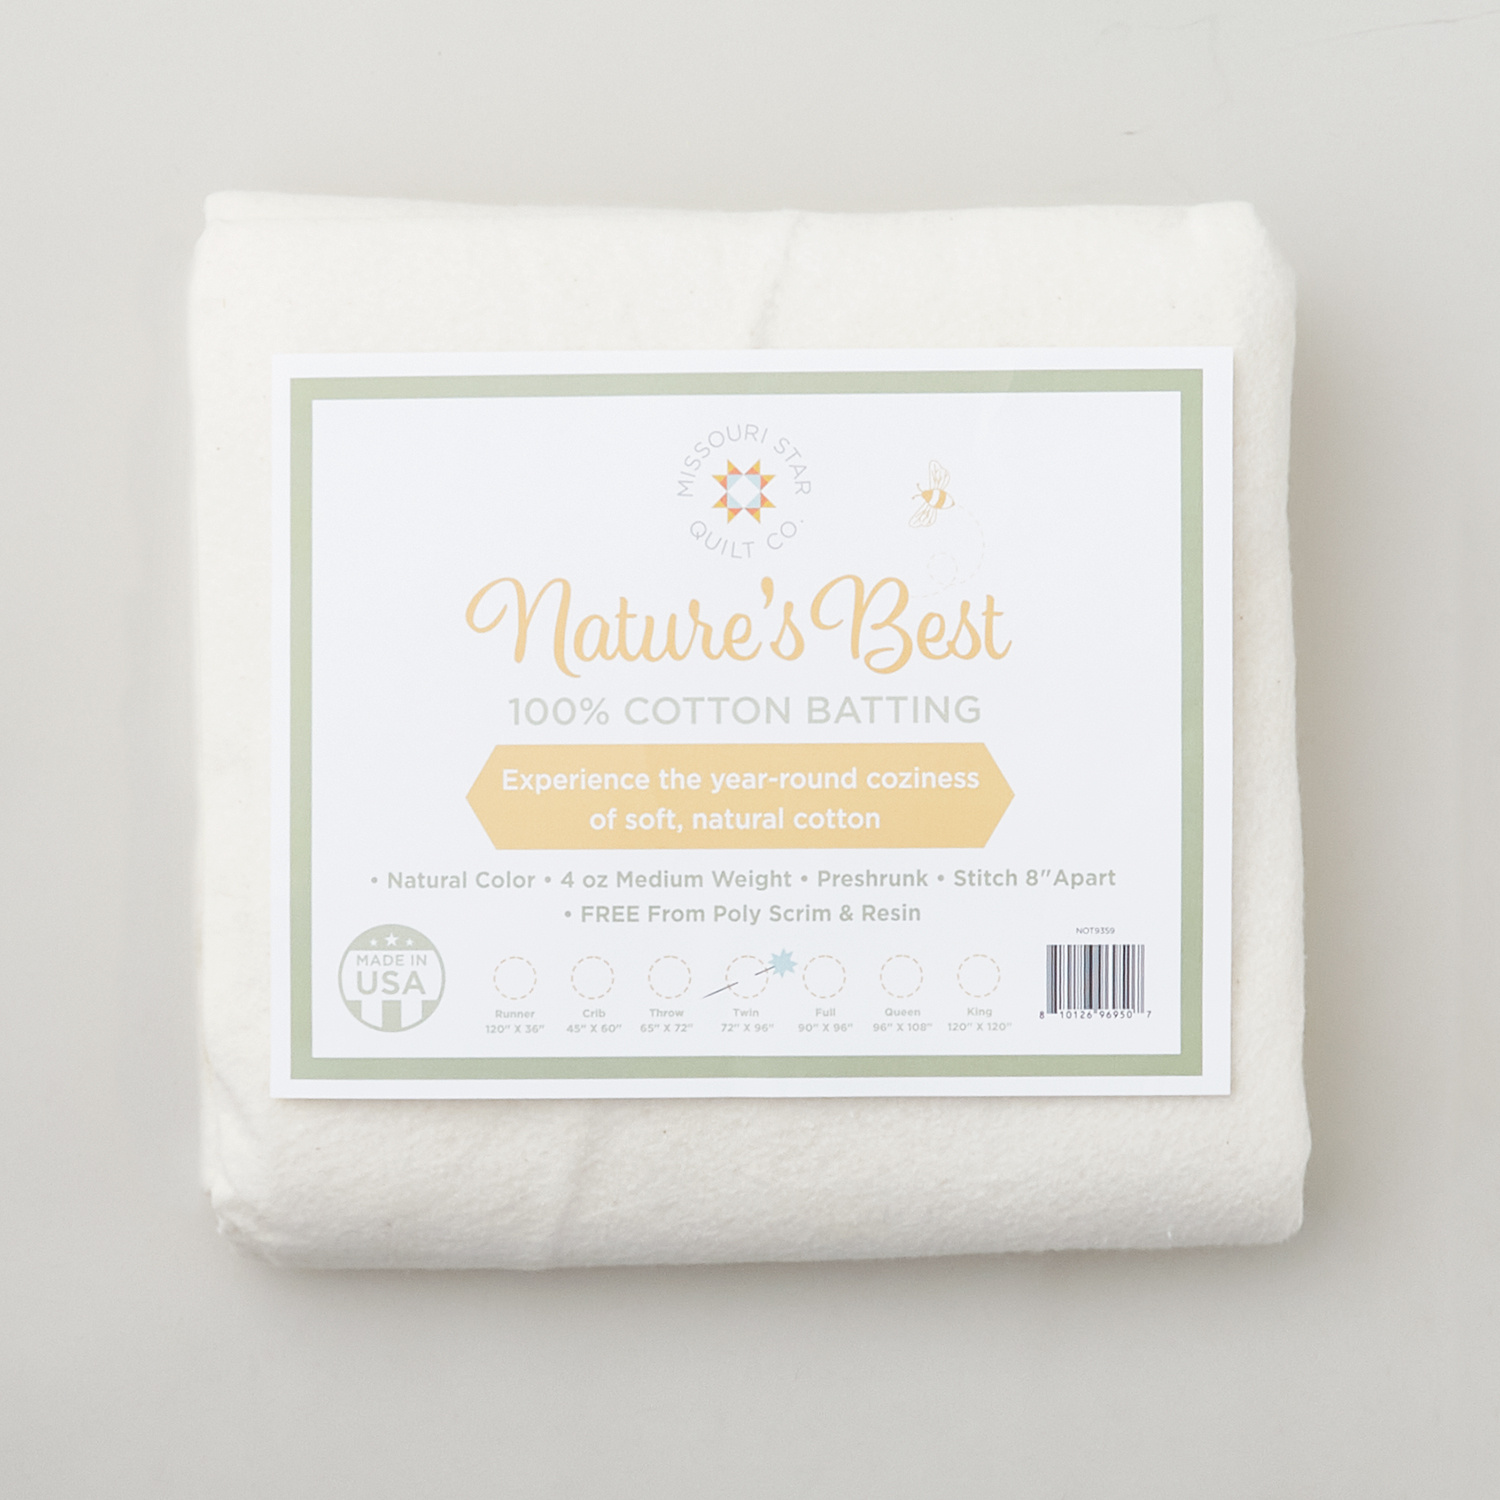 Missouri Star Nature's Best 100% Cotton Twin Batting - Natural$29.95Shop →
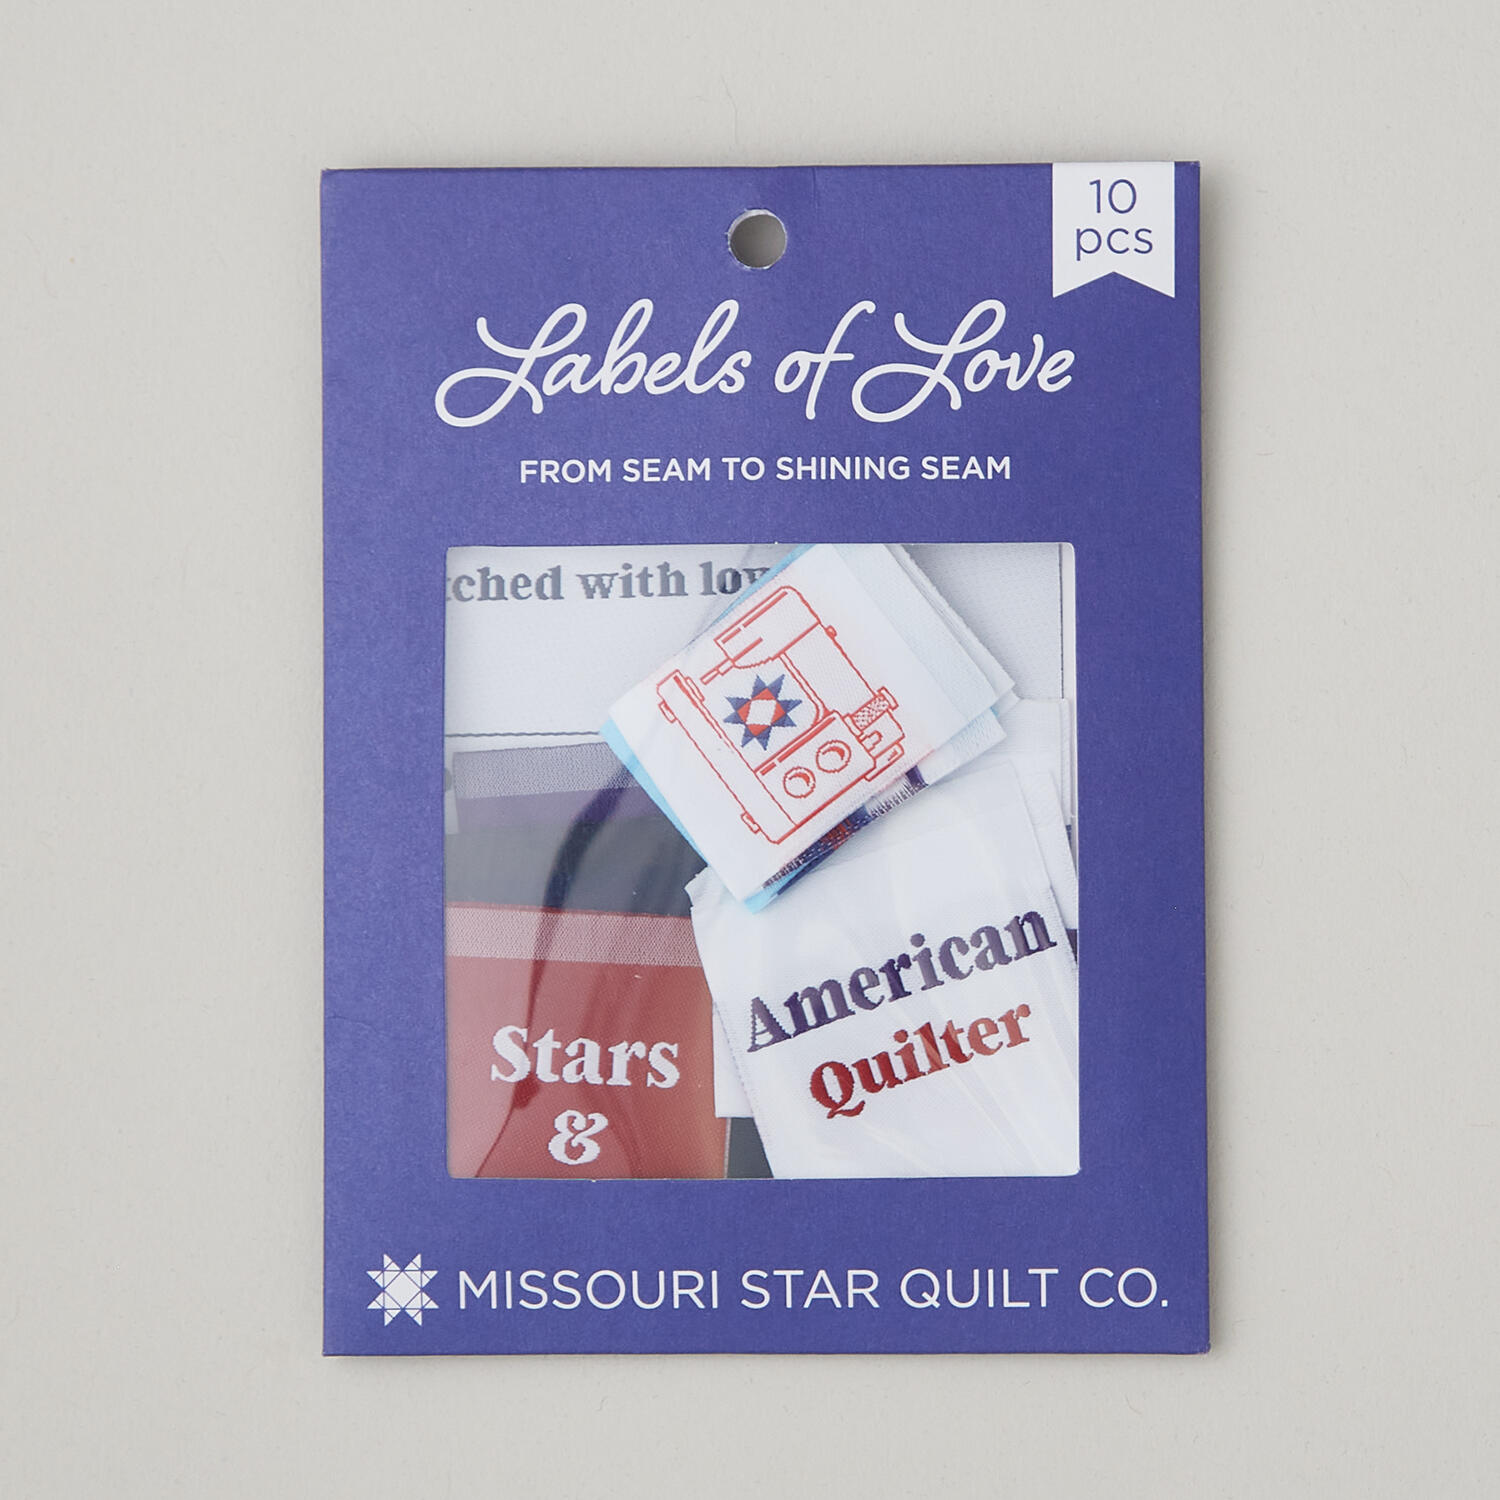 Missouri Star Labels of Love: From Seam to Shining Seam$9.95Shop →
 Missouri Star 5" x 15" Ruler$19.95Shop →
 Missouri Star 2.5" x 8" Ruler$11.95Shop →
 Missouri Star 45mm Rotary Cutter - Olga$19.95Shop →
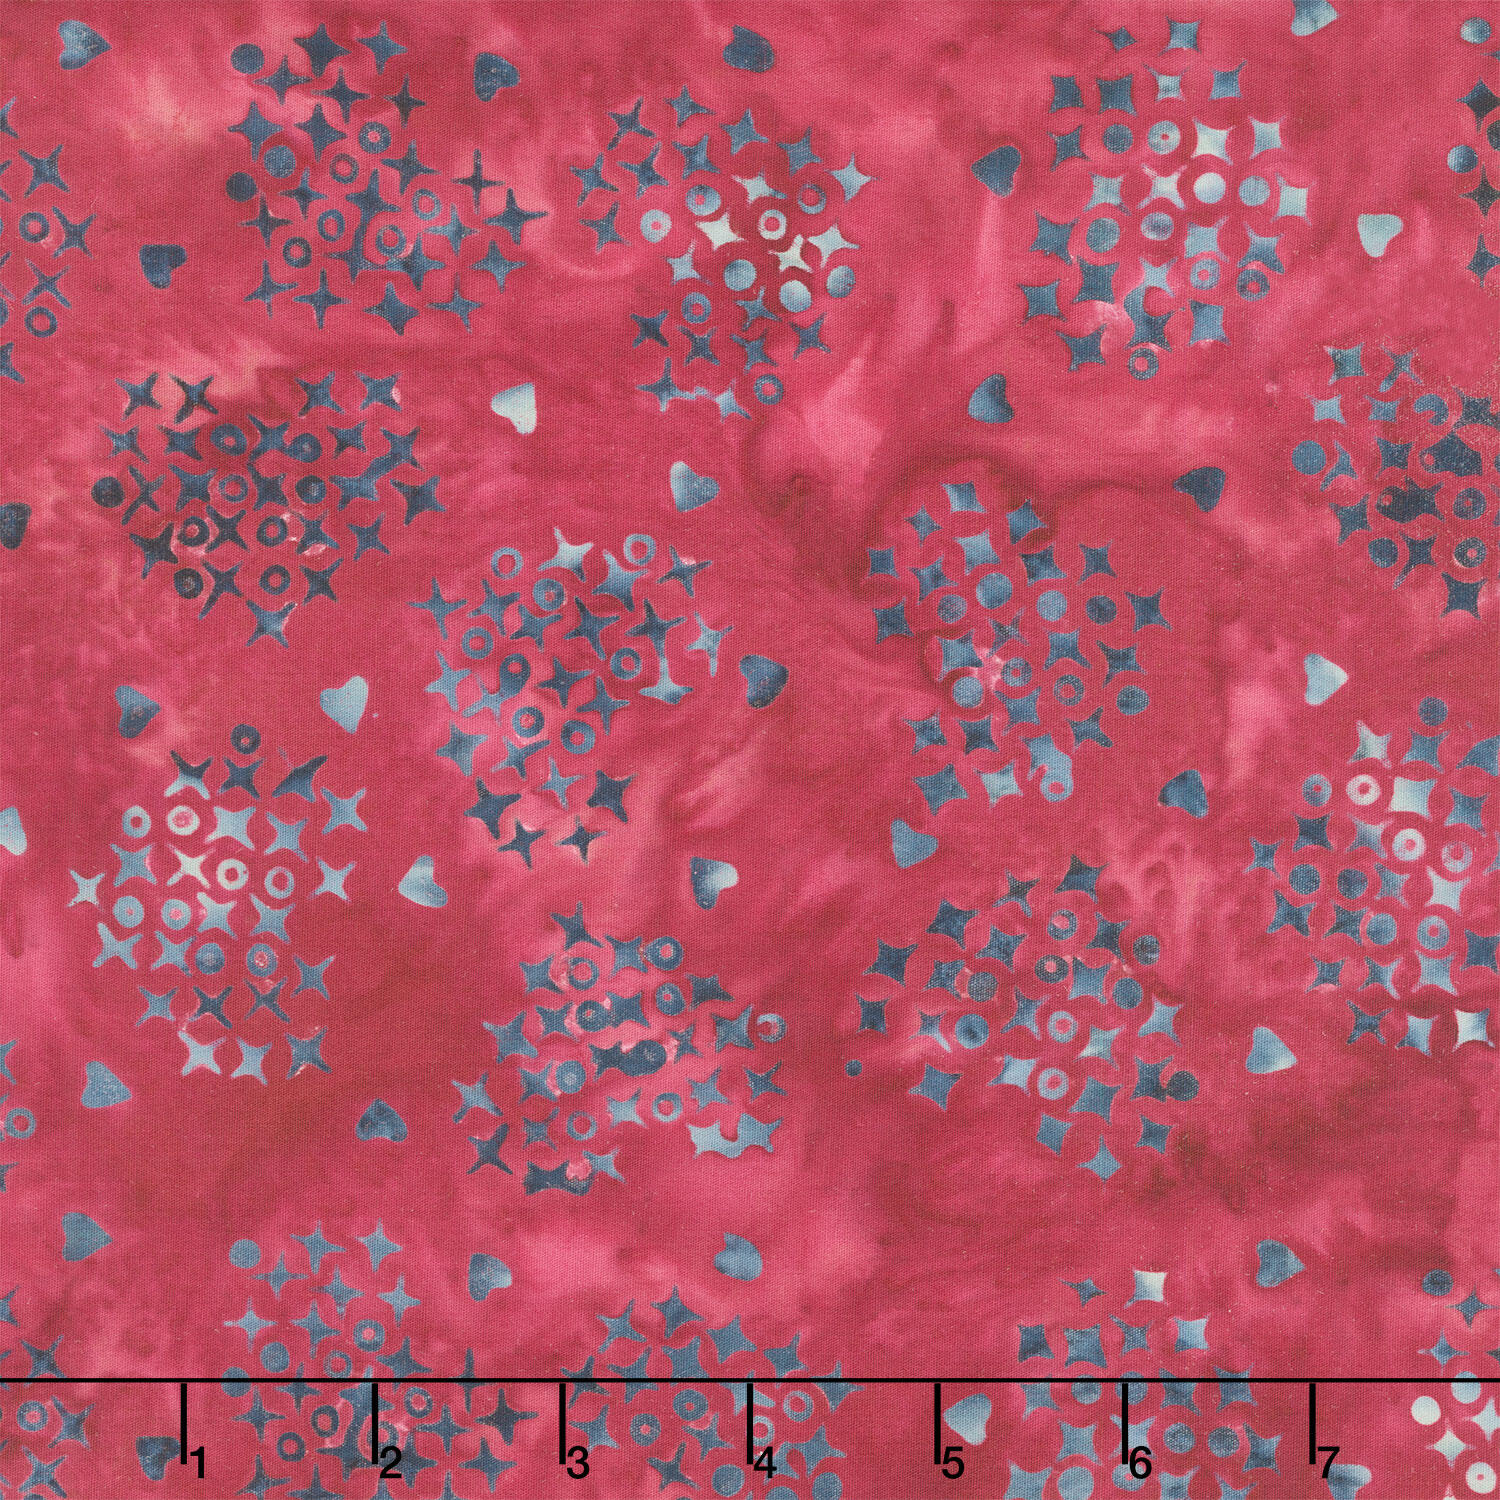 Missing You Batiks - Cross Stitch Hearts Pink Pomegranate Yardage$11.92Shop →
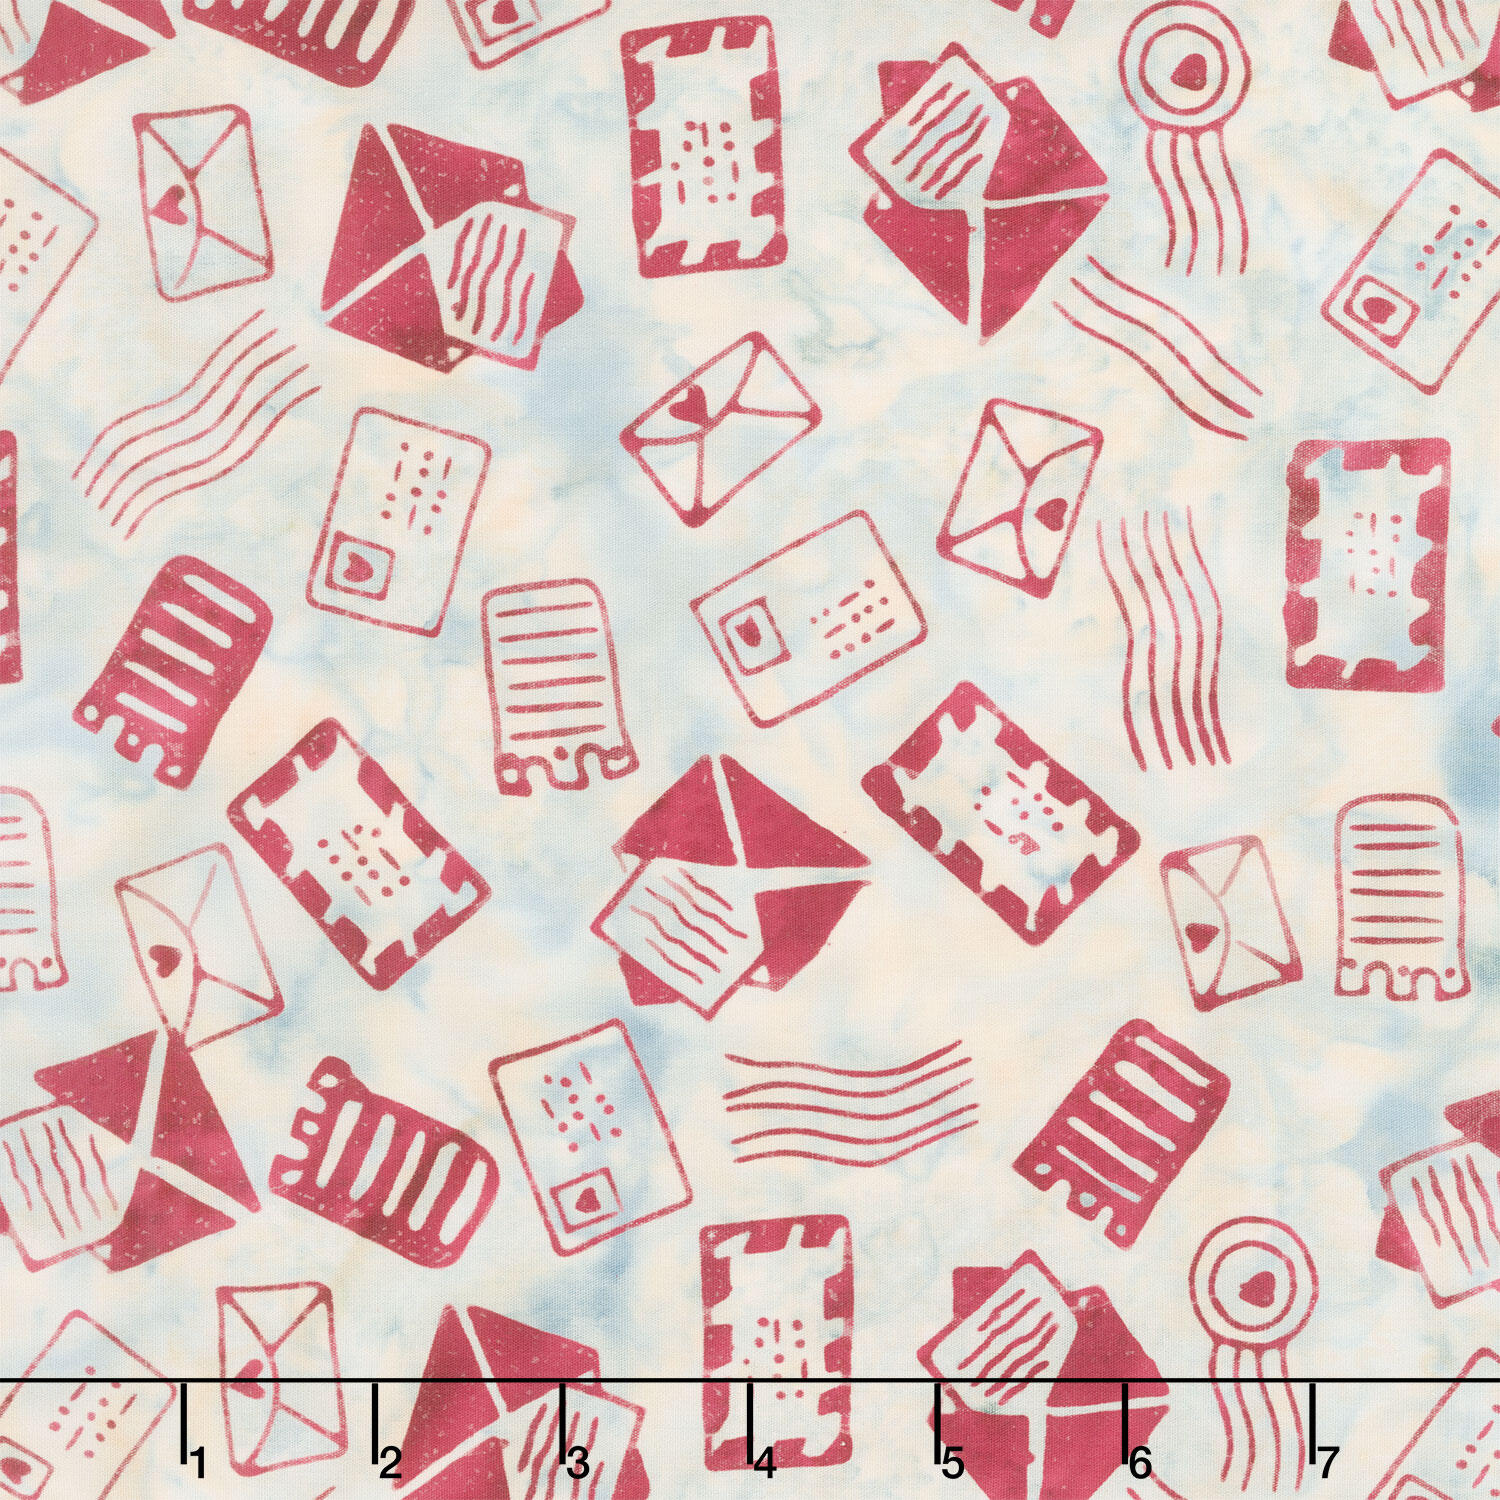 Missing You Batiks - Mail Multi White Blue Sky Yardage$11.92Shop →



