Skip to content

Free quilting video tutorials from Missouri Star

Quilting Tutorials
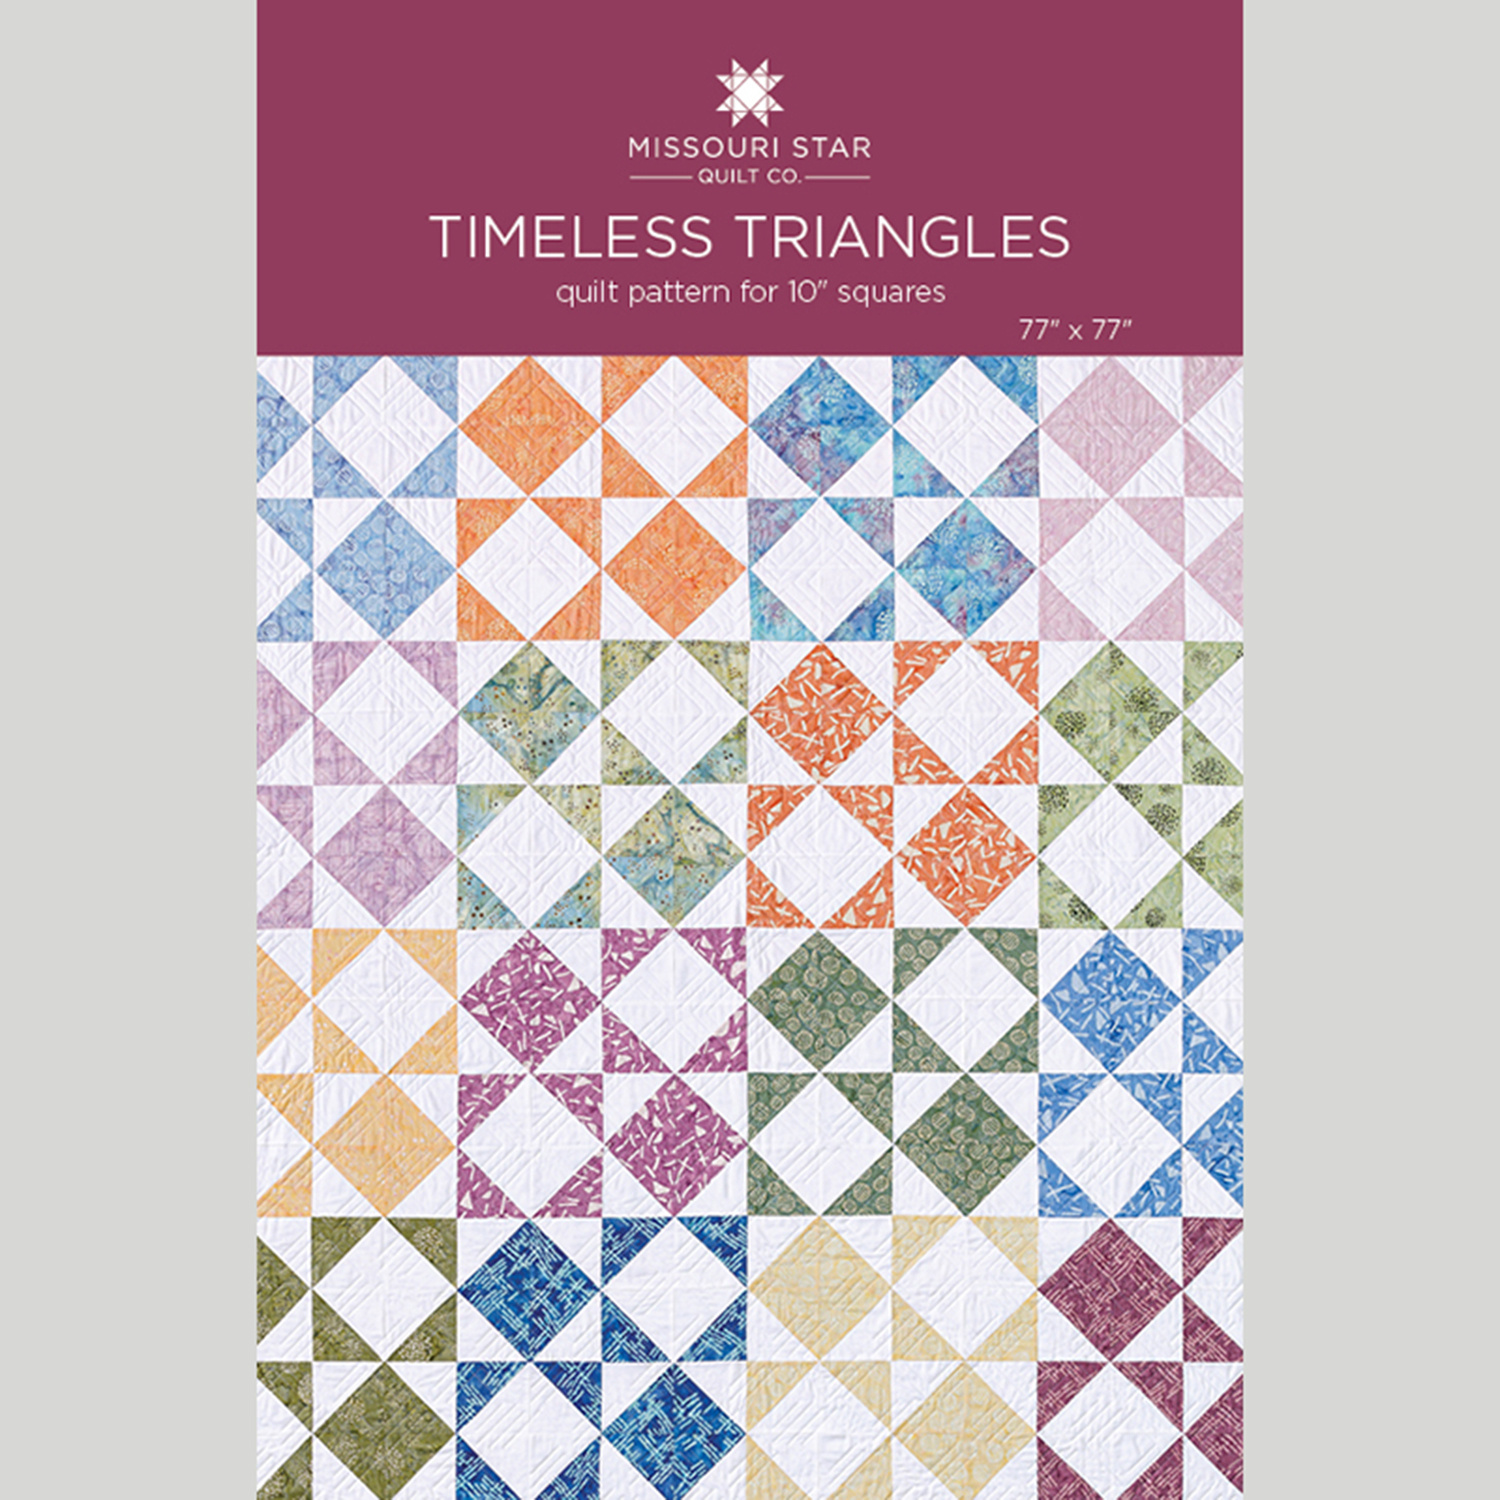
Timeless Triangles Quilt

Timeless Triangles Quilt

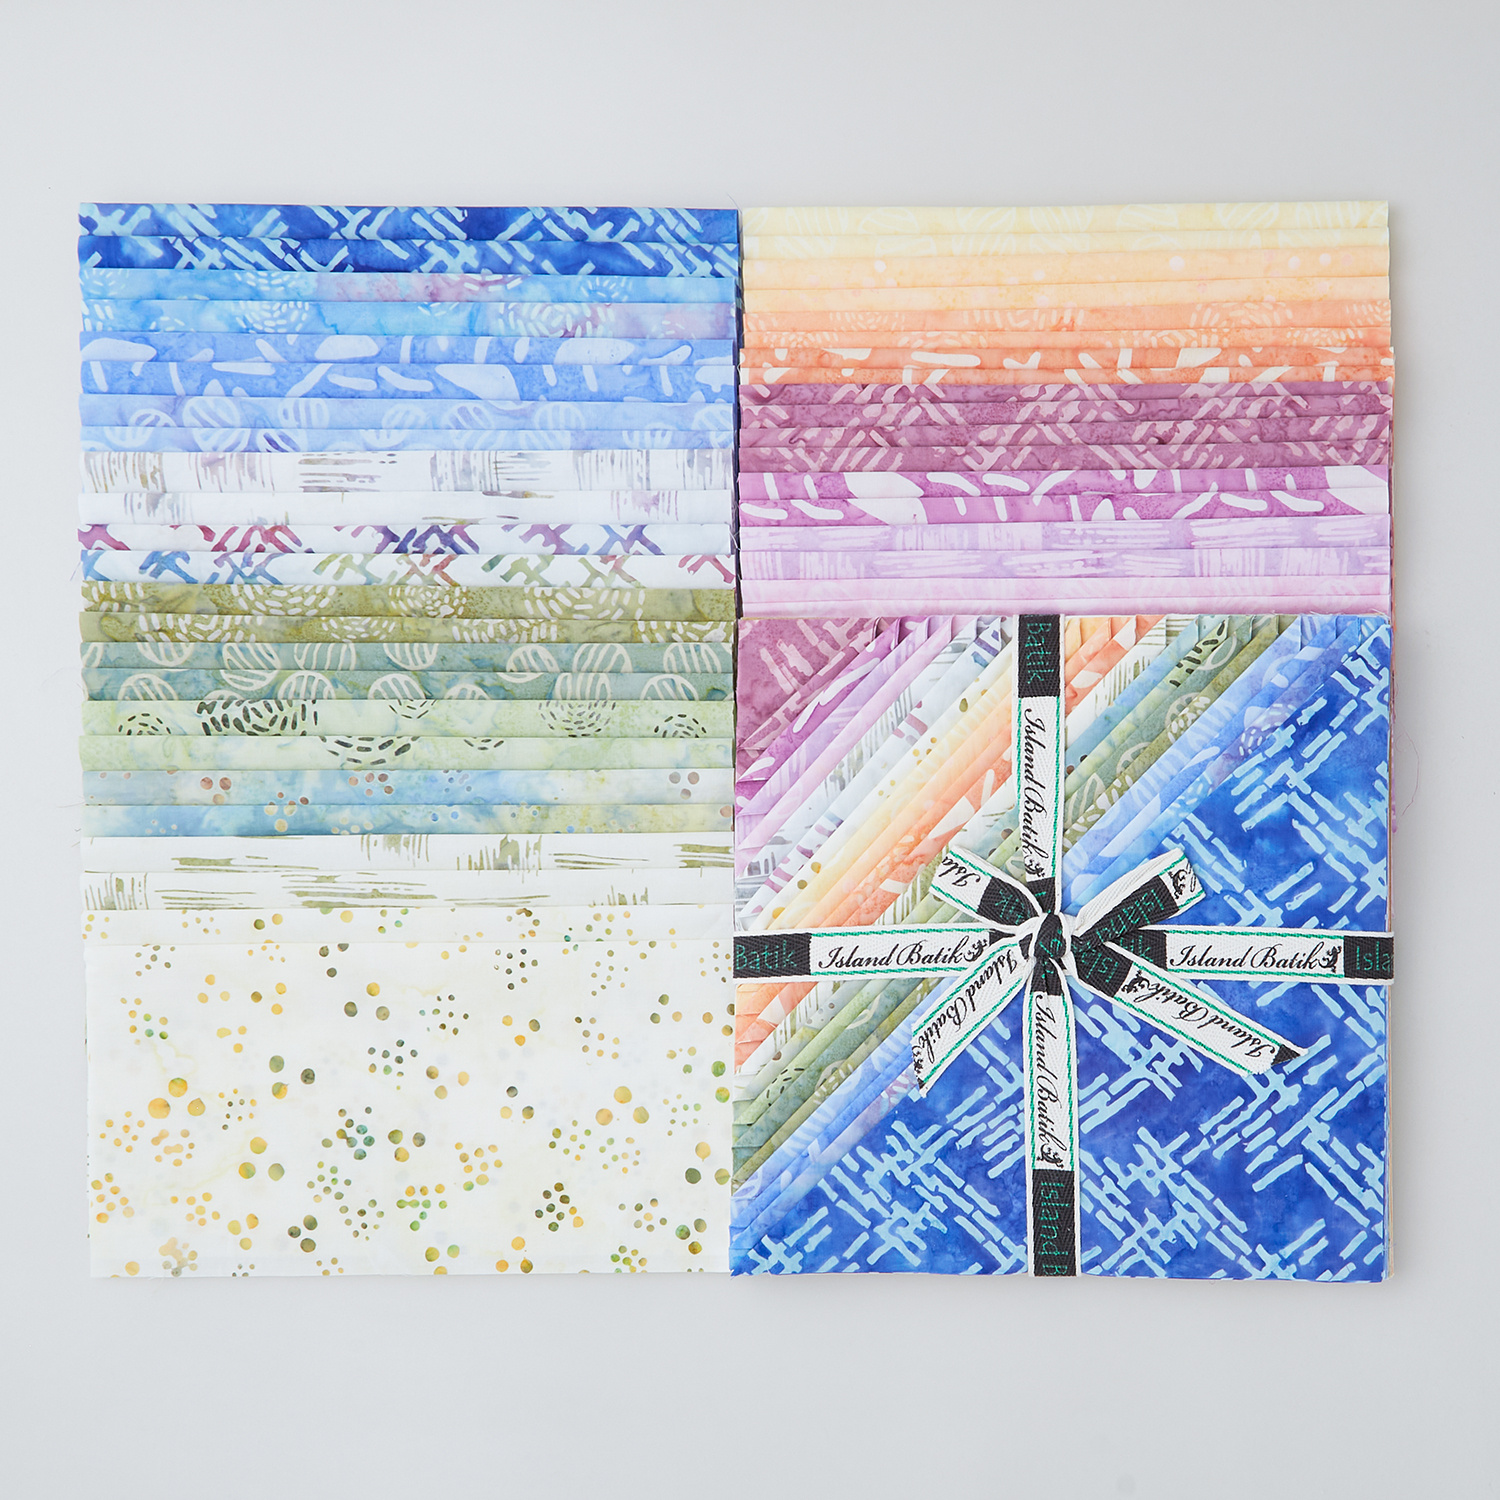
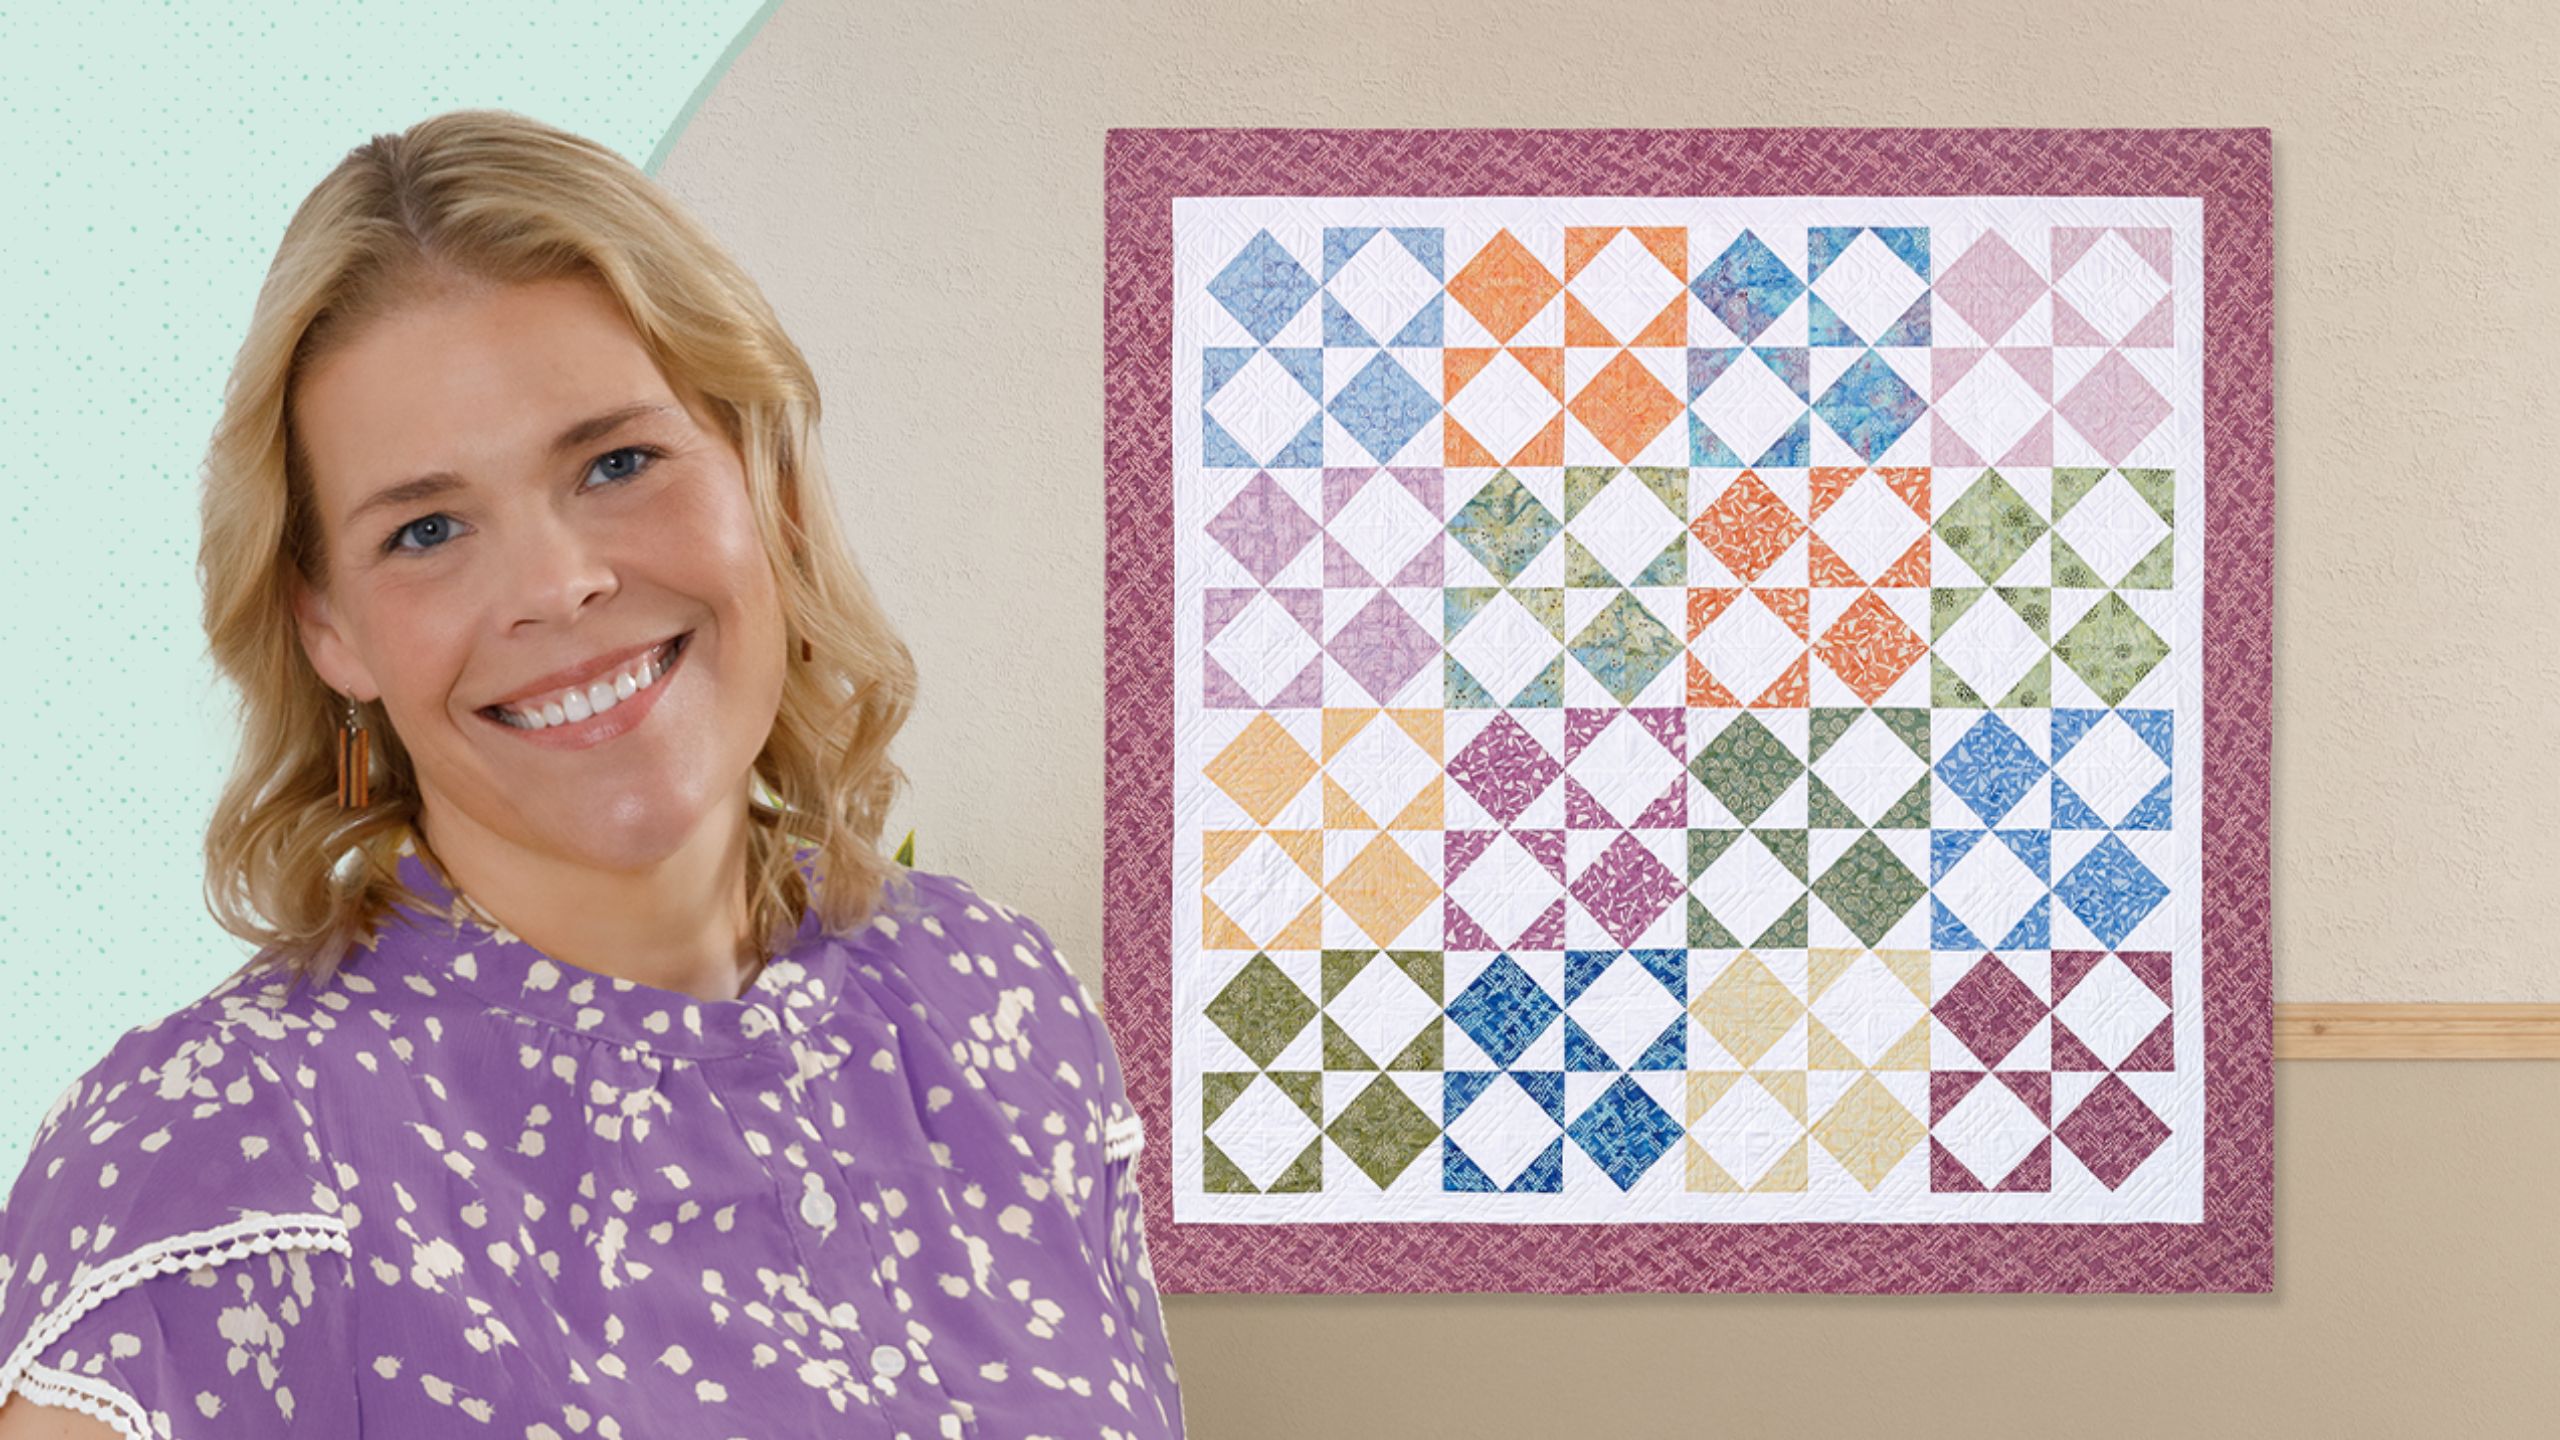
Ah, the half-square triangle. The simplest of superstars. The building block of beautiful quilts. Master this one-seam wonder, and you can make…anything! This week, Natalie is sewing half-square triangles—EIGHT at a time—with layer cake squares from Tranquil Moments Batiks by Island Batik. Those pretty pastels + a fresh layout make the Timeless Triangles quilt a perfect choice for your springtime sewing!

Instructor

Natalie Doan

Natalie is the host of Quilting 101, Embroidery 101 and the Creative Strategist and Editor of Block Magazine at Missouri Star Quilt Company. She was taught how to sew by her mom, of course, and began quilting when she grew up.

Common Questions

What is covered in Timeless Triangles Quilt?

Ah, the half-square triangle. The simplest of superstars. The building block of beautiful quilts. Master this one-seam wonder, and you can make…anything! This week, Natalie is sewing half-square triangles—EIGHT at a time—with layer cake squares from Tranquil Moments Batiks by...

How long is the tutorial video?

The tutorial video is 00:16:32.

Are supplies listed for this tutorial?

Yes. The tutorial page includes the supplies and materials connected to this project.

Video Transcript

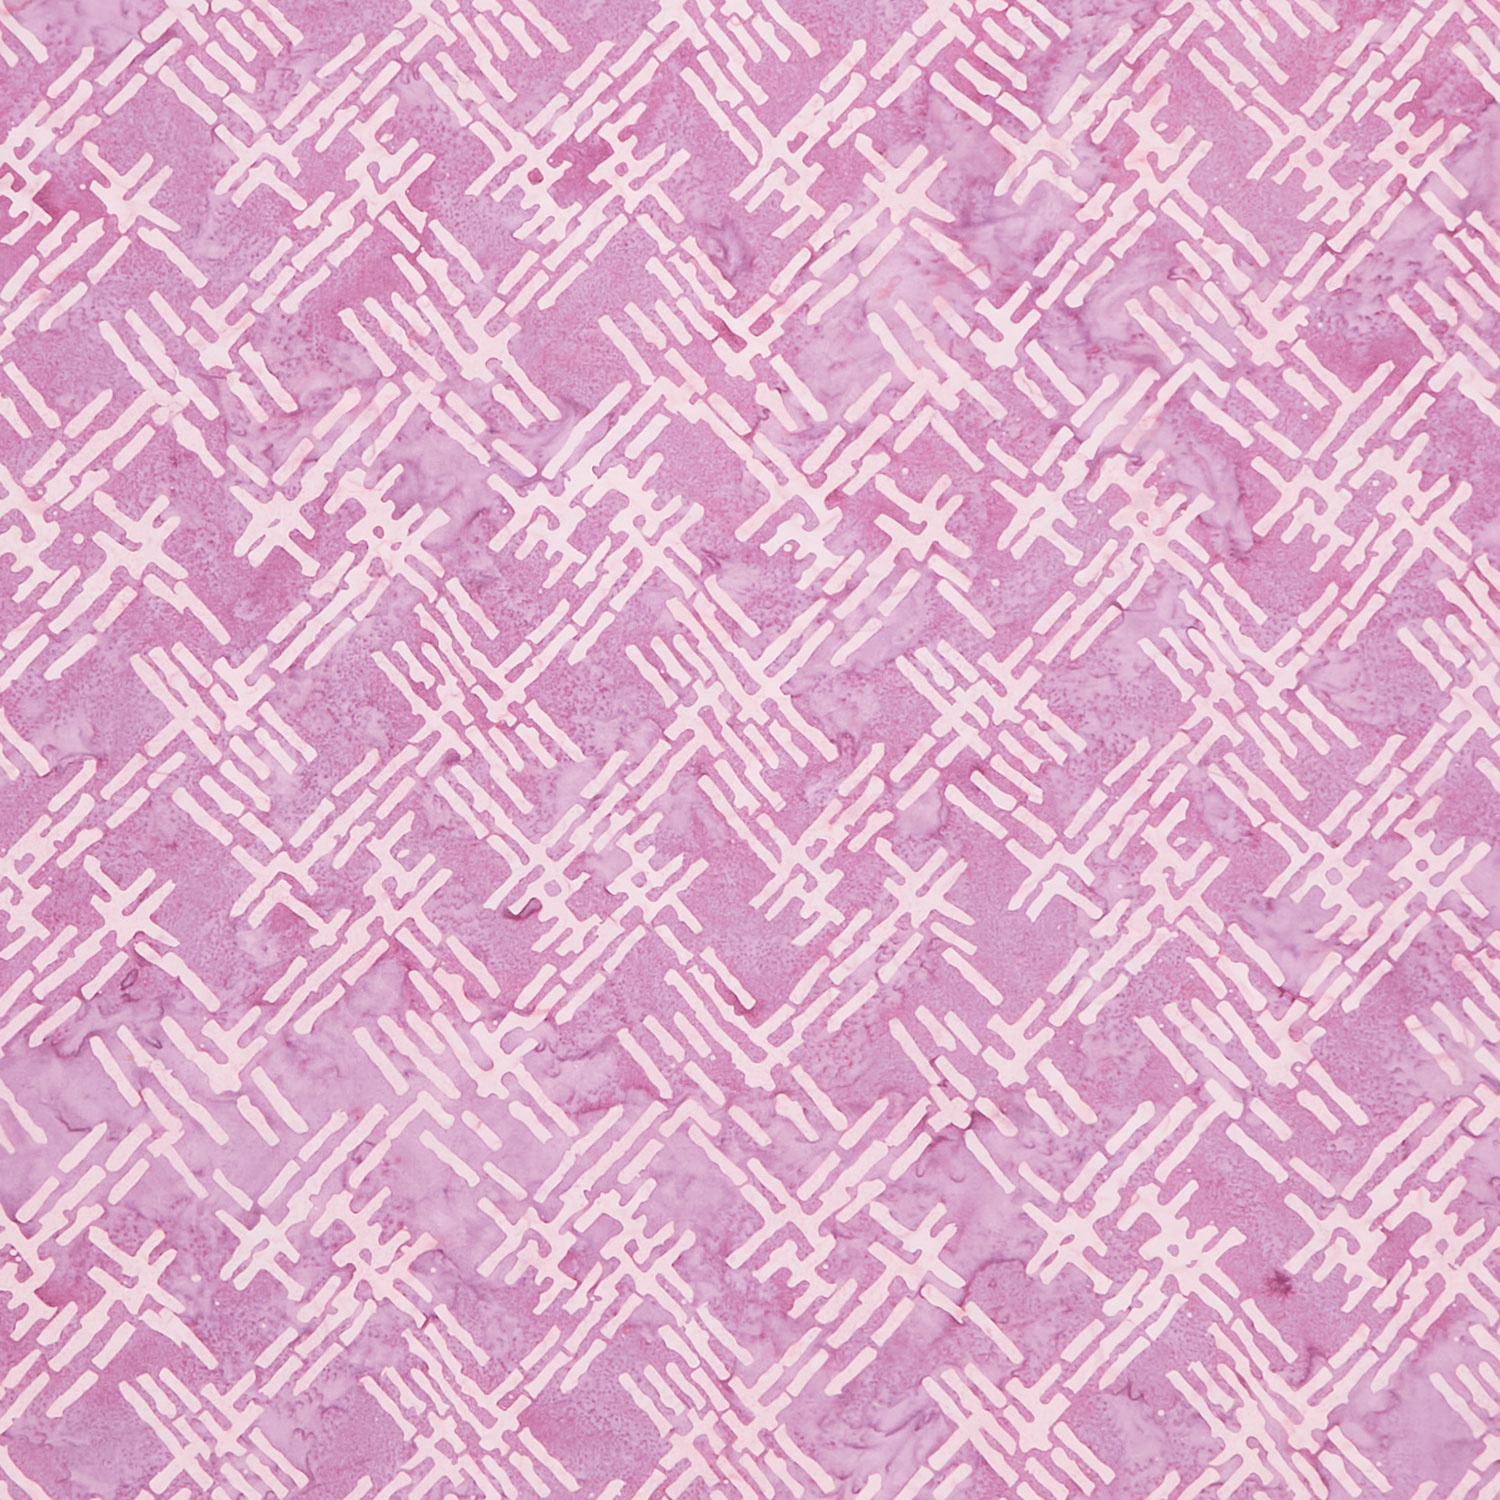
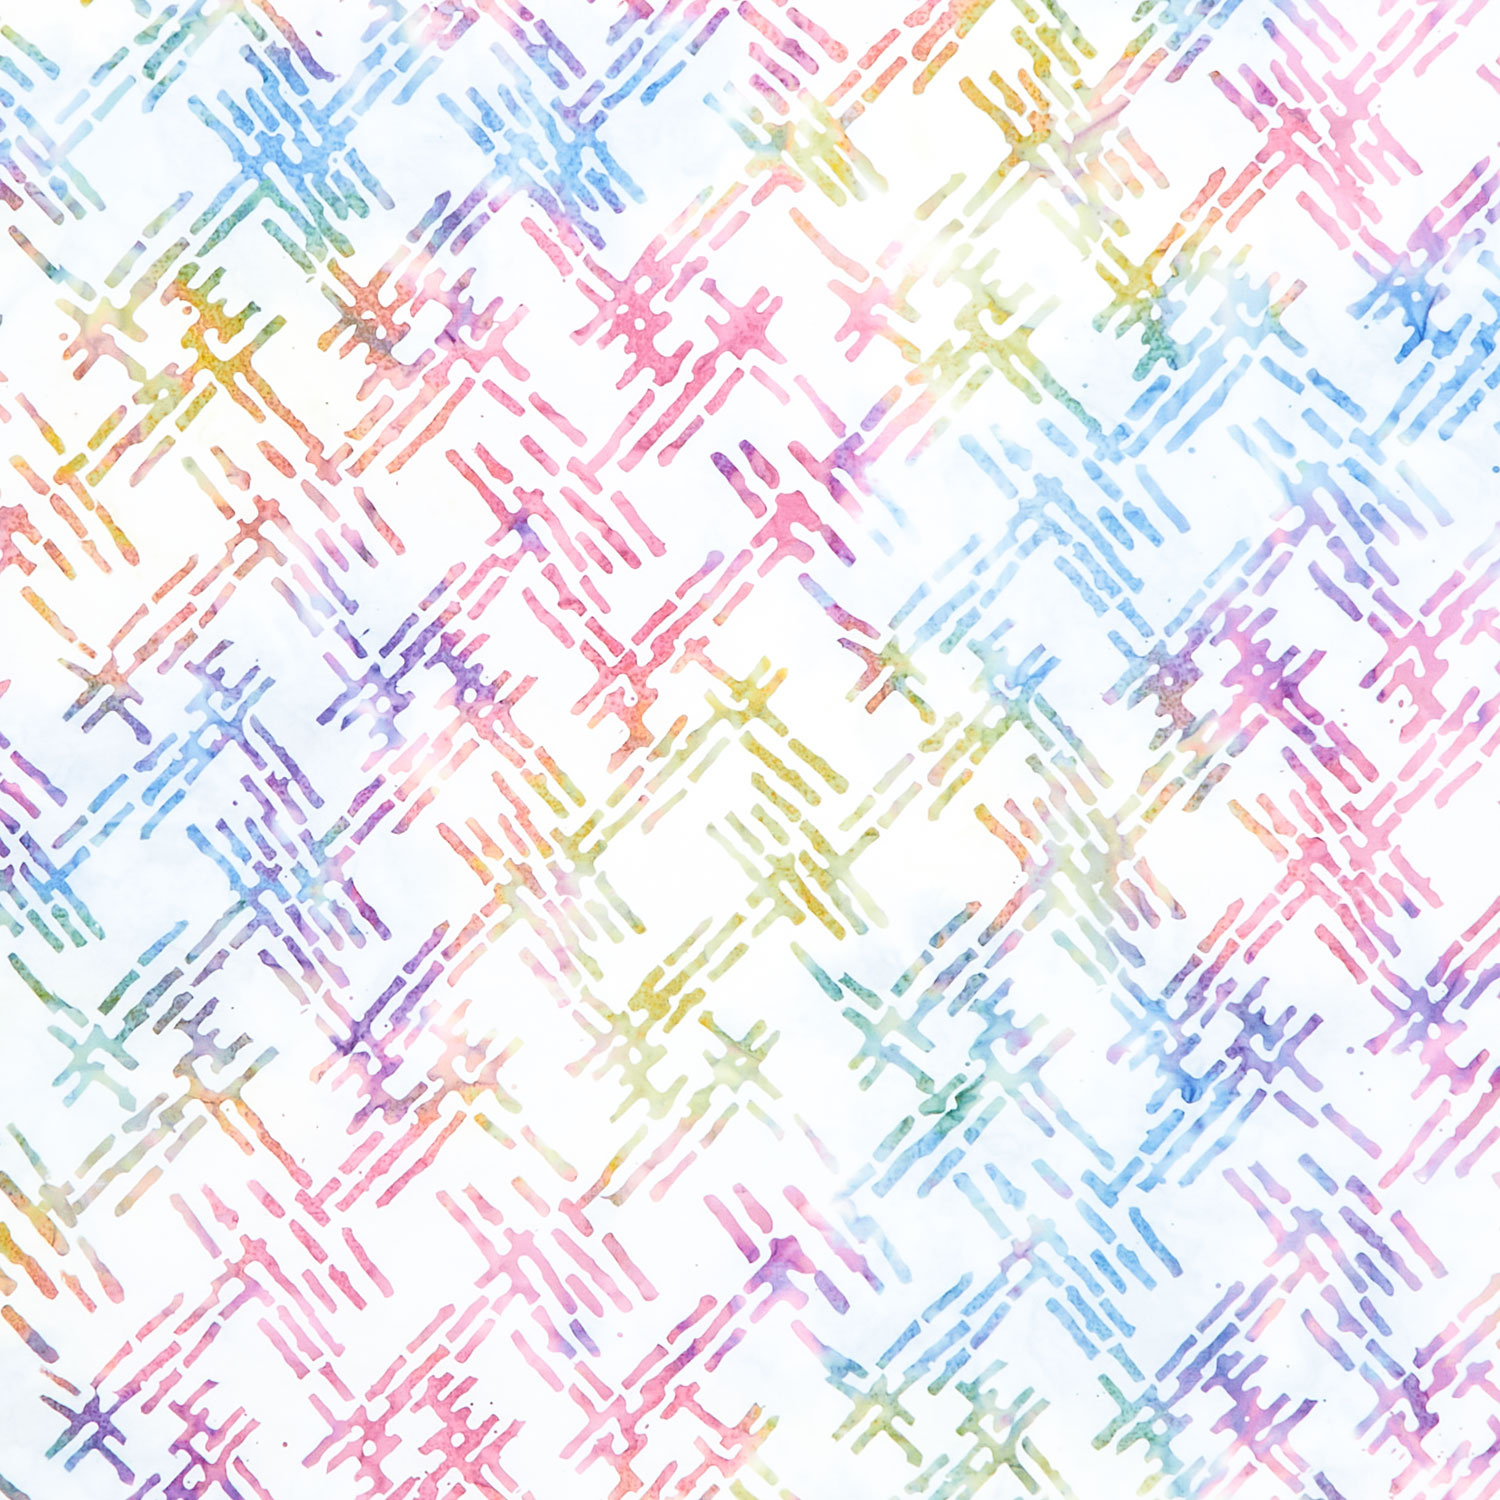
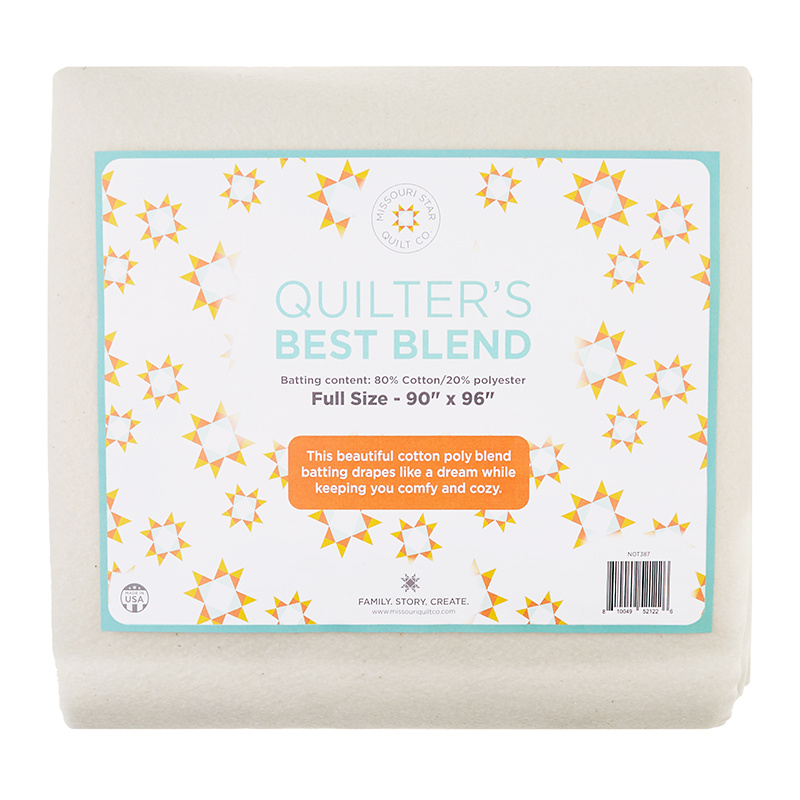
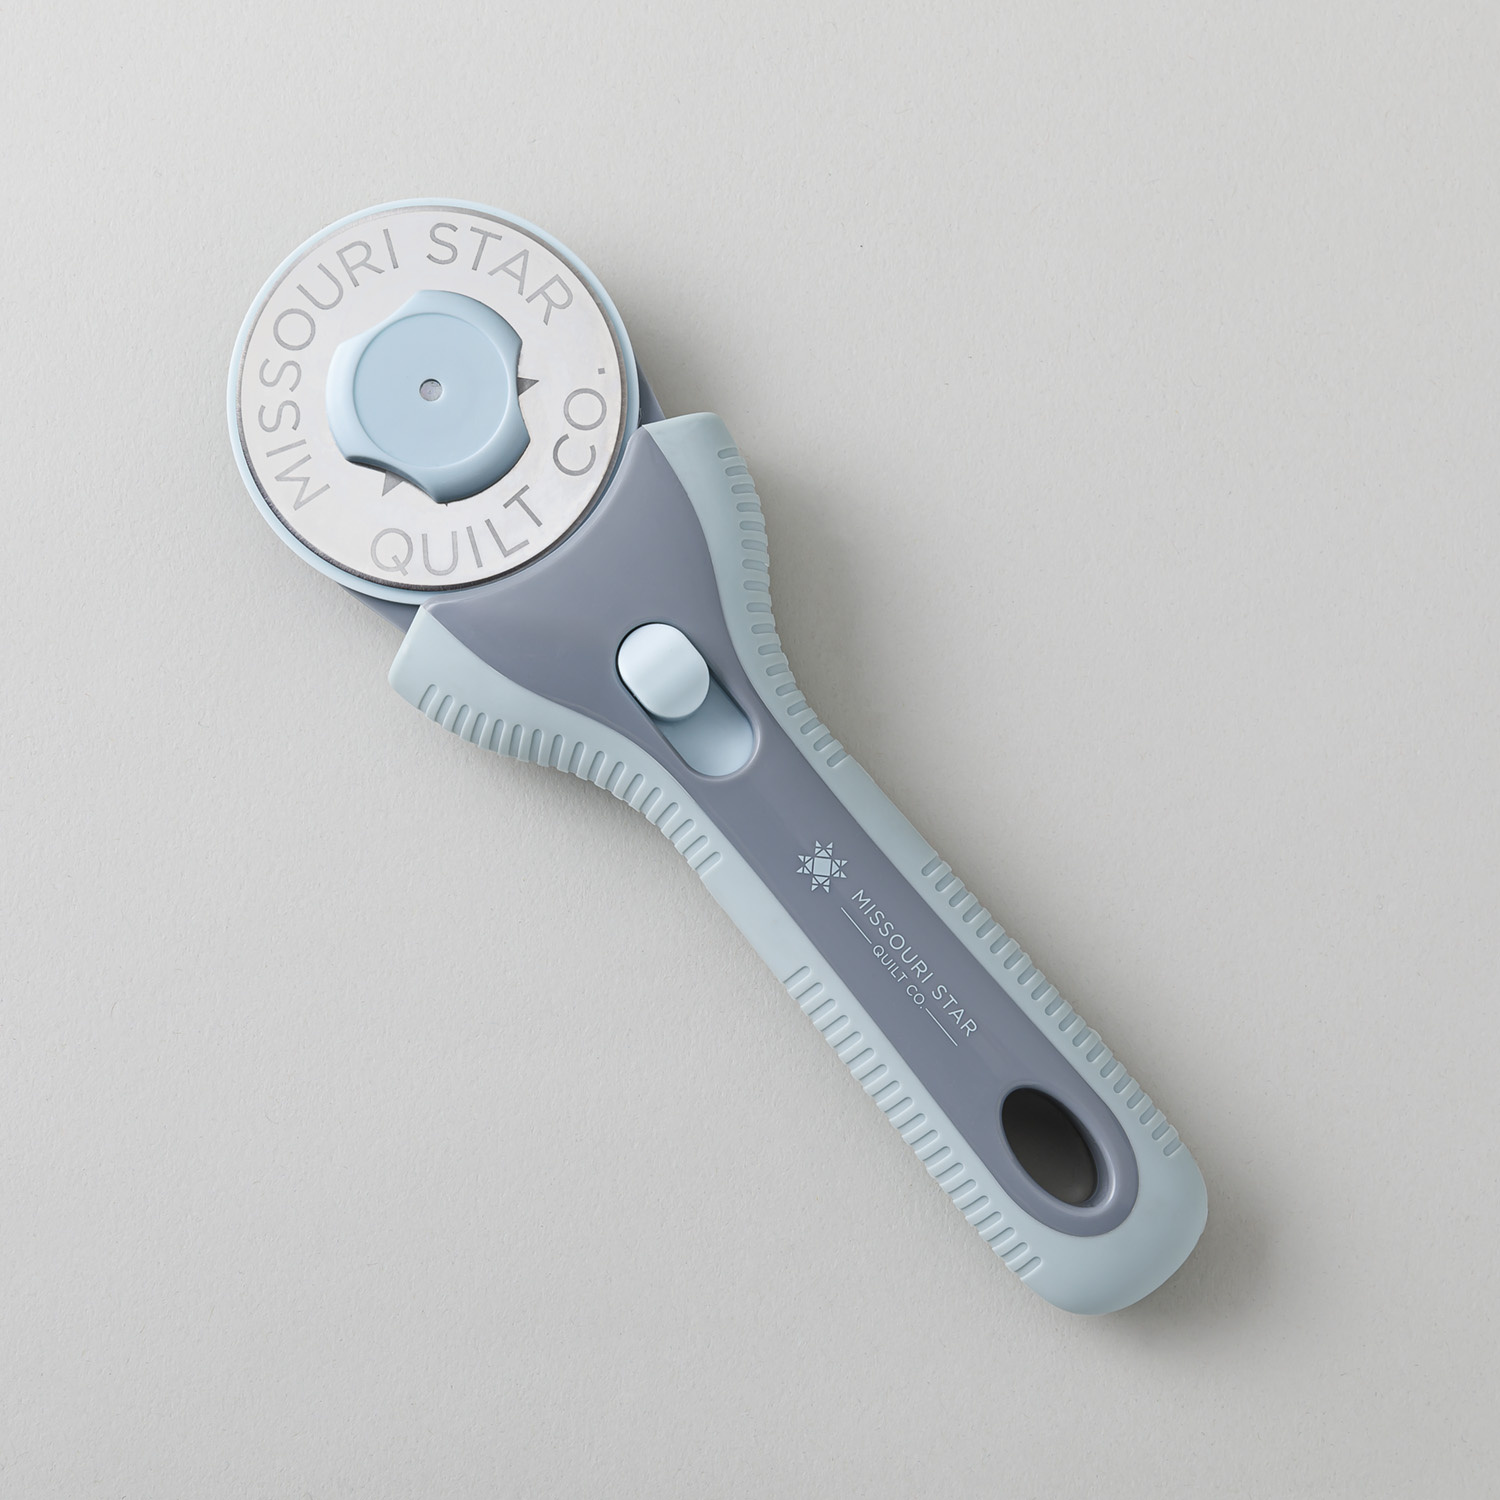
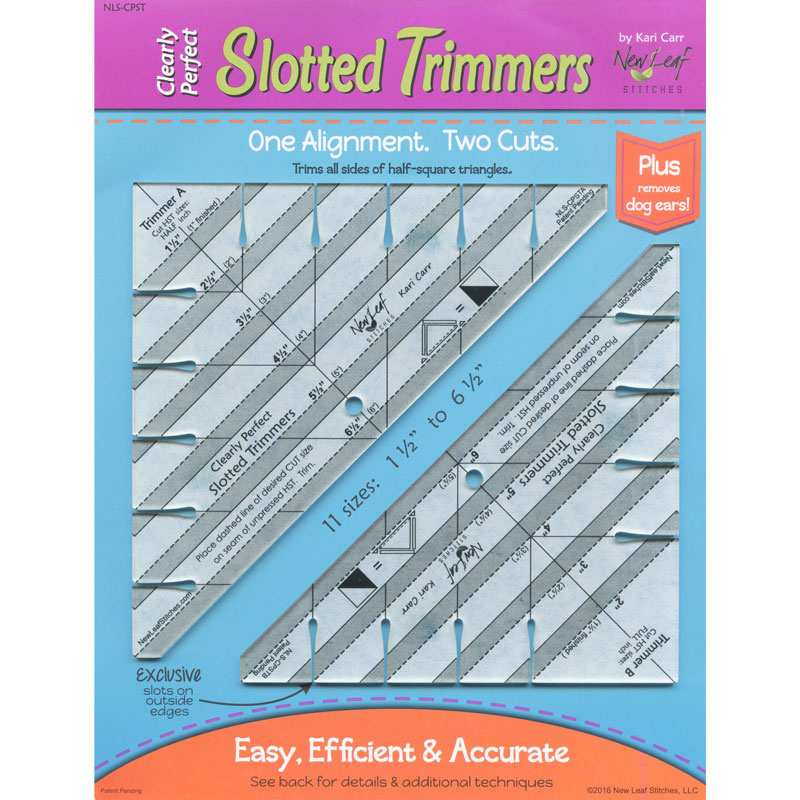
hi everybody I'm Natalie with Missouri Star Quilt Company and I have a fun quilt to teach you today it's called Timeless triangles and it's made up of a block that looks just like this it's super simple and I think you're going to love it so let's get started so to make this quilt you're going to need one package of 10-in print squares and I've used tranquil moments boutiques by Carol mullers for Island Boutique um you'll need a package that has two of every print and this one does so if yours doesn't you could either mix and match and do it a little bit more Scrappy or you could get um two and put them together you just need 16 matching pairs um we need a little bit of background Fabric and again you could substitute your yardage for one package of uh White pre-cut or whatever your background is and then 5/8 of a yard for your inner border or you can use um three yards of your background fabric that will cover all the pieces that you need including cluding your inner border your outer border you'll need uh 1 and A4 yards I did a 5 in border on this one and I think it looks really cute your backing you'll need four and 3/4 yards with a vertical seam if you're using 45 in wide Fabric or 2 and 1/2 yards if you have a 108 so let's get started all right well this quilt is very fun to make it goes together so quick you're going to be making a bunch of half Square triangles and it's easier than it looks I promise so the first thing we're going to do is we are going to pair our um our print squares with a background square cut at 10 in and we're going to Mark a line going diagonally in both directions and then we're going to stitch on both sides of both lines this is commonly called like the make eight half Square triangles method so let's go ahead and Stitch that up super super easy flip it around and Stitch down the other side all right now we're going to do the same thing on the other line I do tend to try to make these seams a little bit narrower than a quarter of an inch because you just need enough space to cut them apart and then I like to give myself just a tiny bit of extra room for squaring I feel like it makes a difference but that is a just an easy little thing I do all right so now we're going to take this this uh these squares and we're going to cut them apart when I'm cutting to make eight I always do my horizontal and vertical Cuts first because there is no line to cut on in case something gets pulled apart and that makes it very easy to make sure everything comes out just as it's supposed to then I go ahead and do my diagonal lines cutting right on the line and then we're going to going to take these and square them up to 4 and 1/2 so I'm going to use my little clearly perfect here you'll need to do this twice for each block because we need um all of the squares all of the half Square triangles um made out of the same fabric for these blocks and that's simply a color Choice that's just something that I thought would look really cool I think it would look equally as interesting if you had two different sets of fabric and put them in opposite Corners I think that could be also very cool but that is a design for another day just two more to go here and we'll talk about how we put these two units together there's two um opposite half square triangle units one where you put the print to the middle and then the other you put the background color in the middle and that's it that's how that's all of the all the brain work for this quilt is very very easy and I do love this big big rotary cutter it's a 60 mm and that's one of my favorite things I think they're great for cutting um like your thicker Fabrics maybe if you have a canvas or a denim they go it's so smooth but I love it all right let me press these and I've done I've done the work ahead of time on all the rest of these cuz you know really the um the squaring up of the half Square triangles is the longest part that's the part that takes the most time so you'll probably want to do that take some breaks relax and then come back and do some more or have a friend help you squaring is caring that's going to be my new motto all right so this is made up of two blocks one of them like I said has all of your backgrounds towards the middle and then the other has all of your prints towards the middle just like so and so I'm going to stitch these up and honestly it is easier for me so I don't know if you guys ever have problems with your fabric getting um SU sucked into the feed dogs or maybe a nest building up on the back sometimes that happens to me when I try to start sewing on a diagonal seam so I'm going to just flip this over and seam these on this side starting from the smooth side first it just seems to feed through my machine easier um if you don't have any problem with it no worries you can chain piece them that way but that's what I'm going to do just for ease of of stitching just a quick little a little trick that makes me a little less frustrated because I have a hard time when my needle gunks up or the fabric gets sucked in it just it's very discouraging for me I don't like it okay but I've got them all all lined up so I know which side I need to stitch on oh okay now I'm going to open them up we're going to pair them up and Nest our seams right here in the middle so they go one goes one One Direction and one goes the other you don't have a lot of choice you've got to stitch from that that uh corner now so just be sure that it's directly under your needle and you and if you go slow you should be okay now I'm going to make sure it's all straight and Nest my seam okay same thing on this side putting our print in the middle all righty now let's press these all right I went ahead and made the others um so I'm going to start with this this one in the corner and then they go opposite so you'll put your opposite blocks um next to each other and then we're going to just put this together like a four patch and it makes that really beautiful little Hourglass in the middle and you have this woven crisscross look which I just think it's so cool I think it's a great block it makes me happy it would also be a good one for um you know bringing to uh an event where you wanted to maybe have people write messages CU there's kind of a cute little message Corner that um kind of looks like a little love note section I think that would be kind of fun or you could add some embroidery or some embellishments you know there's that just those beautiful little white spaces there's a lot of room for Creative play all right and then here because I did go ahead and chain piece these I'm just going to open them up and flip them the other way that way I can make sure these seams go opposite directions and I'm going to try and fold them or Nest them towards the dark fabric there we go got some good sized seams to go through there we go all right let's give her a press I like to kind of press it a little bit before I flip it open that way I can make sure that this seam is going the direction I want it to go and everything else is nice nice and flat and then when I flip it back that one is already it already has an idea of which direction it needs to lay there we go cuz there are there's quite a bit of fabric where we've got all of our little points meeting up but that is a okay boutiques are so good to work with because they they press so nicely and they lay so so flat but that's it so I put them together like so everyone just matching right up we've got one two 3 4 across and one two 3 4 down and that is just mainly because those are the Fabrics that I had that looked really great with my background I left out some of the lighter ones so if you have more that match you could probably make it a little bigger if you wanted to um but that's the layout that I went with and I just love it we've got a beautiful 5in border here and then I use this really lovely multicolored Boutique for the backing I just think it's so cool it's like little hashtags made out of like bamboo they're just really cute I love it so I had it machine quilted in a beautiful new pattern that I love called diagonal plaid it's really lovely and the quilt ends up being 77 Square so a great size for picnics or parties or movie night I love it well I had a great time today and I hope that you did too and I hope that you enjoyed this tutorial on Timeless triangles from the Missouri Star Quilt Company thank you so much for joining me for this video today I hope that you enjoyed it and that it inspired your creativity and guys we're at almost a million Quilters strong in our community so if you know of anybody that you think might like to join us and learn quilting with us bring them on in put your arm around them and tell them to subscribe to our channel so that we can all learn and and grow together [Music]

More Layer Cake tutorials

See all