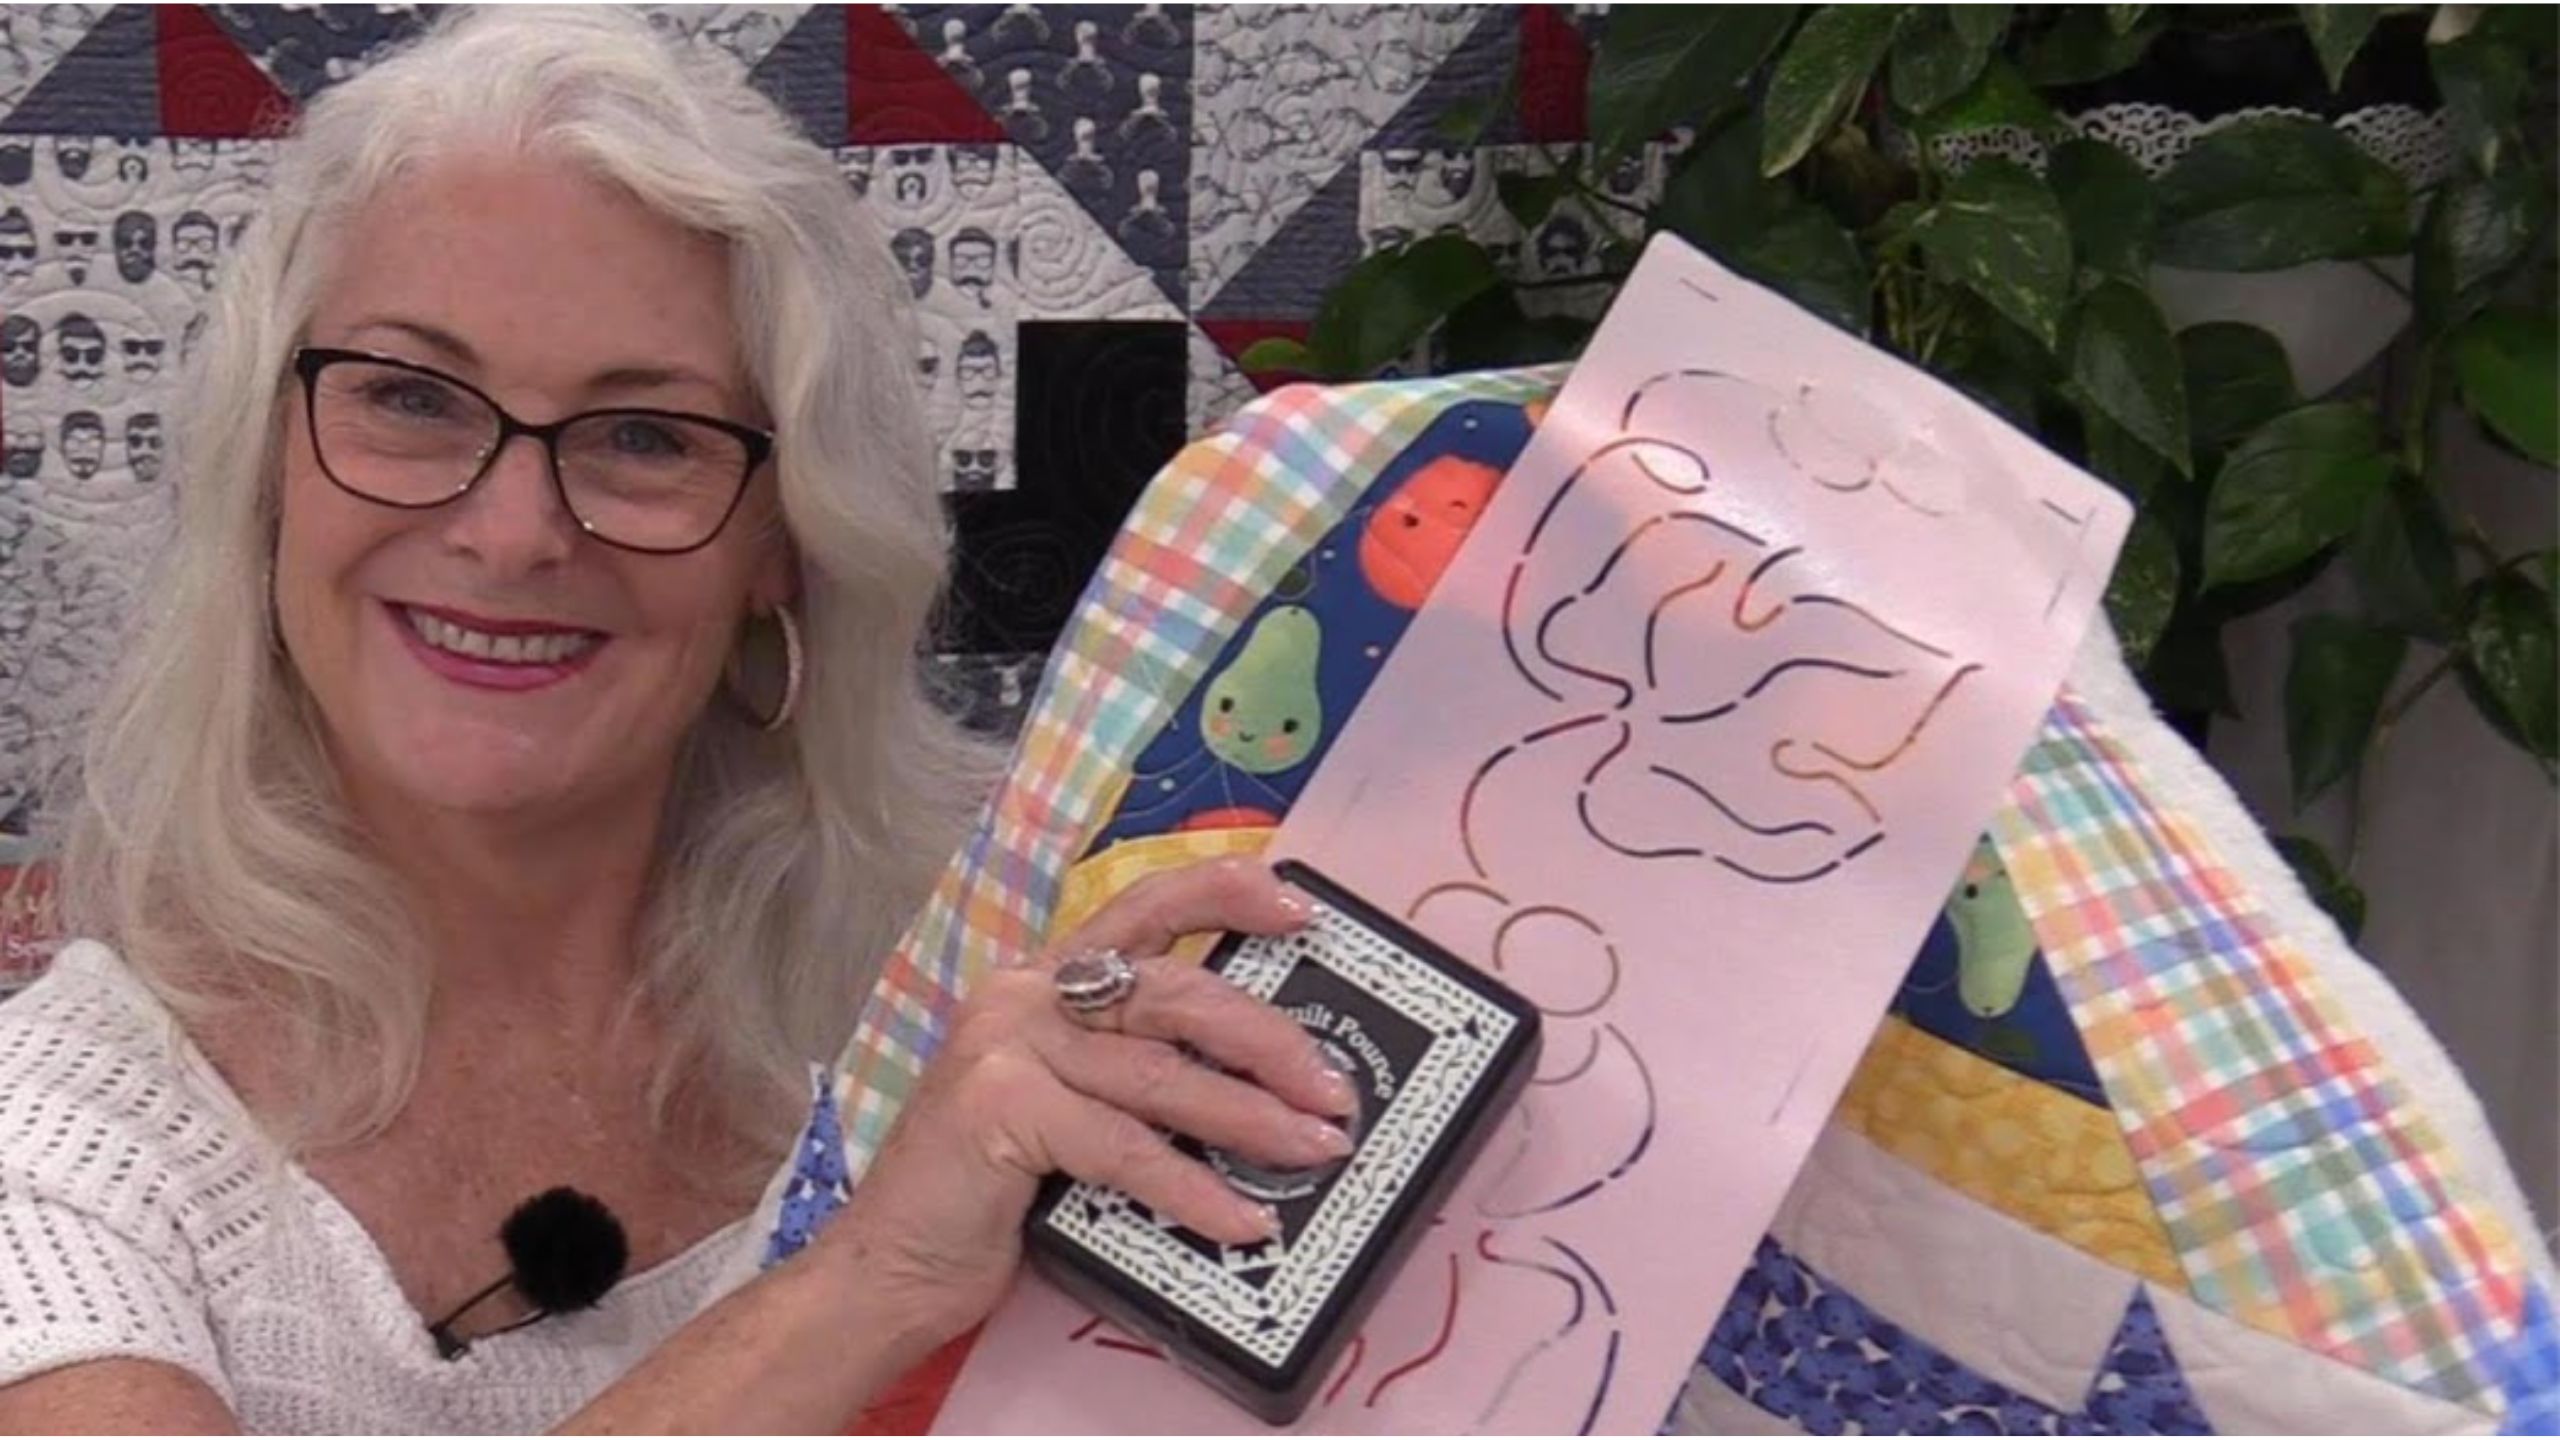
Tips for Marking and Quilting a Quilt with Laura Coia from Sew Very Easy
Join Laura Coia of Sew Very Easy as she shares her tips on quilting your finished quilt top. One of her favorite tips? It's all about marking the back!

Instructor
Laura Coia
Laura Coia is the founder and celebrity host of the very successful and inspiring SewVeryEasy YouTube channel founded in 2014. Her instructional videos have inspired thousands to start sewing, and she is the author of the book Sew Very Easy.
Shop this tutorial

Common Questions
What is covered in Tips for Marking and Quilting a Quilt with Laura Coia from Sew Very Easy?
Join Laura Coia of Sew Very Easy as she shares her tips on quilting your finished quilt top. One of her favorite tips? It's all about marking the back!
How long is the tutorial video?
The tutorial video is 00:11:01.
Is a transcript available?
Yes. A written transcript is available on the tutorial page.
Video Transcript
Marking a quilt for quilting is an important step in the quilting process, as it ensures that your quilting stitches are even and consistent. Here are some steps to follow when marking a quilt for quilting:
Choose your marking tool: There are many different tools that you can use to mark a quilt, such as a fabric pen, chalk, or a water-soluble marker. Choose a tool that is appropriate for the color and texture of your fabric.
Plan your quilting design: Before you start marking your quilt, decide on the quilting design that you want to use. This could be a simple pattern of straight lines or more complex designs, such as feathers or swirls.
Mark the quilt top: Using your chosen marking tool, mark the quilt top with the design that you have chosen. You can use a ruler or other straight edge to help you make straight lines, or use stencils or templates to create more intricate designs.
Check your markings: Before you start quilting, check your markings to make sure they are accurate and consistent. If necessary, make any adjustments or corrections.
Quilt the quilt: With your quilt top marked, you can begin quilting. Follow your markings as closely as possible, using your chosen quilting method to stitch along the lines that you have marked.
Remove markings: Once you have finished quilting, remove any remaining markings using a damp cloth or by washing the quilt, if appropriate.
Choose your marking tool: There are many different tools that you can use to mark a quilt, such as a fabric pen, chalk, or a water-soluble marker. Choose a tool that is appropriate for the color and texture of your fabric.
Plan your quilting design: Before you start marking your quilt, decide on the quilting design that you want to use. This could be a simple pattern of straight lines or more complex designs, such as feathers or swirls.
Mark the quilt top: Using your chosen marking tool, mark the quilt top with the design that you have chosen. You can use a ruler or other straight edge to help you make straight lines, or use stencils or templates to create more intricate designs.
Check your markings: Before you start quilting, check your markings to make sure they are accurate and consistent. If necessary, make any adjustments or corrections.
Quilt the quilt: With your quilt top marked, you can begin quilting. Follow your markings as closely as possible, using your chosen quilting method to stitch along the lines that you have marked.
Remove markings: Once you have finished quilting, remove any remaining markings using a damp cloth or by washing the quilt, if appropriate.